When you click on links to various merchants on this site and make a purchase, this can result in this site earning a commission. Affiliate programs and affiliations include, but are not limited to, the eBay Partner Network.
please tell me the part numbers for the running board lights and the puddle light oh and can you tell me how you got to the lights on the running boards out.I too change out all my lights on my 2010 4Runner but for the hell of me could never figure out the running boards and so here I am again 🙁
Thanks for all the tips. I got my v-leds today and swapped the running board lights out in about 5 minutes. Any tips for replacing the door/puddle lights? I took my pry tool to the lens but couldn�t see any easy way to swap the bulbs. I thought I�d check before I Fubar anything. Thanks!
Thanks for all the tips. I got my v-leds today and swapped the running board lights out in about 5 minutes. Any tips for replacing the door/puddle lights? I took my pry tool to the lens but couldn’t see any easy way to swap the bulbs. I thought I’d check before I Fubar anything. Thanks!
I can't find the pics of how I did it but if I remember correctly you remove the clear/opaque cover then the grey housing opens up when you release the clips in the center and the bulb is in there.. I broke 2 of mine at the clips that hold it in the door when I was removing them so they wouldn't stay in the door when I tried reinstalling them. Had to buy new ones. Here's a link to the the one I bought:
I can't find the pics of how I did it but if I remember correctly you remove the clear/opaque cover then the grey housing opens up when you release the clips in the center and the bulb is in there.. I broke 2 of mine at the clips that hold it in the door when I was removing them so they wouldn't stay in the door when I tried reinstalling them. Had to buy new ones. Here's a link to the the one I bought: https://www.amazon.com/Toyota-81230-.../dp/B01EAZ2FPI
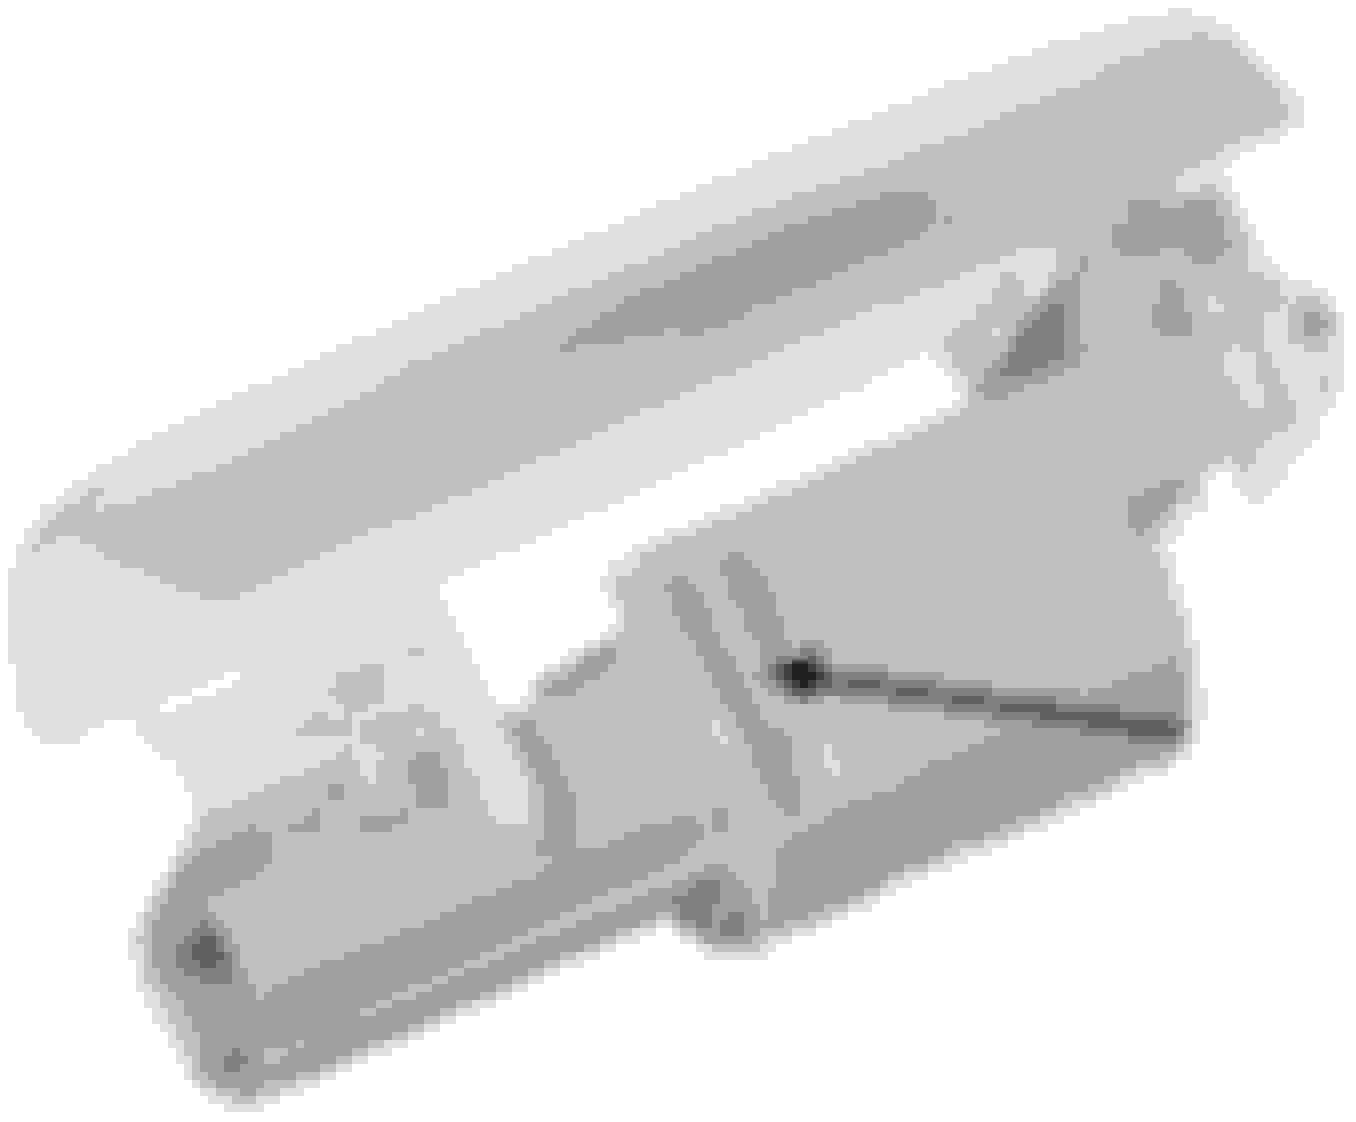
Edit: I don't have any pics of opening it up, but I do have a pic of it hanging from my door after I broke the clips:
Originally Posted by MarkVII
You need to release the clips to remove the lens
Thank you both for the tips! Once I realized I needed to pry the entire housing out, and then release the cover to access the bulb, it went easy peasy. Swapped out my rear hatch light to 194 LED's as well, huge improvement in light! Need to order a few more 194's for the rest of the interior domes.
I just purchased the same high beam kit. How did you manage to put all hardware inside the box. Is it safe (no heat will be trapped) if I put all hardware inside the headlight box and secure it with cover? Also how did you separate the heat sinks? It doesn't really seem this kit is suitable for the GX
the heat dissipated should not cause issues. its a lot less total heat than the halogens. it could be more heat in certain spots but not that should contact anything or cause problems.
good: no fan to break. thin heatpipe and led selection and placement to match oem dimension. no end cap to block light (this would be a bad if used in some other applications). run at somewhat lower temp thus potential longer life compared to fan style. nice to have the alignment scale although best is to use a wall and visual the pattern. heatsink versions usually last a long long time.
bad: that round connector has a high fail rate, failure will manifest as flickering on bumps. if this happens, address quickly or else the connector can melt. one day might require bending a pin or squeezing a socket. the price, can get comparable heatsink versions for <40$, and a higher light output fan version for <20$
ugly: the heatsink versions output lower light than fan models on average. have to deal with the fins (not ugly on other vehicles depending on light housing integration).
note:braid versions have more surface area and are more pliable, but they can accumulate dirt in some cases and reduce cooling potential.
I just purchased the same high beam kit. How did you manage to put all hardware inside the box. Is it safe (no heat will be trapped) if I put all hardware inside the headlight box and secure it with cover? Also how did you separate the heat sinks? It doesn't really seem this kit is suitable for the GX
Not suitable for the GX? I couldn't find anything else that was comparable in output and beam pattern. I had the previous version of these LEDs in my 4Runner and was very satisfied with them. I wanted nothing to do with any LED that used a fan for heat dissipation.
I drilled out the locking cap to accommodate the provided gasket. Prior to putting the bulb in I fanned out the heat sink leafs into a circular pattern that would pass through the access hole. After I inserted the bulb into it's socket, I carefully completed the heat sink leaf fanning process inside the box. Once inside, I left the high beams on for a little over 30 minutes and did not notice any appreciable heating inside the box. I then re-tested, closed the locking cap and put the finishing touches on the wiring.
the heat dissipated should not cause issues. its a lot less total heat than the halogens. it could be more heat in certain spots but not that should contact anything or cause problems.
good: no fan to break. thin heatpipe and led selection and placement to match oem dimension. no end cap to block light (this would be a bad if used in some other applications). run at somewhat lower temp thus potential longer life compared to fan style. nice to have the alignment scale although best is to use a wall and visual the pattern. heatsink versions usually last a long long time.
bad: that round connector has a high fail rate, failure will manifest as flickering on bumps. if this happens, address quickly or else the connector can melt. one day might require bending a pin or squeezing a socket. the price, can get comparable heatsink versions for <40$, and a higher light output fan version for <20$
ugly: the heatsink versions output lower light than fan models on average. have to deal with the fins (not ugly on other vehicles depending on light housing integration).
note:braid versions have more surface area and are more pliable, but they can accumulate dirt in some cases and reduce cooling potential.
What round connector are you referring to that has high failure rate?
Not suitable for the GX? I couldn't find anything else that was comparable in output and beam pattern. I had the previous version of these LEDs in my 4Runner and was very satisfied with them. I wanted nothing to do with any LED that used a fan for heat dissipation.
I drilled out the locking cap to accommodate the provided gasket. Prior to putting the bulb in I fanned out the heat sink leafs into a circular pattern that would pass through the access hole. After I inserted the bulb into it's socket, I carefully completed the heat sink leaf fanning process inside the box. Once inside, I left the high beams on for a little over 30 minutes and did not notice any appreciable heating inside the box. I then re-tested, closed the locking cap and put the finishing touches on the wiring.
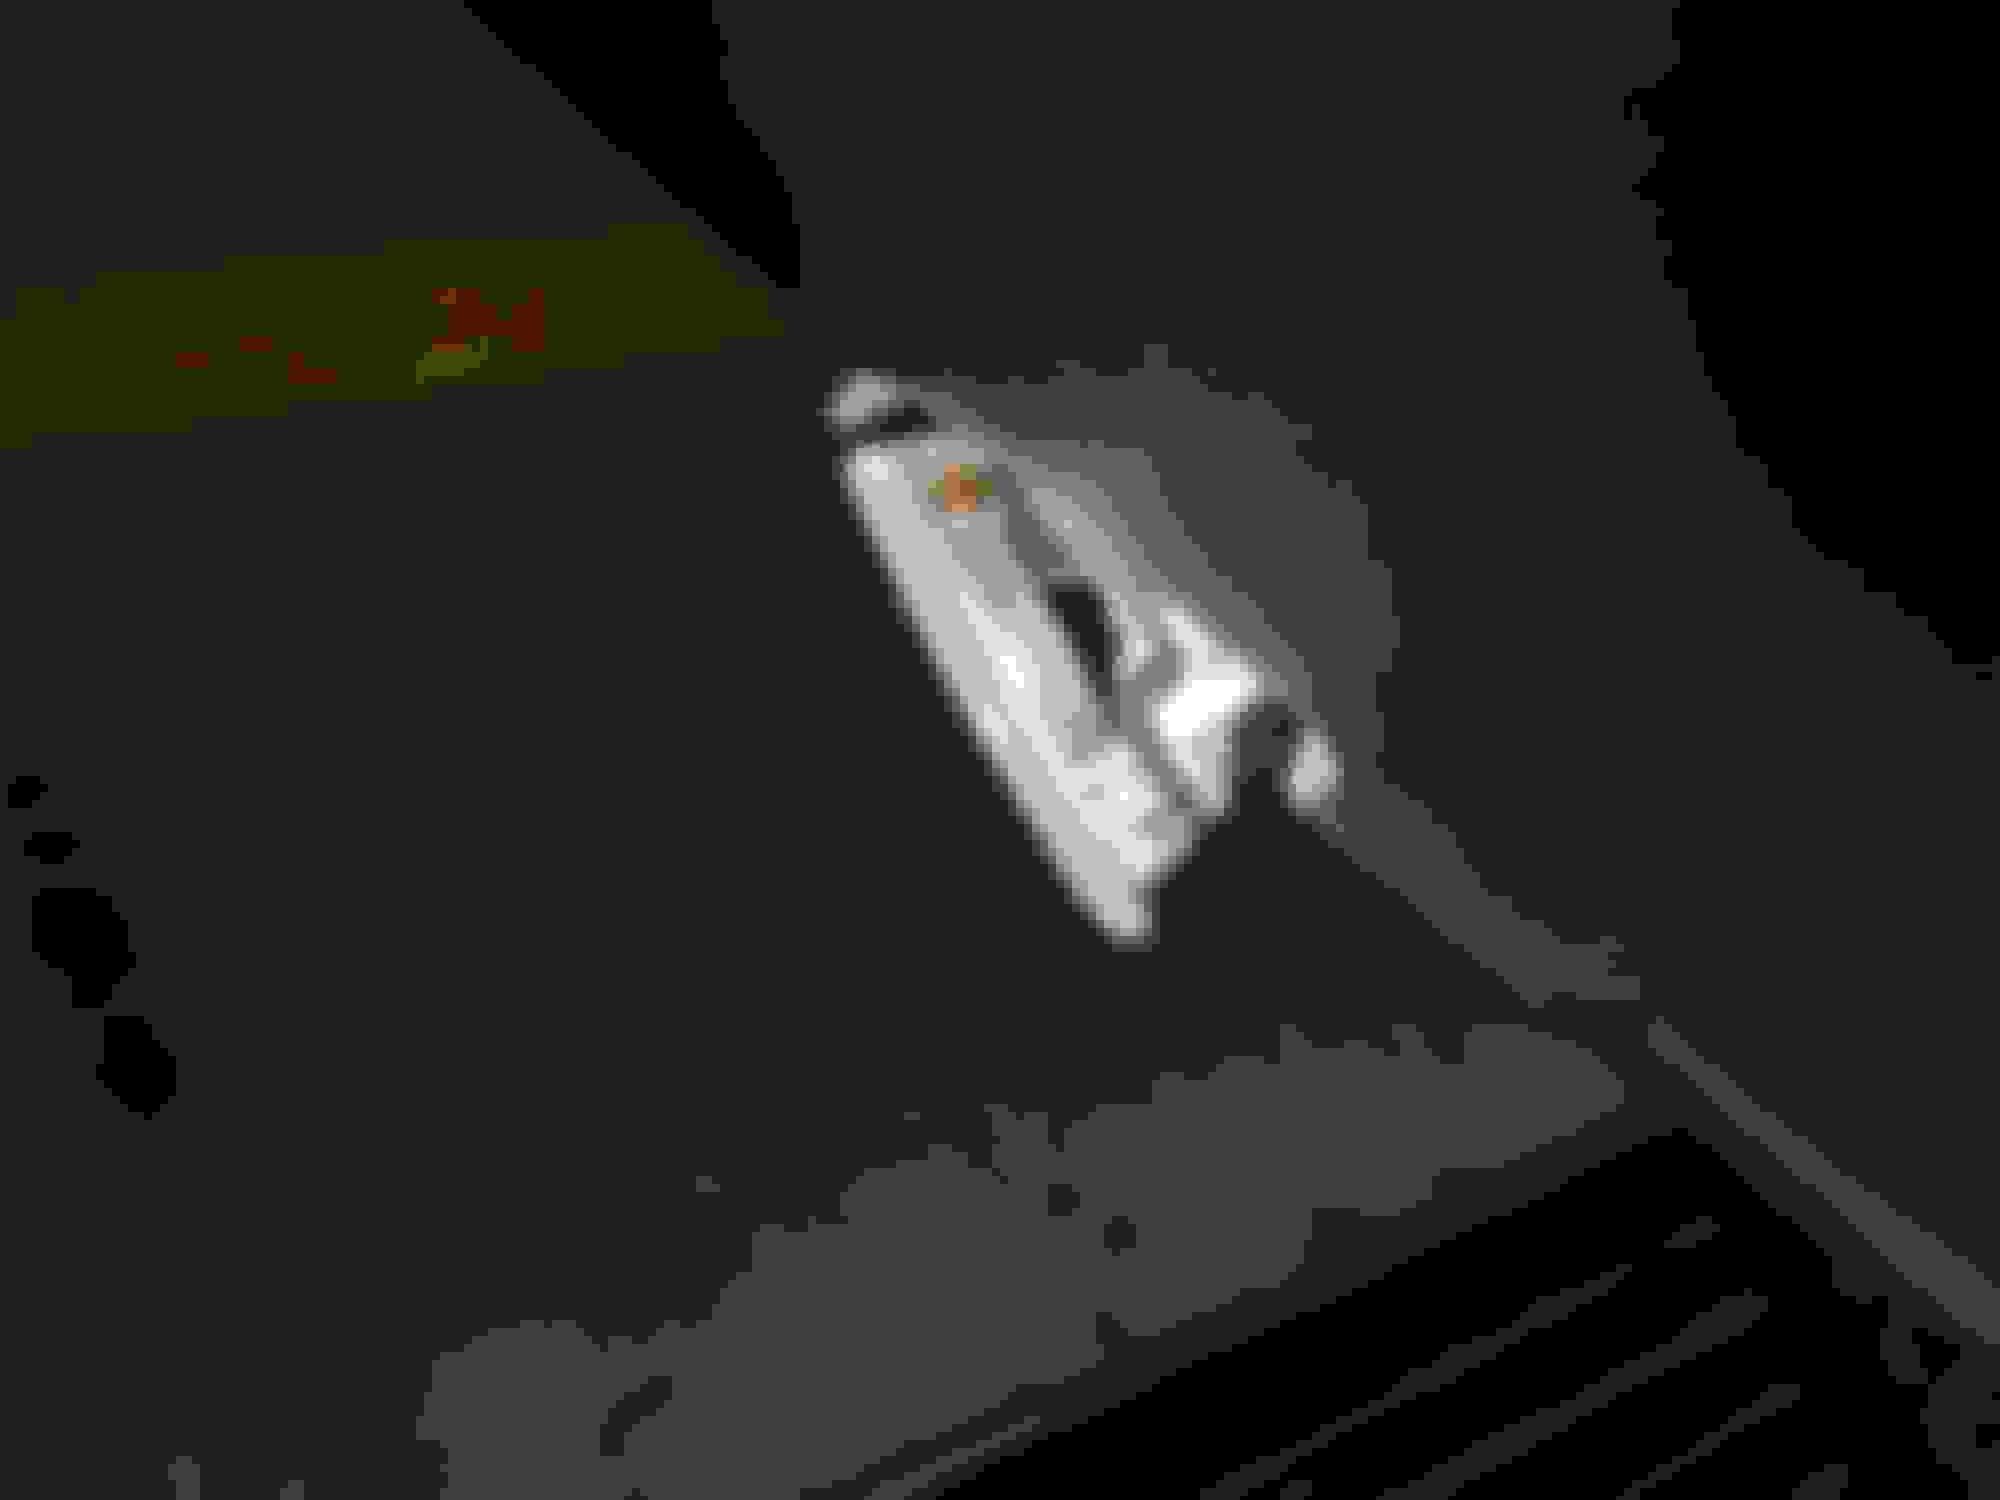
Here's what my finished box looks like:
Thanks for detailed explanation. Do you have another picture showing how you fanned out the heat sink leafs?
I was able to get everything inside the headlight box and close it tightly but I am not sure if this is a good idea compared to your solution.
What round connector are you referring to that has high failure rate?
between the led bulb part and the driver. its a common connector much like a plastic xlr connector. these are used on many low voltage low current components, and used on many aftermarket leds.
they get loose, they let in moisture and contaminants. result is intermittent connections, melting at the terminals and corrosion.
one option is to use dielectric grease and slightly bend the pins. i would add the grease but not bend the pins until you notice an issue. the problems arent on every one, but they do happen regularly

 11-22-19, 03:16 PM