When you click on links to various merchants on this site and make a purchase, this can result in this site earning a commission. Affiliate programs and affiliations include, but are not limited to, the eBay Partner Network.
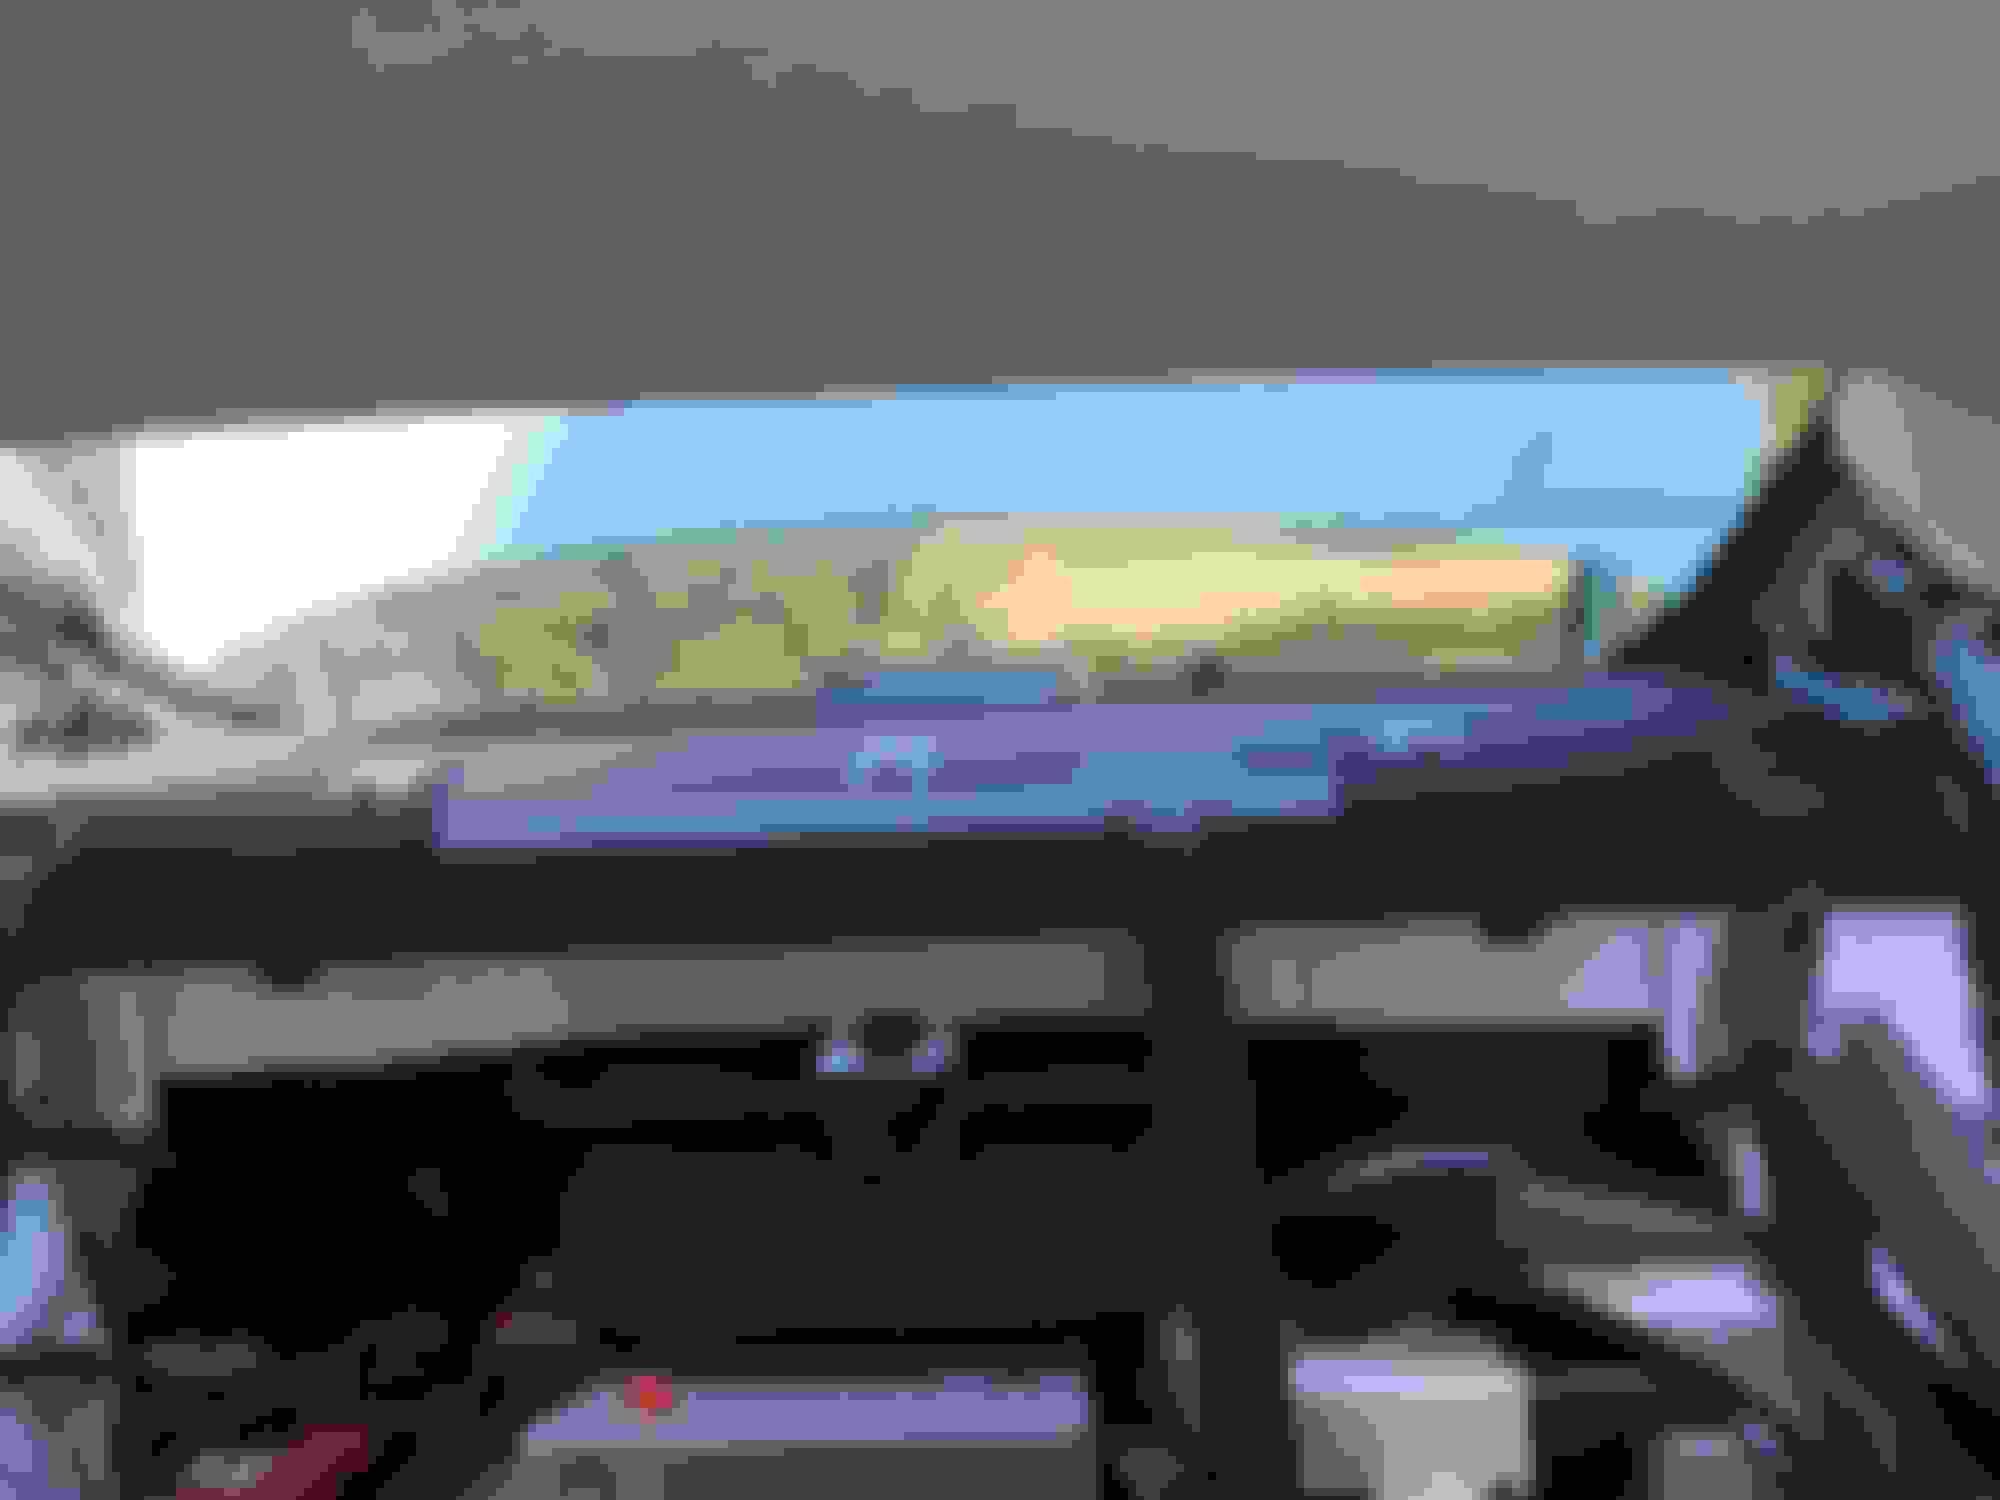
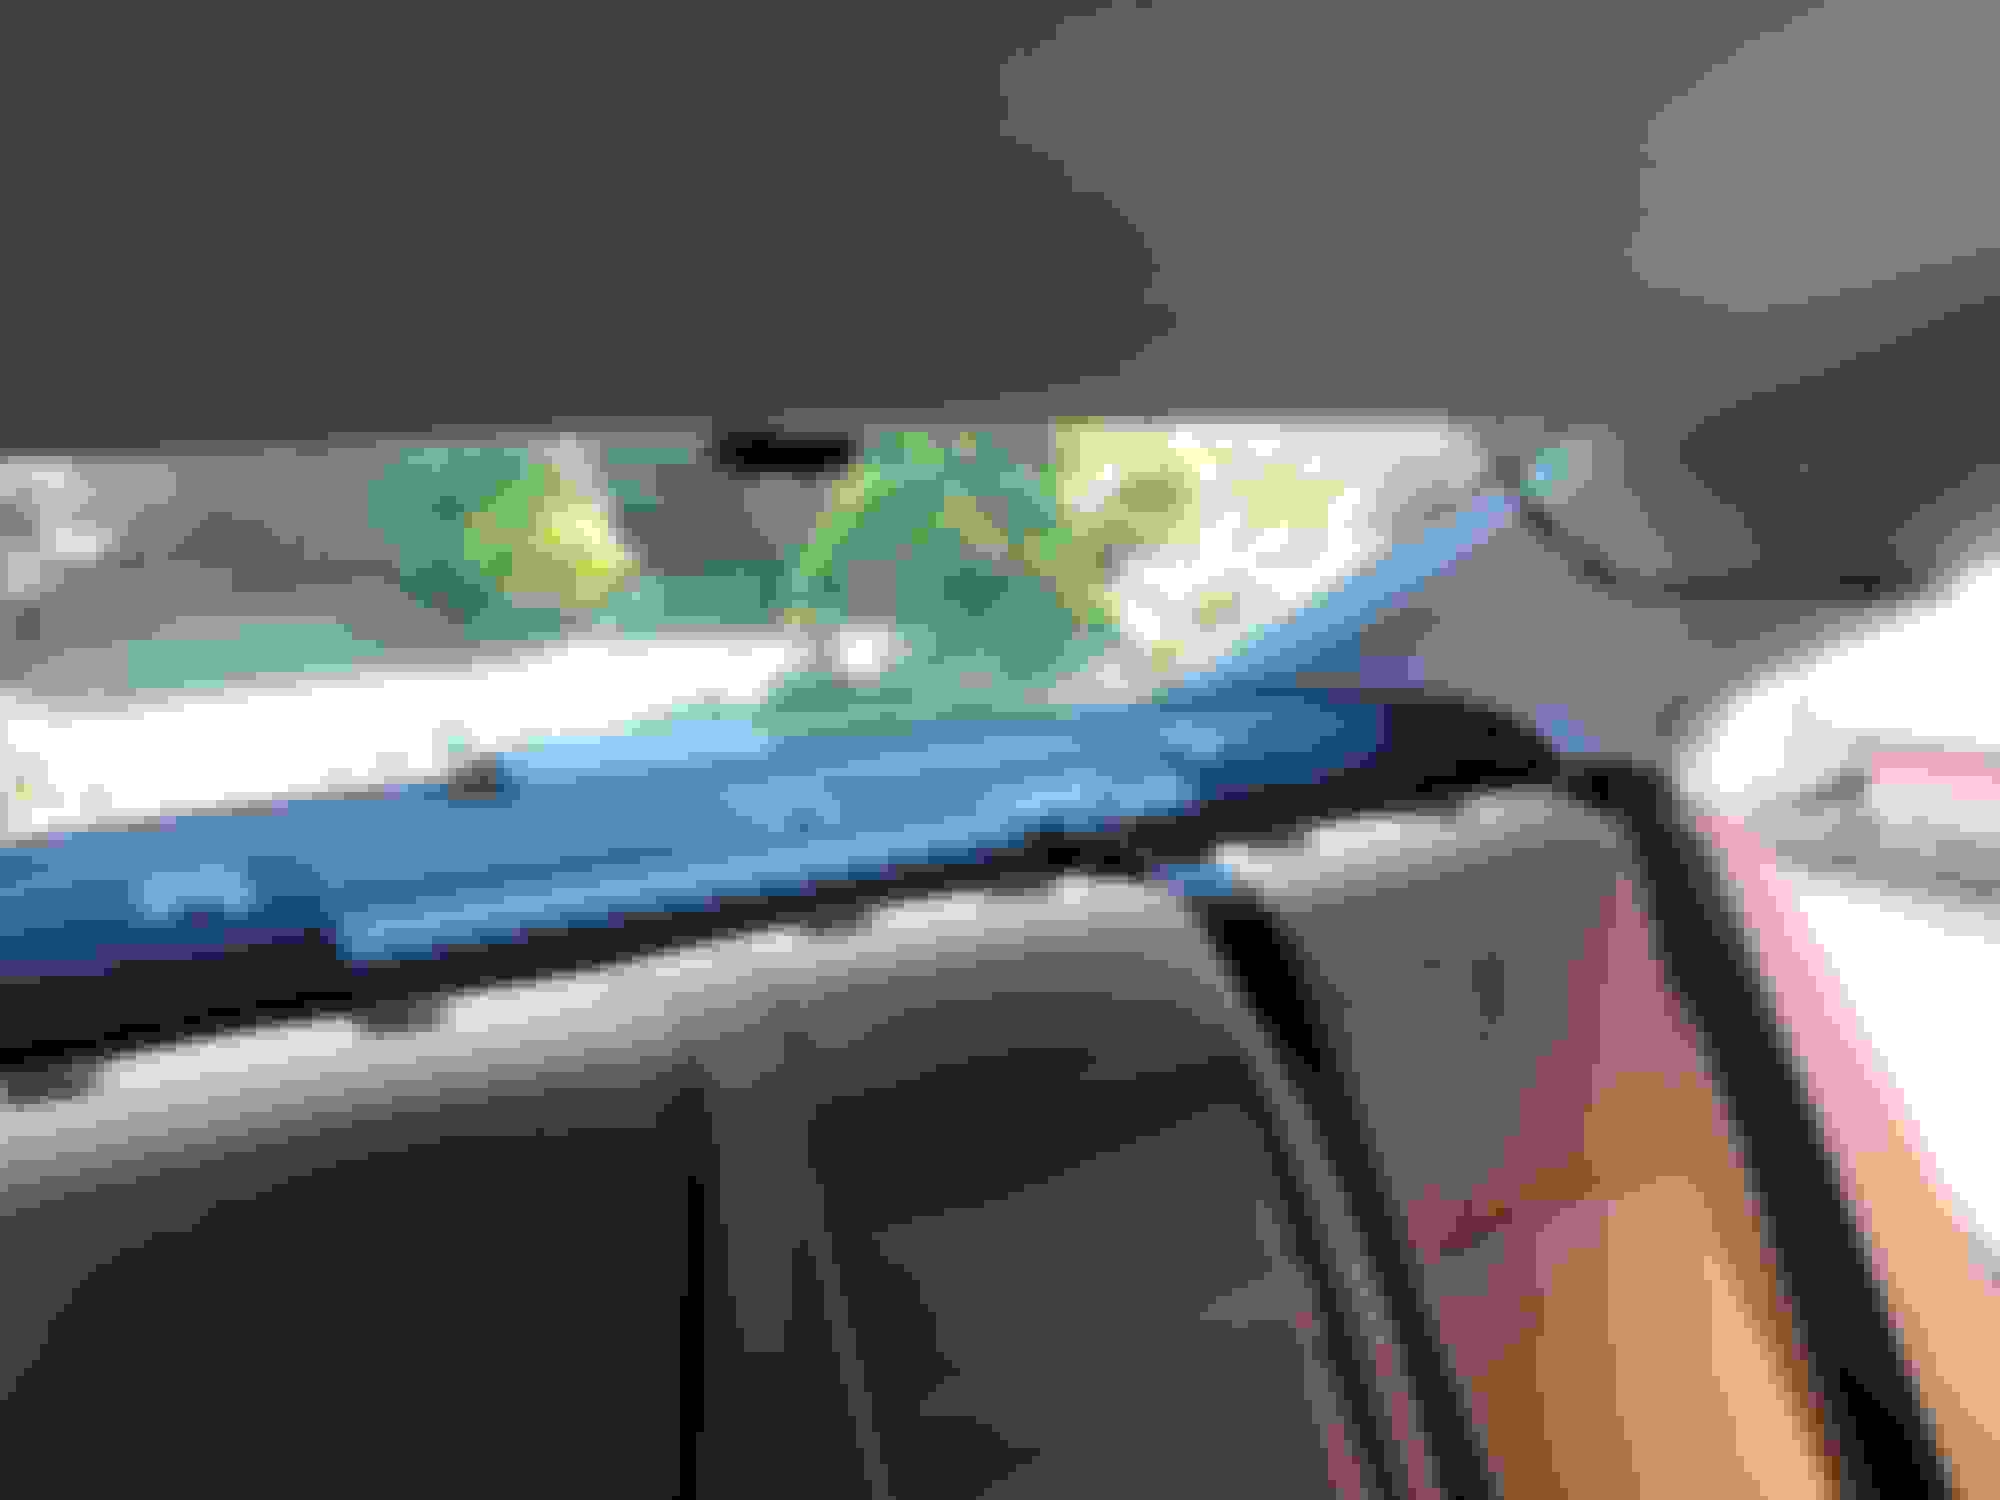
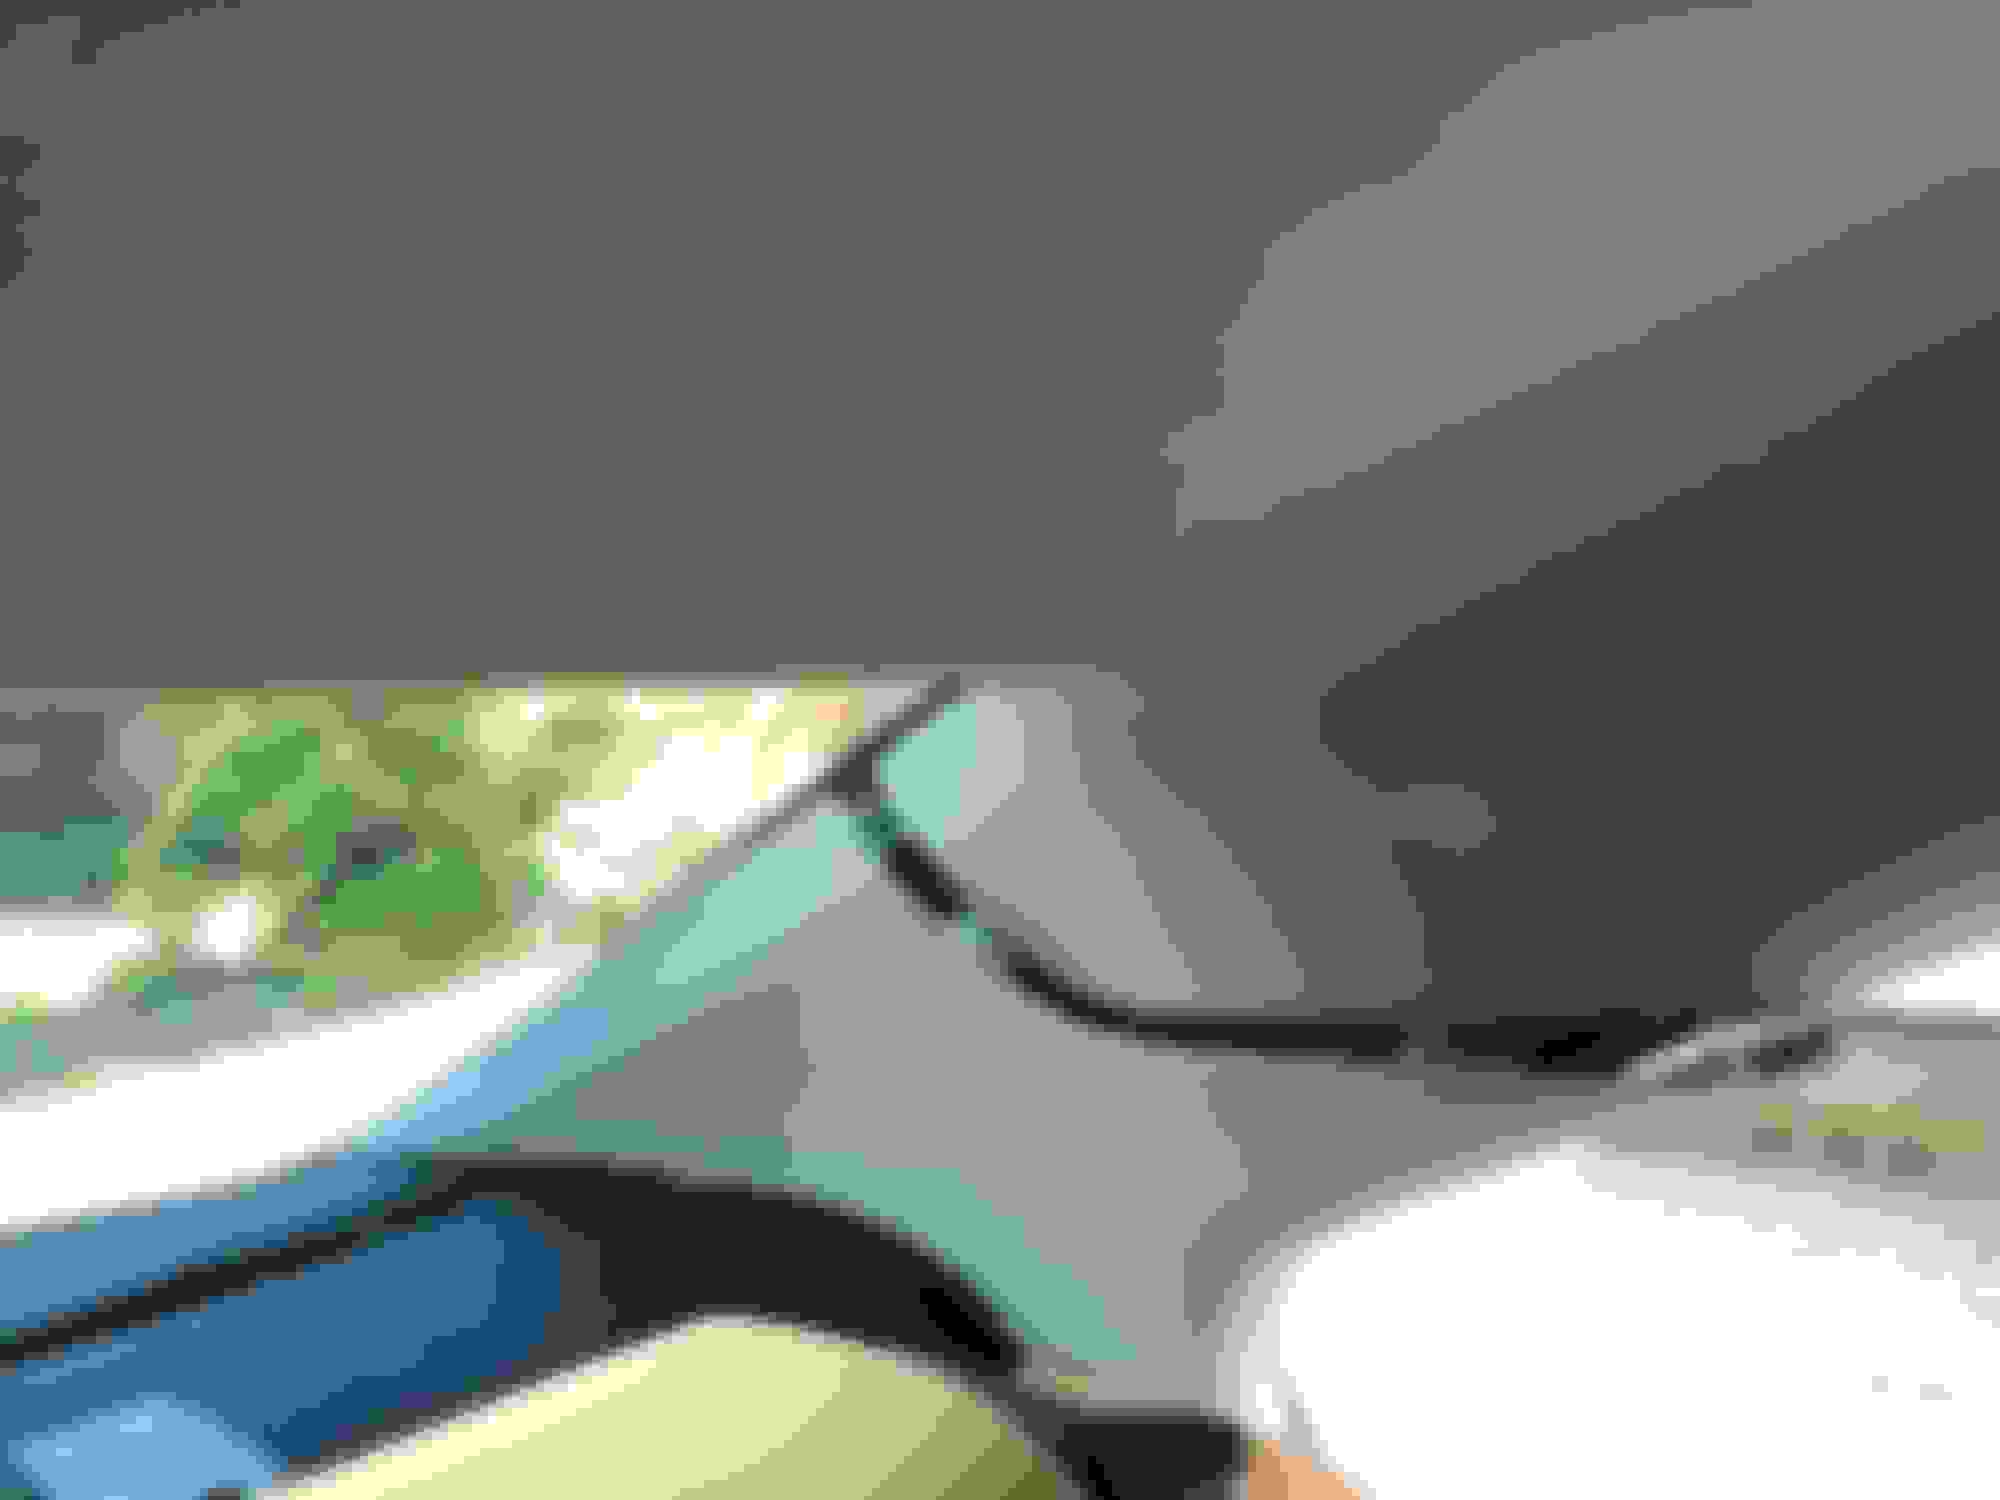
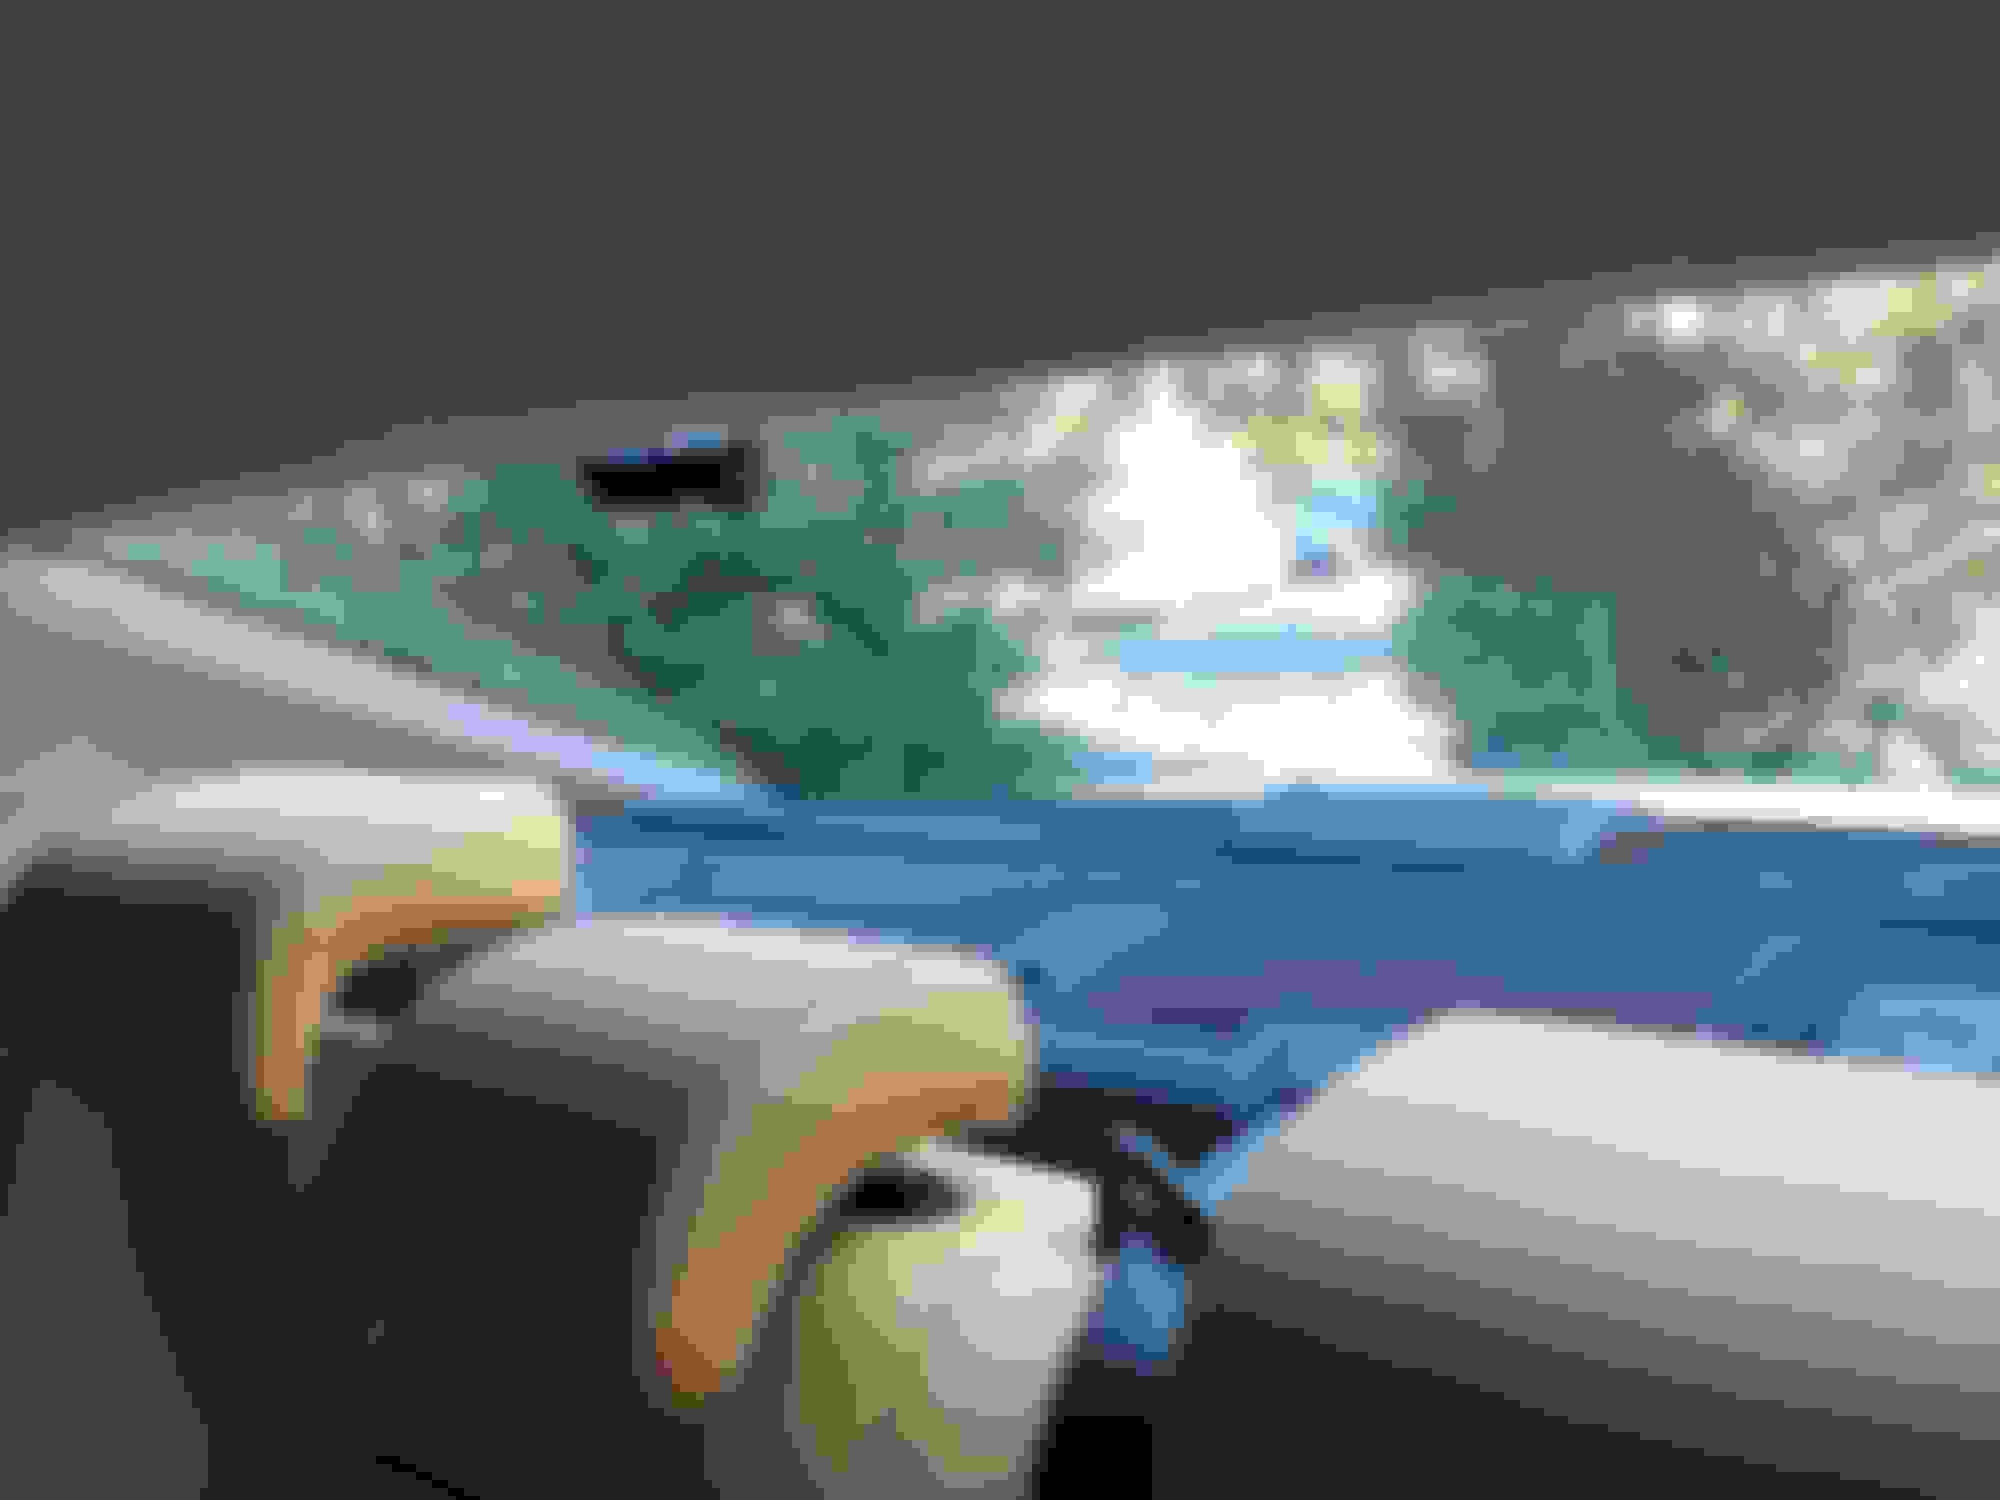
I don't honestly know if the rear sunshade is an option that was offered for the North America Lexus HS 250h. It is really nice when leaving the car parked in hot weather though. It keeps the interior cooler when the sun is shining through the large rear window. It's a black netting that you can partially see through - and there is a reverse interlock where it lowers the shade when you engage reverse gear. A button on the lower dash panel silently raises and lowers the sunshade curtain.
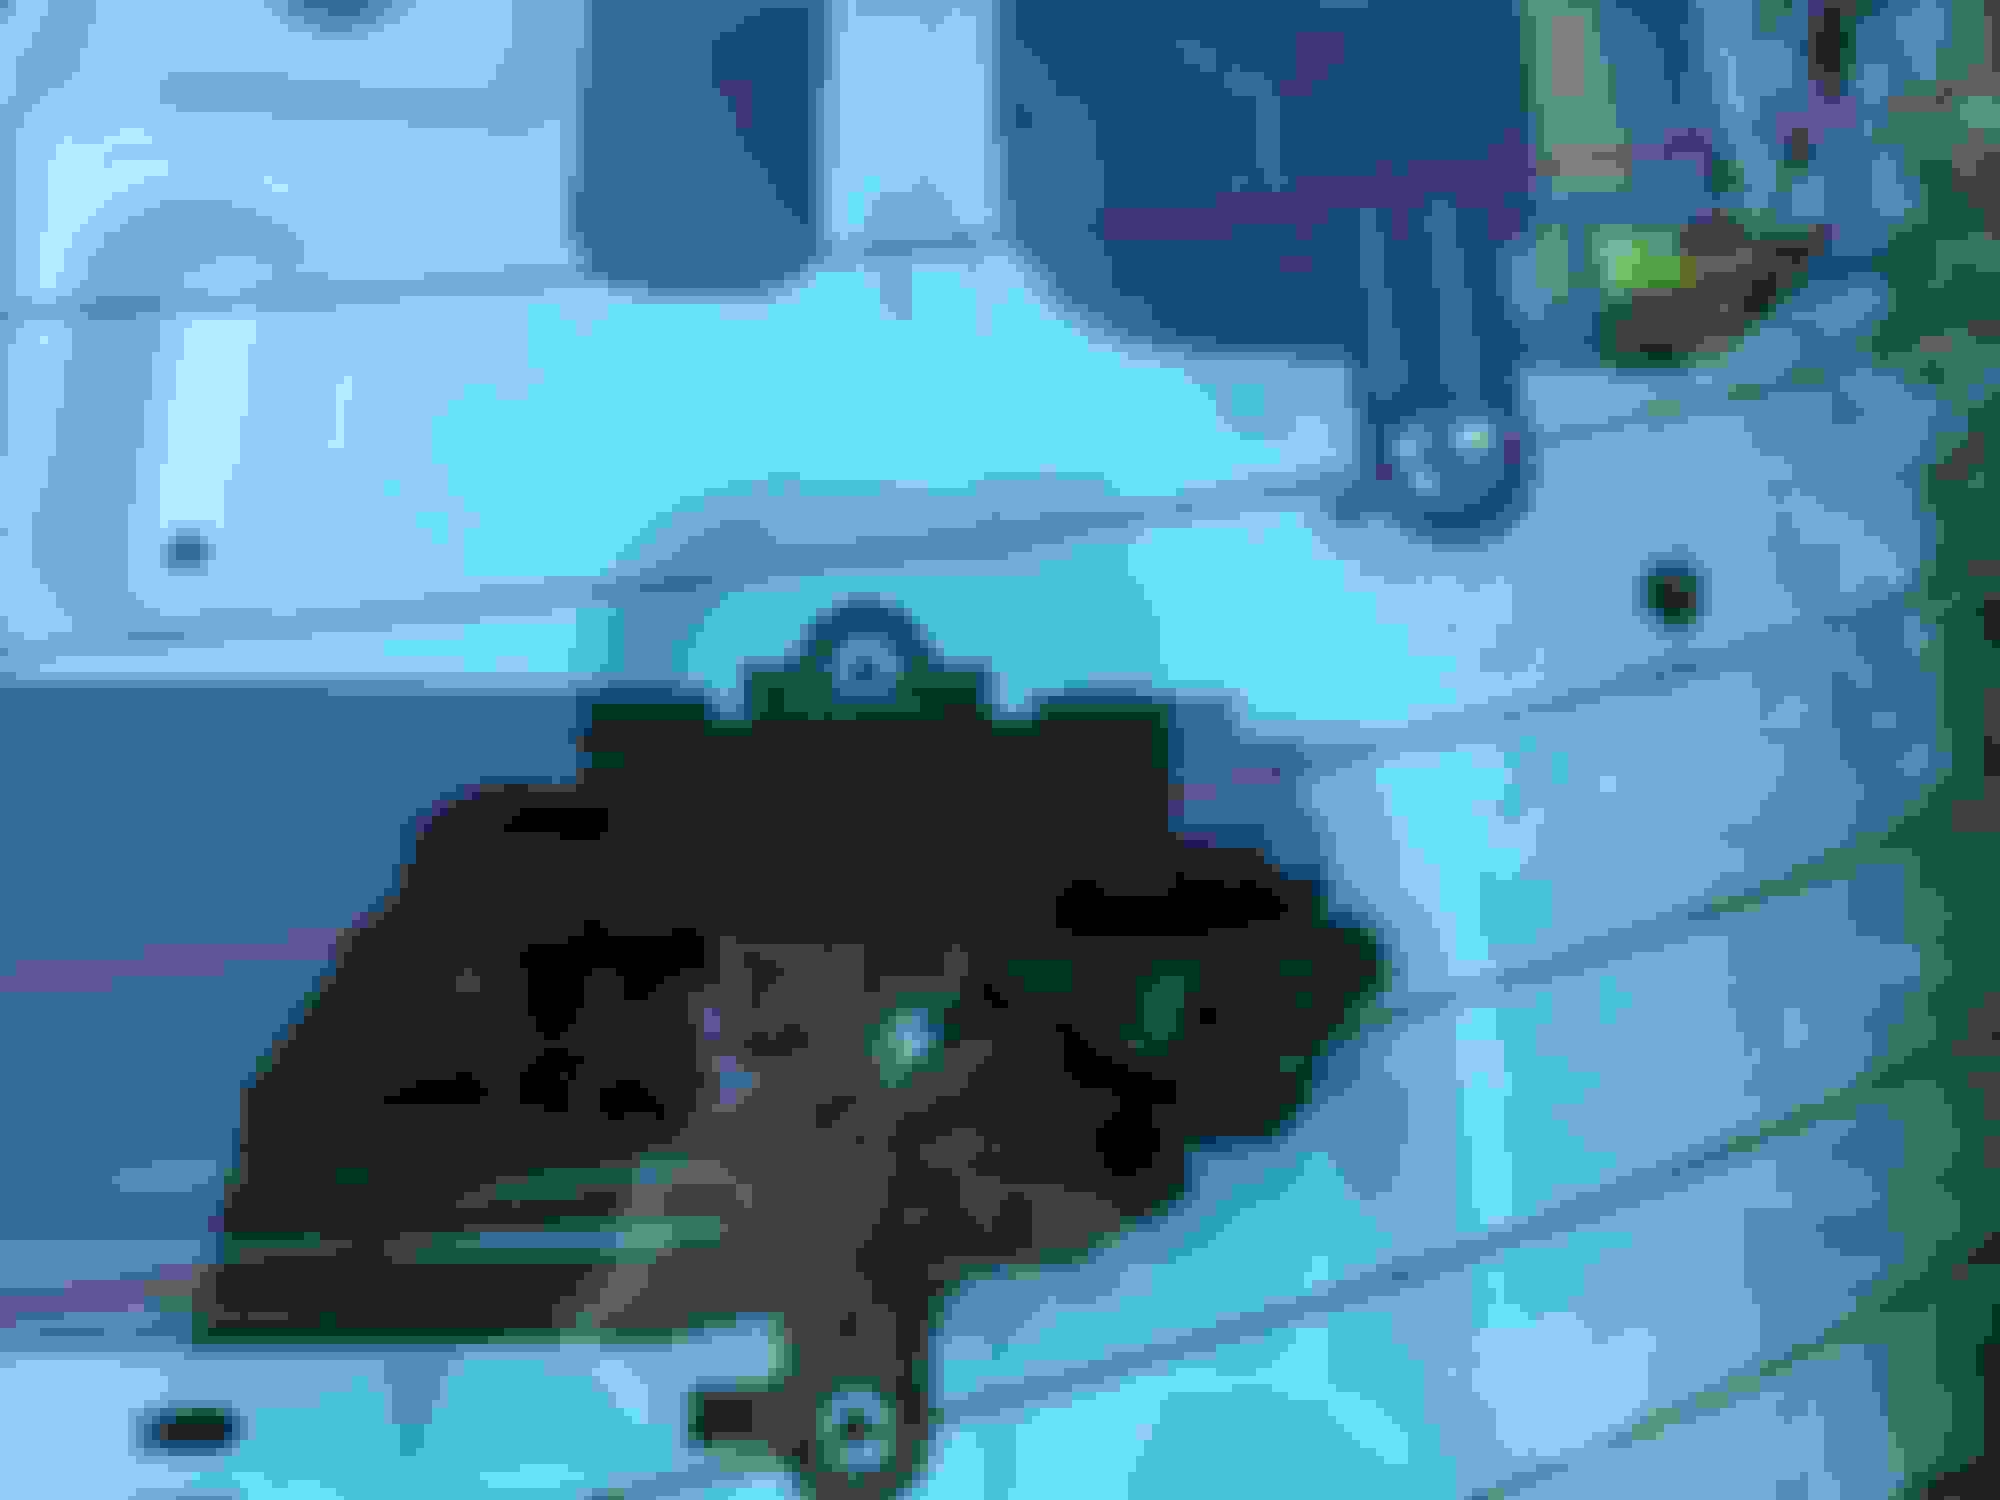
Anyway, my car came from a Japanese auction and this is apparently something that was missed in the inspection. The sunshade was stuck in extended/deployed position, the fuse pulled, and none of the condition reports noted this. The fact that it was extended made it an absolute bear to reach around and access the five bolts for removal. Somehow I bent it and snaked my hands around to get all five bolts loosened, and got it out of the car which led to a disassembly and inspection.
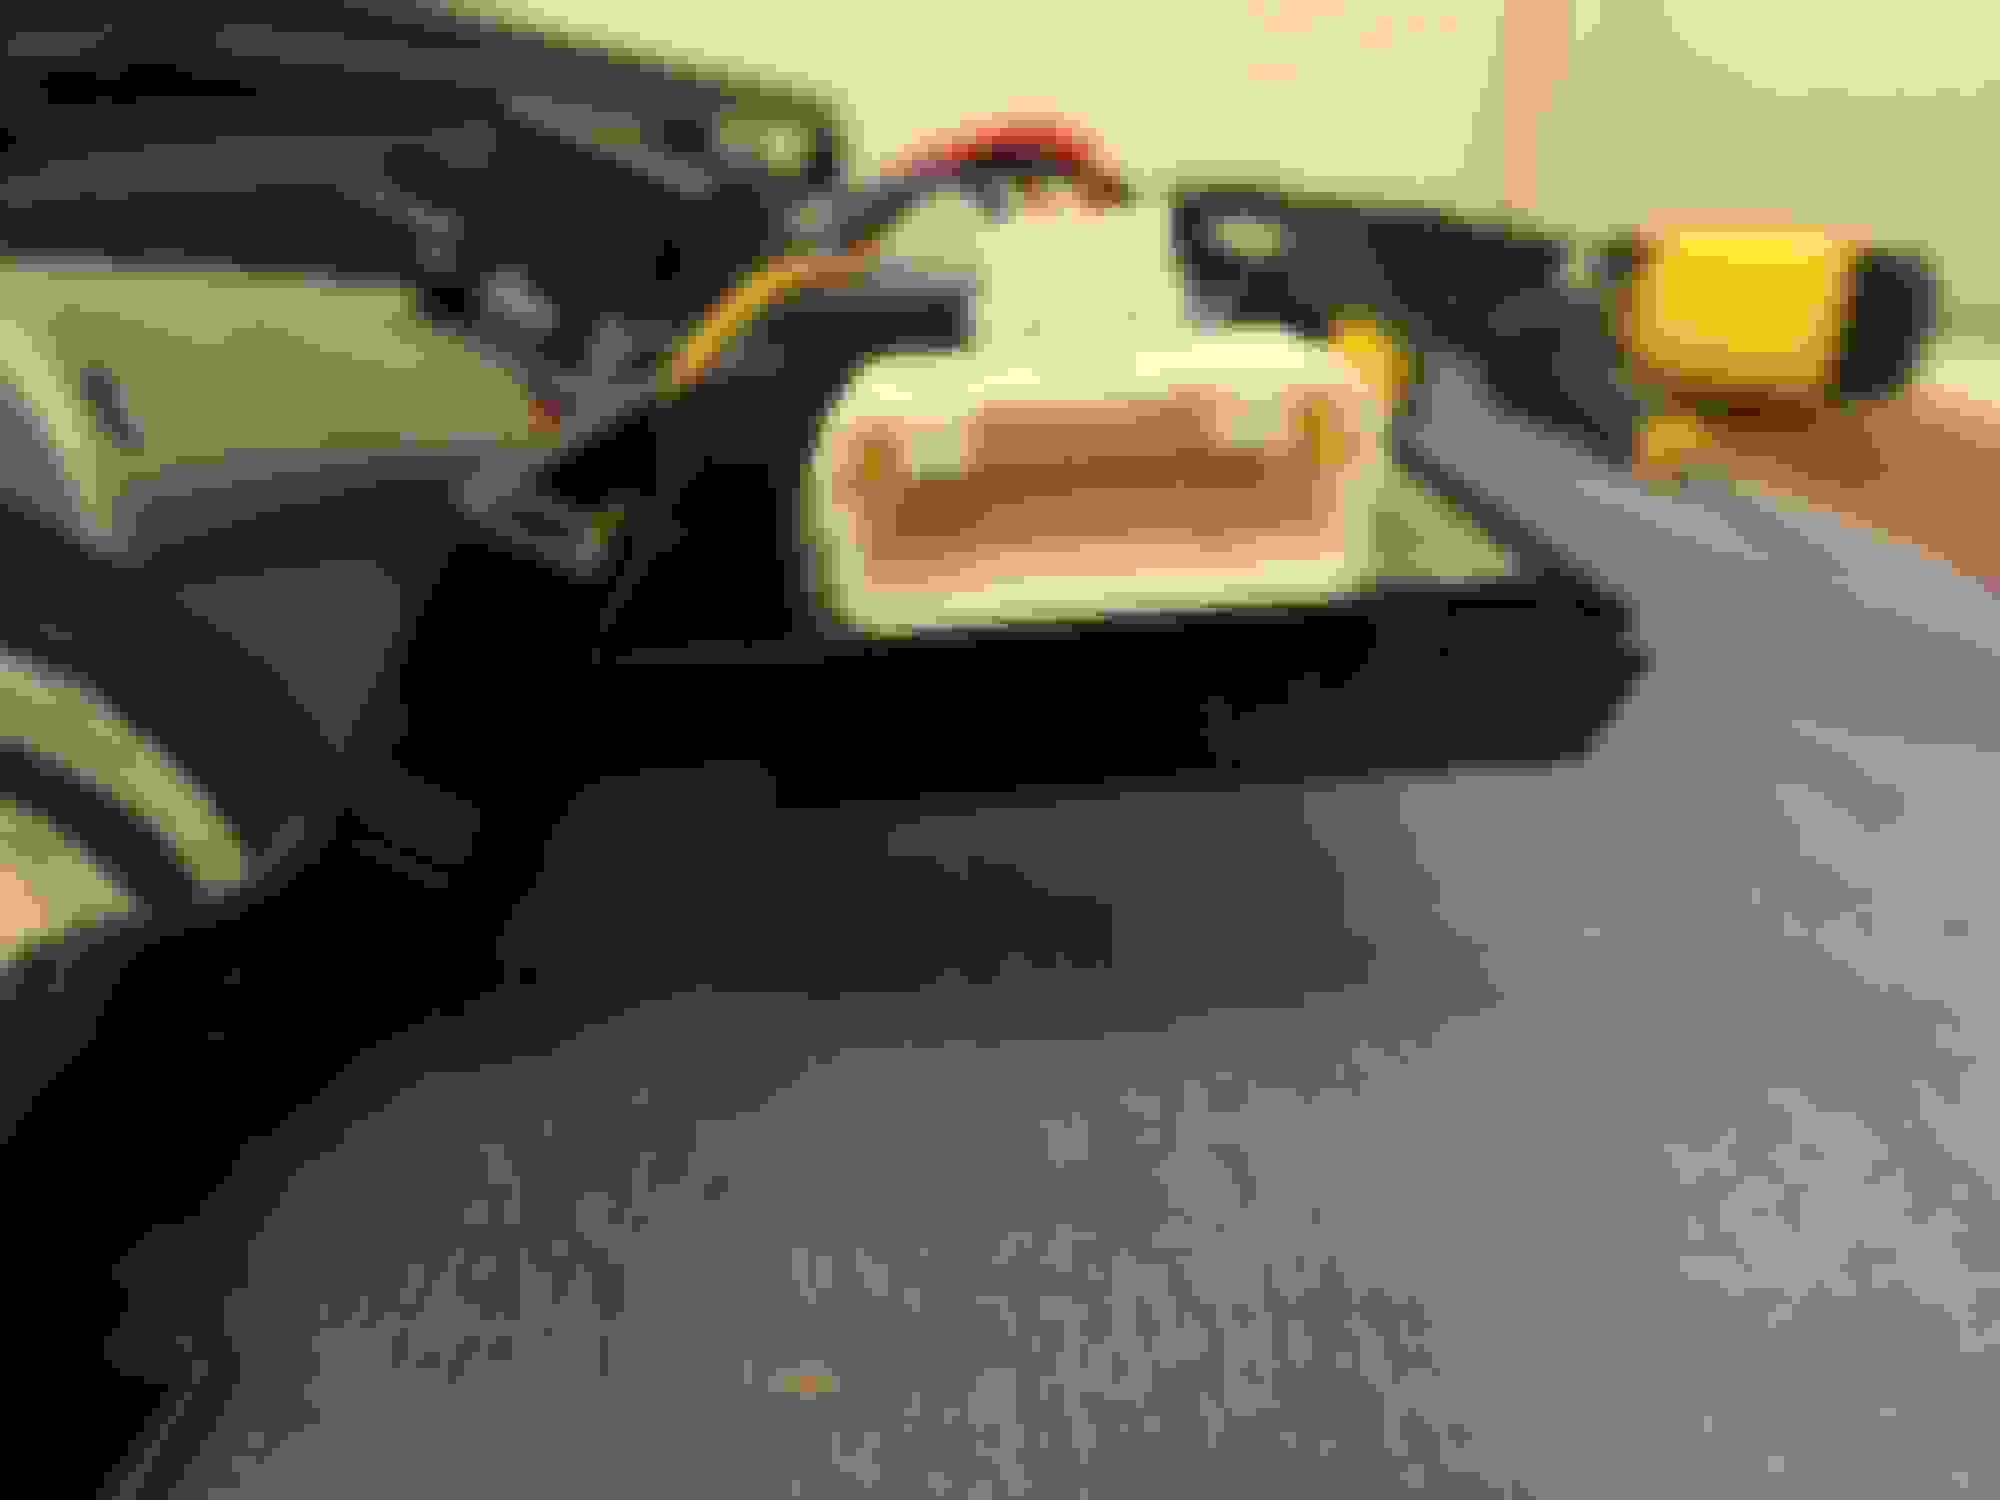
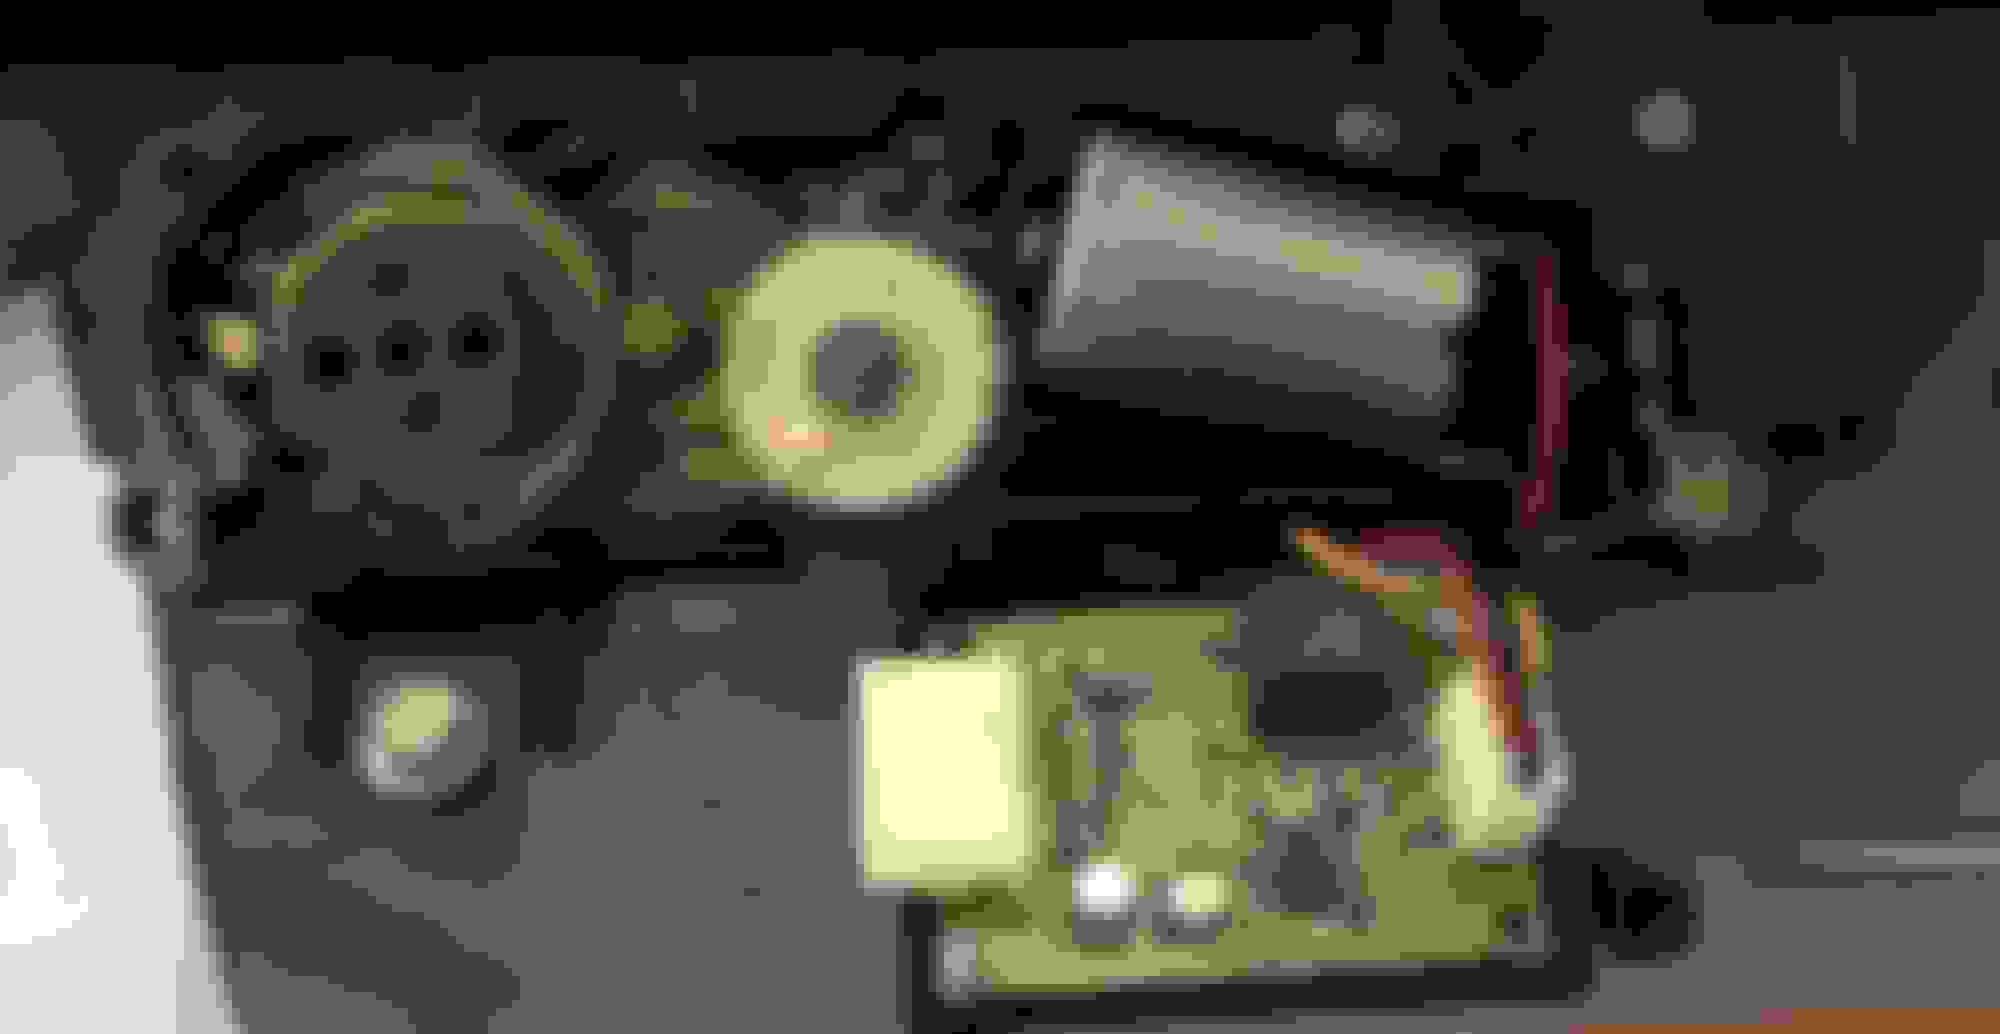
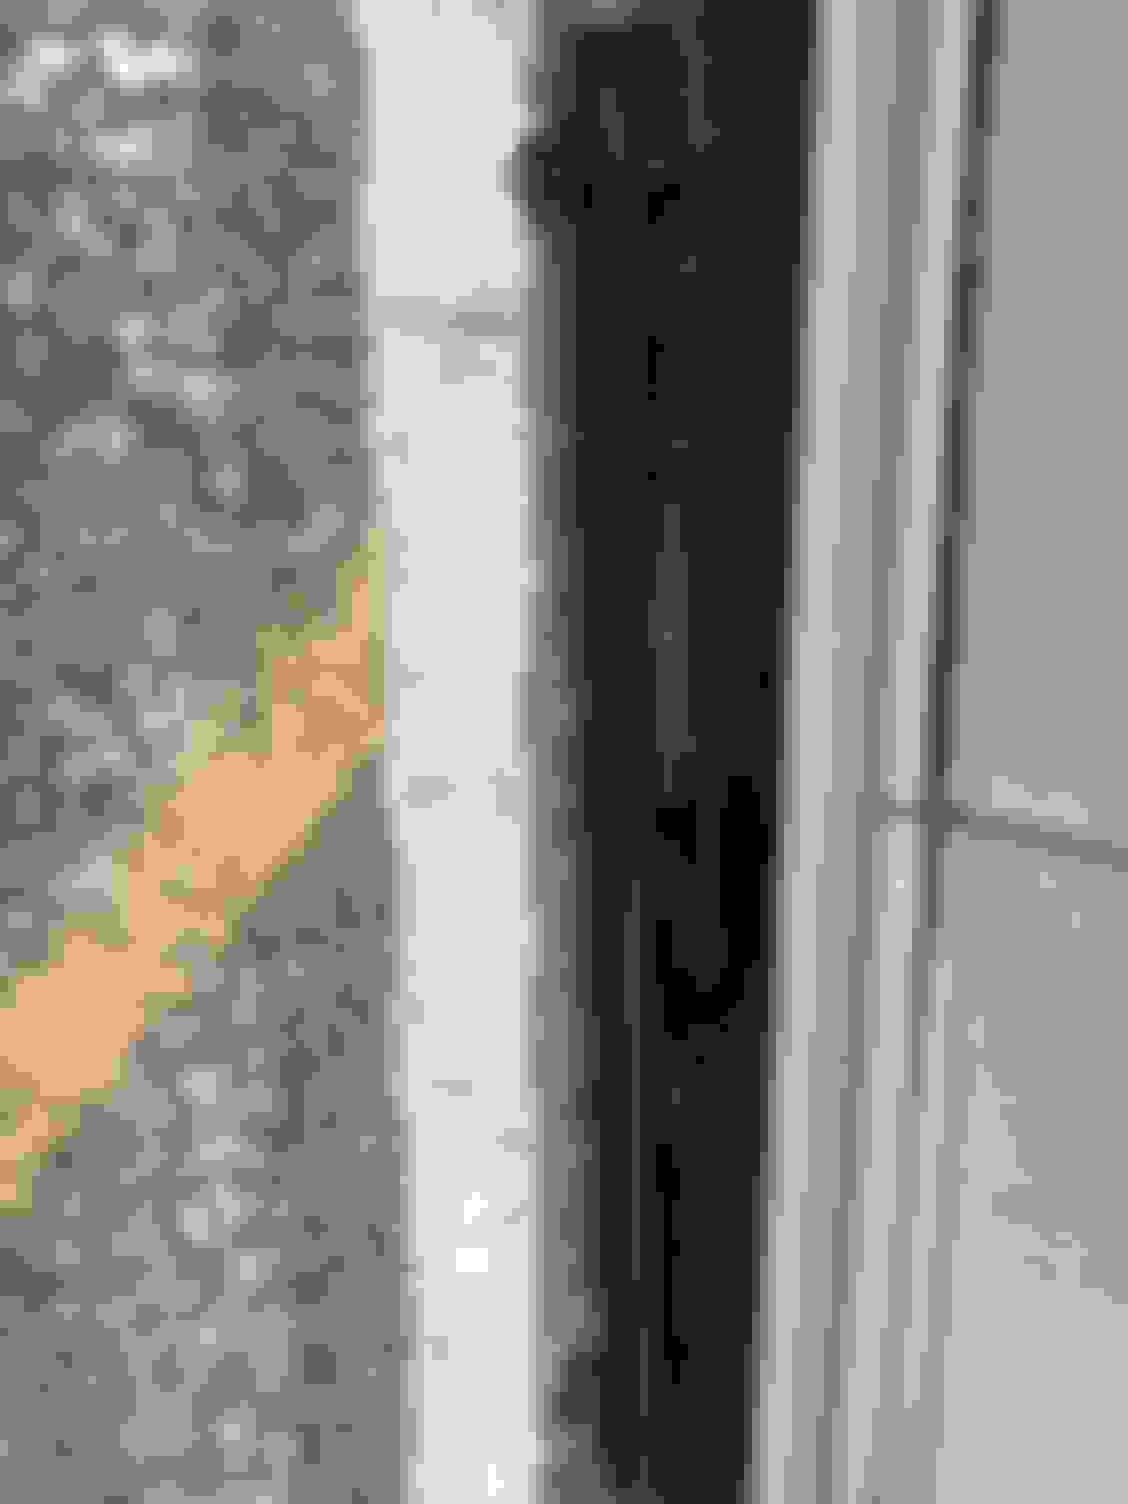
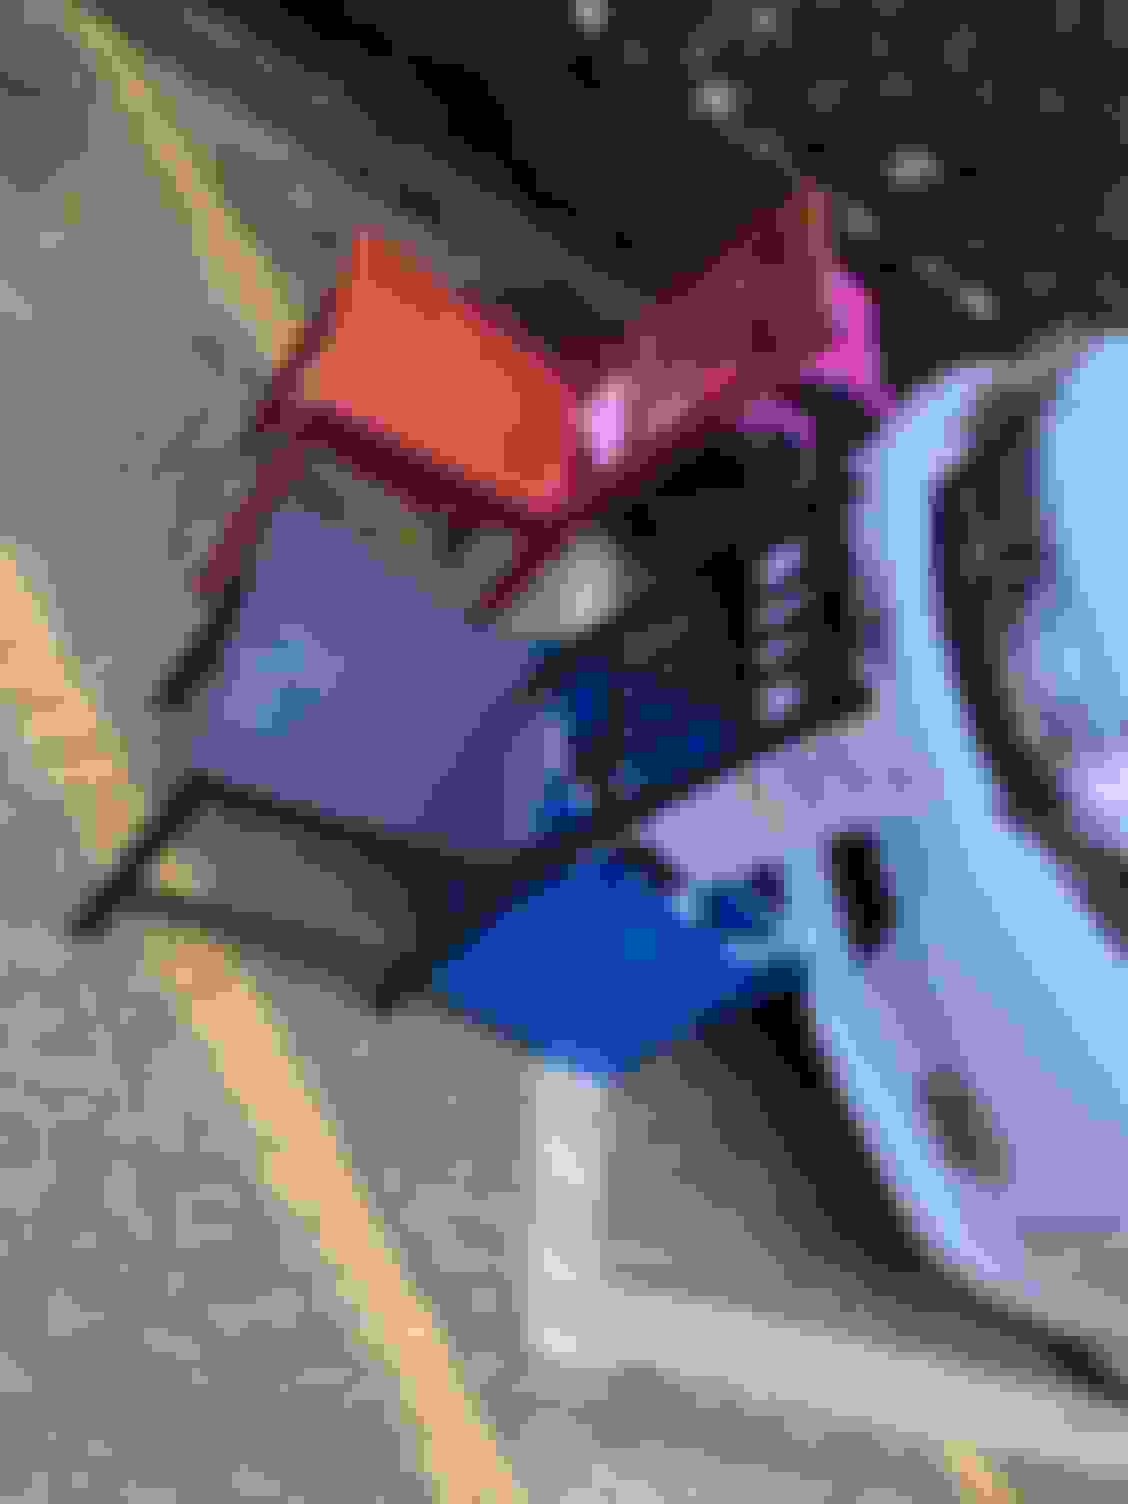
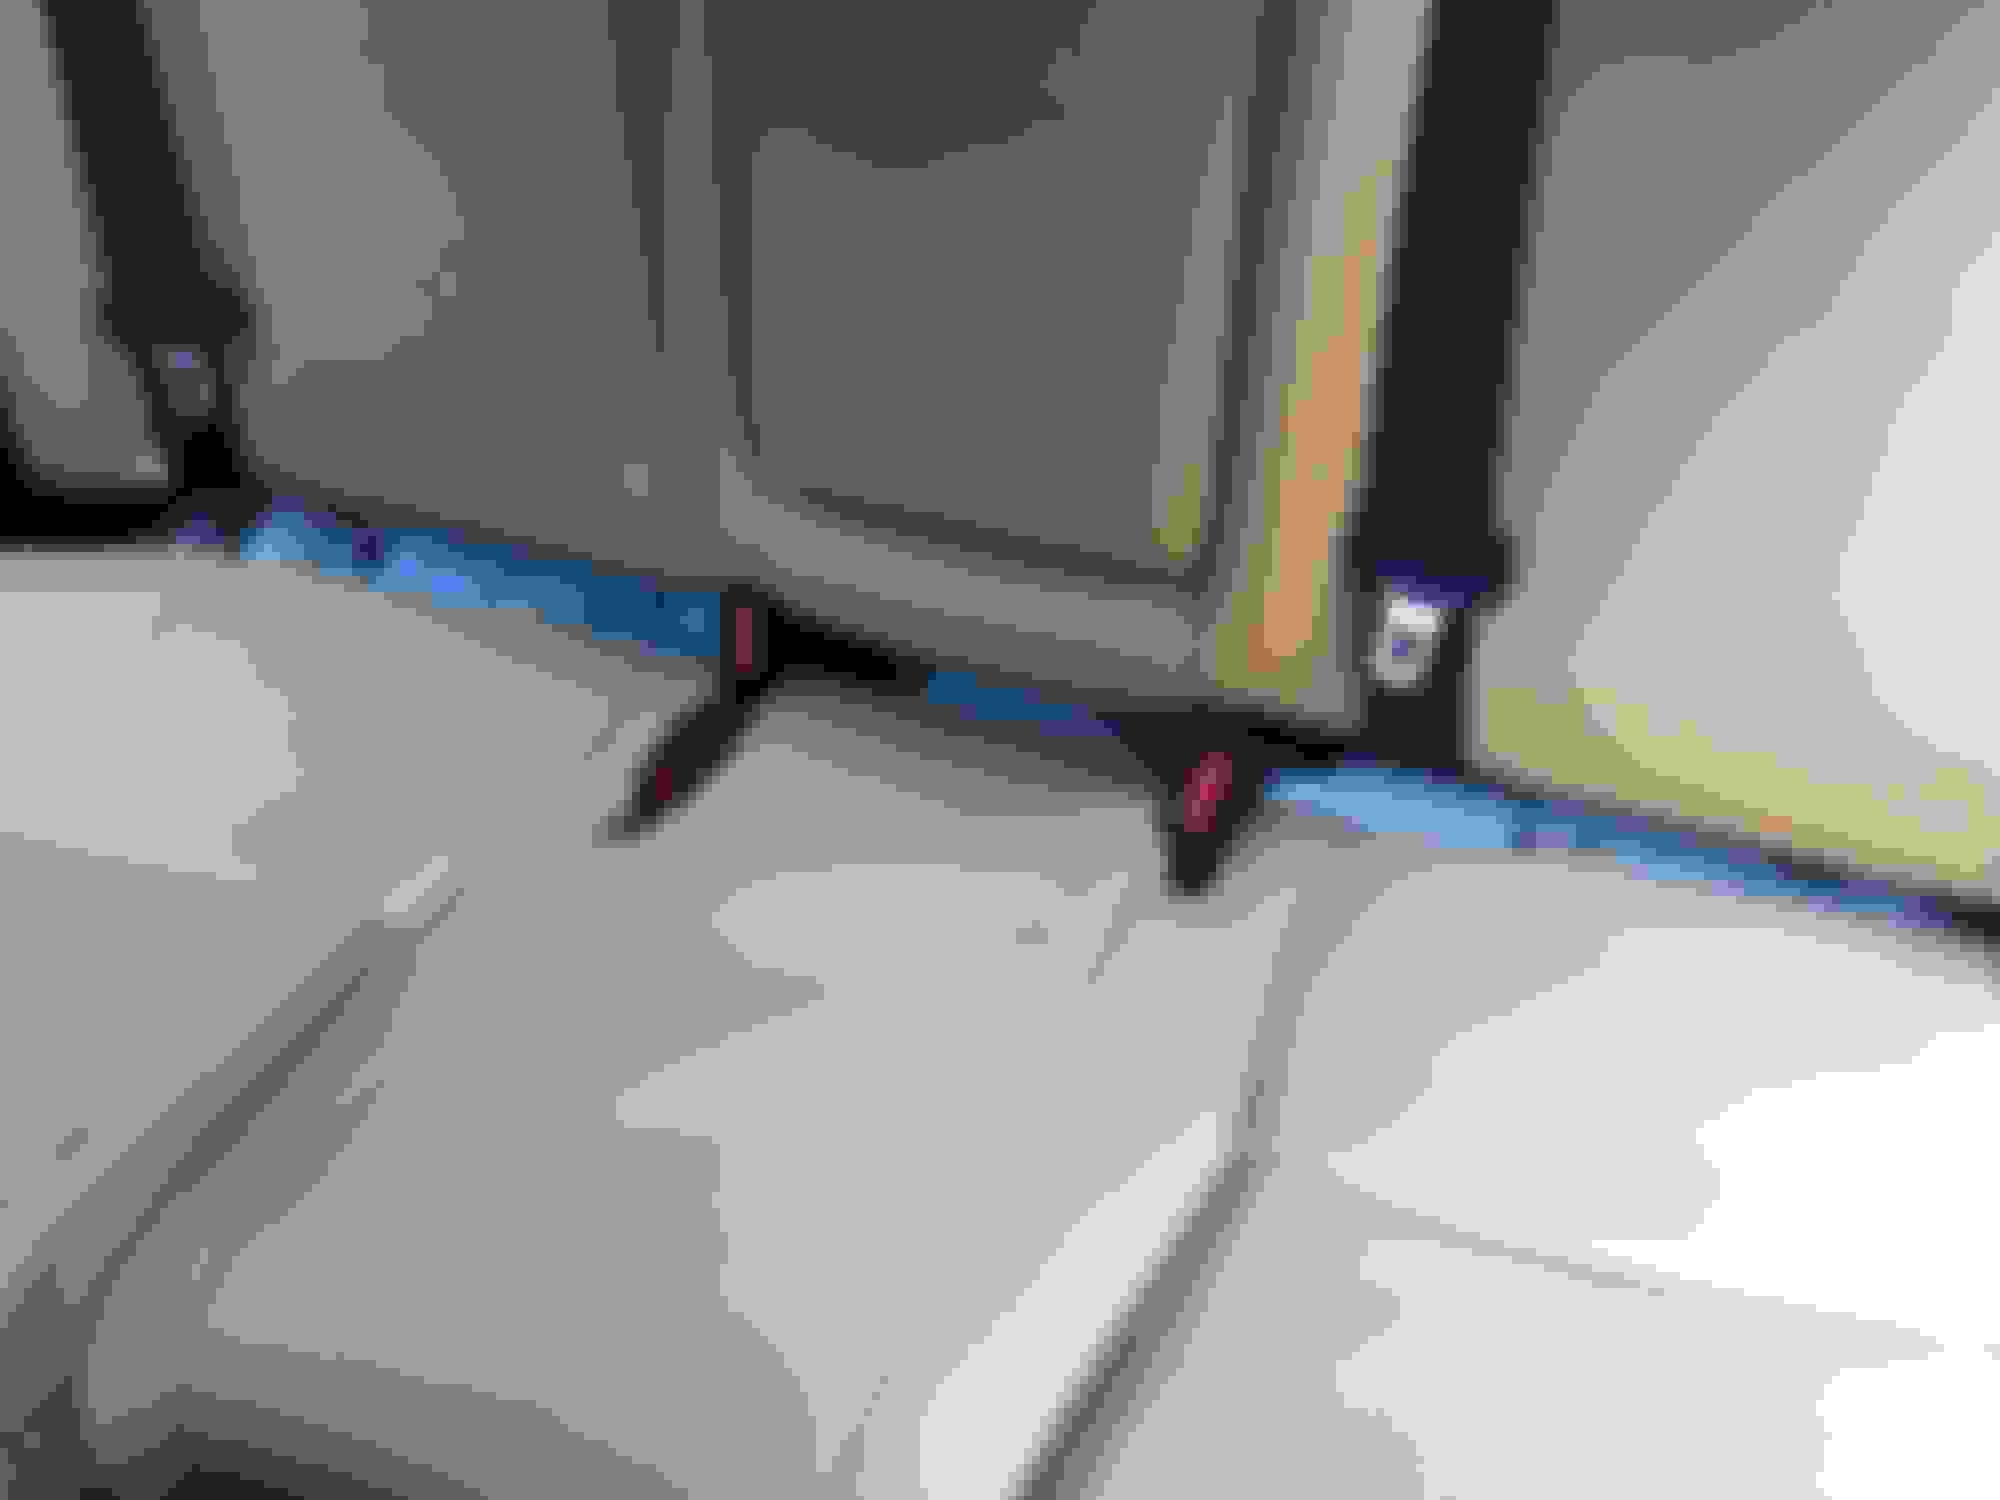
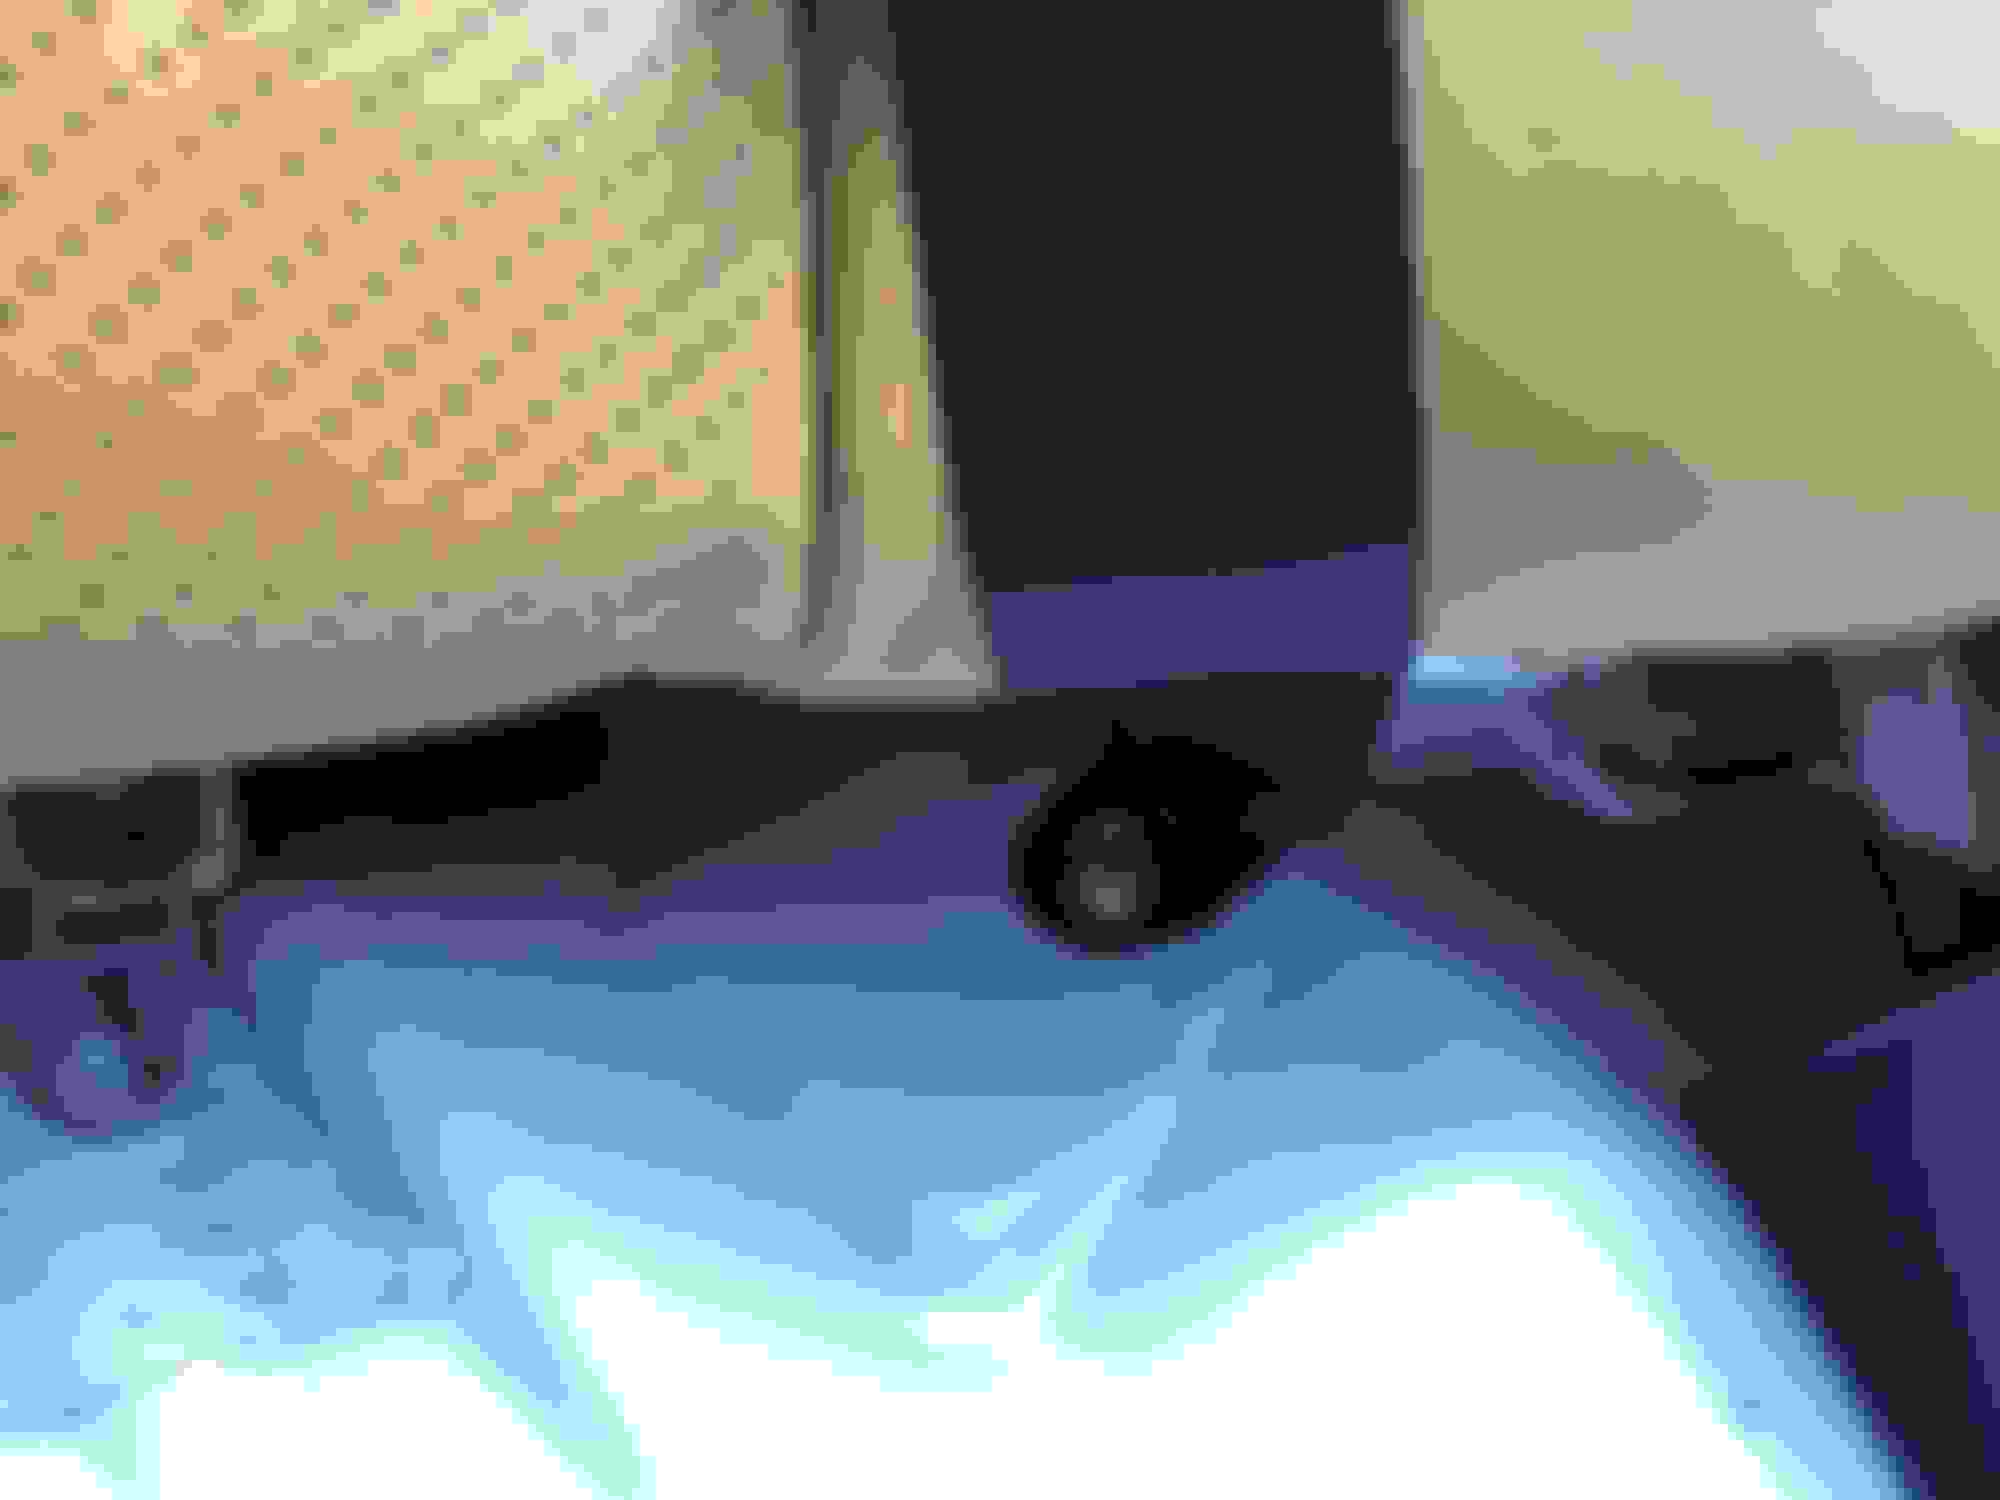
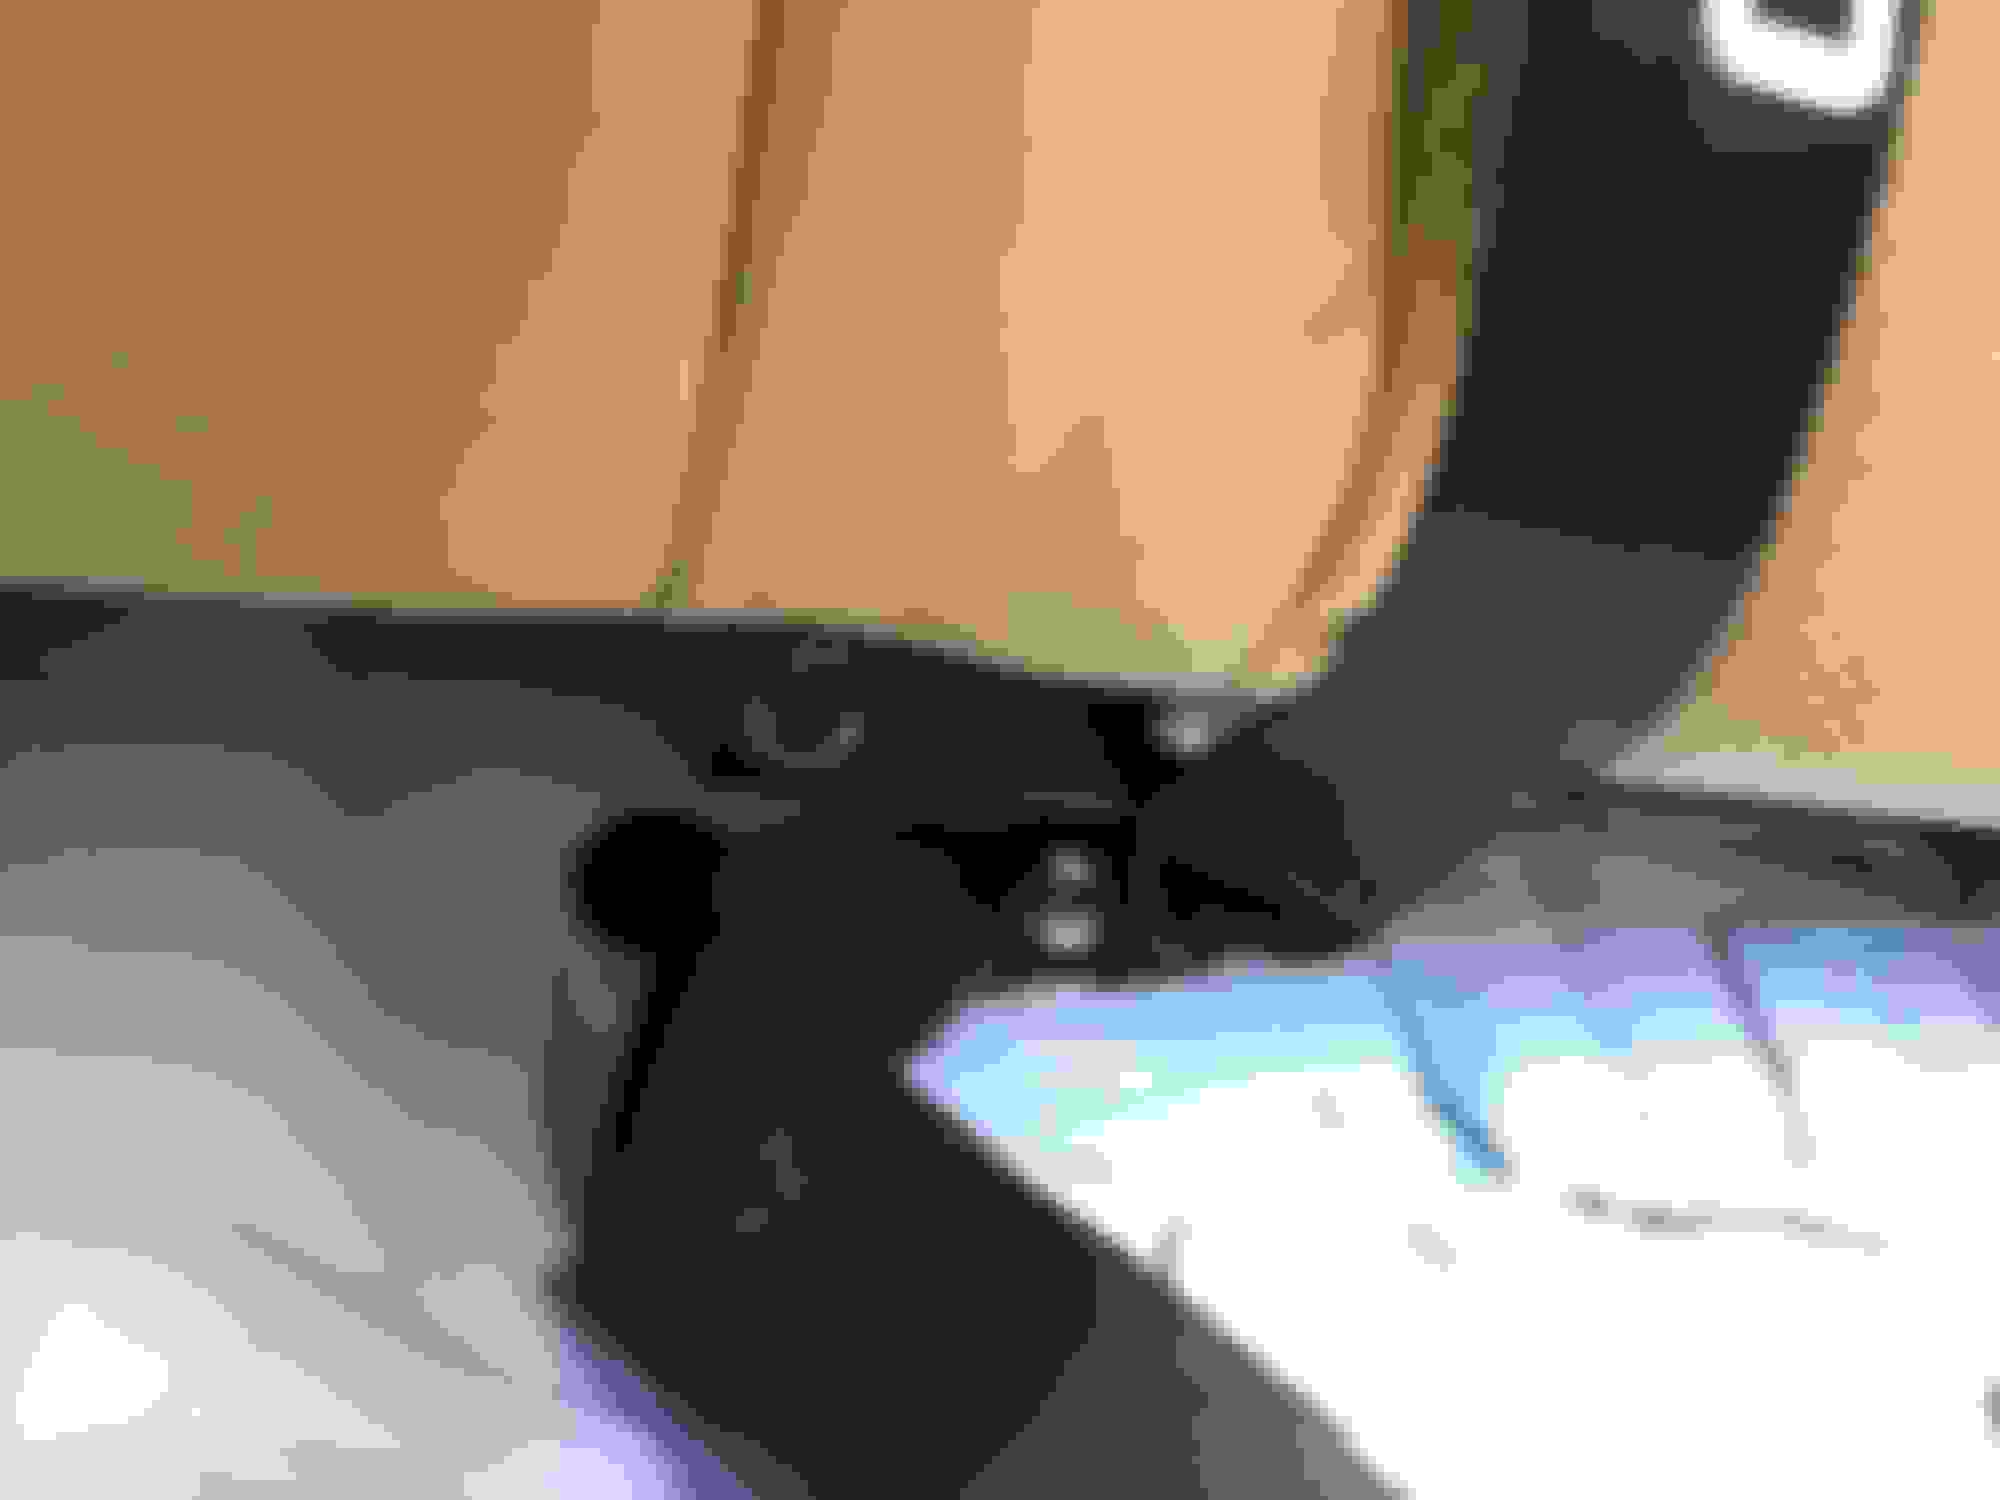
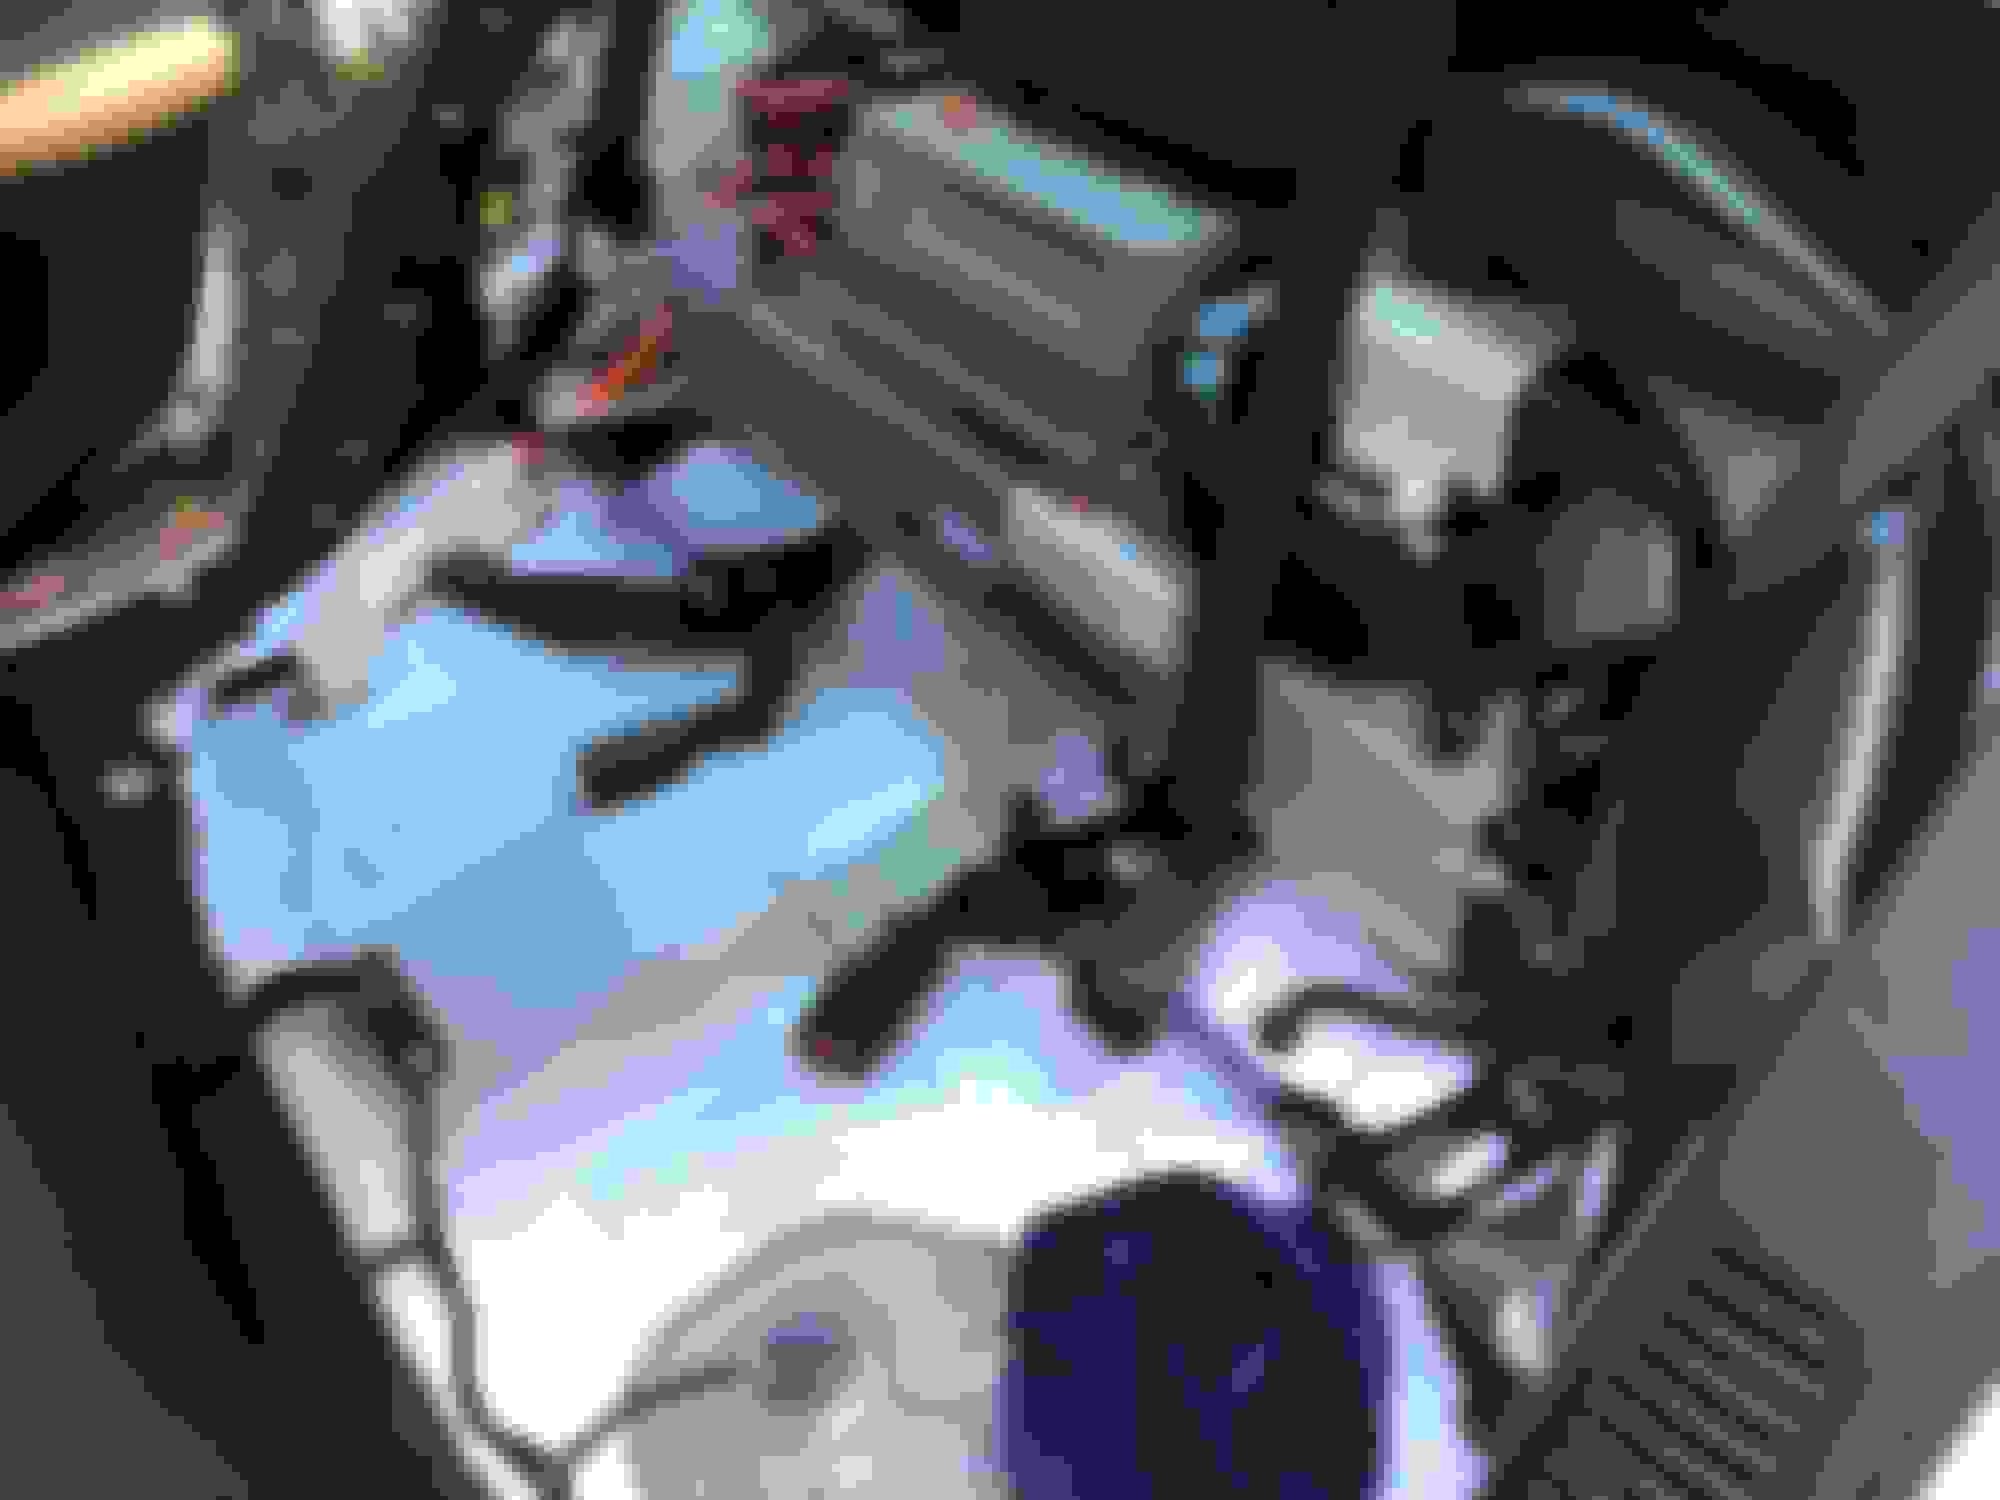
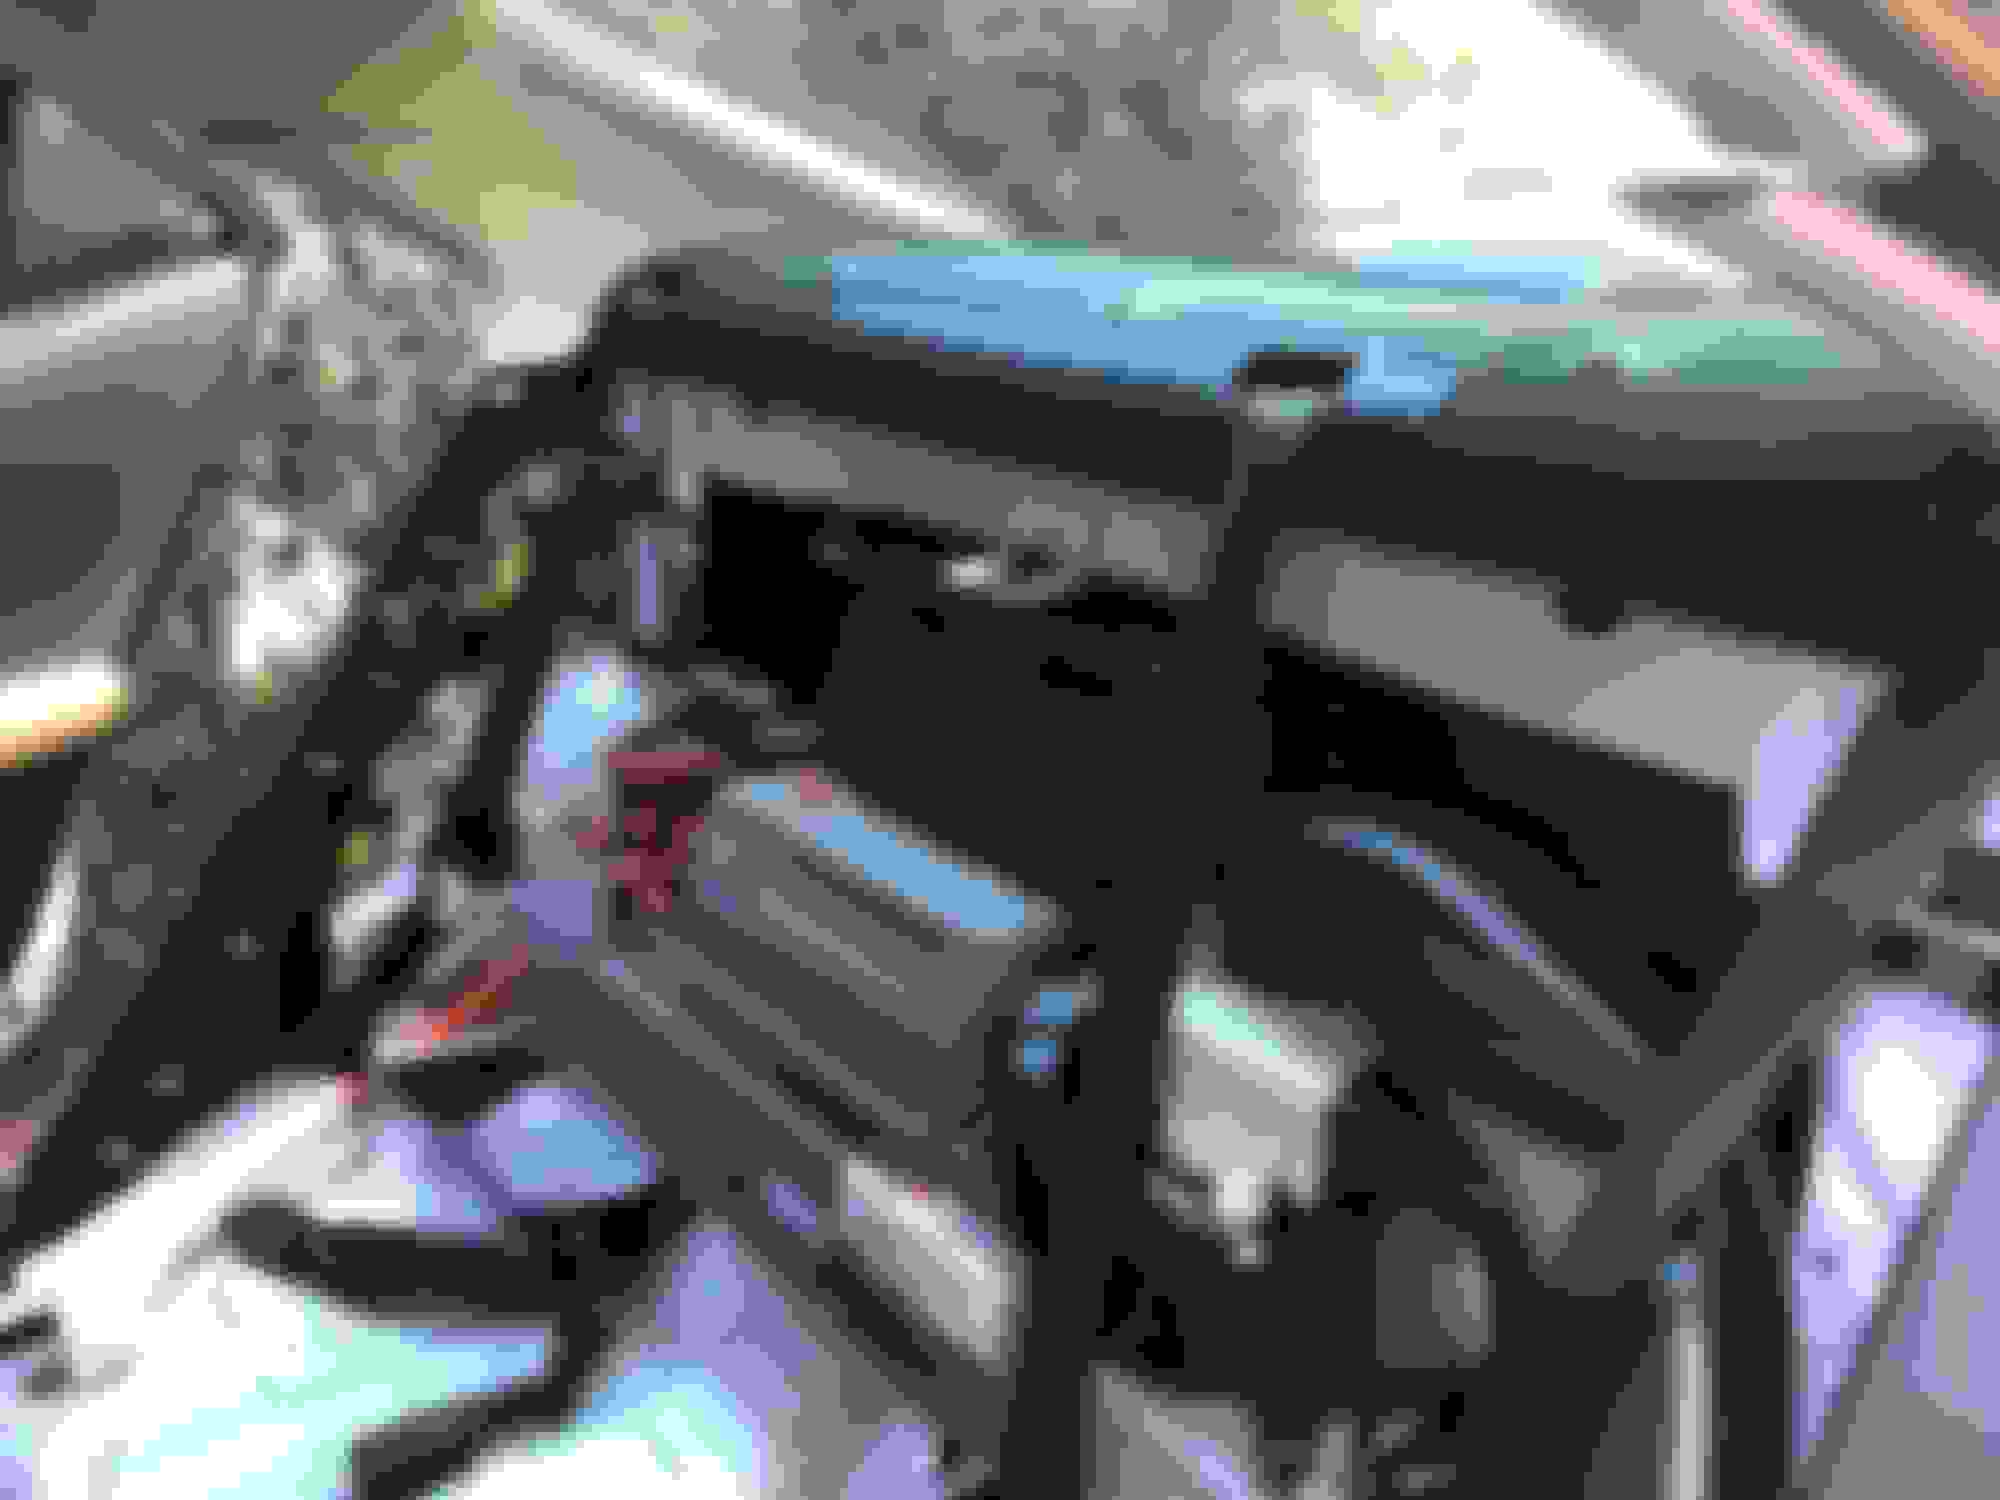
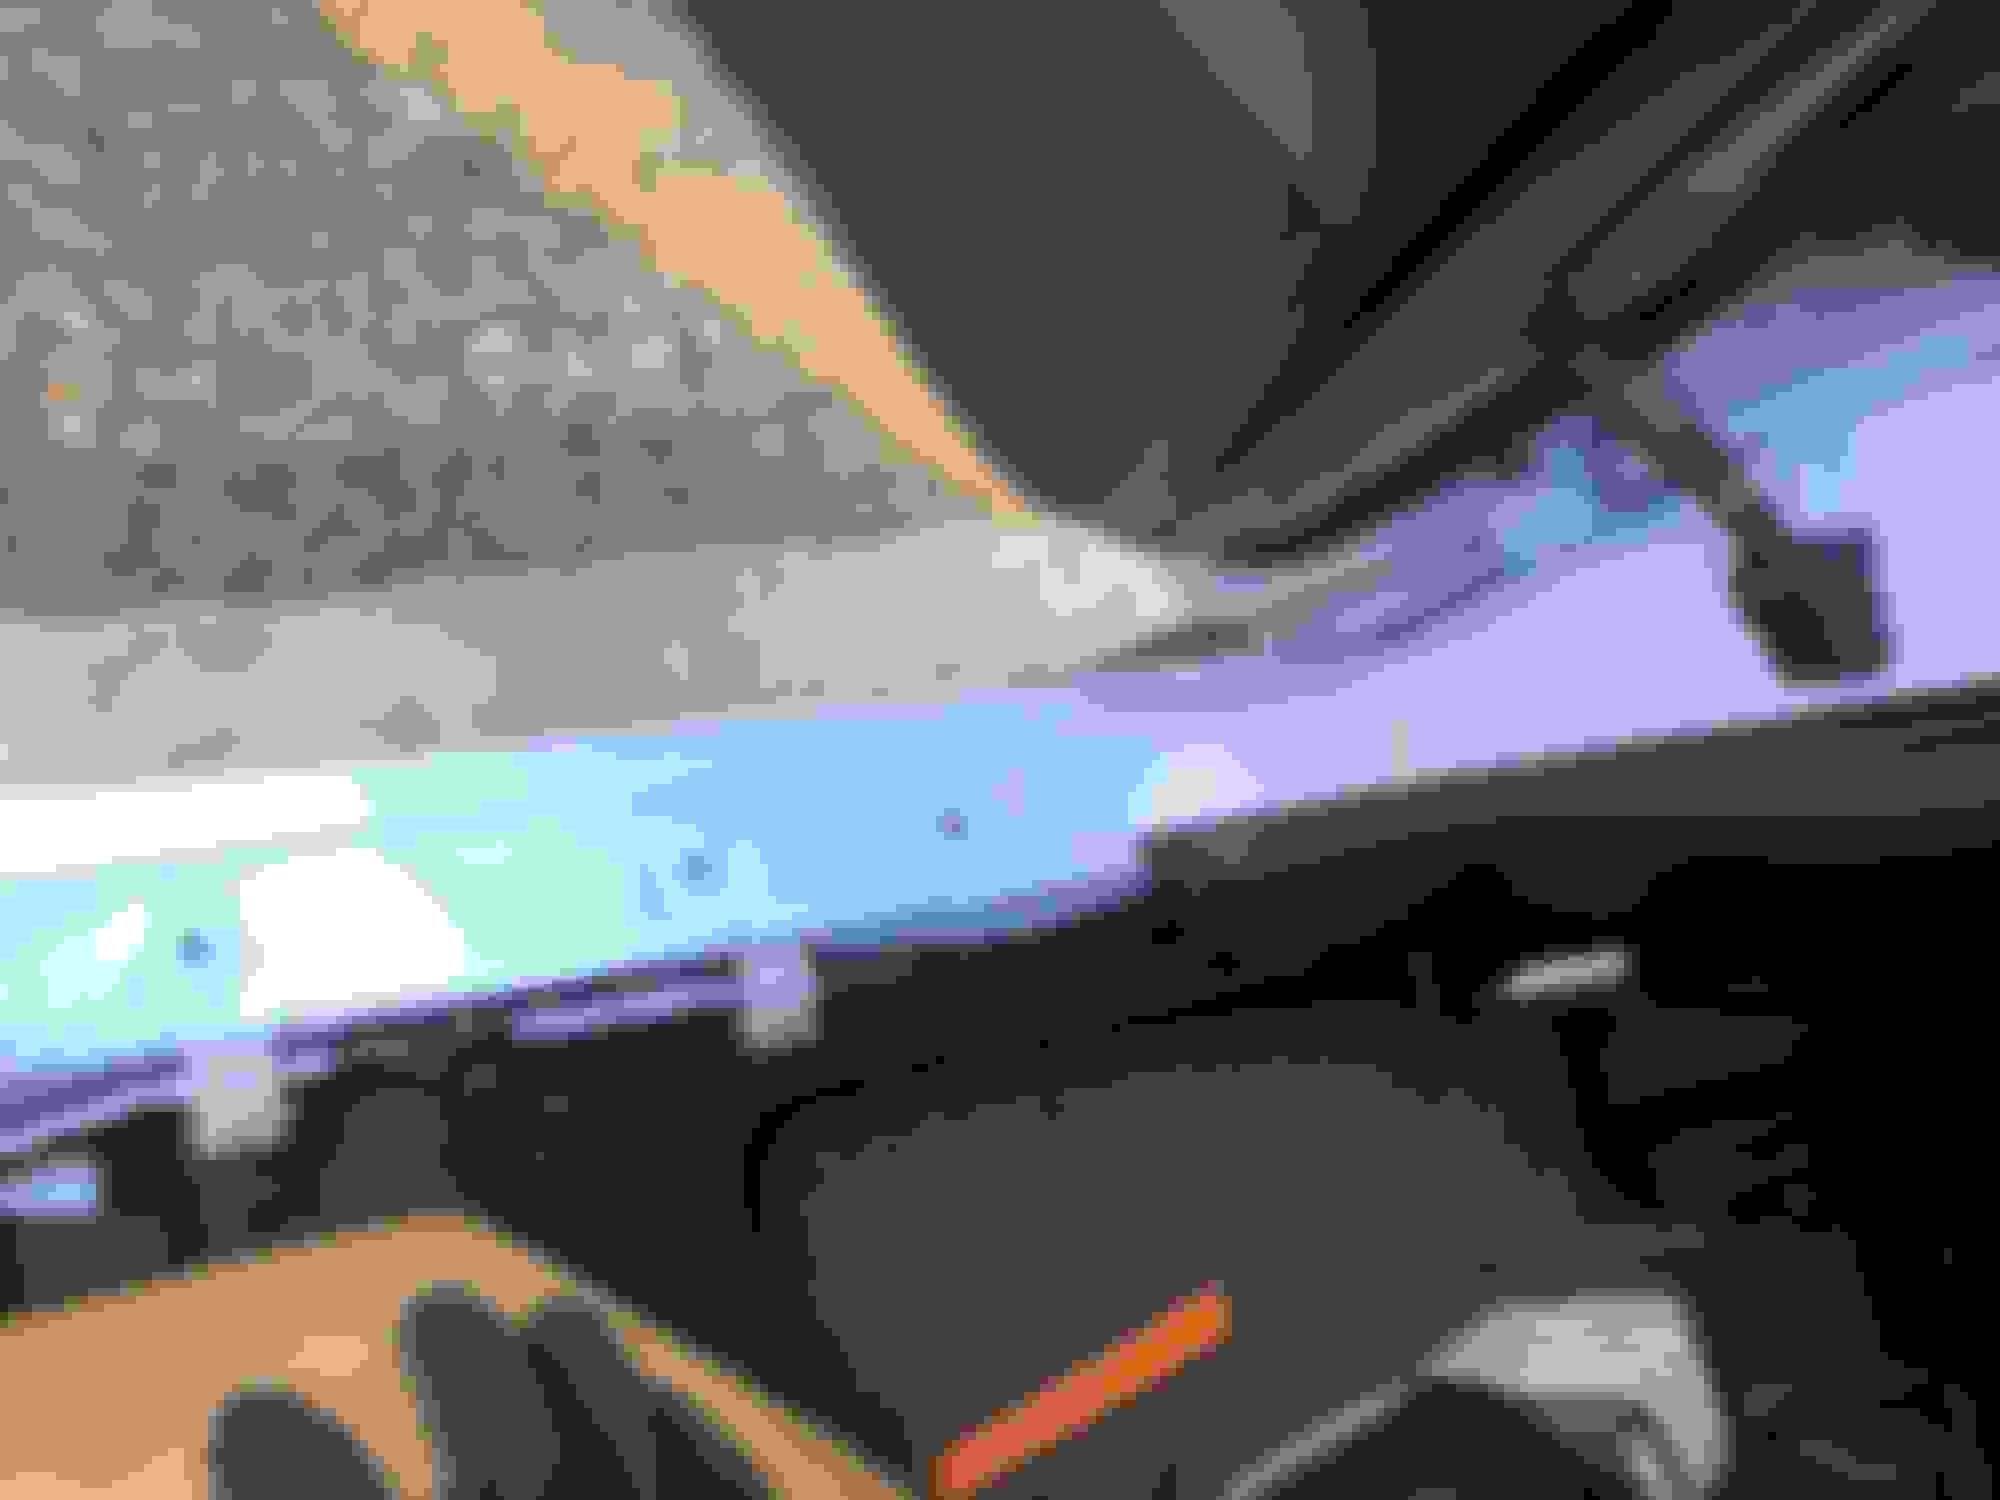
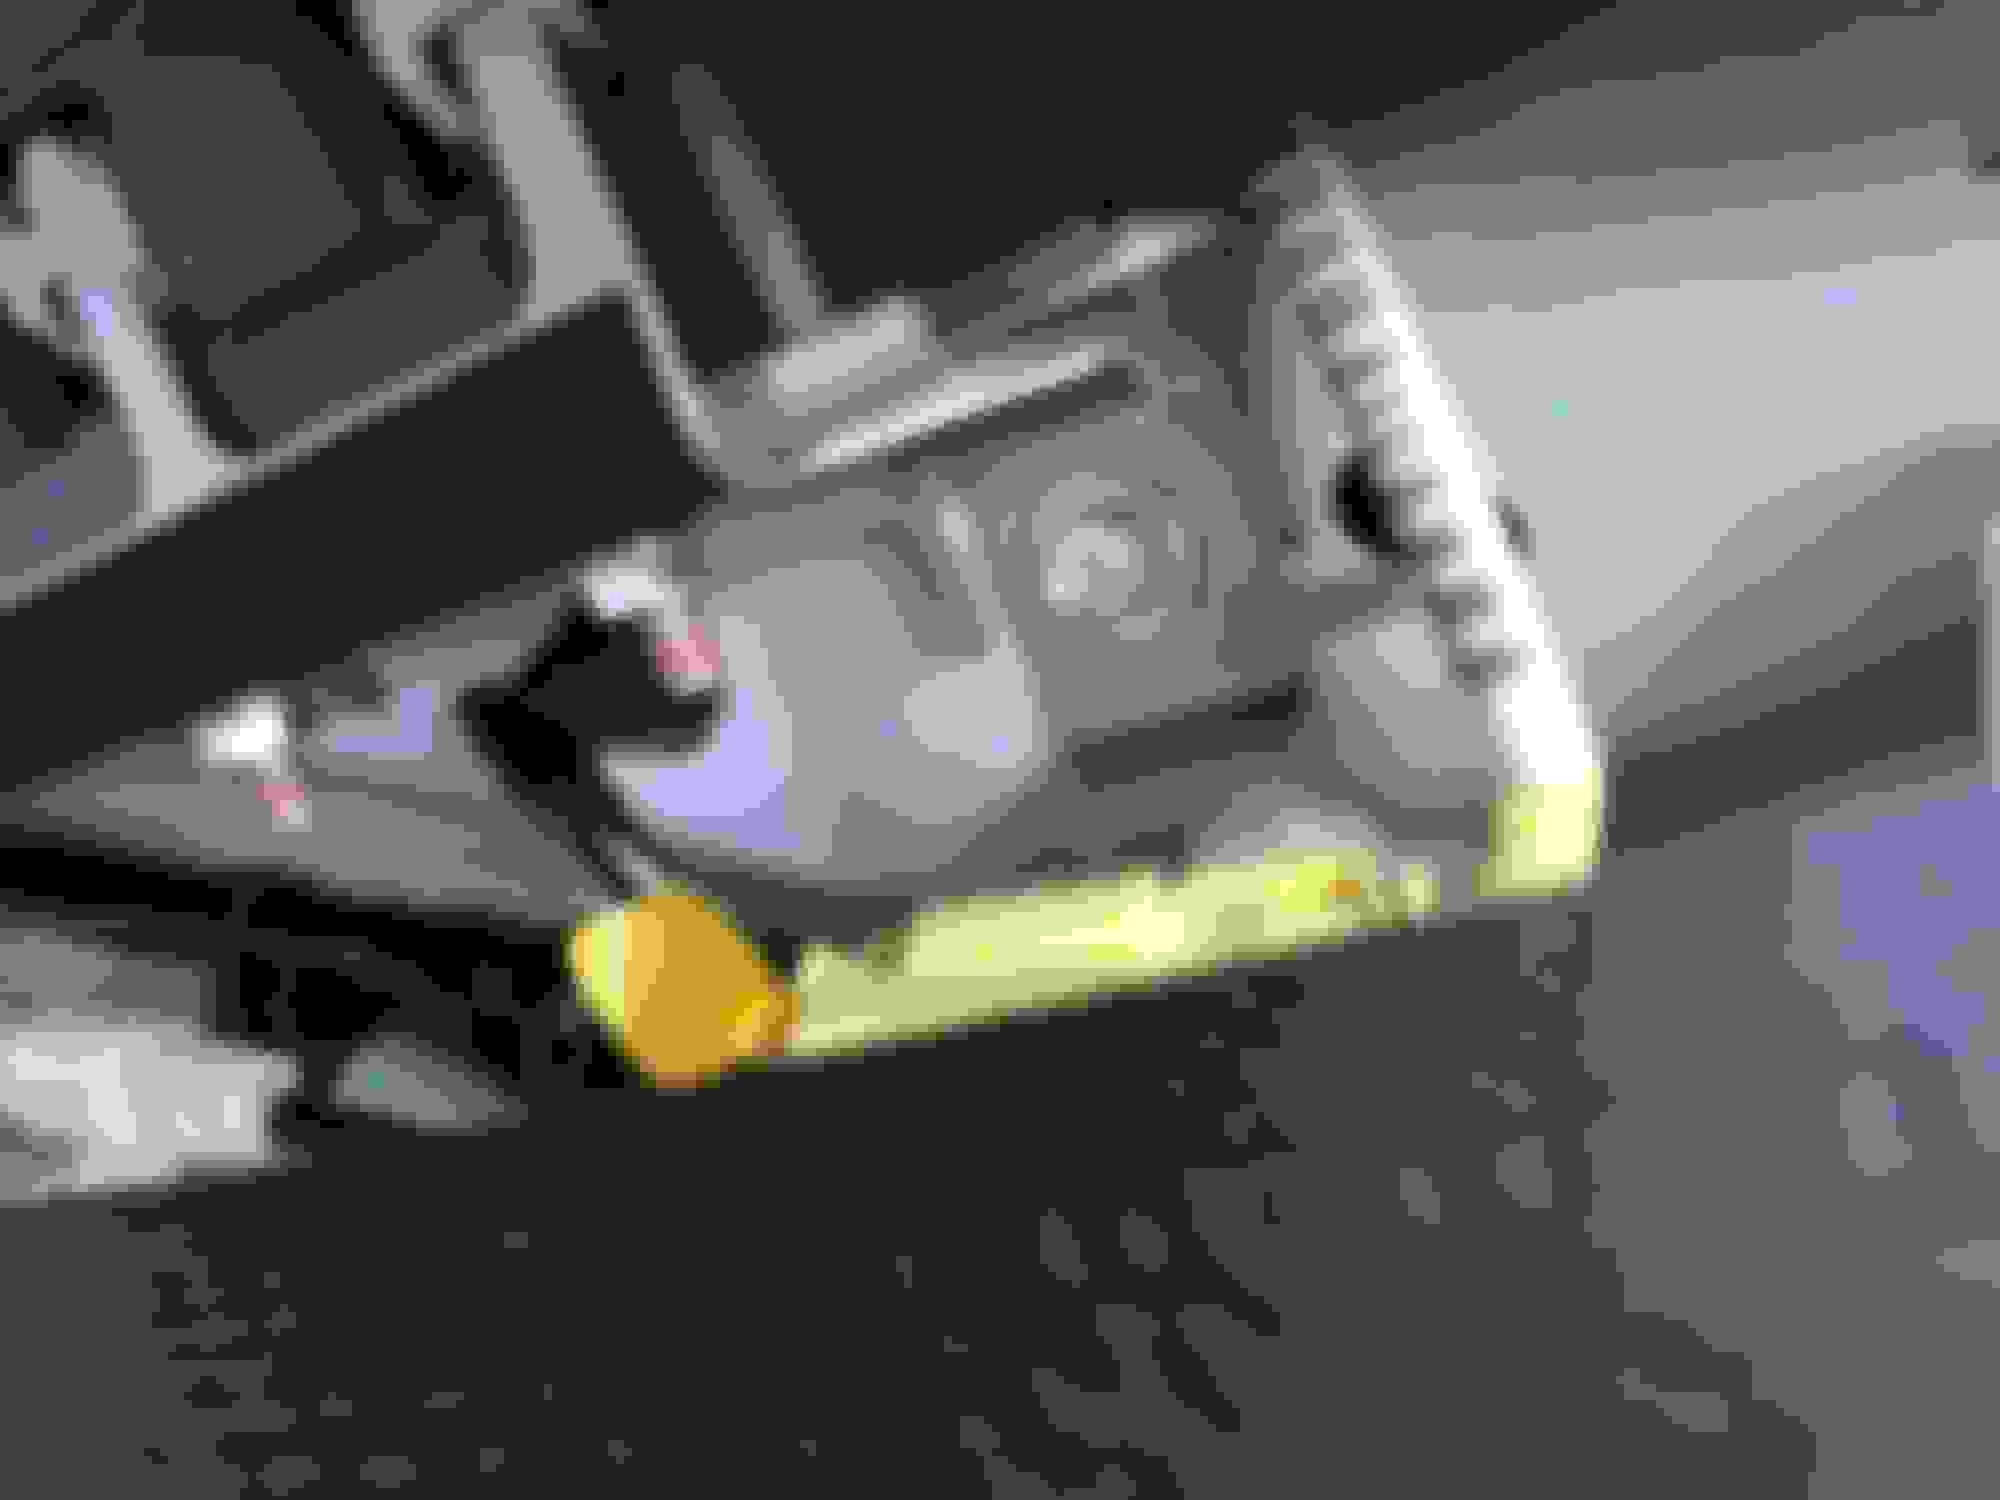
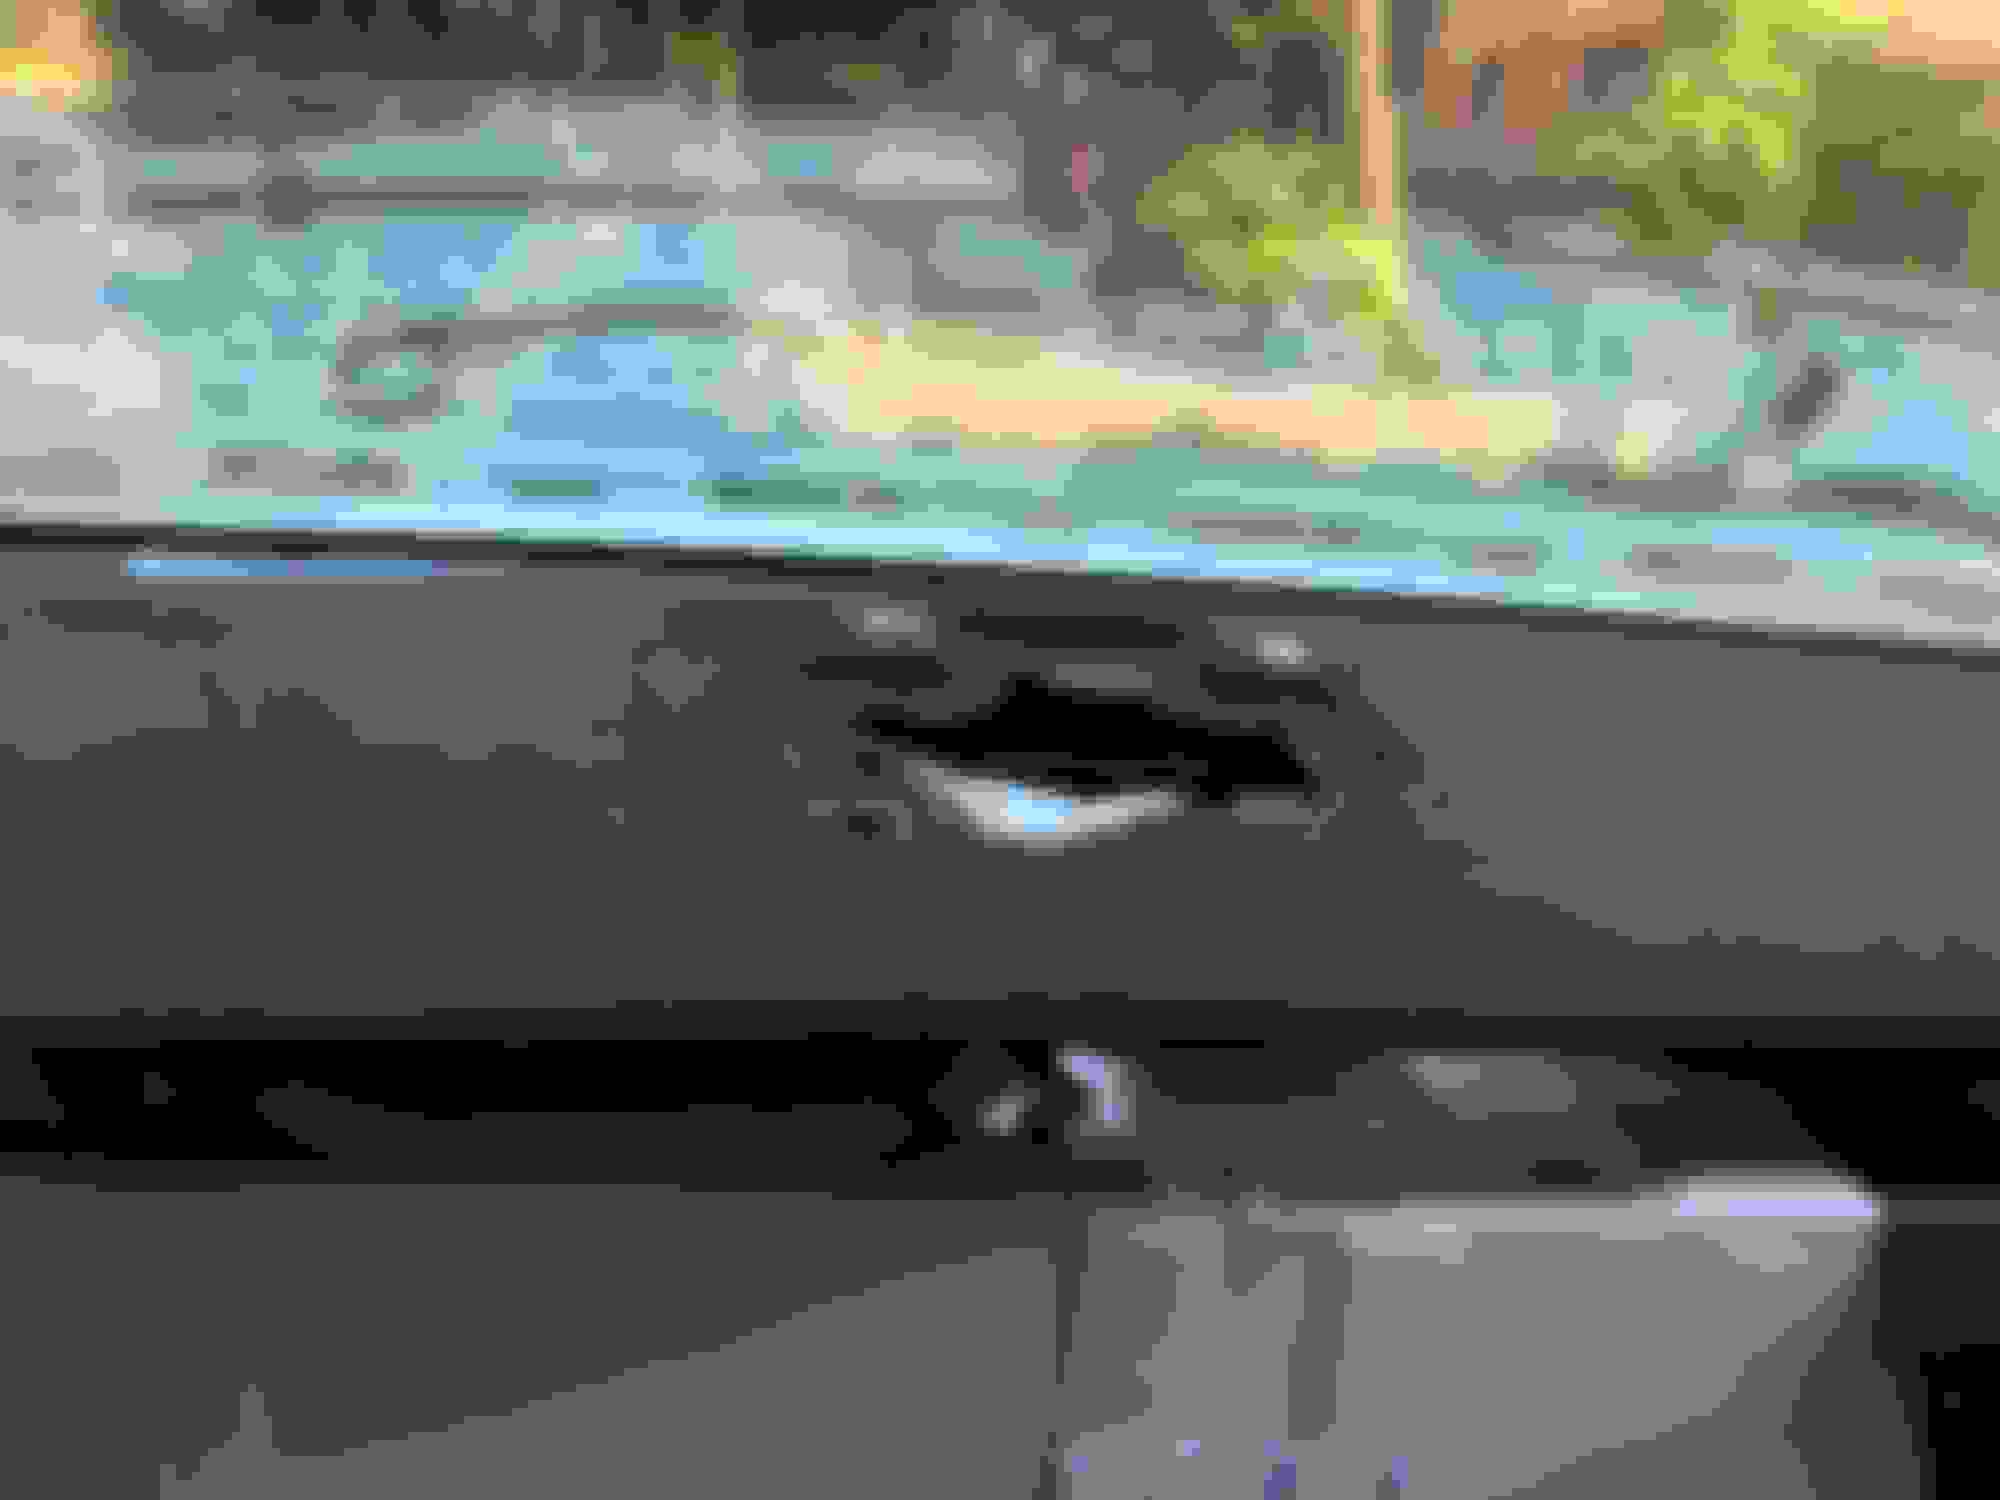
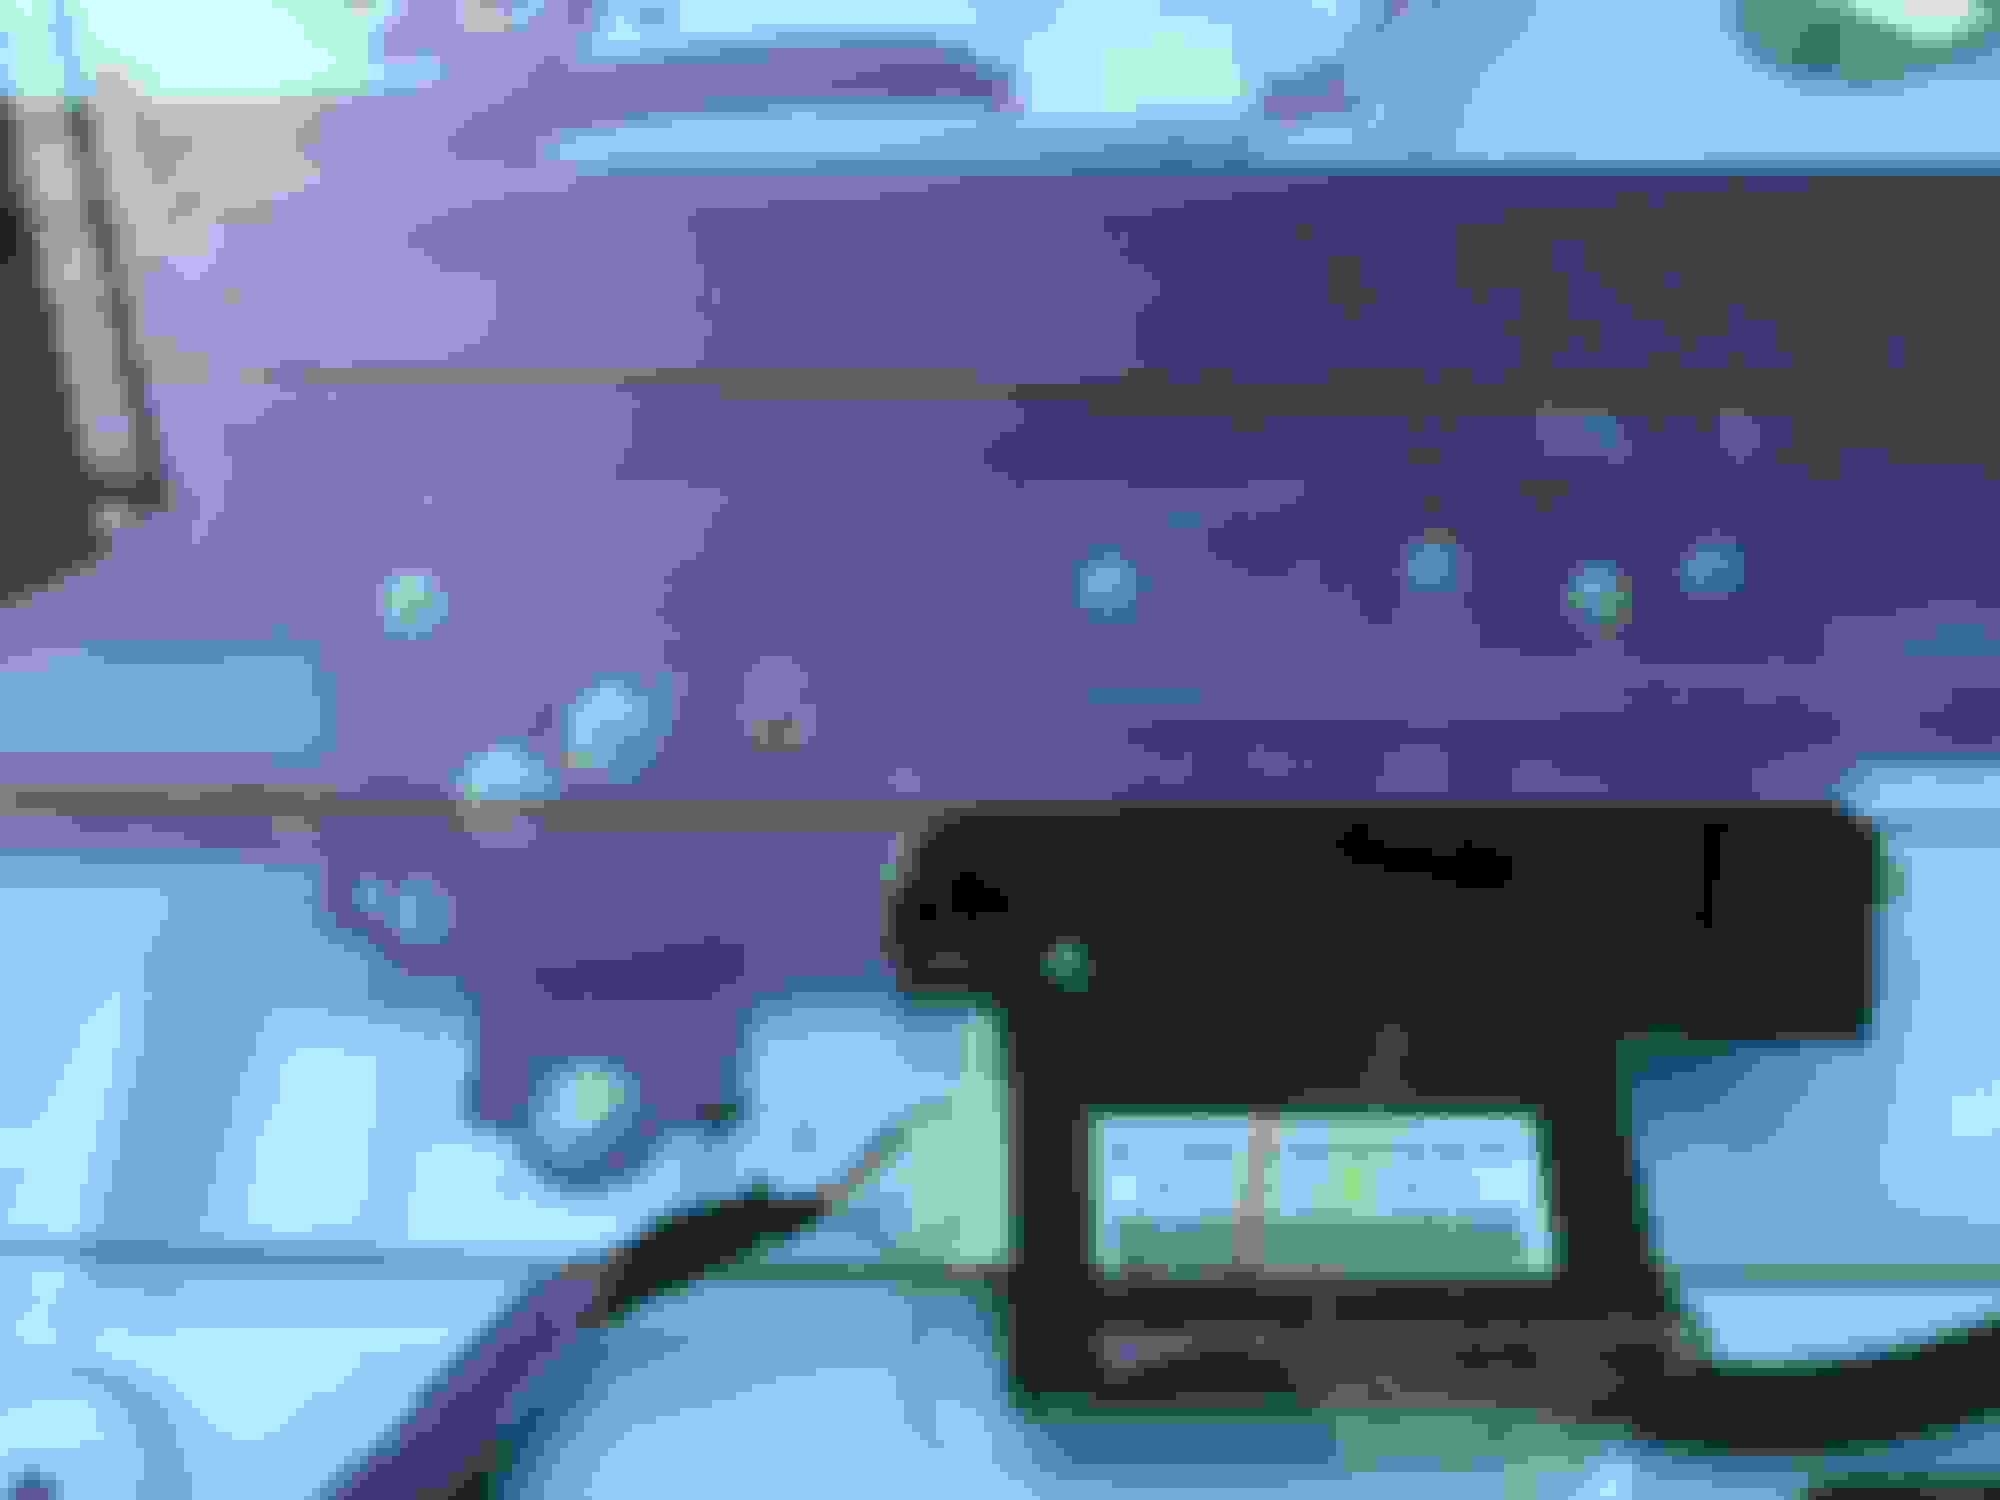
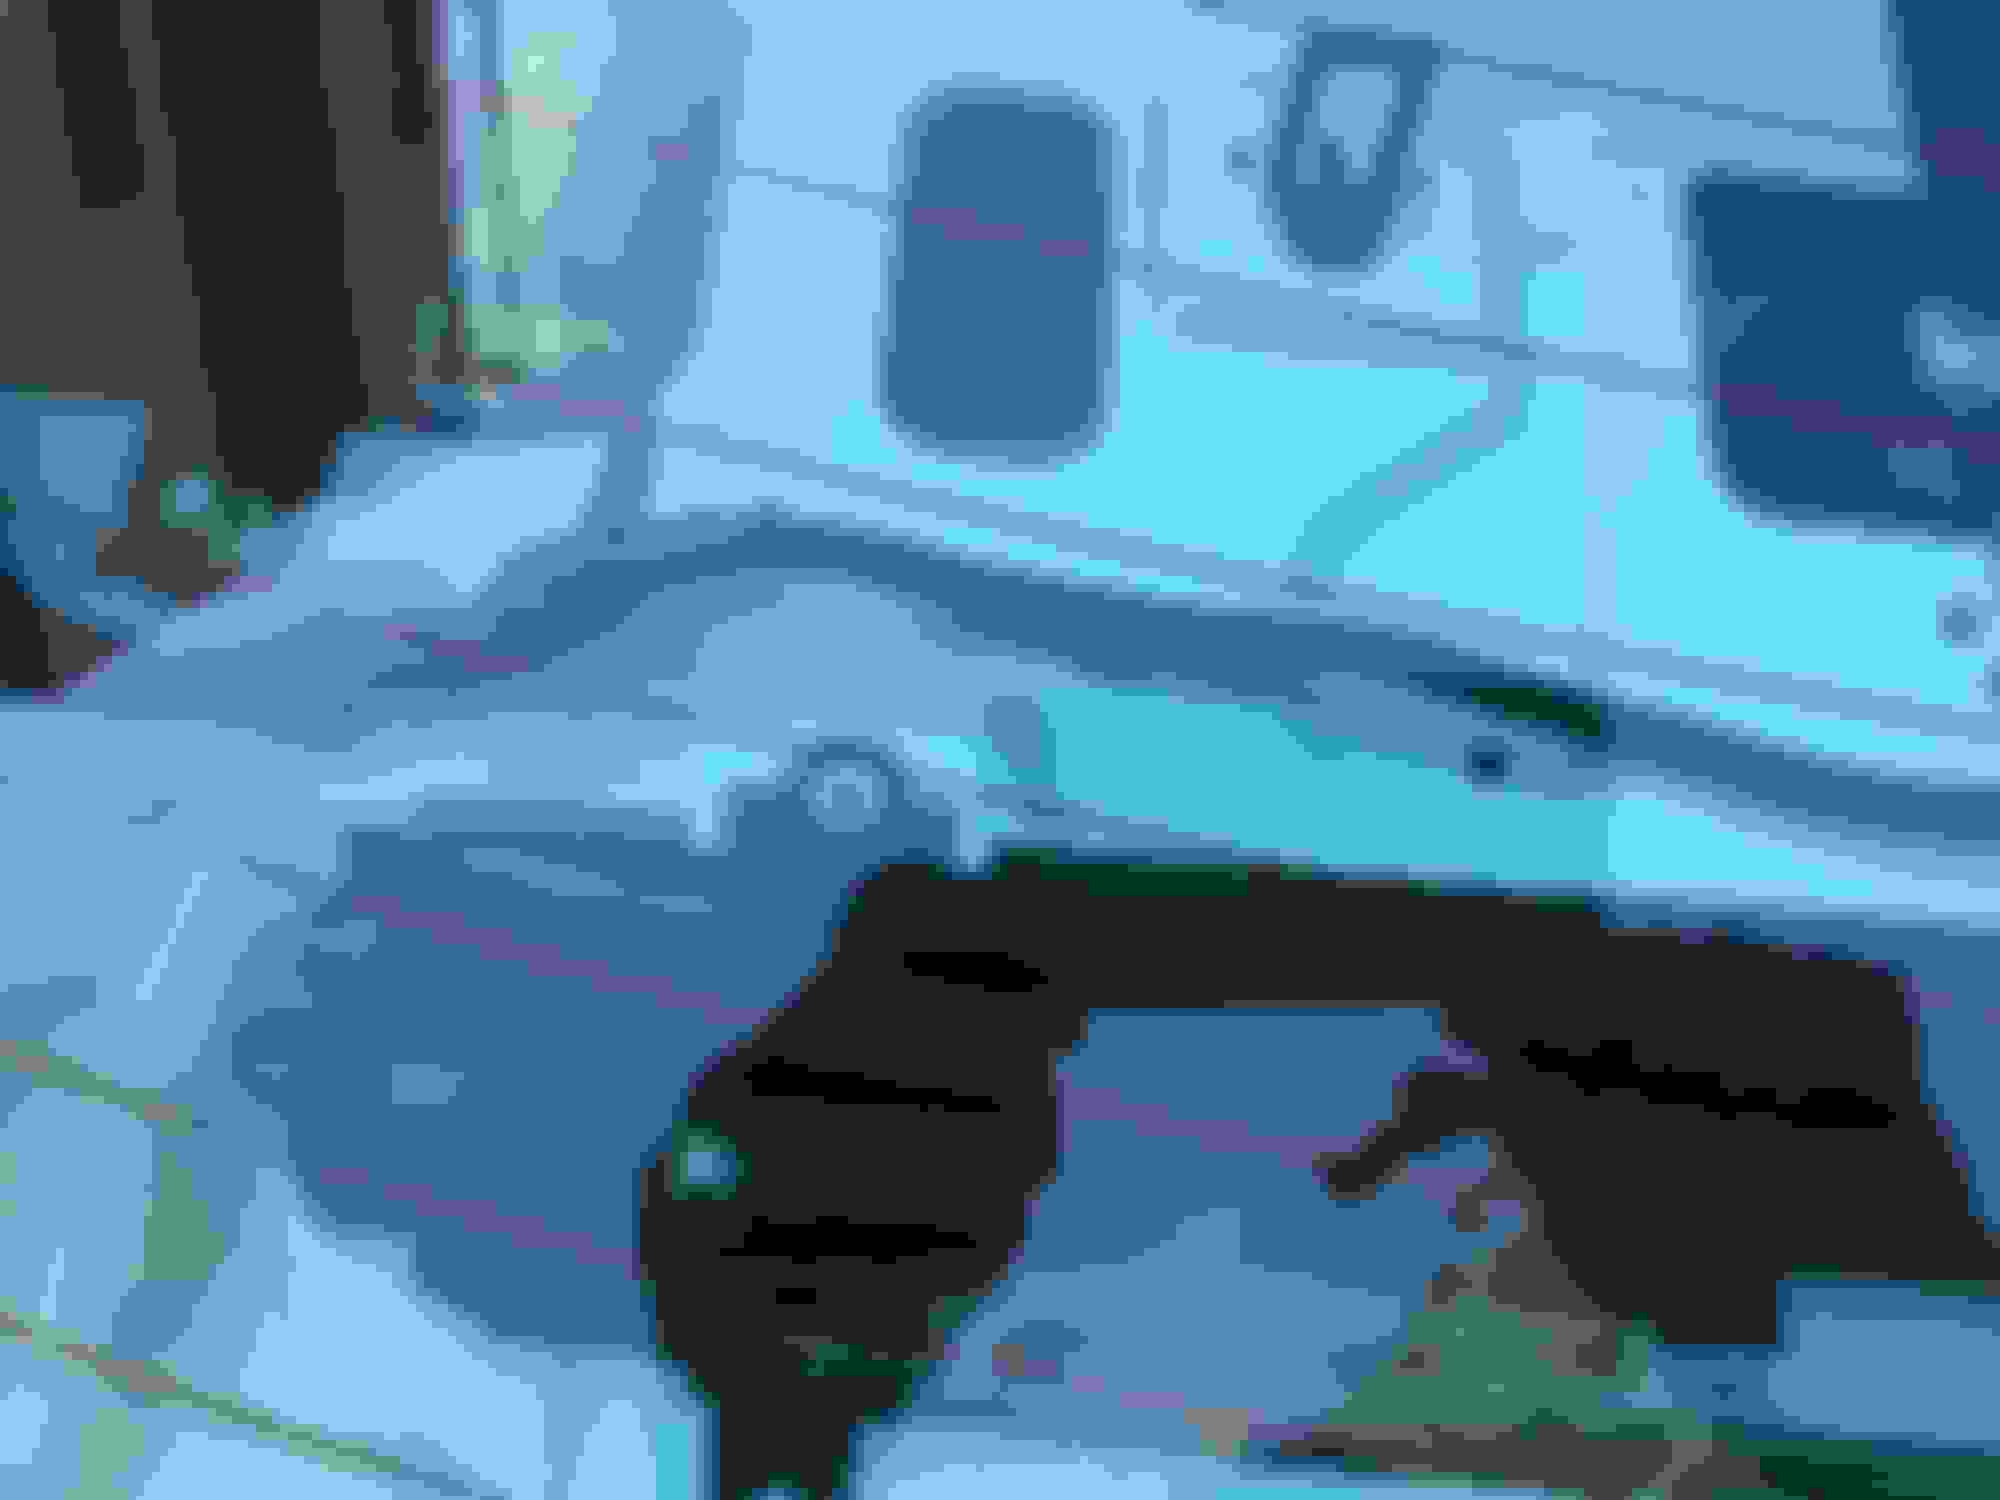
I was able to find an excellent price on a used sunshade of the same model from Yahoo Auctions Japan. As I carried out the back-breaking replacement, I took some photos but not every step is photo-documented. I think it's tough to remember to photograph while working alone. Rear view of the exterior, how I originally got the car. Original view of the interior, darkened with the sunshade always up. The electrical connection for the removed sunshade The broken gear assembly for the removed sunshade. Once disassembled, it was clear the gear housing was broken by the action of the biggest gear on the left. This gear is the final drive linked with the sunshade arms. There also seemed to be a center pin missing. Maybe someone else had already been in here before. I unpacked the used sunshade and arranged it where I wouldn't step on it. This is Toyota part number 64350-75010. You can occasionally find them for sale on https://buyee.jp/item/search/query/ANF10 - which is a proxy website for Yahoo Auctions Japan. I got it for �38 plus about �30 shipping. Part of my work preparation. All this information was pulled from the electronic shop manual, which is in Japanese so a little tricky to navigate. Work preparation. I have to work outside and needed a clean place to put my leather seat cushions when removed. Loosening the rear seat bench is making a fierce upward "tug" in a particular place near one of the front corners. It goes pop, and supposedly the plastic clips holding it down then have to be twisted out with pliers, and replaced with new clips. The seat cushion safe outside the car. Seatbelt attachment detail. I had to choose between unscrewing these, or feeding the seat down over the belts. I decided not to mess with seat belts. This particular seat belt anchor (#1 on the right side) was going to be almost impossible to remove, because of interference from the HV cable - another thing I definitely do not want to mess with. Seat back attachment detail (2 of 4, right of center) Seat back attachment detail, on the left side Center seat belt (or #2 seat belt) attachment point The car with the lower seat bench removed The interior with the entire seat removed. You can see the HV battery assembly exposed. For those curious, I did NOT attempt to get into the battery cooling system to check it out. This job was a back breaker and I'm lucky I finished in one day. Upper view of the interior with the seat back removed. I found a YouTube video really helpful for this awful part - detailing how to remove the seat back for the Toyota Avalon. It was very similar. Removal of the left rear door sill plate. This was one of the most difficult parts of the job. I found it really difficult to work with these plastic panels with the pyrotechnic stuff attached behind by metal clips. I didn't find my translation from the shop manual adequate to explain how to manage them.
That's 20 out of 29 photos... to be continued shortly
Last edited by dougaliscious; 04-28-24 at 10:45 AM.
Reason: adding photos and comments
Continued, with photos 21 - 29 This top shelf with the subwoofer, I guess in English we might call it the "rear package shelf" or something, but in Toyota-speak they call it a French name, the "Tonneau" cover. If the car has the sunshade, then this cover comes in two parts with a gap in between for the sunshade to pop through. The two panels pop down onto the sunshade and each other. It's unpleasant popping two semi-flexible things into each other, pulling on one and pushing the other. Don't want to do that again. This is the rear half of the tonneau cover, with the center brake light housing removed. That was the easiest part of the whole job, just sliding it a bit to the side eases it out of the cover. You have to keep track of the cable for reconnection later though. With the entire tonneau cover removed, I screwed down just the center captive 10mm bolt and was able to connect the cable. It was at this point with a little gritting of teeth, I was able to power up the car and verify that this replacement sunshade opened correctly and was in OK condition. And, it didn't damage itself or bend the body panel while trying to open and close again. Whew! It was easiest to align the bolt holes visually from outside the car. This is the view of 10mm bolt hole alignment (front left bolt) The bolts then need to be fed in by hand in a tight space, mostly blind. View of bolt hole alignment (right side, front and rear) The bolts then need to be fed in by hand in a tight space, mostly blind. The tonneau cover completely refitted. Whew!. However I had all kinds of trouble with that trim panel covering the rear pillar. These panels are a real bear to get popped back into position. They start with a tap on the pointy end that fits along the side of the tonneau cover. Toyota calls this panel "Roof Side Garnish ASSY" - component numbers 62470 and 62480. Incidentally, these things need THREE different kinds of plastic push-clip to hold them in place. Use the website https://lexus-japan.epc-data.com/hs250h to find the exact part. The tonneau cover a little warped, before I figured out the exact combination of the panel clips. The rear seat interior, with the new sunshade fitted which could be lowered.
Last edited by dougaliscious; 04-28-24 at 10:56 AM.
Reason: adding photos and steps
The YouTube video I found incredibly instructive for messing with the rear seat and seat belts was this one. I didn't follow all of his steps, but just seeing the interplay between the parts was indispensible.
You should clean the hybrid battery cooling ducts and fan since you have the rear seat removed. A lot of dust gets in there because these cars do not have a filter, although if handy you could improvise something to fit behind the screen. You can unbolt the fan motor last screws from inside the trunk. There is a small access panel on the rear wall.

 04-28-24, 10:31 AM