When you click on links to various merchants on this site and make a purchase, this can result in this site earning a commission. Affiliate programs and affiliations include, but are not limited to, the eBay Partner Network.
Hybrid TechnologyUnique topics related to the 2023 up RX model hybrid drivetrain and other features/options found only on the hybrid models. Please use the main forum for discussion about shared components with other fifth generation RX models.
@pedser - Two feet won't be long enough. You will want about 15 inches extending through the exit hole to connect the battery charger. I bought a 6 foot long charging cable with the cigarette plug end on it and cut the lighter plug off, then added the fuse holder ( 8 inches ) and the 1/4" terminal lug end ( 4 inches ) to the positive lead. You could save about 2 feet if you went directly to both + & - battery terminals.
So, we have had the 2023 RX350h for 9 months. During this time we have put almost 14,000 miles on it with no "dead battery" issues. Never been locked out or needed a jump start. That being said I have read a bunch of posts about "dead battery" problems, getting locked out or having to use the key on the drivers door and then the manual release handle to get in. So I decided to be a little proactive and add a +12 Volt battery charge cable that is hidden but easily accessible just in case. While this added cable could not be used to
jump start the vehicle, it could be used to charge the battery every so often. In the case of a dead battery, a battery charger that could output 8 or 10 amps could be connected to allow the vehicles remote keyless entry and electronic door handles to function.
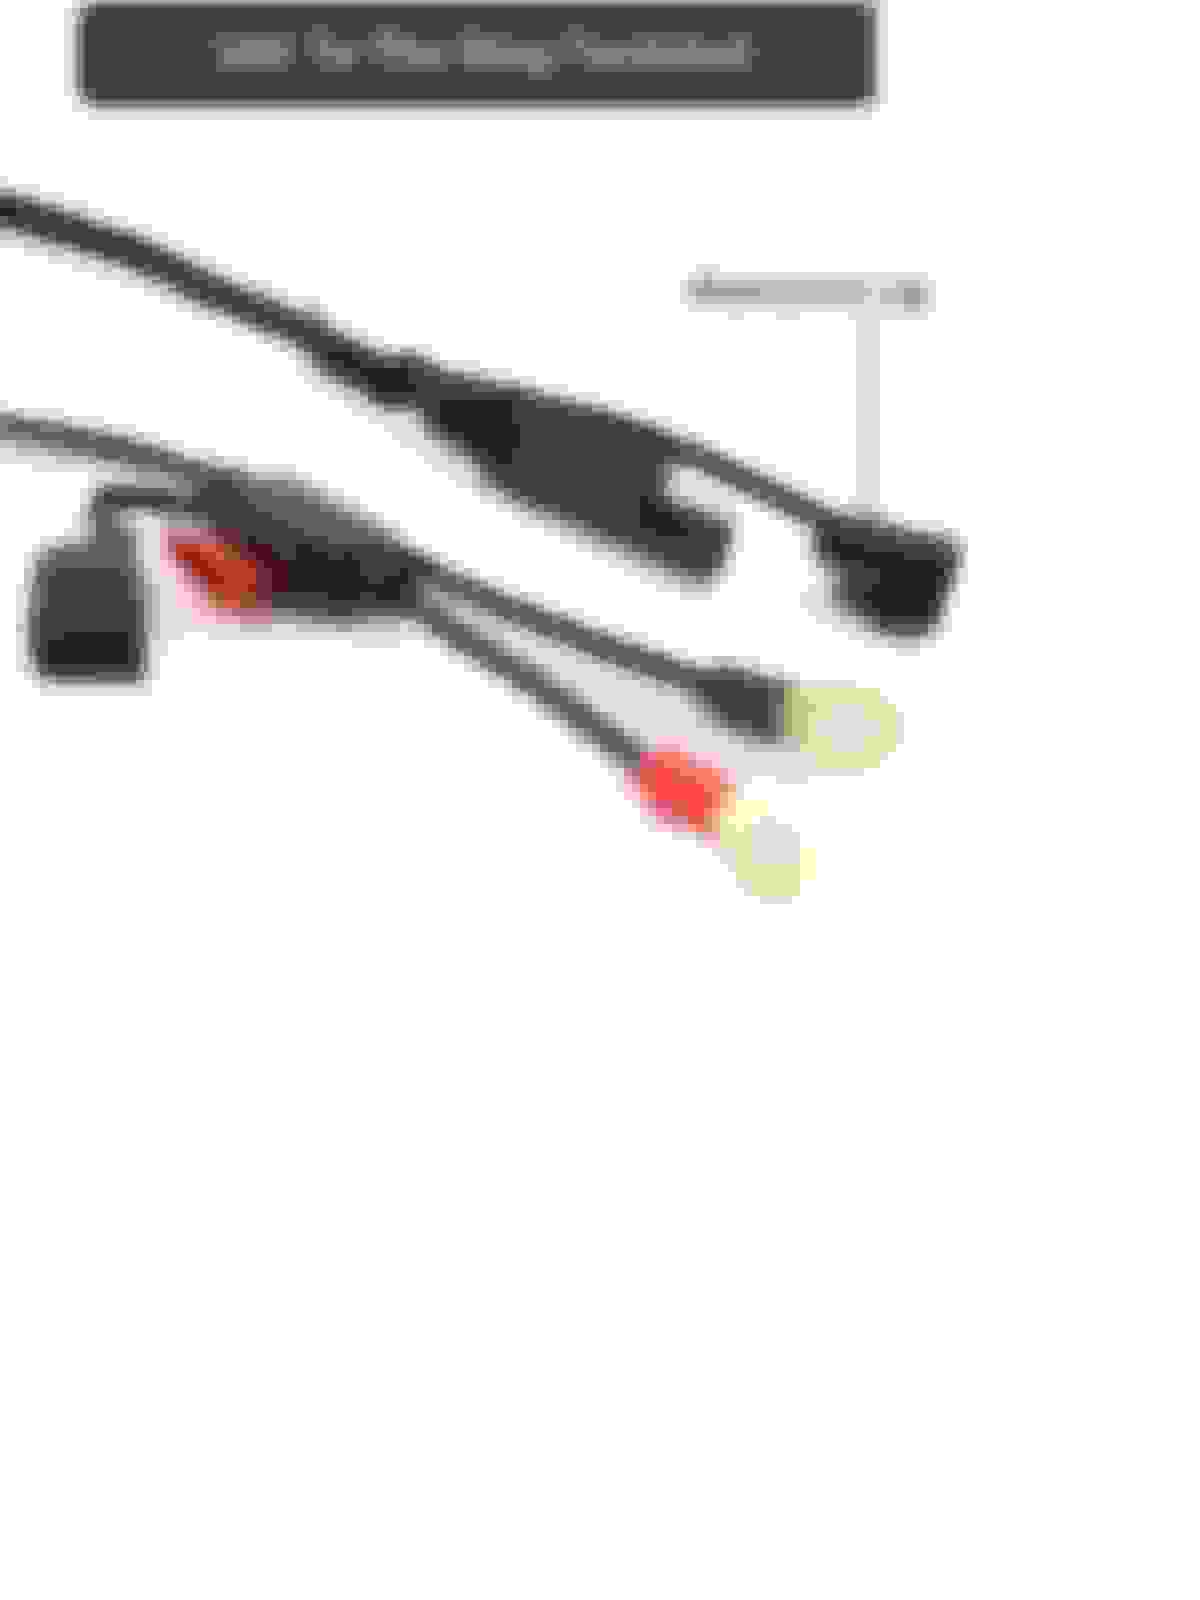
I ordered this charge cable assy that had 6 feet of cable and a cigarette lighter end on it. This type cable has a connector that is pretty standard to most battery "trickle charge" or battery maintainer" chargers. I cut off the cigarette lighter head and ran that end of the harness into the car through a grommet and hole. Once inside the RX, the (-) side of the cable was connected to the battery ground point with a soldered on ring terminal. The cables (+) side was run into the rear fuse box and connected to a 1/4" spade terminal that was unused and provided a direct path back to the positive battery terminal. A waterproof fuse holder with a 15 Amp fuse was added to the cables' (+) wire just outside of the fuse box. The charge cable exits the rear trunk area near the center of the vehicle and is zip tied in place. This cable has a protective cap to keep the connector clean and ready for use.
Photo's below :
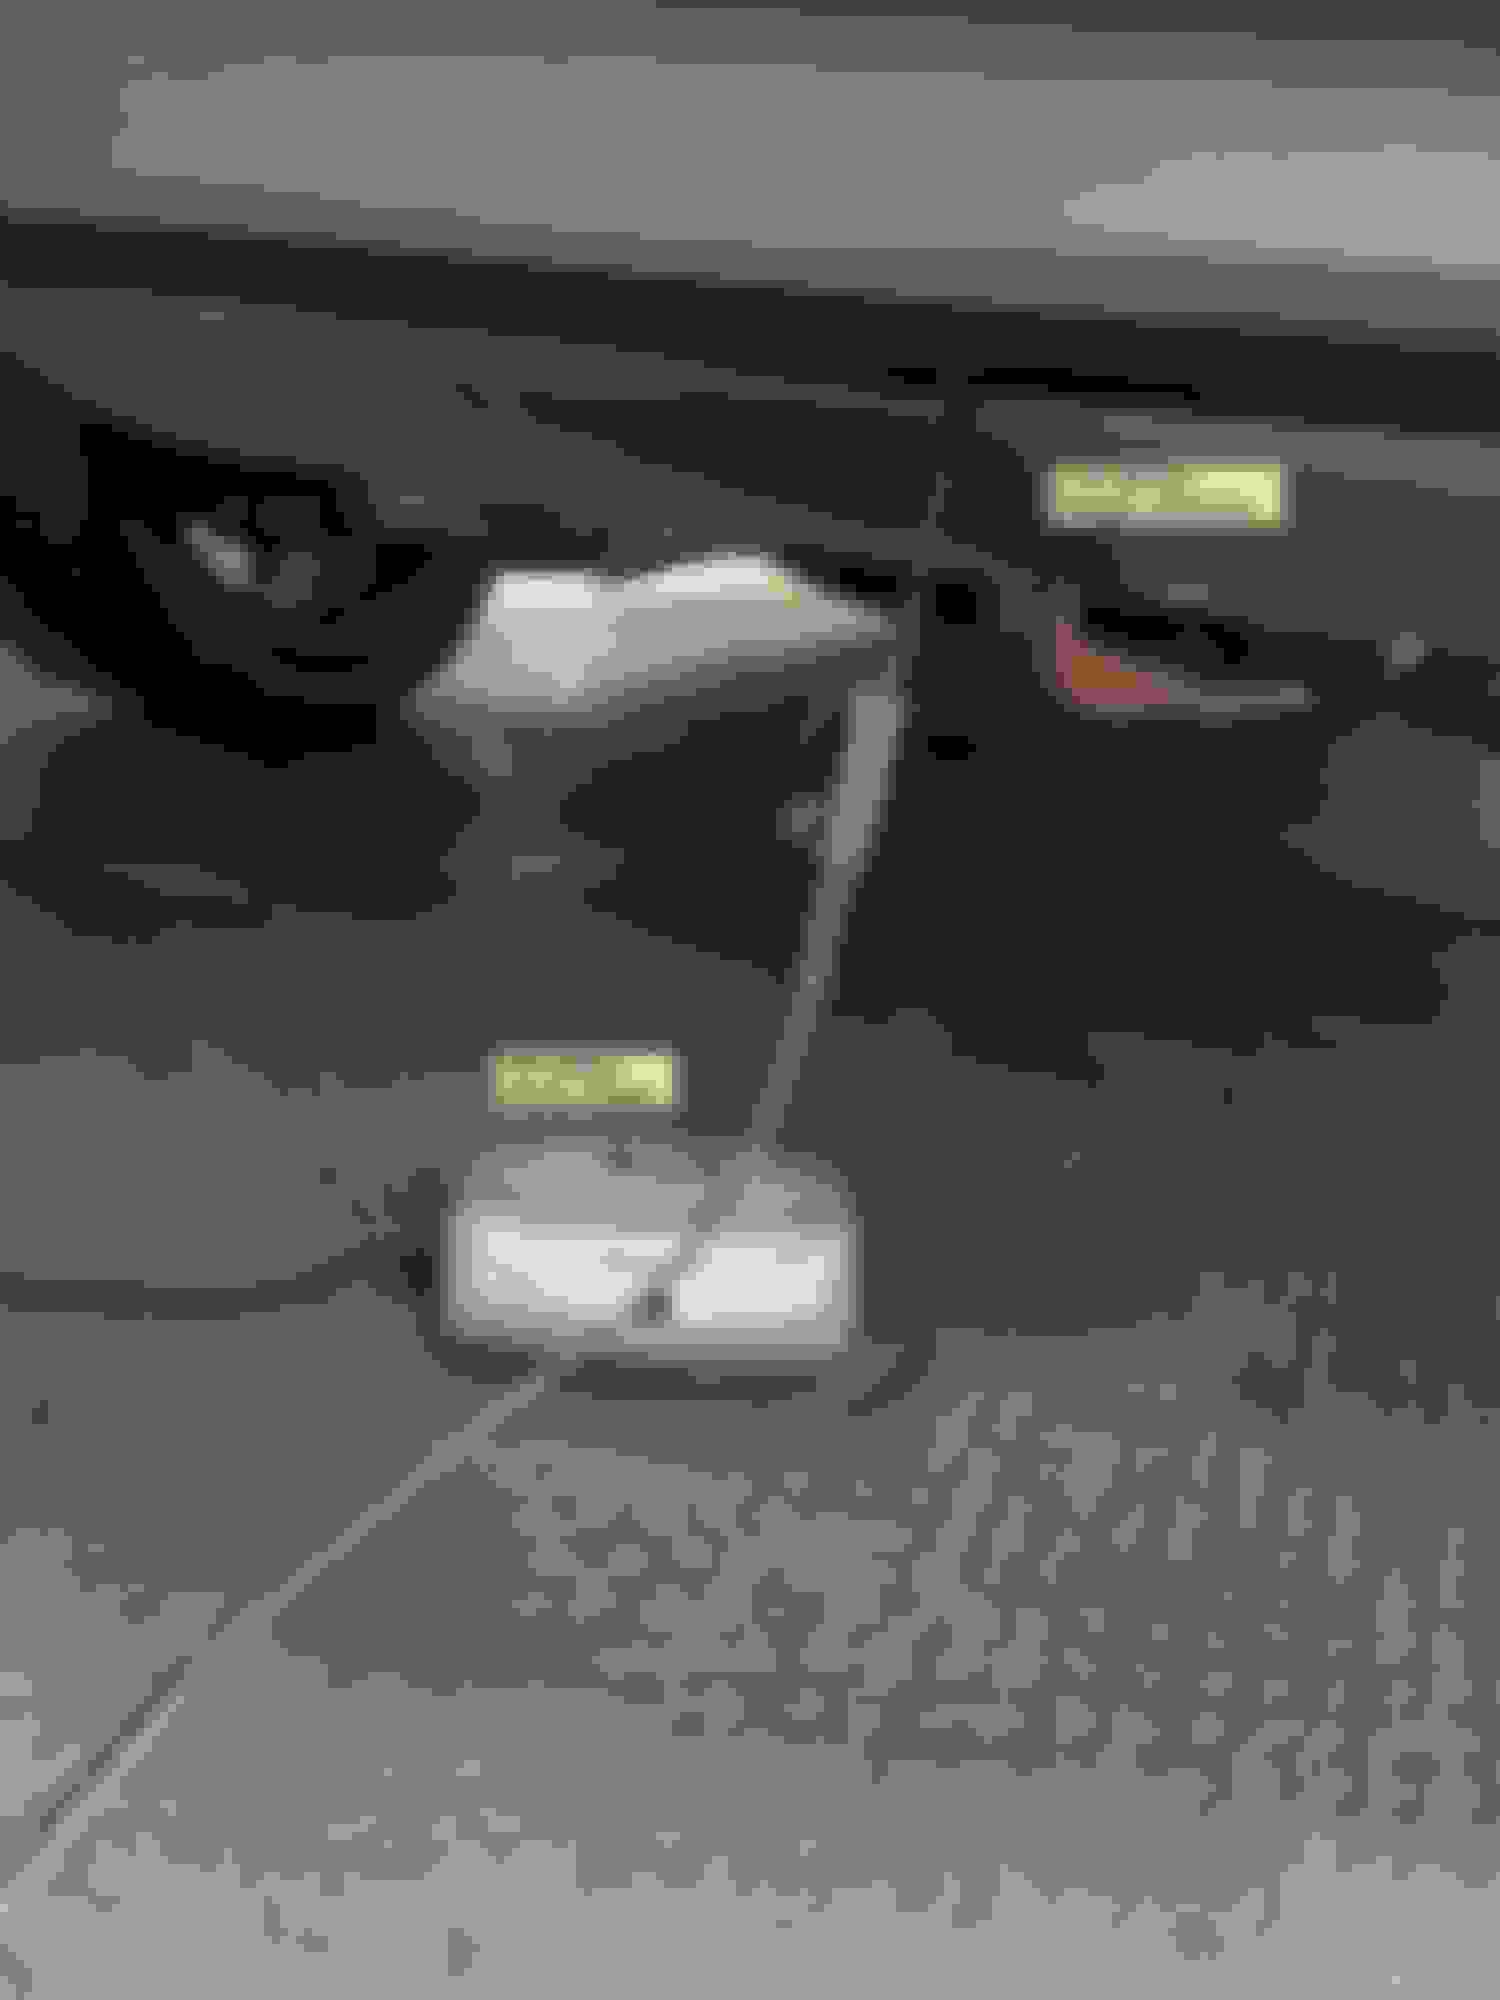
Drilled hole and ran cable through grommet.
Rather than connect the charge cable directly to the battery terminal post, I connected to the Chassis Ground Point.
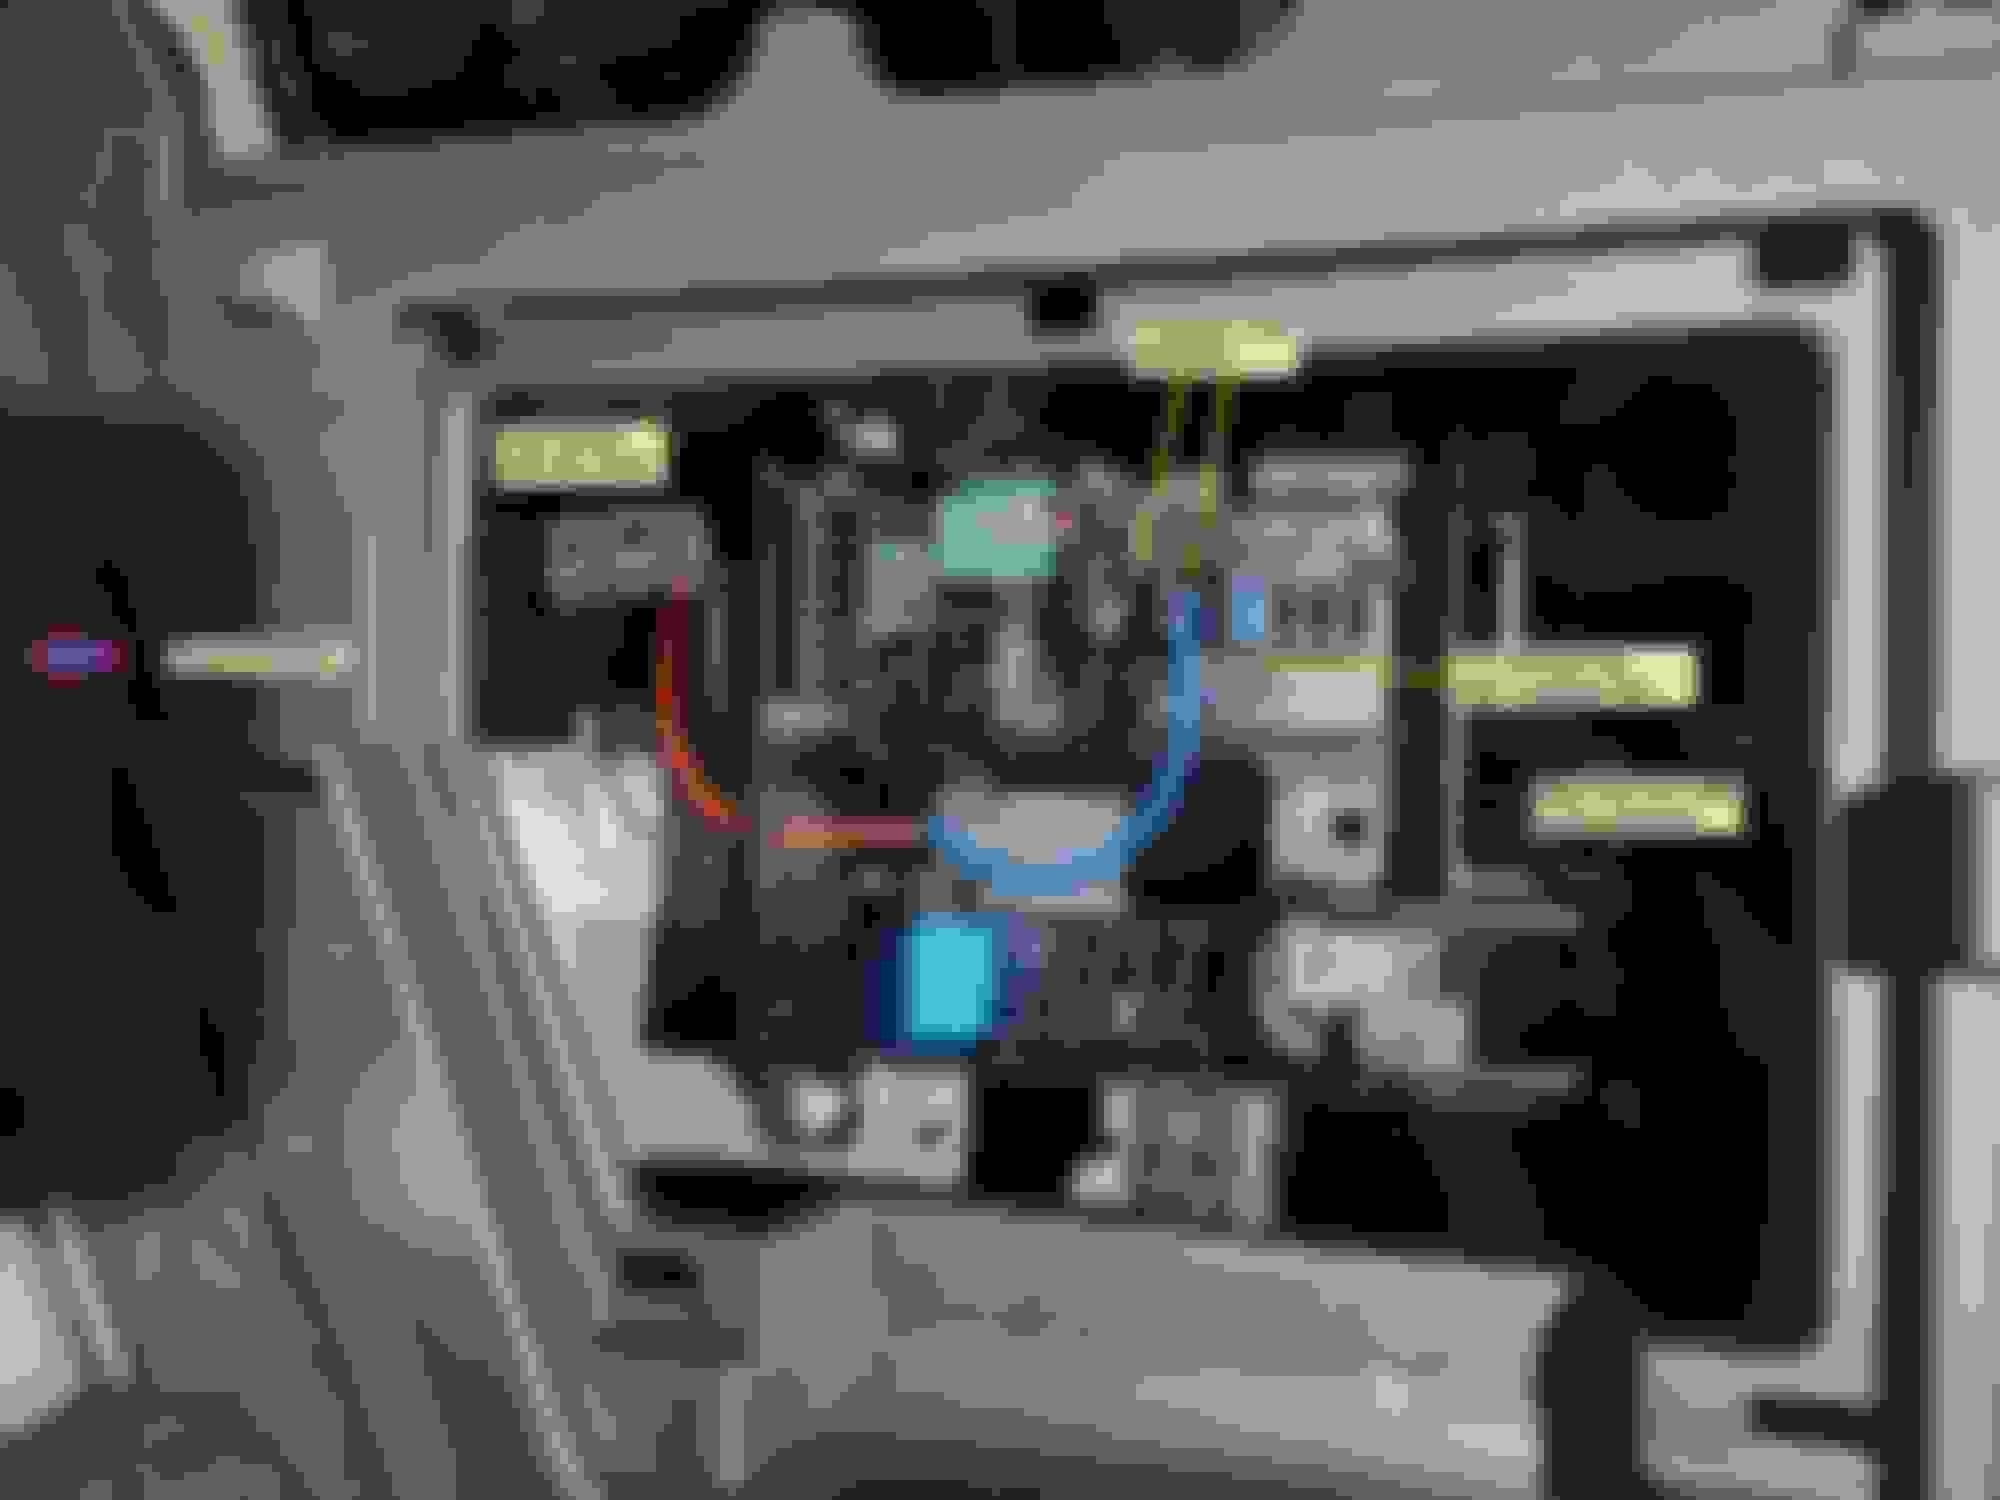
Same for the positive charge cable wire. I found an unused +12V constant terminal in the rear fuse box that was a perfect fit for a 1/4" spade terminal.
All wire joints are soldered and insulated with heat shrink tube.
Weather-proof charge cable end secured and tucked under rear bumper.
Test charge - all good!
This won't interfere with a normal battery replacement but will allow easy access for a charge or emergency access.
Might never need it but it's there and tested.
In your first photo "SAE To The Ring Terminal", you indicate you added a waterproof fuse holder with a 15 Amp fuse.
The fuse holder appears to a solder-less type of connection to the wires.
I am looking to add a battery maintenance charge so I wish to know where did you find the fuse holder?
@DEL92 As a side job, I do auto electronic work, adding/installing Remote Start systems, Back-Up cameras, etc. As such I have supplies on hand like the waterproof fuse holders, terminal rings, 1/4' female quick connects, various size grommets, etc. I have the tools to solder and heat shrink tube to insulate the connections. For the RX350h project I used various items I had in stock.
That being said, this project requires inserting a wire cable through a grommet and into the vehicle. You really can't do this with a fuse holder inline. You must cut the charge cable first and once through the grommet solder the fuse holder and terminal ring section back on.
I also drilled a hole to feed the (+) charger wire into the fuse box and made a solder connection to the blue wire with the 1/4" quick connect terminal. While I went to the fuse box, the (+) connection could have been made at the battery positive post.
Here is a link to another 6 foot charge cable assy with a fuse holder and terminal rings all ready to go.
You would still need a grommet & drill. Cut the charge cable near the fuse holder end to pass the charge cable through the grommet and into the vehicle. Then solder and insulate the cable back together and make the terminal ring to battery post connections.
@DEL92 As a side job, I do auto electronic work, adding/installing Remote Start systems, Back-Up cameras, etc. As such I have supplies on hand like the waterproof fuse holders, terminal rings, 1/4' female quick connects, various size grommets, etc. I have the tools to solder and heat shrink tube to insulate the connections. For the RX350h project I used various items I had in stock.
That being said, this project requires inserting a wire cable through a grommet and into the vehicle. You really can't do this with a fuse holder inline. You must cut the charge cable first and once through the grommet solder the fuse holder and terminal ring section back on.
I also drilled a hole to feed the (+) charger wire into the fuse box and made a solder connection to the blue wire with the 1/4" quick connect terminal. While I went to the fuse box, the (+) connection could have been made at the battery positive post.
You would still need a grommet & drill. Cut the charge cable near the fuse holder end to pass the charge cable through the grommet and into the vehicle. Then solder and insulate the cable back together and make the terminal ring to battery post connections.
FlopTop04, I appreciate very much your quick response and details. As an EE working in the commercial power distribution industry. I have a preference for clean configurations with regards to wiring, so the fewer number of cuts and splices the better. Thank you for the url to the harness with the fuse holder preinstalled. My thoughts are in line with yours, to cut the harness maybe a foot from the fuse holder, feed the harness through the grommet and into the compartment, finishing off with two in-line splice connectors and some heat shrink to bring the harness back together. Keeping the charger outside the vehicle also allows the operator to see if the charger reports a fault condition while being used. With this harness and a 10 amp maintenance charger I expect I should be able to get my RX350 restarted if it is parked too long in the garage.
Your idea of adding the spade connector and landing at the unused tab in the connector block quickly finishes off the wiring connections very cleanly. I will stick with the ring lugs. From my professional experience, we shy away from spade connections where-ever possible. In our industrial applications we determined, over time, if the wire attached to the connector is not secured to prevent wiggle, vibration, and side-to-side or tilting bias pressured, micro fractures develop in the metal of the female portion and the physical connection between it and the male stab starts to loosen resulting in an increased impedance (resistance) between the male and female surfaces, We had to use a forensic microscope to understand why these female connectors were failing. To this automotive application and In all fairness for a 12v 10 amp maintenance charger, this concern may be more negligible then with ac power and may never be an issue.
Thank you and best regards,
Google installing Comfort+ package. There is some RAV4 stuff out there showing that OEM trickle charger installation. That should get you close enough I think.
RAV4: https://www.rav4world.com/threads/go...omfort.330625/

 03-13-24 | 08:15 AM