When you click on links to various merchants on this site and make a purchase, this can result in this site earning a commission. Affiliate programs and affiliations include, but are not limited to, the eBay Partner Network.
So I am from Germany and I did exact this what was attempted here
I drive a IS250 Sport and I finished the work of integrating a power Sun Shade into my car!
It is really simple:
Purchase the following things:
1. Rear Power Sun Shade
2. Power Sun "Shade" Switch
3. 2-pieces hat rack (my Sport variant had a 1-piece hat rack without the cut for the shade
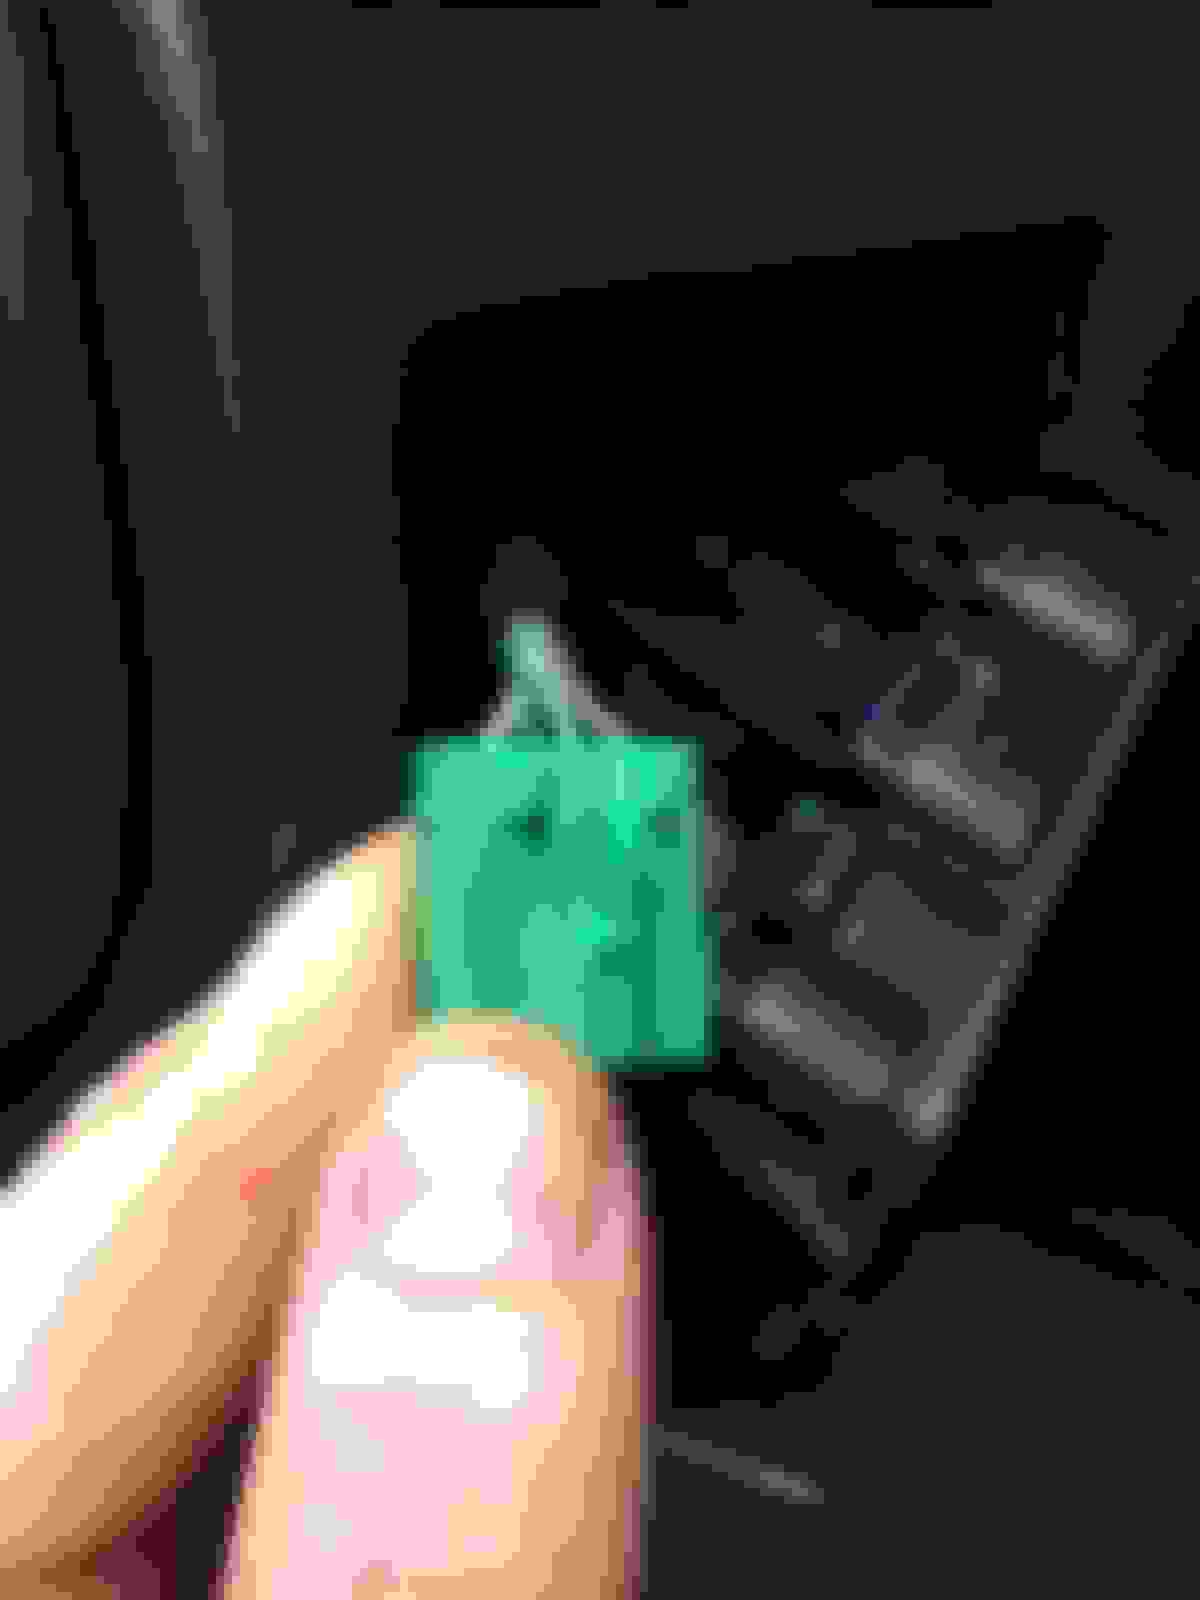
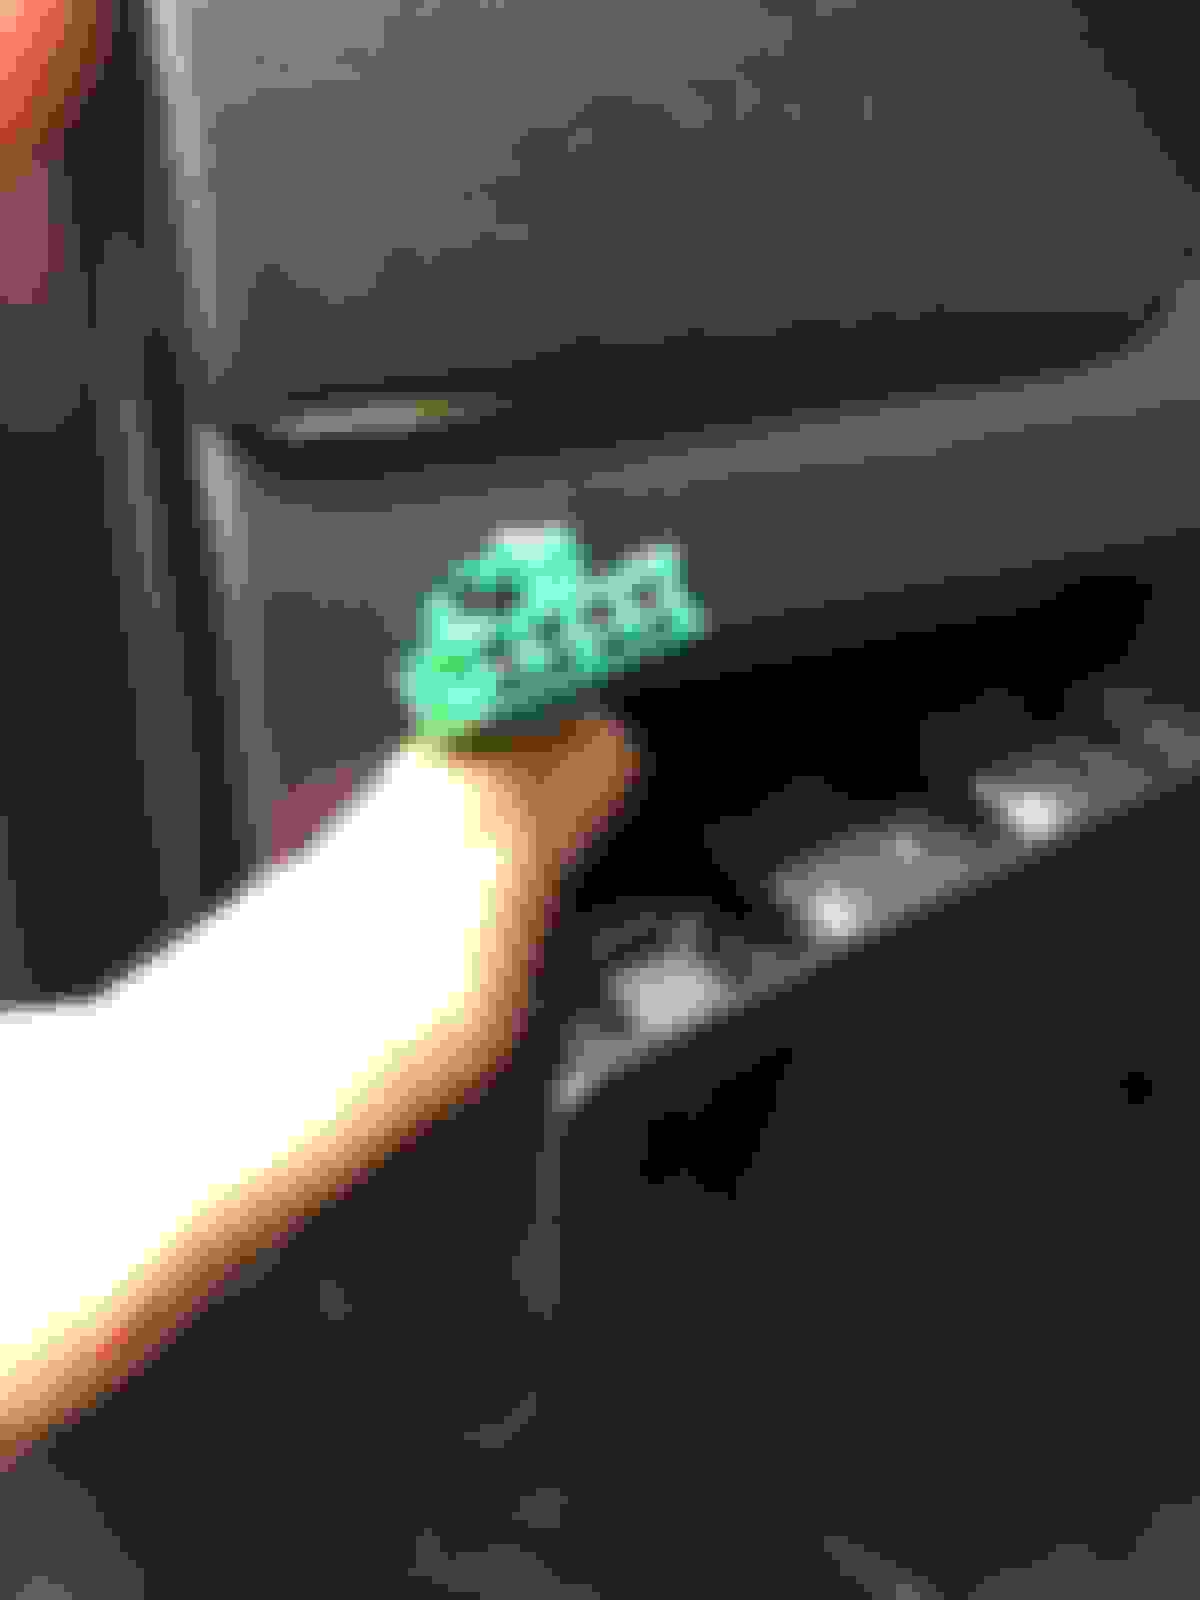
In the front there is a GREEN plug behind the blind cap for the "Shade" Switch. When you look exact on the blind cap you will see a small green stripe on top - this indicates that the GREEN plug is correct!
In the back under the hat rack is a BLACK plug for the power Sun shade.
Connect and install them as shown few sites before.
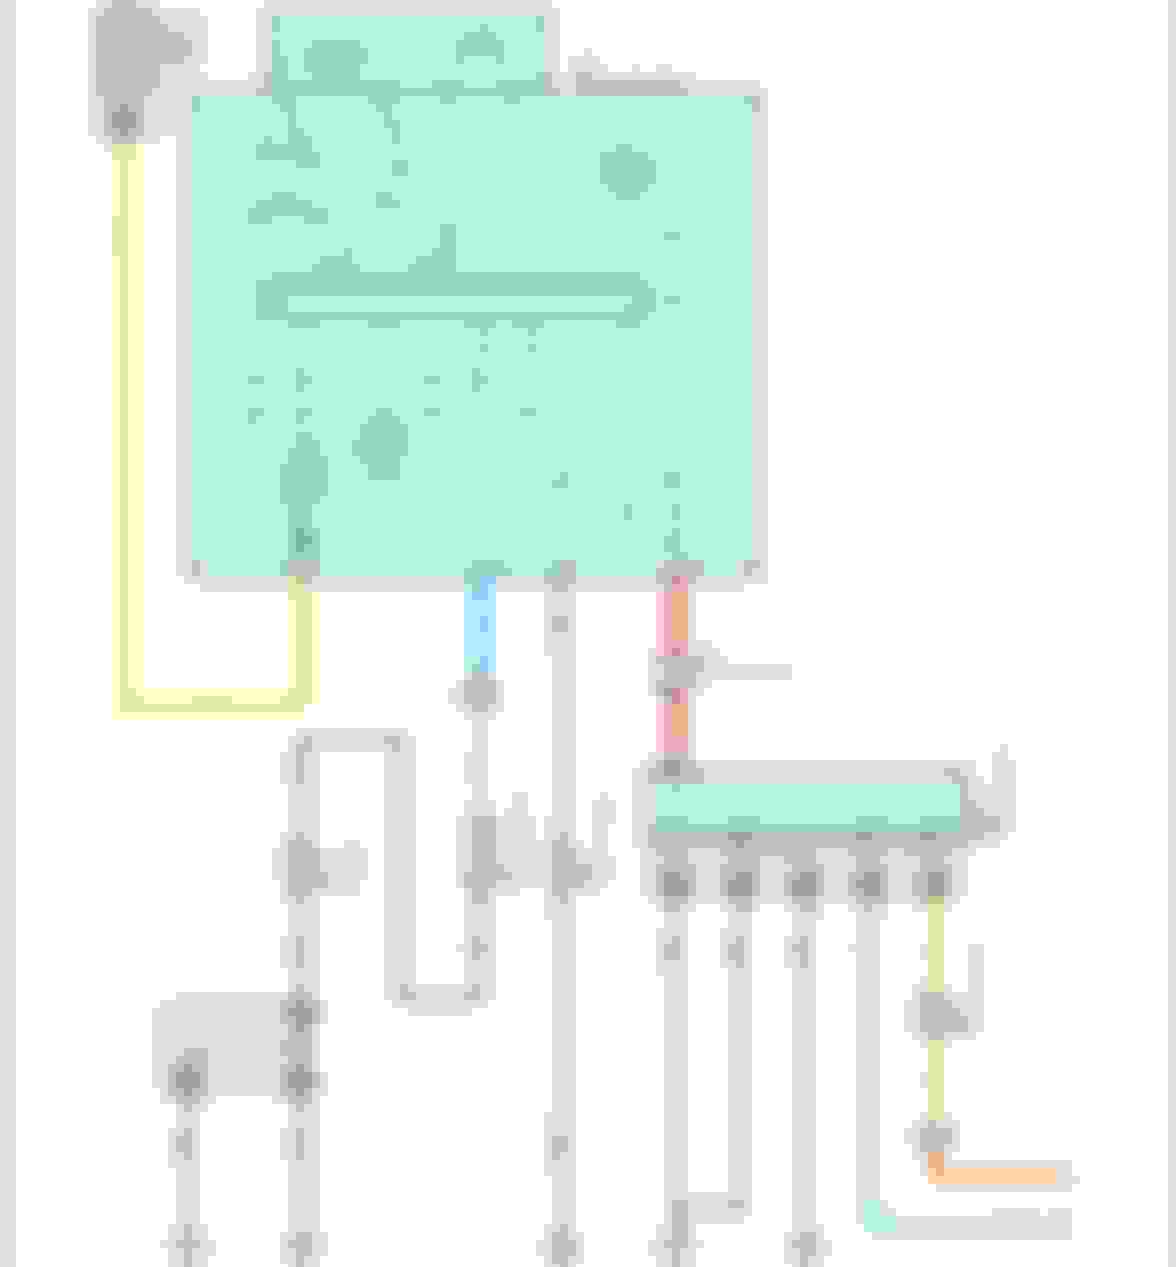
NOW - the most important thing is that yall look behind the rear seat. There is a blind plug (white) - in this there going in 4 cables (2x red and 2x blue)
You have to Bridge them!!!
connect the cables in there colours and thats it
I made a DIY in Germany and link it here for you. Of course it is in german- use the google translator or ask me separatly.
Regards and happy building.
Link to my DIY:
http://euro.lexusownersclub.com/forums/index.php?/topic/37829-is250-power-sun-shade-elektrisches-sonnenrollo-nachrusten/?fromsearch=1
You helped me get my rear power sunshade to work on my '08 lexus gs350. The wires on the GS350 is different color, but same method. I had to look for that white connector some where in the chassis and when I found it, it is as you said splice the 4 wires and wah la!
Hello and sorry to revive an old thread. I just completed the sunshade DIY yesterday after work and got the switch installed today and there is no power going to the sunshade switch. I noticed it's not lighting up like the other buttons. I did the connecting of the blue and red wires and I'm stumped. The sunshade is linked to fuse #18 in the driver side interior fuse box and I changed that even though it was fine just to be sure. Any body have any ideas as to how I'd get power to the sunshade switch so it lights up and operates the sunshade? Thanks guys I really appreciate it!
Hello and sorry to revive an old thread. I just completed the sunshade DIY yesterday after work and got the switch installed today and there is no power going to the sunshade switch. I noticed it's not lighting up like the other buttons. I did the connecting of the blue and red wires and I'm stumped. The sunshade is linked to fuse #18 in the driver side interior fuse box and I changed that even though it was fine just to be sure. Any body have any ideas as to how I'd get power to the sunshade switch so it lights up and operates the sunshade? Thanks guys I really appreciate it!
I did this diy too, but in my case there was no green connector to the switch. The only one that was hanging behind the console was a blue connector(which i think is for headlights washers). So i modified it so it could fit in the sunshade switch. From there i had the illumination for the button, but i had to run the power and ground(), wires directly from the power shade. Hooked them up to the right pins in the connector and it worked.
Thank you OP and everyone else for making this DIY possible. Thanks for responding pavelekPL.
I went to the dealer to ask for help and they were of no help at all. Yes I modified the blue connector and cut off that nub on one corner to make it fit into the switch. However, once I connected my switch still wouldn't light up. I tested the switch and I bought a burnt out one =/.
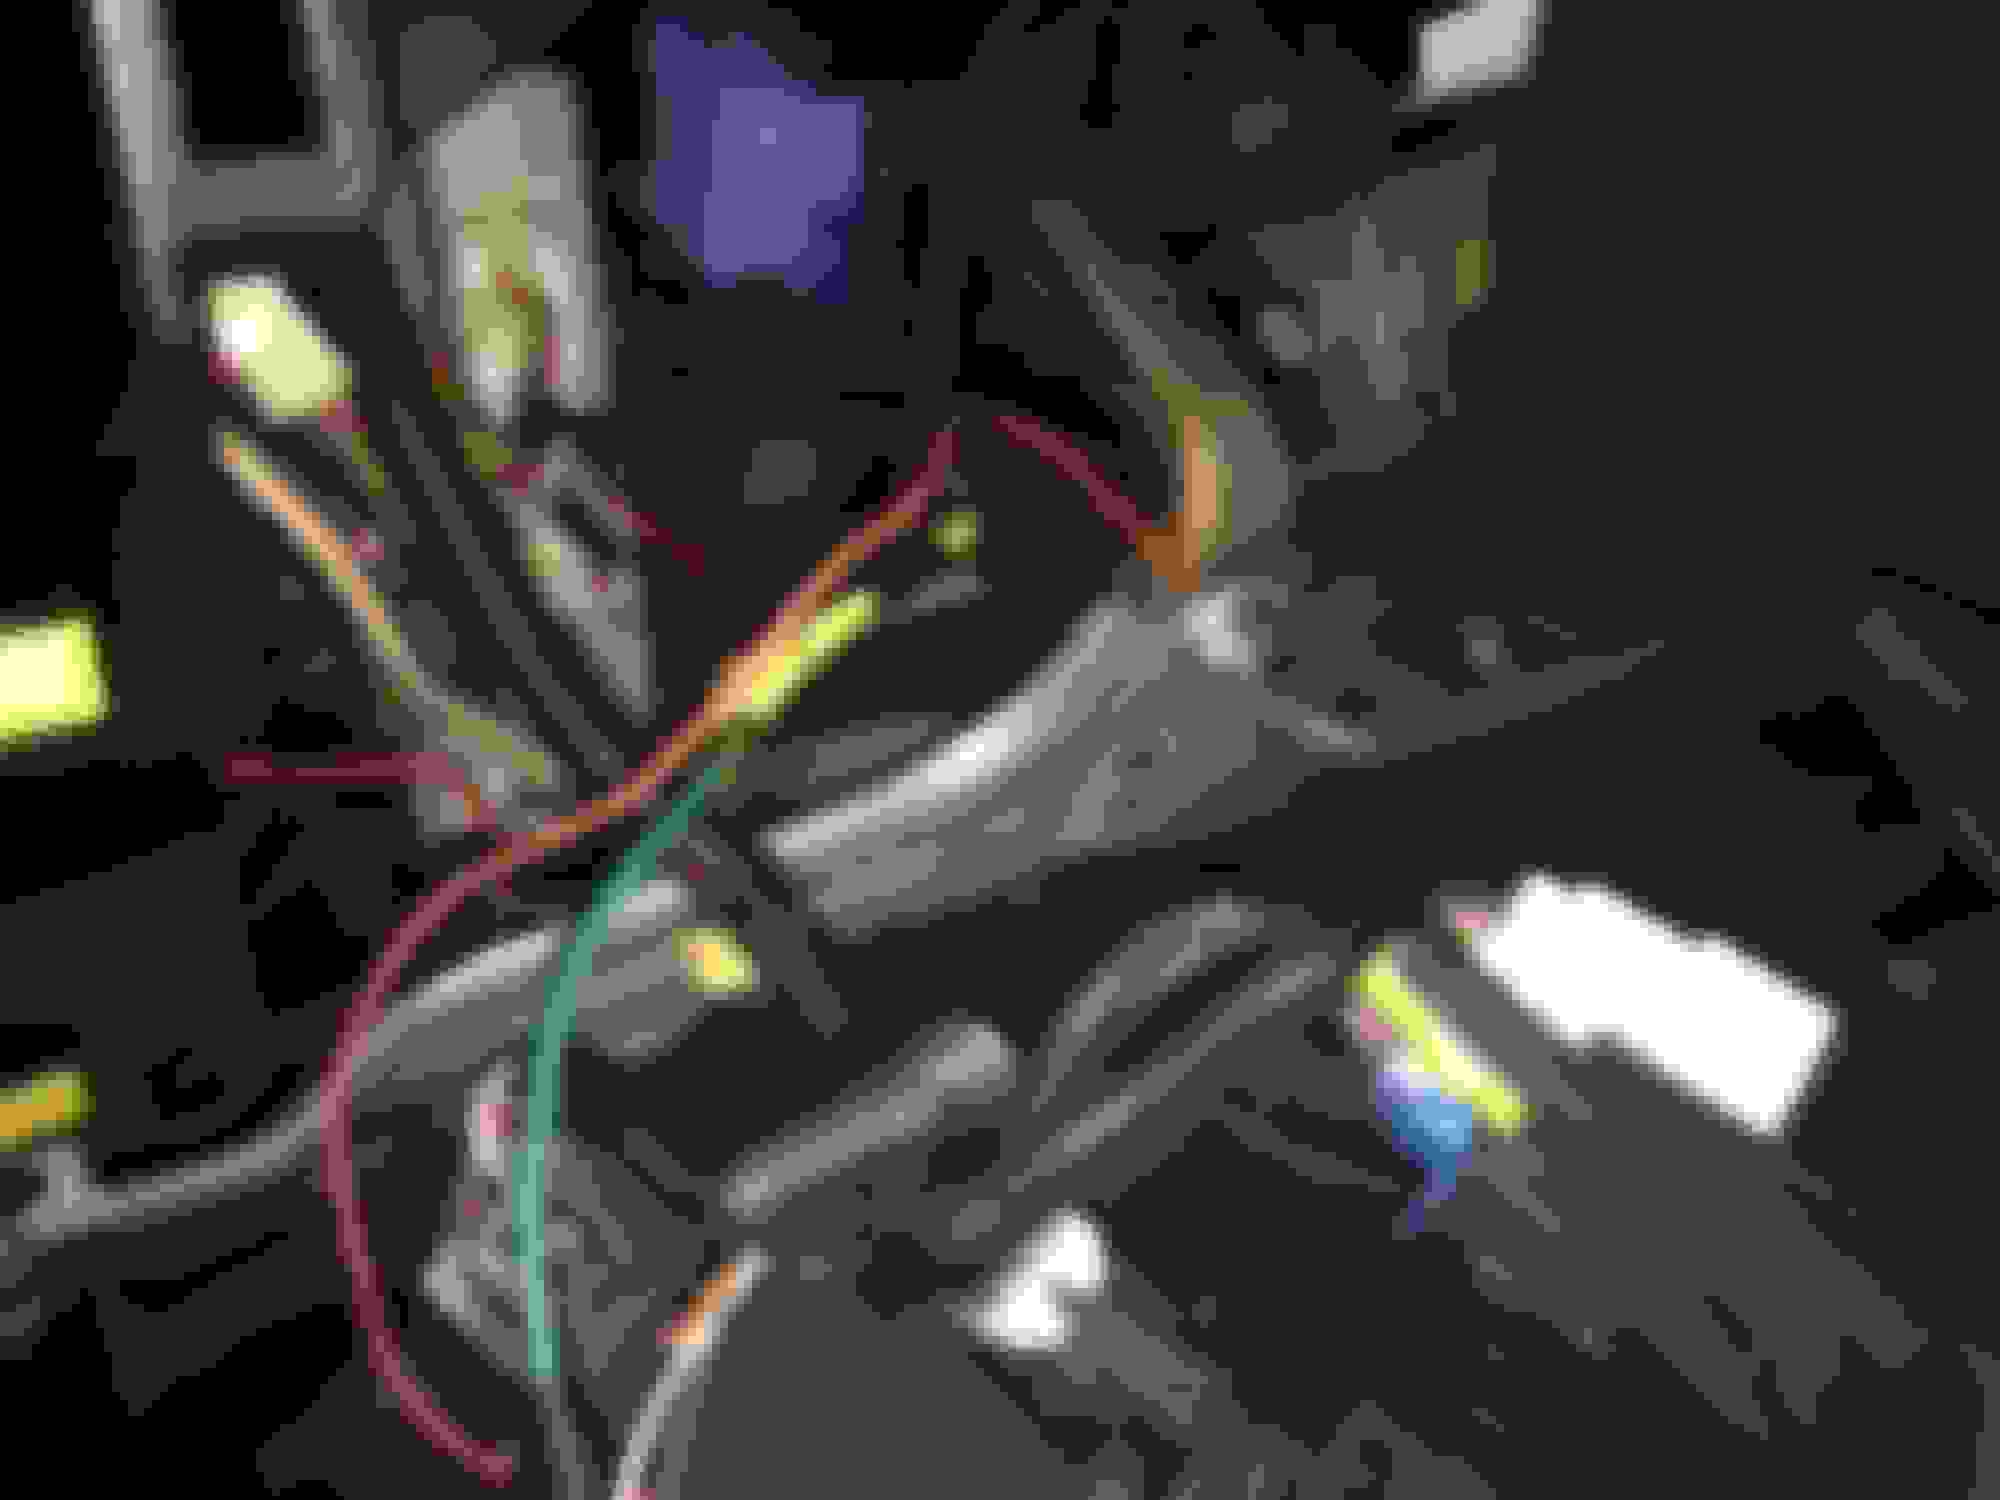
pavelekPL, would you be so kind as to give me a few more details so I can mimic your setup. I can easily plug in a fuse tap but wouldn't know what pin to wire it to after that. I attached a picture of the blue plug in my car and would love it if you could point me in the right direction. Also, did you run power all the way to the sunshade?
I don't know if you can see how different the green and the blue plugs are in the attached images.
What do "E" "SW" "REV" and "IG" stand for? I assume "REV" is the reverse signal to make it lower and other than that I have no idea.
ANY help would be much appreciated. Trying to get this sorted out before I head to Georgia for my BOLC (basic officer leadership course). Thanks guys!!
Just want to make sure any one that attempts this DIY knows that our (USA) cars are not pre-wired for the sun shade. The blue plug, as pavelekPL stated, is indeed for the headlight washers. If you have a blue plug you will be in the same situation as I currently find myself in. The black plug in the rear that plugs into the sunshade is there however. Would hate for someone to have sourced the parts and installed them only to find that it really isn't plug and play as others may have stated.
Just want to make sure any one that attempts this DIY knows that our (USA) cars are not pre-wired for the sun shade. The blue plug, as pavelekPL stated, is indeed for the headlight washers. If you have a blue plug you will be in the same situation as I currently find myself in. The black plug in the rear that plugs into the sunshade is there however. Would hate for someone to have sourced the parts and installed them only to find that it really isn't plug and play as others may have stated.
Thanks for the info..I got really excited then really disappointed to hear it isn't prewired... I'd love to do this mod now that I discovered it. I don't understand why they would have the plug in the rear but not upfront? Lame... I wonder if there is something that can be run from the ECU to the switch to complete this mod.
I thought the same thing. Why not buy the harness that plugs into the sunshade switch. I called lexus of south atlanta parts (I bought my replacement switch from them and they have way better prices than my local dealer) and they told me I would need part #82141-53F11 which is the entire dash harness and would cost around $1200. I think at this point the best solution is to just wire between power from the sunshade to the switch. All in all its not too expensive of a mod if you can source the rear deck and sunshade from a junkyard (both came out to $180 with shipping). The switch cost be about $63 new and about $10 on a 40ft spool of wire.
Nice work and research that you are doing. It's really a big help for anyone who wants to add this option.
Which junkyard site did you source the sunshade and deck from?
Thanks, I'll be sure to post my findings after I get my replacement switch in the mail. I got the rear deck and sunshade from B & R Auto Parts in Lubbock, Texas. They shipped insanely fast and had really good prices. I found them by searching through http://car-part.com for "Window Shade"
Like i said before, I modified the existing blue connector and all i needed to do was wire up the pins 4 and 3.
Pins 1 and 2 are left intact and originally wired.
In order to wire the pin 3 (switch) i had to tap into, and run the wire all the way from the sunshade assembly back to the connector.
And this is where i found the ground point(the red wire):
Paul.
You're a genious! I can't wait to try this. First I need to source the parts. Thank you
Thanks PavelekPL this helps a whole lot!! Thank you for taking the time to reply. I just have one more question. In the rear sunshade connector did you tap into the IG, SW, E, or, REV wire? Sorry I can't make much sense of the diagram. Thanks again for all the help!
Thanks PavelekPL this helps a whole lot!! Thank you for taking the time to reply. I just have one more question. In the rear sunshade connector did you tap into the IG, SW, E, or, REV wire? Sorry I can't make much sense of the diagram. Thanks again for all the help!

 06-13-15 | 02:41 AM


 ), wires directly from the power shade. Hooked them up to the right pins in the connector and it worked.