Last edit by: IB Advertising
See related guides and technical advice from our community experts:
Browse all: Exterior Guides
- How to Install Windshield Molding
Step by step instructions for do-it-yourself repairs
Browse all: Exterior Guides
Installing a new windshield myself
#17
Thread Starter
Keeping it Real
iTrader: (1)
Joined: Apr 2009
Posts: 5,043
Likes: 614
From: California
My windshield is sooooooo pitted its not even funny. I need to get it replaced asap. I apply a coat of wax to it and it will help. But in three days it just goes away. Im just scared of the crappy things I hear of all theses places replacing windshields. My biggest delema is I want to go OEM because I hear that it has a special coating??? But who knows I just dont want a crappy install with road noise to come with it,.....if anybody can chime in on this please do. Your install looks clean as F@(%!!! you have ***** sir. Thumbs up
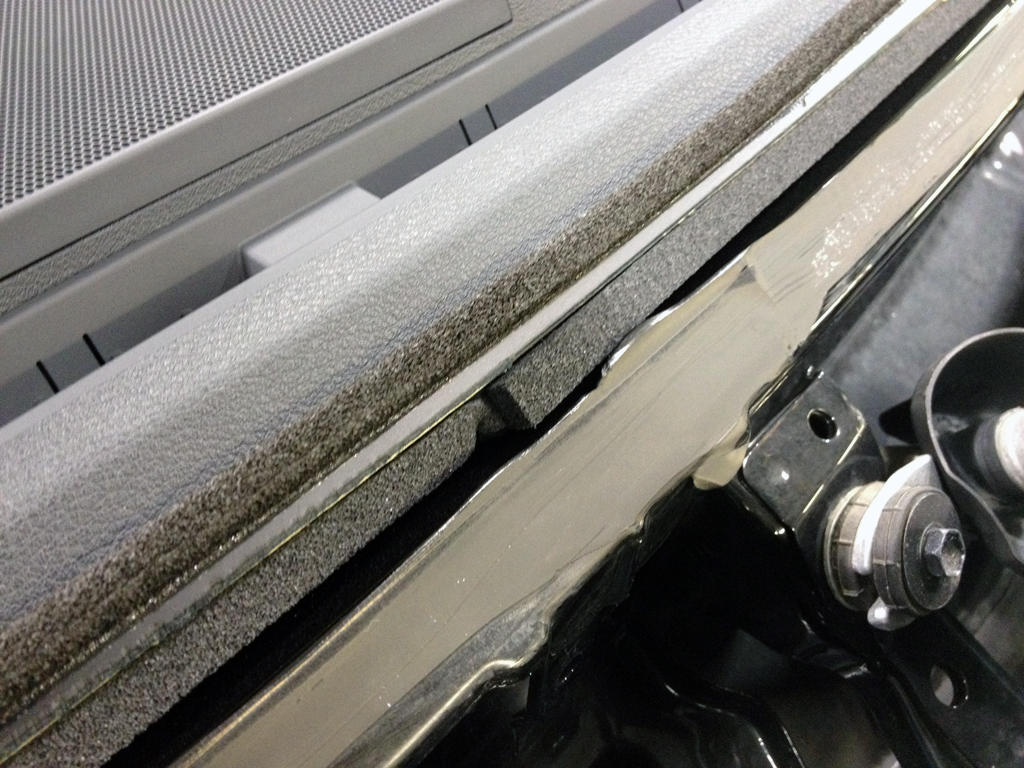
I took a picture of the foam so you can see what it is:
Jeff
#18
Thread Starter
Keeping it Real
iTrader: (1)
Joined: Apr 2009
Posts: 5,043
Likes: 614
From: California
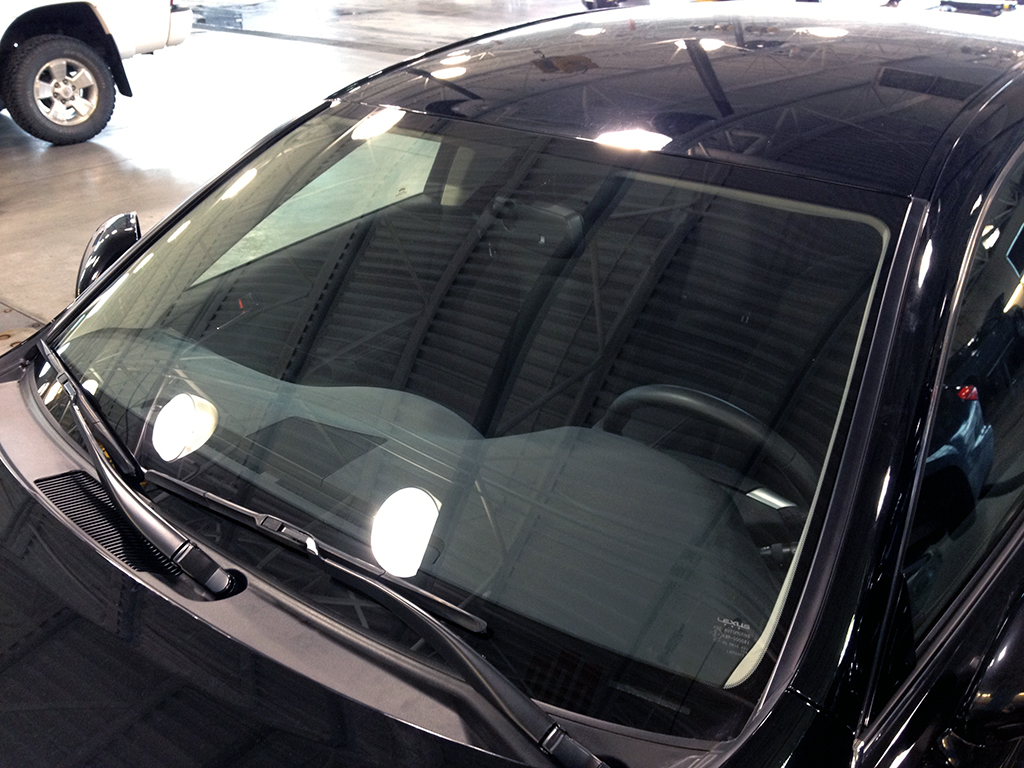
Well the job is all done now, drove the car home tonight, here are my final pictures of the install:
JDM tyte!
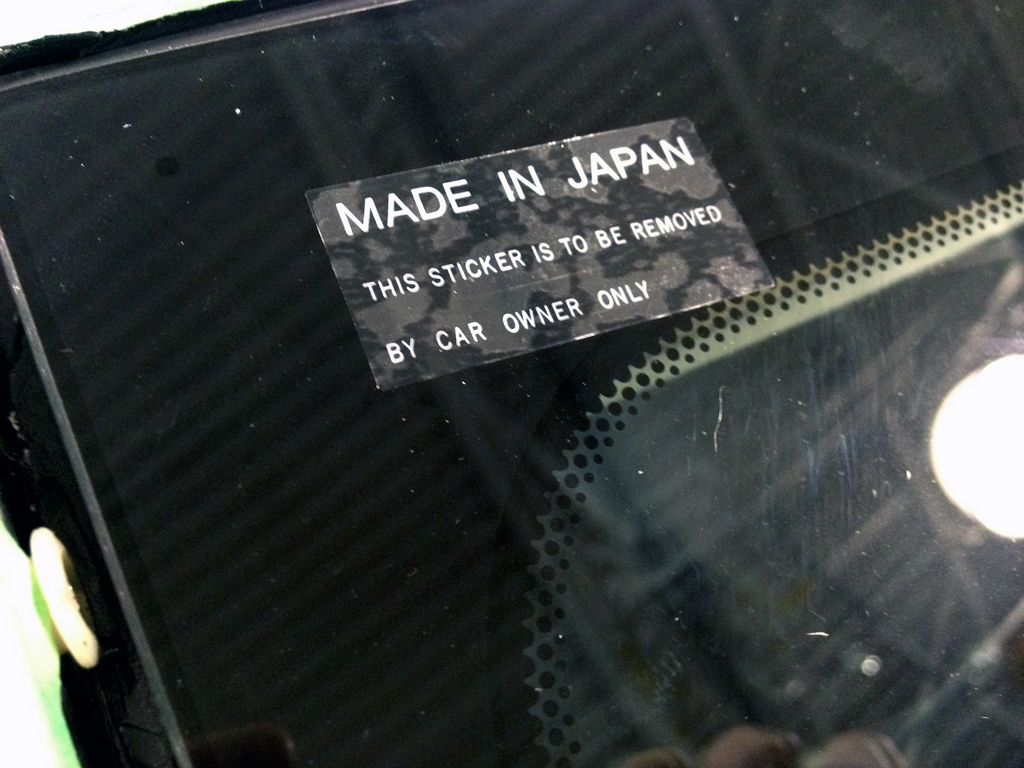
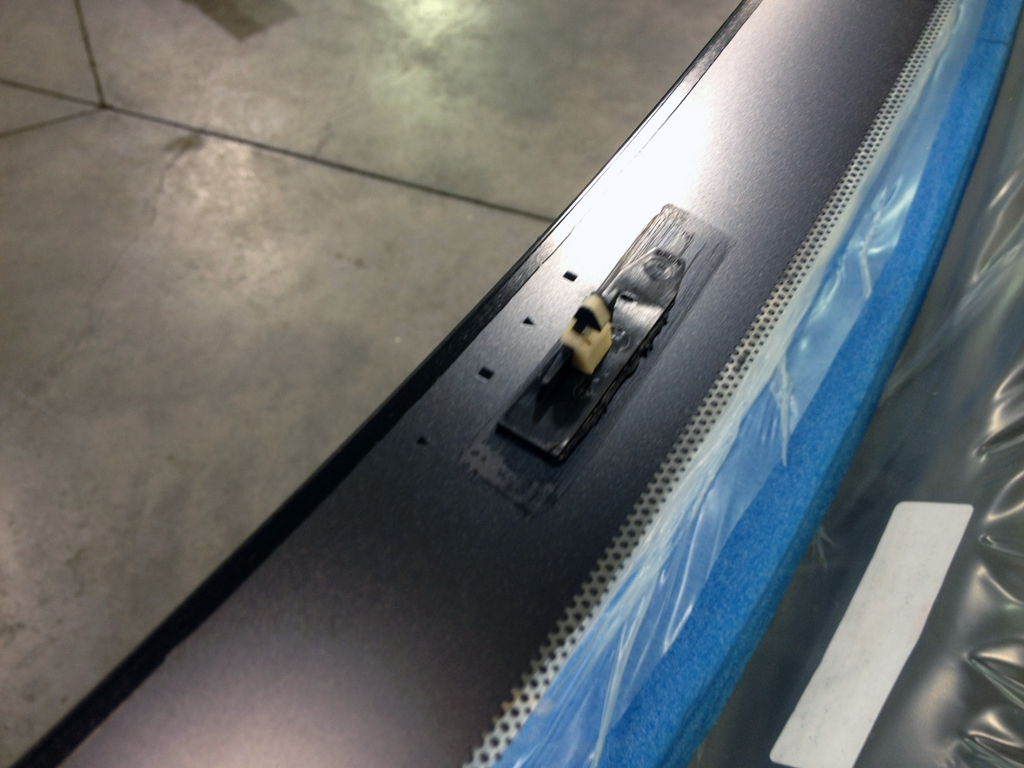
So after opening up the new factory glass, I found that the new glass had the factory-style 1-piece stopper clips already installed on the glass. The ones I previously posted (2-piece), are to be used when reusing the glass I guess, or if you wanted to use them on aftermarket glass I guess you could. You can see the markings on the glass for positioning the stoppers.
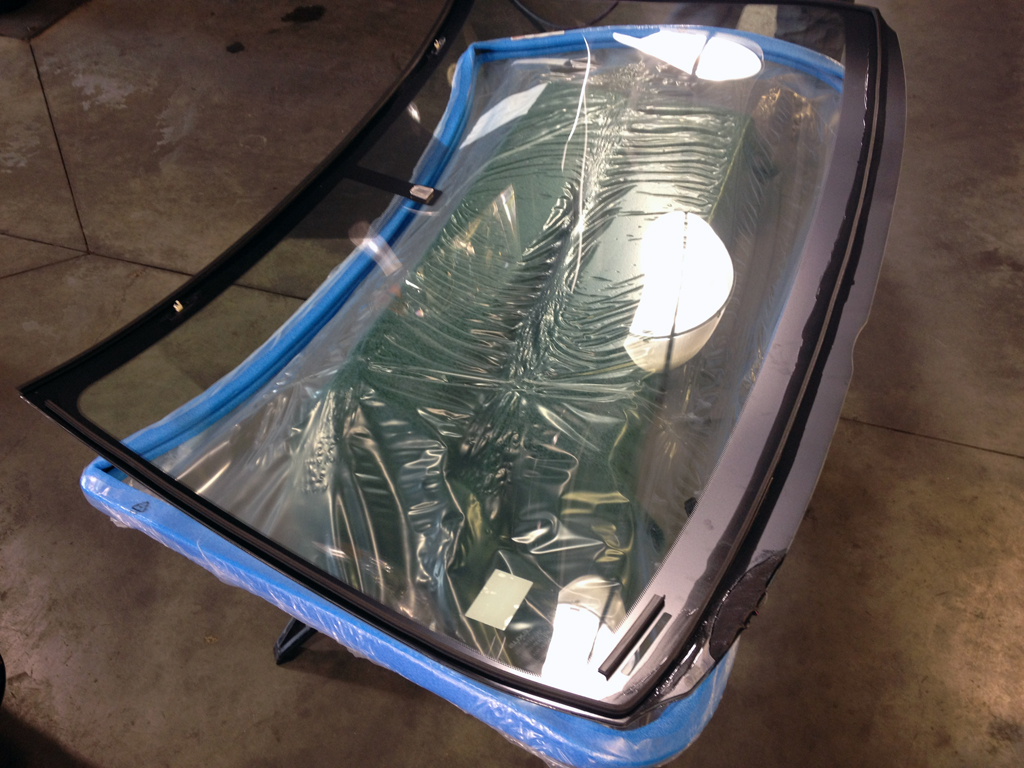
The first step to prep the glass is to apply glass primer to all of the areas where adhesive is going to be applied, this includes where the upper moulding and adhesive dam go. After applying the primer and letting it dry for 3 minutes, I installed the upper moulding and adhesive dam to the glass, making sure to take careful measurements so it all went in the right place.
I then test fit the glass in the car to make sure it was correct, the factory upper stoppers worked beautifully to position the glass, and after a slight adjustment to the right it was sitting perfect.
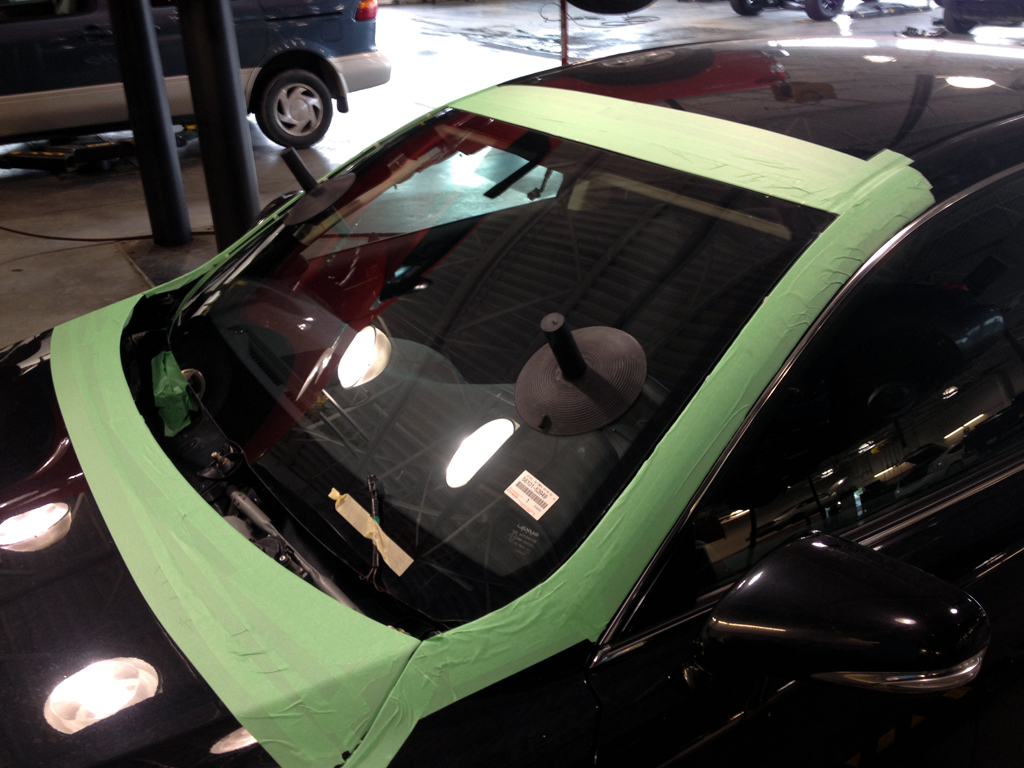
After the successful test fit, I cut the tip for the urethane to a V-shape as per Lexus' instructions. Using a V-shape actually makes it easier to apply an even bead as well I've found versus using a round bead. V-shape: 8mm x 12mm high, though it actually ends up being about 6-7mm wide as you go, which is on par Lexus' instructions stating a 3mm centre-line for the V.
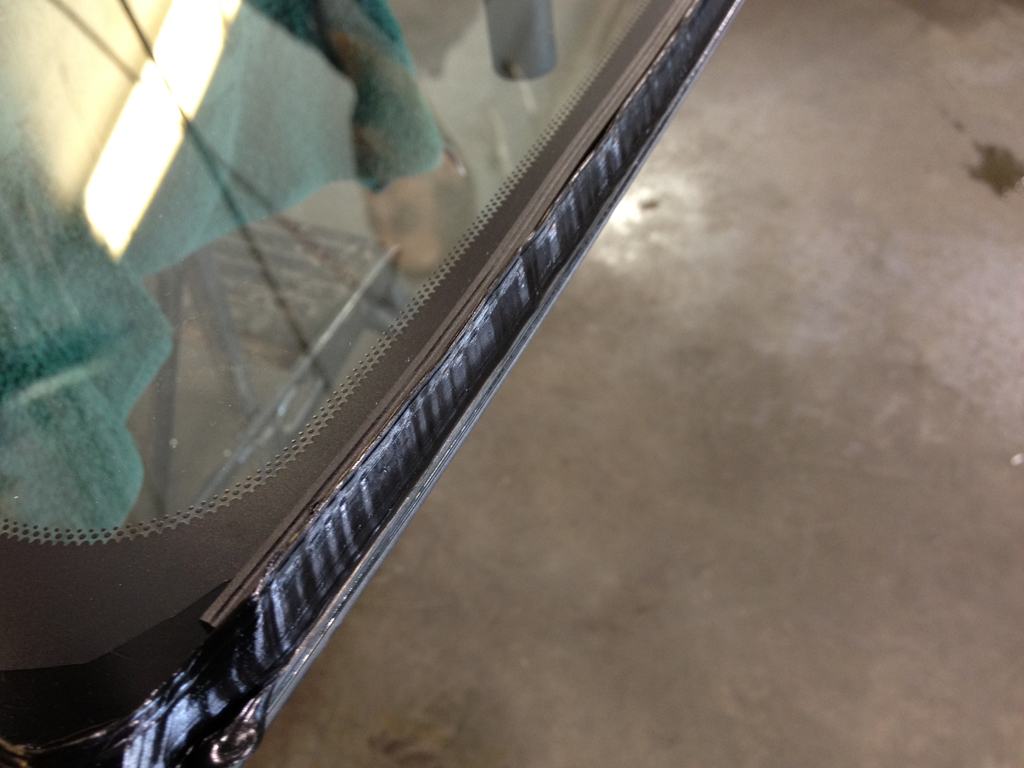
You can see that once the glass is in place, there is almost no excess. The upper stoppers again held the glass in place and I had marks for left/right position so that it would also be perfect. Here you can see the side area and the perfect amount of urethane without any excess to bond to the side moulding, etc.
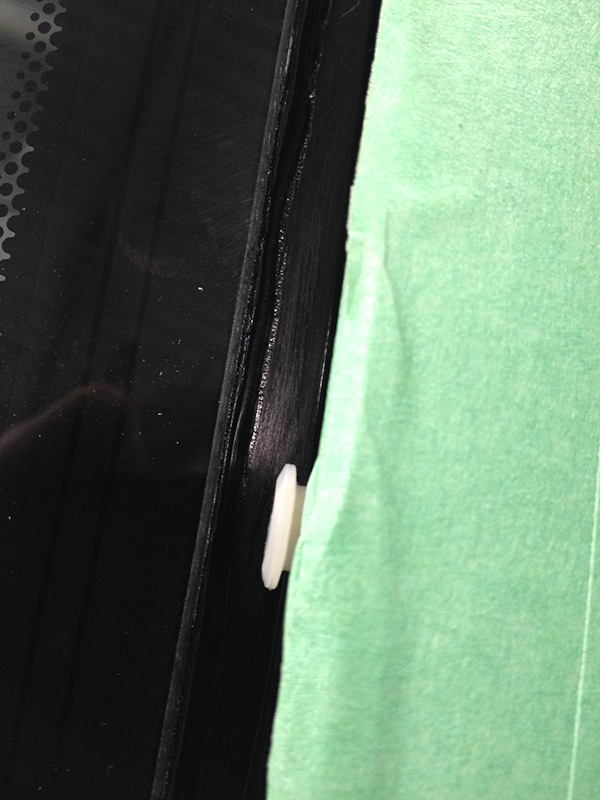
Here you can see the glass installed with the new blue side moulding clips installed on each side. These are to be removed/replaced when changing the windshield. They are basically 1-time use clips and I had to replace them all.
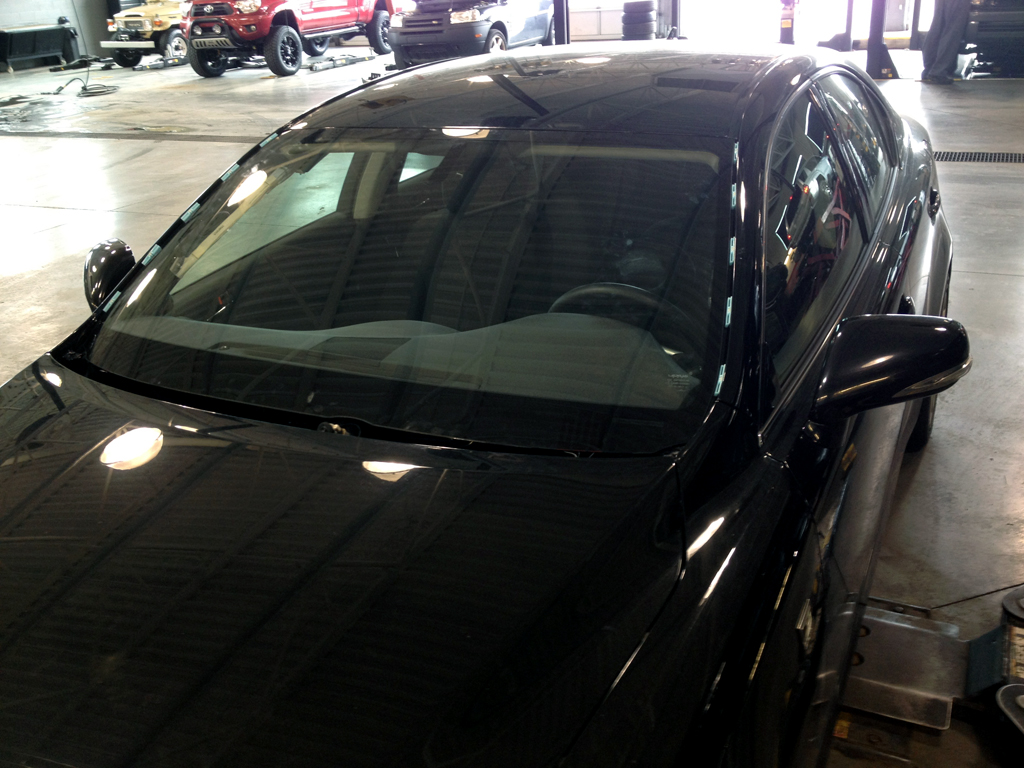
Finally after waiting the prescribed 5-hours for curing, the car was ready to drive. New windshield installed, all interior put back in, no excess urethane, nothing scratched or cut. I didn't even get any urethane on my hands (a first) while doing this installation. I am very pleased to say the least.
Jeff
JDM tyte!

So after opening up the new factory glass, I found that the new glass had the factory-style 1-piece stopper clips already installed on the glass. The ones I previously posted (2-piece), are to be used when reusing the glass I guess, or if you wanted to use them on aftermarket glass I guess you could. You can see the markings on the glass for positioning the stoppers.

The first step to prep the glass is to apply glass primer to all of the areas where adhesive is going to be applied, this includes where the upper moulding and adhesive dam go. After applying the primer and letting it dry for 3 minutes, I installed the upper moulding and adhesive dam to the glass, making sure to take careful measurements so it all went in the right place.

I then test fit the glass in the car to make sure it was correct, the factory upper stoppers worked beautifully to position the glass, and after a slight adjustment to the right it was sitting perfect.

After the successful test fit, I cut the tip for the urethane to a V-shape as per Lexus' instructions. Using a V-shape actually makes it easier to apply an even bead as well I've found versus using a round bead. V-shape: 8mm x 12mm high, though it actually ends up being about 6-7mm wide as you go, which is on par Lexus' instructions stating a 3mm centre-line for the V.

You can see that once the glass is in place, there is almost no excess. The upper stoppers again held the glass in place and I had marks for left/right position so that it would also be perfect. Here you can see the side area and the perfect amount of urethane without any excess to bond to the side moulding, etc.

Here you can see the glass installed with the new blue side moulding clips installed on each side. These are to be removed/replaced when changing the windshield. They are basically 1-time use clips and I had to replace them all.

Finally after waiting the prescribed 5-hours for curing, the car was ready to drive. New windshield installed, all interior put back in, no excess urethane, nothing scratched or cut. I didn't even get any urethane on my hands (a first) while doing this installation. I am very pleased to say the least.

Jeff
#19
Pole Position
iTrader: (10)
Joined: Sep 2010
Posts: 3,382
Likes: 8
From: Vancouver, BC / Seattle, WA
Just in-case Jeff didn't mention it. Since it is a Canadian car, his car does have the front windshield deicer so if one were to order the glass, get the right one!!
-----------
Jeff, in the photos, I don't really see the front windshield deicer in there. Can you take a better pic of them?
-----------
Jeff, in the photos, I don't really see the front windshield deicer in there. Can you take a better pic of them?
#20
Nice detailed pictures.
Too bad I can't tell what's making that dashboard creaking problems that so many people here have. I stopped mine by stuffing a lot of foam in the crack between the dashboard and windshield.
Too bad I can't tell what's making that dashboard creaking problems that so many people here have. I stopped mine by stuffing a lot of foam in the crack between the dashboard and windshield.
#26
Thread Starter
Keeping it Real
iTrader: (1)
Joined: Apr 2009
Posts: 5,043
Likes: 614
From: California
I guess so, but every time I've ever had someone else do an install, at least one of the steps has gotten botched one way or another. I end up with my headliner glued to my roof, or some dirty urethane fingerprint on my a-pillar trim, or a small cut on one of the a-pillar trim, or broken clips on the cowl, or wipers installed in the wrong place, or the glass sitting slightly too far to the left/right, or visible urethane inside the car, or the glass sitting too high, or the mouldings installed incorrectly with missing or broken clips, or the moulding just glued in place with no clips, or whatever else they forget to do, or whatever. (Every single thing in that list has happened to me personally on various cars, and I haven't had that many windshields done. Feelsbadman.)
Instead I just spent a day slowly prepping and working on my car, it wasn't stressful or even that hard, just takes a bit of time. I've seen how most glass installers work, both in person and watching "instructional" videos online, and quite frankly I don't want any of those people getting near my car. If someone was to cut my glass out again, they would have no idea it wasn't done at the factory. That's definitely worth it to me.
Most glass places will look after you if something goes wrong, like an A-pillar is scratched or if they cut something, but honestly I'd rather NOT have something happen than have somewhere that will look after me when something does go wrong (which it frequently does). We have windshields replaced daily and I've never seen one done what I would consider correctly.
To each their own indeed.
EDIT: What it comes down to, is that yes you can save hours of time if you skip steps to do things differently, but there are risks. I'm not one to take those risks. Most glass installers do 85% of the job in 10% (or less) of the time. For them, that makes sense, for my own car it doesn't.
Jeff
Last edited by Jeff Lange; 03-07-13 at 11:24 AM.


