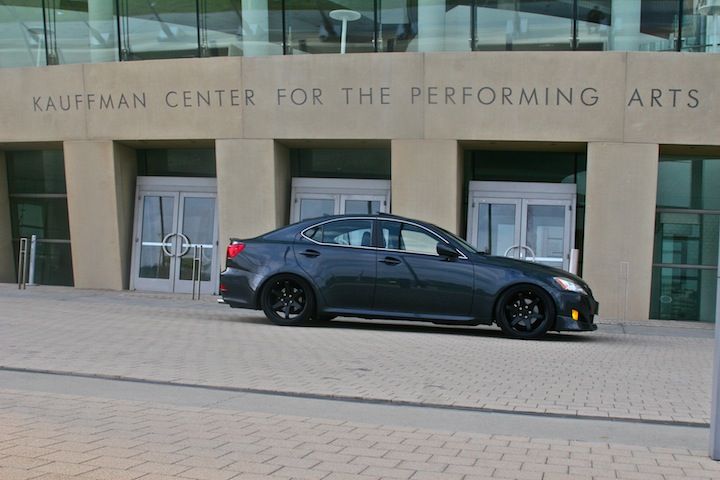
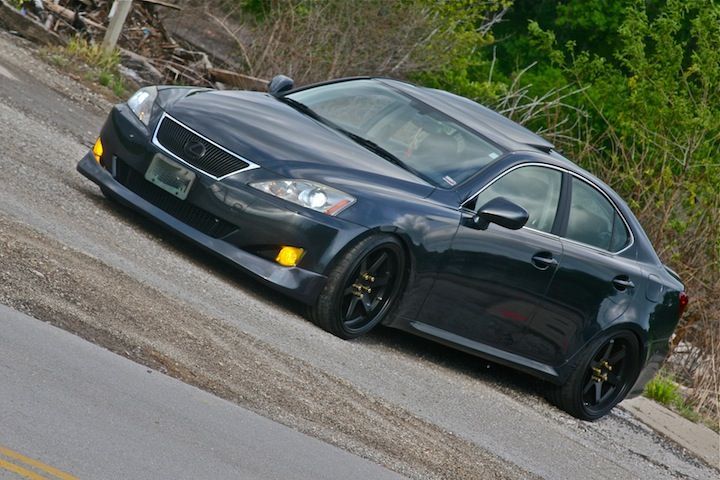
IS250 Finally Modded


 05-26-13, 11:57 AM
#32
Driver
Thread Starter
First off, for a "cheap" build it looks better than a lot of other builds I've seen around here with $$$ into them. Props on that.
What is eating your tire is the bumper tab. Do a quick google search "clublexus: bumper tab relocate" and you will have instructions on what to do to eliminate that rubbing.
Keep up the good work. I love the vertex kit. Some sideskirts and you'll be set.
What is eating your tire is the bumper tab. Do a quick google search "clublexus: bumper tab relocate" and you will have instructions on what to do to eliminate that rubbing.
Keep up the good work. I love the vertex kit. Some sideskirts and you'll be set.

Thanks!


 05-26-13, 10:33 PM
#38
Driver
Thread Starter
Thanks!
I spent a lot of time today to find out where it was rubbing at and found the problem. I was post pictures soon. Thanks for the input.
They are really nice. Quiet and smooth.
They are really nice. Quiet and smooth.
05-26-13, 11:24 PM
#39
Driver
Thread Starter
Spent a few hours today trying to find out where I was rubbing at. Every time I go over a small dip or bump it would be a LOUD bang and sounds like metal or concrete sound. It was tearing up my tire bad. I tried searching for the bumper tab relocate thread but couldn't find any good ones and it was sorta confusing so I decided to just see what I can do. After I did this, there were absolutely no more rubbing, but of course it rubs over HUGE dips at about 70 + mph but again, it isn't even that bad anymore as I did this. 
Front Driver Side Rubbing Issue Fixed
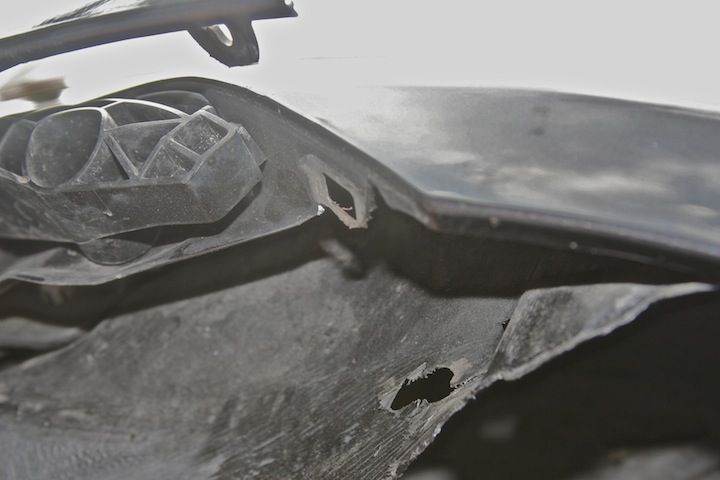
Took off the two clips that holds the fender lining.

Cut off the piece of plastic hub that sticks in towards the wheel located on right side of fender.
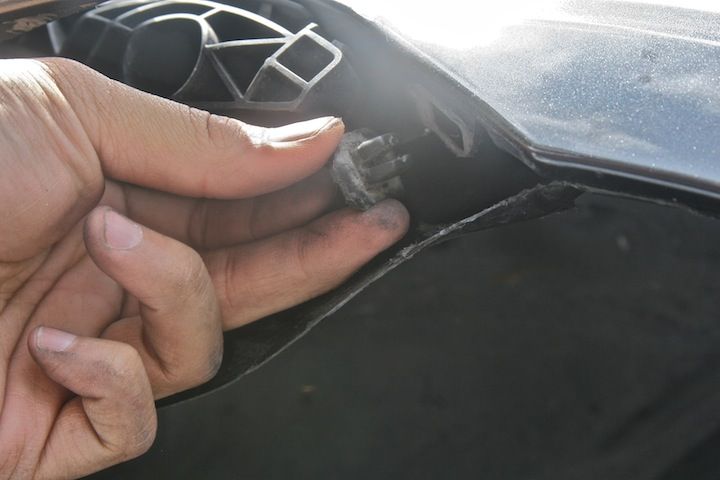
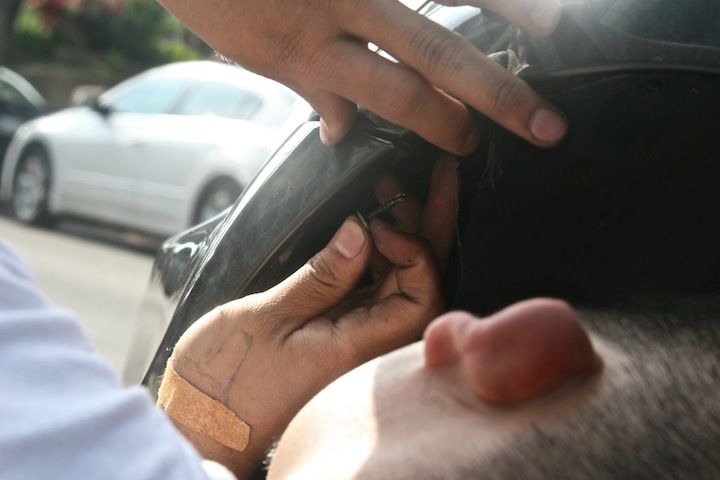
I guess this is the bumper tab that everyone is talking about. I trimmed it as close as possible, but realized it was still rubbing hard. The phillips screw driver is pointing to it.
Trimmed it to an "L" shape around the hole.
Trimmed the clip/screw that goes into the bumper tab as close as possible.
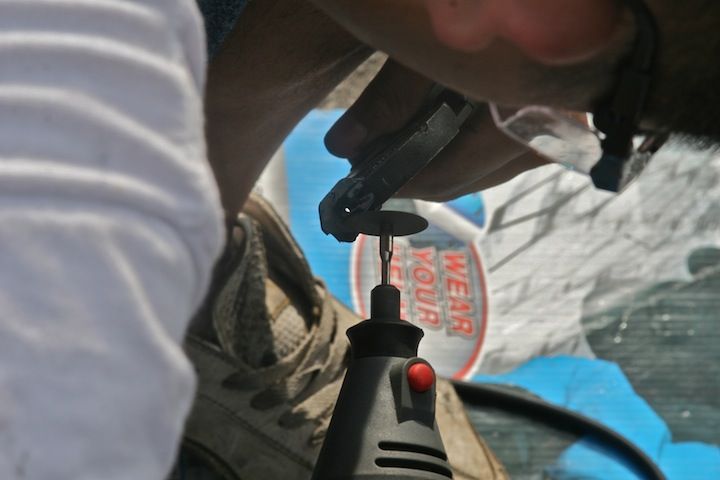
Trimming the bumper tab's clip/screw.
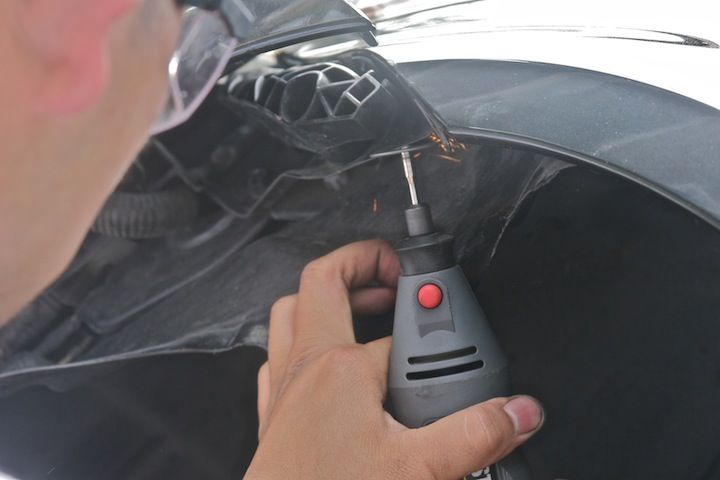
Trimming it did no good. So I ended up cutting off the whole bumper tab.
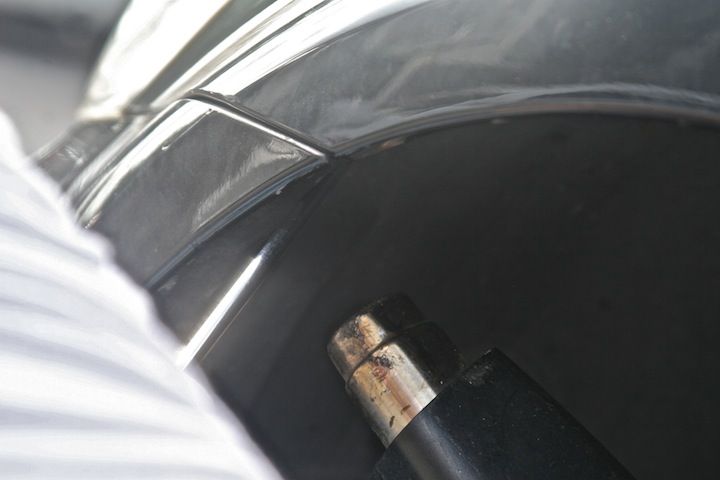
After cutting off the whole bumper tab, I needed to do something to hold my bumper up. I heard people using zip ties, but I figured that eventually it'll snap. So, I used a screw as you can see and found a place to drill in so it would hold the bumper stable but in place.
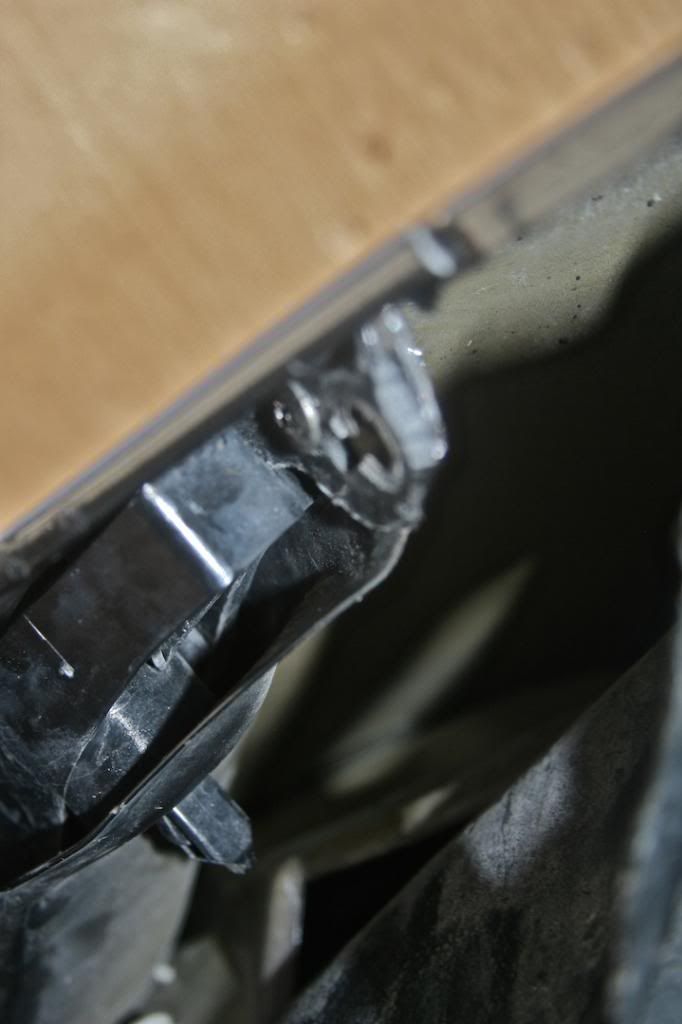
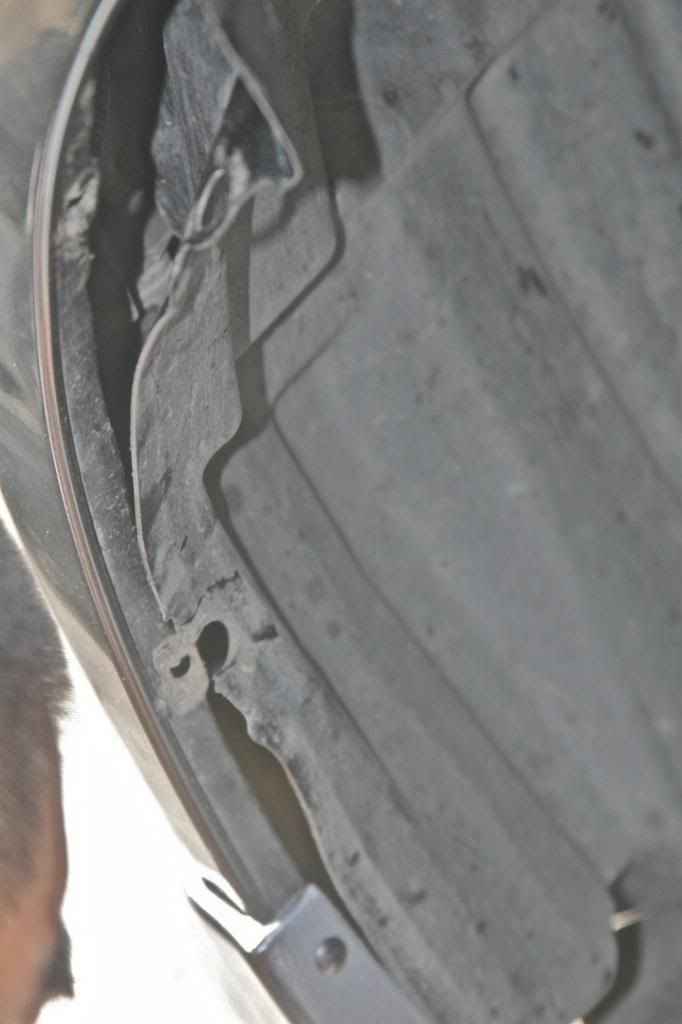
There is where I "relocated" the bumper tab. I drilled directly in next to the other tab. You can see the screw I used to drill it in. Apologies for the bad focus, the sun was directly beaming at my eye.
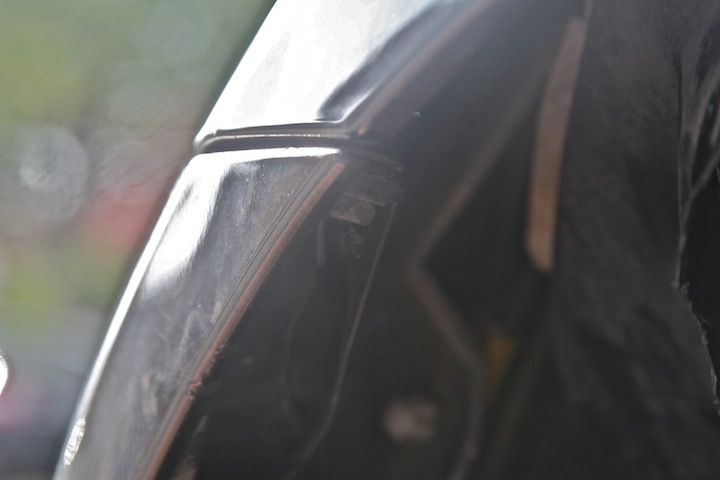
Boom. Super room-age but still not done!
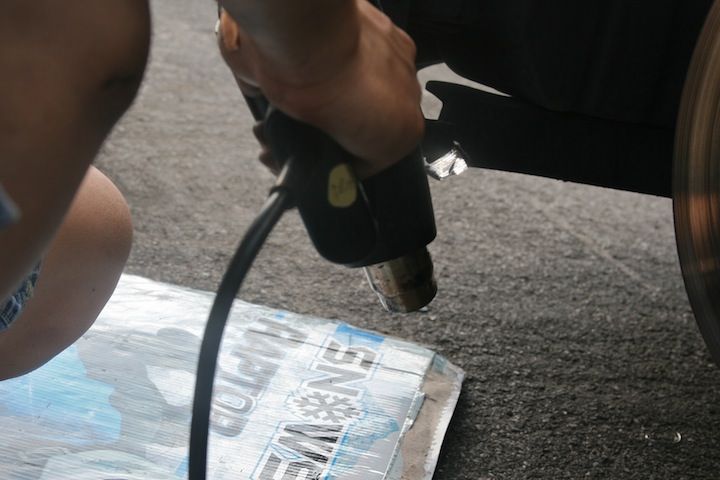
Everything seemed to look good, but I decided to be extra sure so I used a heat gun to head up the inner lining where the bumper tab was originally at and pushed it in as close to the wheel well as possible.
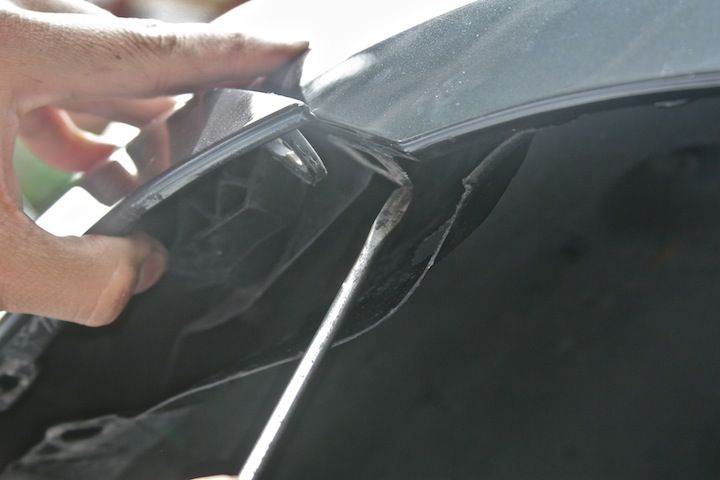
Heating it up and using a screw driver as it can be very hot. DO NOT USE YOUR HANDS OR GLOVES.

As you heat it and push it close to the wheel well as you can, spray COLD water to it so that it will stay in place. ALSO, if you noticed, I tucked the fender lining around the fender..
And there you go. Fixed the rubbing issue. Keep in mind that this particularly worked for my rubbing issue but I will not sure if it would help you, but hope this can help the rest of the ClubLexus community.
Front Driver Side Rubbing Issue Fixed
Took off the two clips that holds the fender lining.
Cut off the piece of plastic hub that sticks in towards the wheel located on right side of fender.
I guess this is the bumper tab that everyone is talking about. I trimmed it as close as possible, but realized it was still rubbing hard. The phillips screw driver is pointing to it.
Trimmed it to an "L" shape around the hole.
Trimmed the clip/screw that goes into the bumper tab as close as possible.
Trimming the bumper tab's clip/screw.
Trimming it did no good. So I ended up cutting off the whole bumper tab.
After cutting off the whole bumper tab, I needed to do something to hold my bumper up. I heard people using zip ties, but I figured that eventually it'll snap. So, I used a screw as you can see and found a place to drill in so it would hold the bumper stable but in place.
There is where I "relocated" the bumper tab. I drilled directly in next to the other tab. You can see the screw I used to drill it in. Apologies for the bad focus, the sun was directly beaming at my eye.
Boom. Super room-age but still not done!
Everything seemed to look good, but I decided to be extra sure so I used a heat gun to head up the inner lining where the bumper tab was originally at and pushed it in as close to the wheel well as possible.
Heating it up and using a screw driver as it can be very hot. DO NOT USE YOUR HANDS OR GLOVES.
As you heat it and push it close to the wheel well as you can, spray COLD water to it so that it will stay in place. ALSO, if you noticed, I tucked the fender lining around the fender..
And there you go. Fixed the rubbing issue. Keep in mind that this particularly worked for my rubbing issue but I will not sure if it would help you, but hope this can help the rest of the ClubLexus community.
05-27-13, 06:04 PM
#42
Driver
Thread Starter