
DIY: Headliner removal / swap
 05-07-13, 03:09 PM
#1
Pole Position
Thread Starter

When I first posted about doing the swap on my "build" there was a lot of people asking how i was planning on doing it, was there a diy etc etc so I finally did the swap to all OEM isf/f sport black headliner pieces and snapped pics on the way. hopefully this will help people trying to do the swap, or wanting to rewrap their parts themselves
So here is the first part of the headliner swap. Ill probably rewrite this and post it more as a diy later.
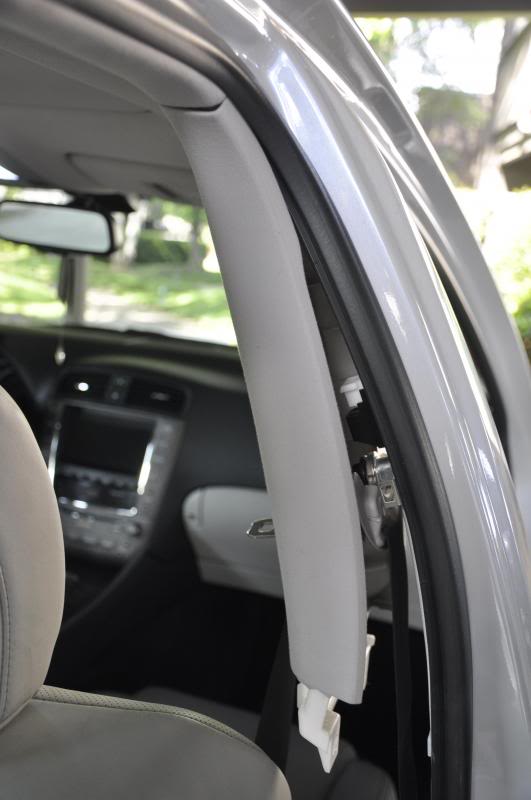
First a pillars;
pry away from the body as far as you can
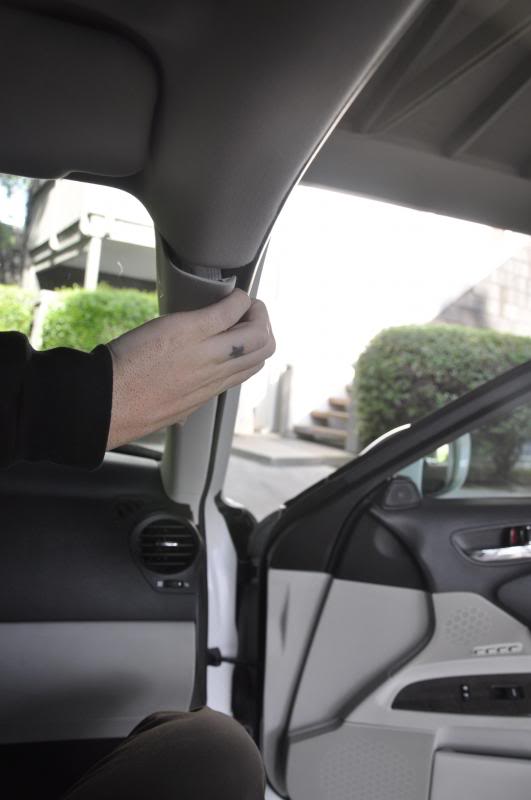
use a needle nose pillars to twist the black plastic to release the pillar
there is one tab at the bottom connected to the lower trim that will need to be released and then the pillar is free
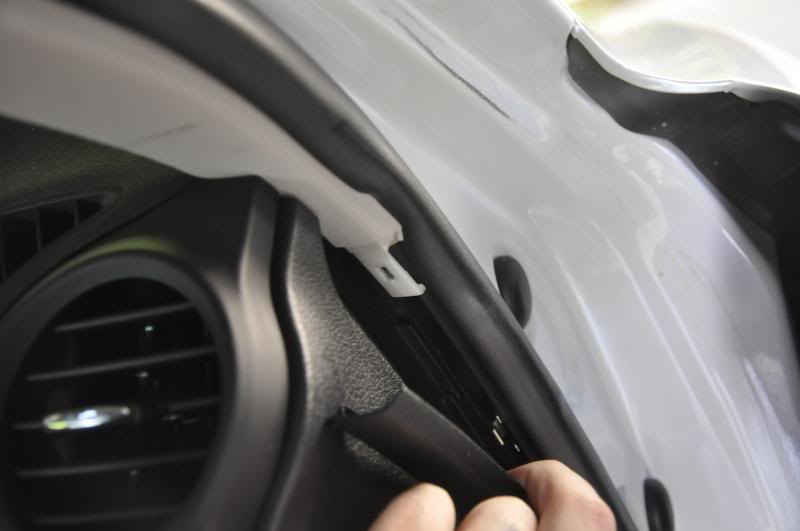
b pillars:
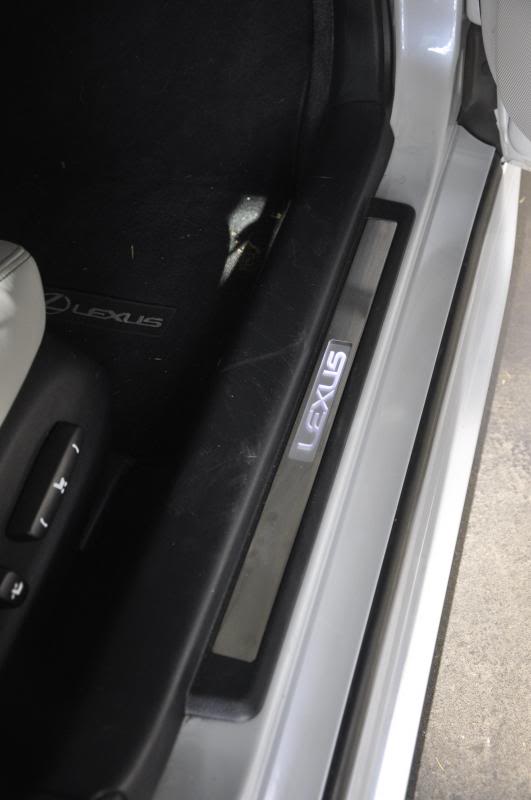
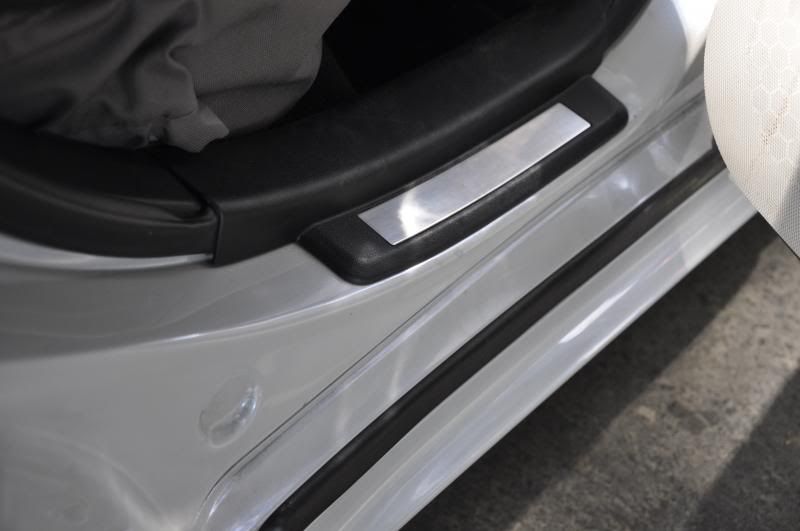
remove the front and rear scuff plates
remove lower b pillar plastic trim
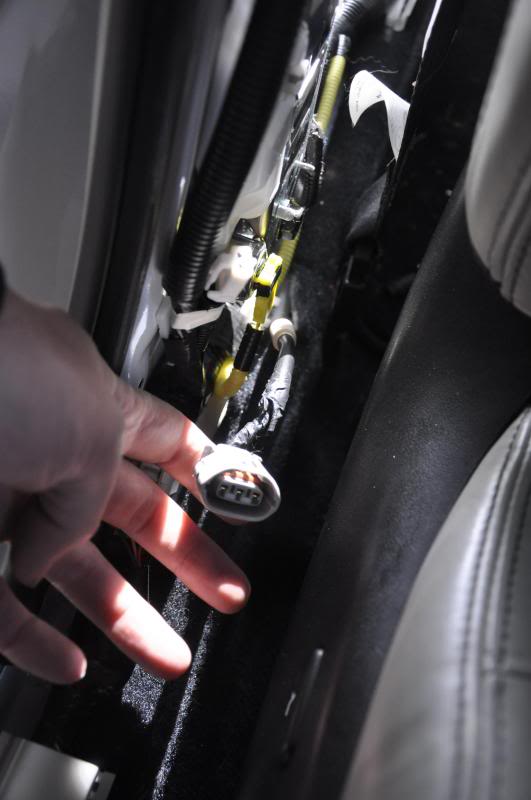
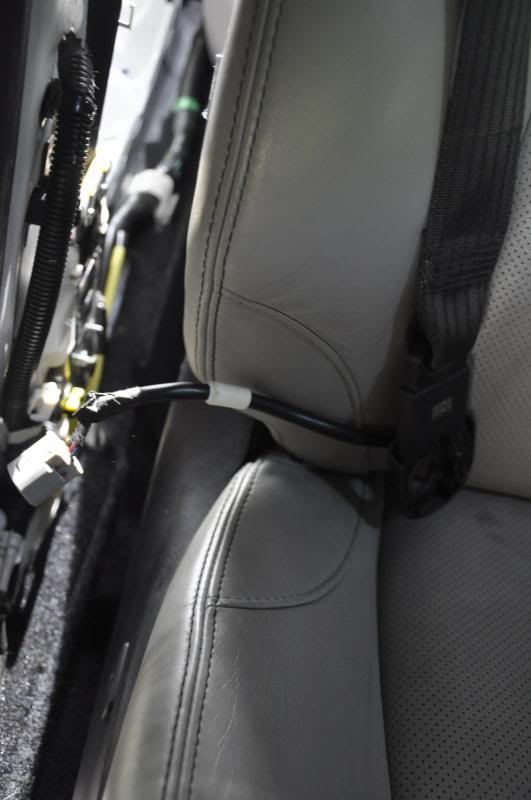
remove lower seatbelt bolt cover and undo bolt. unclip wiring
remove two screws on lower b pillar
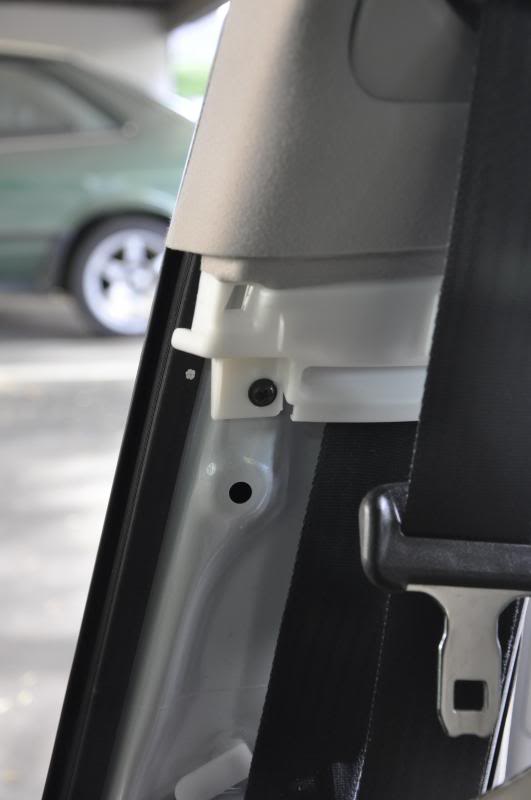
pry out and pull down, thread seatbelt thru the opening
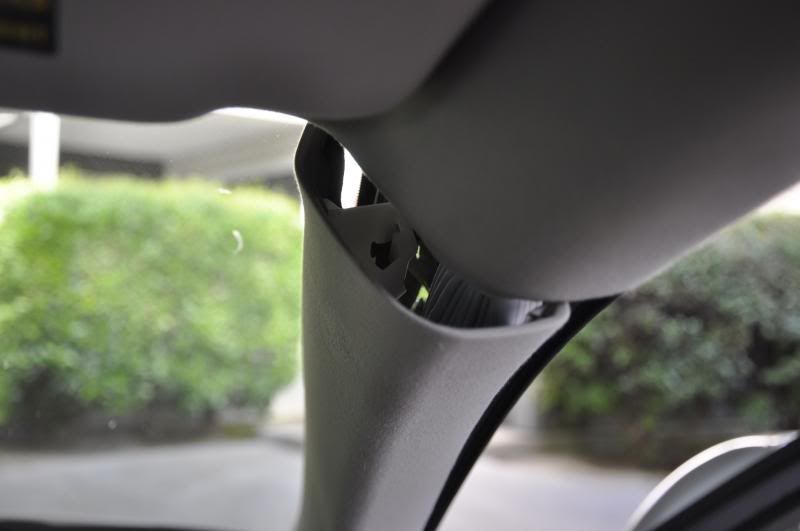
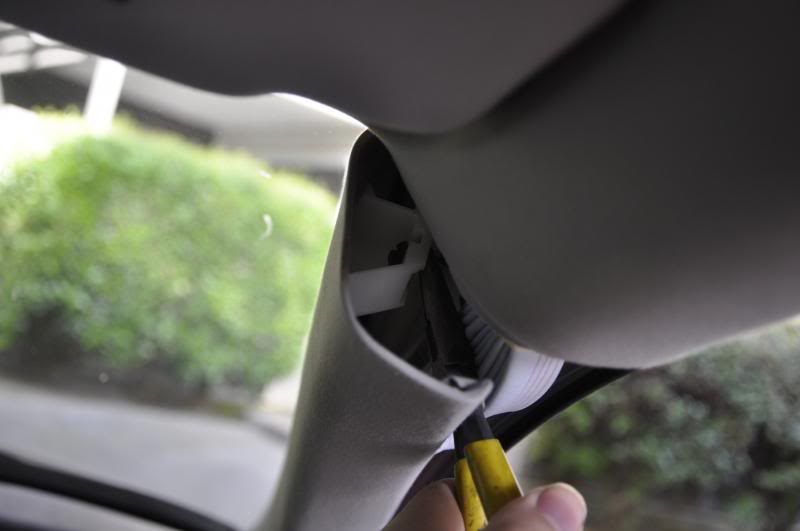
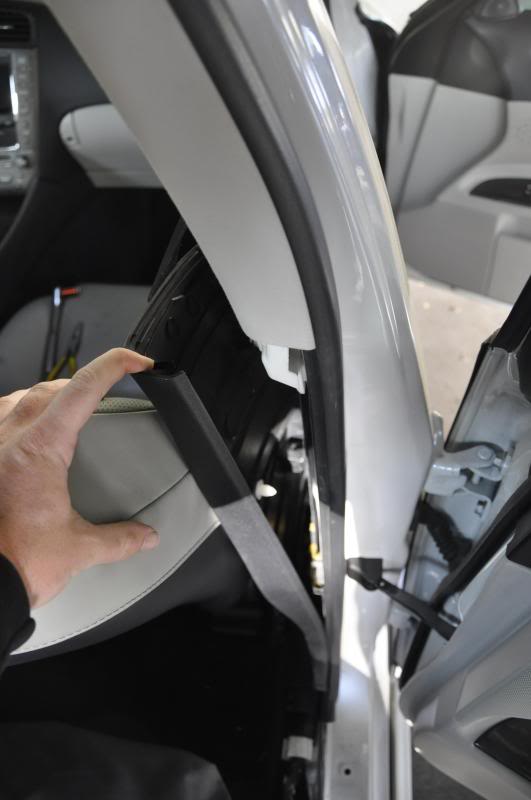
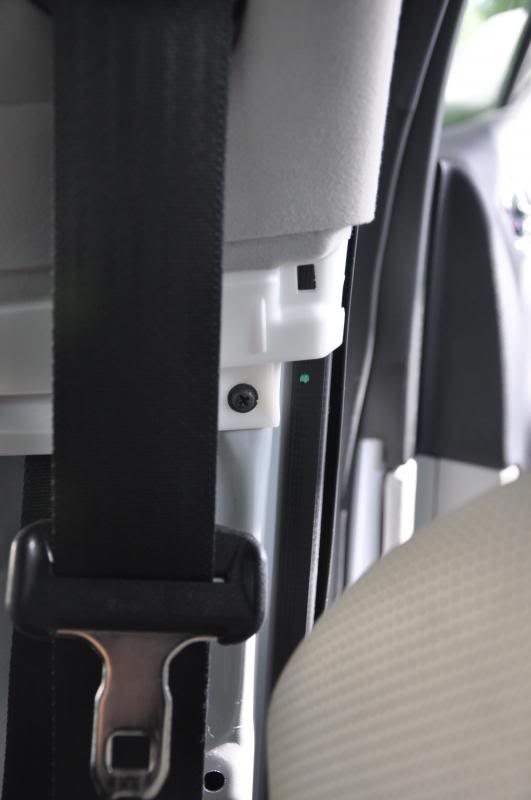
c pillar:
pry and pull away from the body, there is a tab holding it to the lower trim plastic that needs to be released
Lower trim that needs to be released

Visors:
visor holder:
twist 90* and gently pull out (yes i already had the black ones in)
visor:
remove cover (prys off)
undo two screws and visor will just pull out
So here is the first part of the headliner swap. Ill probably rewrite this and post it more as a diy later.
First a pillars;
pry away from the body as far as you can


use a needle nose pillars to twist the black plastic to release the pillar

there is one tab at the bottom connected to the lower trim that will need to be released and then the pillar is free

b pillars:
remove the front and rear scuff plates


remove lower b pillar plastic trim

remove lower seatbelt bolt cover and undo bolt. unclip wiring


remove two screws on lower b pillar


pry out and pull down, thread seatbelt thru the opening


c pillar:
pry and pull away from the body, there is a tab holding it to the lower trim plastic that needs to be released

Lower trim that needs to be released

Visors:
visor holder:

twist 90* and gently pull out (yes i already had the black ones in)


visor:
remove cover (prys off)

undo two screws and visor will just pull out

 05-07-13, 03:09 PM
#2
Pole Position
Thread Starter
continued:
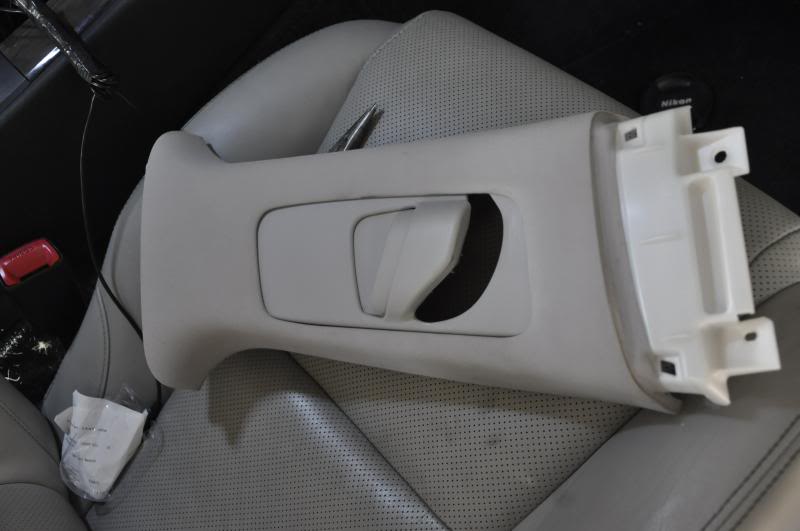
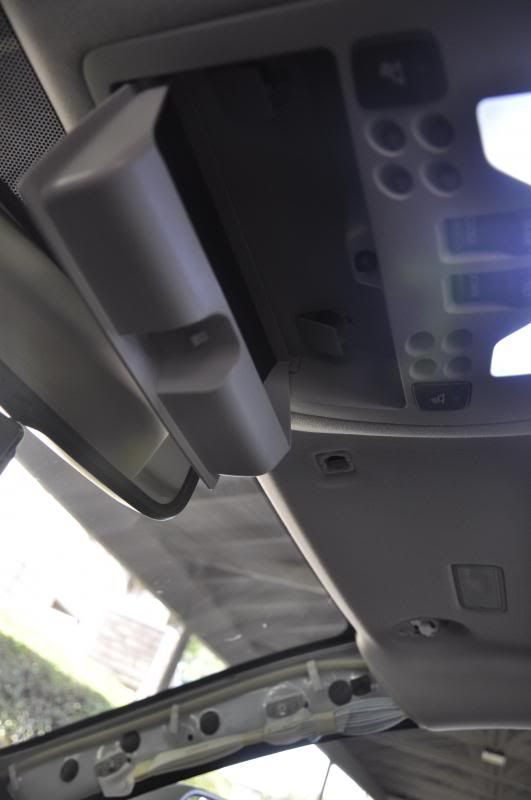
remove the upper console with the 2 screws and pull down
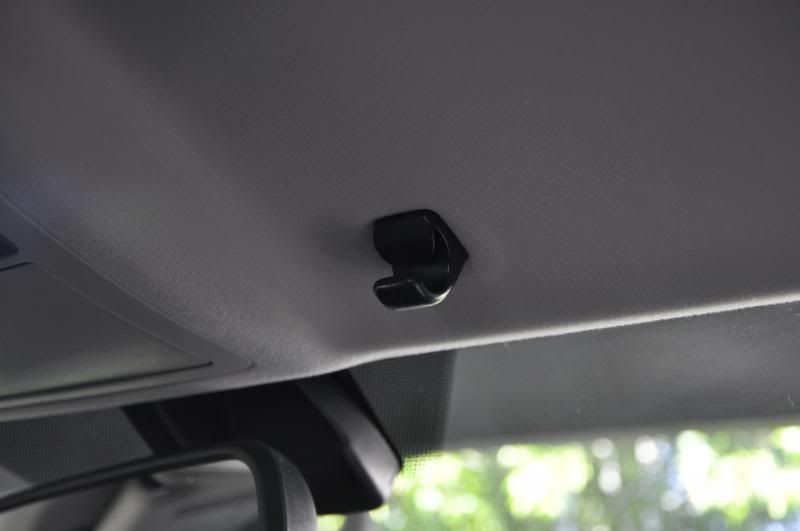
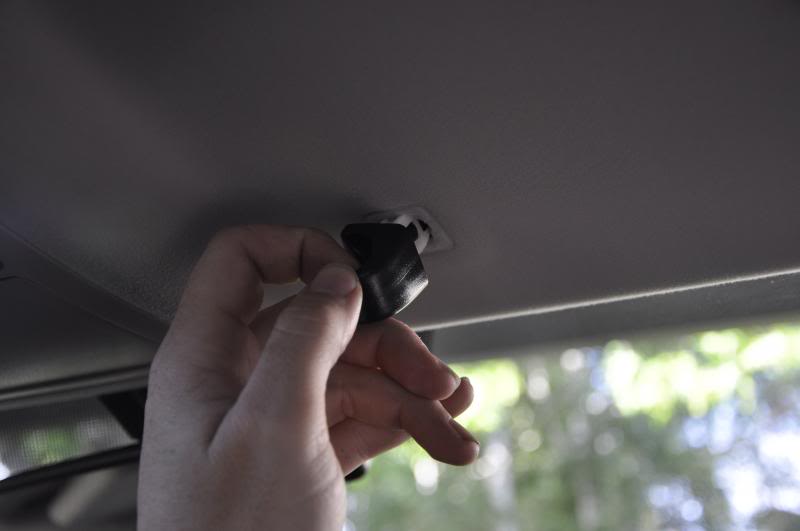
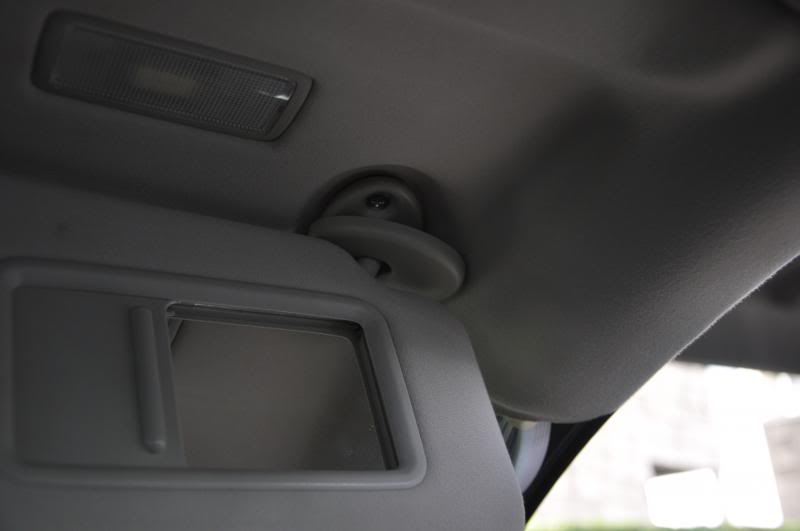
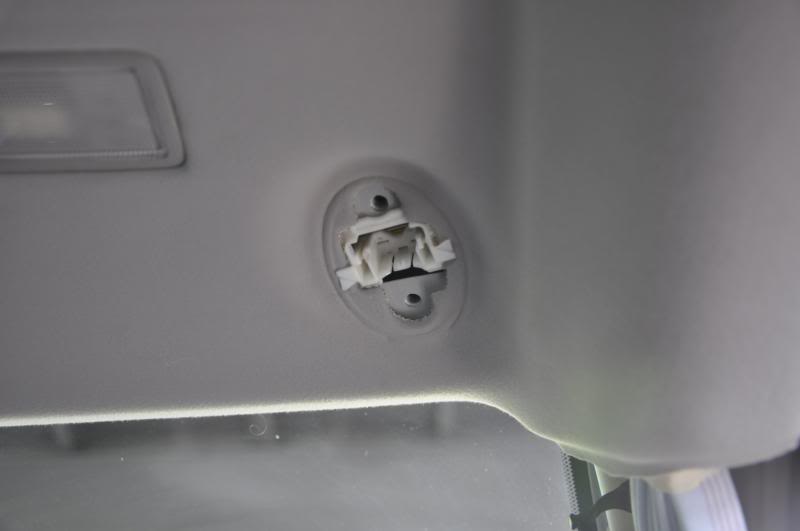
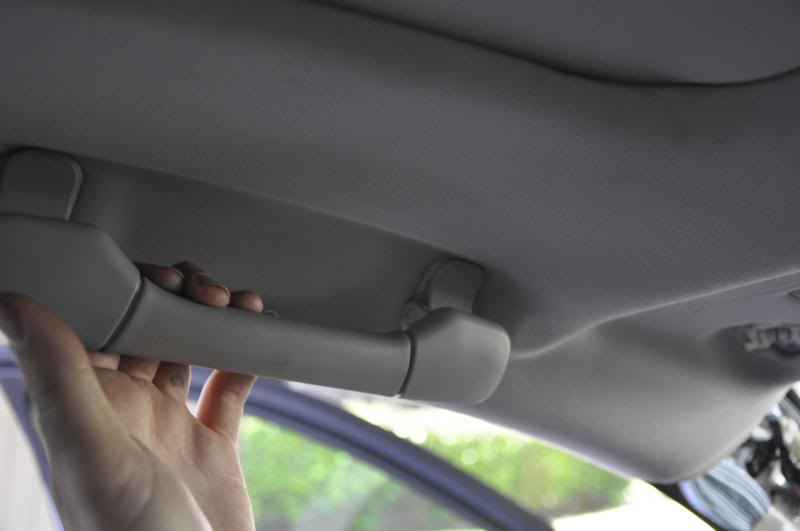
remove handles by prying out the plastic "plug" and remove metal clips

remove rear upper lights (pull to remove, didnt take pics)
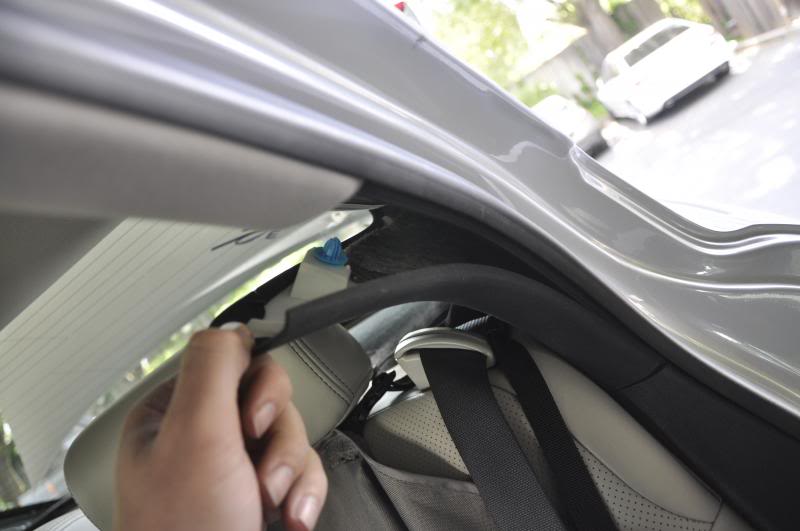
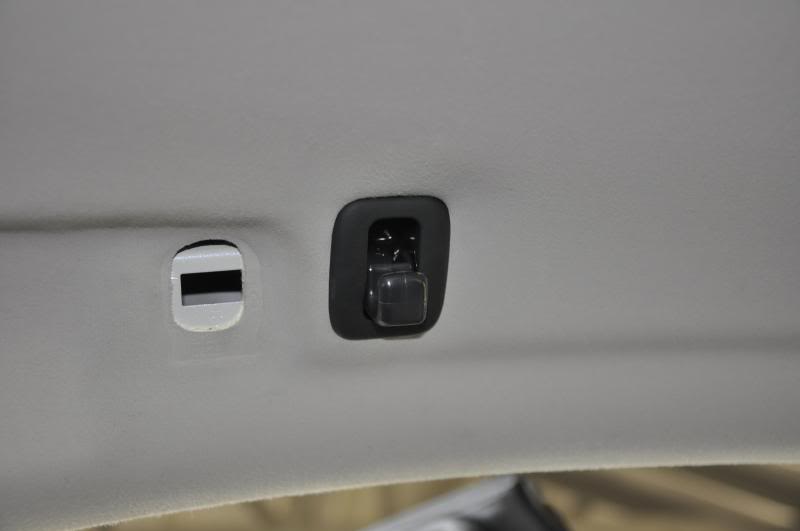
remove coat hangers (one screw)
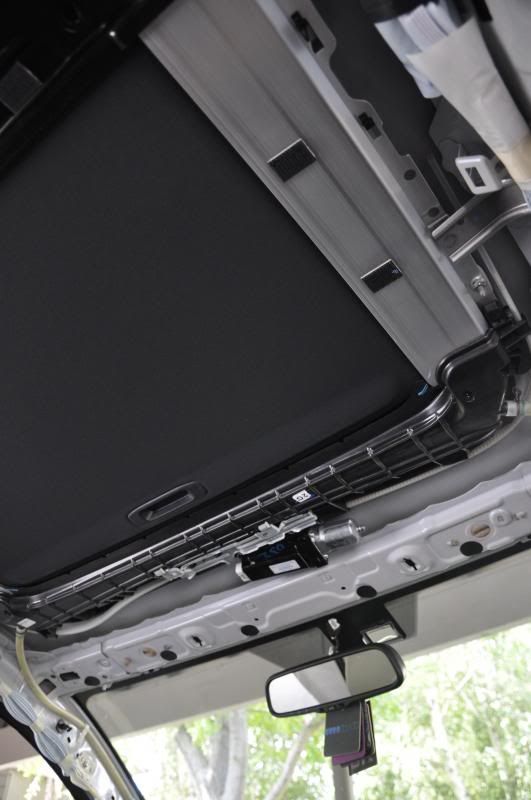
Then pull down headliner carefully. there are 2 clips in the very back, a handful of clips along the side, and velcro right behind the sunroof
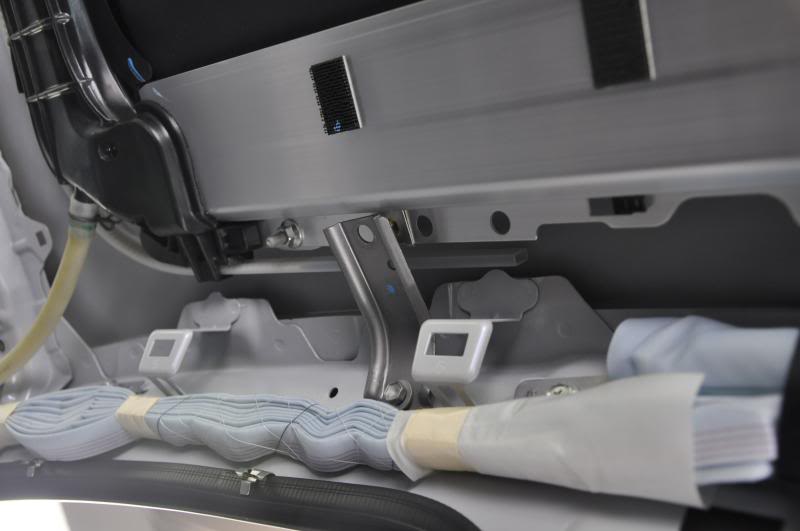
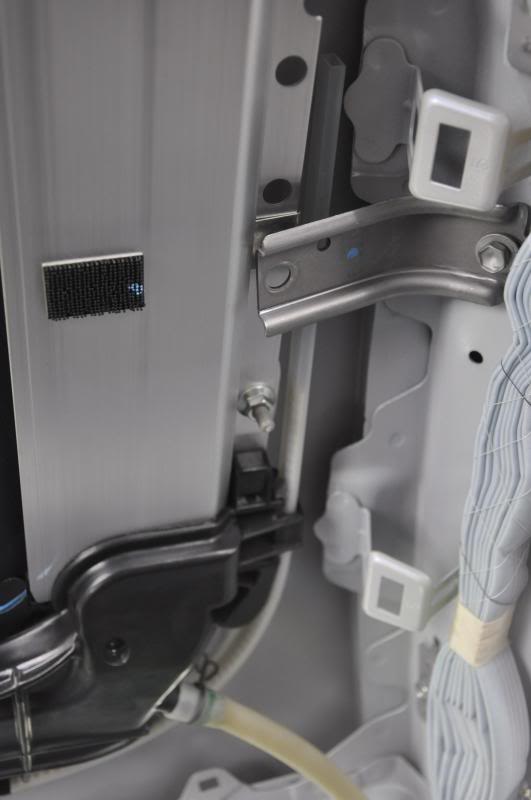
Next you need to drop down the back of the sunroof to be able to remove the sunshade
these bolts will need to be removed:
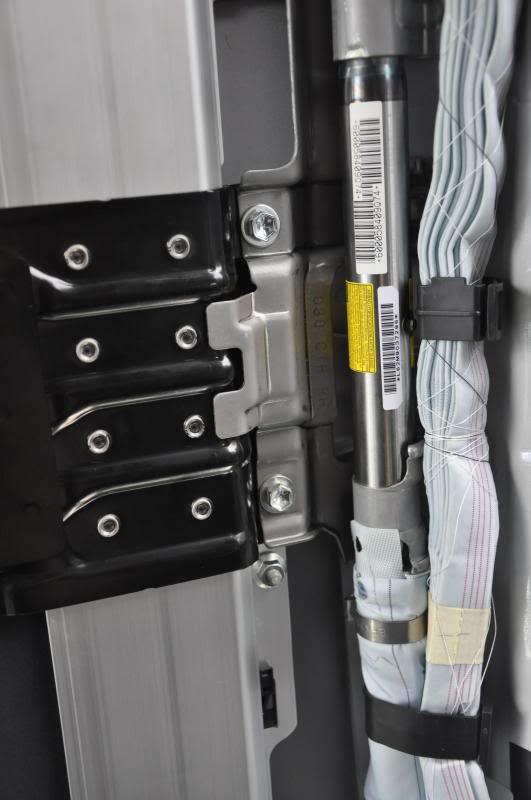
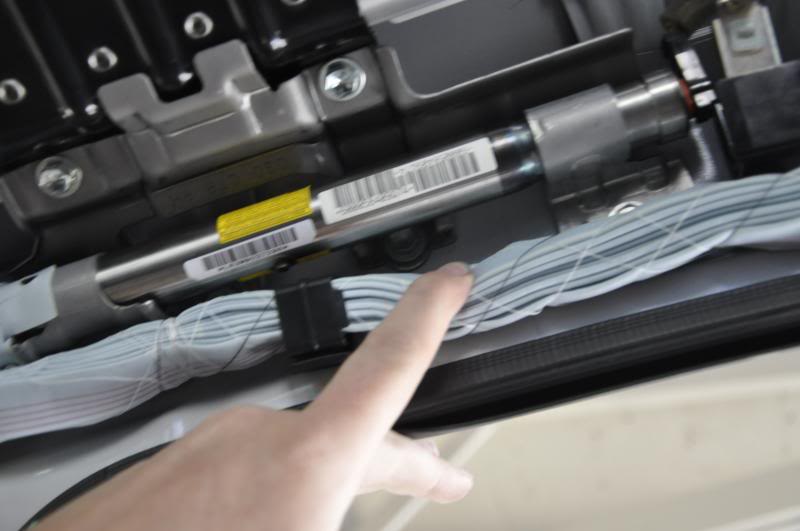
Once you are able to drop it down far enough to get a screw driver in there, remove the end of the rail that goes into the drain
slide out the original sunshade and install the new one
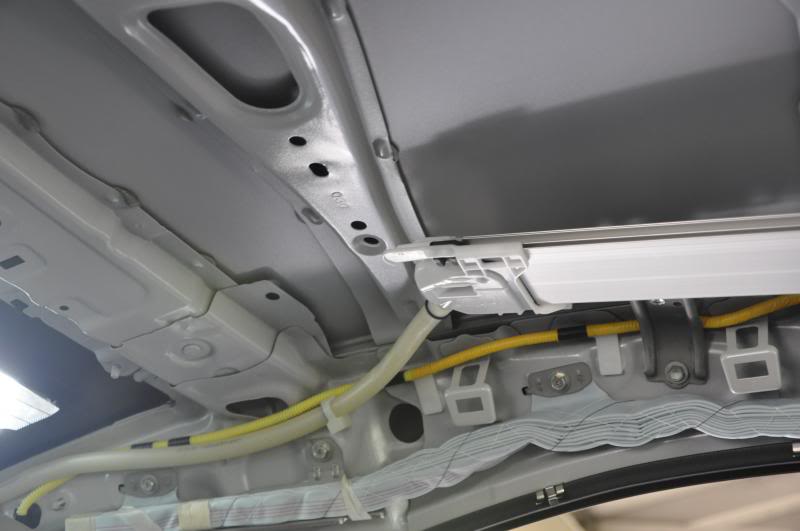
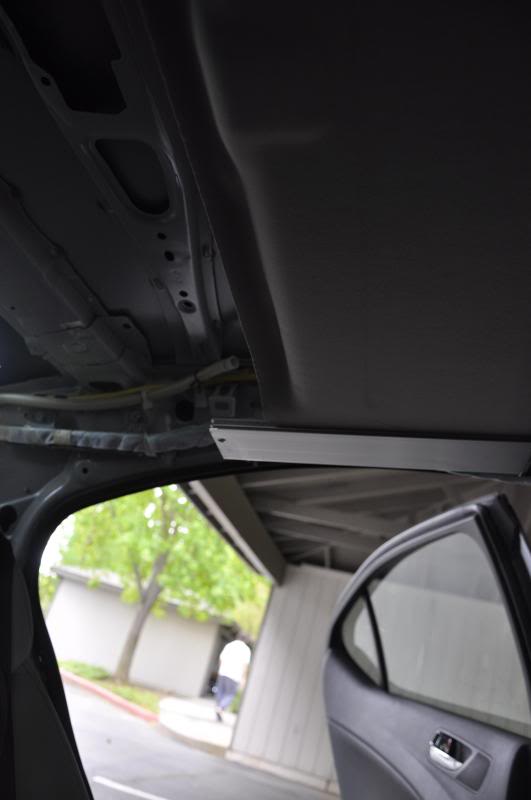
then the headliner itself
removing a front seat makes installing the headliner MUCH easier
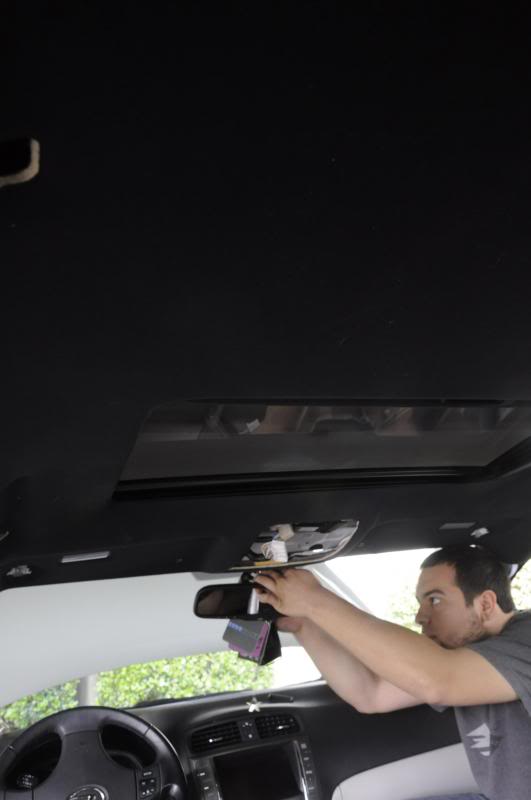
make sure everything lines up properly, the front of the headliner slips over a lip on the sunroof the rest clips up in place.
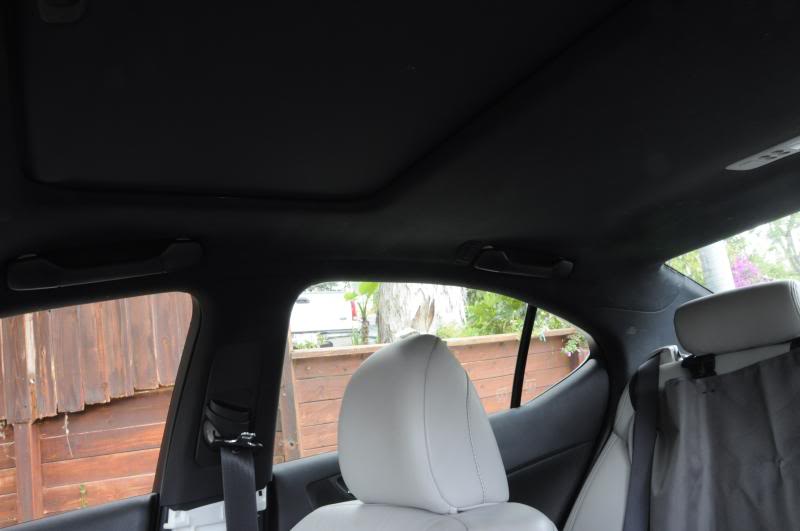
then add back all the pillars and visors etc. then sit back and enjoy your new headliner
yes i still need to dye the upper consoles
I know i missed some pictures of the process, but hopefully this will help others out in the future. I will also post up the part numbers for those interested.
any questions or if there is need for clarification please let me know
remove the upper console with the 2 screws and pull down

remove handles by prying out the plastic "plug" and remove metal clips


remove rear upper lights (pull to remove, didnt take pics)
remove coat hangers (one screw)

Then pull down headliner carefully. there are 2 clips in the very back, a handful of clips along the side, and velcro right behind the sunroof
Next you need to drop down the back of the sunroof to be able to remove the sunshade
these bolts will need to be removed:


Once you are able to drop it down far enough to get a screw driver in there, remove the end of the rail that goes into the drain


slide out the original sunshade and install the new one

then the headliner itself
removing a front seat makes installing the headliner MUCH easier

make sure everything lines up properly, the front of the headliner slips over a lip on the sunroof the rest clips up in place.
then add back all the pillars and visors etc. then sit back and enjoy your new headliner

yes i still need to dye the upper consoles
I know i missed some pictures of the process, but hopefully this will help others out in the future. I will also post up the part numbers for those interested.
any questions or if there is need for clarification please let me know
The following users liked this post:
skur (06-21-24)
05-07-13, 03:13 PM
#3
Pole Position
Thread Starter
Jeff was kind enough to post these up in my thread for the others that were asking, figure they should be here as well. Thanks Jeff!
As I see it, these are the parts / part numbers you would need to do the black headliner swap.
These parts come from the IS F / ISx50 F-Sport, and I've tried to be exhaustive, but the roof console has a lot of choices, but I've tried to make it simple.
63311-53130-C0 - Headliner without Sunroof
63311-53150-C0 - Headliner with Sunroof
62211-53040-C2 - Garnish, A-Pillar RH
62212-53040-C2 - Garnish, A-Pillar LH
62411-53061-C1 - Garnish, B-Pillar RH
62412-53061-C1 - Garnish, B-Pillar LH
62471-53051-C1 - Garnish, C-Pillar RH
62472-53051-C1 - Garnish, C-Pillar LH
74310-53210-C2 - Sunvisor RH
74320-53230-C2 - Sunvisor LH
74317-60020-C0 - Sunvisor Screw Cover (Qty: 2)
74348-12040-C0 - Sunvisor Holder Hook (Qty: 2)
74610-53030-C0 - Roof Grab Handles (Qty: 4)
74605-53010-C0 - Rear Coat Hooks without Sunroof (Qty: 2)
74605-53020-C0 - Rear Coat Hooks with Sunroof (Qty: 2)
73210-53360-C2 - RH Seat Belt without Pre-Crash System
73210-53380-C2 - RH Seat Belt with Pre-Crash System
73220-53270-C1 - LH Seat Belt without Pre-Crash System
73220-53280-C1 - LH Seat Belt with Pre-Crash System
81360-53010-C0 - Rear Spot Light
Roof Console Box:
81260-53270-C0 - 06-09 Without Microphone, Without Sunroof
81260-53290-C0 - 06-09 With Microphone, Without Sunroof
81260-53050-C0 - 06-08 Without Microphone, With Sunroof
81260-53600 - 06-08 With Microphone, With Sunroof
81260-53390-C0 - 09 Without Microphone, With Sunroof
81260-53400-C0 - 09 With Microphone, With Sunroof
81260-53830-C0 - 10-12 with Microphone, without Sunroof, without Safety Connect/SOS
81260-53A40-C0 - 10-12 with Microphone, with Sunroof, without Safety Connect/SOS
81260-53A50-C0 - 10-12 with Microphone, without Sunroof, with Safetye Connect/SOS
81260-53A60-C0 - 10-12 with Microphone, with Sunroof, with Safety Connect/SOS
Jeff
05-07-13, 06:00 PM
#5
Rookie
Join Date: Apr 2010
Location: GA
Posts: 63
Likes: 0
Received 0 Likes
on
0 Posts
This is something that I would love to do myself. Thank you for posting the pictures. I am also curious how much the total cost would be. Are you having any trouble with rattling or squeaking?

Trending Topics
05-08-13, 08:22 AM
#10
Pole Position
Thread Starter
if you were to buy all new parts you would be over $3k
I pieced it together for closer to $1200. Still expensive, but id rather have oem than wrapped personally.

Thanks! I was never against the grey leather seats but the headliner just made it too much. once i get a few things buttoned up Ill snap more pics

 12-03-16, 08:11 PM
#13
So I just completed my headliner conversion thanks to your instructions and part numbers and wanna say thanks for posting this DIY. It ended up being cheaper to order all new handles and hooks from Lexus and then sourcing the dome lights on eBay as well as the headliner and pillars and visors. In total I spent about $1k and really pleased with results. Now the ISF headliner I bought has a slightly different wiring harness so I had to order a new mirror because of the connector but the map light was the same and had same number of pins.
The black map light I bought didn't come with a Bluetooth mic but it had the plug for it so I just swapped the one from my old map light and it plugged in perfectly. For what ever reason though when I make Bluetooth calls the mic does not work at all. Also my homelink mirror is not plugged in as I am waiting for the new one to come in. Please help, I NEED the Bluetooth mic to work!
The black map light I bought didn't come with a Bluetooth mic but it had the plug for it so I just swapped the one from my old map light and it plugged in perfectly. For what ever reason though when I make Bluetooth calls the mic does not work at all. Also my homelink mirror is not plugged in as I am waiting for the new one to come in. Please help, I NEED the Bluetooth mic to work!
12-11-16, 08:55 PM
#14
Nice work. I know how much work it takes even though it looks simple.
I swapped out my tan interior for black about 4 months ago. I could not find a black headliner so I dyed it........in place. Since the interior was out it was easy enough to cover parts I did not want to get the dye on. I Modified a sprayer to spray up and once the dye was on the fabric I used a flat paint brush to lay in the dye in the fabric for more consistency. Did the headliner, A and B , rear roof supports and package tray. Came out great. Since I was dyeing tan the final color was a super dark charcoal. Since its usually dark in there it is close enough to be black. Man I had a time re-installing the rear pieces that connect to the headliner and package tray. It attaches via a combination push, hooks and inserts into the package tray at odd angles. I also painted / dyed the plastic headliner handles, hooks and light housings with a special paint dye that came out great. The trick is prep, don't put on too much paint at once and dry time. I used a set of F Sport sun visors that I had to modify the hooks. It was strange that from year to year they change little bits and pieces on these cars so you really cant just swap in some of parts. It was like that with the headliner handles, sun visors and side seat belt pillar adjusters.
I swapped out my tan interior for black about 4 months ago. I could not find a black headliner so I dyed it........in place. Since the interior was out it was easy enough to cover parts I did not want to get the dye on. I Modified a sprayer to spray up and once the dye was on the fabric I used a flat paint brush to lay in the dye in the fabric for more consistency. Did the headliner, A and B , rear roof supports and package tray. Came out great. Since I was dyeing tan the final color was a super dark charcoal. Since its usually dark in there it is close enough to be black. Man I had a time re-installing the rear pieces that connect to the headliner and package tray. It attaches via a combination push, hooks and inserts into the package tray at odd angles. I also painted / dyed the plastic headliner handles, hooks and light housings with a special paint dye that came out great. The trick is prep, don't put on too much paint at once and dry time. I used a set of F Sport sun visors that I had to modify the hooks. It was strange that from year to year they change little bits and pieces on these cars so you really cant just swap in some of parts. It was like that with the headliner handles, sun visors and side seat belt pillar adjusters.

Thread
Thread Starter
Forum
Replies
Last Post
GS300LUV
Performance
3
06-07-12 02:25 PM