When you click on links to various merchants on this site and make a purchase, this can result in this site earning a commission. Affiliate programs and affiliations include, but are not limited to, the eBay Partner Network.
DIY 2IS cowl cover respray and windshield trim removal
Finally pulled the trigger on getting my ugly, sun-faded cowl cover resprayed AND some new windshield trim installed. Took some pics along the way to help those wanting the do the same.
I'll start off by saying that the difficulty level from 1-10 was probably a 2 for the cowl and a 4 for the windshield trim. You'll need a few hours for the entire process of the cowl to be done, due to paint drying time; but only 30 minutes for the windshield trim removal and install.
I saved installing the new windshield trim for AFTER the cowl painting/drying because the trim actually clips into very outer edge portion of the cowl. So it just makes things much easier doing it this way.
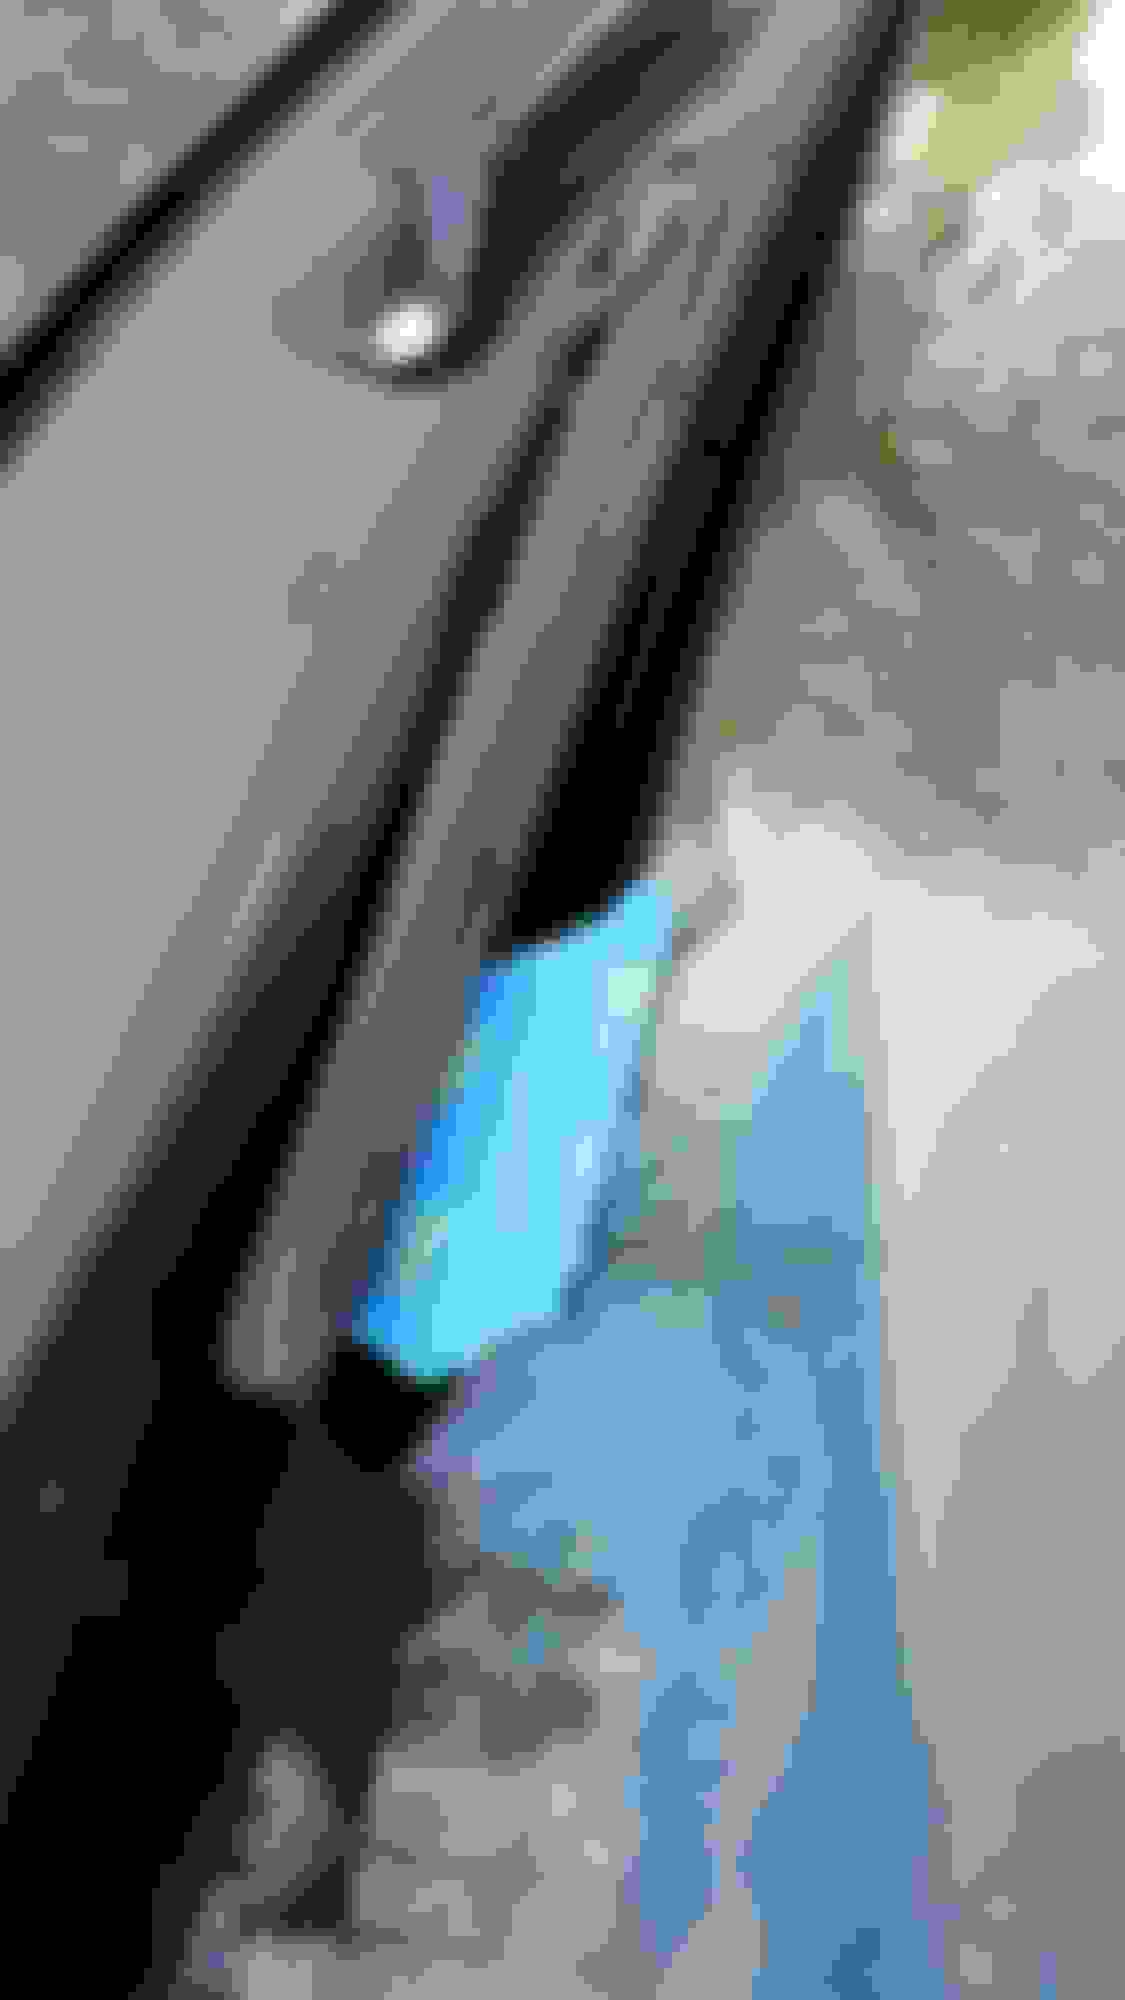
1) Start off by marking where the windshield wipers currently lie on the glass to ensure proper reinstallation later. I simply used some painters tape along the edges of the wiper blades :
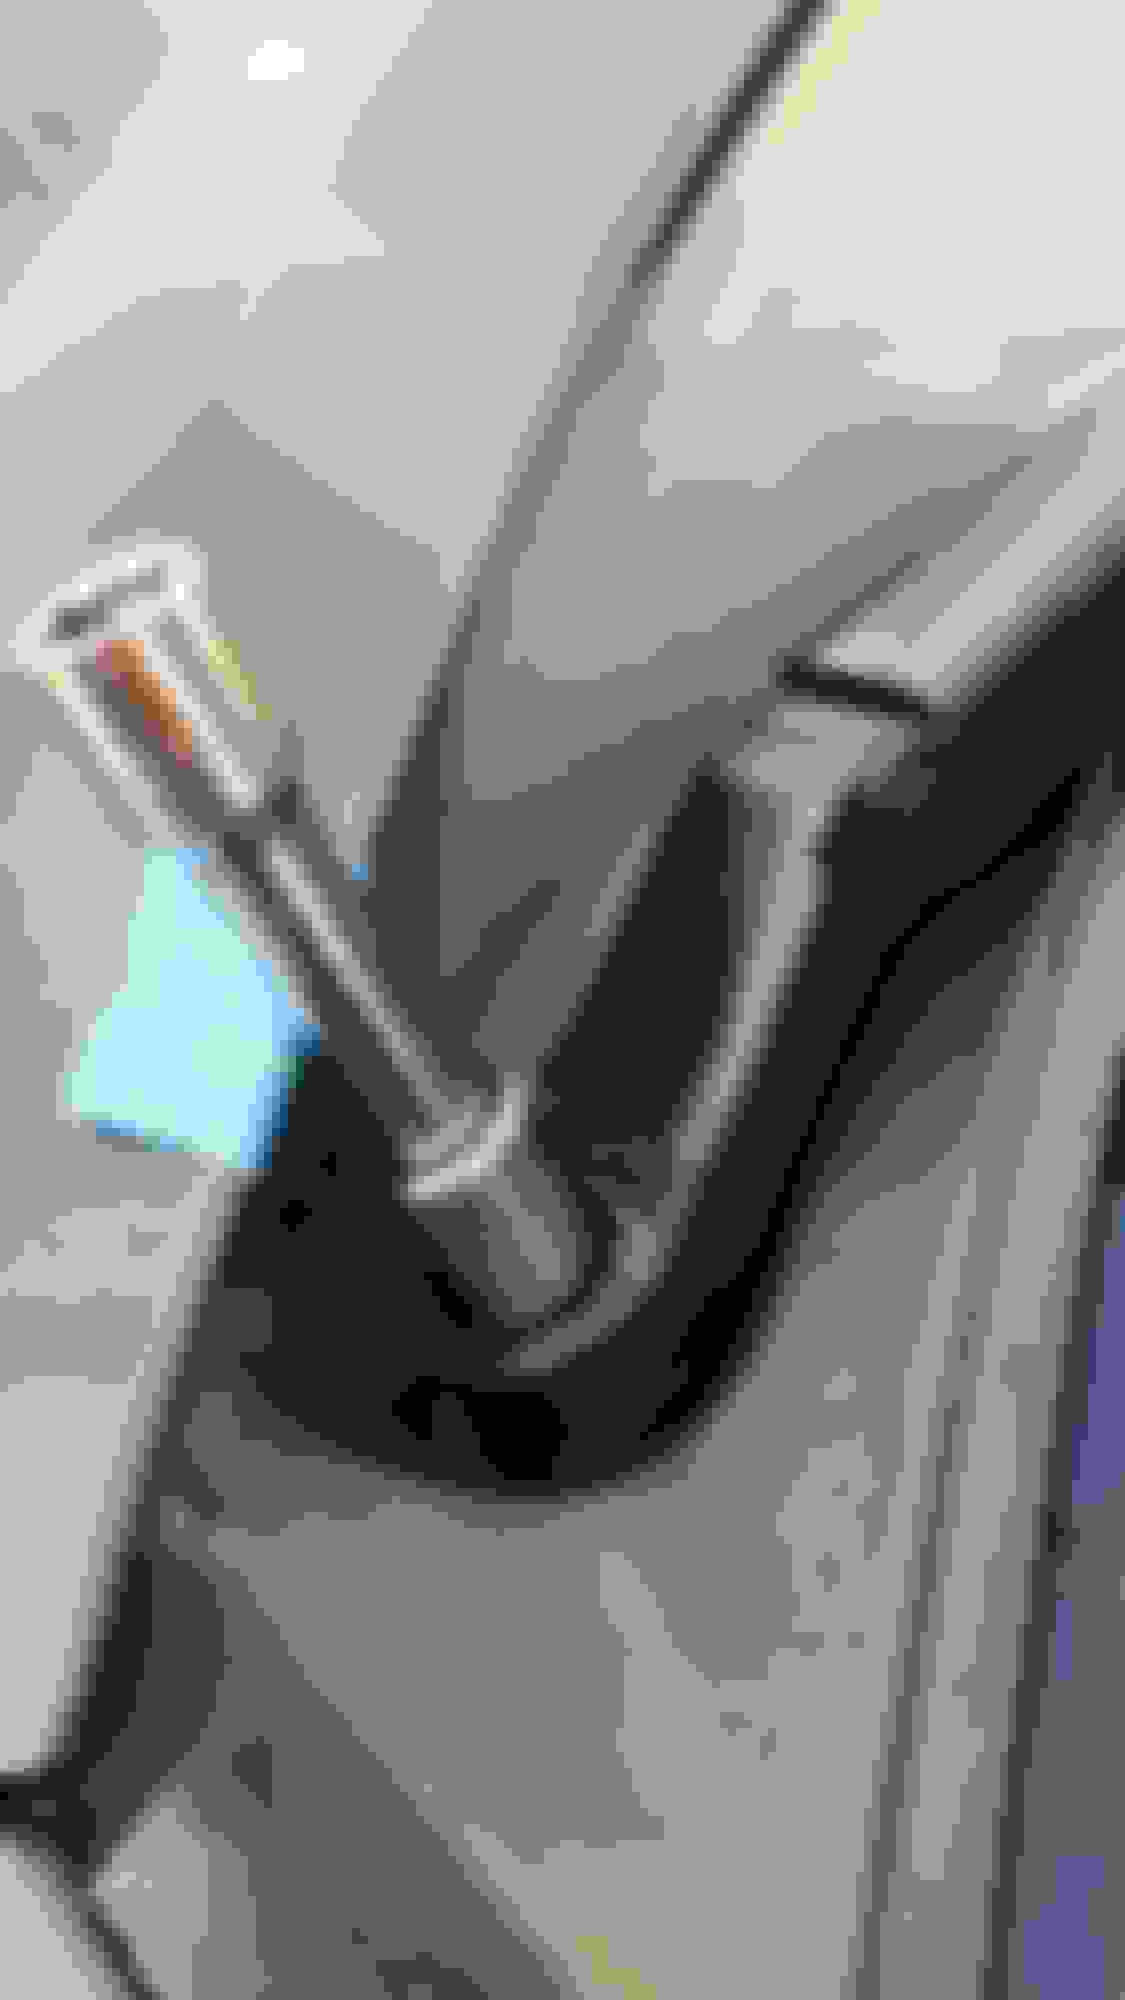
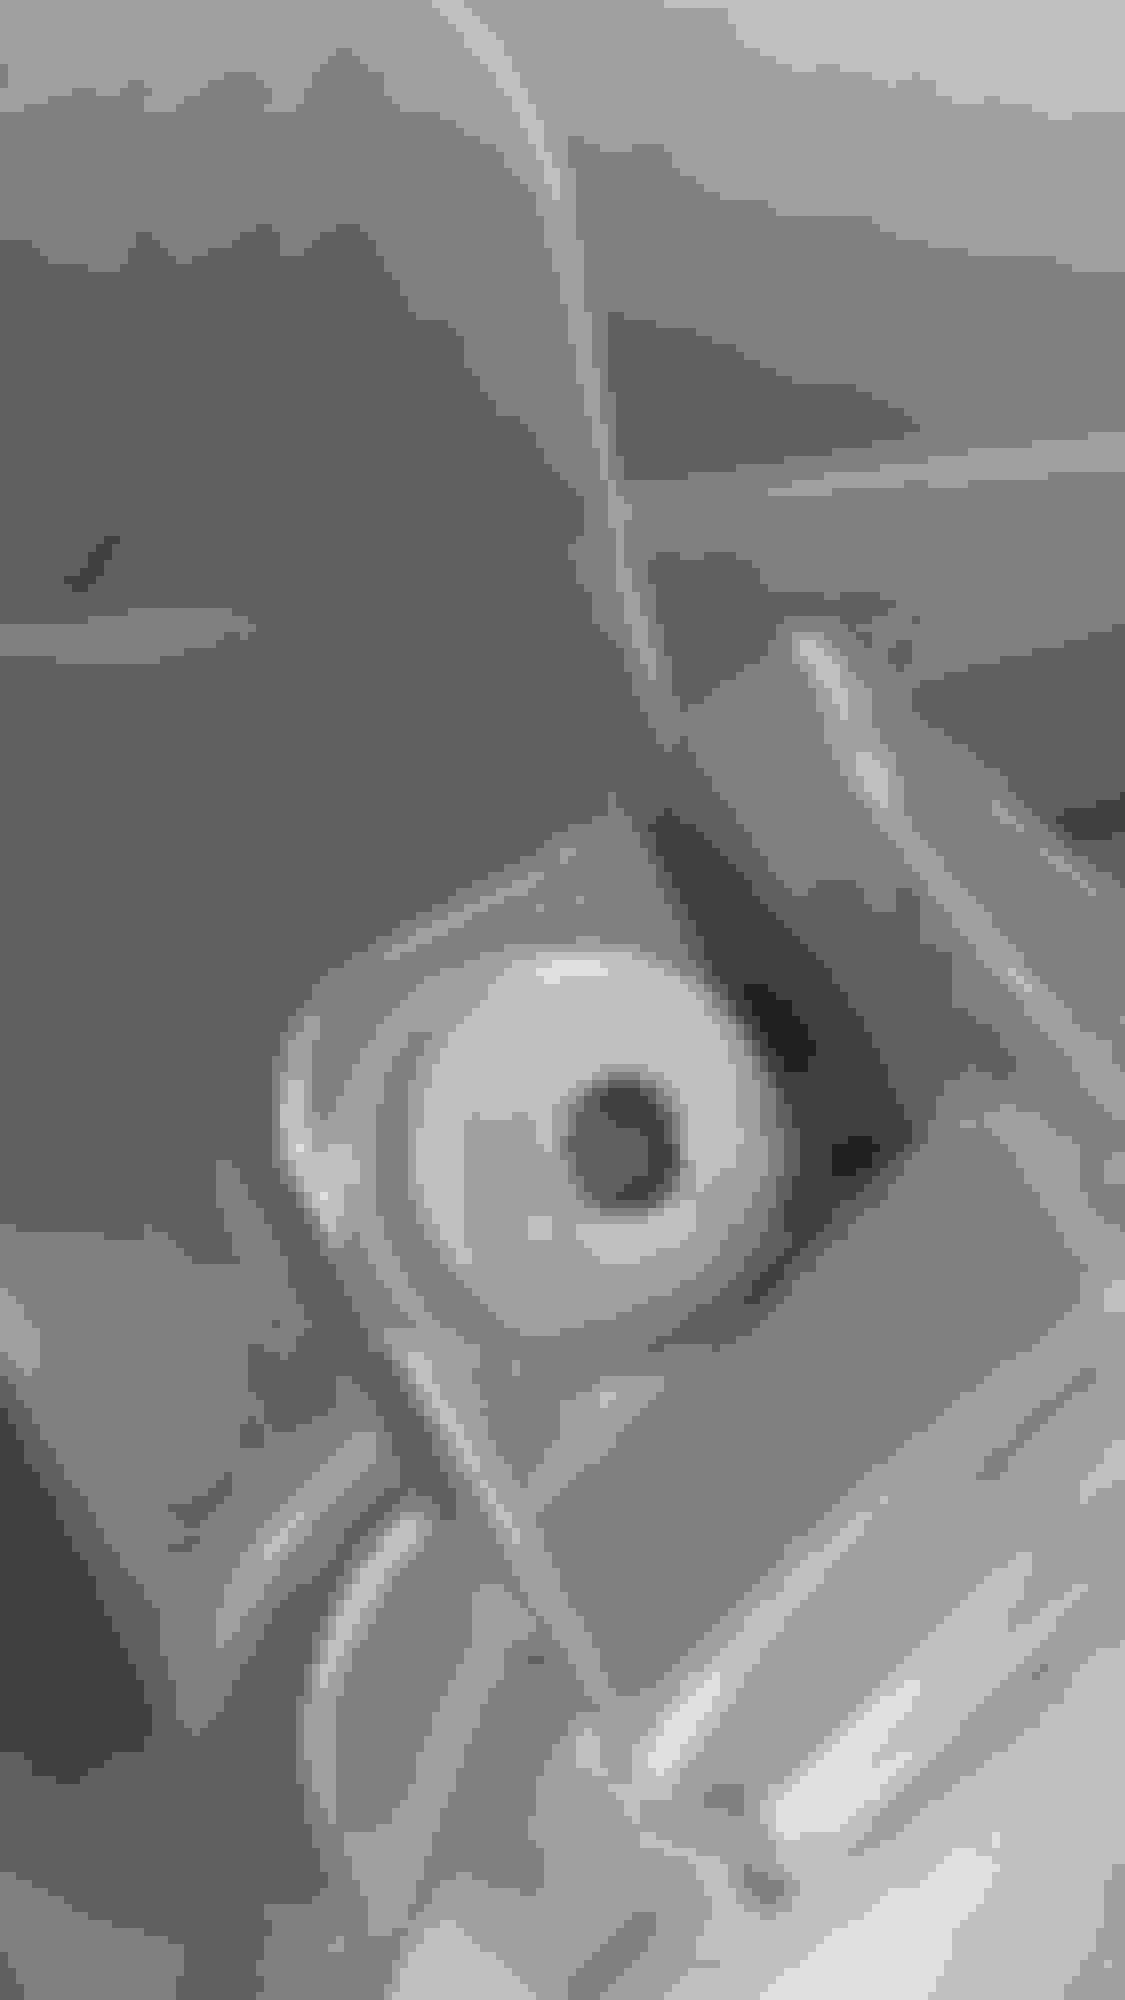
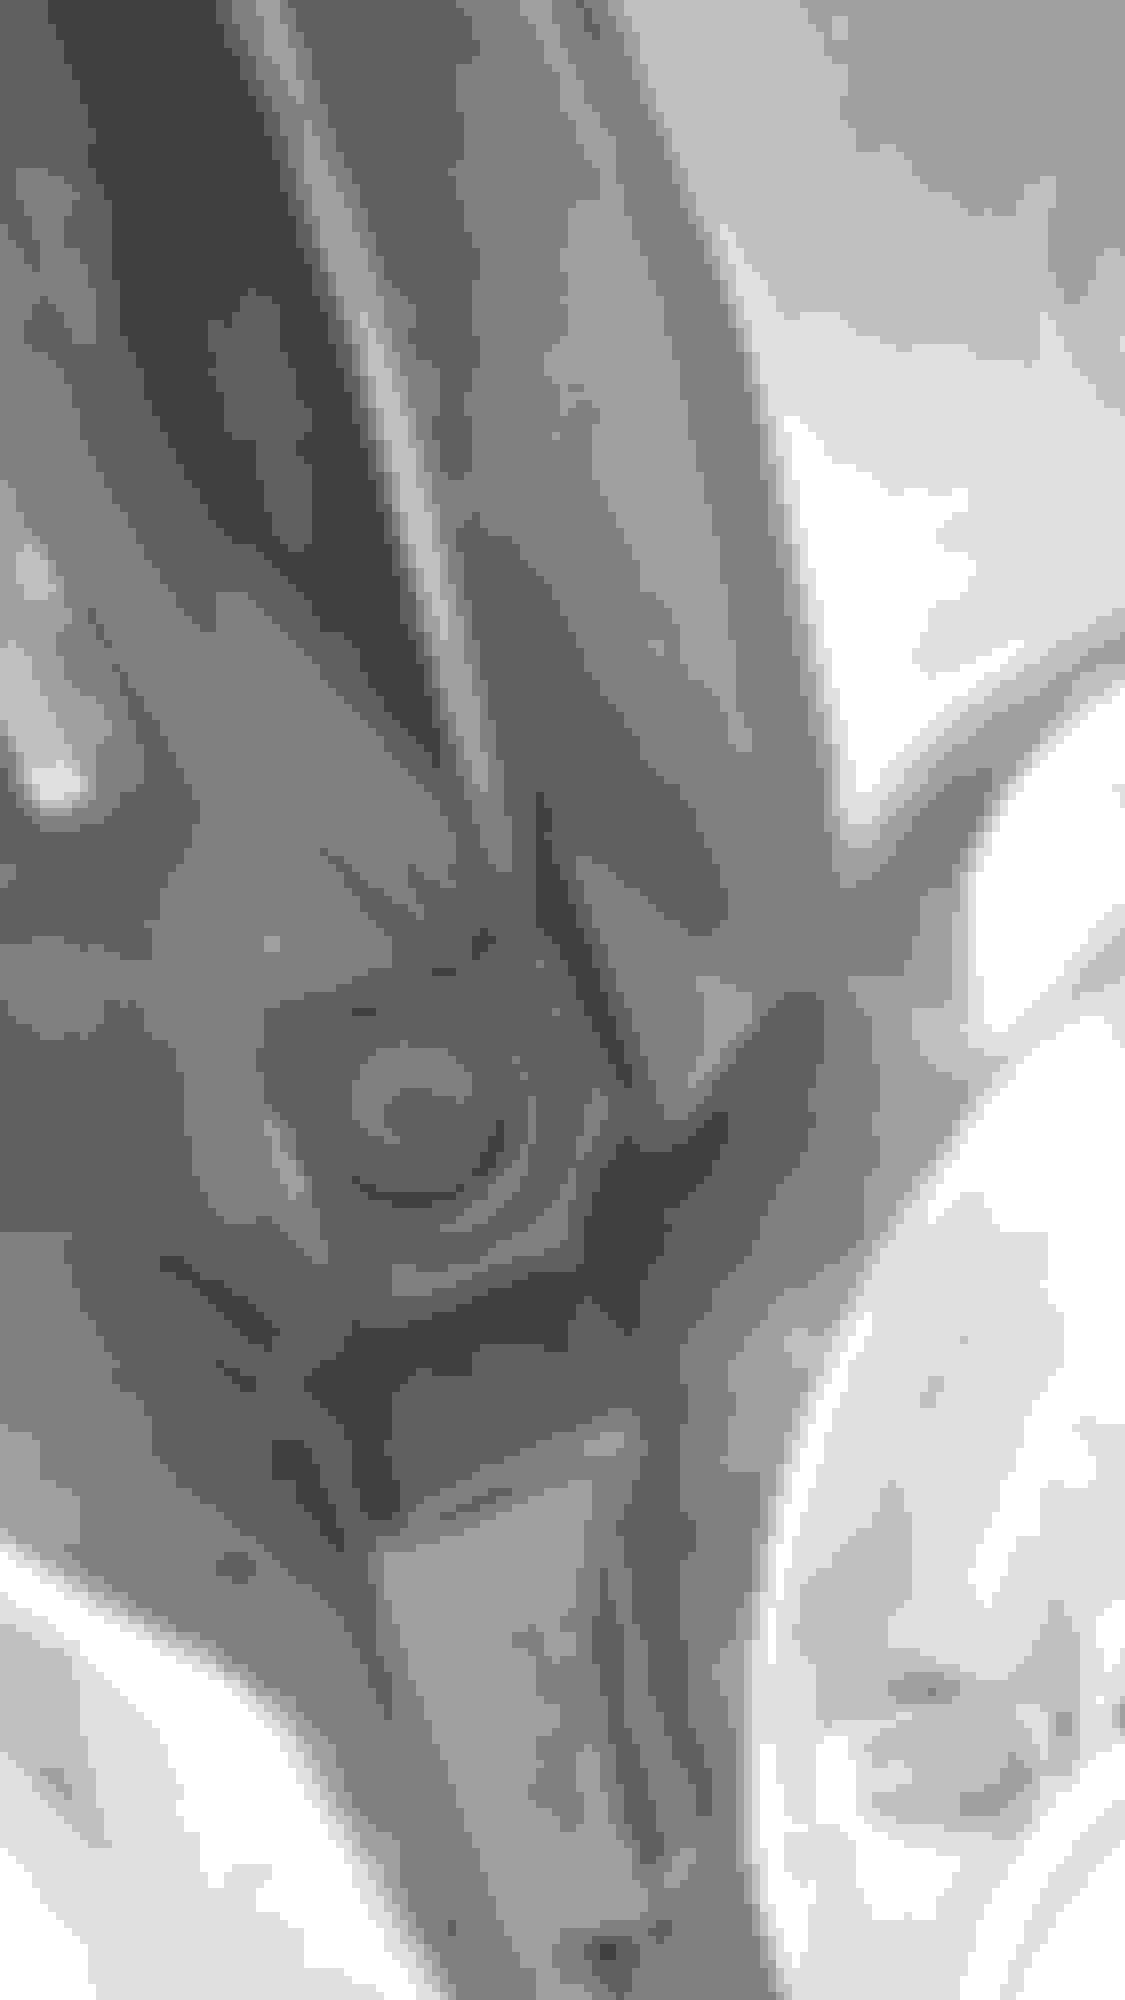
2) Next is the actual removing the windshield wipers. Pry up on the black, plastic wiper covers to access the 14mm nut (recommend using plastic interior trim tools for this). To protect your hood's paint, I'd recommend some additional painters tape along the edge where you socket wrench will be working on the driver's side wiper nut :
Once the nuts are removed, wiggle the wiper arms loose.
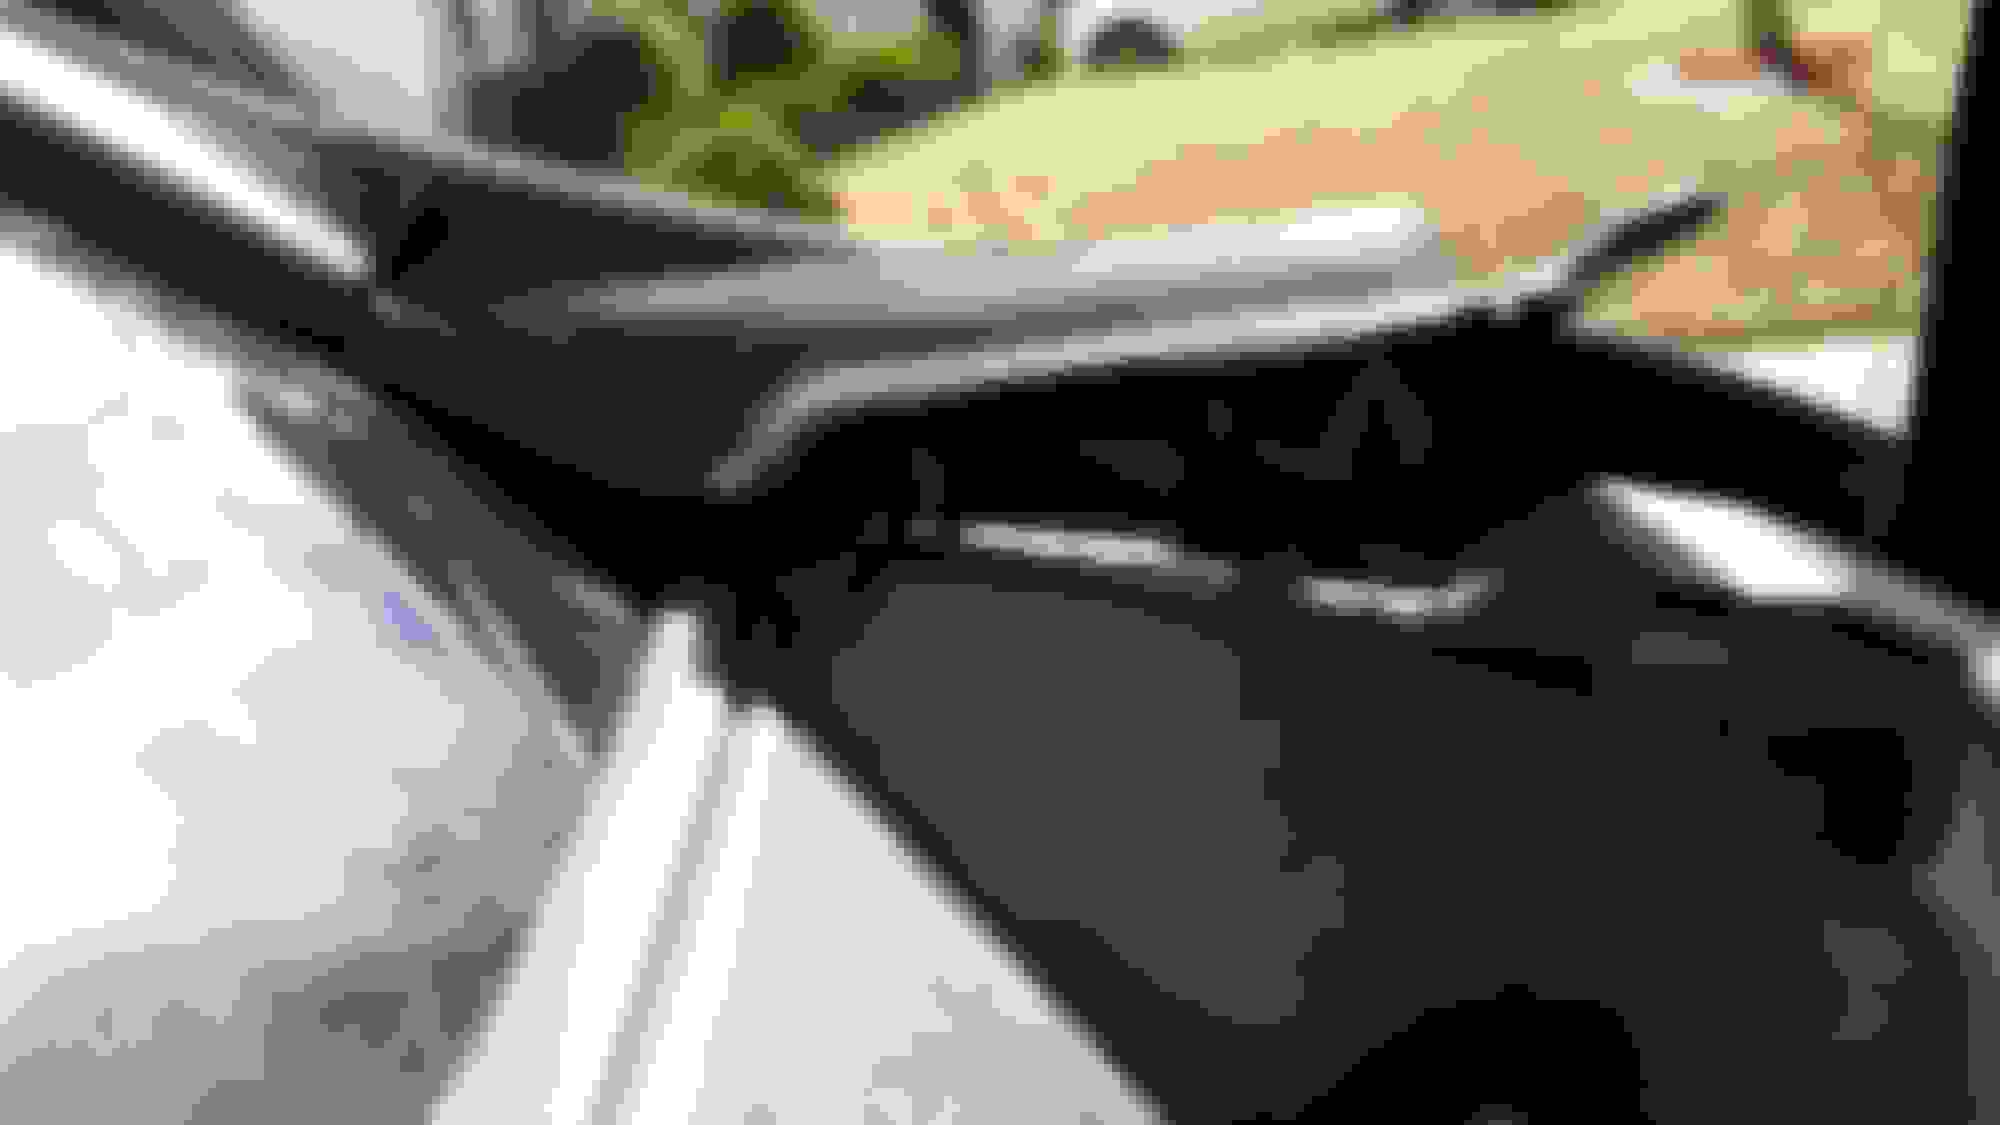
3) Pry up on the windshield trim portion that is clipped into the cowl on both sides :
This is what the clips on the underside of the trim will look like :
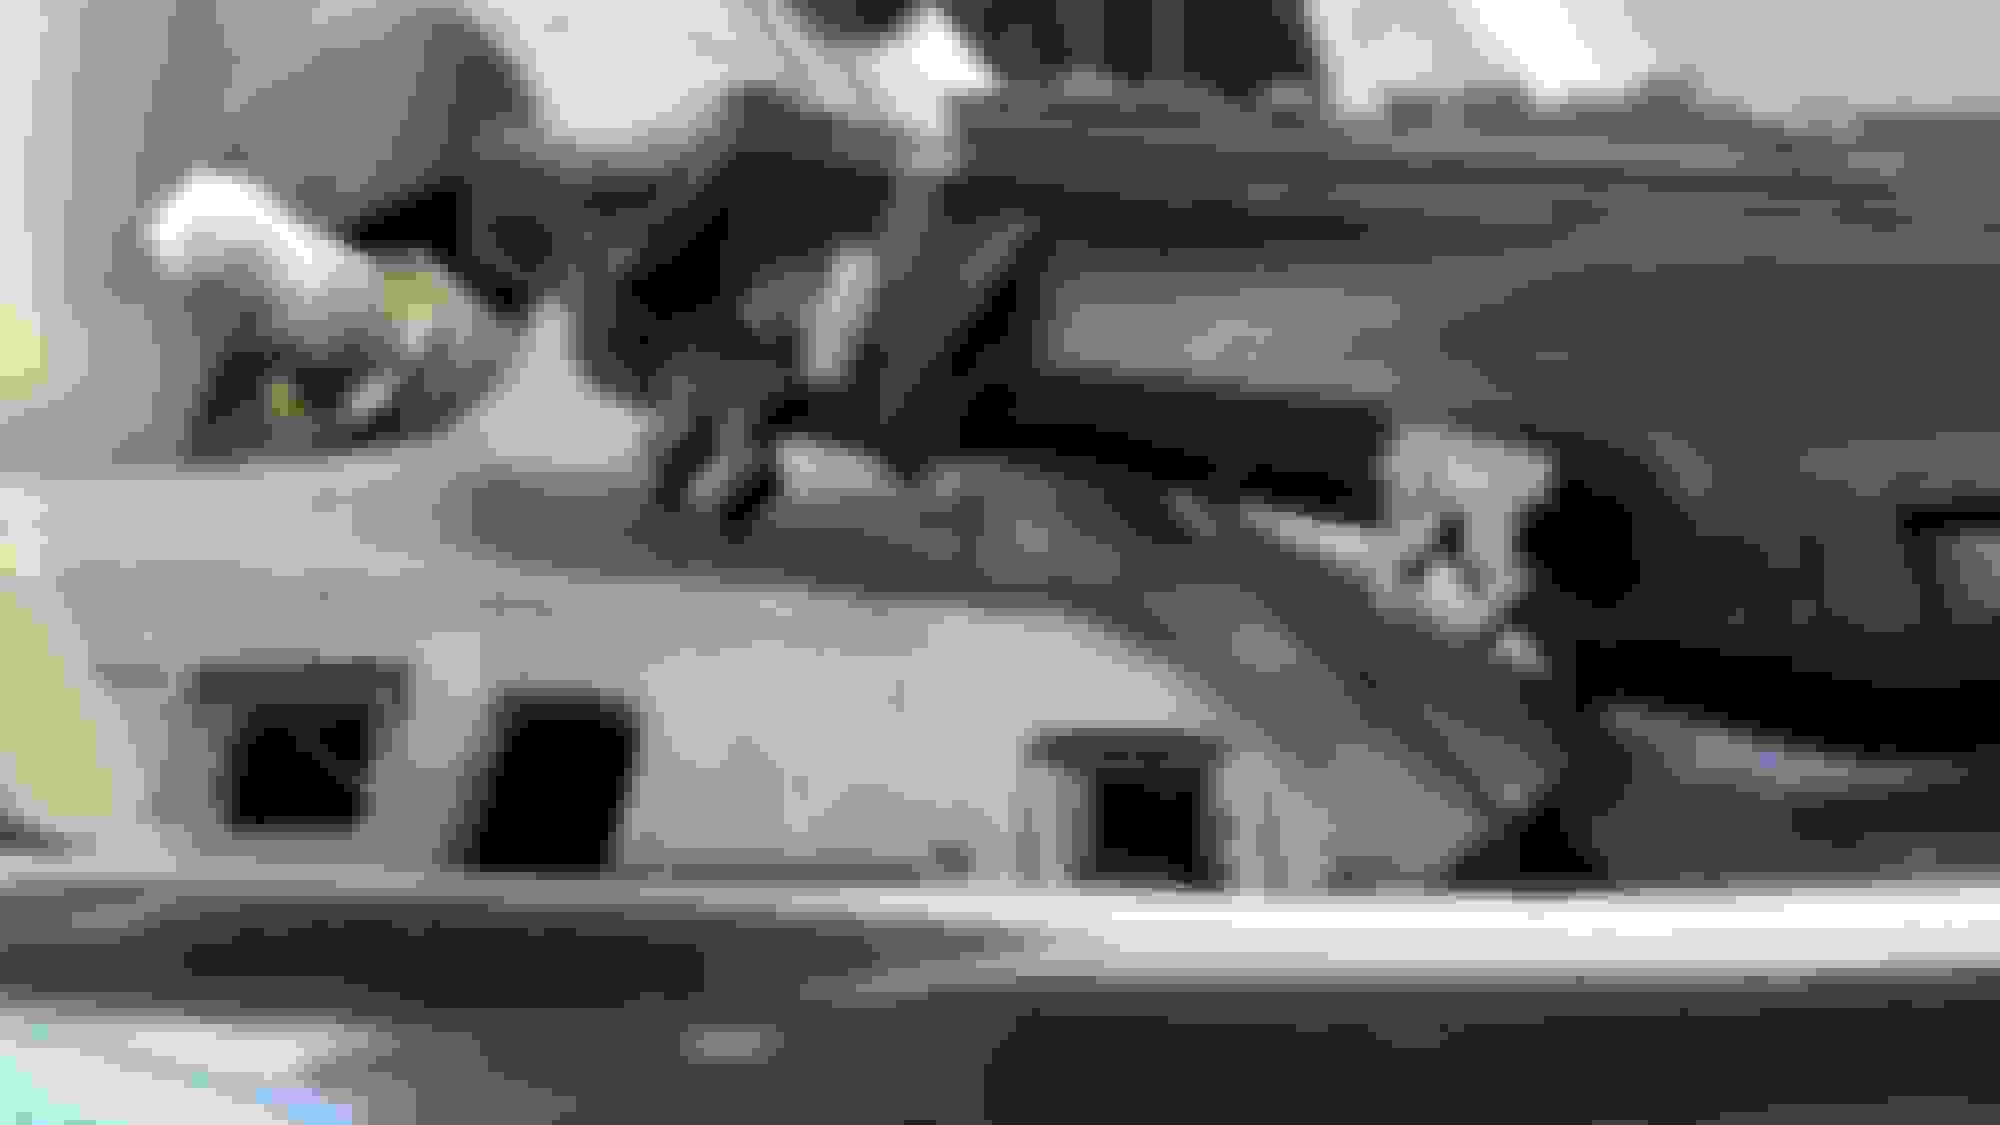
4) Remove the four plastic retaining clips; on my '06 model, they look like this :
There are also two different clips on the outer most holes of the cowl, they will need to be removed. Mine looked like this :
5) Once the clips are removed, you can pry off the secondary cowl piece with the rubber trim off of the main cowl piece. Here is what the underside of the secondary piece looks like :
6) At this point give the cowl a little nudge towards the front of the car; this will release the tension clips holding the cowl under the windshield loose. Doesn't take much force actually. Here is what those clips will look like :
7) Right now the cowl should be loose to where you can maneuver it around and completely remove it from the car.
8) With the cowl loose, I'd recommend two things before getting on with the prep-work and painting. First, remove any debris from the screen in the cowl. I used some shop tweezers :
9) Secondly, remove any debris in the ductwork below where the cowl used to sit :
10) Now onto the paint prep work. Now remember, the more detailed you are with your prep work before the painting, is what determines the outcome of the paint job. I used some medial supply alcohol wipes, but acetone or paint thinner is good too :
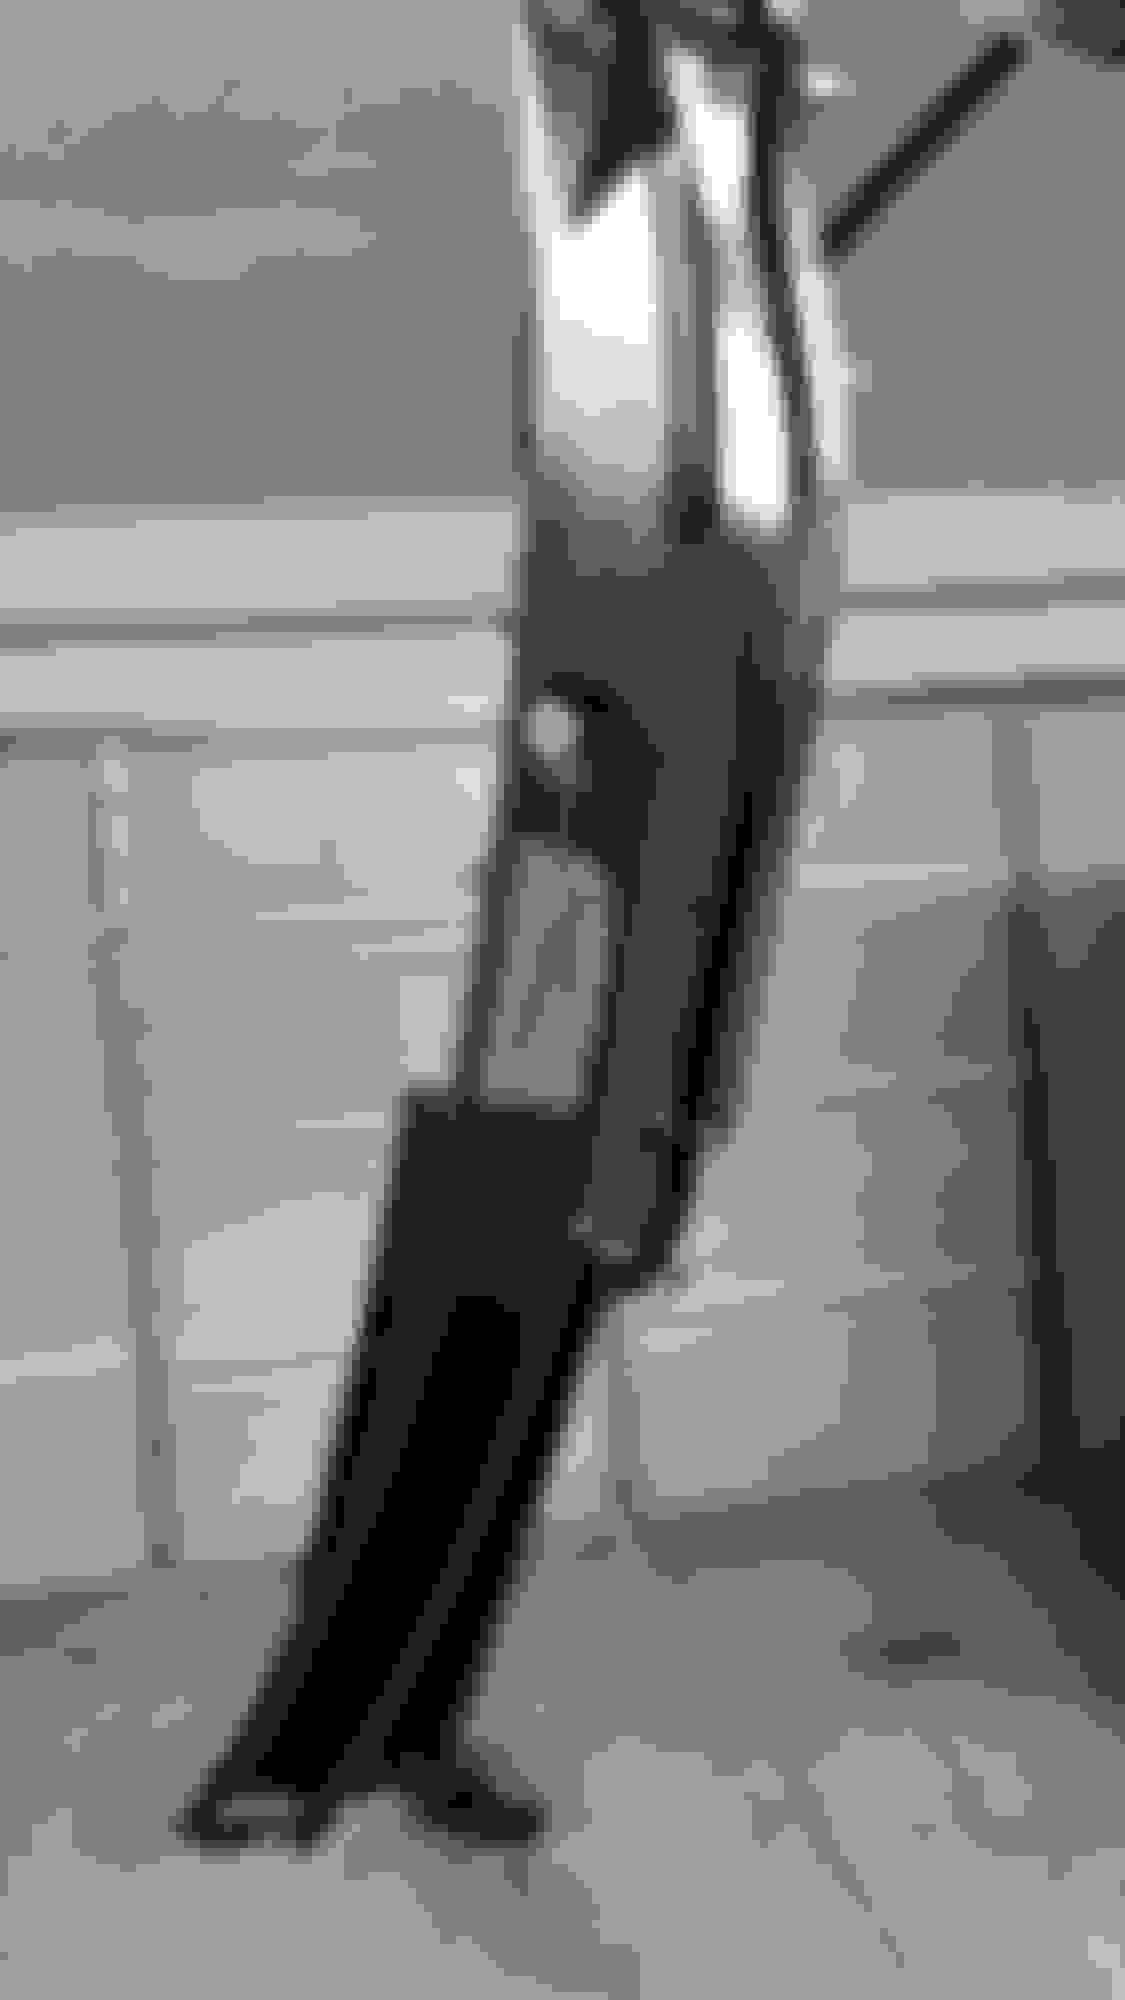
11) I'm fortunate enough to have a garage to paint in out of the elements. So I grabbed an old wire hanger and bent it all up so I can have the cowl dangle from the ceiling like so :
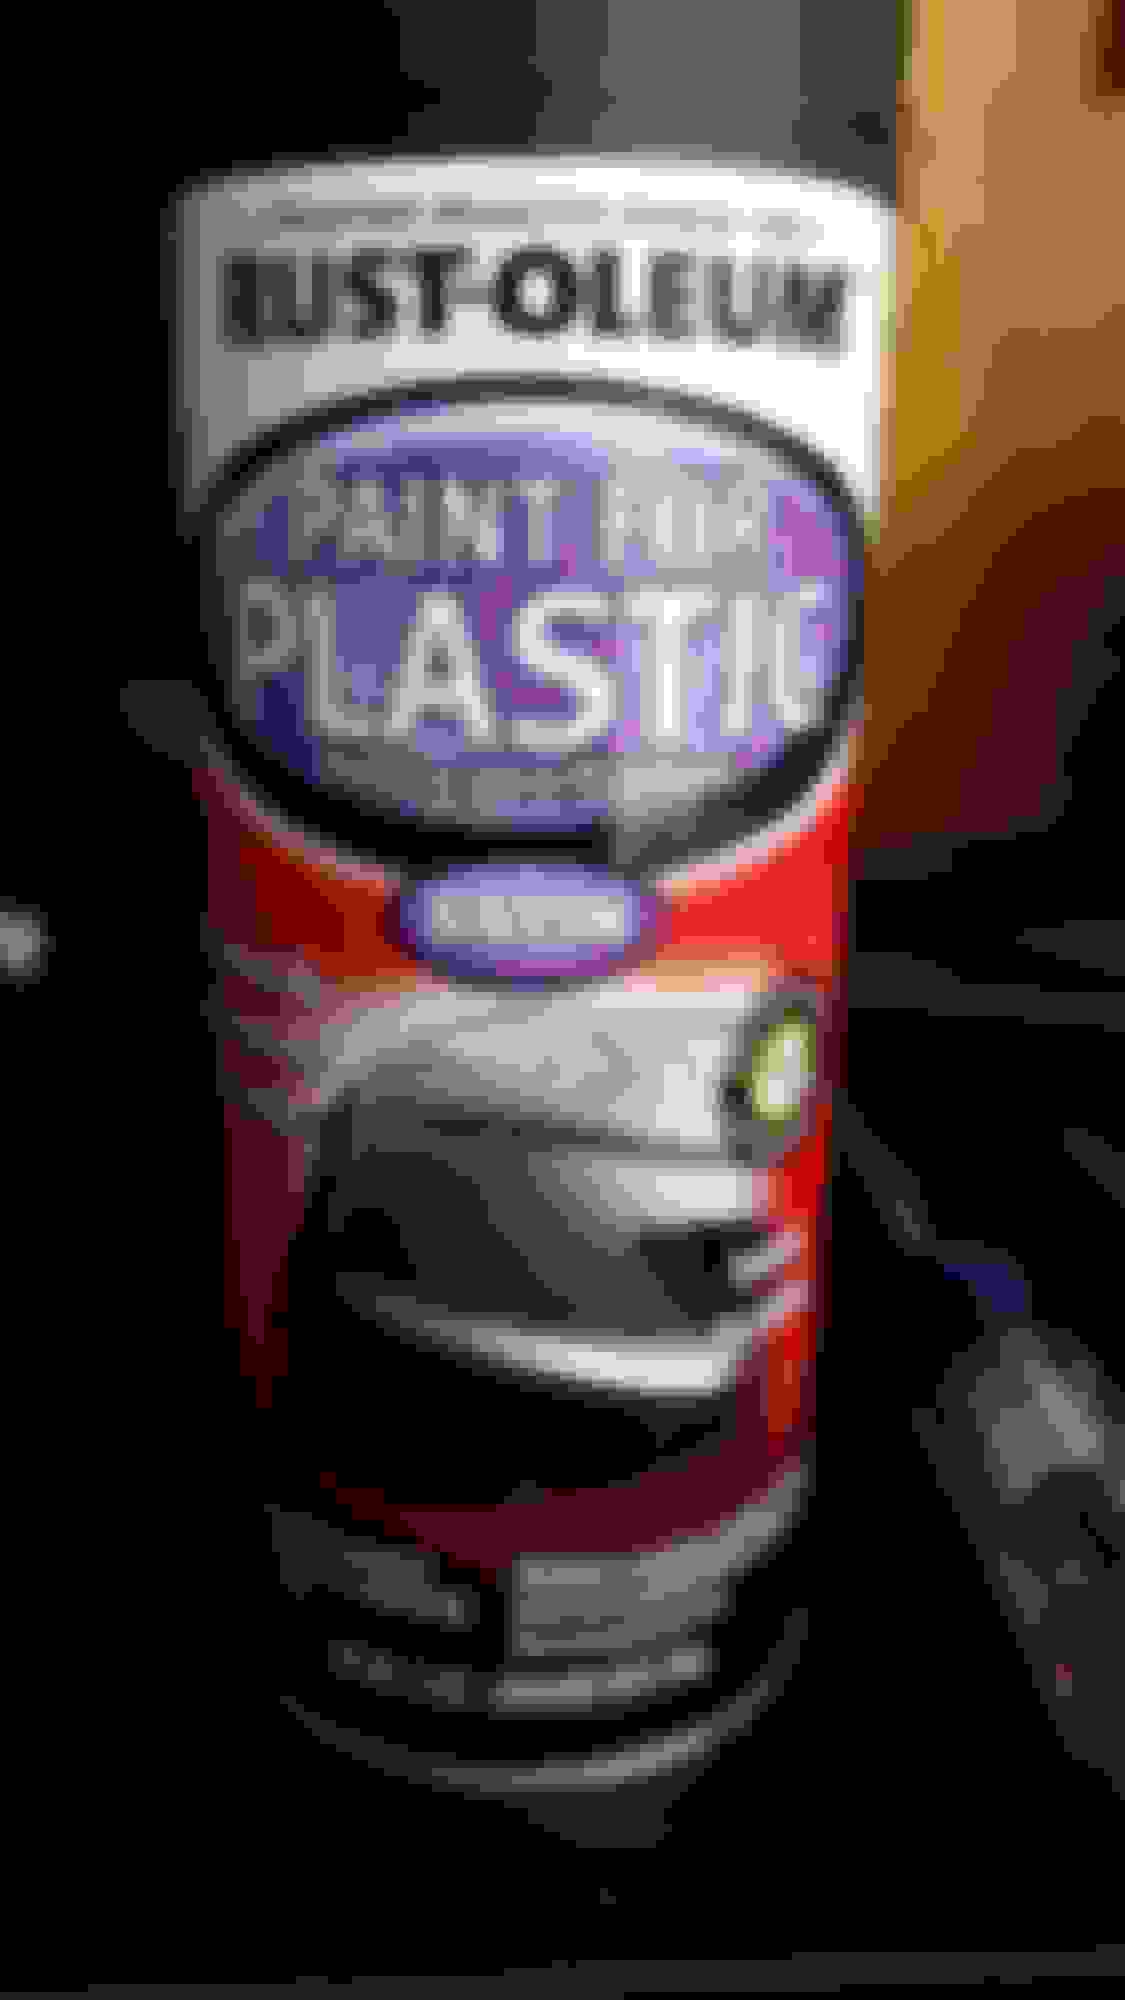
12) Grab your paint of choice and go to town! I went with Duplicolor's newer line of plastic paints, as they don't require a plastic primer. I went with satin black, as it'll be the closest to factory color :
I painted per the can's instructions, two immediate lights coats, and then let dry for an hour. Then applied a medium coat, and let dry for another hour before handling. Outside temps were in the high 60s-low 70s. If colder where you are, perhaps adding an outside heating element will help with your drying times.
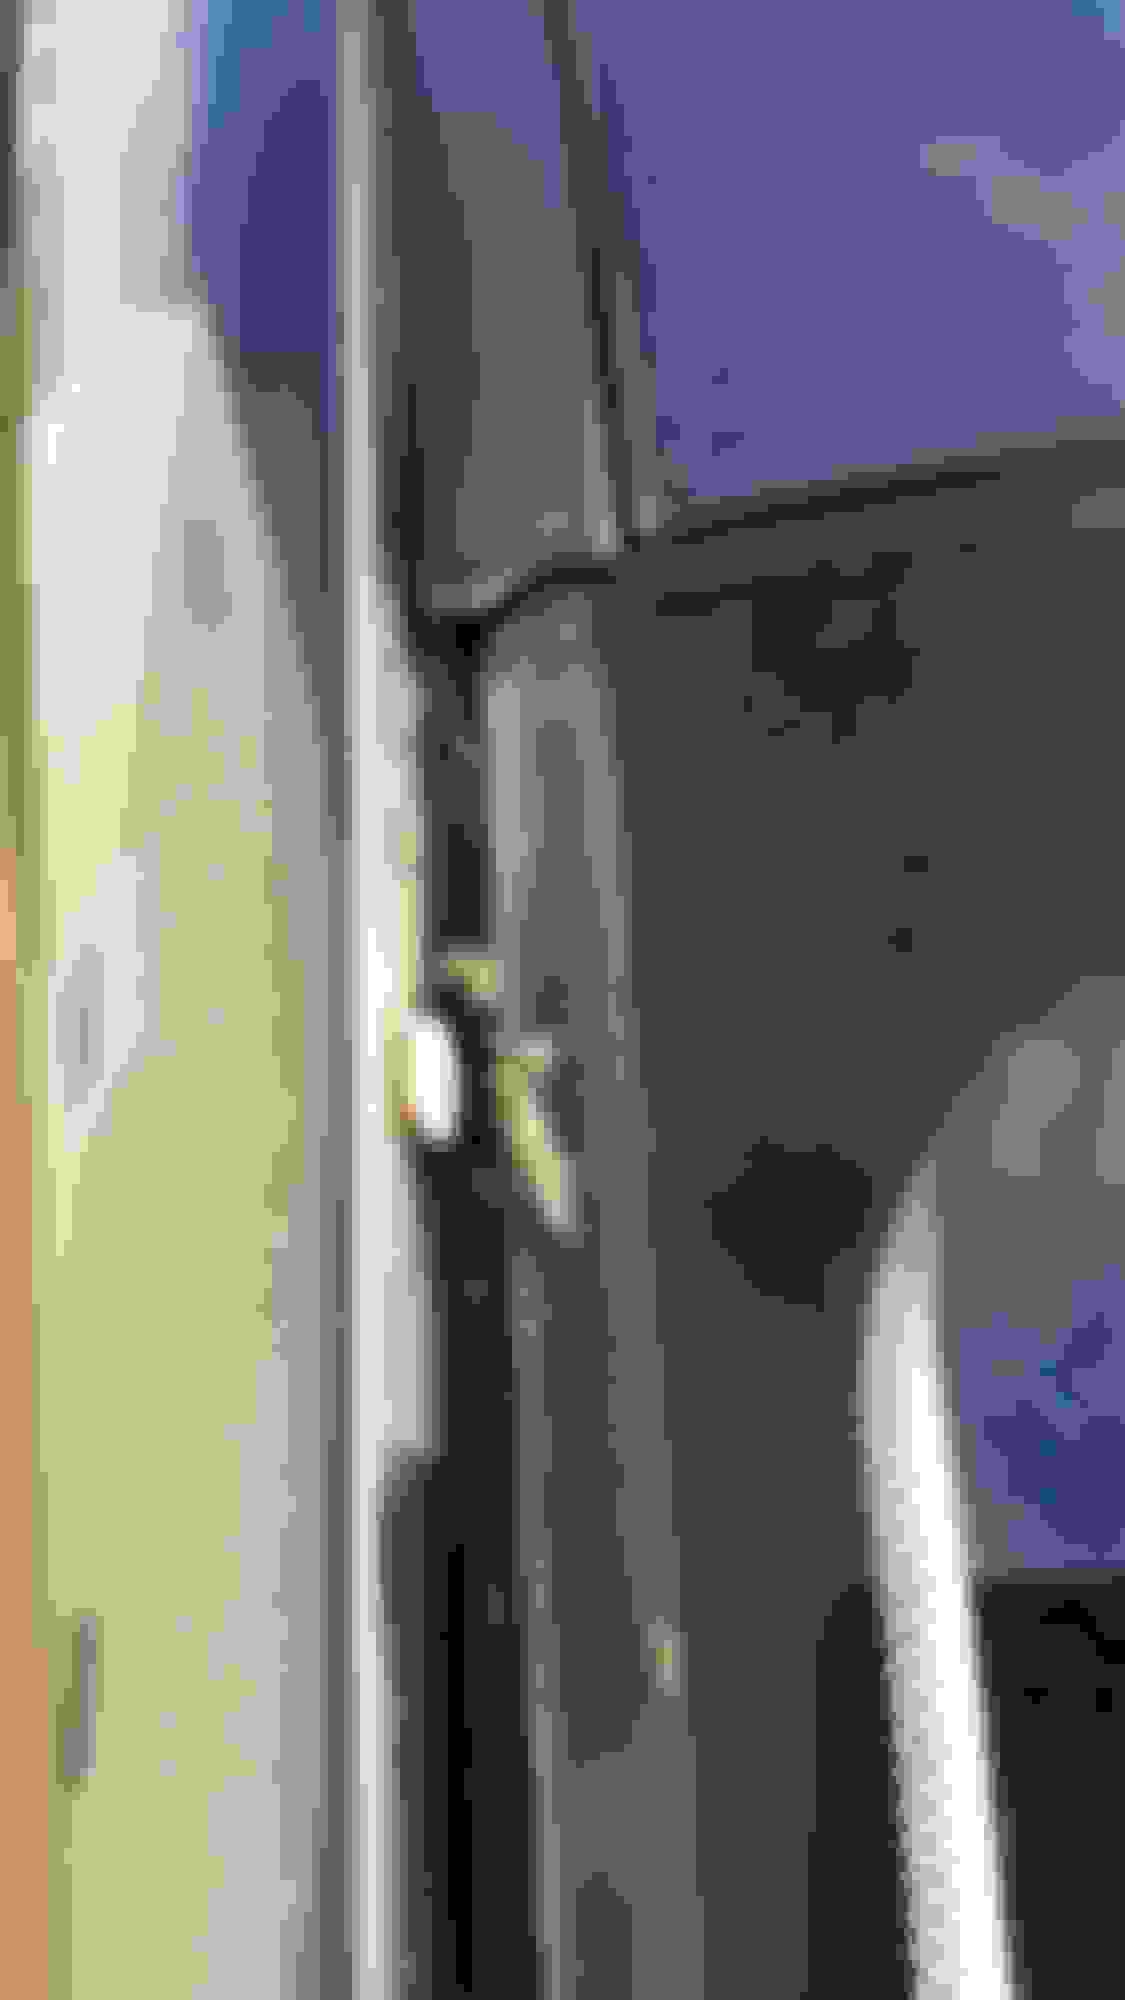
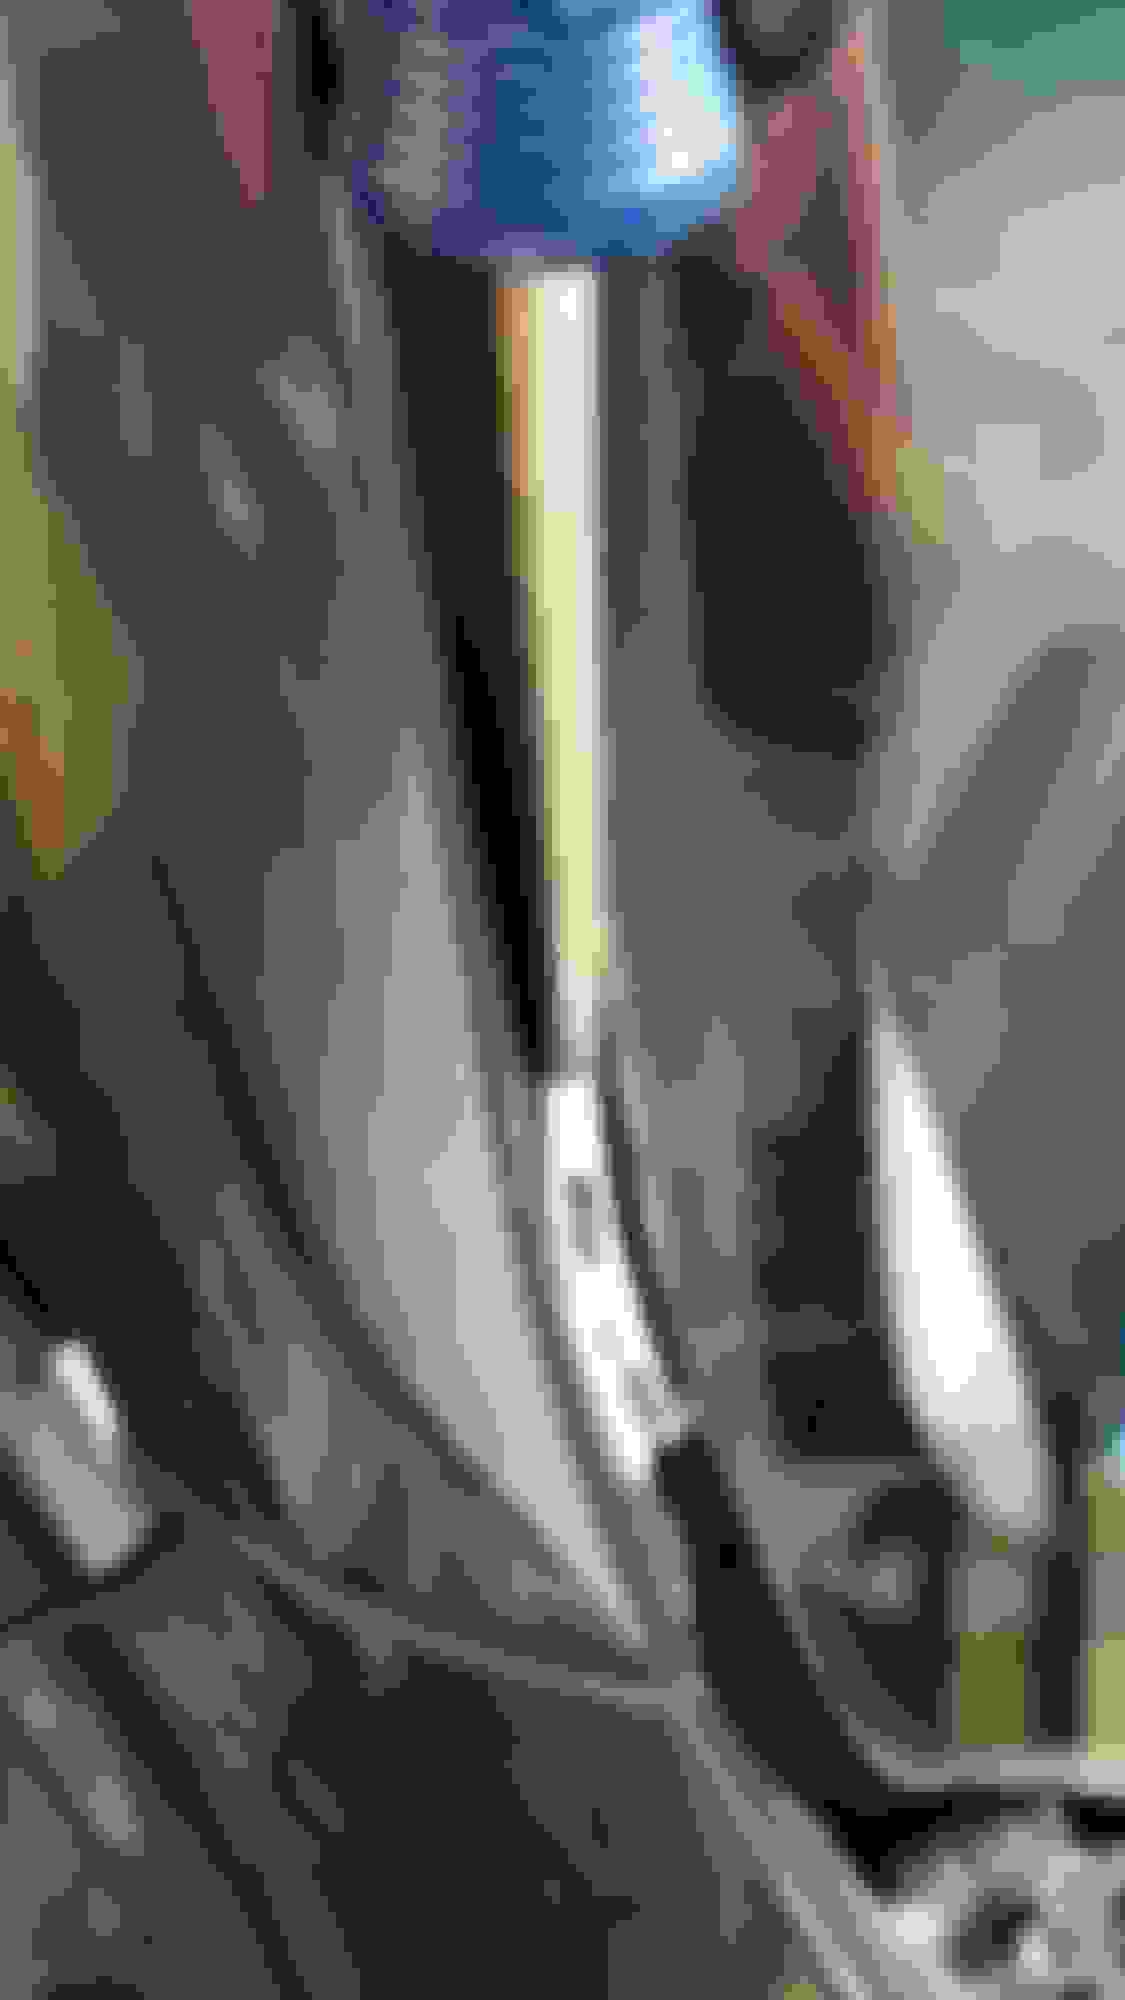
13) While the paint dried, I started work on the removal of the windshield trim. Basically I grabbed the lower end of the trim where I had disconnected it from the cowl and pulled up on it with a good amount of force starting from the lowest clip on up. On the driver's side, I pulled up all but the very first (lowest) clip with this "brute force" method. All but two on the other side. Here is what debris is found in the channel after trim removal...ewww!
14) For the clips that are left remaining in the channel, I simply used a flathead screwdriver that fit perfectly flush into the channel and pried up on the blue clips until they gave way :
15) To clean out the debris from the channels, I used a nylon bristle brush carefully avoiding the paintwork along with the A-pillar :
16) Grab a new trim piece and a set of 5 new blue clips and head over to the car. Match up the clips with the trim piece while visualizing the reinstall to avoid any clips being installed upside-down or backwards. I found it incredibly easy to just pre-install the blue clips onto the trim pieces and install the trim as a whole thereafter.
17) Once the paint is good and dry, reinstall the cowl, and bask in its beauty!
18) Reinstall the trim pieces with the blue clips pre-set into them. Start at the bottom where they install into the cowl. This part you'll need a decent amount of downward force; press down until you hear them click into place. Then work your way up pressing downward on the trim directly above each blue clip. See how much of a different this is!
19) Grab some instant detailer and hit those trim moldings, as they'll have your fingerprints all over them.
20) Reinstall the secondary cowl piece and rubber gasket.
21) Reinstall the wipers with a torque of 16 ft lbs, and simply press on the wiper cover plates.
Skinned with real carbon. I would pay someone to do it because I am tired of DIY carbon projects after redoing my trunk. LOL. Was quoted around $600 to have it done.
 03-22-15, 08:58 AM