When you click on links to various merchants on this site and make a purchase, this can result in this site earning a commission. Affiliate programs and affiliations include, but are not limited to, the eBay Partner Network.
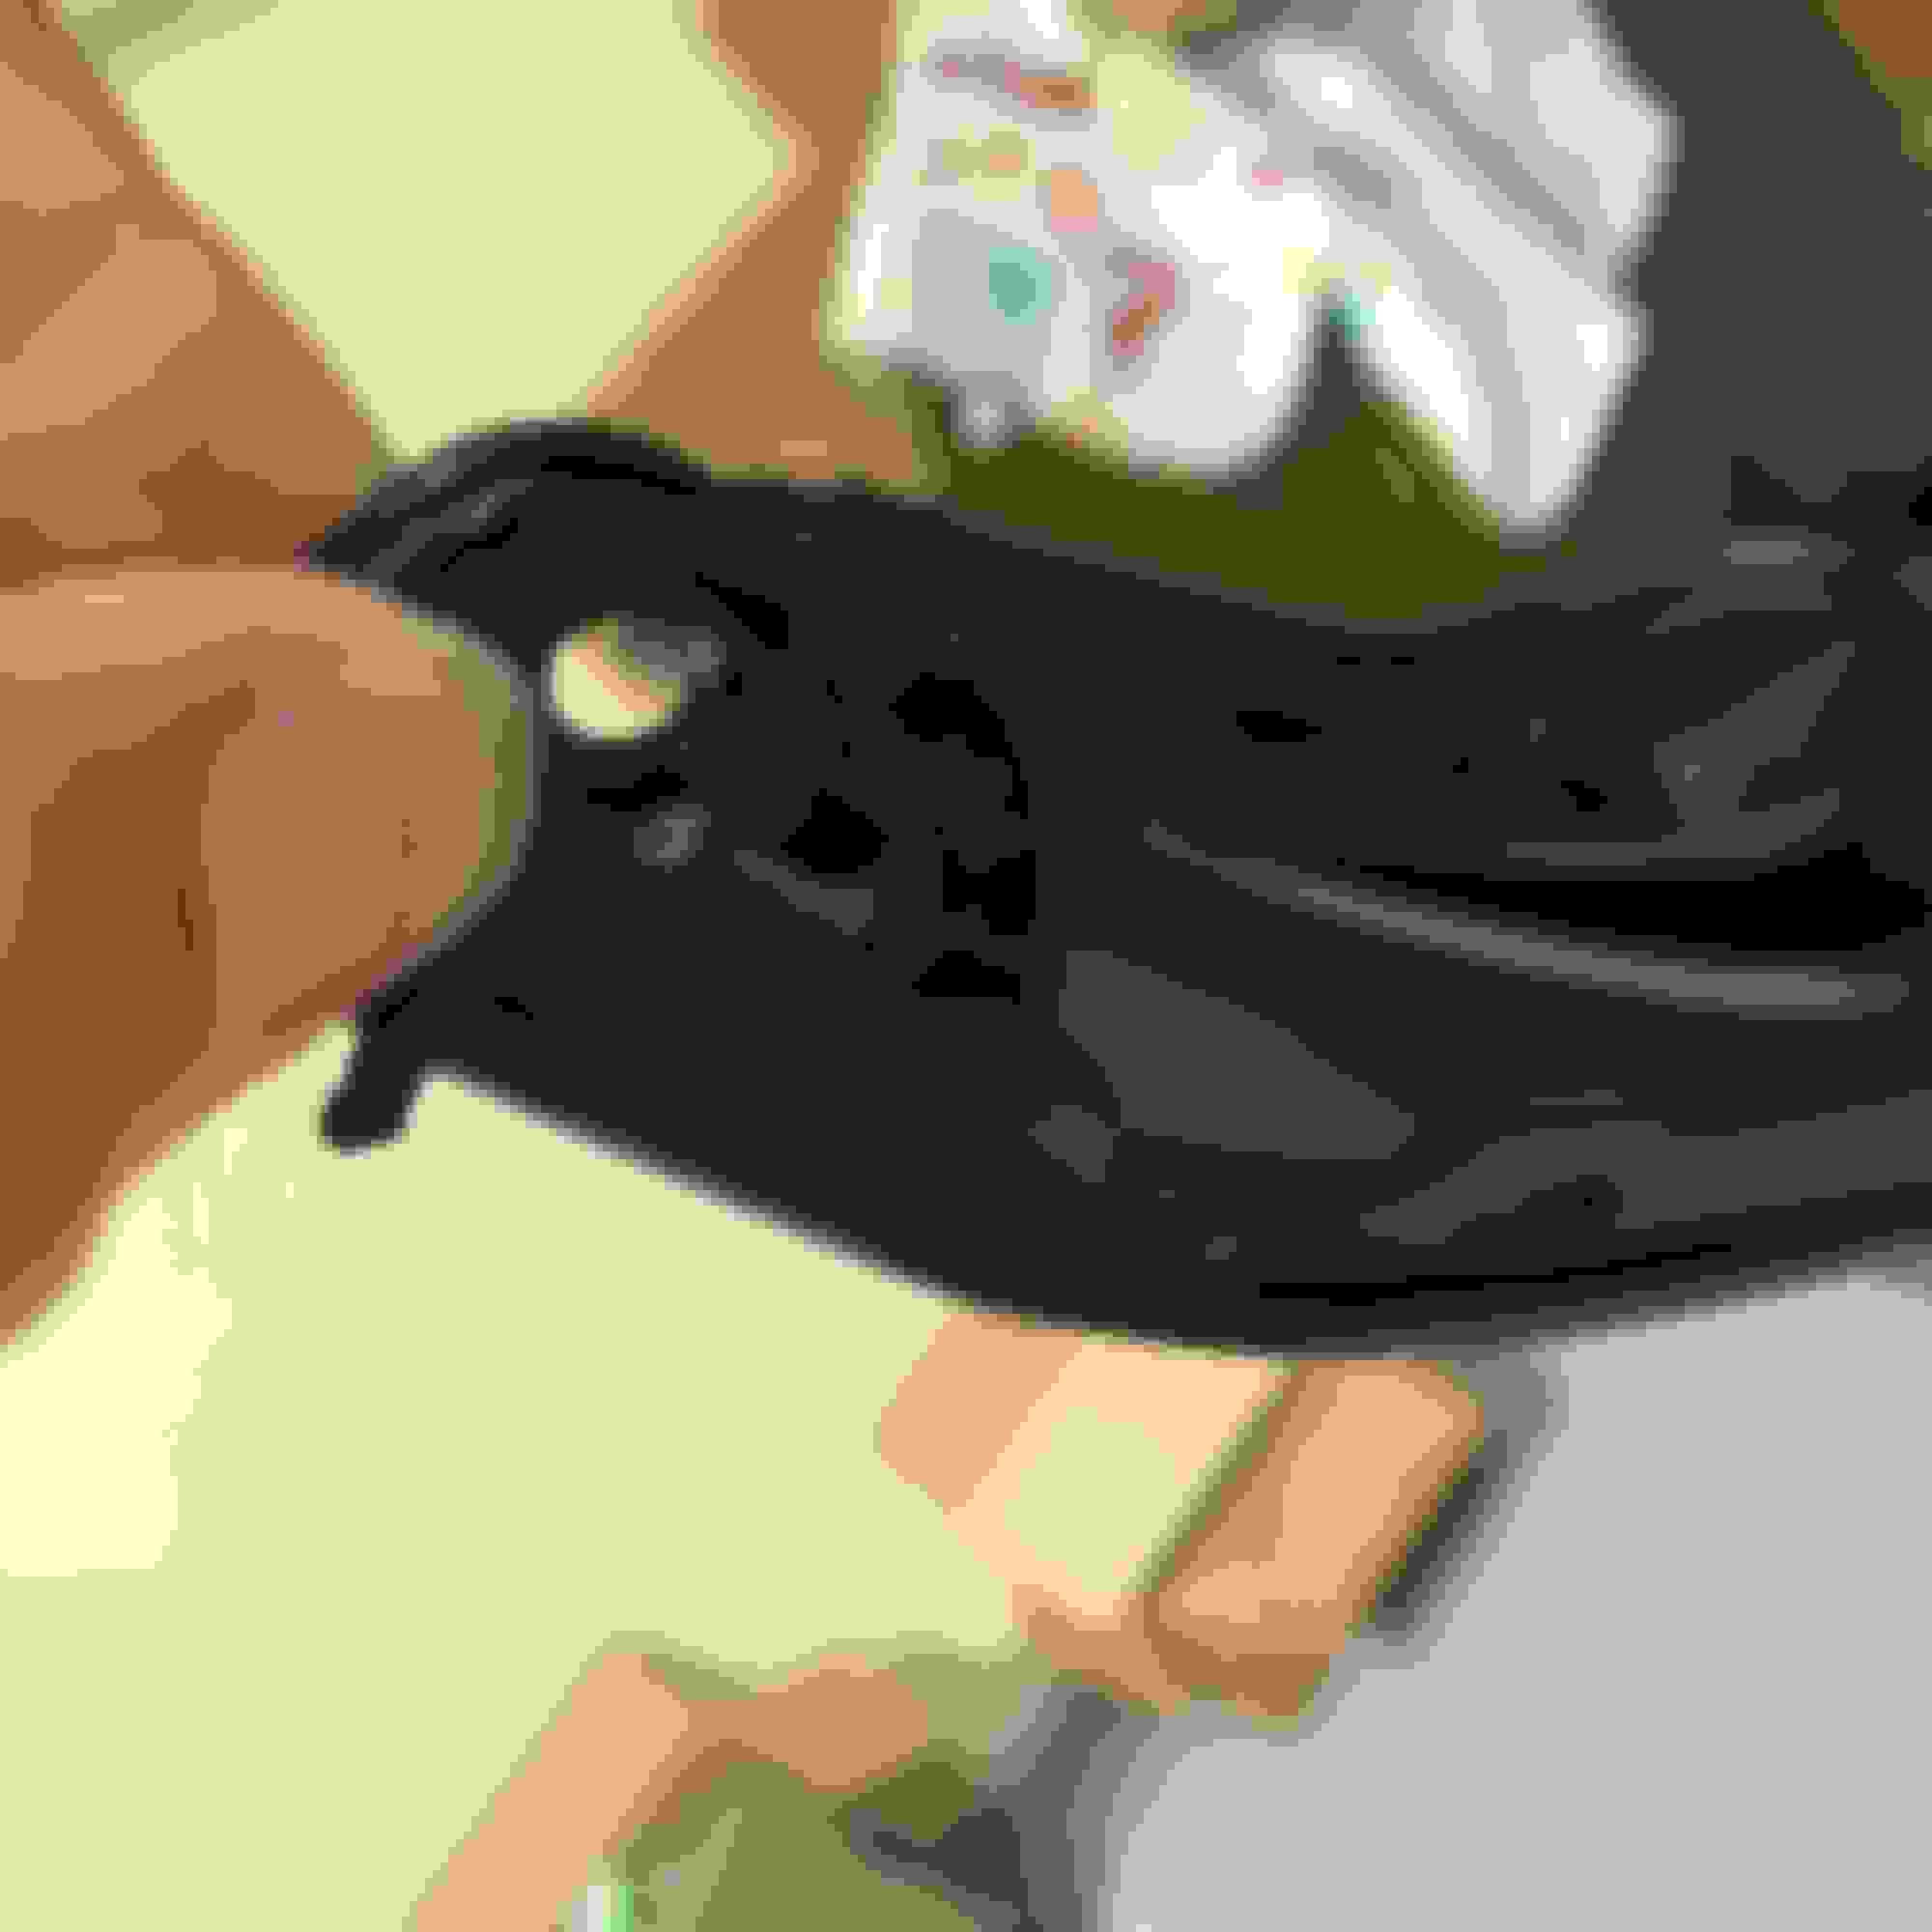
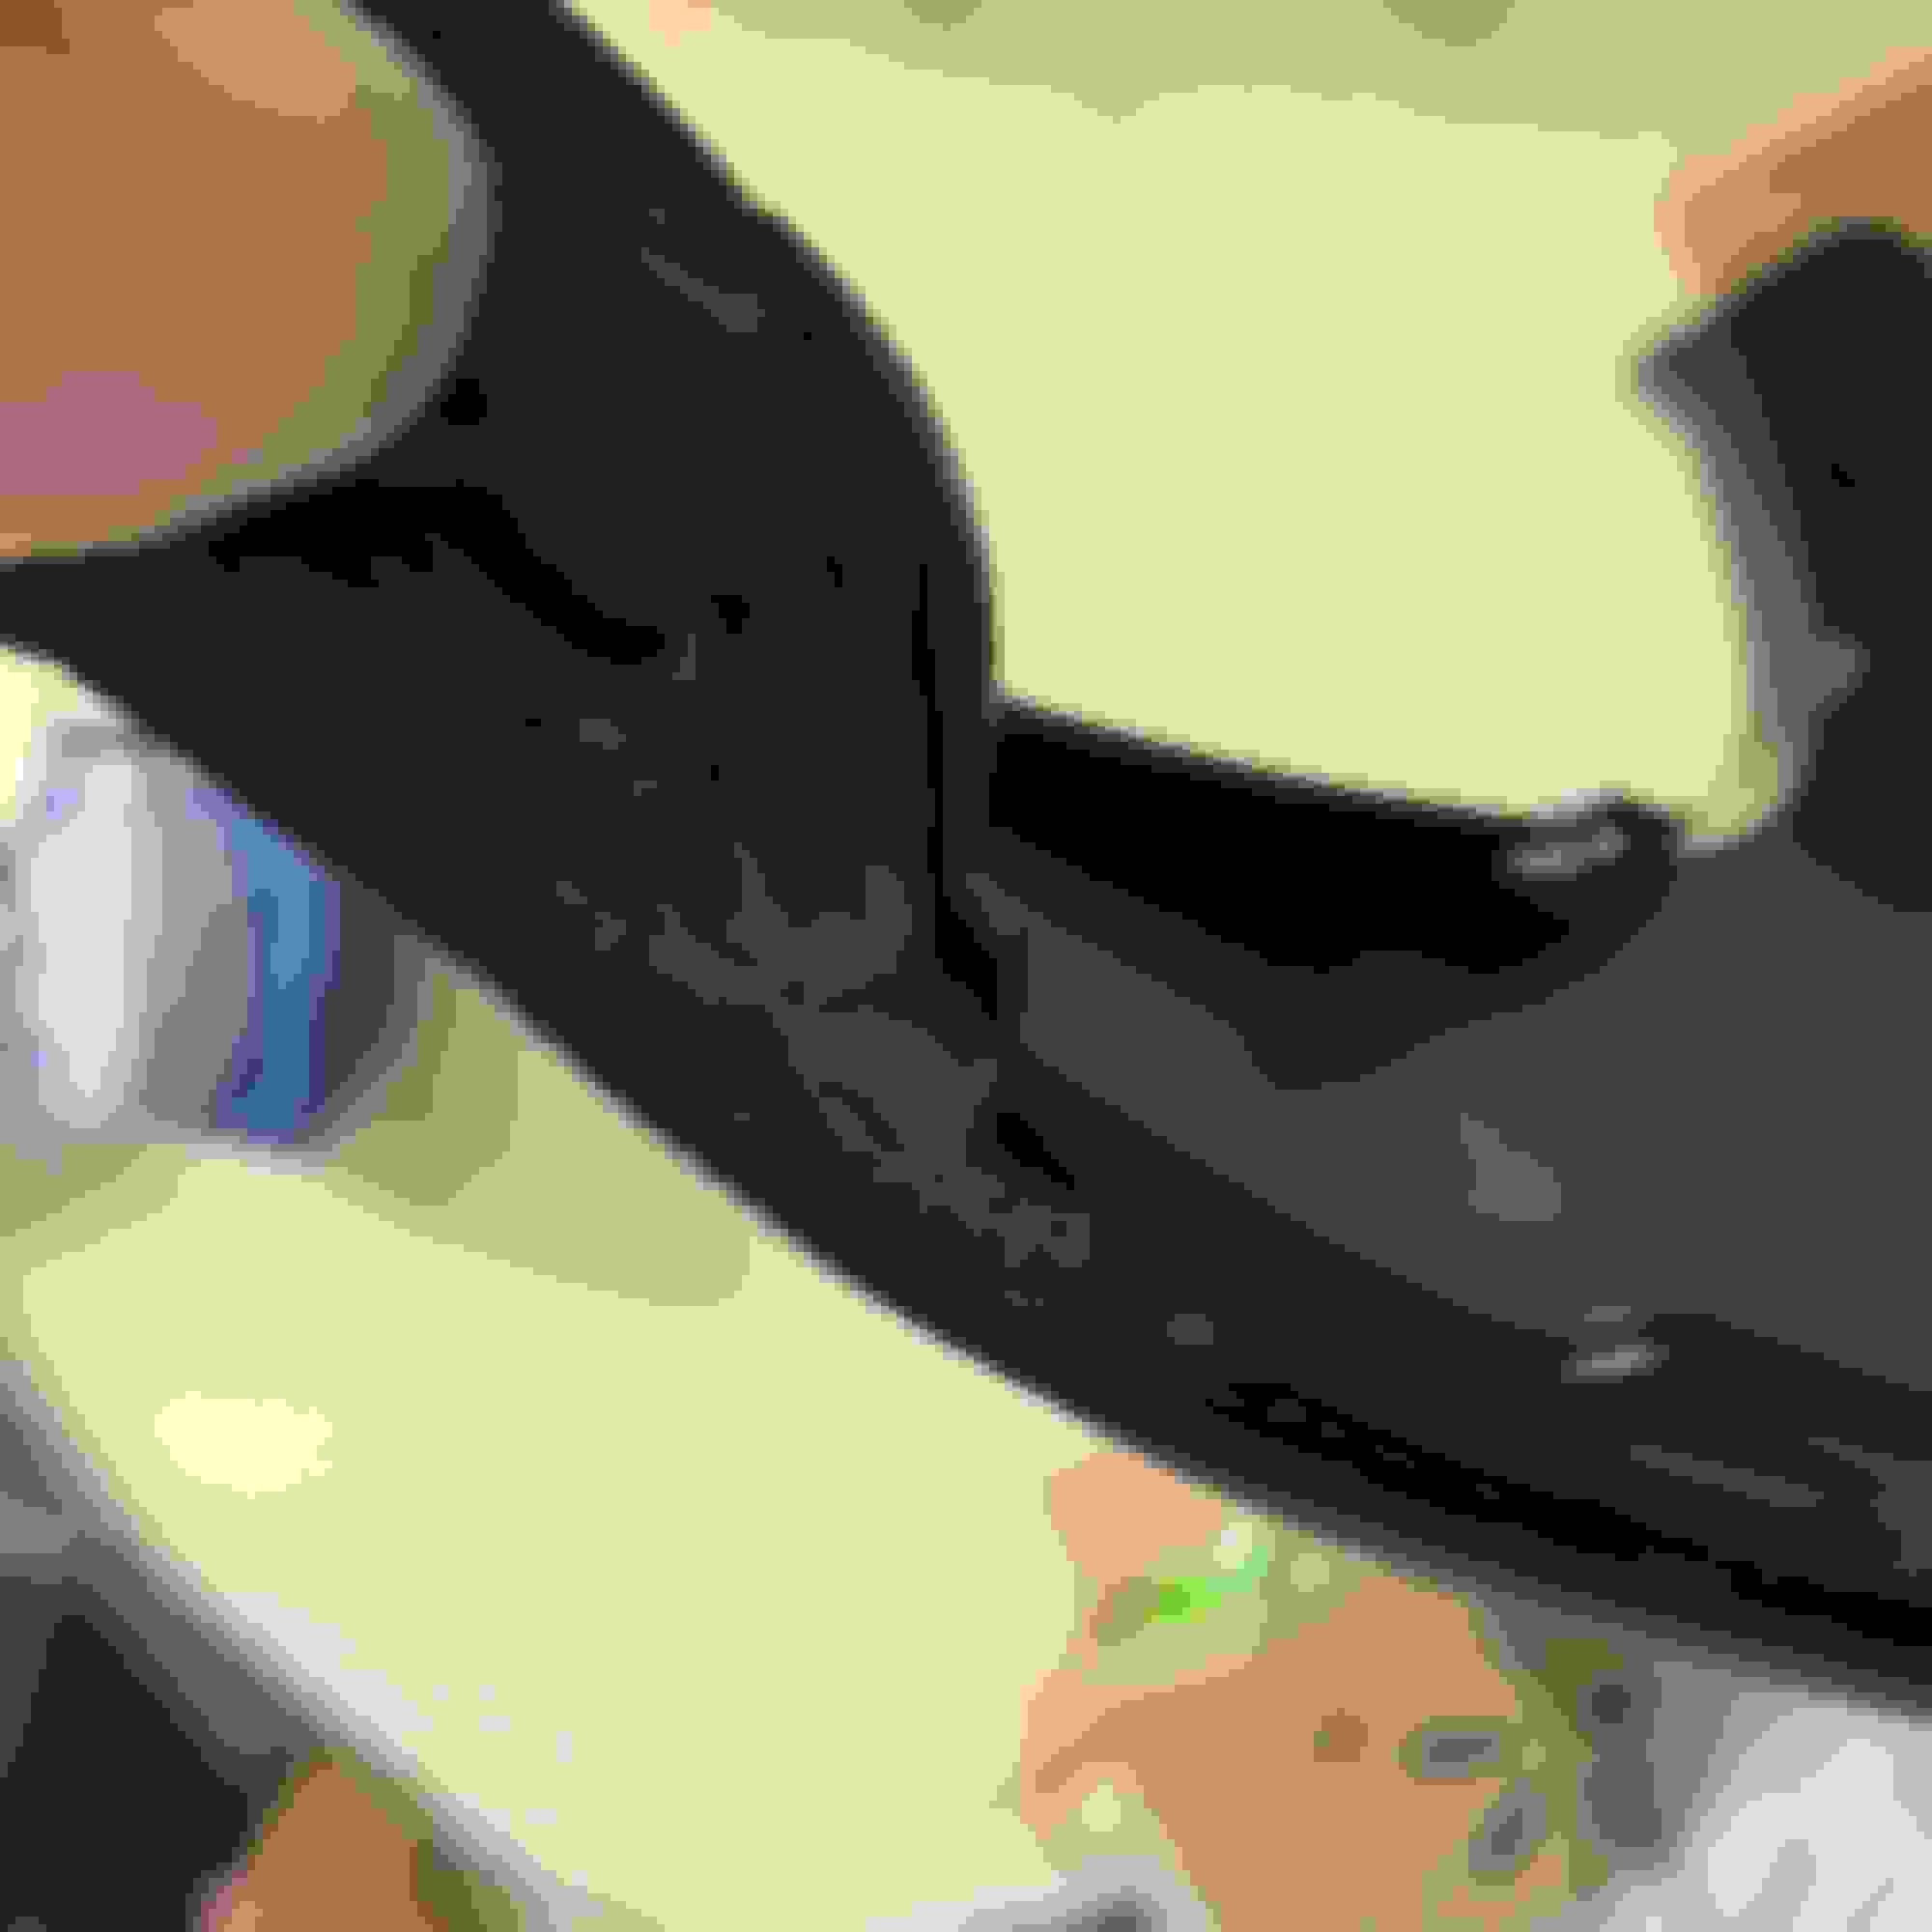
The lines and curves were pretty good actually. The first 2 clips closer to the headlights would fit/pop in, but the last clip and the tab where the screw goes in would not stay in and would just bulge out. I tried shaving it down and thinning it. It just wouldn't stay in place. I could look at the 2 corners side by side and they look pretty identical.
My solution was to drill a new hole in the tab and trim it back. This helped pull the bumper into line with the fenders.
I did some minor fitting to see I what I needed to cut. Looks like on the 06-09 tabs it matches pretty good. I looked up the side brackets and it looks like they redesigned it on 2010+. Looks like the two already tested and installed may have newer 2IS with different side bracket dimensions to fit the newer 2IS bumpers? See my side by sides. My oem tabs are trimmed due to rim rubbing
Oem tab vs conversion tab The shape looks to match on 2007 bumpers.
I assumed that was the case as well. But the section I cut and plastic welded on are from a 2008 and mine is a 2012. I ruled that out. Idk! Definitely weird though. Should be painted and installed by next week. The left and final side was just finished tonight. Just needs some body fill and it's ready for paint.
Original fitment issue I had before I cut it. Before modding and paint.
If it won�t be hard for you, could you please make some pictures how you screwed it under the car and near to the lockers. I�m going to change my bumper to this one and this time I don�t want to see my lockers not screwed as in the previous bumper, so I�m deciding whether I should go for it or no)
So I bought 3IS reinforcement to try out since photos look like holes were the same. Ended up being slightly different. I wanted to try this with 3IS foam. Holes are off by about half inch on each side. And doesn�t mount flat to frame rail. You can make it work by widening holes. Decided to cut my loses and no-go the 3IS reinforcement. Will resale this since it�s OEM and brand new.
If you widened the holes on 3IS reinforcement and center it exactly it will clear the fog light mold. Chopped oem 2IS reinforcement. This is more than needed. Could have left 1.5� or so and still clear the fogs.
Side bumper mounts to fender have a bevel on them which OEM bumper hole has tapers to nest into. This bumper needs holes wides to clear. Other alternative is to shave bevel flat or use generic flat square hole wedge. You can also just take out the screw wedge and use a 10mm bolt and nut to fender. You have to dremel that spot to clear OEM side mount clip. This is my initial cut. I ended up taking it closer to edge and smooth it out with sanding drum bit. Fit is 9/10 and should be tight once I get the sides bolted on and the OEM protector foam ($4.44 each) Passenger side near corner of headlight was tight so I had to hit with dremel sanding drum.
Bumper is 7” from radiator support near Center. OEM radiator air duct is too long. Luckily there is a nice guide to follow on it to cut. Marked with a ruler and sharpie Jig saw does quick work on it. Perfect cut and some sanding it should look good. Will probably hit it with some matte black before final install. Just barely clears bumper With grill installed it’s just right n Each ram air duct needs to be trimmed. I just followed the mold contour and it worked on first try. I took ducts off but you can do it with them on. The screws are a ***** to reach and driver side duct is connected to ECU box and requires dropping fender lining and under panels. Don’t remove if you don’t have too. Perfect bumper and grill clearance on ram air brake ducts.
Bumper is 7� from radiator support near Center. OEM radiator air duct is too long. Luckily there is a nice guide to follow on it to cut. Marked with a ruler and sharpie Jig saw does quick work on it. Perfect cut and some sanding it should look good. Will probably hit it with some matte black before final install. Just barely clears bumper
With grill installed it�s just right n
Each ram air duct needs to be trimmed. I just followed the mold contour and it worked on first try. I took ducts off but you can do it with them on. The screws are a ***** to reach and driver side duct is connected to ECU box and requires dropping fender lining and under panels. Don�t remove if you don�t have too.
Perfect bumper and grill clearance on ram air brake ducts.
Hey bud, so to confirm. You had to make all these cuts so it would fit and meet flush with the 3is conversion bumper? Does the engine undercover panel just hang or how do you have it mounted and attached to the bumper?
I'm debating between one with lip or one without the lip. Most importantly for me, does the bumper without the lip flow evenly with the stock side skirts? Would the added front lip appear too low to the ground and not flow well with stock side skirts. If anyone can add input, I'd greatly appreciate. Thanks.


 12-12-17, 06:09 PM