When you click on links to various merchants on this site and make a purchase, this can result in this site earning a commission. Affiliate programs and affiliations include, but are not limited to, the eBay Partner Network.
Understood, thank you 13F.
The ECU doesn't factor in current vehicles' suspension, tires, spring / shock rates, sway bar dimensions etc., and just corrects center point of the racks input to the steering angle sensor in the steering column. So no need to re-calibrate a USED ECU after installation.
I tossed in the IS-F EPS ECU. Took about 20 min. The connector is charmer, pop the black lock up, squeeze the connector from the backside pulling it it up to release what seems like a secondary catch and walla, the connector de-latches pushing it self away. All you need is a large pick tool. Do the one on the right first (power cable). Then the simple squeeze one, then the forward most connector on the side with two.
The hardest part was getting those stupid battery cable tie downs free on the outside of the battery, But after being mean to them, they got TF over it! lol And still latch!
I only did a short drive and can say that low speeds require more input at the wheel (higher resistance), but otherwise feels the same through the corners and straights. It will after 45,000 miles take some getting used to as it is not the way it was whereby muscle memory drives the vehicle effortlessly.
'll get it on the freeway tomorrow and maybe this weekend the canyons where VDIM can show its true colors. One observation is this EPS unit does allow more wheel slip than the F-Sport unit should it be pushed through the corners and body lean lifts a tire. The same can be said for the launch.
Out 89650-53082 F-Sport EPS ECU 2013
In 89650-53041 IS-F EPS ECU 2011
Hello 2013FSport,
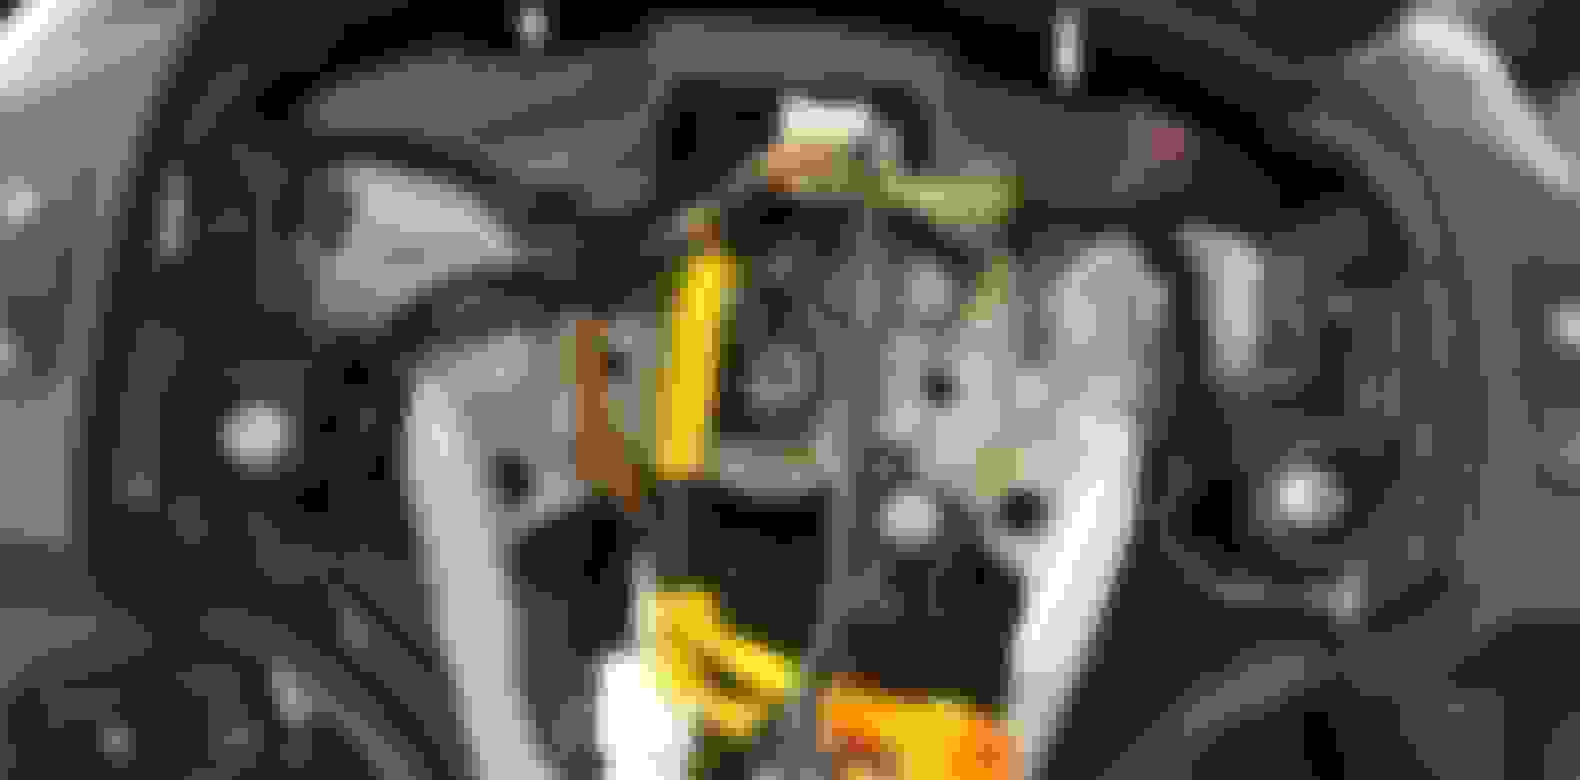
Wanted to confirm location of the "Power Cable on the Right ", you suggest to remove first. If standing in front of vehicle and looking at the ECU module, it would be the connecter referenced by the Yellow arrows, correct (see Photo 1).
To remove the cable, lift up the black tab (with small screwdriver os something similar), and leave up. Then pull up on the connecter to remove from ECU module (see 2nd & 3rd photos photo).
Also, should Dielectric Grease be used on the connectors when re-connecting?
Recently installed the IS F steering damper part 4571353020 & screws with washer part 9015950199.Photos Courtesy of CL member gamma113 Reply # 487 per the following discussion Steering Damper?; https://www.clublexus.com/forums/is-...damper-31.html
Did not disconnect the negative battery cable prior ti the installation (I do recommend it though). Used small amount of Loctite Blue Thred Locker 242 (part 24200) on the screw threads used to attch the damper to steering wheel, per recommendation of a member however , could not locate which reply to credit them. I did find removing the small female connector (referenced by Yellow arrow Photo 2) a challenge. Perhaps I was in fear of pulling to hard and damaging the wire, but became free after some wiggling. Will be scheduling the ECU install in the coming weeks.
I appreciate all the postings which greatly assisted greatly!
ok what little black tab are u guys talking about? so I have to do something special with these connectors? thanks
Helllo 2013FSport;(please reference reply #114 by chouavue10)
Will be attempting the the steering ECU possibly this weekend,, and wanted to confirm the correct procedure for removing the wire connectors from the existing OEM steering ECU. First, does it matter which connecter is to be removed first?
I understand that the use of a small precision screwdriver or something similar is recommended to pry up the connecter tabs (see photo below / after videos, with connectors referenced by the White arrows). Once the tab is loose / not removed, do you pull up on the connecter as a whole, or lift the white lever (left / passenger side connector) and grey lever (right / driver side connector) first, then gently pull outwards or upwards on the whole connector to safely release? I believe the other connector on the right / driver side connector (referenced in photo below with White arrow), you just need to lift up the center tab and pull straight back to release connector.
The videos provided, did not clearly show how to remove the black / white and grey connectors.
Any additional assistance would be greatly appreciated!
IIRC, the single connector on the left had no wiggle room to disconnect so I did the two on the right. First the large one then the small one.
Yes, lift the pin and flip the bayonet but then there was some other little trick needed to fully release it from the EPS connector. I want to say it did involve the pick.
Will begin by disconnecting the connectors on the right / driver side by first removing the larger connector (releasing tab on top then lift the latch to disconnect, then remove the smaller connecter, to allow more space to remove the connector on the left / passenger side.
The individual did mention breaking the tabs located on the two large ECU unit connector brackets of the ECU unit being removed, that harness plugs into (referenced by Yellow arrow in photos below). Any tips so I don't encounter the same issue (certain direction to pull etc), or just slowly pull off while wiggling left to right?
Follow up: Successfully installed the IS F steering ECU. Removed the Negative battery cable first. Removed battery then ECU housing cover. No issues encountered however, did find it a little challenging to remove the right / driver side Gray connector (from existing ECU), due to lack of space to use a precision flathead screwdriver to pry up the locking tab from the outside of connector, even with the White connecter (left / passenger side) already disconnected. Once the tab is popped up, gently push the locking bar upward, and you will feel the connecter disconnect from the ECU connector port (see photos below). Removed the existing ECU mounting brackets and re-installed on the IS F ECU. module. Added some dielectric grease to the ECU port connectors and connecters from vehicle wire harness. Re- installed the ISF ECU module / bracket assembly., ECU cover then battery. Connected the Positive battery cable first then the negative. Started vehicle and no PS lights were present.
brought vehicle to the dealership and had the Torque sensor Zero Point calibration procedure performed.
No issues were stated or PS lights present when vehicle was returned. Driving does feels somewhat more accurate when turn in is performed or quick turns. Highway driving is very smooth.To be honest, after driving the vehicle to the dealership with no power steering, any power steering was welcomed, and unable to recall what the steering was prior to compare. I'm sure, as the vehicle is driven more, I'll begin to feel the difference. I want to again thank all for providing the additional information and time to have the procedure performed correctly without any issues.
Wanted to confirm if there is a possibility of having the ECU miscalibrated, after procedure is completed. Would the only way to know if there is an issue afterwards , is PS light present and power steering has not returned?
Wanted to confirm if there is a possibility of having the ECU miscalibrated, after procedure is completed. Would the only way to know if there is an issue afterwards , is PS light present and power steering has not returned?
Steering angle zero point will be off center or you will have error lights & codes.
I have a 2008 ISF that I upgraded to the 13/14 P/S ECU years ago.
Since I store my ISF over Wisconsin winters I figured i could borrow the P/S ECU for my 2012 M/T is250.
Since it does not have a VDIM "sport mode" I wasn't expecting much.
My unit was already calibrated in my ISF so I didn't bother to recalibrate it to the is250.
I do a significant amount of freeway driving and that's where I really noticed significant dead zone & numb steering feel. Large input was required to make insignificant (IMO) changes.
I also noticed at higher speed long sweeping turns I could feel assist almost "pulsing".
After swapping to the 13/14 ISF P/S ECU:
High speed cruising is significantly more confidence inspiring.
Steering dead zone is near non-existent.
Steering input is shaper, at a steeper angle.
Steering feel is slightly heavier as a vague description.
ABS/VSC/TRAC allows more aggressive driving to an extent.
Latest price check I see is going for $700-800USD. While it's a significant upgrade, I won't be spending that much on the IS250.
The 2011-2012 ISF unit is slightly cheaper at $550-650USD. When the time comes, I'll likely purchase a used or new 2011/2012 P/S ECU.
Thank you for the reply Viper, and providing the additional details / experience with the IS F ECU install. I did not experience steering being off center or dash error lights present.
I was concerned if it was possible to enter something incorrect during the calibration procedure, that would go undetected and throw off the calibration however, appears that the program will not allow the user to continue without entering the correct information / parameters, before continuing to the next segment (pop up making user aware something incorrect was entered?).I was curious if the the user would be able to override an input (incorrect vehicle make / model, engine for example), and allow to continue. I guess the most telling confirmation the calibration was performed correctly is that the power steering was restored after the procedure and lack of any error lights!
I agree with your comment regarding vehicle being driven at highway speeds after the IS F power steering ECU was install. Feels more fluid and lane changes feel more precise or better steering input. I did encounter the "pulsing" you stated with the original ECU module, as if the steering wanted to return to the center position, and frequently having to correct the steering during turns. The IS F ECU appears to allow more time to react to the steering changes.
Interested how steering input will be during wet road conditions. I notice the IS does not do too well with wet road conditions and the VSC (Vehicle Stability Control) comes on almost immediately. This also occurs when vehicle is driven hard into sharp turn on dry road conditions.
I'm sure with vehicle being driven some more, I'll notice more of the benefits of the IS F ECU being installed. Again, thank you for the follow up!
Although I sold my IS350 last year, I have to say this was among one of the best mods I performed. It turned Camry like steering into a much better, firmer experience. I hope you guys enjoy!
 02-12-23, 06:22 AM