When you click on links to various merchants on this site and make a purchase, this can result in this site earning a commission. Affiliate programs and affiliations include, but are not limited to, the eBay Partner Network.
Any Tutorial on how to replace the rear axle/drive shaft?
I need a clear/detailed and guided tutorial on how to remove a rear axle/drive shaft. I need it to replace my rear passenger side.
I already searched Here and no luck. Google doesn’t really come up with anything specific, and YouTube has vague unhelpful videos on this topic.
my rear axle is making a clunking clicking sound. I know it’s the axle/drive shaft as I had the same issue on the other side and replaced at a mechanic.
Im trying to do it myself this time, as the part is only 80 bucks afyermarket. My mechanic charged me 600 installed with a used part last time.
Any help would be great. I know I can tackle this, but want to make sure so I don’t come up on issues cause I can’t afford downtime on my car.
I may catch some flack for this but seeing you have a used axle in one and it's life expectancy is unknown, this is what I would do if it were mine.
If a socket fits through your wheel, break the axle nuts free so you know they move. Do not fully loosen the nuts.
Park the rear on ramps, block it well and set the brake.
Remove the exhaust.
Drain the rear diff fluid.
Decouple the drive shaft.
Loosen the 3 bolts at the rear of the diff. Leave one in place until you get a jack under the diff.
Loosen the two remaining bolts, remove all bolts.
Lower the diff, twisting it 45° and while turned, pop one axle free using two large screw drivers placed 180° apart.
With an axle free, rotate the diff to ease the pressure from the axle and pop the axle free.
Lower the diff safely to the ground.
Remove the axle nuts and gently tap the axle inward until it is free. Repeat on the other side.
What you gain here is not dealing with springs, suspension bolts, wheel alignment, torquing a bunch of critical fasteners to spec.
Yes, it may sound like a PITA, but it goes fast compared to pulling the spindle and all of its attaching points (5x), replacing the wheel speed sensors, bending the dust shield, and all of that.
Anyone know if the axle nut holding the half shaft into the spindle is "dimpled" into a notch within the axle stub from the factory? If so, you'll need to remove the wheel in order to "undimple" that nut in order for it to release from the half shaft stub.
Anyone know if the axle nut holding the half shaft into the spindle is "dimpled" into a notch within the axle stub from the factory? If so, you'll need to remove the wheel in order to "undimple" that nut in order for it to release from the half shaft stub.
Yes axle nut is "dimpled" and axle shaft has notch.
Anyone know if the axle nut holding the half shaft into the spindle is "dimpled" into a notch within the axle stub from the factory? If so, you'll need to remove the wheel in order to "undimple" that nut in order for it to release from the half shaft stub.
Well, I *likely wouldn't do it to my own car, but they don't resist much when told to get off the shaft by my IR-550. Although this is incriminating, I've never seen it hurt the threads or the nut!!
On suspension tear downs where BJ's and tie rod ends are being replaced, I've mowed over cotter pins too. You, know when ya gotta just get it done! Ha! Insert walk of shame here...
I took a look at everything today and still need clarification. Maybe these photos will help others like me that don’t know what to do.
I plan on taking off the wheel and putting the side of the car on jack stands.
These are the tools I’ll have ready for the job. ill have a breaker bar, torque wrench , pry/crowbar, hammer/mallet, proper sockets, grease, screw drivers... is there anything else I’m forgetting?
so what really needs to be removed to get the axle out?
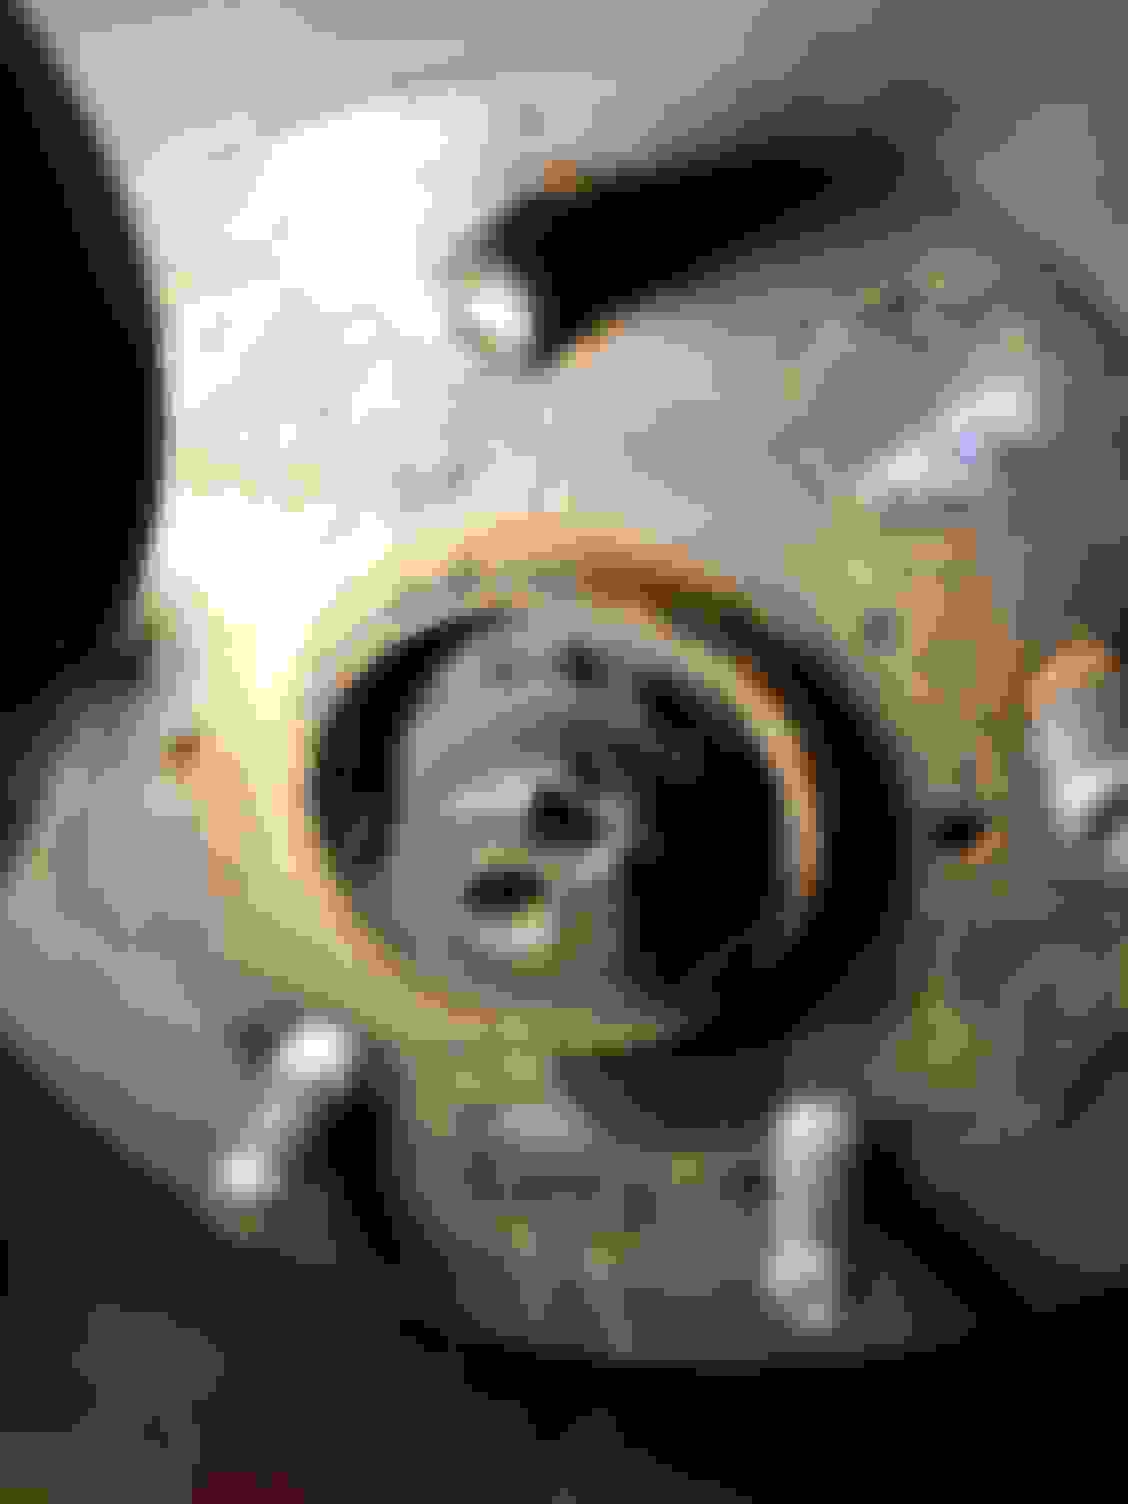
Here is the dimpled area on the nut. So how would I Undimple it to remove?
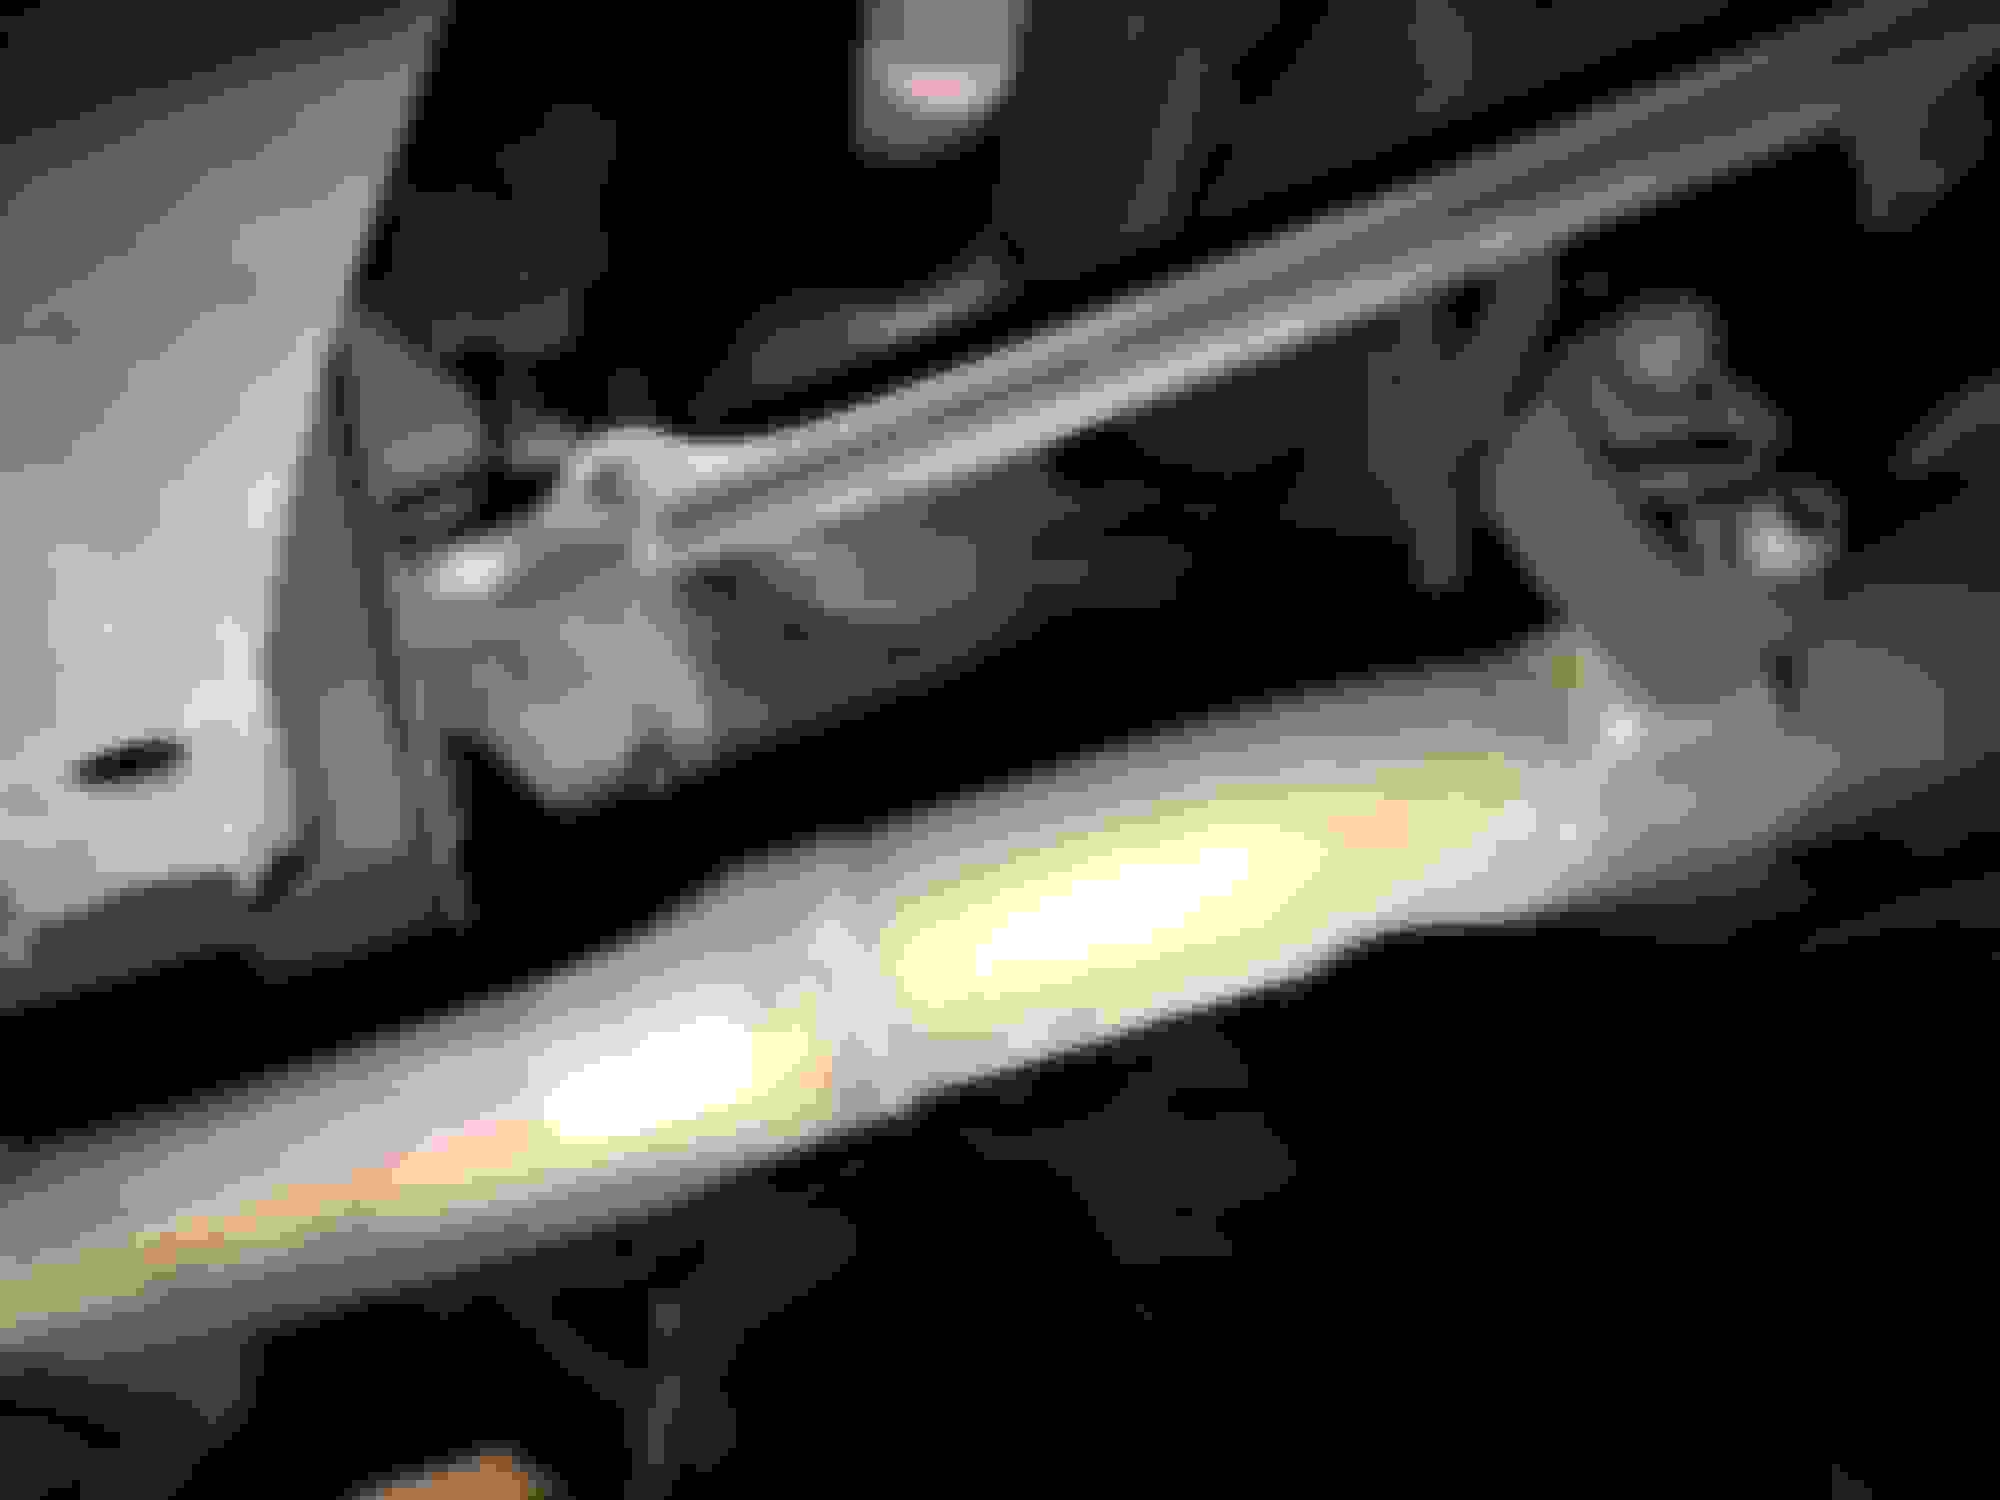
Here is the axle connected to the differential. So to remove it after the other side is removed... it can be pryed outward with a crowbar or screw driver?
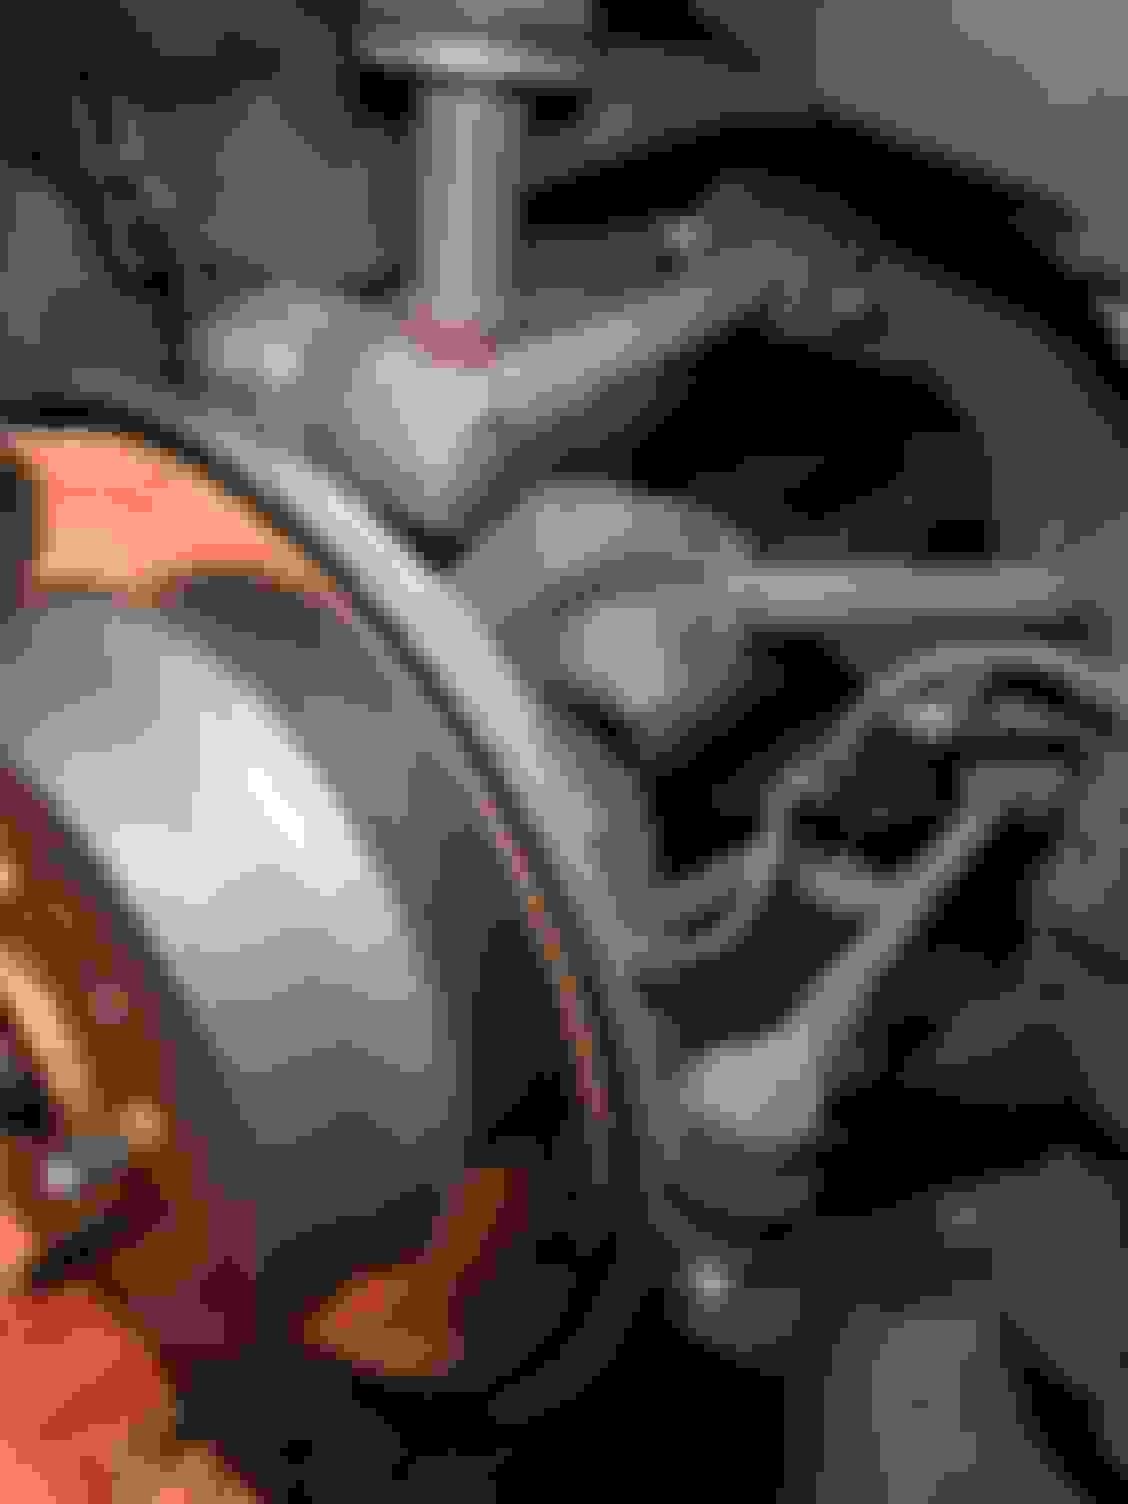
here is the back side of the hub. What bolts need to be removed to get the axle out?
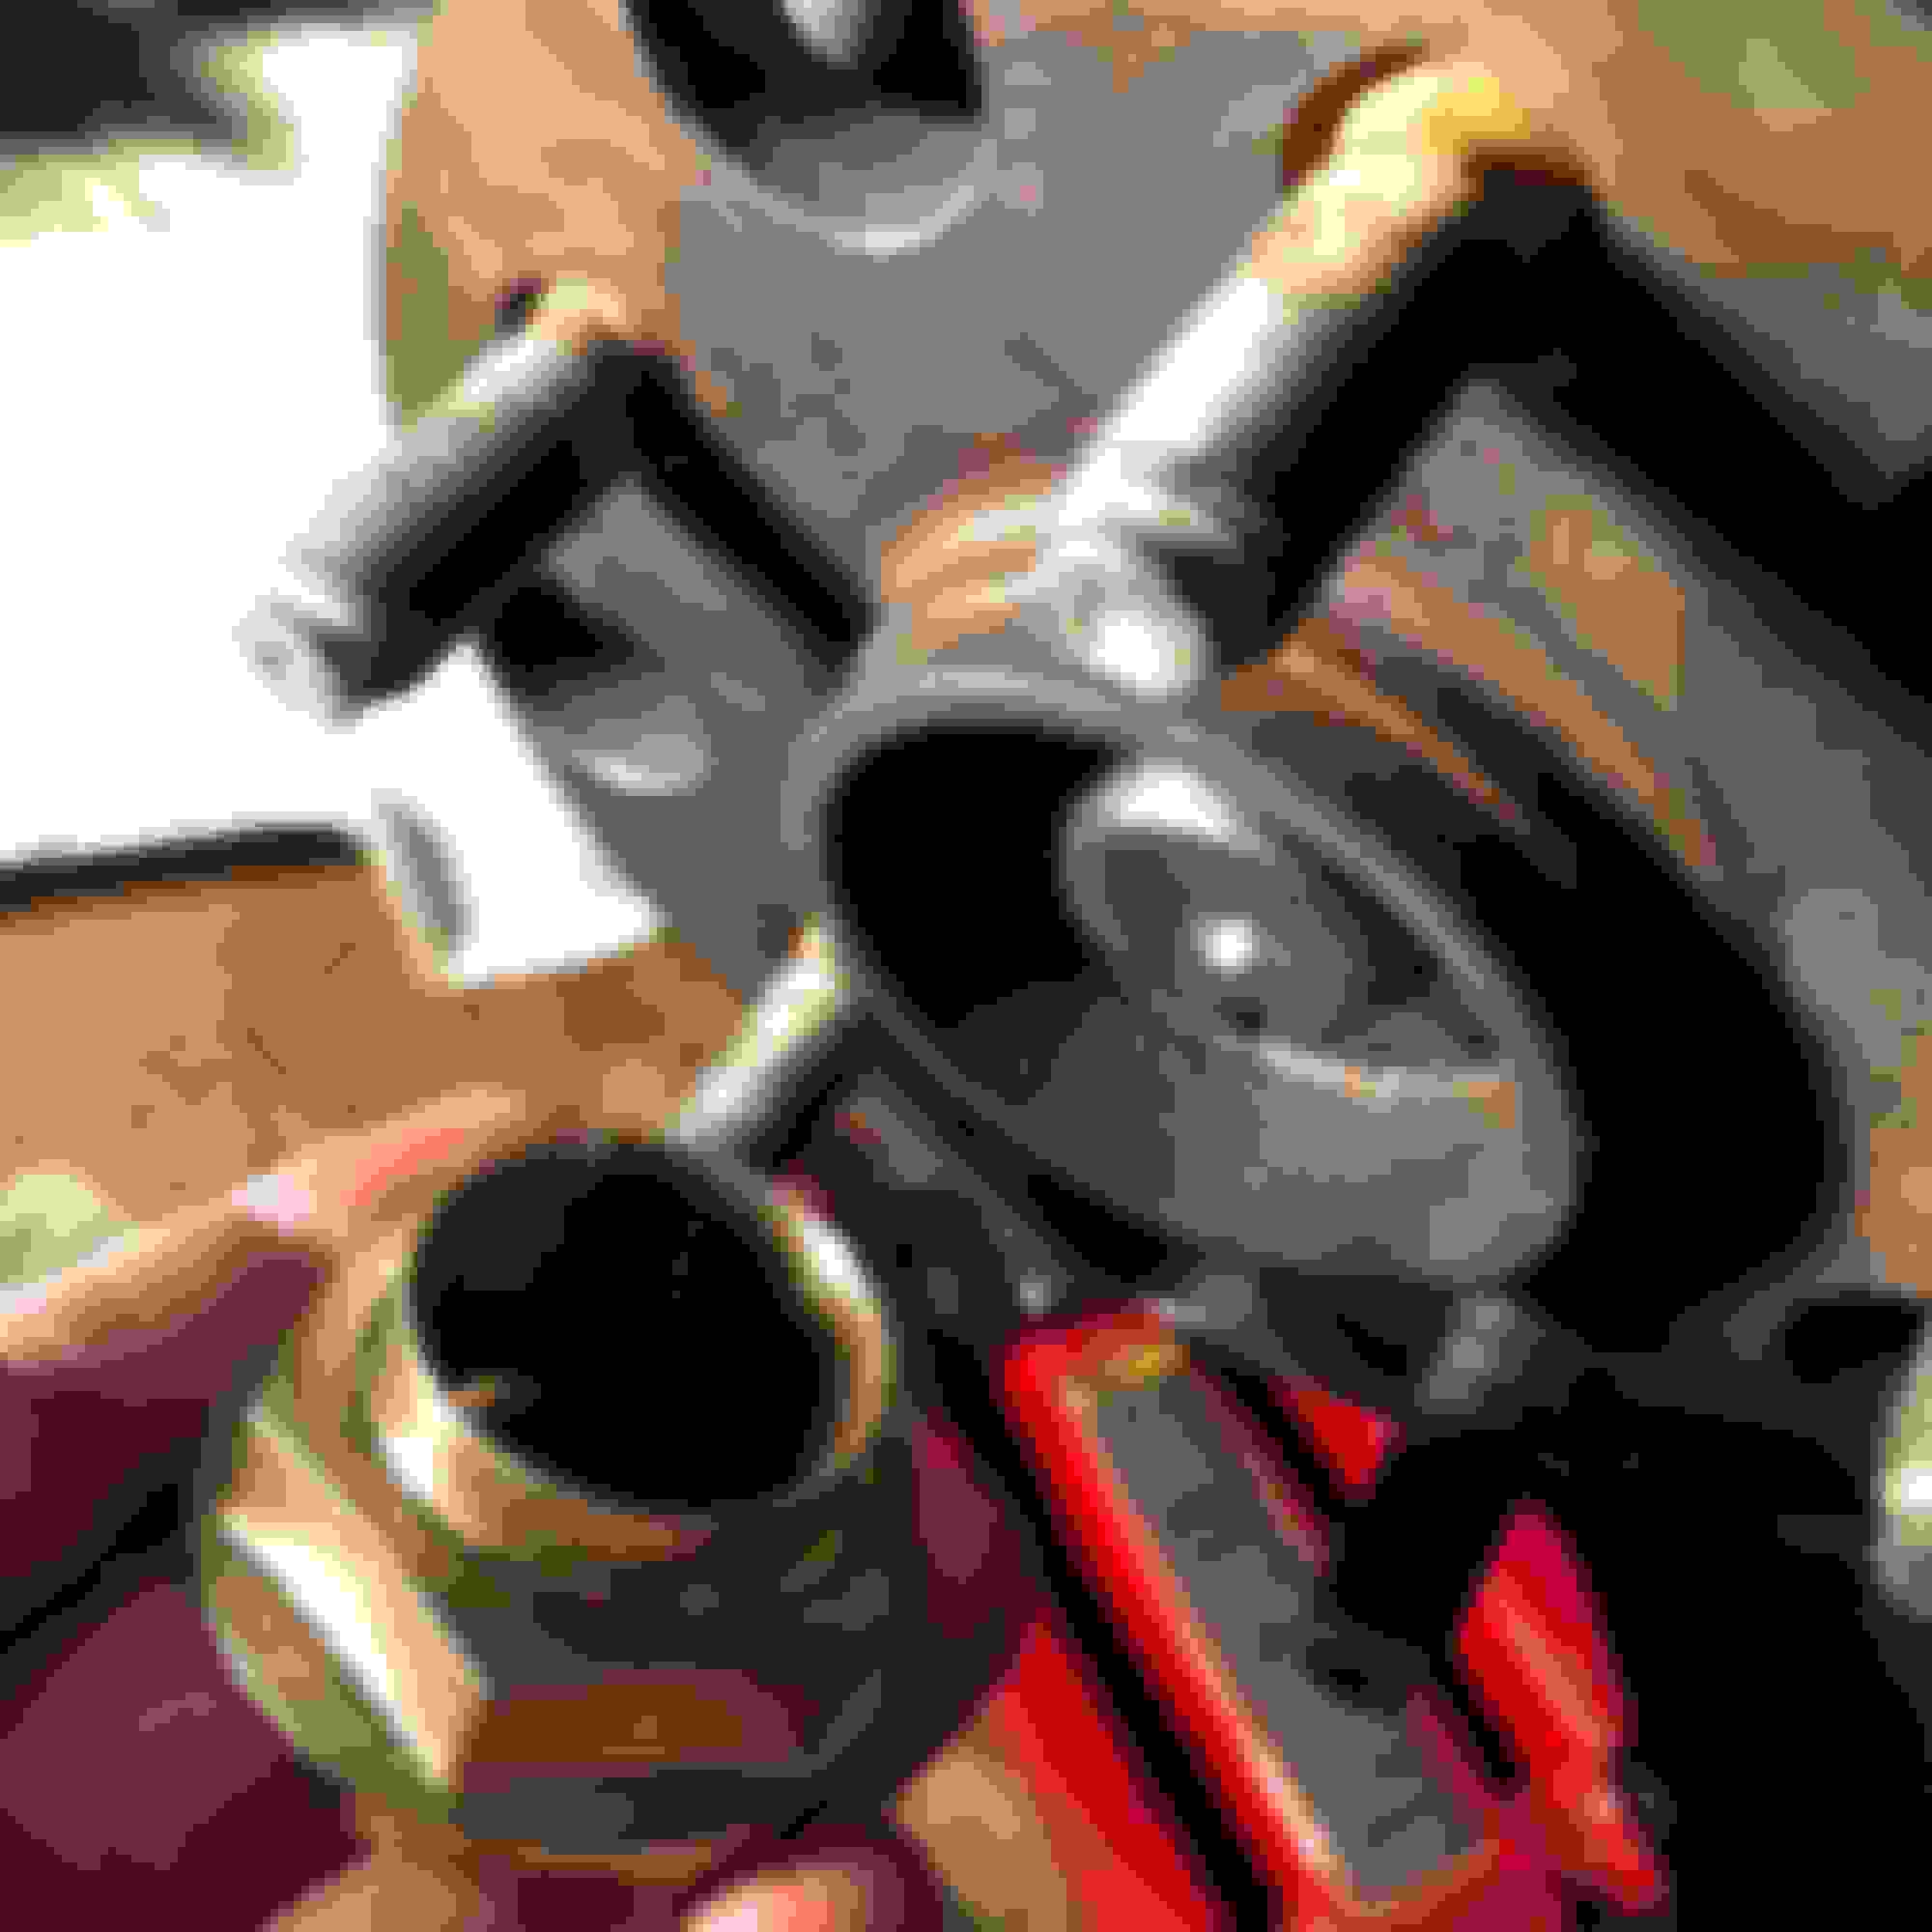
here is the front, same question, what needs to be removed?
I'm still going to say you're time ahead by dropping the diff even for one side. In short, the spindle and hub assembly need to be free enough to move off the axles splines, so you need a about a foot of travel. In short, when you're done, you'll be disconnecting all but one linkage point. Do remove the ABS sensor as it usually gets damage.
To gracefully undimple the nut, use a larger blunt chisel tip and hammer straight into the groove. The dimple will open.
Two big tips. Thats a well used wheel bearing back there, be nice to it and don't beat the axle out with a BFH. Press it out. They make tools that bolt to your studs for this.
Second item. When done and putting it back together there are ball joints and bonded rubber bushings. The bushings *MUST BE* AT ride height when the pinch bolts are torqued to spec or 2500 miles down the road, they will fail. Think of extending your arm so your elbow is locked straight, now continue to overextended it ( as the car settles from hanging to ride height ), and that's what happens to them rubber vulcanized bushings if assembled while the suspension is hanging down.
Last thing, make sure you don't knock the dust shield off the bearing by hitting it with the axle. It will rattle and F up your speed sensor.
One more reason to pull the diff. i.e. break that nut lose, push the axle in a tiny bit, put the wheel on it, set it down on all 4's and you don't have to tear the whole suspension apart. That said, it's not that bad. I really mention the diff drop if someone has to do both axles. Then, it's completely worth it. In your case, it's probably not. The only risk in this method is tearing up a seal on the housing by dragging a splinned axle over it. IMO, low risk compared to this..
PS - in your last picture there are essentially two tie rod ends (one at 12:00 and 3:00 o'clock). Do not use a pickle fork to free them. It cuts the boot letting moisture in, grease out and they die. You need a small press for these.
PS - in your last picture there are essentially two tie rod ends (one at 12:00 and 3:00 o'clock). Do not use a pickle fork to free them. It cuts the boot letting moisture in, grease out and they die. You need a small press for these.
Ok, I removed the old axle and installed the new one partially. Took 2-3 hours to fully remove the old one.
That included going to the store to buy a electronic impact gun. The axle nut is a pain. I sprayed pb blaster let it sit, and hammered out the divot with a hammer and various sized punches.
After that while removing using a breaker bar, I couldn’t get it to budge even standing on it. I though removing the brakes and hub would help, wrong... that’s the stupidest thing as I had to reinstall it to try again cause the hub kept spinning without the brakes and rotor.
using the impact gun thankfully it came out...
removing the axle from the differential was hard also... i had to pry the inner lip bending it to get enough force and room to use a larger pry bar. Took me 1-2 hours just removing it.
While removing the arms to get the hub out the way in the beginning...I was a bit annoyed and couldn’t get the ball joints to come out with my usual way of hammering the knuckle so I just hammered the ball joint out. It’s leaking a bit of grease but oh well, I’ll deal with them later when they die which they’ll probably be soon.
reinstalling the axle all tutorials online for different cars say it’s easy and clicks in... false. That ring then has to click in place is a pain in removal and installation... I lined it up, then used a dead blow to tap it in place. Not sure if that’s the right way but it worked.
Another thing is I didn’t know if I really needed to grease the shaft before inserting into the differential. No one made this part clear and Searching on YouTube and google it seems everyone just inserted and installed the new axle without greasing it. I guess the differential oil does the work after it’s in? so when I installed it I didn’t use any grease at all... if someone know if this is ok please confirm!
I took a break for the night and will finish tomorrow. I need to get a 34-35 socket for the new axle. The new axle that came on the cardone axle didn’t used the same 32 mm 12 point, it uses a 34-35 .I could reuse the old one, but don’t trust it as some threads are wonky from punching the divot out and removing. I wouldn’t be able to turn it on without using the impact gun.
If anyone wants to tackle this same job without experience or doing this before... it will take 3-6 hours. And I recommend a impact gun. I’m broke so this is my only option... I know I did a few steps wrong... if you got the money just hire someone.
After this I still got to get a alignment... this is how it currently looks. The axle is not completely through. I just stuck it in as much as I could till is get the socket for the axle nut. Once I tighten it, the axle should tighten and push through the Hubs spline grooves correct?
im just worried that it’s not perfectly aligned, since there is no way to tell. Is there any way to make sure besides remove the suspension arms again and pulling the hub?
 09-23-20, 01:53 AM


")