When you click on links to various merchants on this site and make a purchase, this can result in this site earning a commission. Affiliate programs and affiliations include, but are not limited to, the eBay Partner Network.
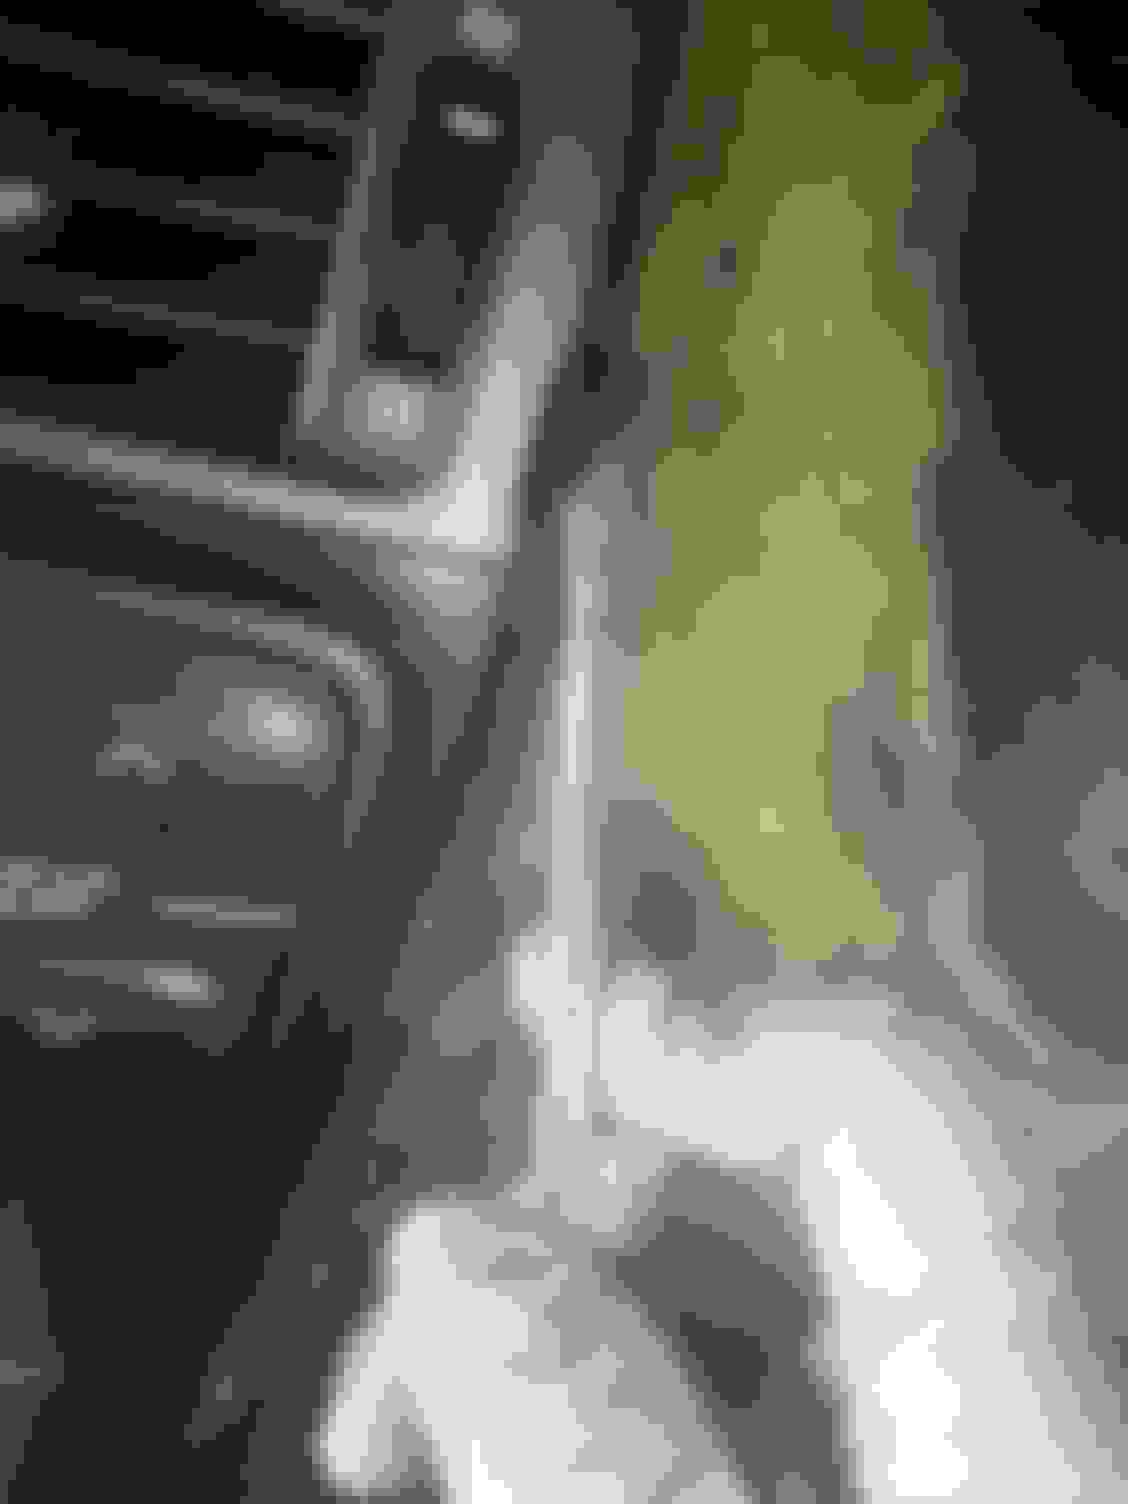
I installed a Coverlay Dash today, so I thought I would share with everyone who may be considering. I just purchased an 08 Is250, with a serious sticky dash problem. Basically, the dashboard is tar all the way down to the yellow foam that makes up the base of the dash itself.
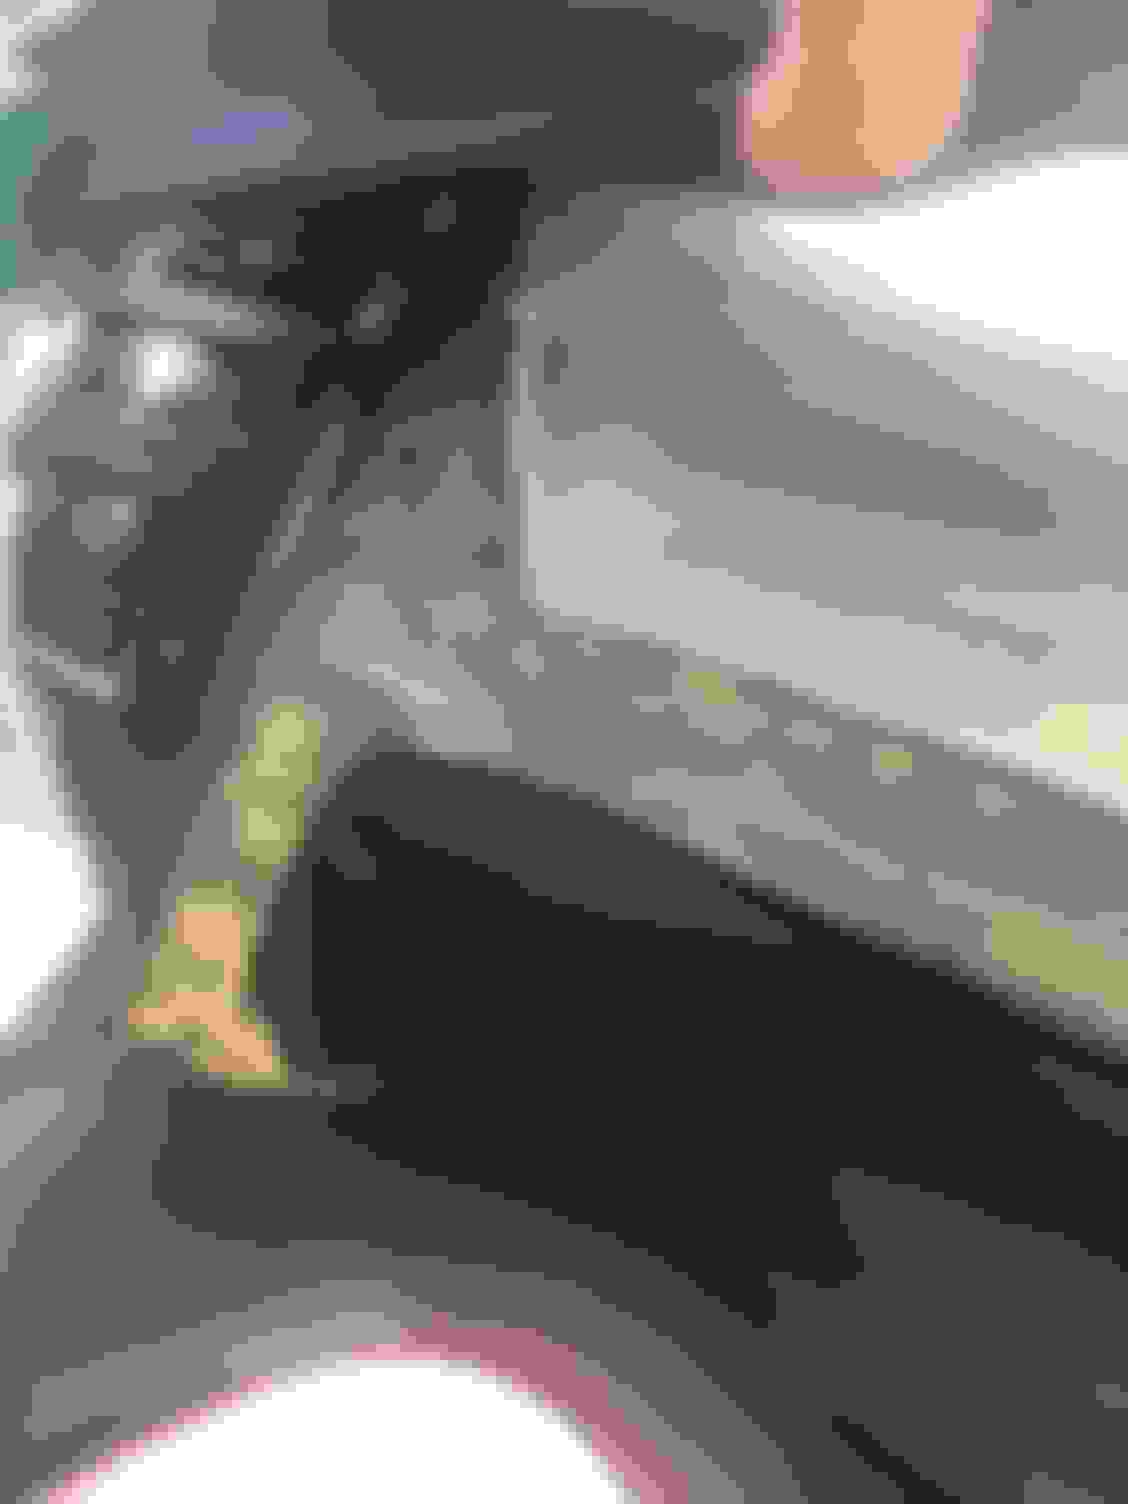
Now fair warning, I am I mom doing this project with and for my young college kid, and I am not very handy. I am an artist though so I thought taking on this project would be simple. I ordered the cover and gave it some thought. I realized that the silicone included with the kit wasn�t going to stick to the tar like surface. I called the manufacture to see what they recommend in that case. The lady I spoke with advised me to sand down the edges where the silicone bead was to be laid and then tape over anything that is sticky throughout the rest of the dash. Well, the only problem with that advice was, 95% of it is sticky and as I mentioned complete tar down to the core, so there is nothing to sand. We got to work cleaning the edges of the dash where the silicone bead would be applied. It took at least four hours to get it cleared. This is not a project that you will do quickly! I used a large scraper to get off most of the edges , But then quickly realized it wasn�t going to work around the curves. That is probably the most challenging part of this project. The dashboard is extremely curvy and hard to get into the nooks and crannies. I finally settled for using a flat head screwdriver and surprisingly it worked pretty well to get up the remainder of the area. I�ve seen other people on YouTube use Goo Gone To dissolve the sticky mess. Well, for the purpose of this project , forget about using that. The manufacturer specifically advises that you use an ammonia-based cleaner and avoid anything petroleum based. Once we got as much of the dashboard finish off the edges as we could, I used a green scratchy pad dipped in Windex to clean the rest of the surface and taped over the entire center of the dash. I learned fairly quickly that taping down by the windshield was futile. Again, the design of the dash and the sloping windshield made it all but impossible to remove black tar or tape over it with masking tape. Instead, I taped everything else and for that portion I put the masking tape on the back of the coverlay. Did I mention this was a mess? LOL
A few tips- tape the headliner fabric on the side columns well. You will scrape them when taking the Coverlay in and out, fitting and repositioning it. If it picks up any of the melting dash, you will have a mess on your hands. Also, you will need two different types of glue. The Coverlay comes with silicone but you will need something stronger around the push button start and glove box. Why? Because silicone doesn�t dry quickly and there�s virtually nowhere to clamp it or weigh those areas down. We held it for a half hour+, to no avail. Also, use two different size masking tape- a thin and a 2�. Why? To cover as quickly as possible , but still have small pieces handy for the edges etc. I cut a hole out of the tape at the passenger airbag area and retapped it so that the airbag operation would not be compromised by the tape. Maybe that was unnecessary , but just as a safety precaution. Two people are definitely needed for the final glue down. It was more difficult to position the Coverlay once the silicone was on. I�m not sure why, but it really helps to have a spare set of hands. It is a tight fit and the glue only makes it tighter.
I�ll post some pics. Any questions, fee fee to ask me! Before- zoom in to see the tarry texture of the melted dash. Scraping the edges with a flat head screw driver. Dash with edges cleaned down to foam and the remainder taped. Coverlay in place, before section for airbag was glued in separately.

 11-14-20 | 06:52 PM