When you click on links to various merchants on this site and make a purchase, this can result in this site earning a commission. Affiliate programs and affiliations include, but are not limited to, the eBay Partner Network.
I recently picked up a flat bottom with black carbon fiber top steering wheel from DCTMS. Instructions were not included, and there were little information to go off of. I had taken the steering wheel off of my 2IS many times and procedures are very similar . Do this at your own risk.
Things you will need.
- 2 flat head screw driver (small tip, and a medium to large tip)
-Philip screwdriver
-19mm socket and socket wrench
-30mins to an hour of your time
DISCONNECT YOUR NEGATIVE BATTERY TERMINAL.
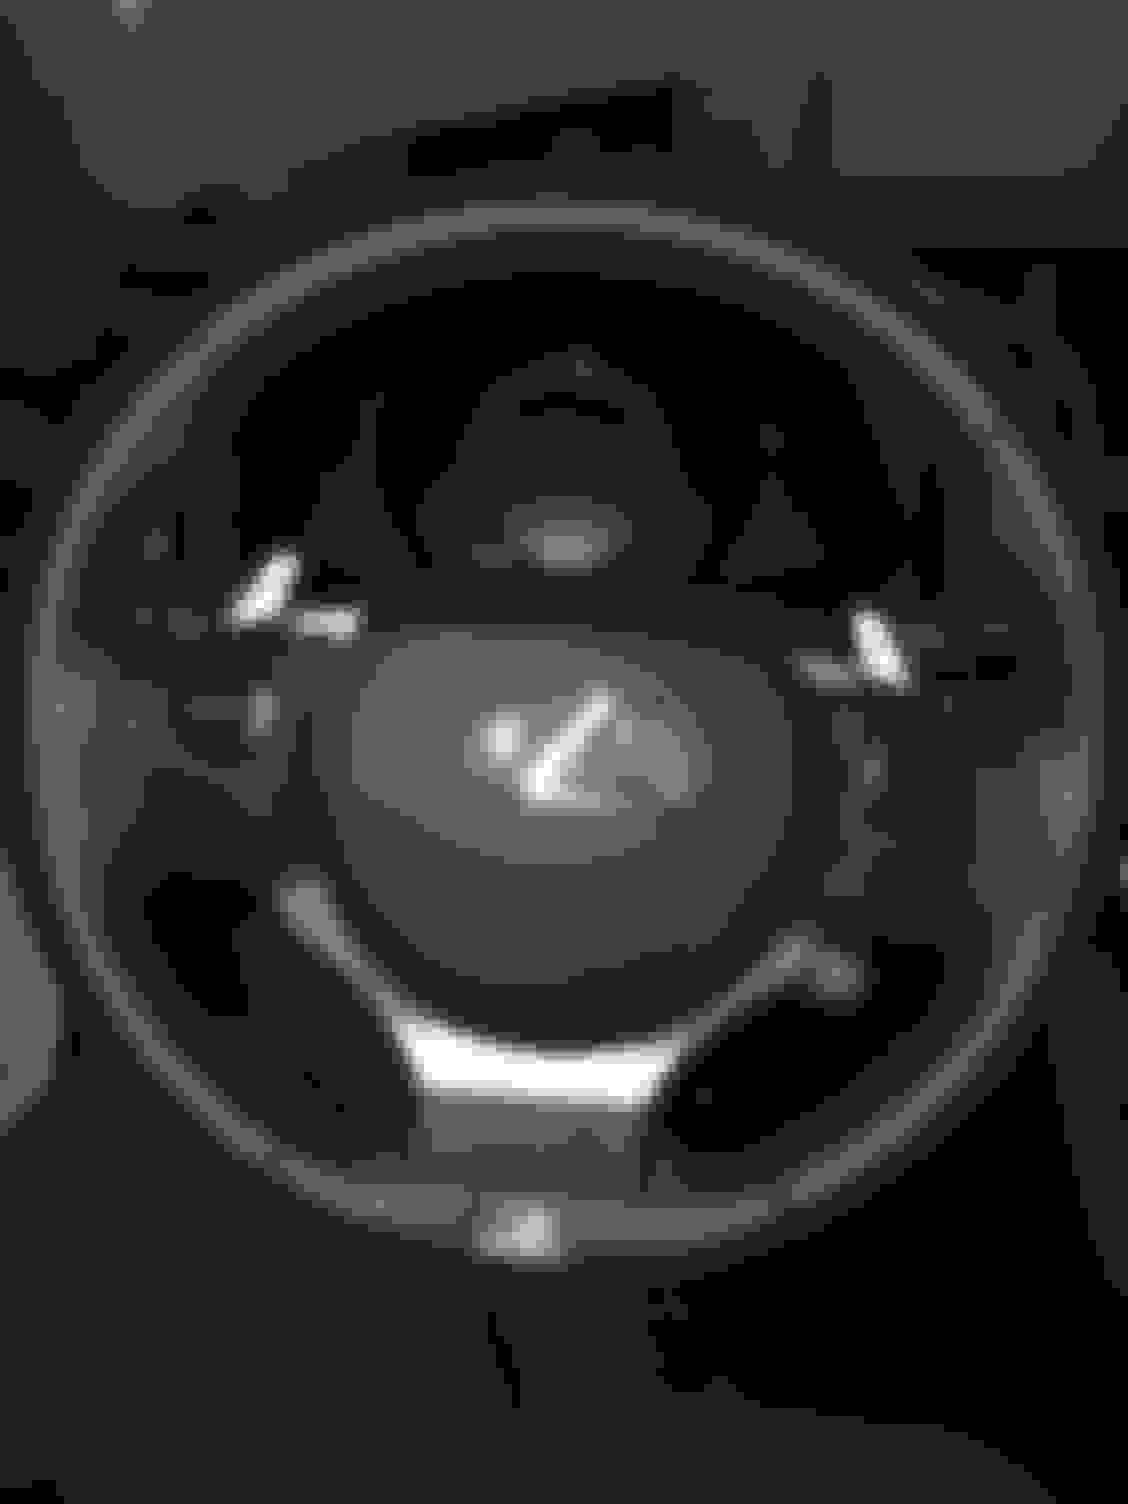
Align your steering wheel so that its straight. My wheel isn't straight in the picture but it was when I took it off haha [/SIZE]
there is a plastic cover on each side of the steering wheel. Use a small flat head screw to pop them out
'
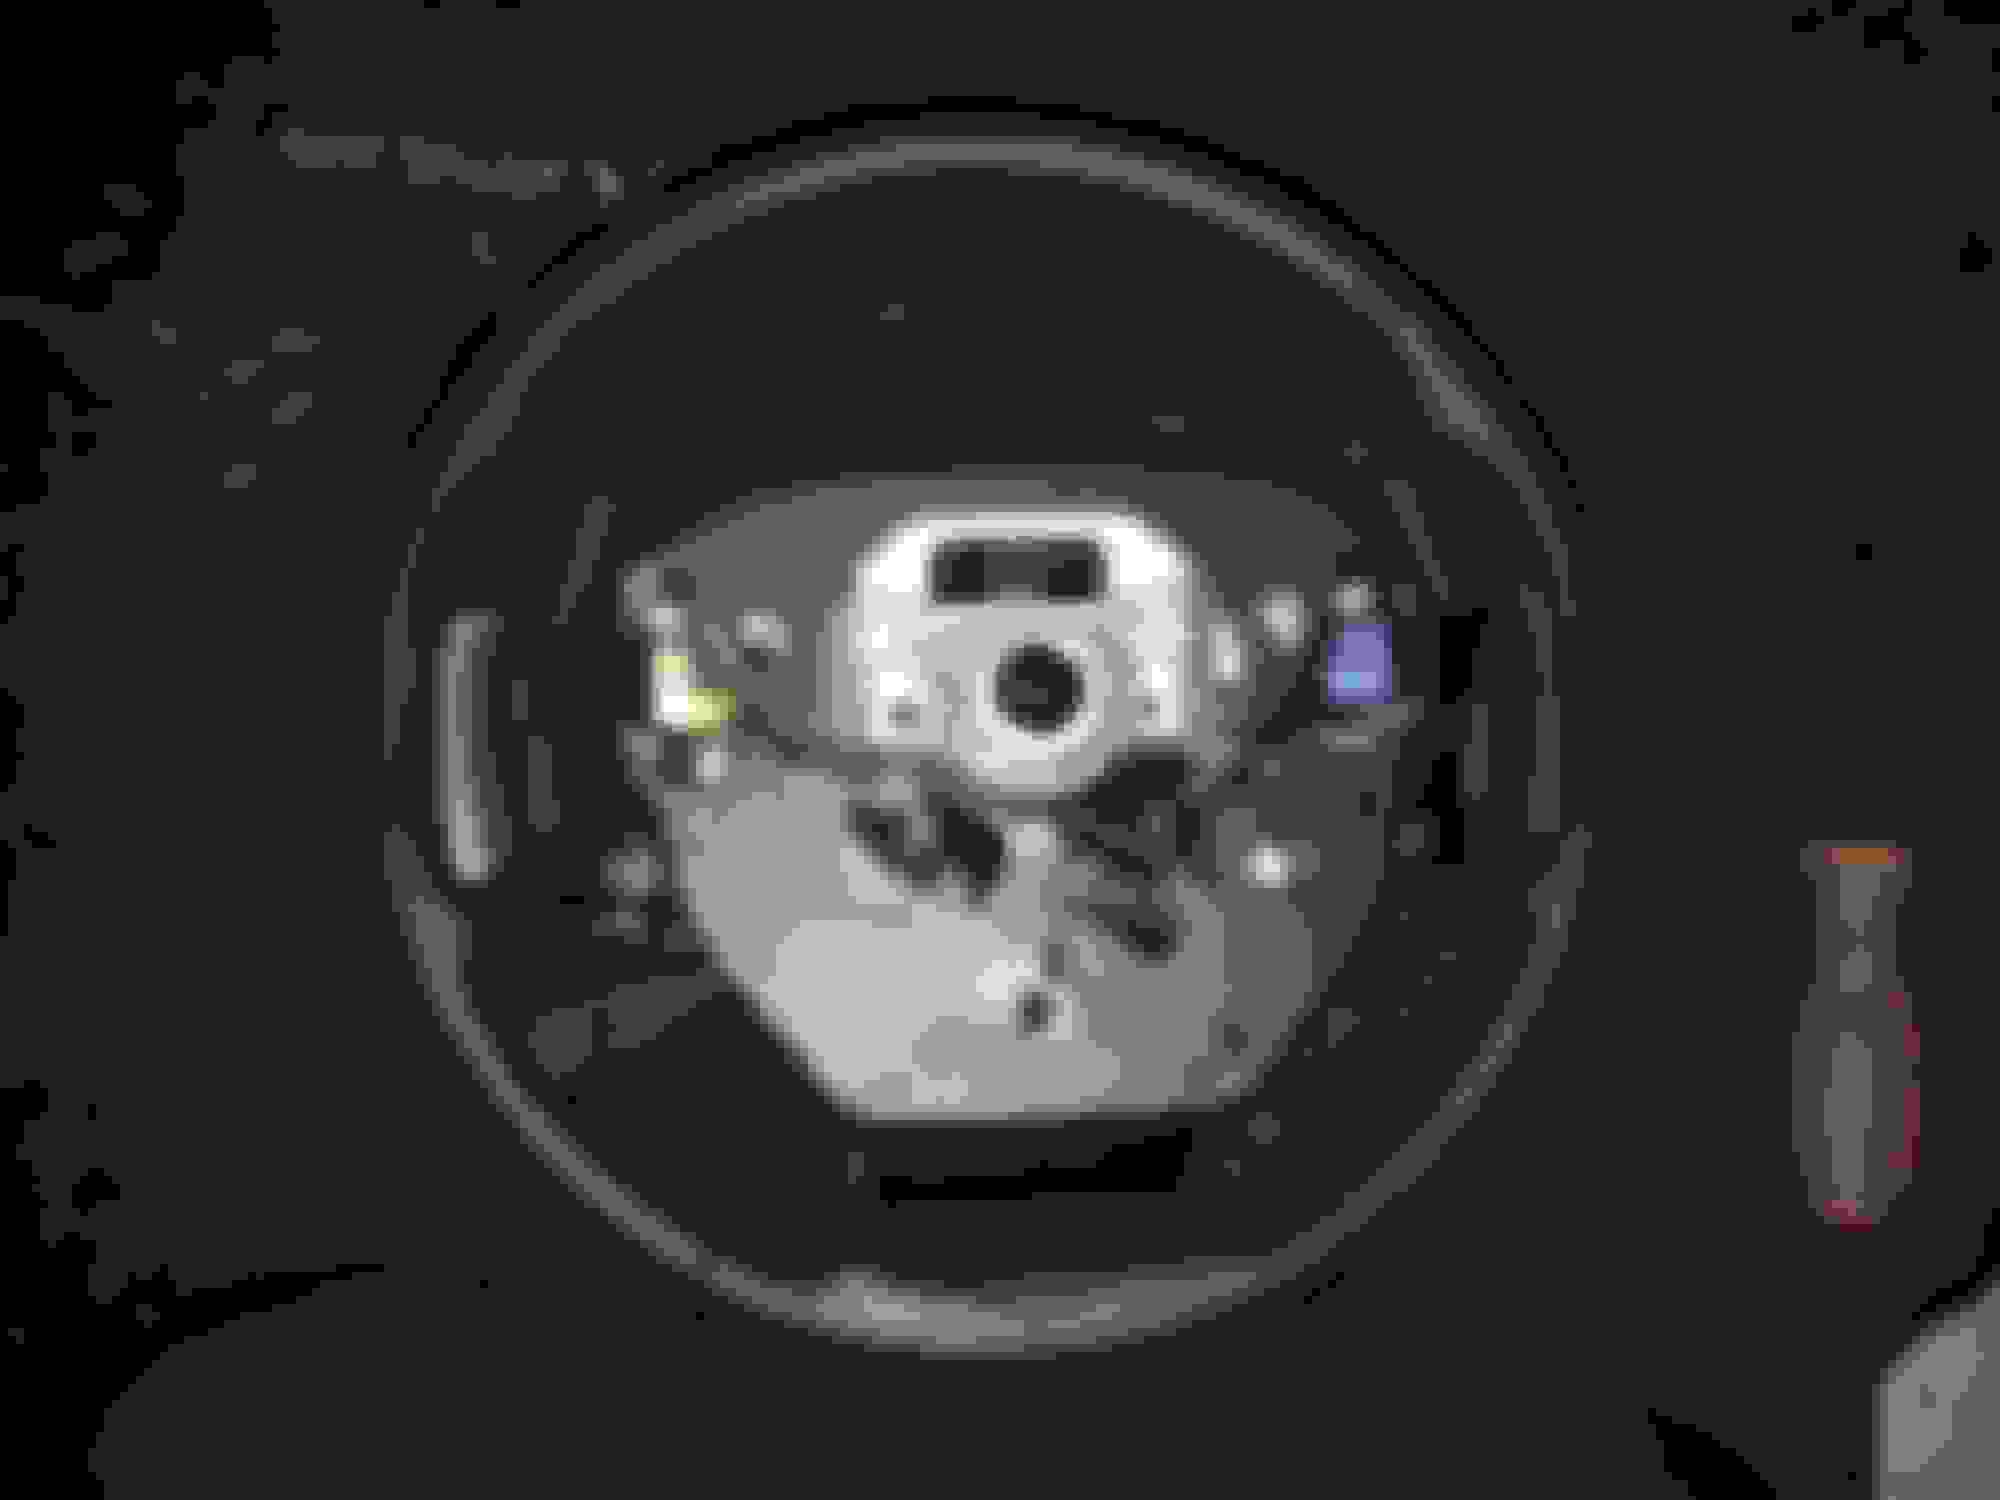
There are 3 lock/retainer pins that are use to secure the airbag onto the steering wheel. You can access 2 of the pins from the left plastic cover and the 3rd pin is directly above the cruise control stalk. Use the larger tip flat head to push the bottom pin up to release the bottom end of the airbag and the pin directly above it towards the passenger to release the left side. Do the same for the last pin, the airbag should pop out. If it doesn't you might need to give it a little yank when you are pushing on the last pin.
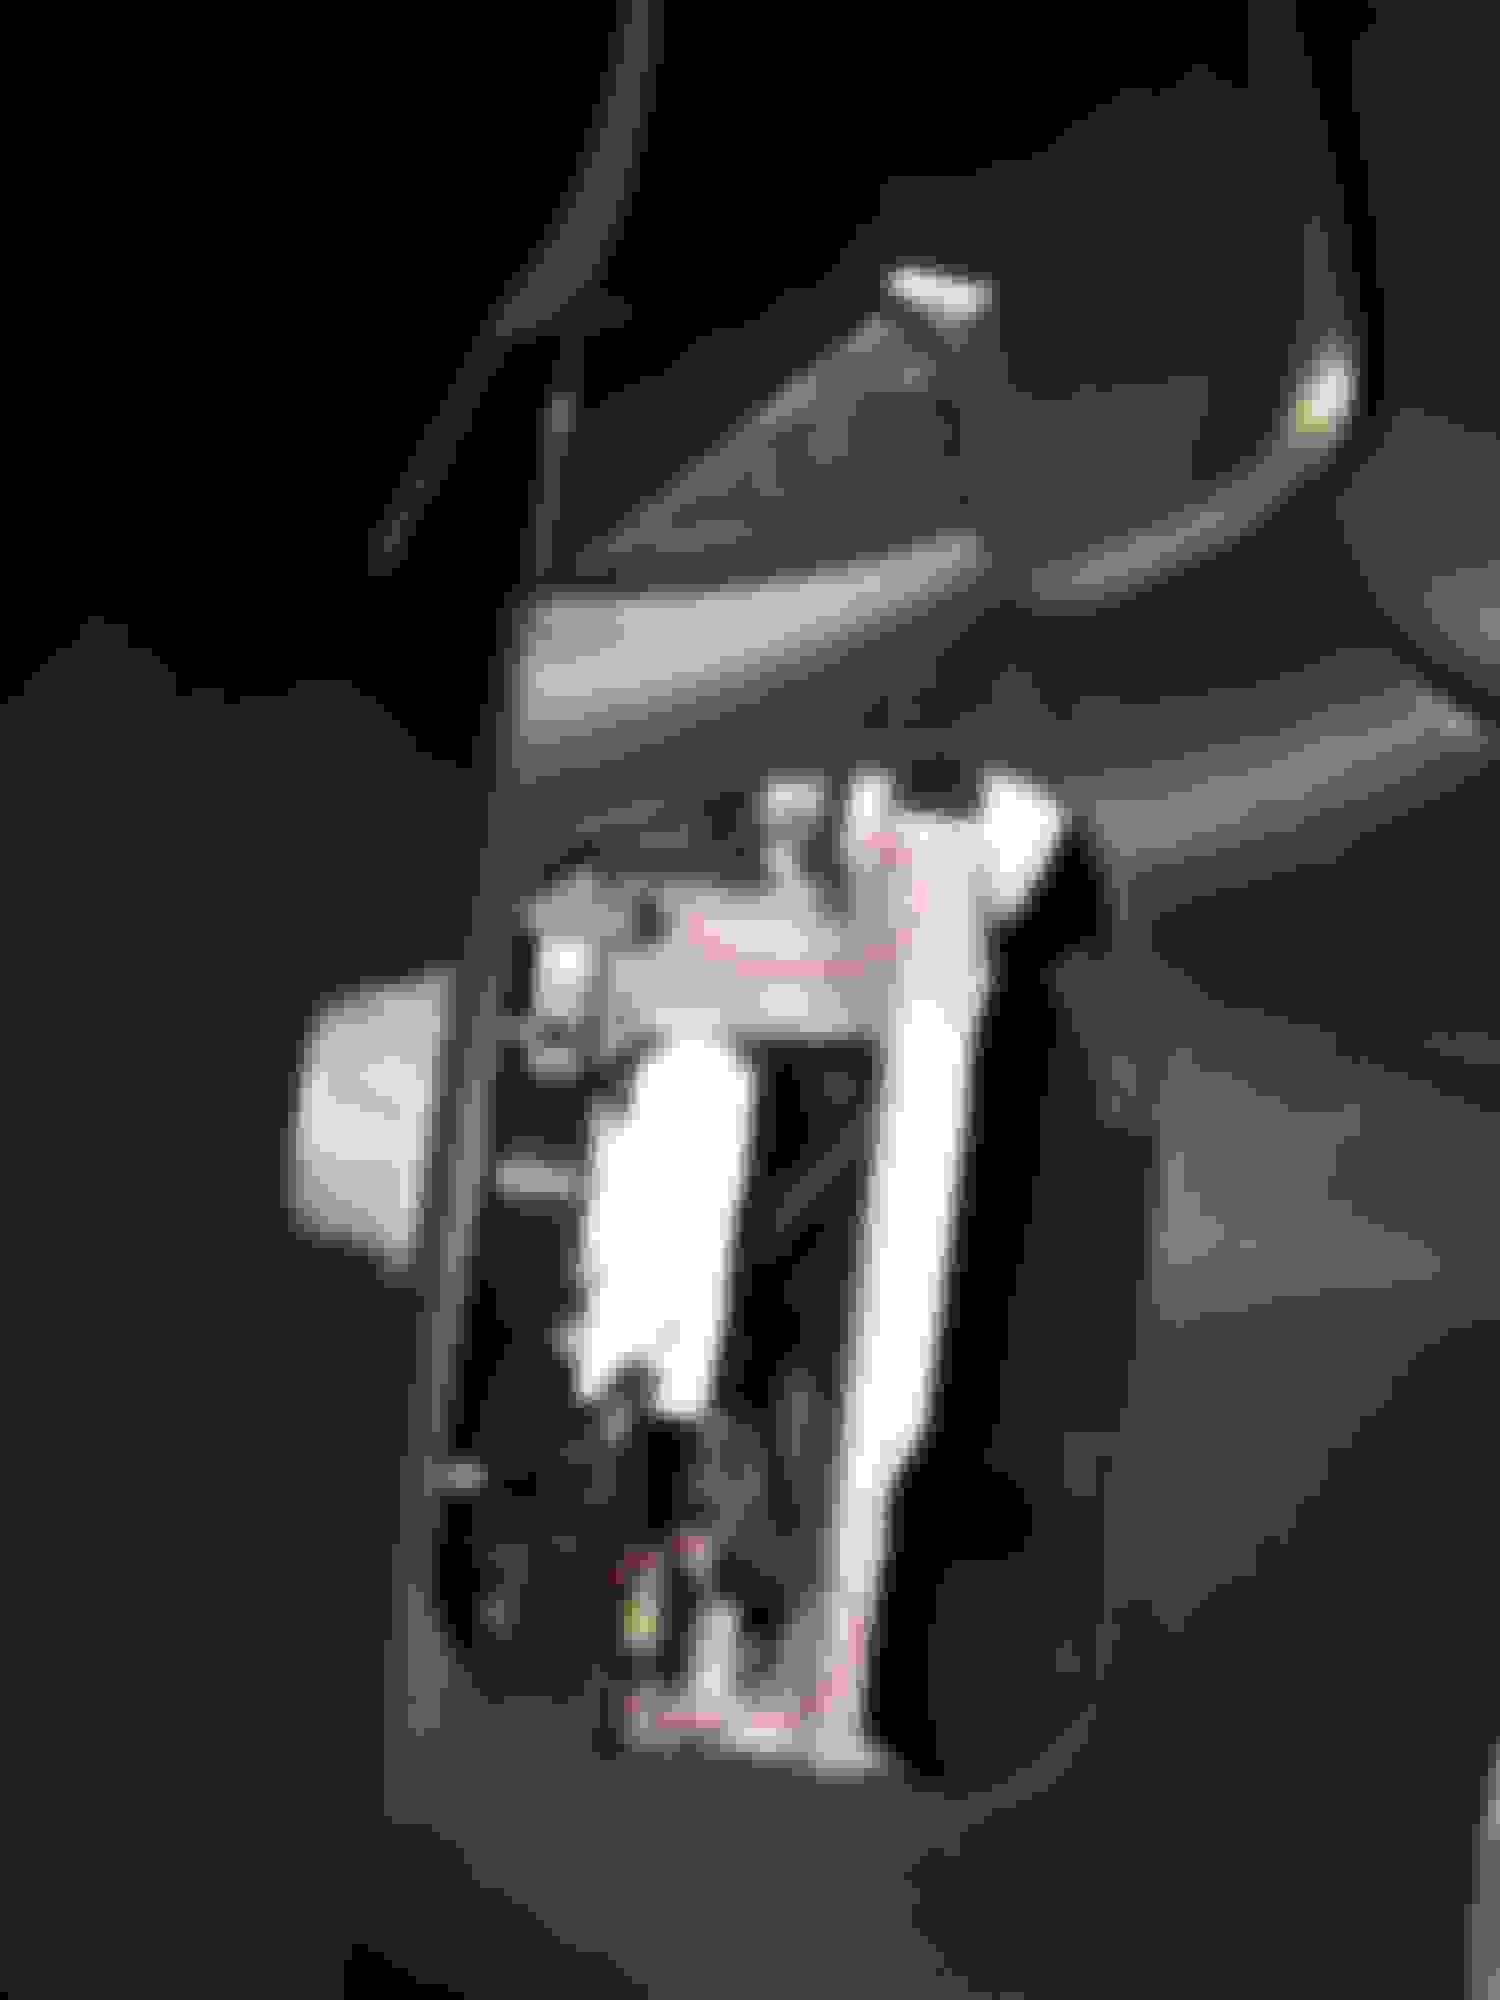
Disconnect black wire grounding wire for the horns. Use a flat head to pop the clicks on the black and orange connectors up.
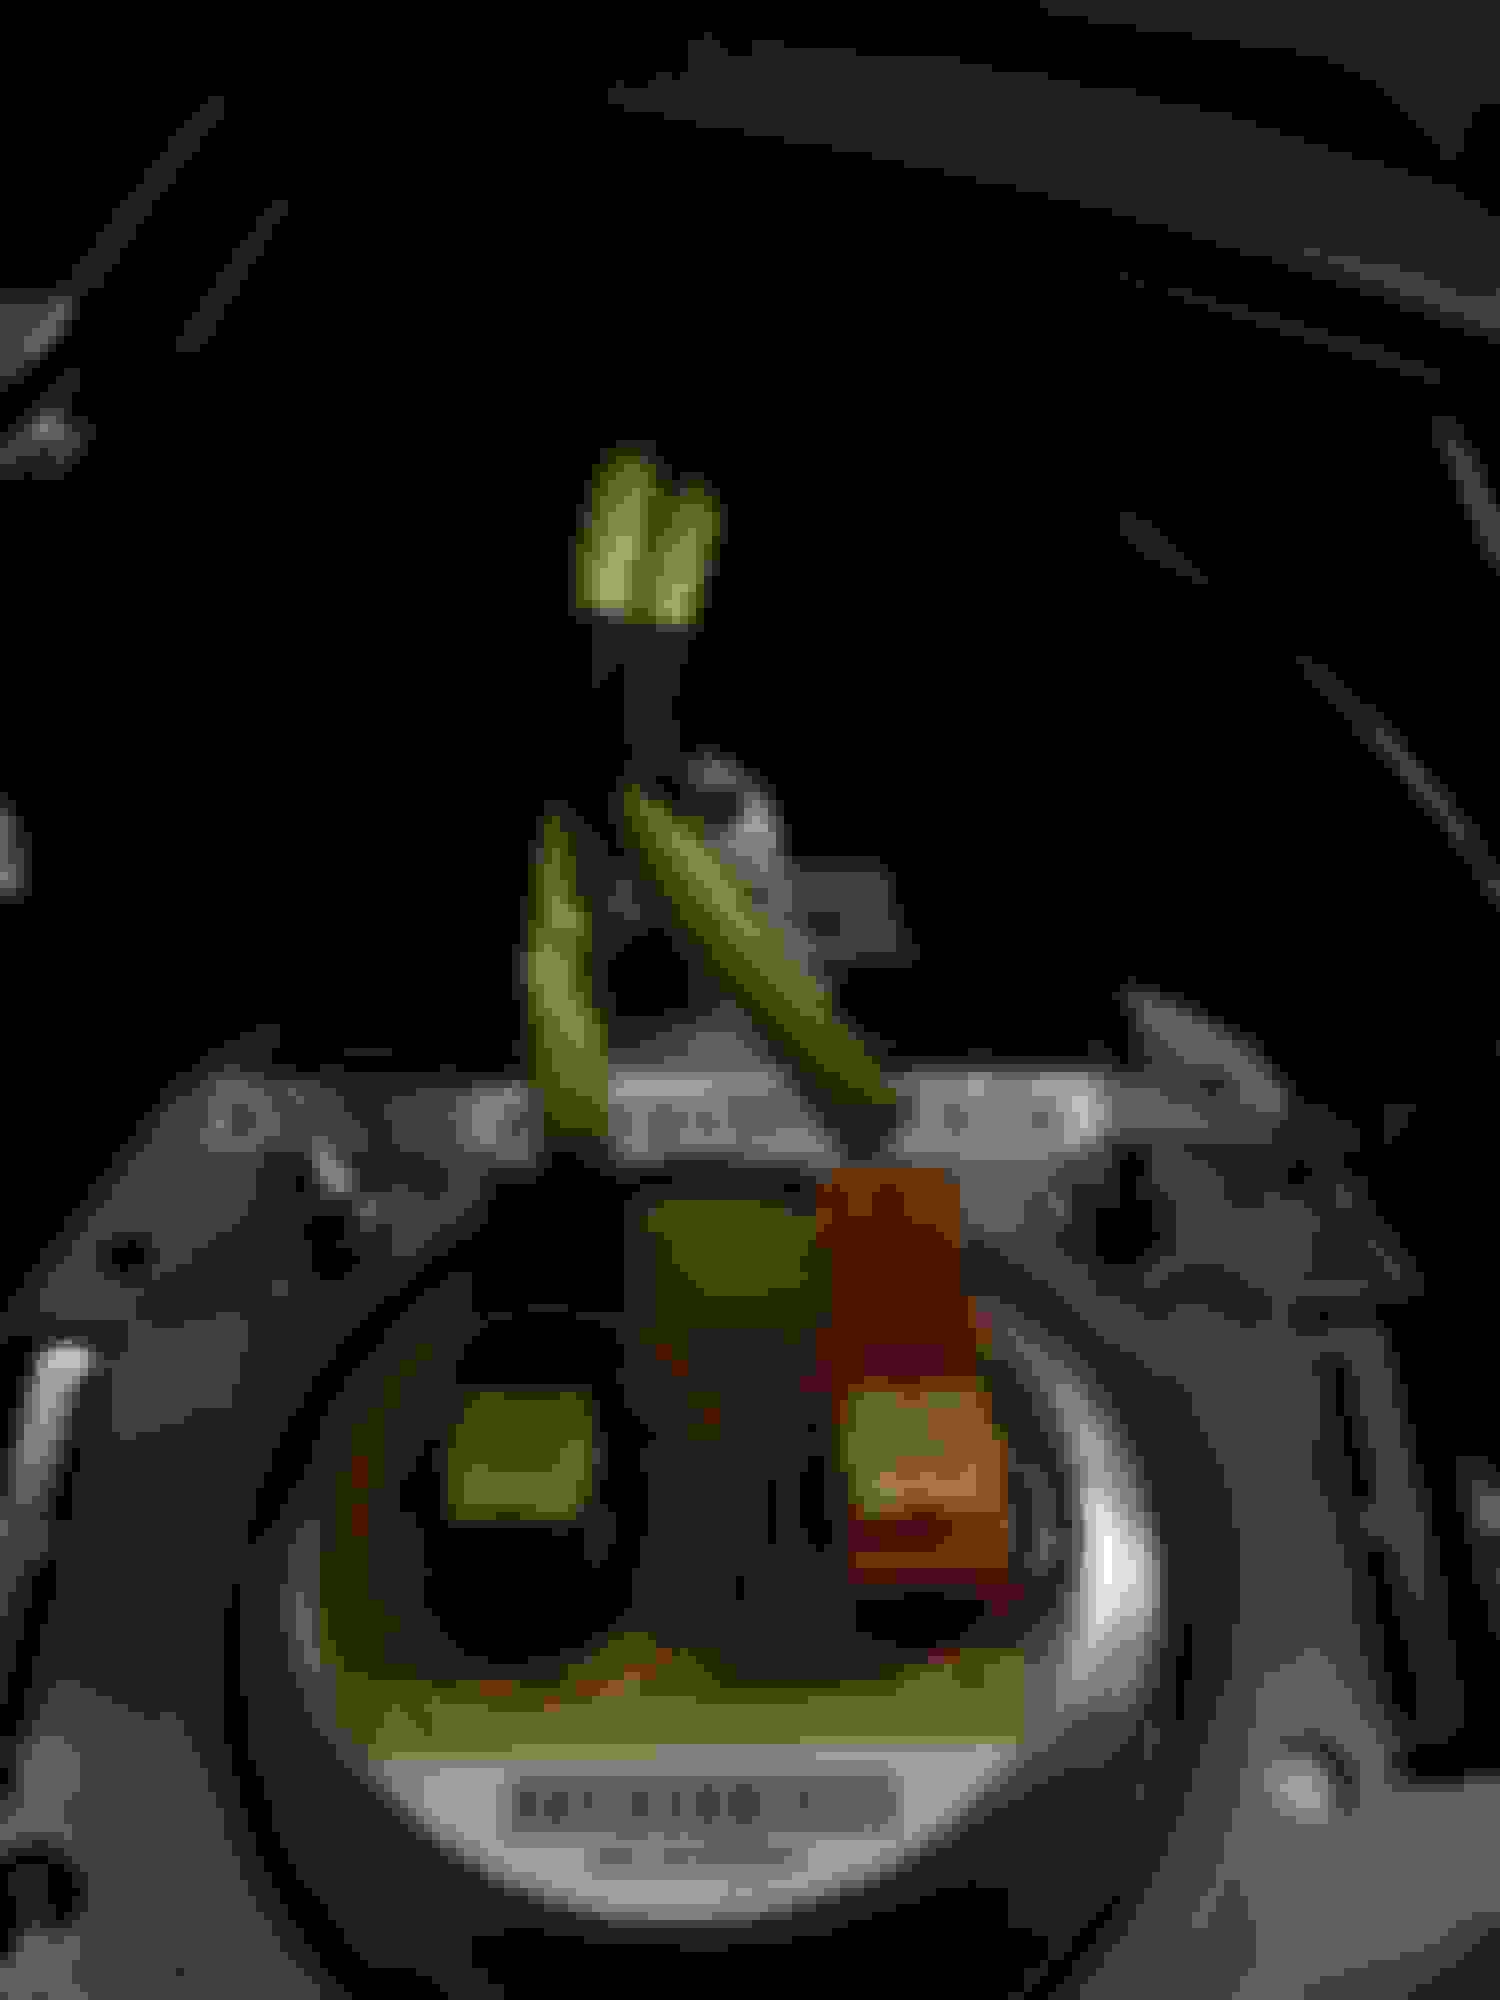
The airbag is now out, you still need to disconnect the harness for the steering wheel controls, stalk, and etc... Insert flat head into the locking tab, push down, and tug on the corresponding harness towards you to disconnect it. There's only 2 clip connectors, the airbag harness doesn't seem like it wanted to come out so I left it alone and didn't want to mess with it. The connectors will fit through the harness space. Use a 19mm socket and wrench to loosen the nut securing the wheel to the steering column. You will need to wiggle and tug on the steering wheel for a bit but it should come loose with some elbow grease.
Closer look at the 3 retainer pins, steering wheel dampener, and wire harness connectors.
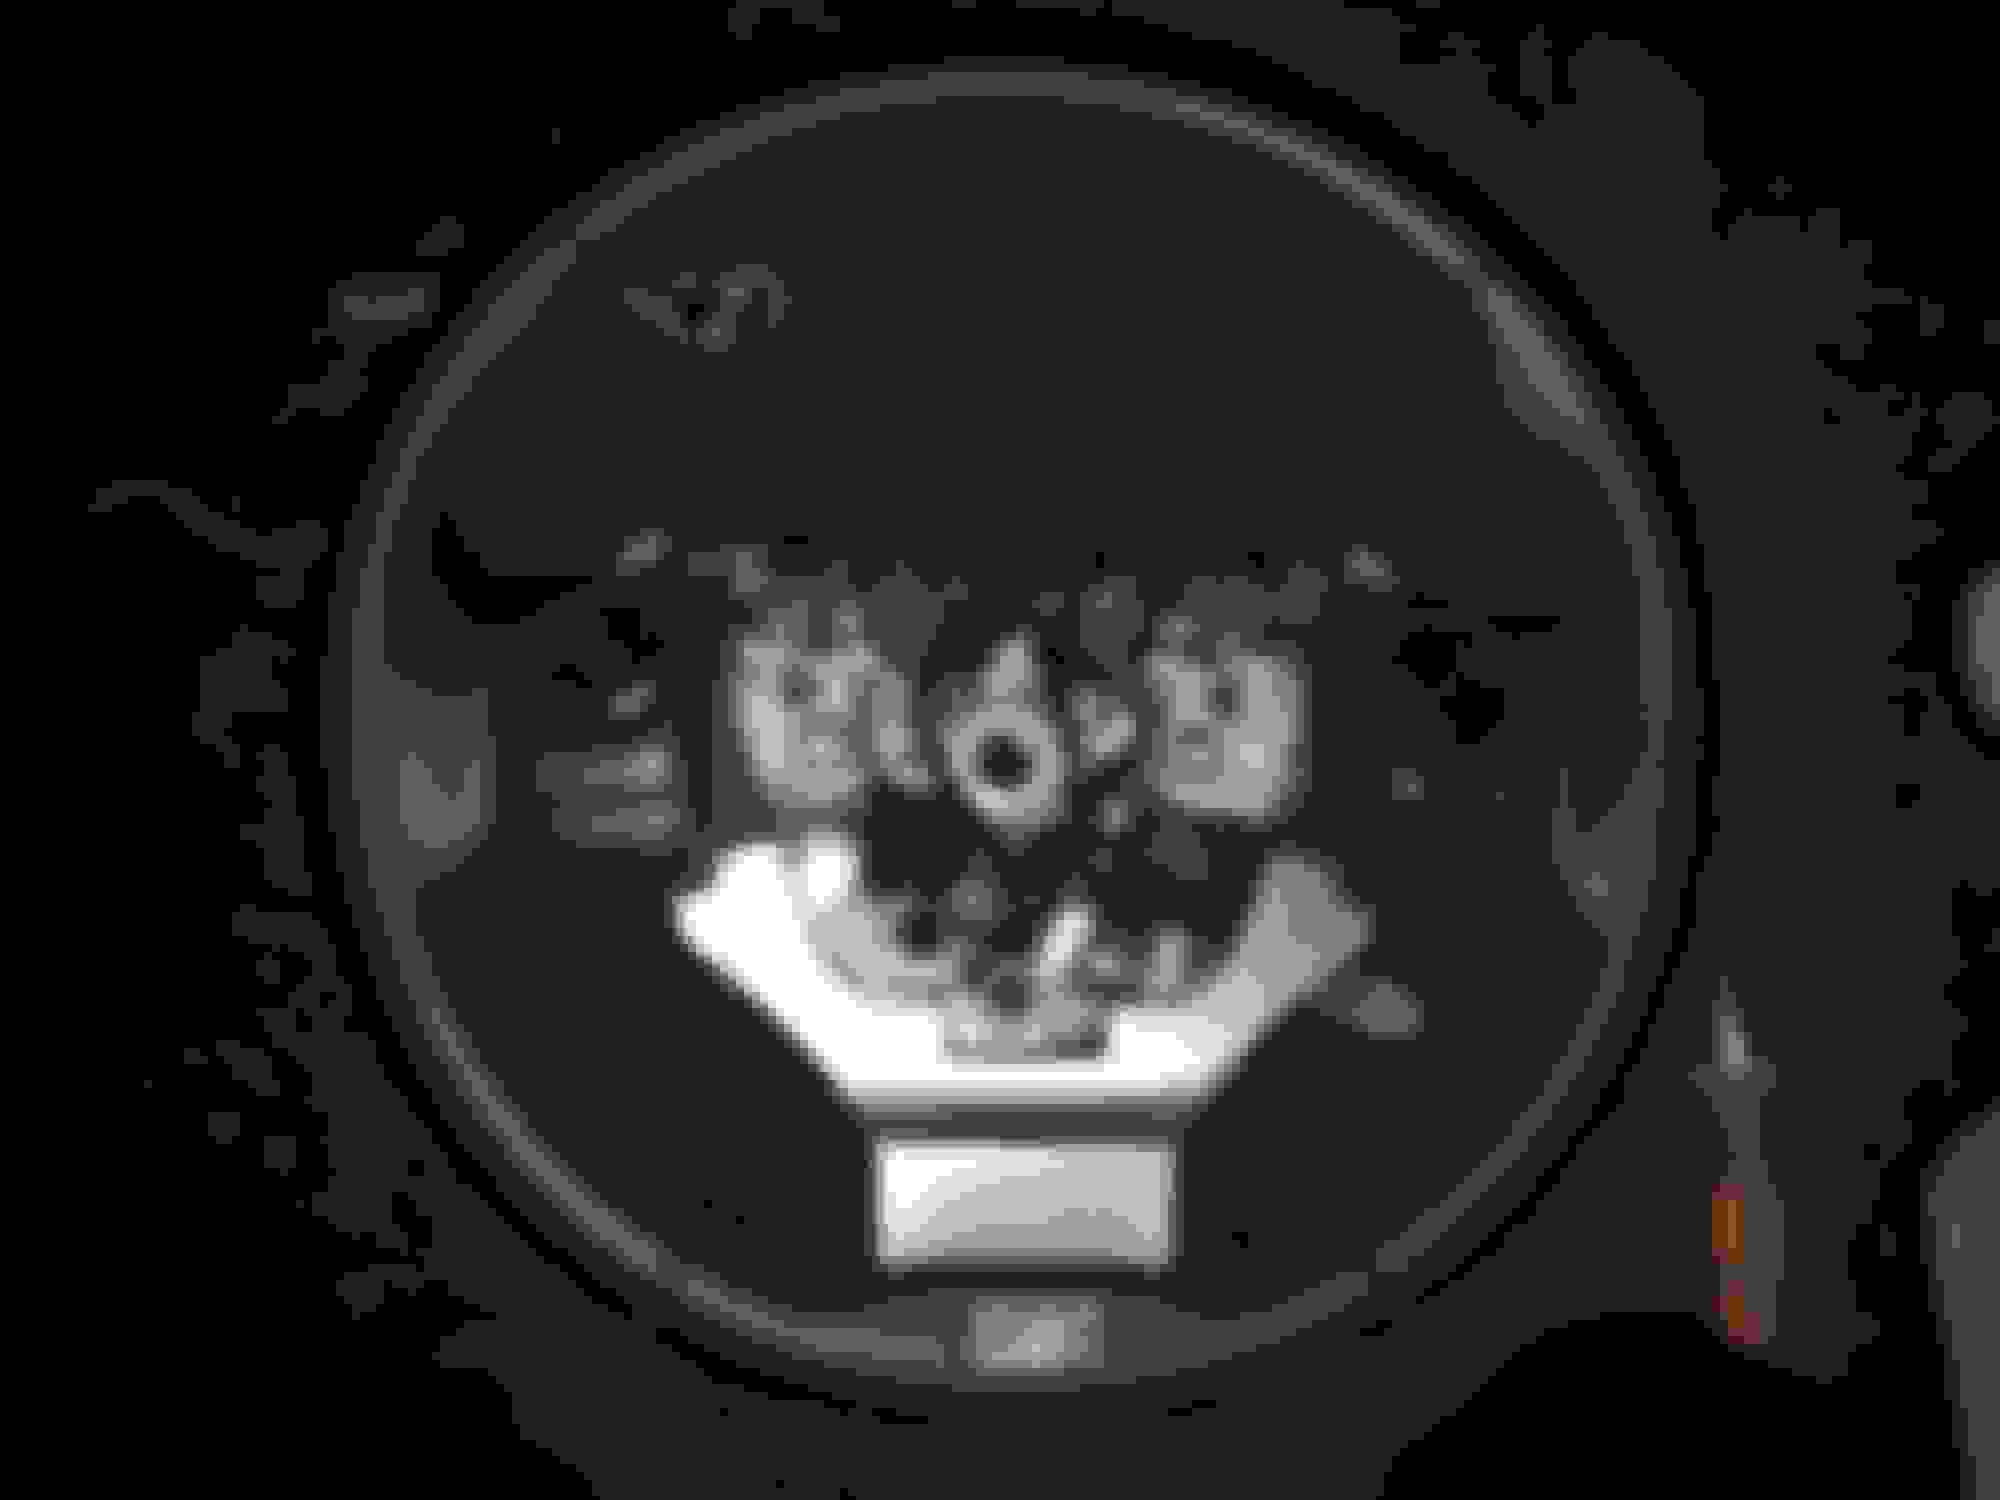
Undo all the screws and remove the button controls, and cruise control lever.
Undo the screws for the pedals shifters, and remove them. The plastic cover should separate from the steering wheel when you pull on it.
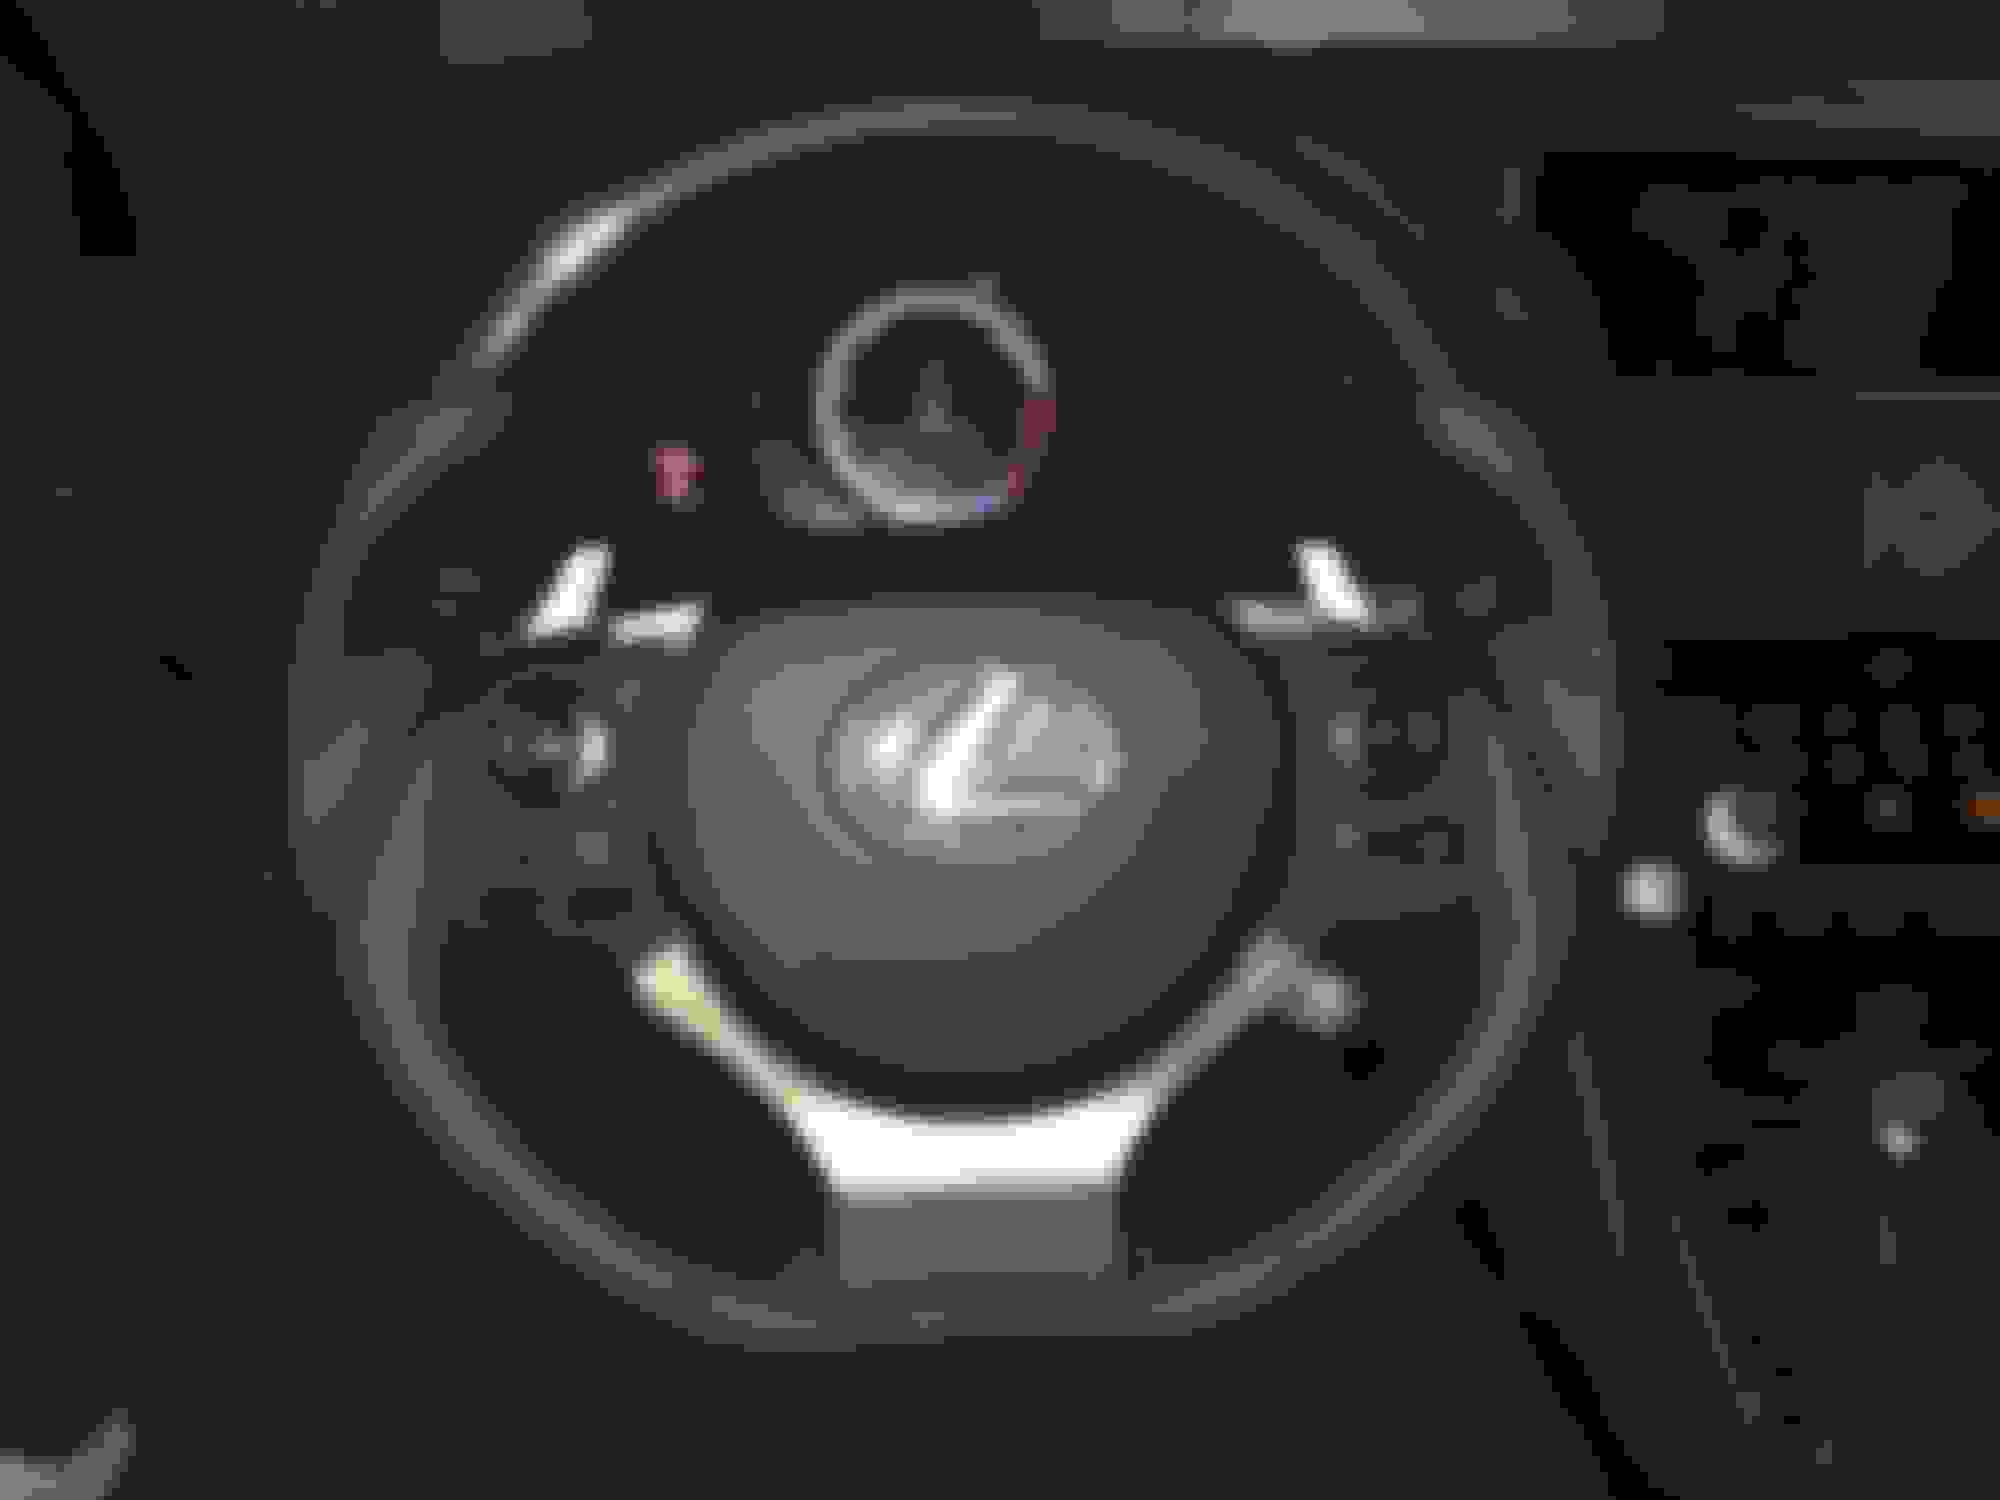
Remove the 3 retainer clips and install it on your new steering wheel. Install all the components back into your new steering wheel by reversing the steps you did earlier. When done, place your new steering wheel back onto the steering column (make sure that it�s straight), secure it to the column with the nut you removed earlier, and reconnect all wiring connectors.
Reconnect wiring for the air bag. Place it onto the steering wheel, push on it and it will lock into place. Reinstalling the plastic cover and you're done.
Reconnect the ground to the negative battery terminal.
Sorry for the thread bump/hijack but by chance would anyone have a spare airbag like the one in OP's wheel? I believe the part no. is 45130-30700-C0 (correct me if I'm wrong).
I have everything bar the airbag and don't really want to fork out $700+NZD for a new one.
Anyone know how to remove the plastic "gold" beige looking trim on the bottom? I want to paint that piece. That piece looks so cheap and piddly. Bothers me every time I look at it. Does it simply pop off when the airbag is off?

 11-08-15 | 11:05 PM


 Nevermind. I thought the pic with on/off button was on the wiper side, it's the cruise control button. Doh!!!


