When you click on links to various merchants on this site and make a purchase, this can result in this site earning a commission. Affiliate programs and affiliations include, but are not limited to, the eBay Partner Network.
I just wanted to ask you guys how to change the HID bulbs on the IS200T as it seems that the headlight unit is not the same as the current IS250.
I have checked other threads/guides for the IS250, but tbh the headlight bulb sockets in the pictures look different than the ones that I have on my car. I just bought some Philips ultinon bulbs and it seems like its impossible to remove the original bulbs or maybe Im blind but Ill post the pictures Ive taken.
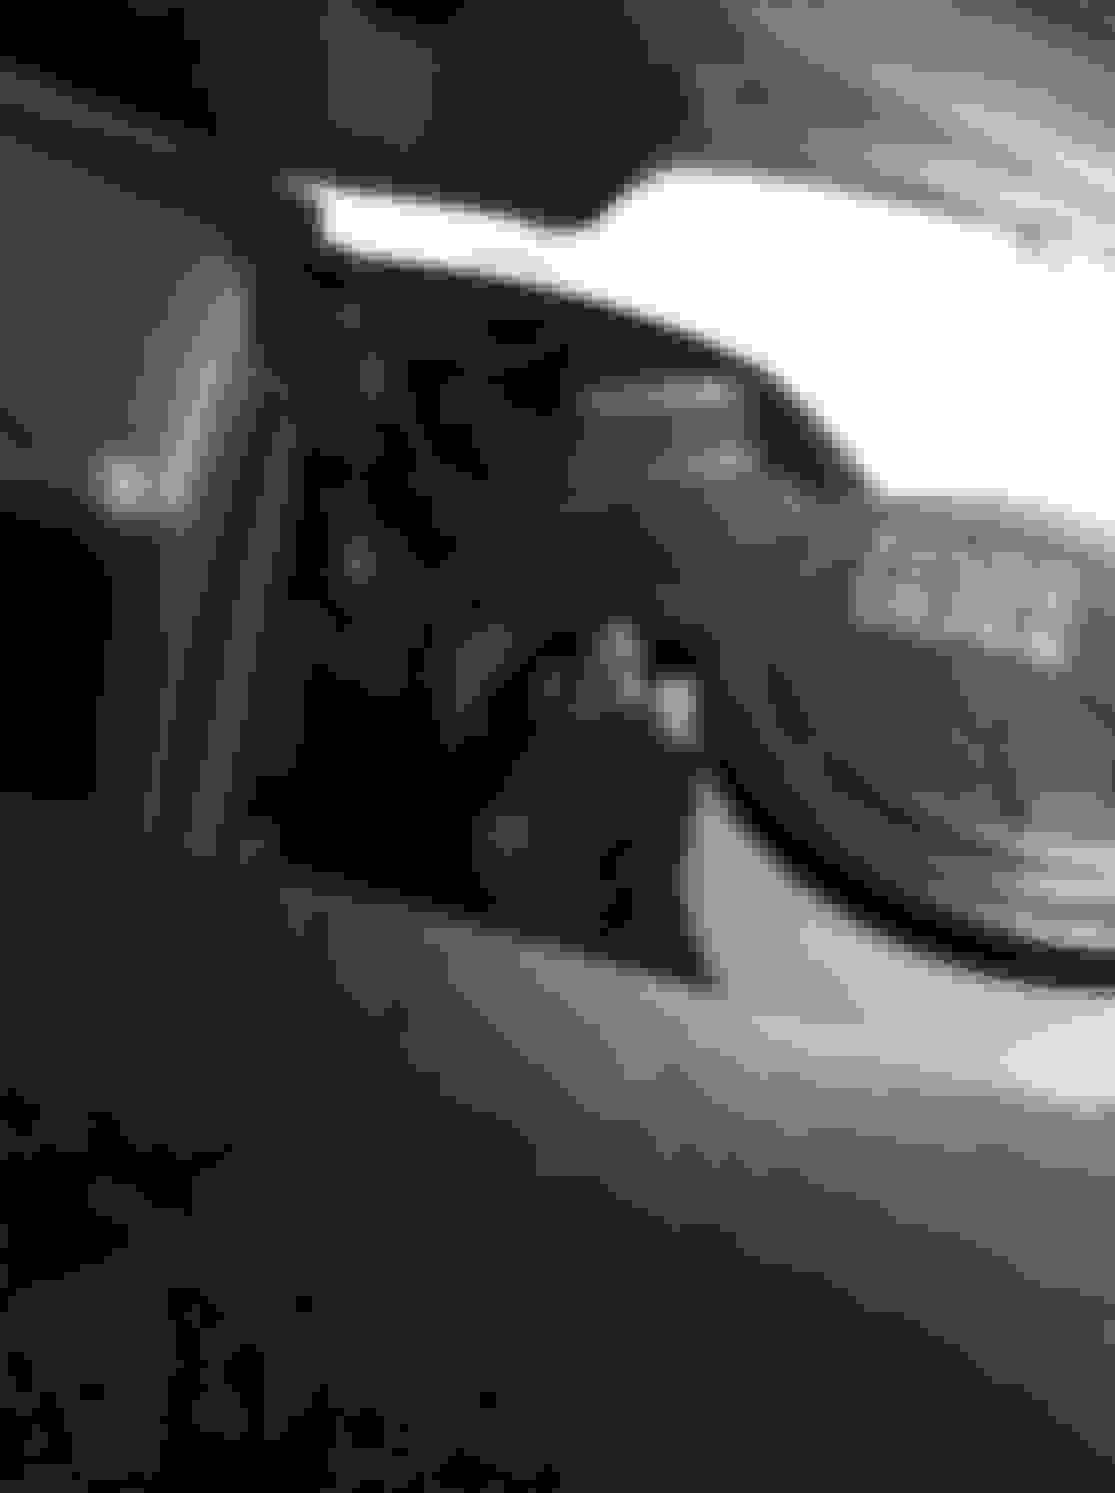
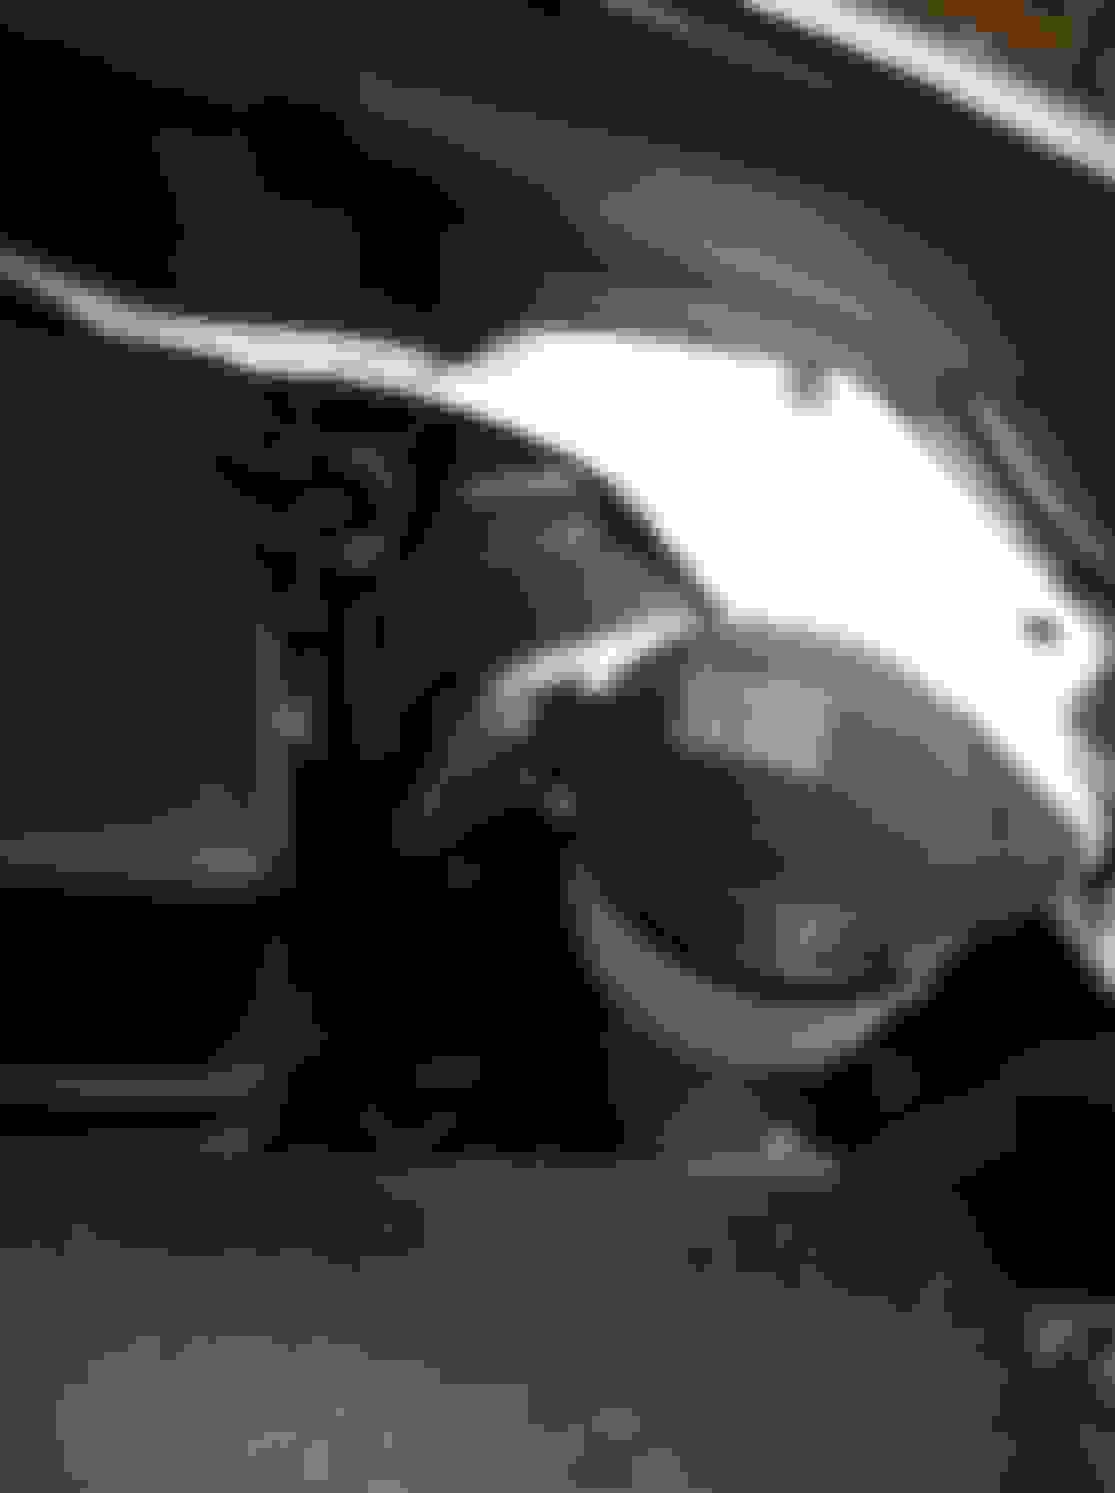
Passenger side:
(Back of the headlight unit)
(The side of the headlight unit)
Driver side:
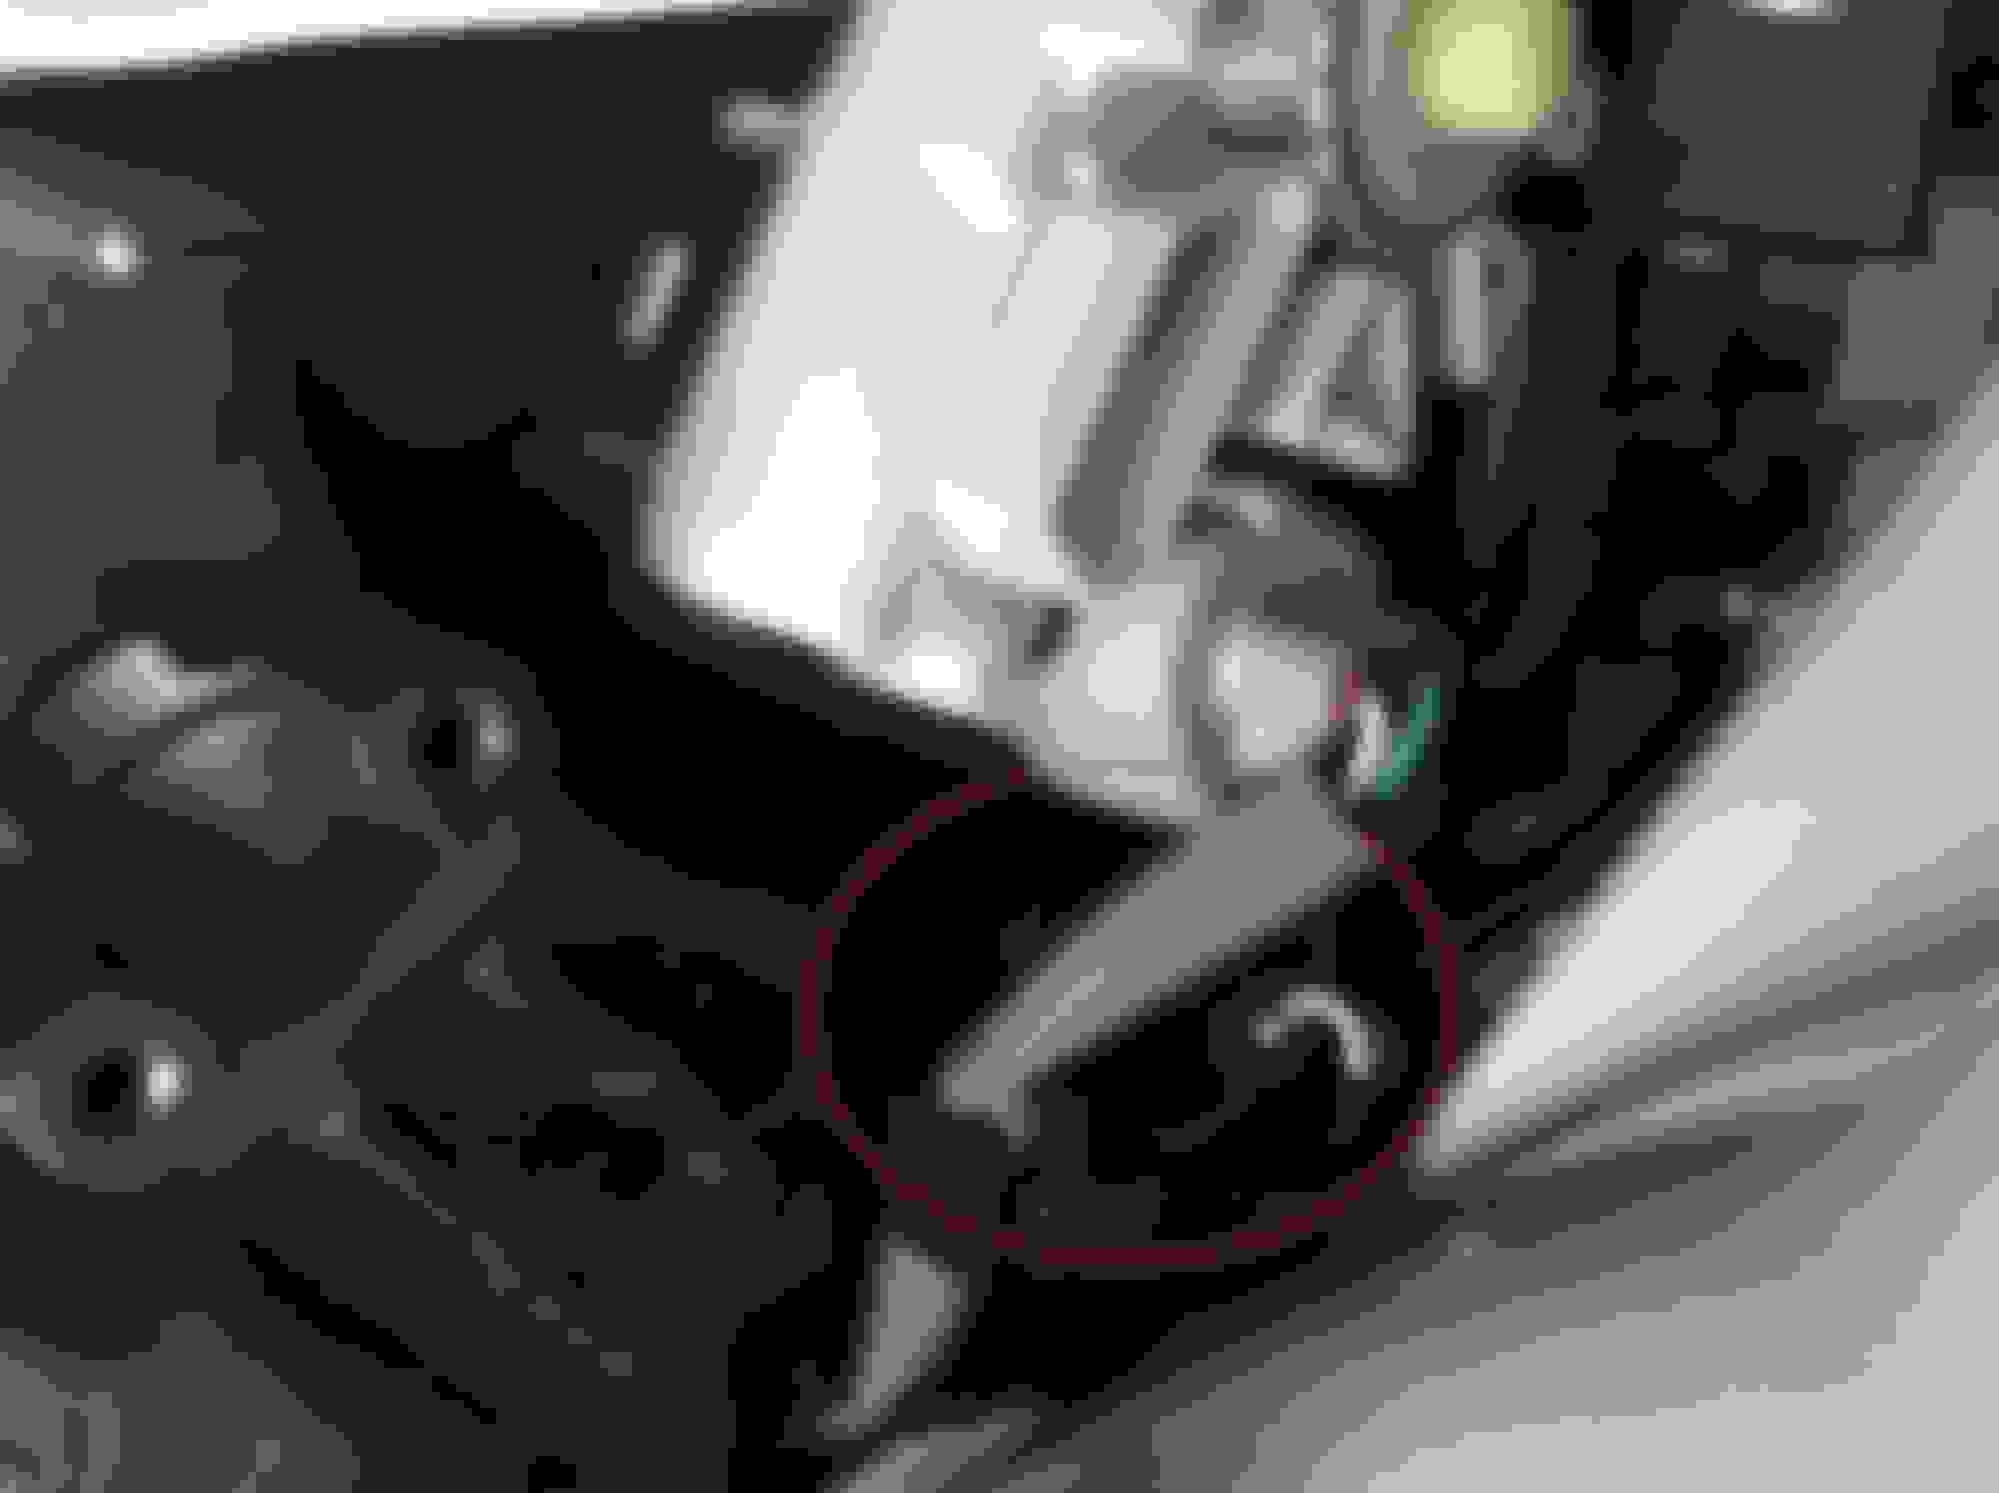
The part I circled in red is where I think the bulb is, and its like a 3cm gap, I dont see it being possible to remove the bulb unless I remove the whole headlight unit. I hope you guys can give me advice on it or if I am wrong if you guys can point out where the bulb is actually located..?
In picture number 3, that metal heatsink like cover is what you need to take off. Just counter-clockwise turn it using those extended tabs as leverage. It looks the same as the IS250.
For the driver side, you must pull out the Windshield Washer Fluid reservoir filler neck to get access to the headlights. Be careful, there is a tab for that, squeeze them together before pulling up.
I tried pulling that thing by the two metal flaps but it didnt work. Ive also tried turning it but thats not going to work cause that metal thing is not a cylinder, its more square shaped so its not going to turn...
I tried pulling that thing by the two metal flaps but it didnt work. Ive also tried turning it but thats not going to work cause that metal thing is not a cylinder, its more square shaped so its not going to turn...
You're just going to have to trust me on this. The metal plate is connected to the plastic cylinder lid...
Place your thumb on one tab and your index on the other, twist it (as in push it, not PULL) counter-clockwise and it will unscrew. The unit is sealed so it may require a little bit of force to de-virginize the cover if it's brand new.
Good luck!
My apologies for doubting you. You are right lol, they were so hard to open cause i guess they were never opened before. Thank you so much!
Counter clockwise twist the metal cover off and the bulb should be exposed, you will see a metal pin holding the bulb in place, just press down on those two metal pins with your index finger/thumb and the bulb should pop right out.

 11-18-15, 05:49 PM