When you click on links to various merchants on this site and make a purchase, this can result in this site earning a commission. Affiliate programs and affiliations include, but are not limited to, the eBay Partner Network.
DIY: Adding aftermarket JDM-style fog lights to your IS250 IS200t IS350-F Sport Only
Today I installed aftermarket JDM-style foglights on my 2016 Lexus IS200t. I based my install off of IJDMToy's Install but thought I'd clarify a few things I feel they left out and that may help others. I hope this can be of assistance!
For those that want to spruce up the looks of your IS, this is the kit for you. It's plug and play. I decided to tap into the LED daytime running lights "low" power mode (night time or full-ON) because when I am driving at night and I have fog lights, the fog lights are on all the time anyway. You can choose to wire them up to a switch in the cabin but that will take some time to do. Up to you. Follow your local laws and safety regulations with regard to any modifications you decide to do. Modify your car at your own risk, consult a professional if you do not feel confident in doing this.
What you'll need:
JDMToy-branded aftermarket fog lights: http://amzn.to/2cDsY53
Quick splice terminal connector kit: http://amzn.to/2cxlHVm (These are life savers and have used them on so many DIY projects on various cars) avoid hacking into wiring.)
6 M6x1" bolts (3 per fog light to attach to factory fog light mounting bracket) My foglight kit did NOT come with these. I got them from Home Depot.
Tools:
Flat tip screw driver Wire Strippers or nail clippers (everyone has nail clippers) -- you'll need to strip wire ends to tap the fog light harness to the factory LED DRL wiring harness. Electrical tape (optional but recommended to cover your crimp connections)
Zip ties (optional but recommended)
Camera: to take pics after you are done
Difficulty: 3 (1 out of 10)
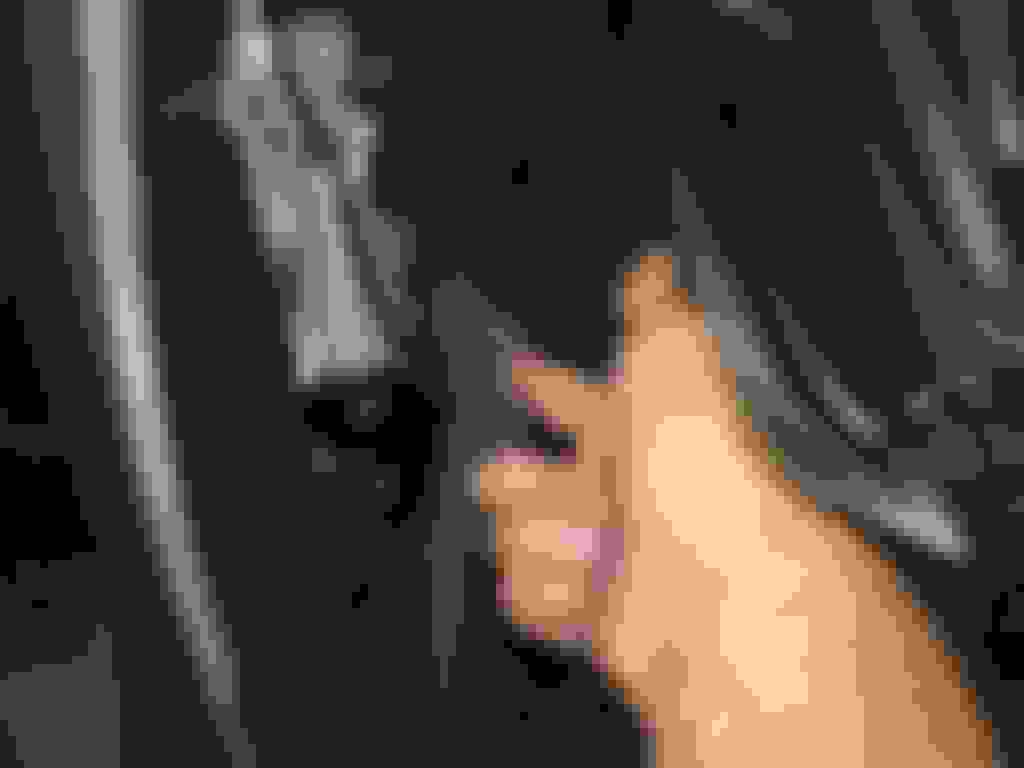
Start by turning your wheel all the way to the right (Or left for the passenger side). Then take your flat tip screw driver and pop out the top rivet and bottom ROUND rivet. You can leave the two middle ones alone.
There's another round rivet on the bottom you need to remove:
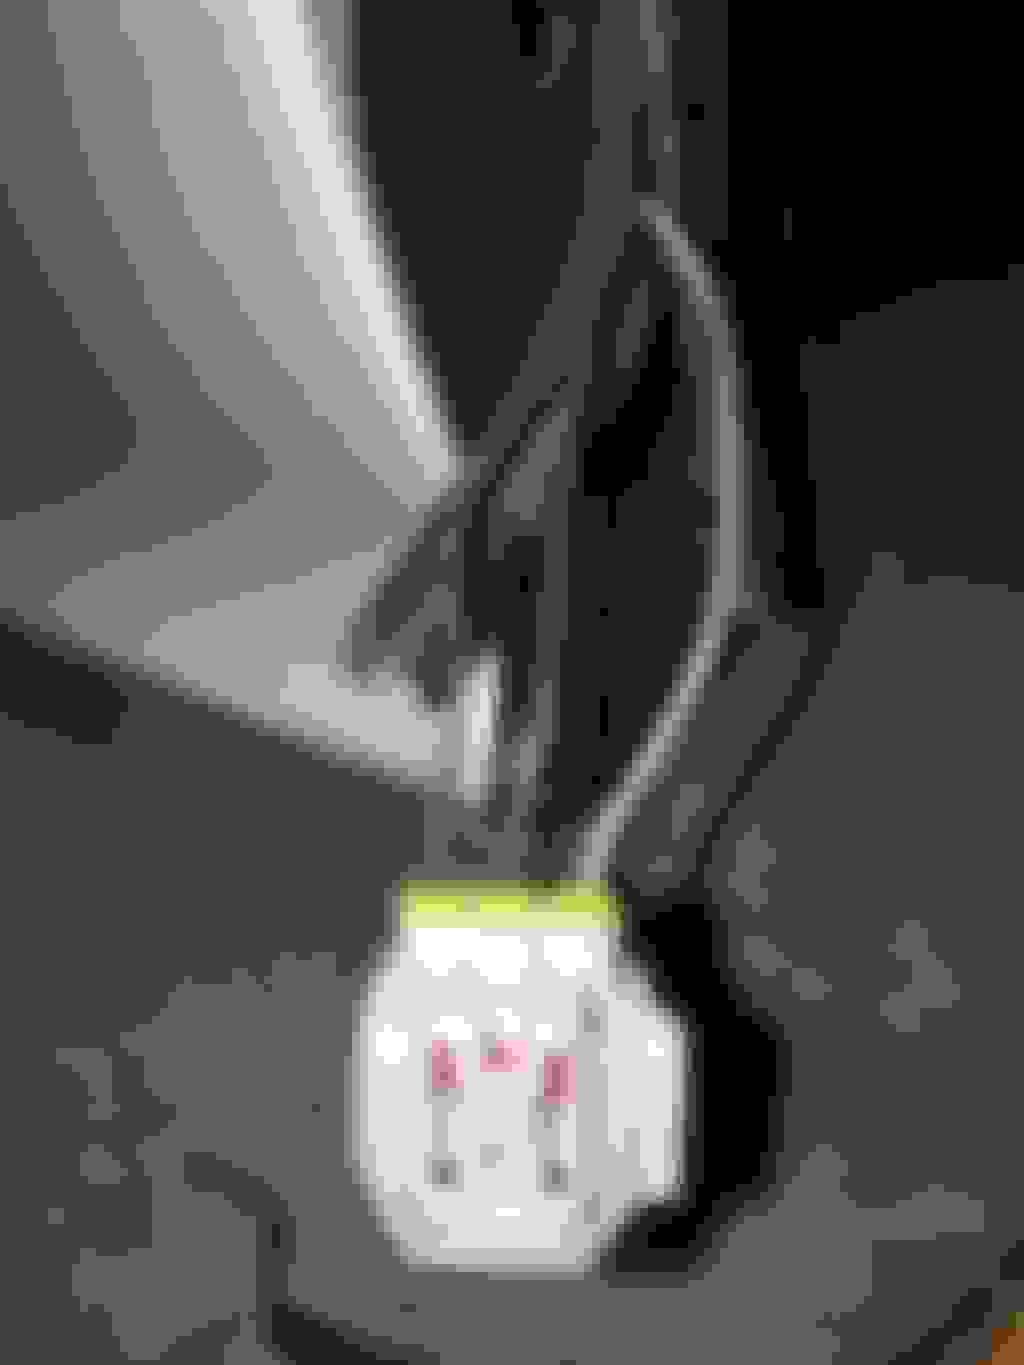
Pull back liner using your fingers. This is where you'll stuff the iJDMToy fog light. Do this carefully because the fog light lens is brittle plastic and scratches easily. Stuff it in with the fog light lens facing UP so you don't rub the lens and scratch it on anything. Carefully pop out the exterior plastic covers in preparation for the new fog lights. They're press-fit held on by clips only. Push.
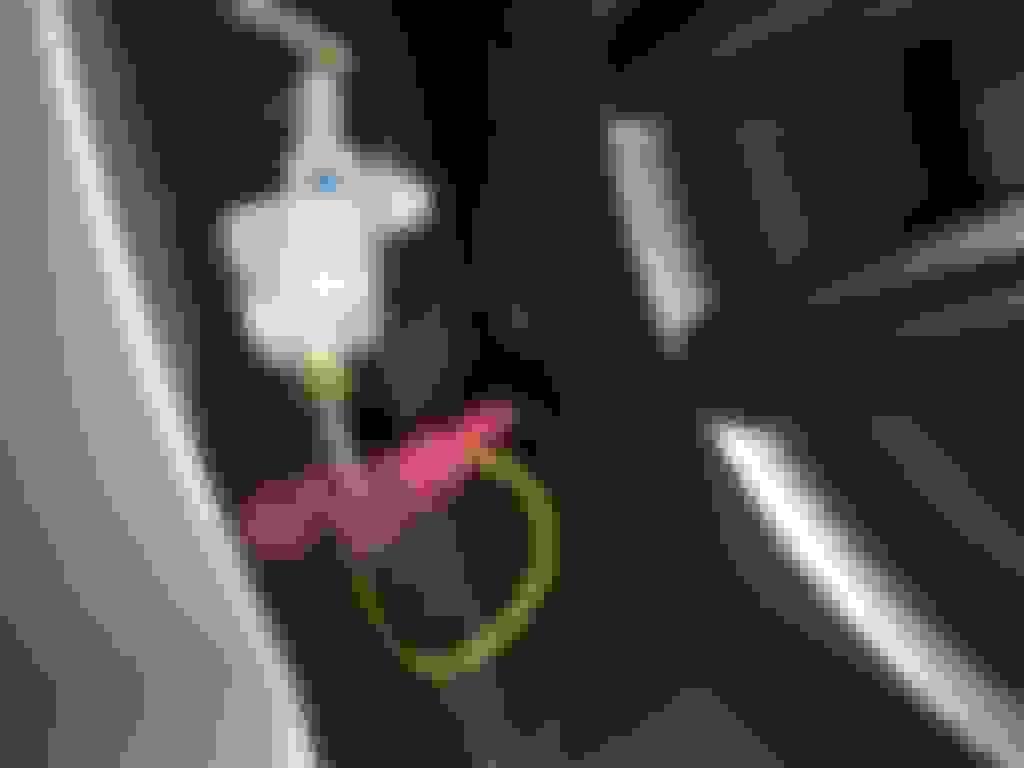
See those two square metal things? You'll stick your two M6 x 1" (or shorter) bolts in there. My kit did NOT come with them so I had to go to Home Depot to get them. They're $.90 a pack. Get enough packs to have 6 bolts. The heads are 10mm hex heads. Same as what stock would be. Don't forget there's a third outside one towards the outside of the car. 3 bolts per side. 6 total.
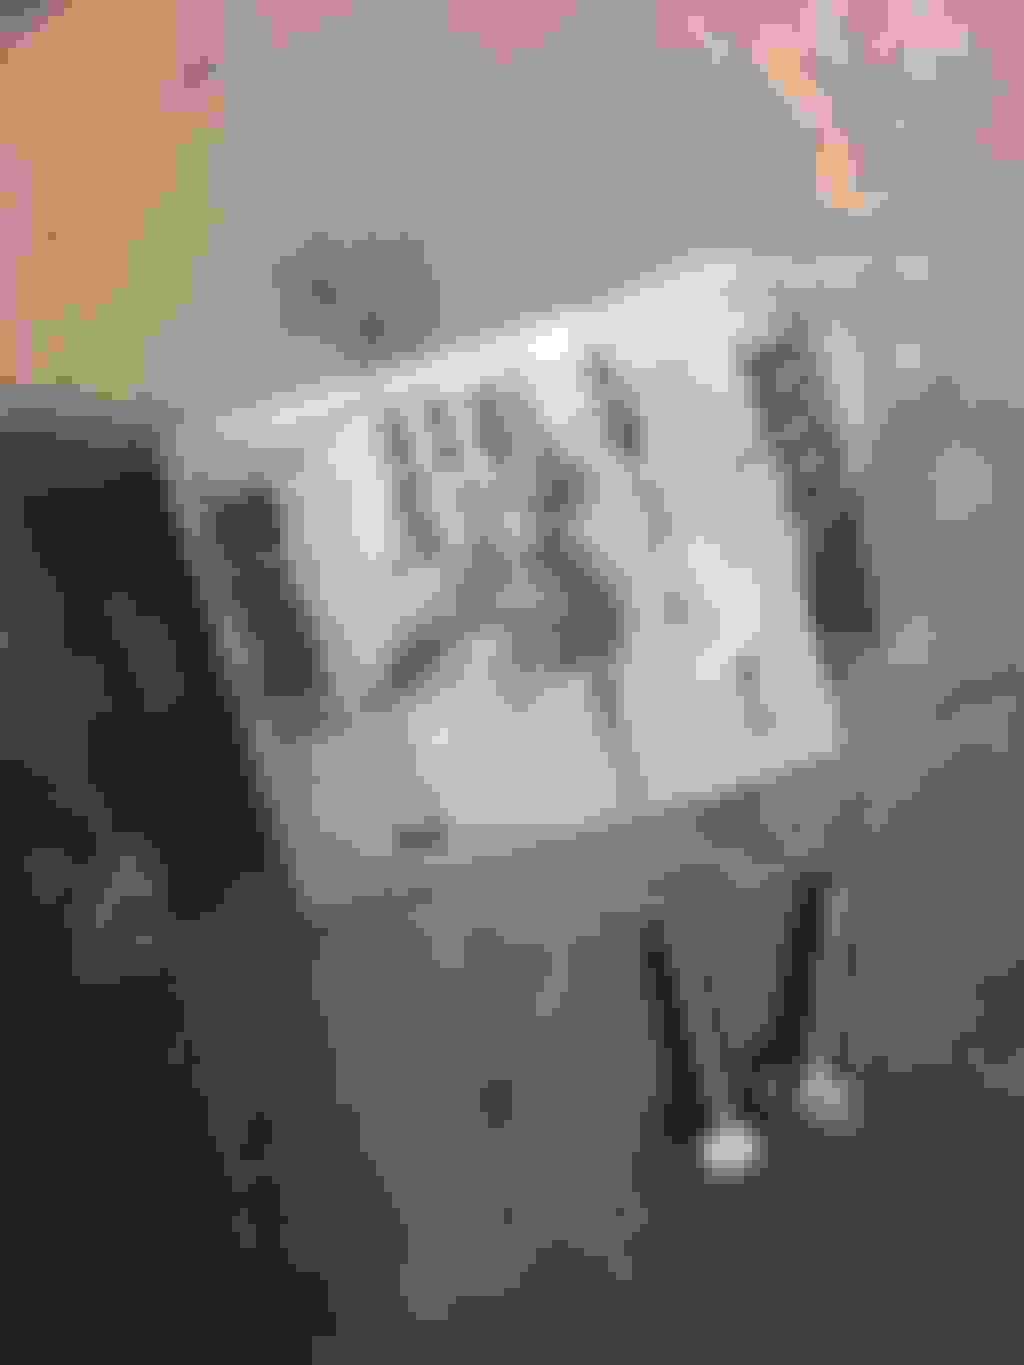
You can choose to wire them up to the cabin using the kit-supplied harness and switch. But I chose to wire them to the LED DRL wire harness. This is where the iJDMToy site left out. The harness you need is at the BOTTOM of the bumper on left and right sides. It's clipped to the bumper. Feel around and pull towards the engine and the clip pops out. It has 3 wires to it. You'll be tapping the yellow wire of your fog light harness to the MIDDLE wire and the black wire of your fog light harness to the STRIPED wire. The power wire you want is the low wattage wire for operation with the main headlights ON. (Unless you want them on during the day you would tap the outside wire)
These are the M6 x 1.0" bolts I bought to mount the headlights. I got them from Home Depot.
You'll take the kit-supplied wire harness and cut about 6-10" of lead wires so you have enough room to crimp on spade connectors on the end using pliers. Very neat.
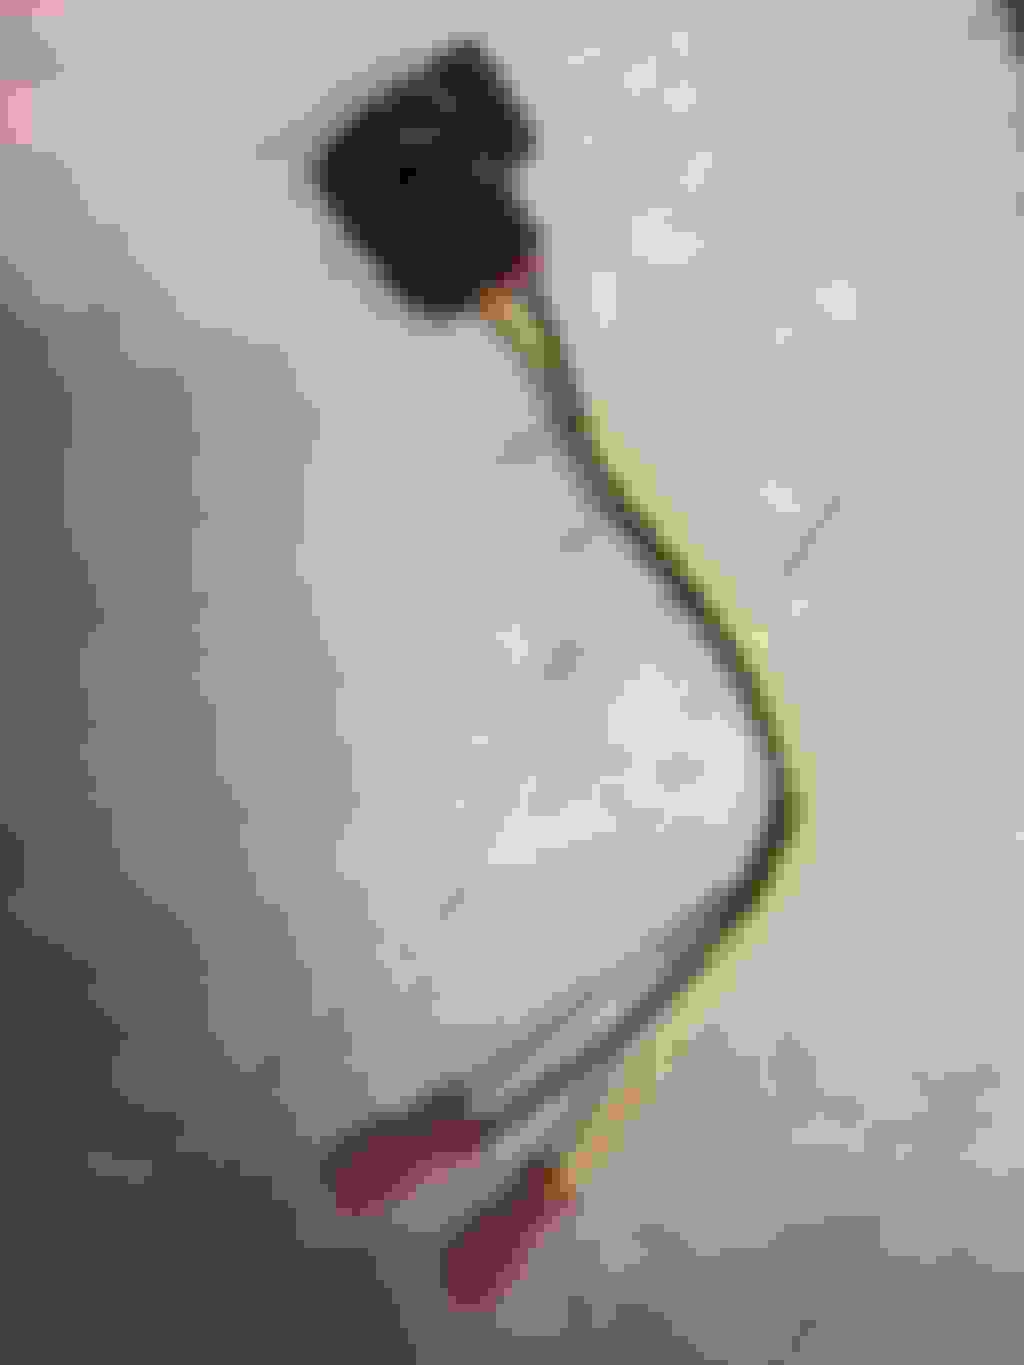
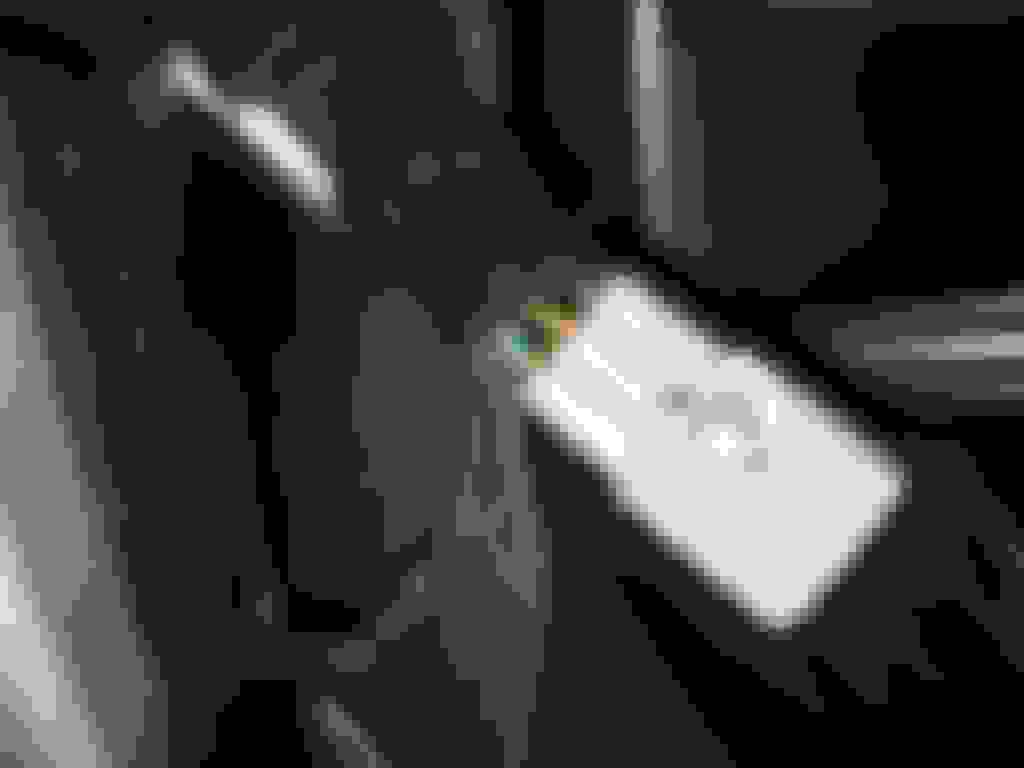
This is what the connector looks like you need to pull out (LED DRL harness)
And this is the fog light harness tapping into the LED DRL harness. After you are done, clip the harness back onto the bumper. Wrap electrical tape around your crimp connections for good measure. Zip tie any excess wires to secure them. Pop the iJDMToy exterior covers on (they press on with clips) Now Test them out before you Button everything back up!
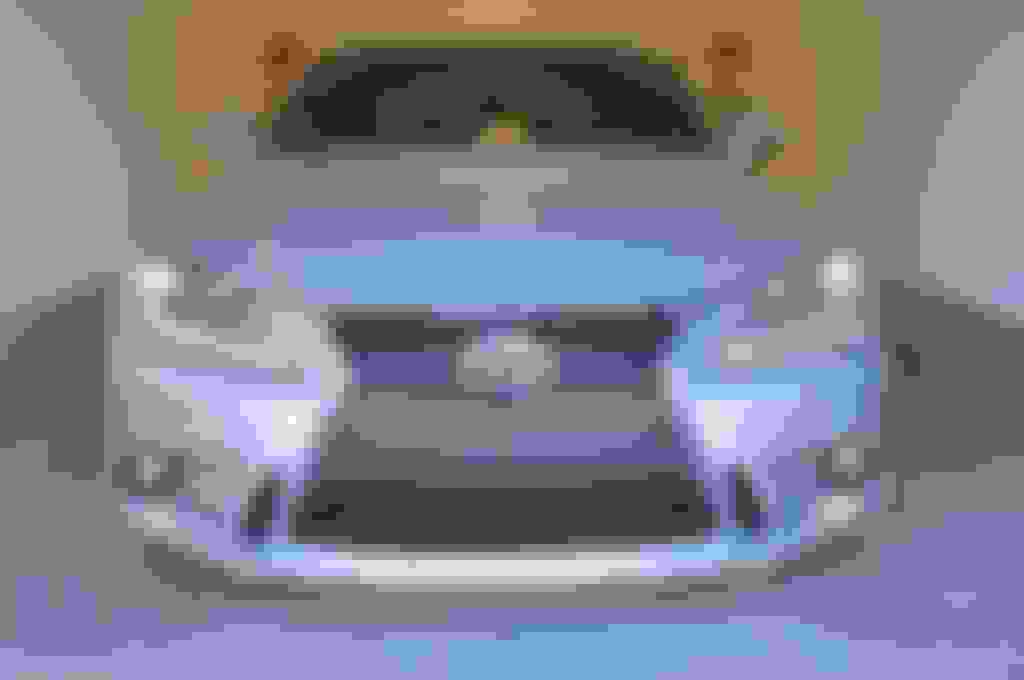
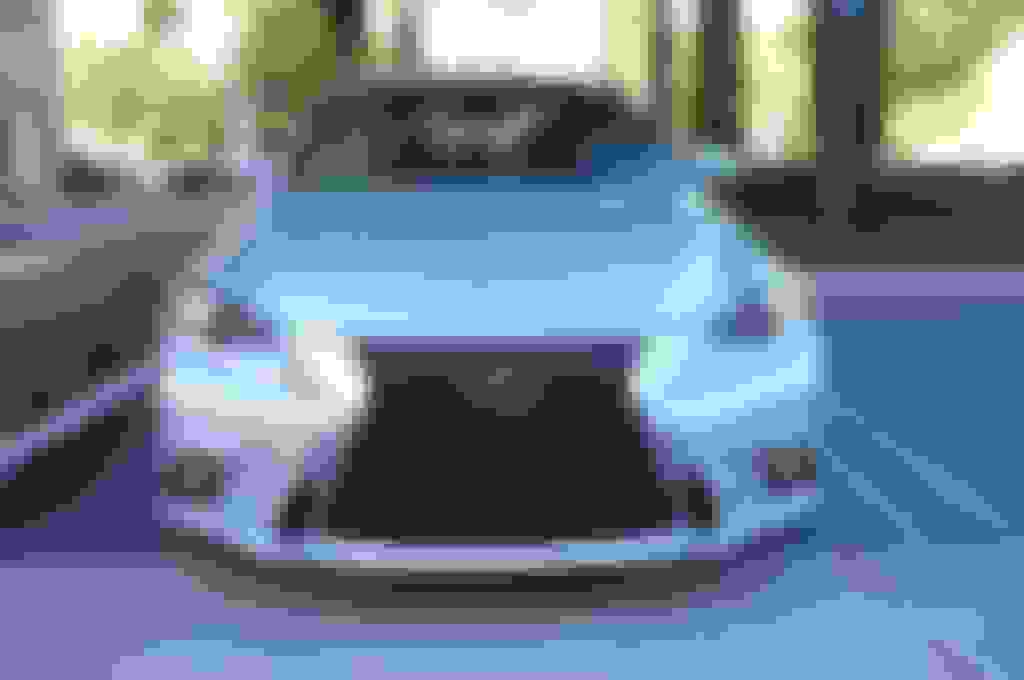
Here is the finished product:
A little background: I'm a lighting nut and I was really hesitant to purchase this set. But the only option is JDM Lexus which I am positive is the best but it's also the "best" money at $1,000+. So at nearly 1/10th of the cost, I decided to give these a shot. I haven't driven them at night yet, but when I do, I will update. Part of the reason I bought these fogs are for the exterior covers--I have a set of OEM USDM 2014+ Corolla LED projection units sitting in my garage and I already partly fabricated the brackets to install these BEHIND these aftermarket exterior fog light covers. I decided to leave that project for another day as there are somewhat complicated spacing options to work out with the Corolla fog lights. I've got the template down so far and I think it's possible.
So hopefully Corolla LEDs coming soon. Or maybe I'll just not mess with it and keep these on. We'll see!
Did you happen to see the unused fog light connector sitting there as another person found? It was plug and play if you had a GS or IS non-sport stalk.
nice! another awesome guide from you man. saves me some money to DIY instead of bringing my car to the shop. thank you so much for this pictured DIY. i appreciate it.
^No problem =) Love to help people find info they need. It especially helps when it's on a community forum and not some other website not specific to your car. Glad I could help!
Woooww that's beyond informative and crazy detailed! Seriously, great installation guide and thanks for filling in some extra parts that can help other IS owners. Looks amazing.
Nope no connector. I saw some square plug but not sure what its for.
Nice guide dude, very detailed.
Just an FYI - from your picture below, that black connector is the unused OEM fog light connector that the other member had mentioned. It should be plug-n-play if you get the correct stalk.
^Thank you very much sir. Interesting those can be used for power! I wonder though.. only the stalk can activate them? I wonder if they get voltage in any other scenario. Lights on, etc. Thanks for the tip.
Just installed mine last weekend and did not use the bolts that you did. Wondering why you use it? Also not sure about you but I'm not really a fan of it because there is no cut off to it which doesn't help with throwing lights in a distance. I'm debating between h1 or fusion still. I kinda like the idea of bi xenon in fogs for back roads use
Just installed mine last weekend and did not use the bolts that you did. Wondering why you use it? Also not sure about you but I'm not really a fan of it because there is no cut off to it which doesn't help with throwing lights in a distance. I'm debating between h1 or fusion still. I kinda like the idea of bi xenon in fogs for back roads use
Mine has a sharp cutoff.
I use bolts because there was no way to mount them. my kit did not come with fasteners.
Bi-xenon is cool... I would like that too. but I have corolla projectors (OEM LED) on deck.. I really want to install them. I am thinking of making brackets and cutting big holes in the fog light covers.. what do you think?
The Matchbox would be a nice fit, maybe even easy direct fit without having to trim the covers. The lens of the matchbox is 1.8".. i havent compared it to the JDMToy lenses yet. Should be roughly the same. With matchbox though i have to spend about $200 to get a decent kit going when I already own Corolla LEDs.
Did they make two versions of these fogs? Cause I know a couple people and they have no cut off like mine and also requires no fasteners for install. Post pics of your cut off.
Did they make two versions of these fogs? Cause I know a couple people and they have no cut off like mine and also requires no fasteners for install. Post pics of your cut off.
Ok i'll try to tonight.
NO idea about the versions but i find that weird too. I know for sure it has a cutoff though because i would not tolerate a big round spotlight for a split second. they'd immediately go in the trash if that was the case

 09-16-16, 05:59 PM