When you click on links to various merchants on this site and make a purchase, this can result in this site earning a commission. Affiliate programs and affiliations include, but are not limited to, the eBay Partner Network.
Some 2014-2015 IS models are covered under the base warranty for an unusually-scratched anti-glare Nav screen. Mine was, but I don't trust my dealer, plus my warranty was ending, so I just bought the screen myself and installed it on my own.
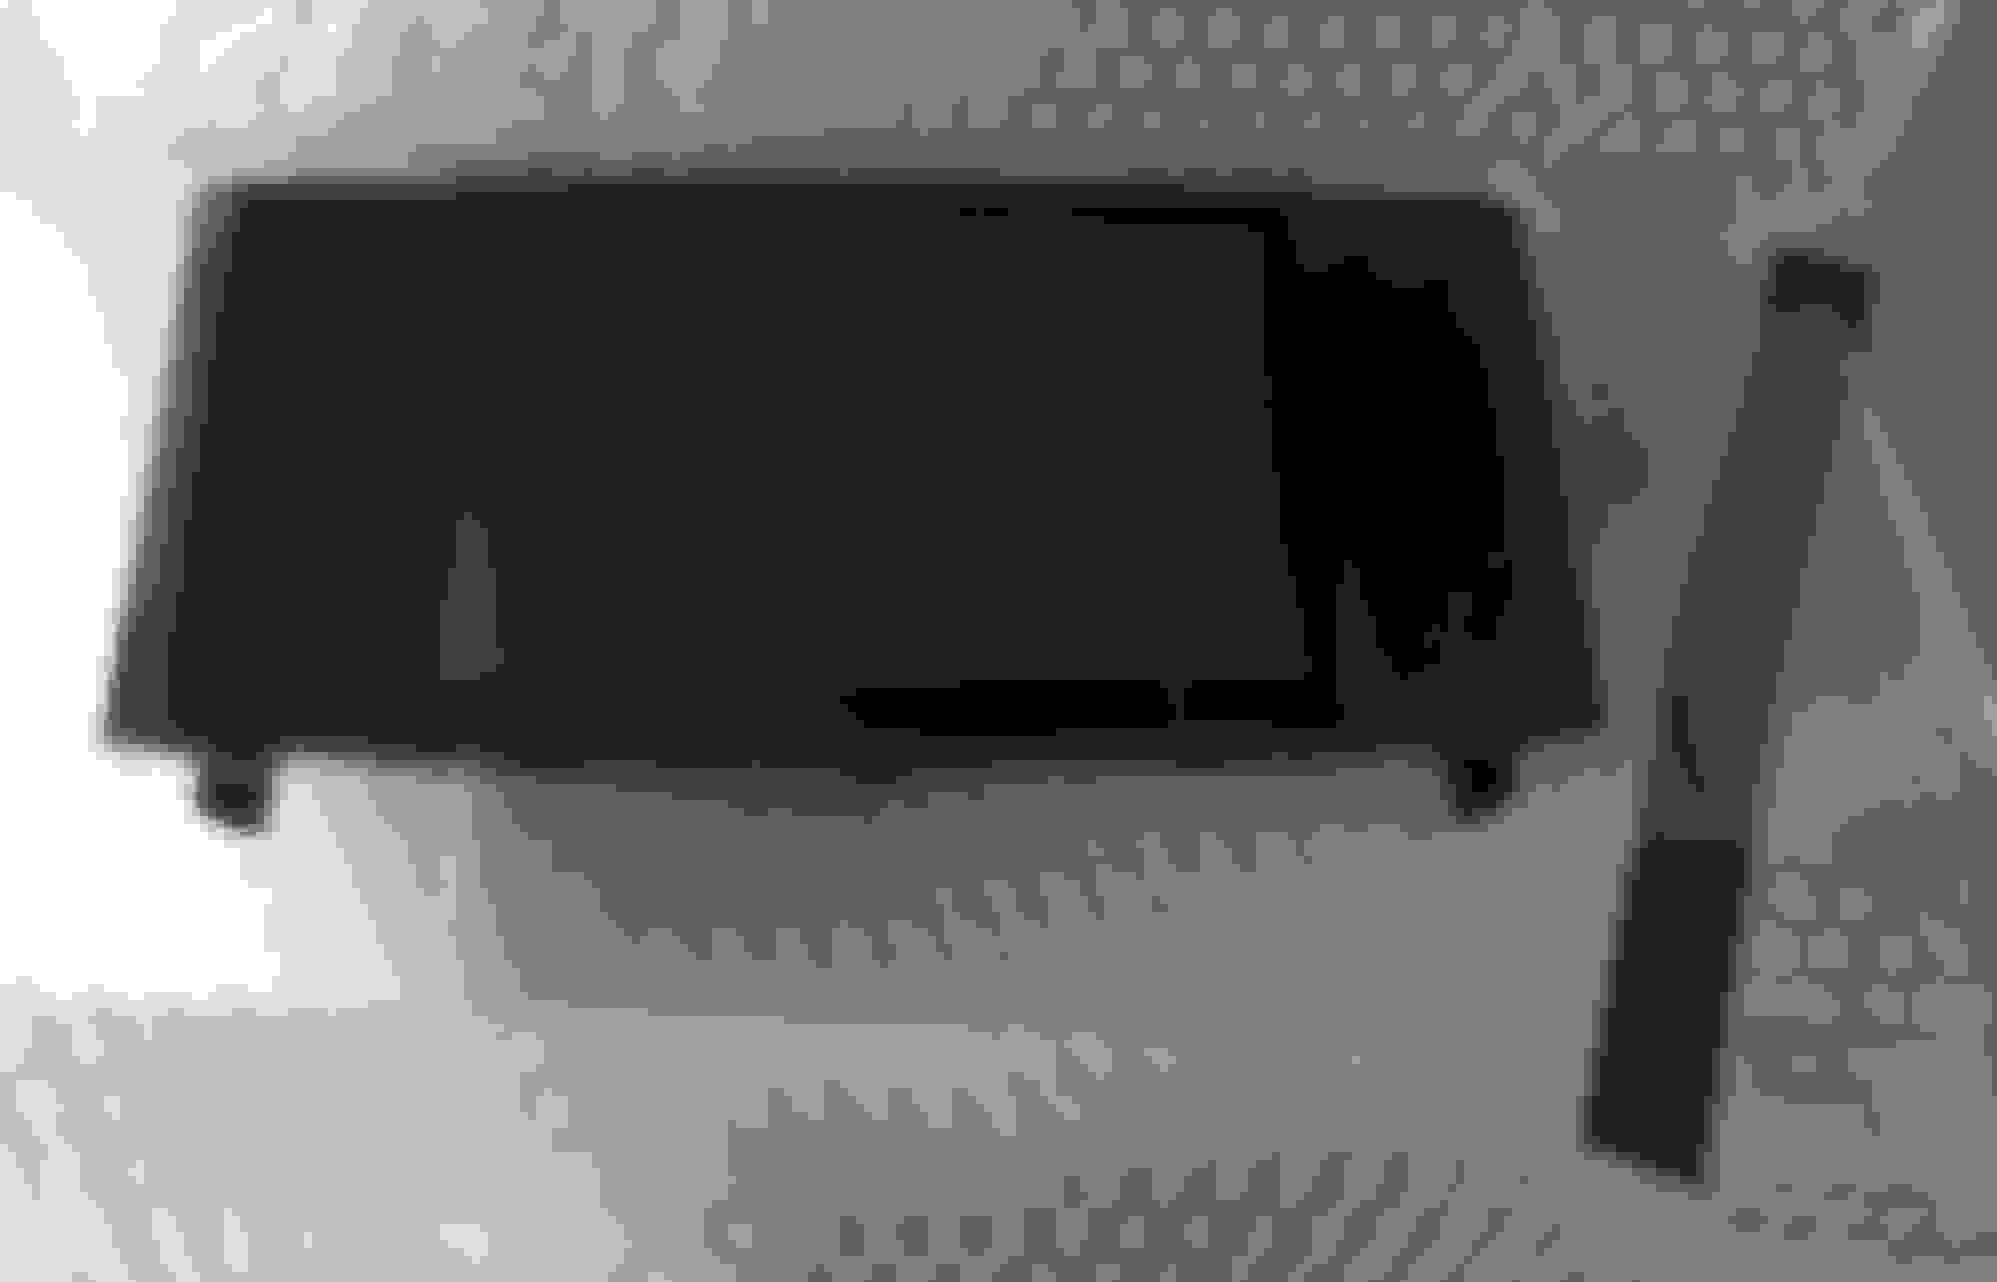
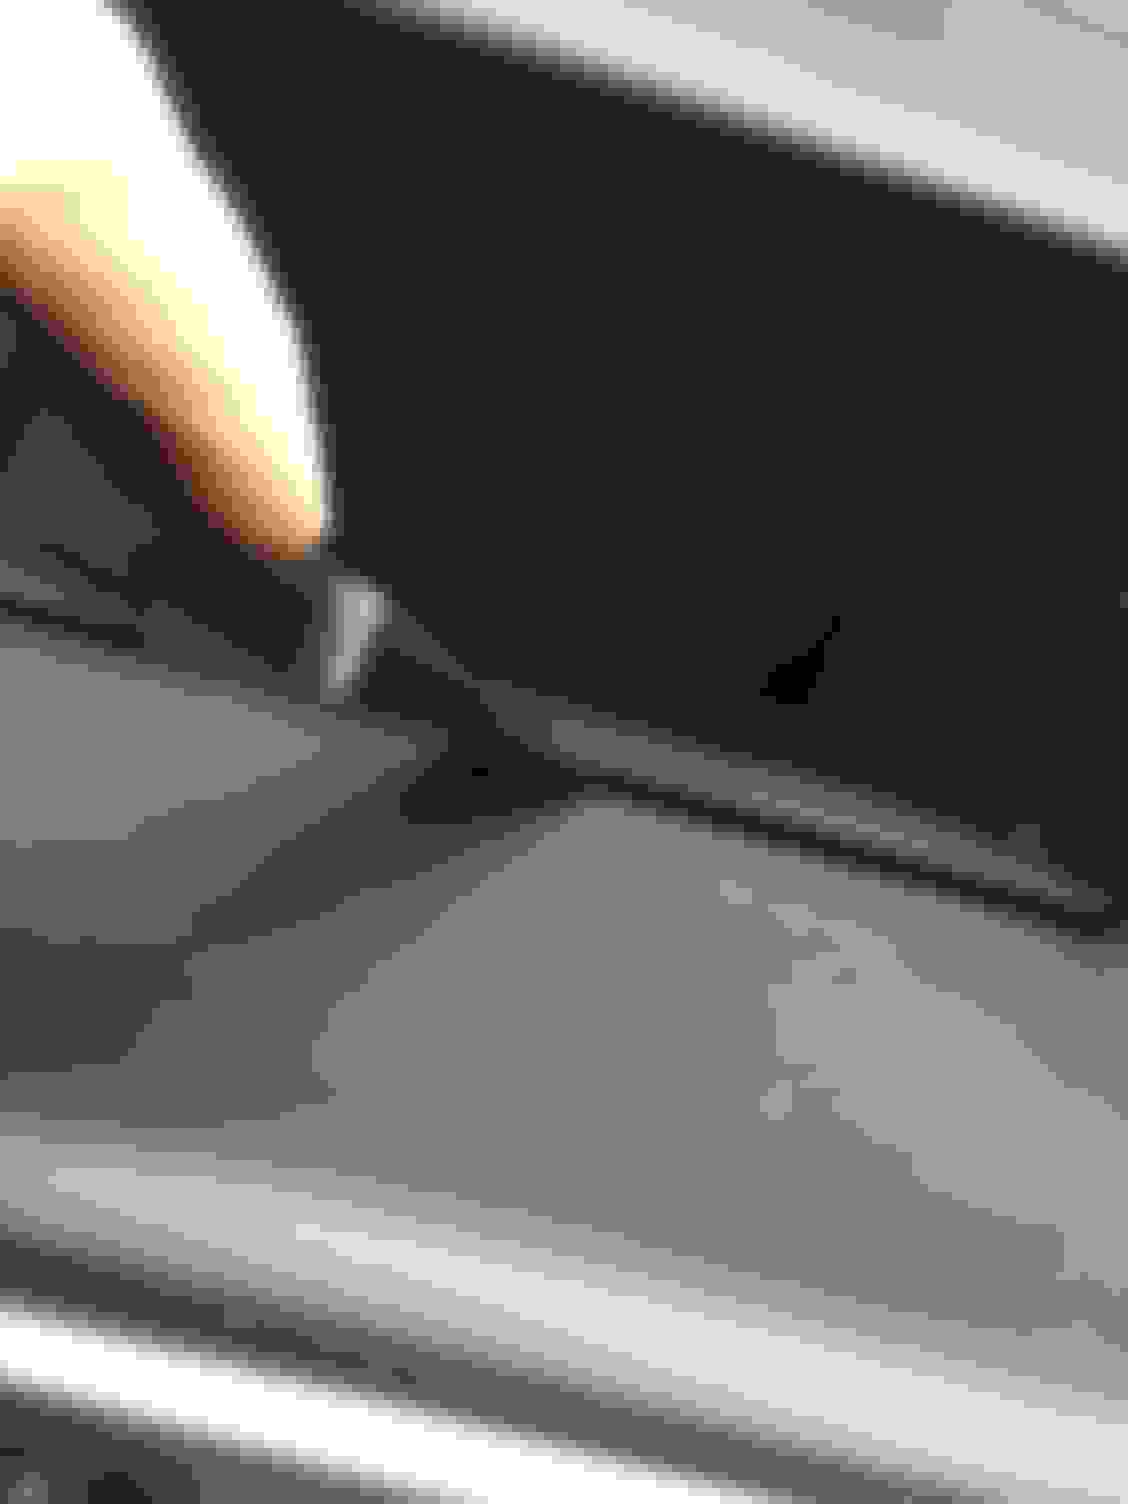
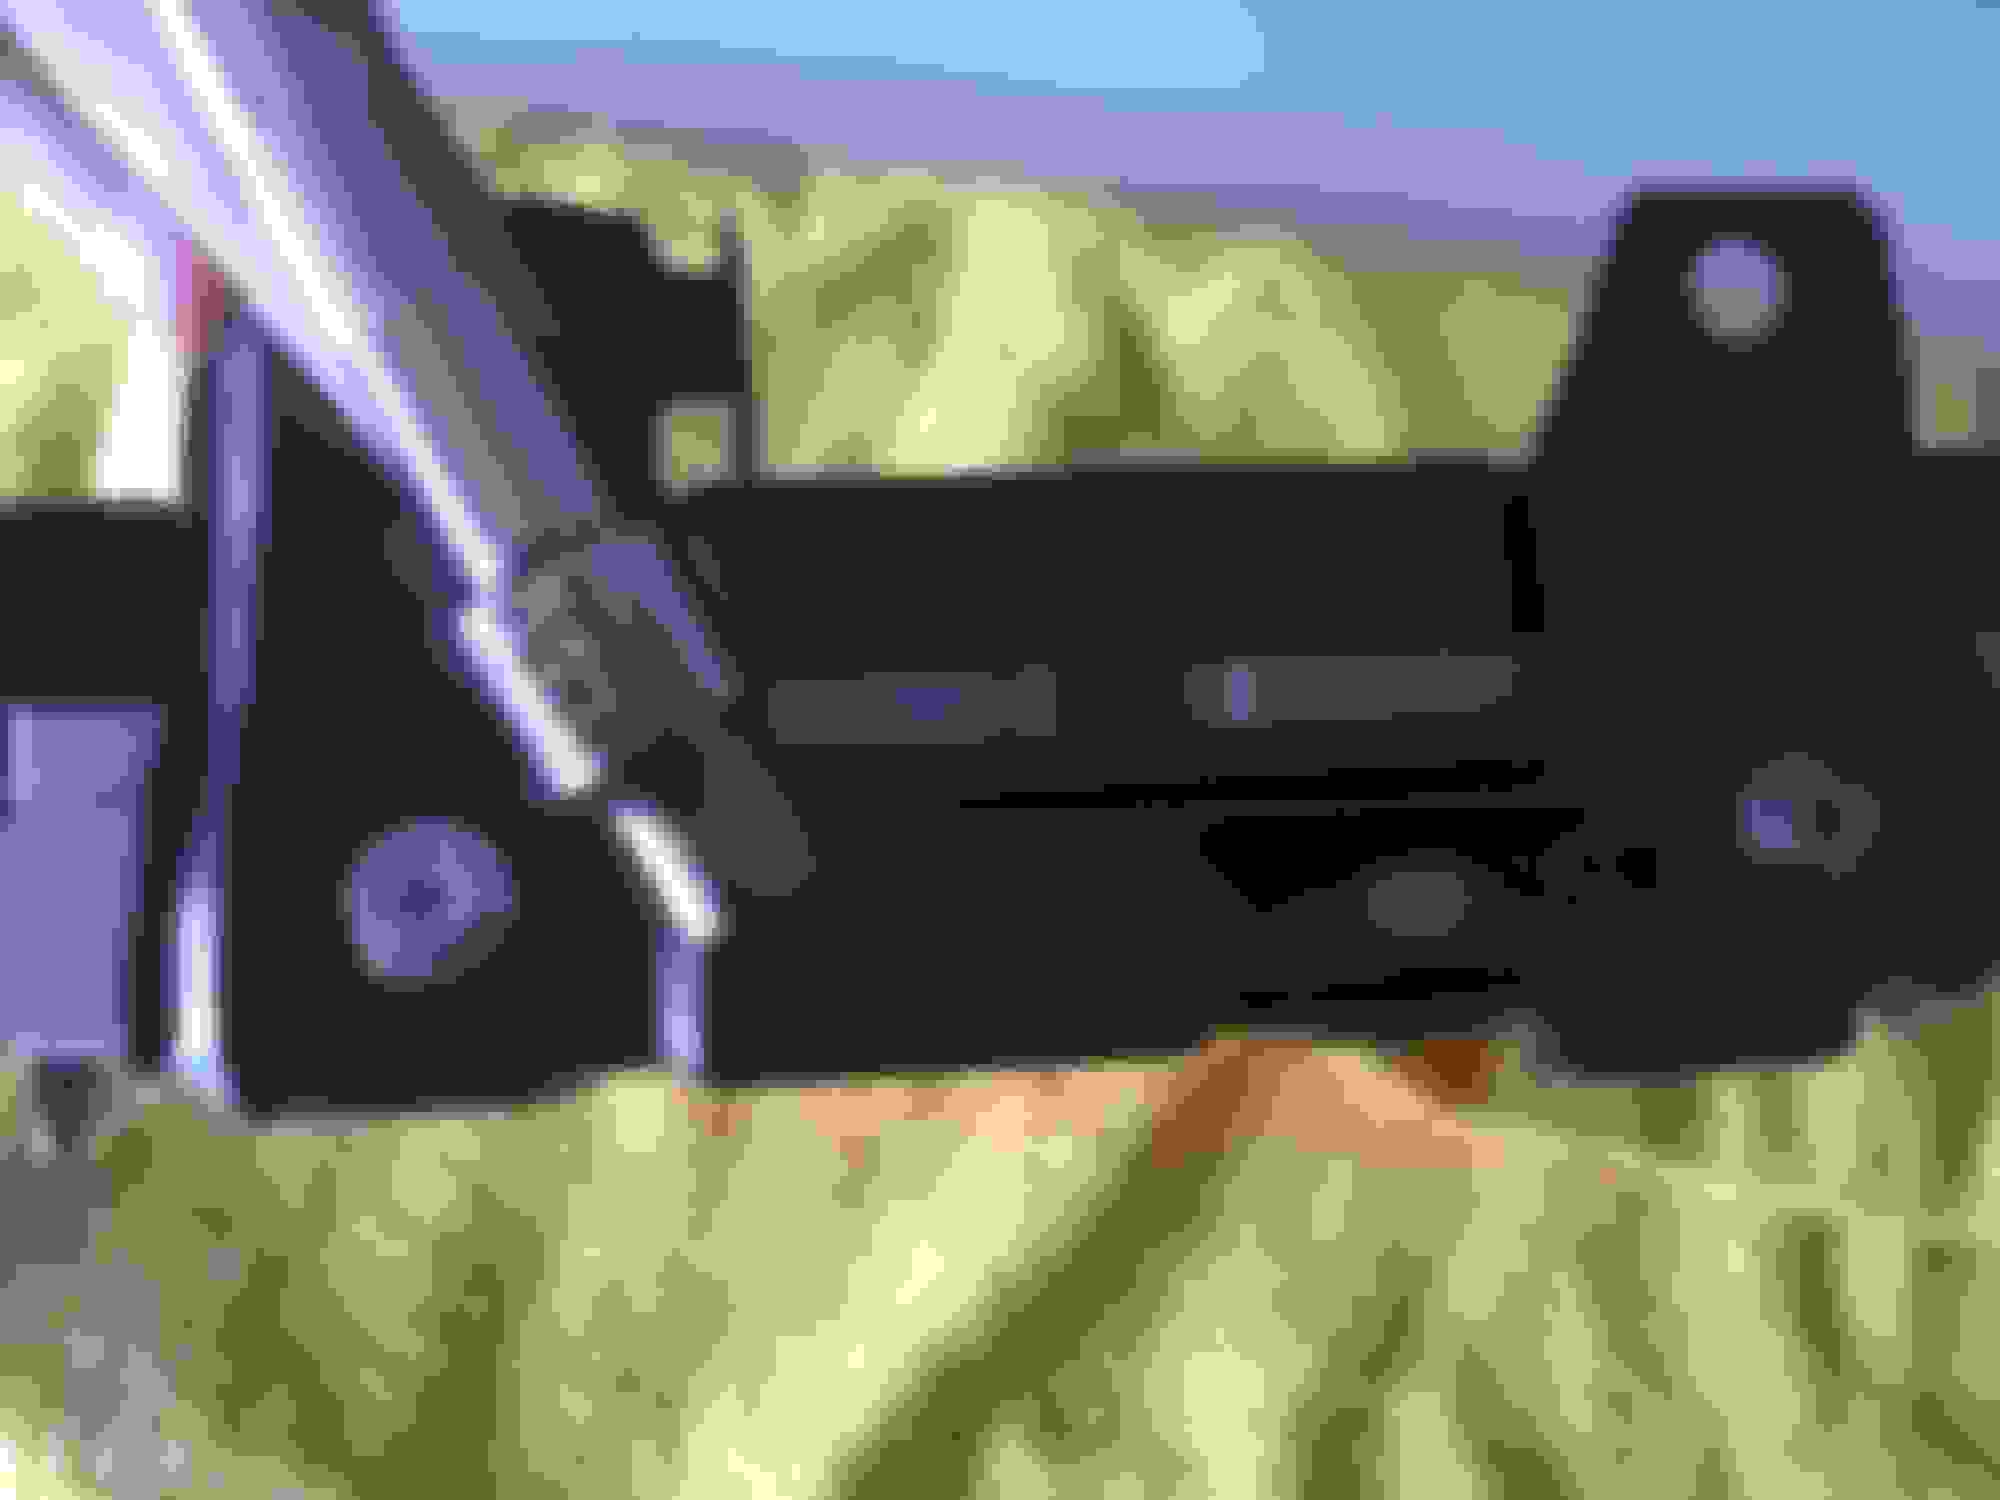
If your ride is past warranty and you want to change yours, I've written some rough instructions below for intermediate to advanced DIYers. Hope this helps someone. Old vs New, with some CF touches The kit Pry off the cover piece in front of the screen Remove the two 10mm bolts, and then pull the screen towards you until the clips loosen from their slots, and then ease the screen downward Remove the blue and black harness, and the most annoying part of the job is trying to get that harness docking point off circled. Get some needlenose pliers and work it away from the bracket, then remove the screen Remove the bracket from the screen by loosening the two 8mm bolts. Note the position and how its mounted when you need to put it back Flip the screen back (keep a cloth on your workbench so nothing scratches or rolls away) and remove 6 silver screws. Pictured are 3 on one side. You can't miss them. Have some tweezers to pull them out as needed There are two locking claws. Pry them up with a small flathead screwdriver, and then separate carefully. It should separate pretty easily. Again, note how it comes apart so you know how to put it back together The back piece can separate too Install is reverse of removal. When you close up shop, make sure there are no gaps between the new screen and the backing
Oh I wish somebody with a replaced screen and too much money would try to clean the replacement screen cover with a cloth and see if it scratches or not
The cost of the replacement part is not too much if it actually would stay nice, but if it will eventually start marring again, it would be a lot more sensible to just wipe the anti-glare coating off and install an aftermarket anti-glare cover onto it.
Hi, Where did you get your screen from? Mine did not have any scratches but I notice mine have tons of circles with differing sizes almost like some kind of liquid spills.. I suspect the guy doing my windshield tint drip their cleaner on the screen causing it.. I was going to try wipe it away but did not get to it till 2 weeks later and by then, whatever I used, did not work...
Thank you, but I was actually hoping to get just the new improved anti glare screen like the OP with the touch of carbon fiber instead of a whole replacement nav from lexus. I think they are different if im not wrong
I just cleaned all of the factory coating off, and then trimmed a tablet anti-glare screen protector to fit. Better than new, and now scuff and scratch resistant.
You can also order custom sized screen protectors from here... https://www.photodon.com/custom-screen-protector.html
Nice write up. I had this problem with my car, and the Lexus dealership replaced it under warranty. They claimed mine was the 1st IS that they had seen, but this was a known problem with the NX. After a little research they went ahead and replaced it. Just curious about why you don't trust your dealership?
I just cleaned all of the factory coating off, and then trimmed a tablet anti-glare screen protector to fit. Better than new, and now scuff and scratch resistant.
You can also order custom sized screen protectors from here... https://www.photodon.com/custom-screen-protector.html
Windex and a microfiber towel, and a lot of rubbing. Used my finger behind the towel and sprayed windex on the end. Only took about 2 minutes to clean it all off. DO NOT use paper towels. I used a brand new microfiber towel to ensure there were no foreign particles or trash in it.

 10-15-18, 05:30 PM