Caliper paint DIY
#1
Driver
Thread Starter
Hello everyone,
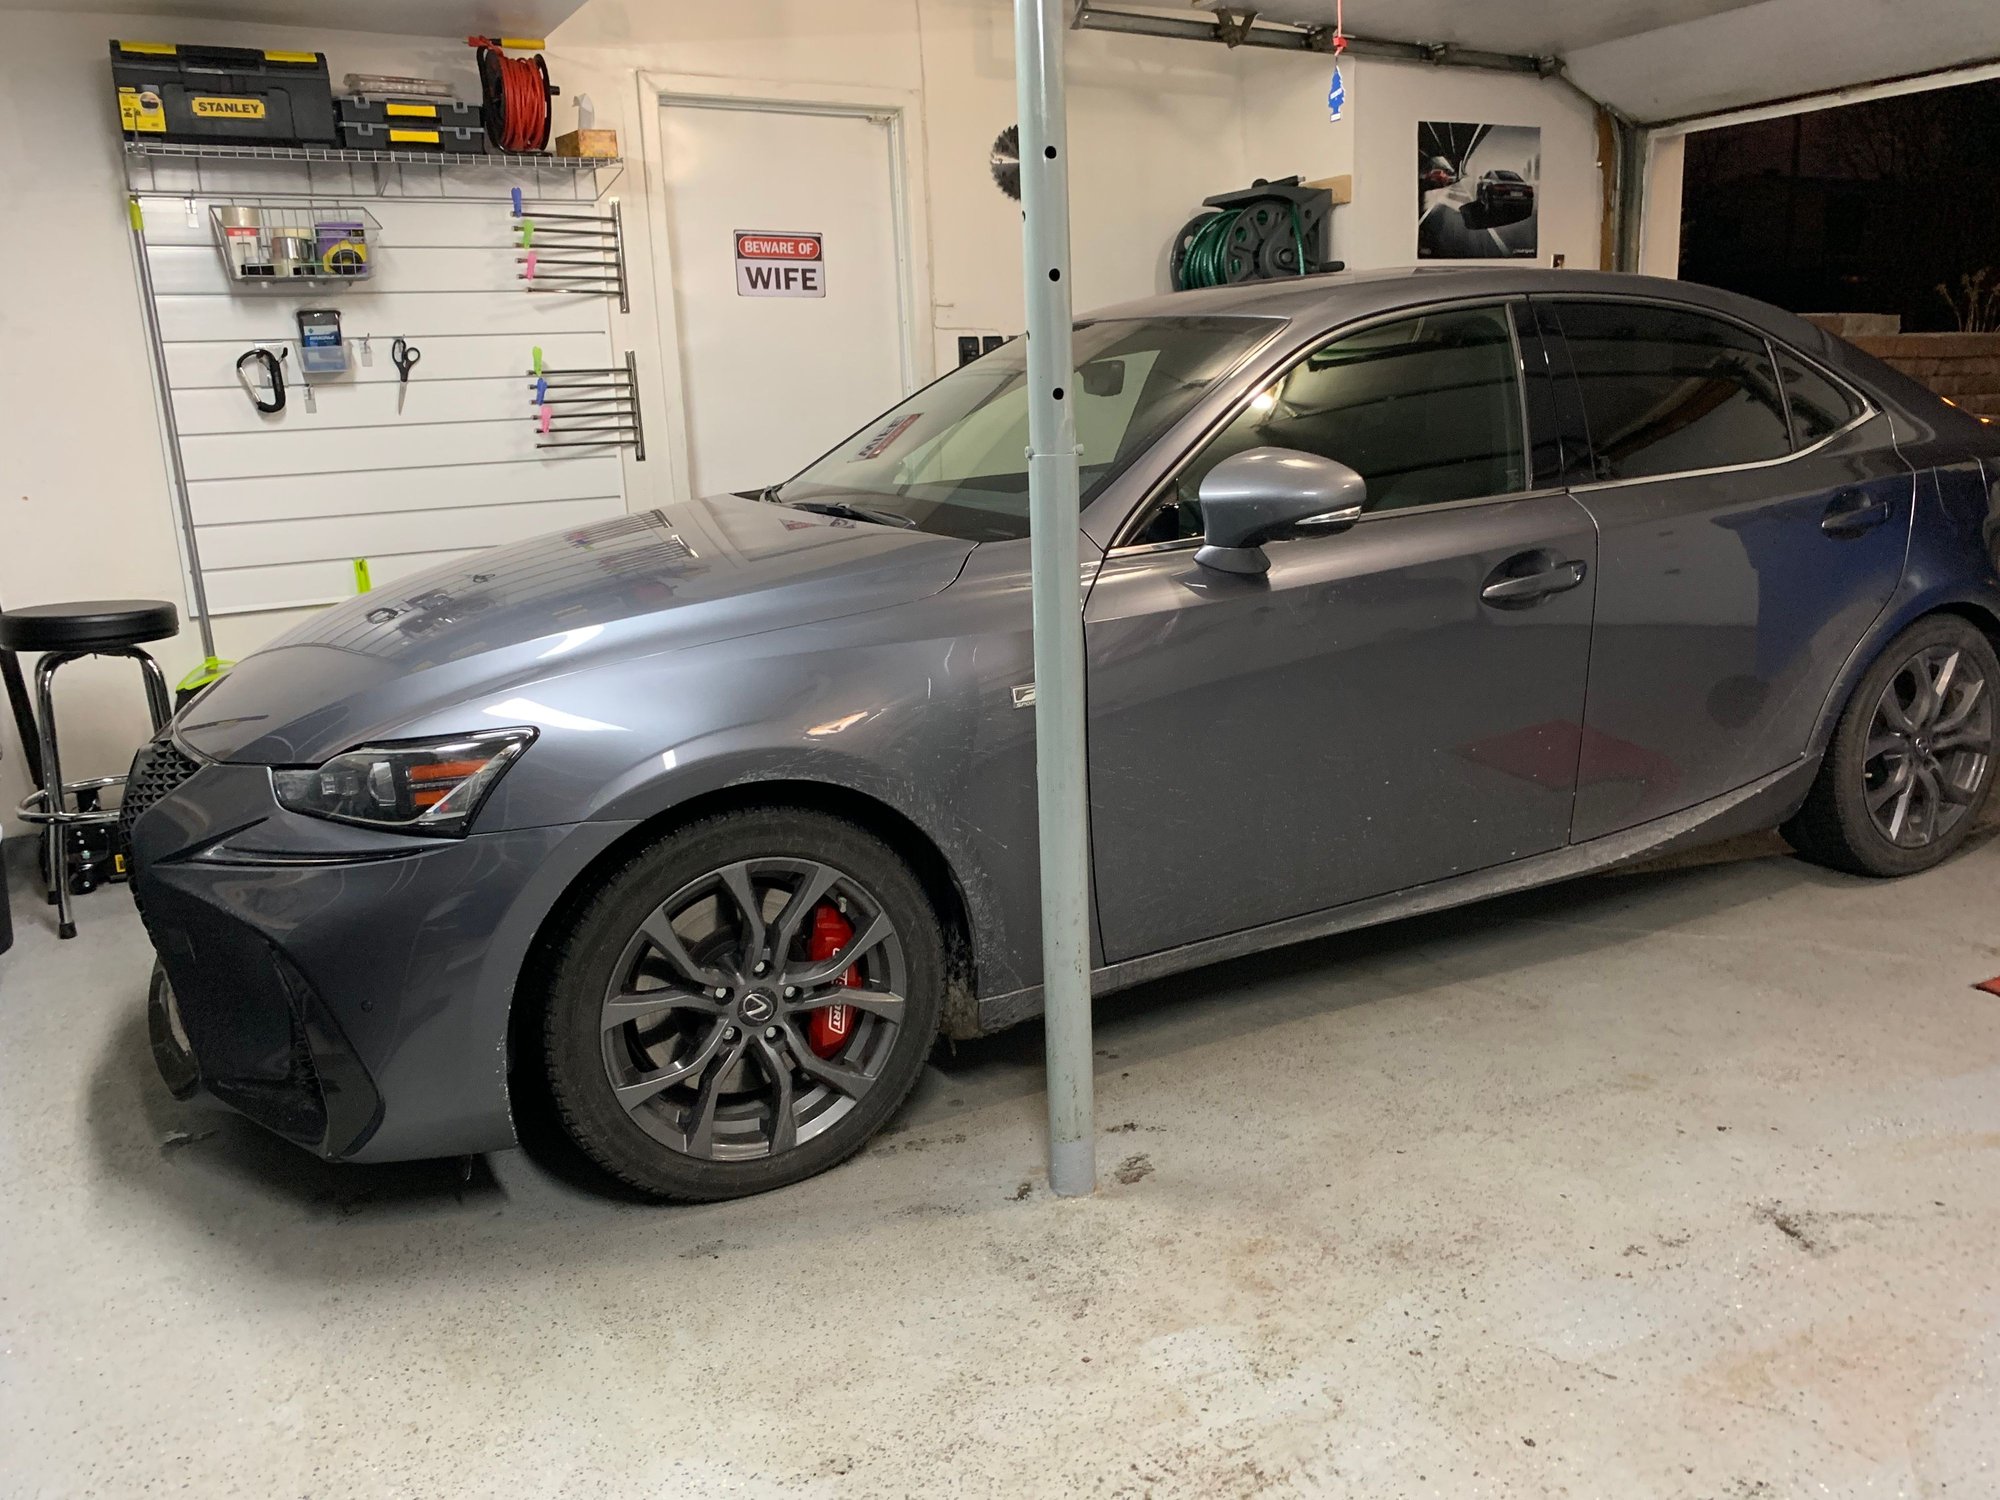
I just wanted to write up about my little project lately. I recently changed from a 2015 IS350 F-Sport Series 2 (UltraWhite with RiojaRed interior) to a 2018 IS350 F-Sport Series 3 (Nebula Gray with Black interior)! Very happy with the switch, it’s fully equipped... but I'll miss the red interior for sure! Anyways, after 3 years in harsh weather here in Montreal, I saw the rear calipers of the 2015 starting to rust a bit. So, with the new car, I decided to paint the calipers ASAP! Got the car at the end of November and painted the calipers in January!
I researched a lot about it before starting. I'm hoping that this can help others. My concerns were to find out how many layers of paint to do, how long to wait before applying the decals, how long to wait before applying the clear coat, how many layers of clear, etc. If I followed the instructions on VHT paint can itself, would it be ok? It doesn't mention anything about how long to wait before applying the clear coats... though, it does mention to wait 7 days before applying any additional coats. I wasn't gonna wait a whole week before applying the clear for sure!
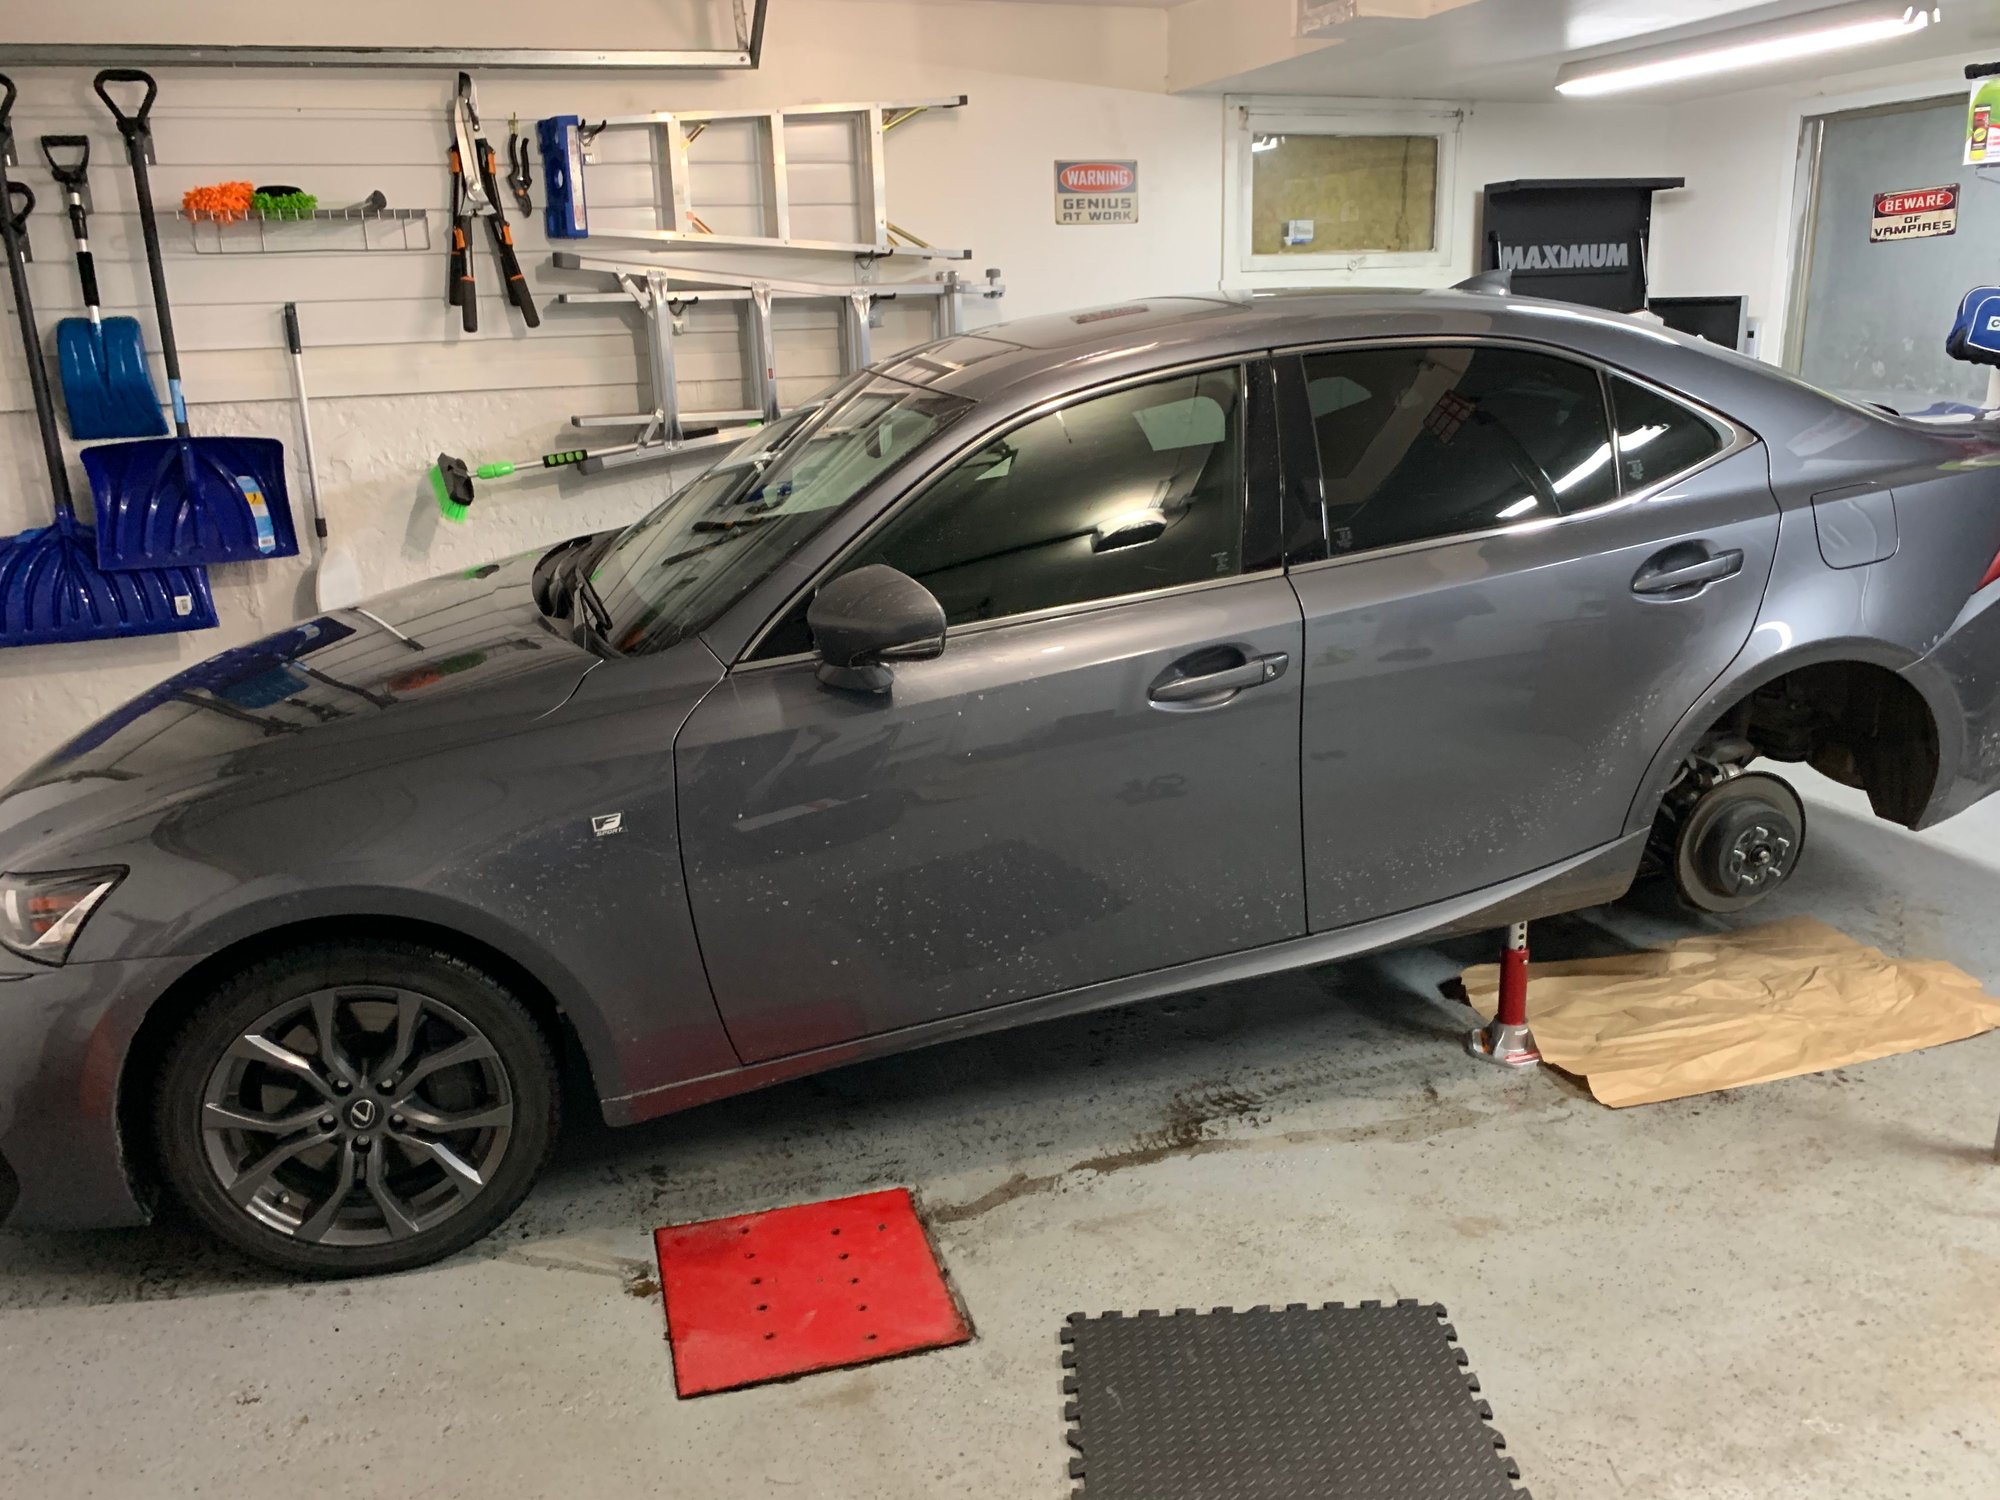
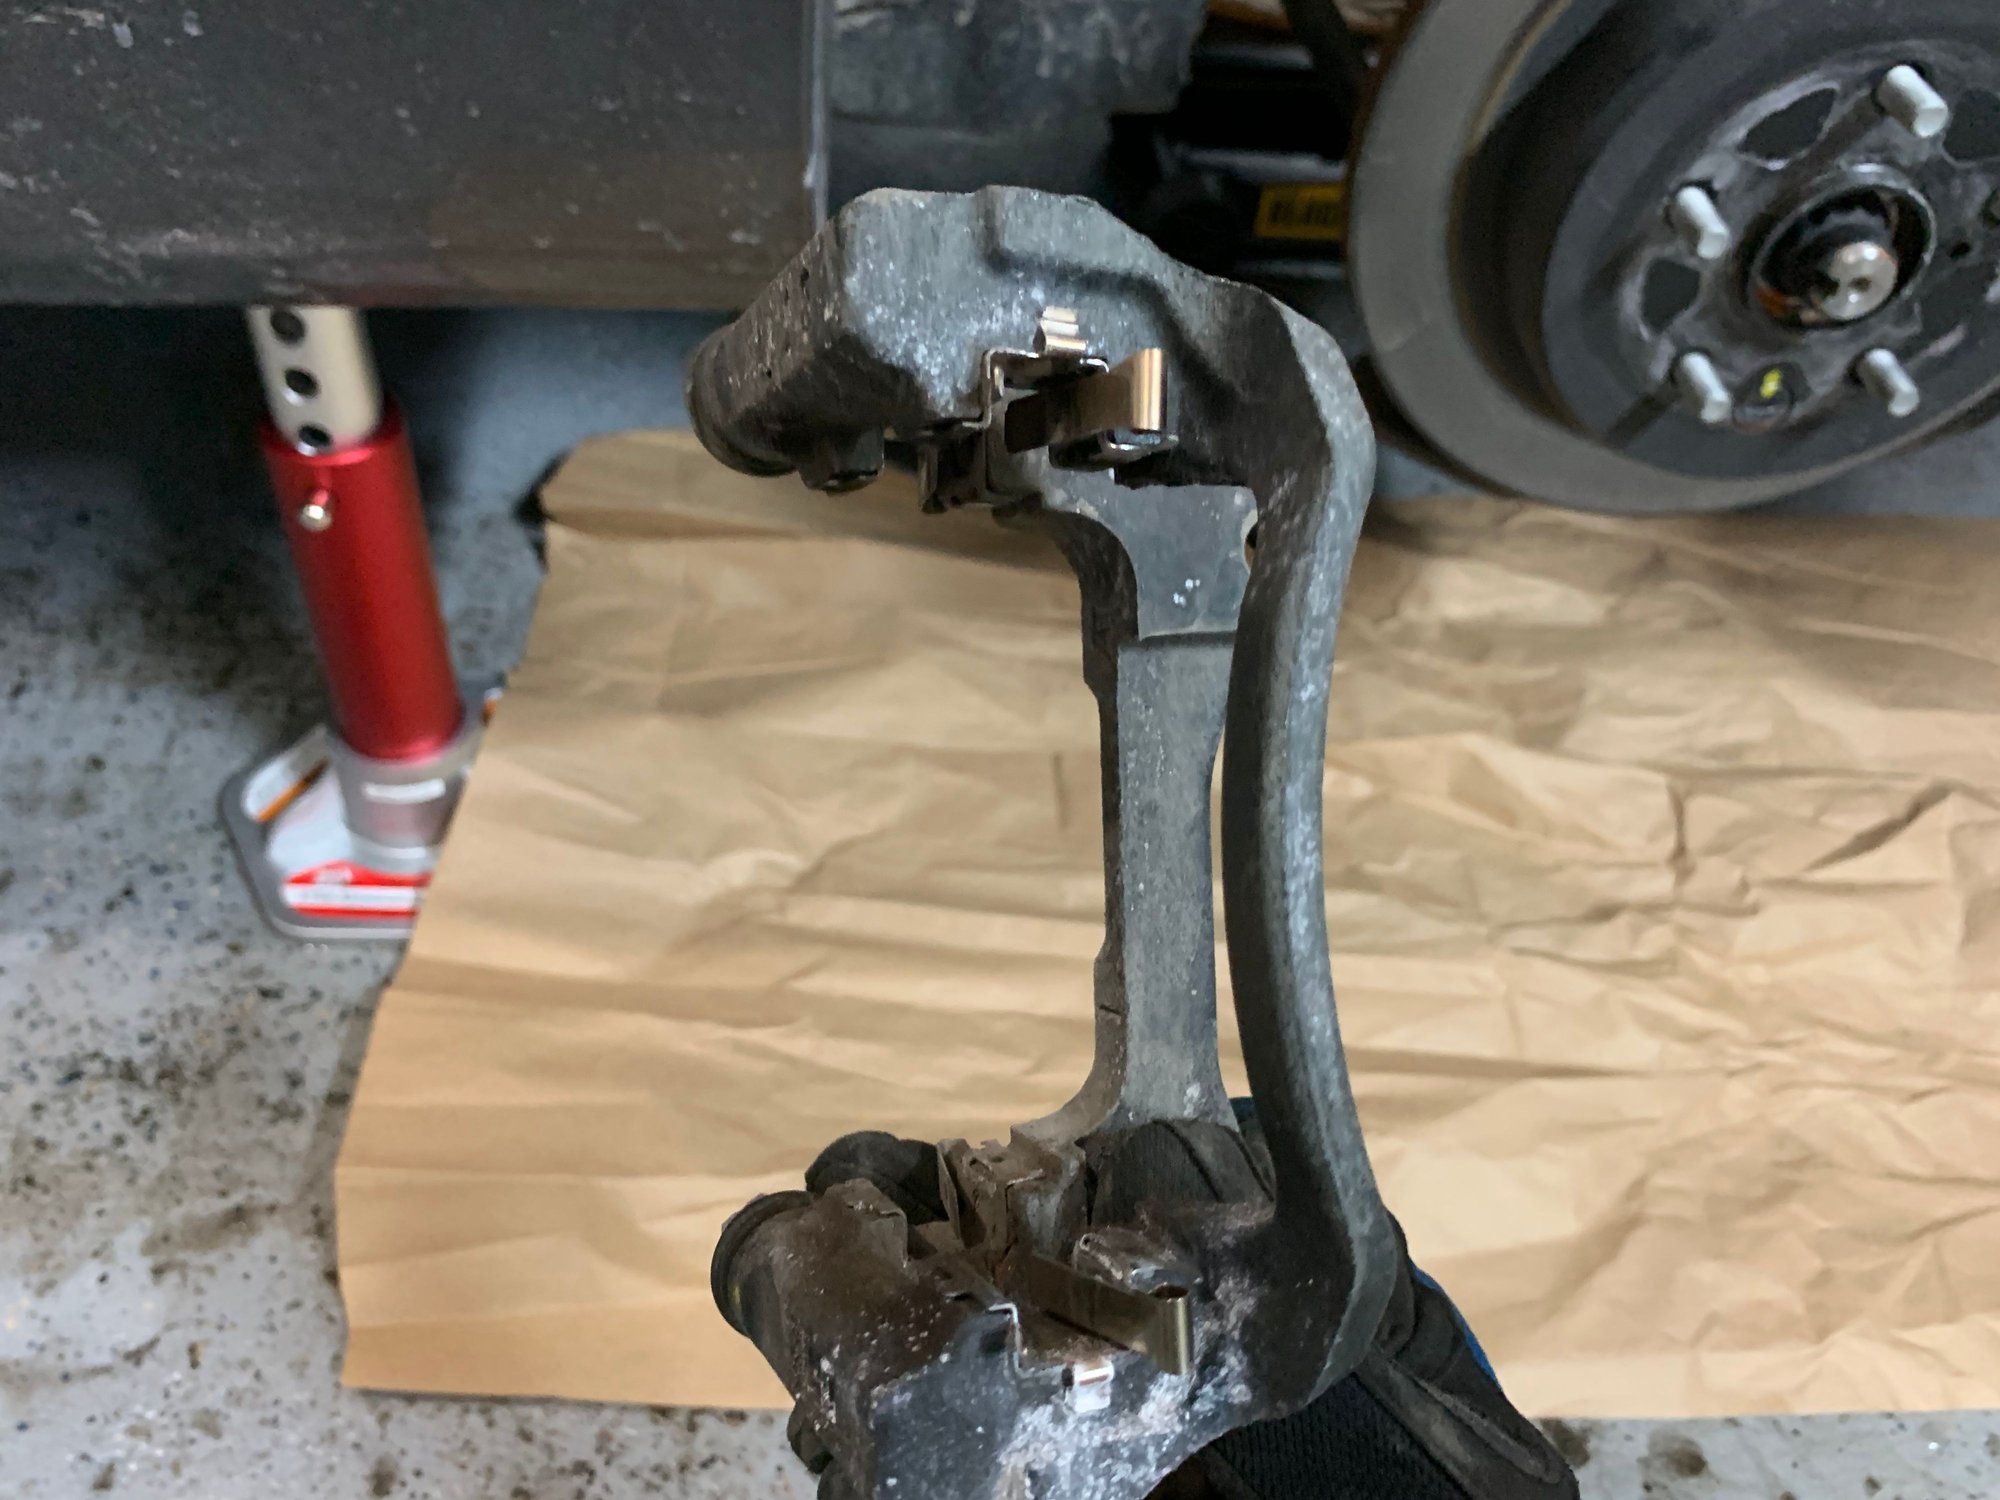
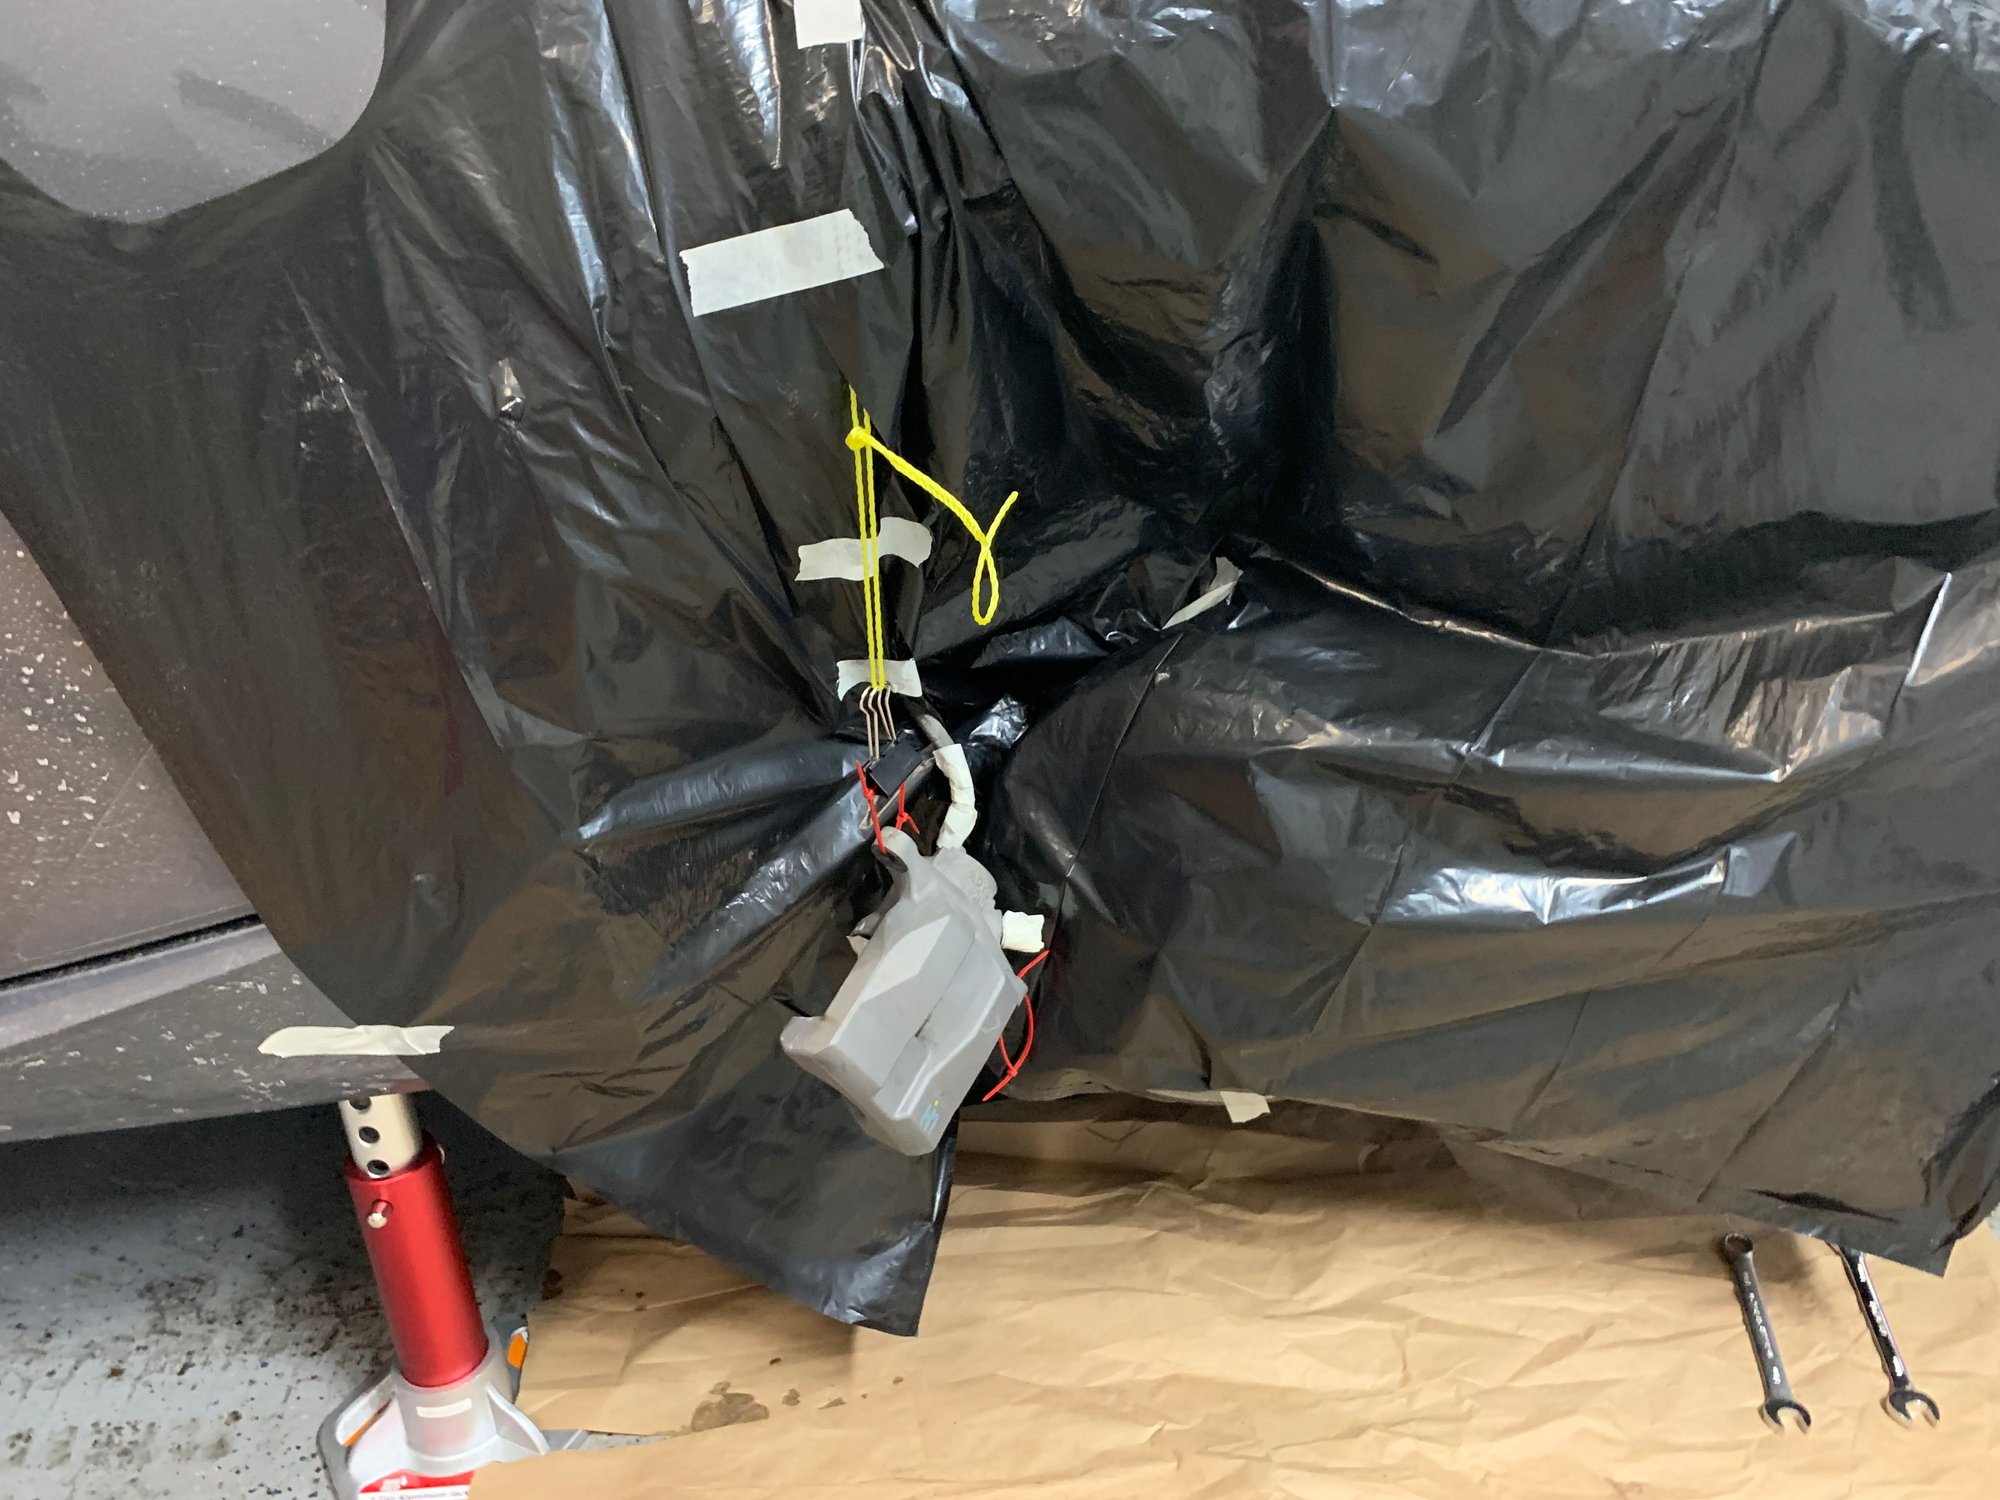
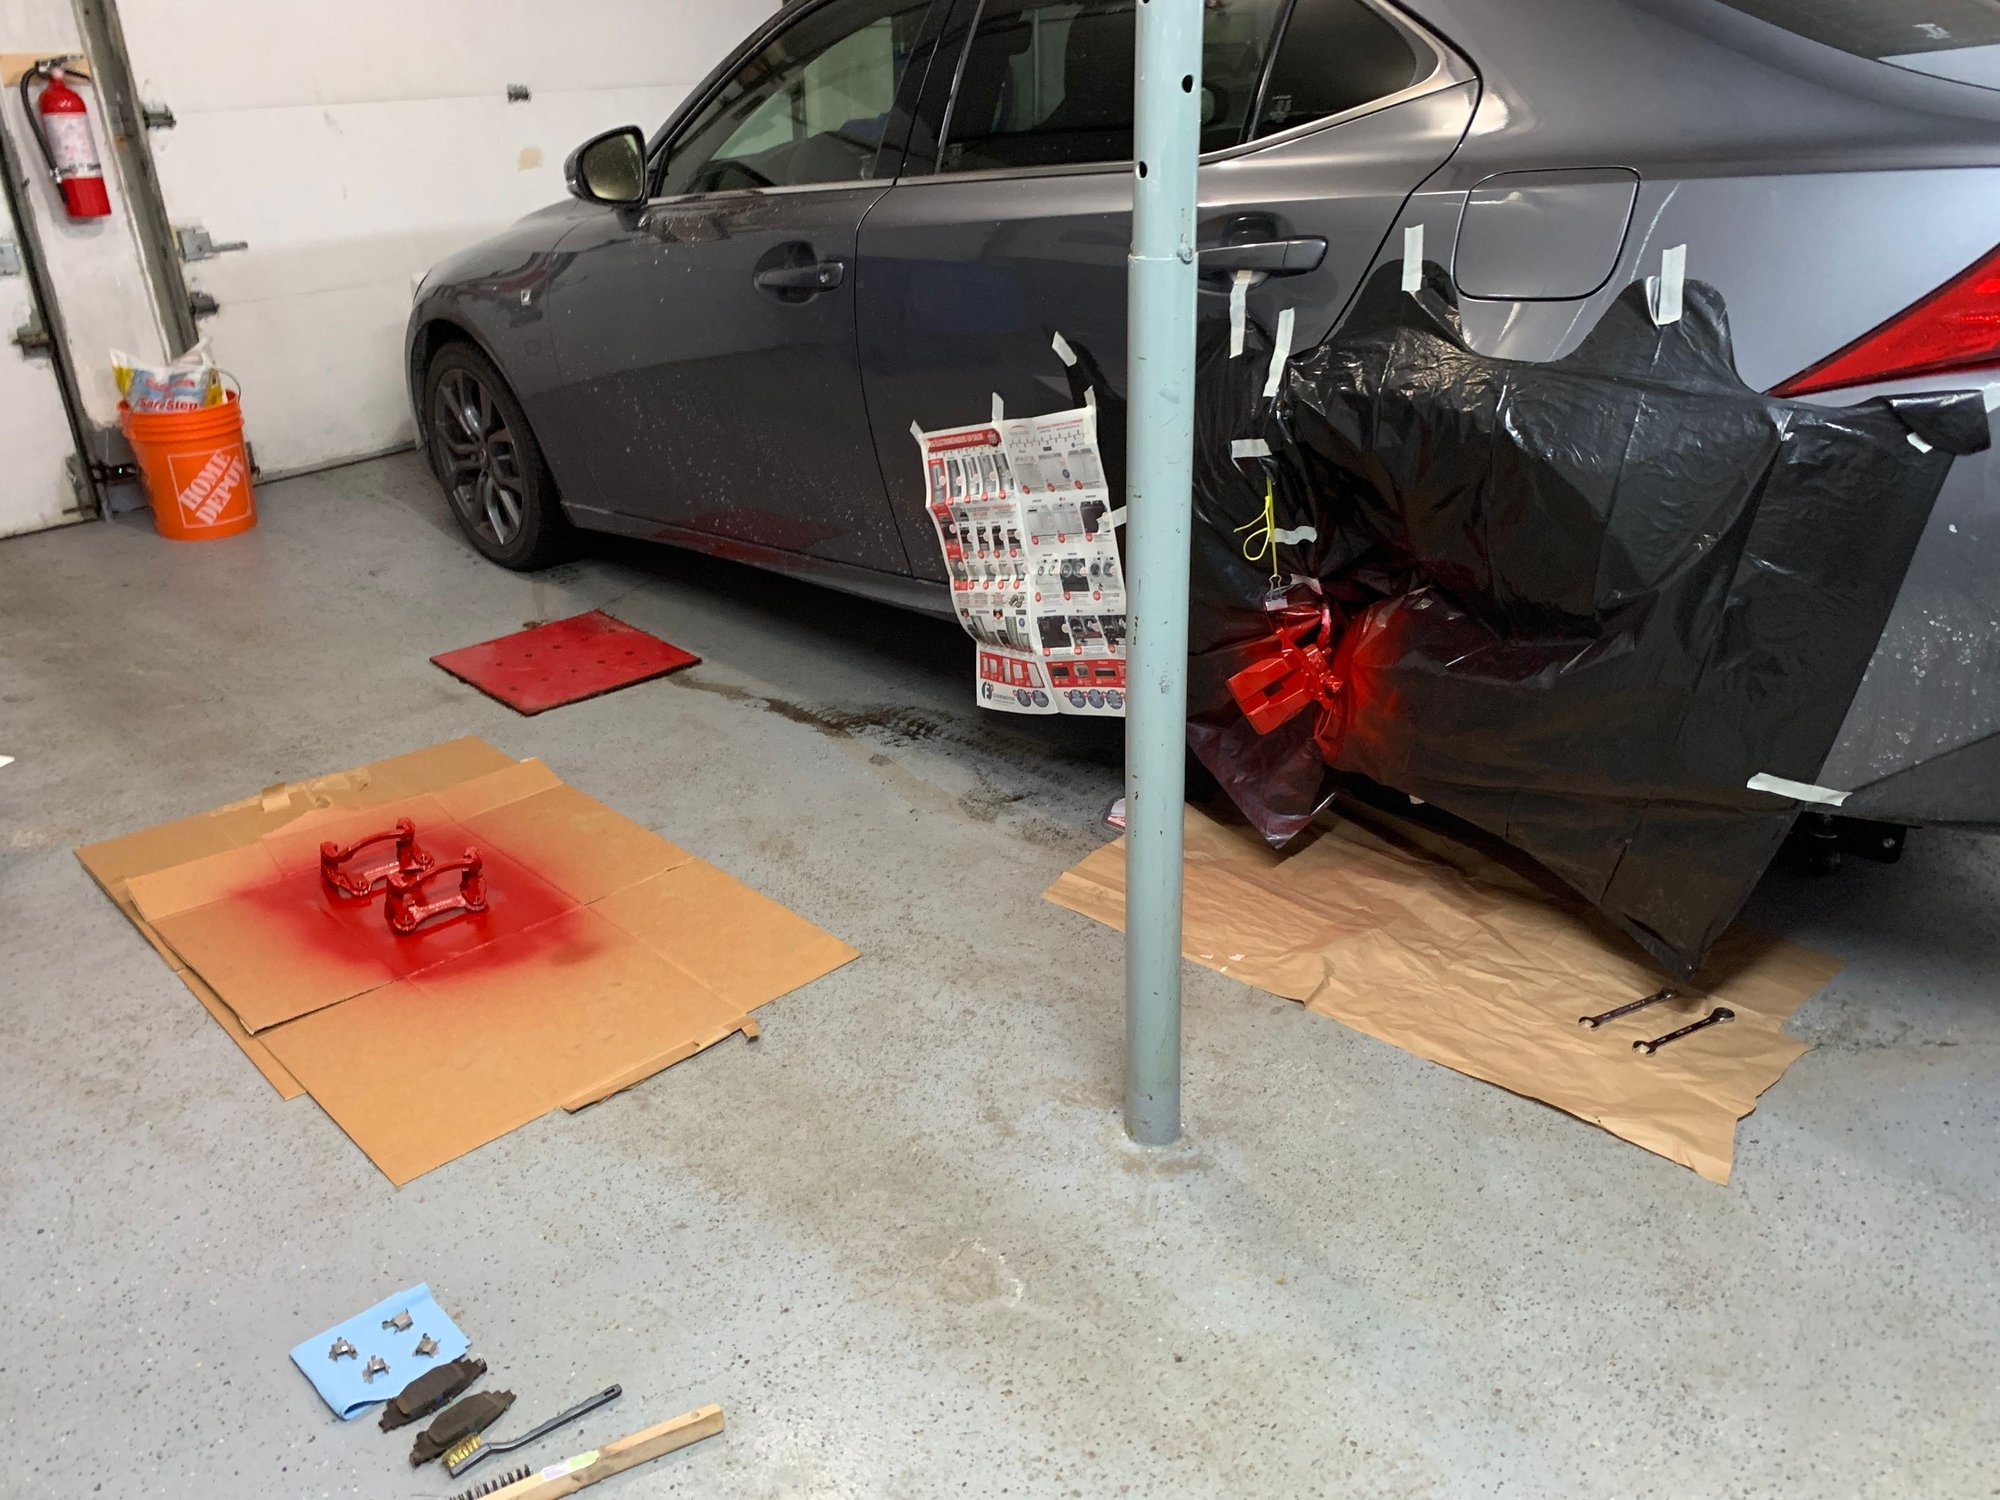
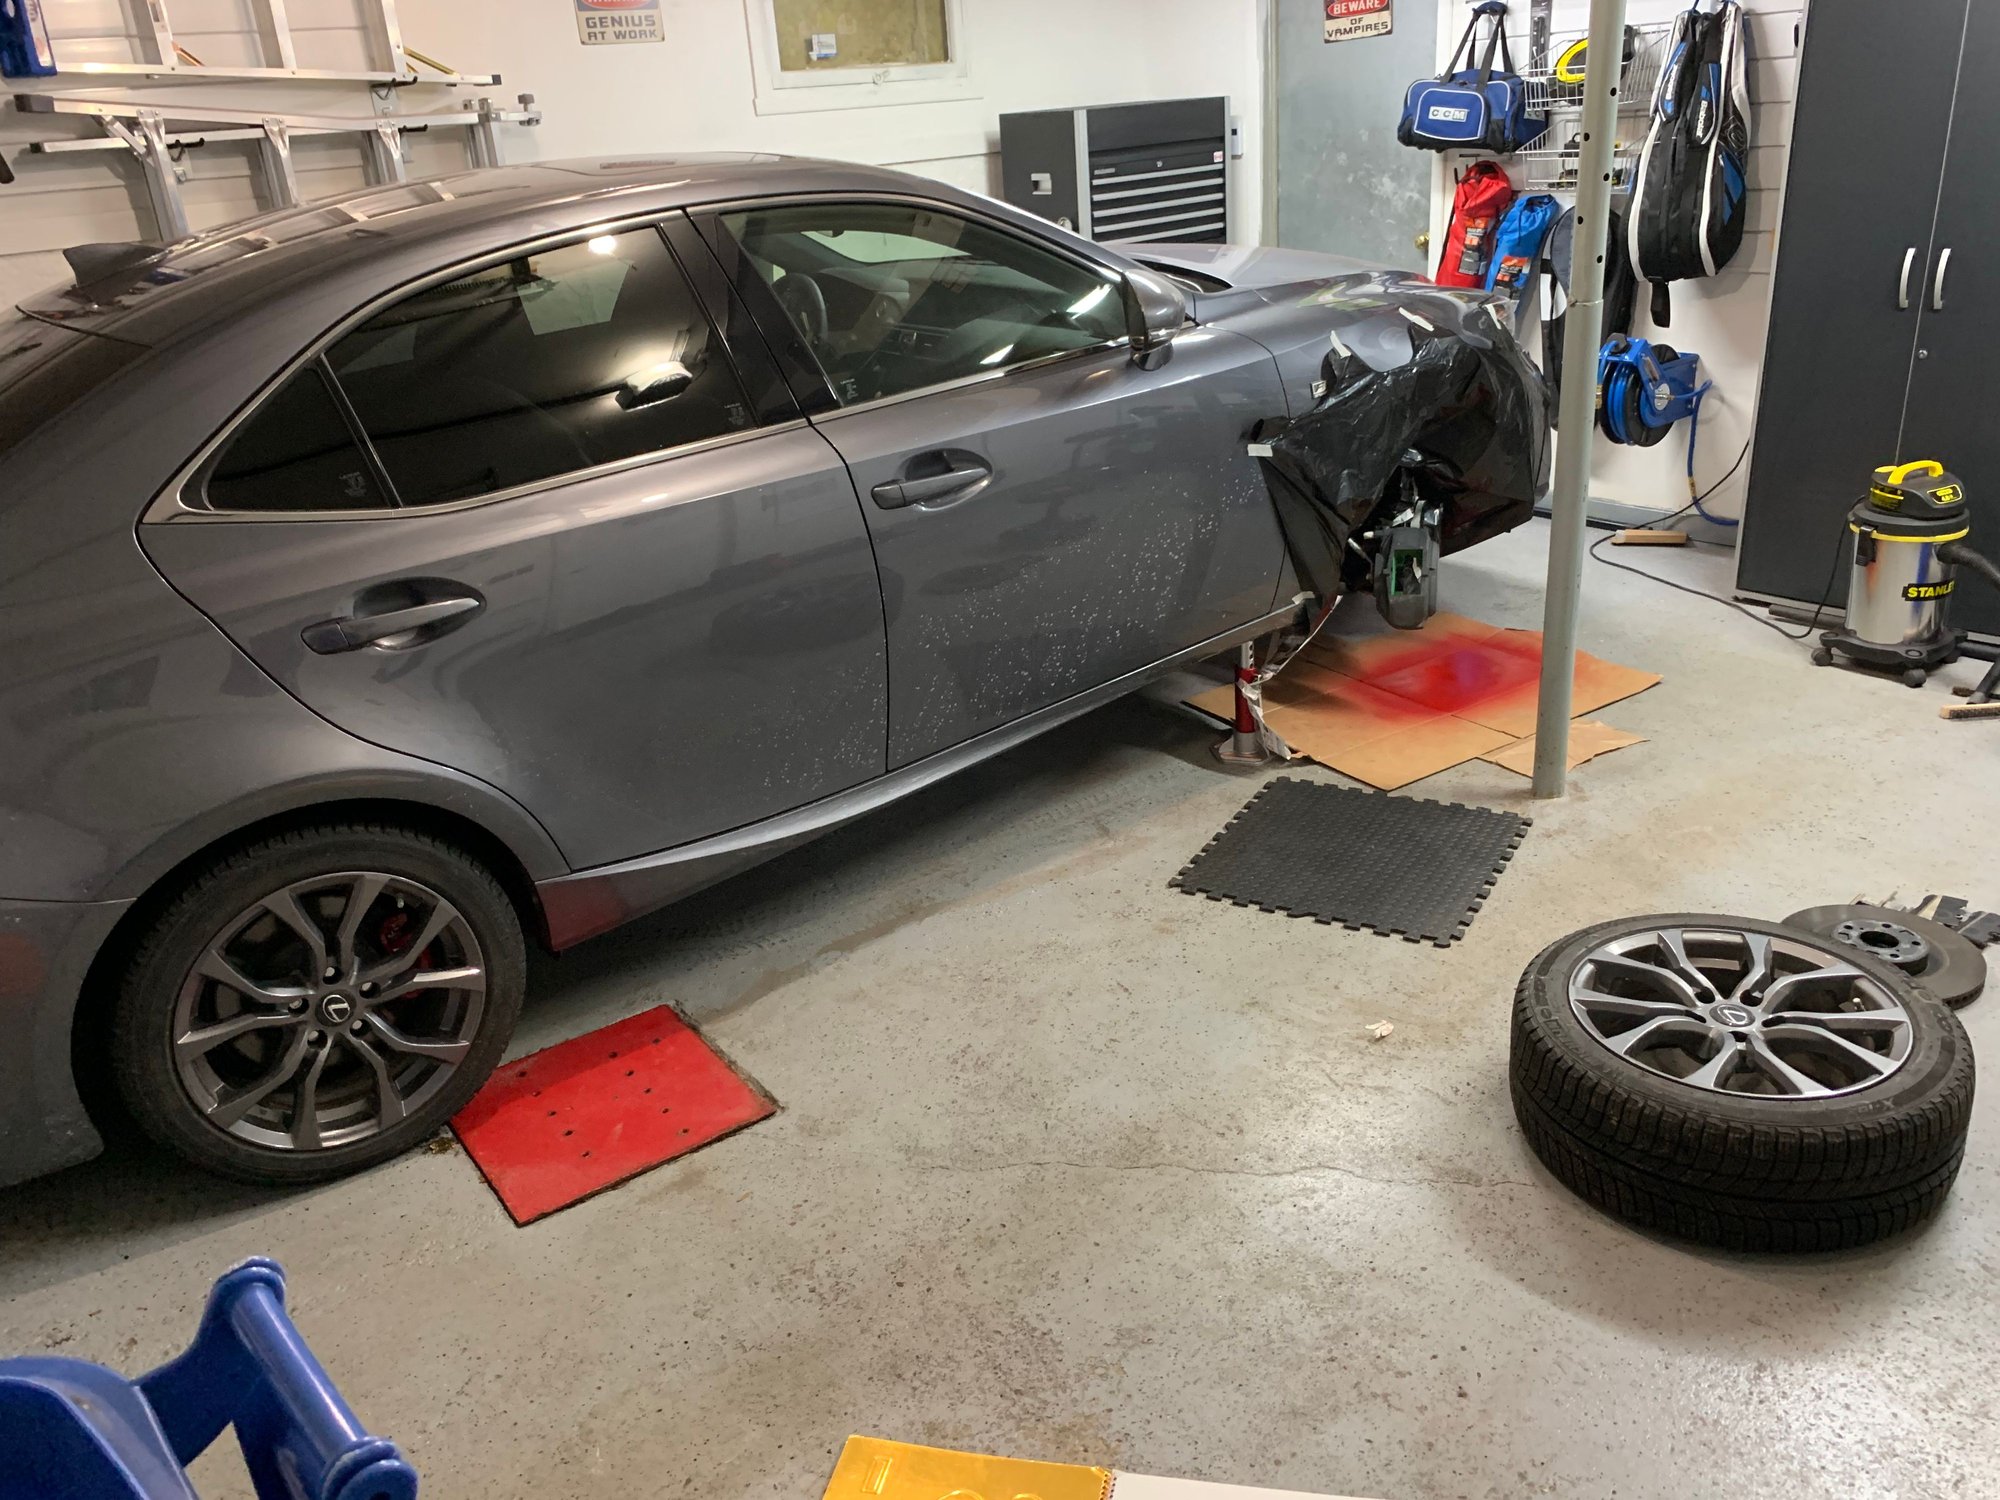
Also, I wanted to do it the lazy way - which is to paint without removing the calipers. I saw some YouTube videos that show how to tape all around the caliper and how to cover the wheel assembly with a garbage bag. But once I removed the rear wheels, I saw how exposed were the backside of brake pads and also, there were sliding clips on the calipers! I couldn't just paint over everything and hope it'll turn out nice. So, I decided to remove everything and do a good job. I said to myself that the front would be much easier since it's just one big piece. But same story there, once I removed the wheels and looked at it closer, I couldn't find a good way to tape everything nicely... well maybe I could have, but the job wouldn't turn out that nice (in my opinion).
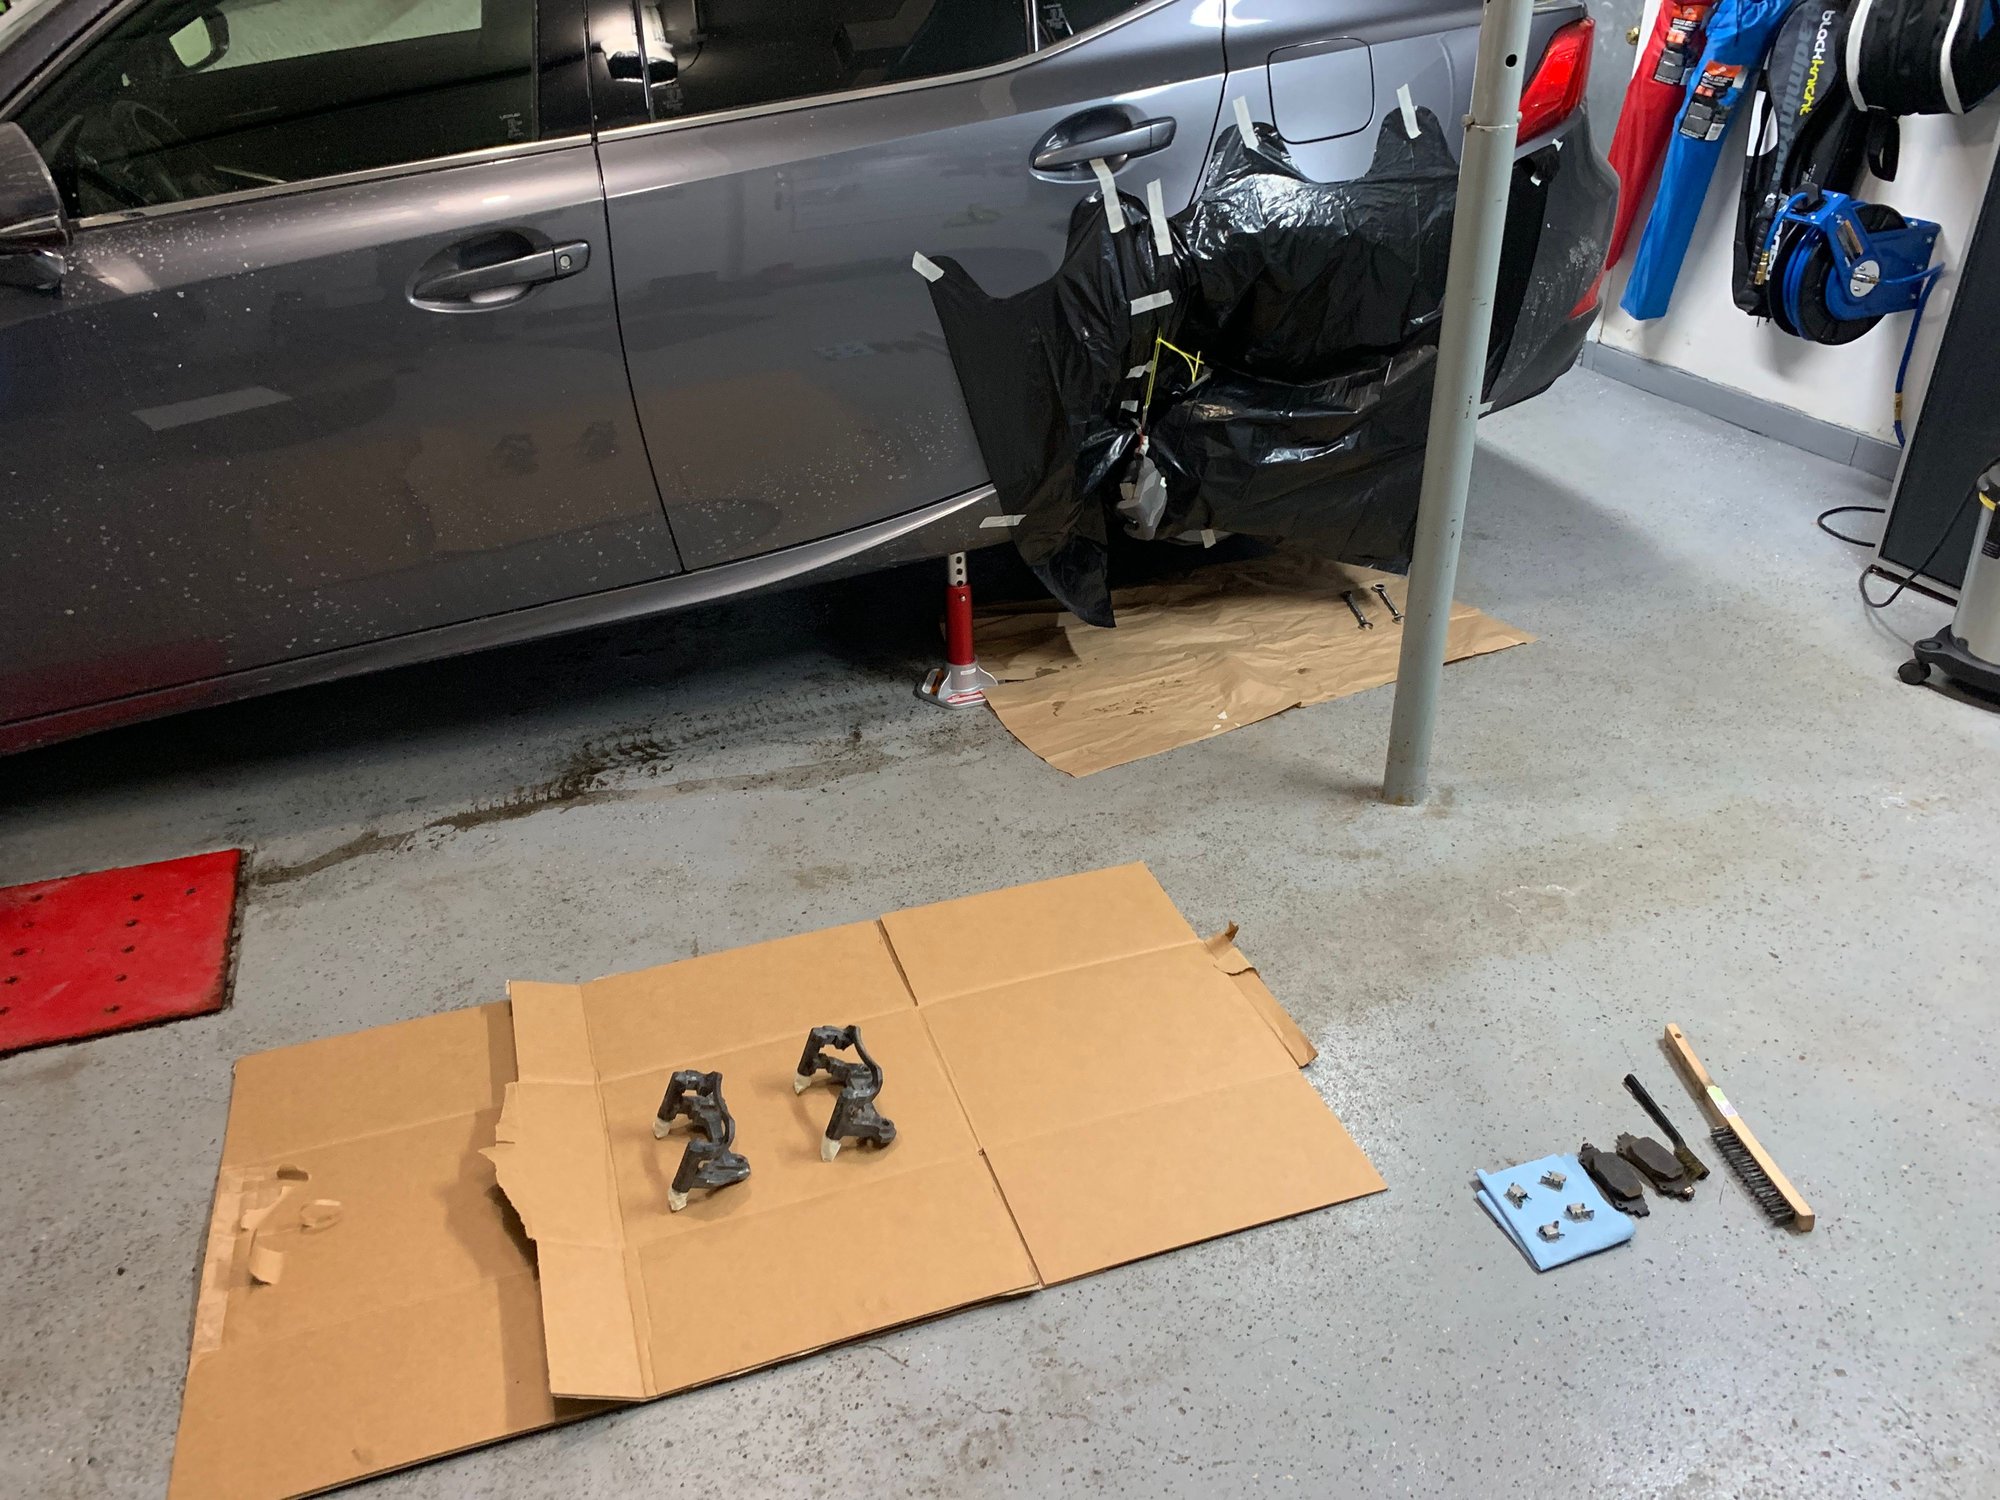
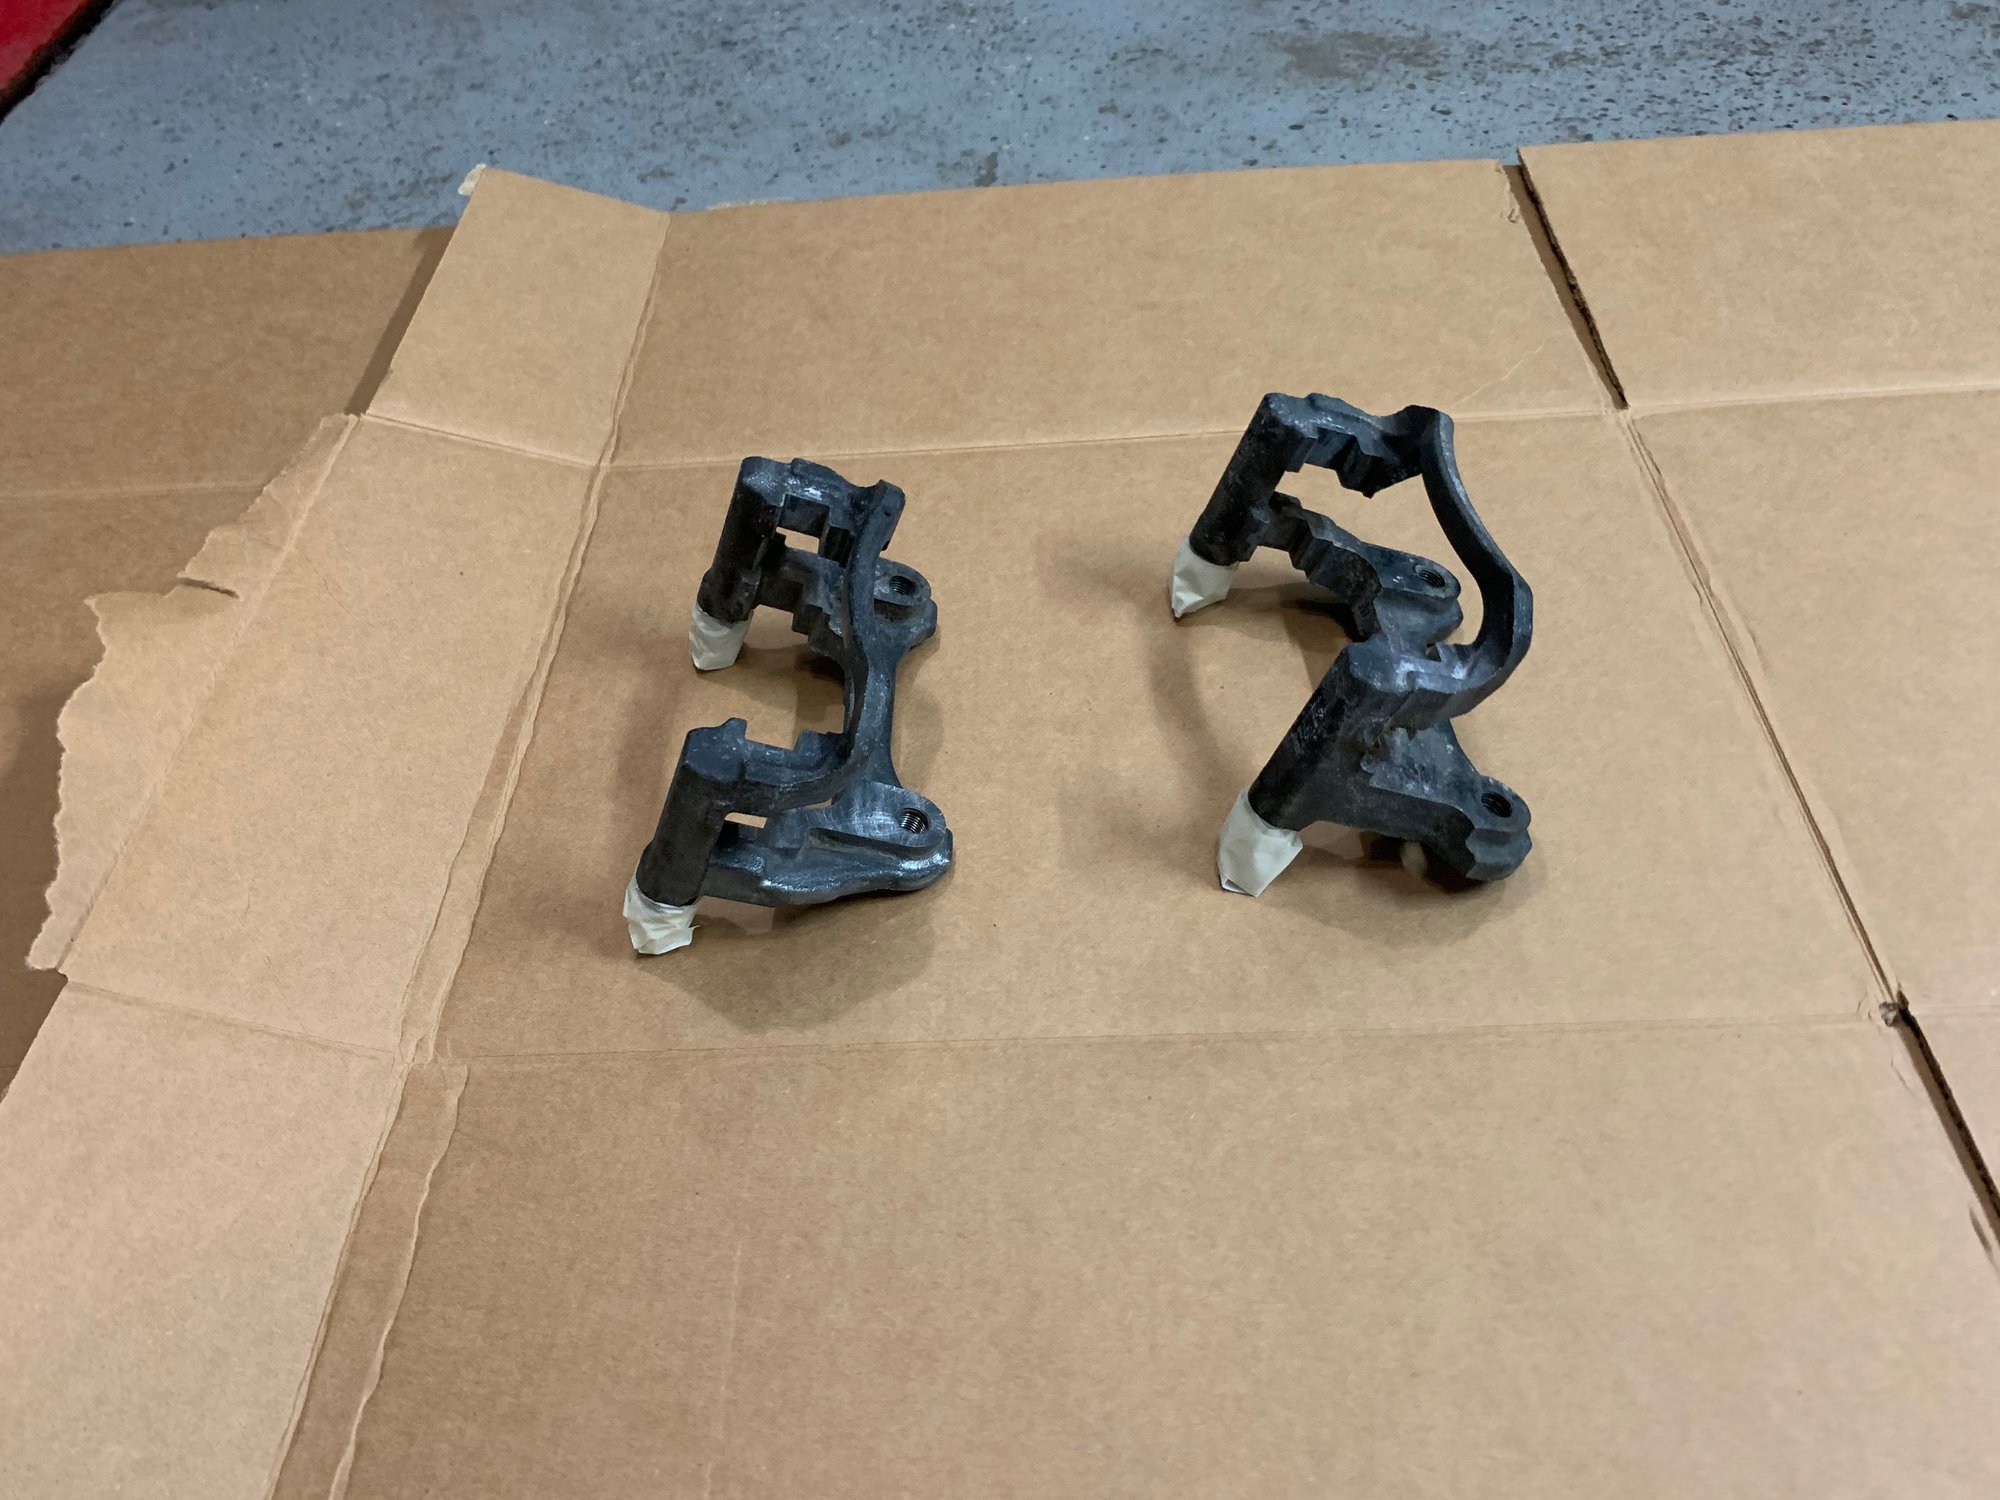
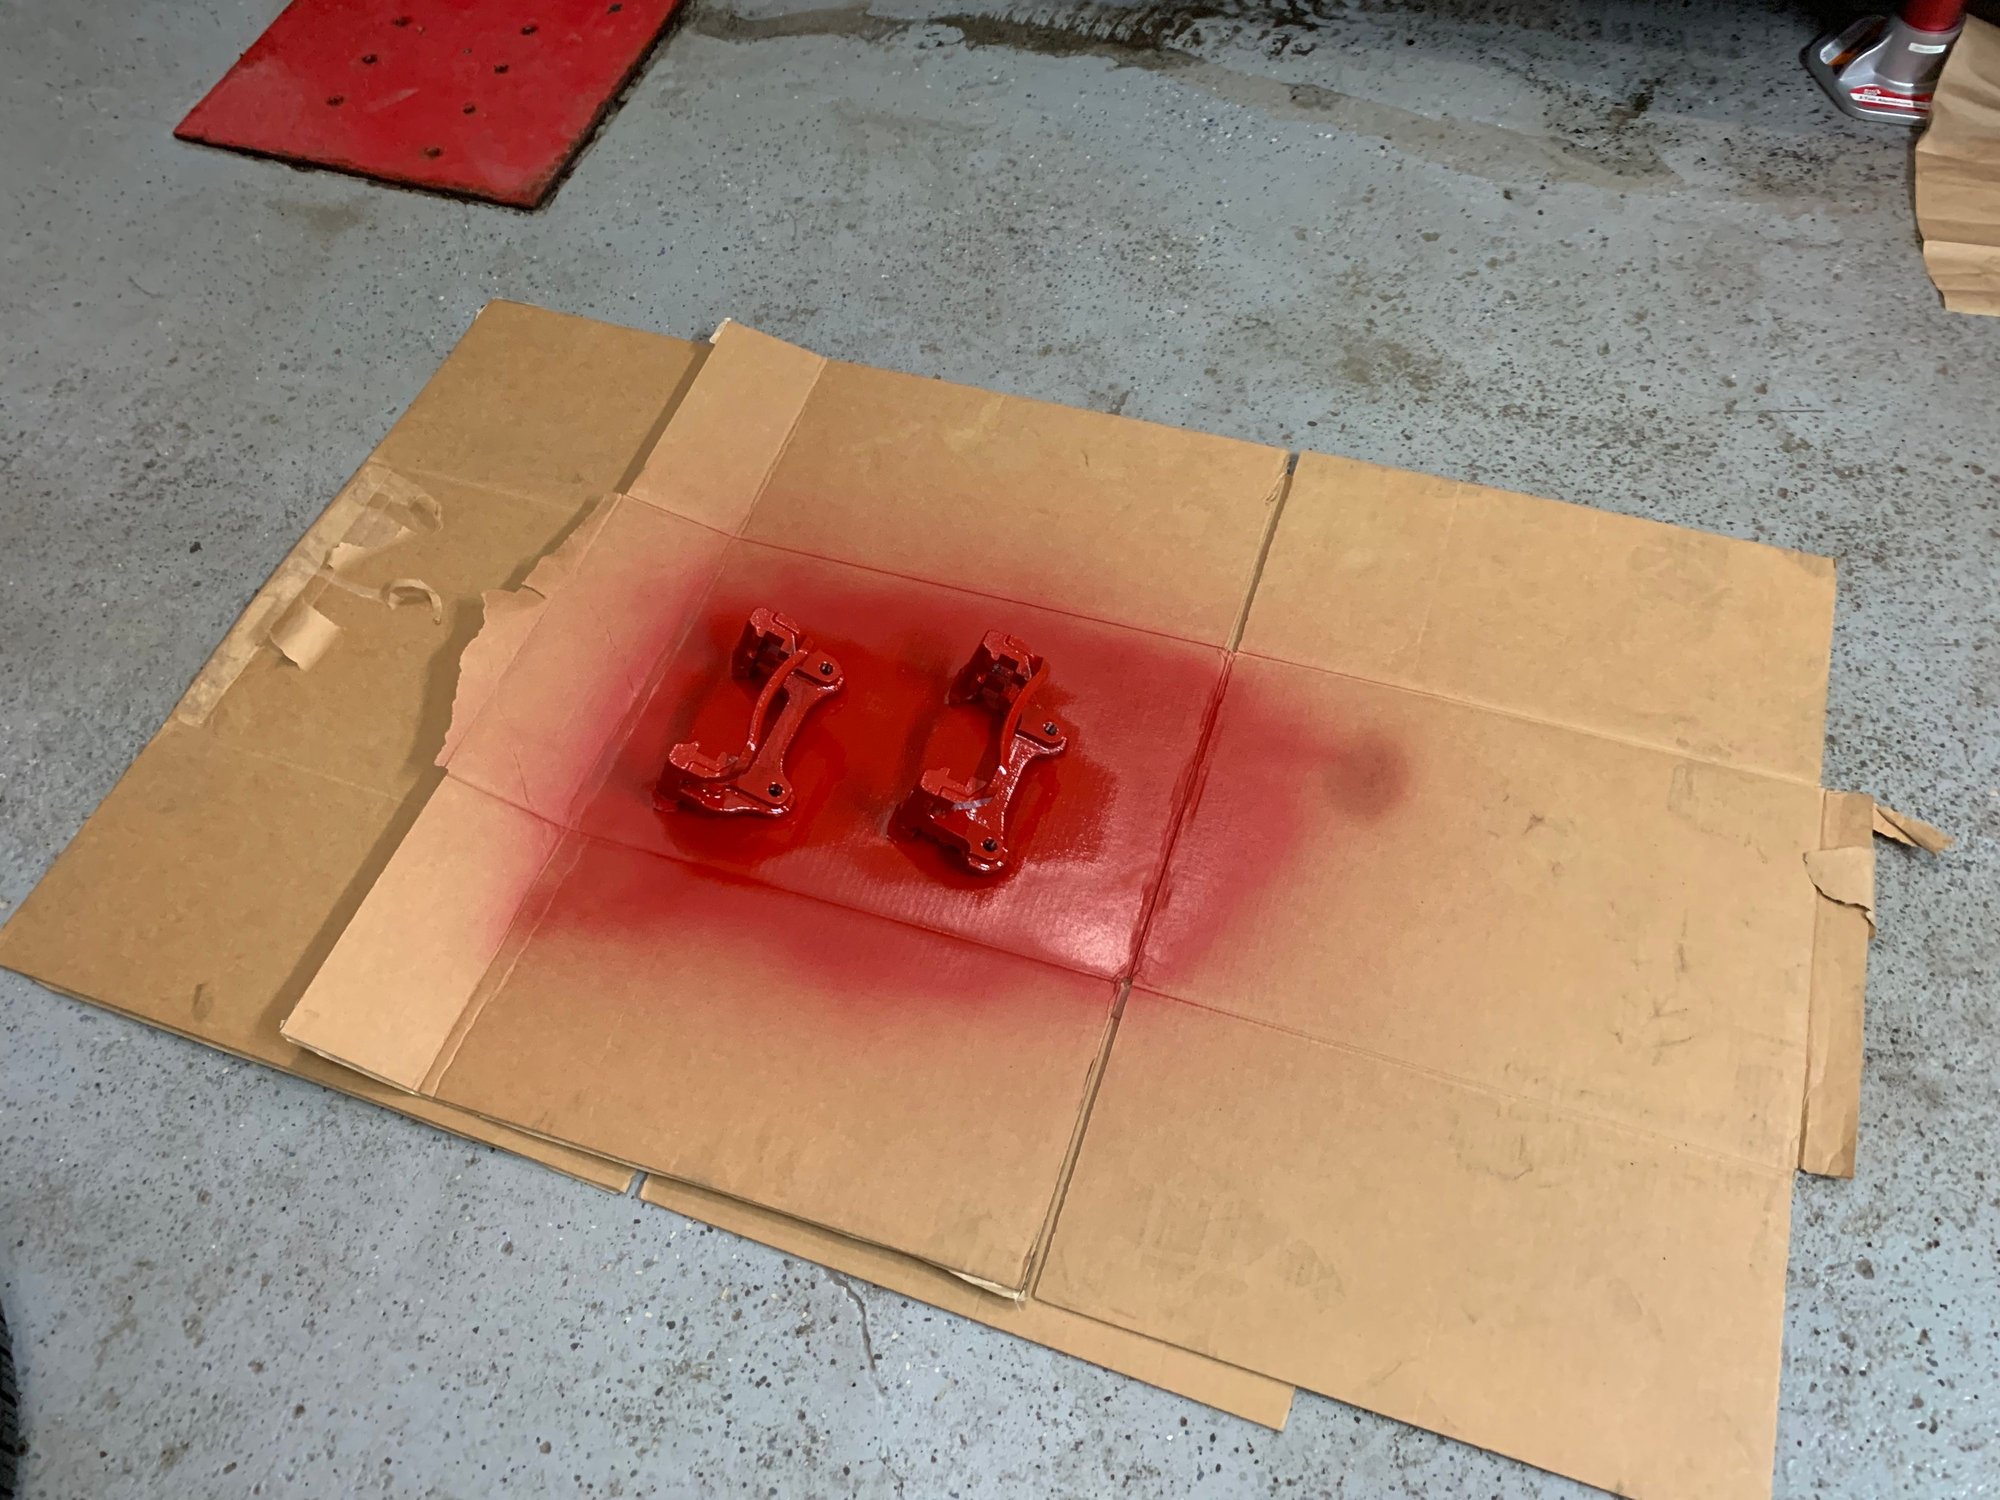
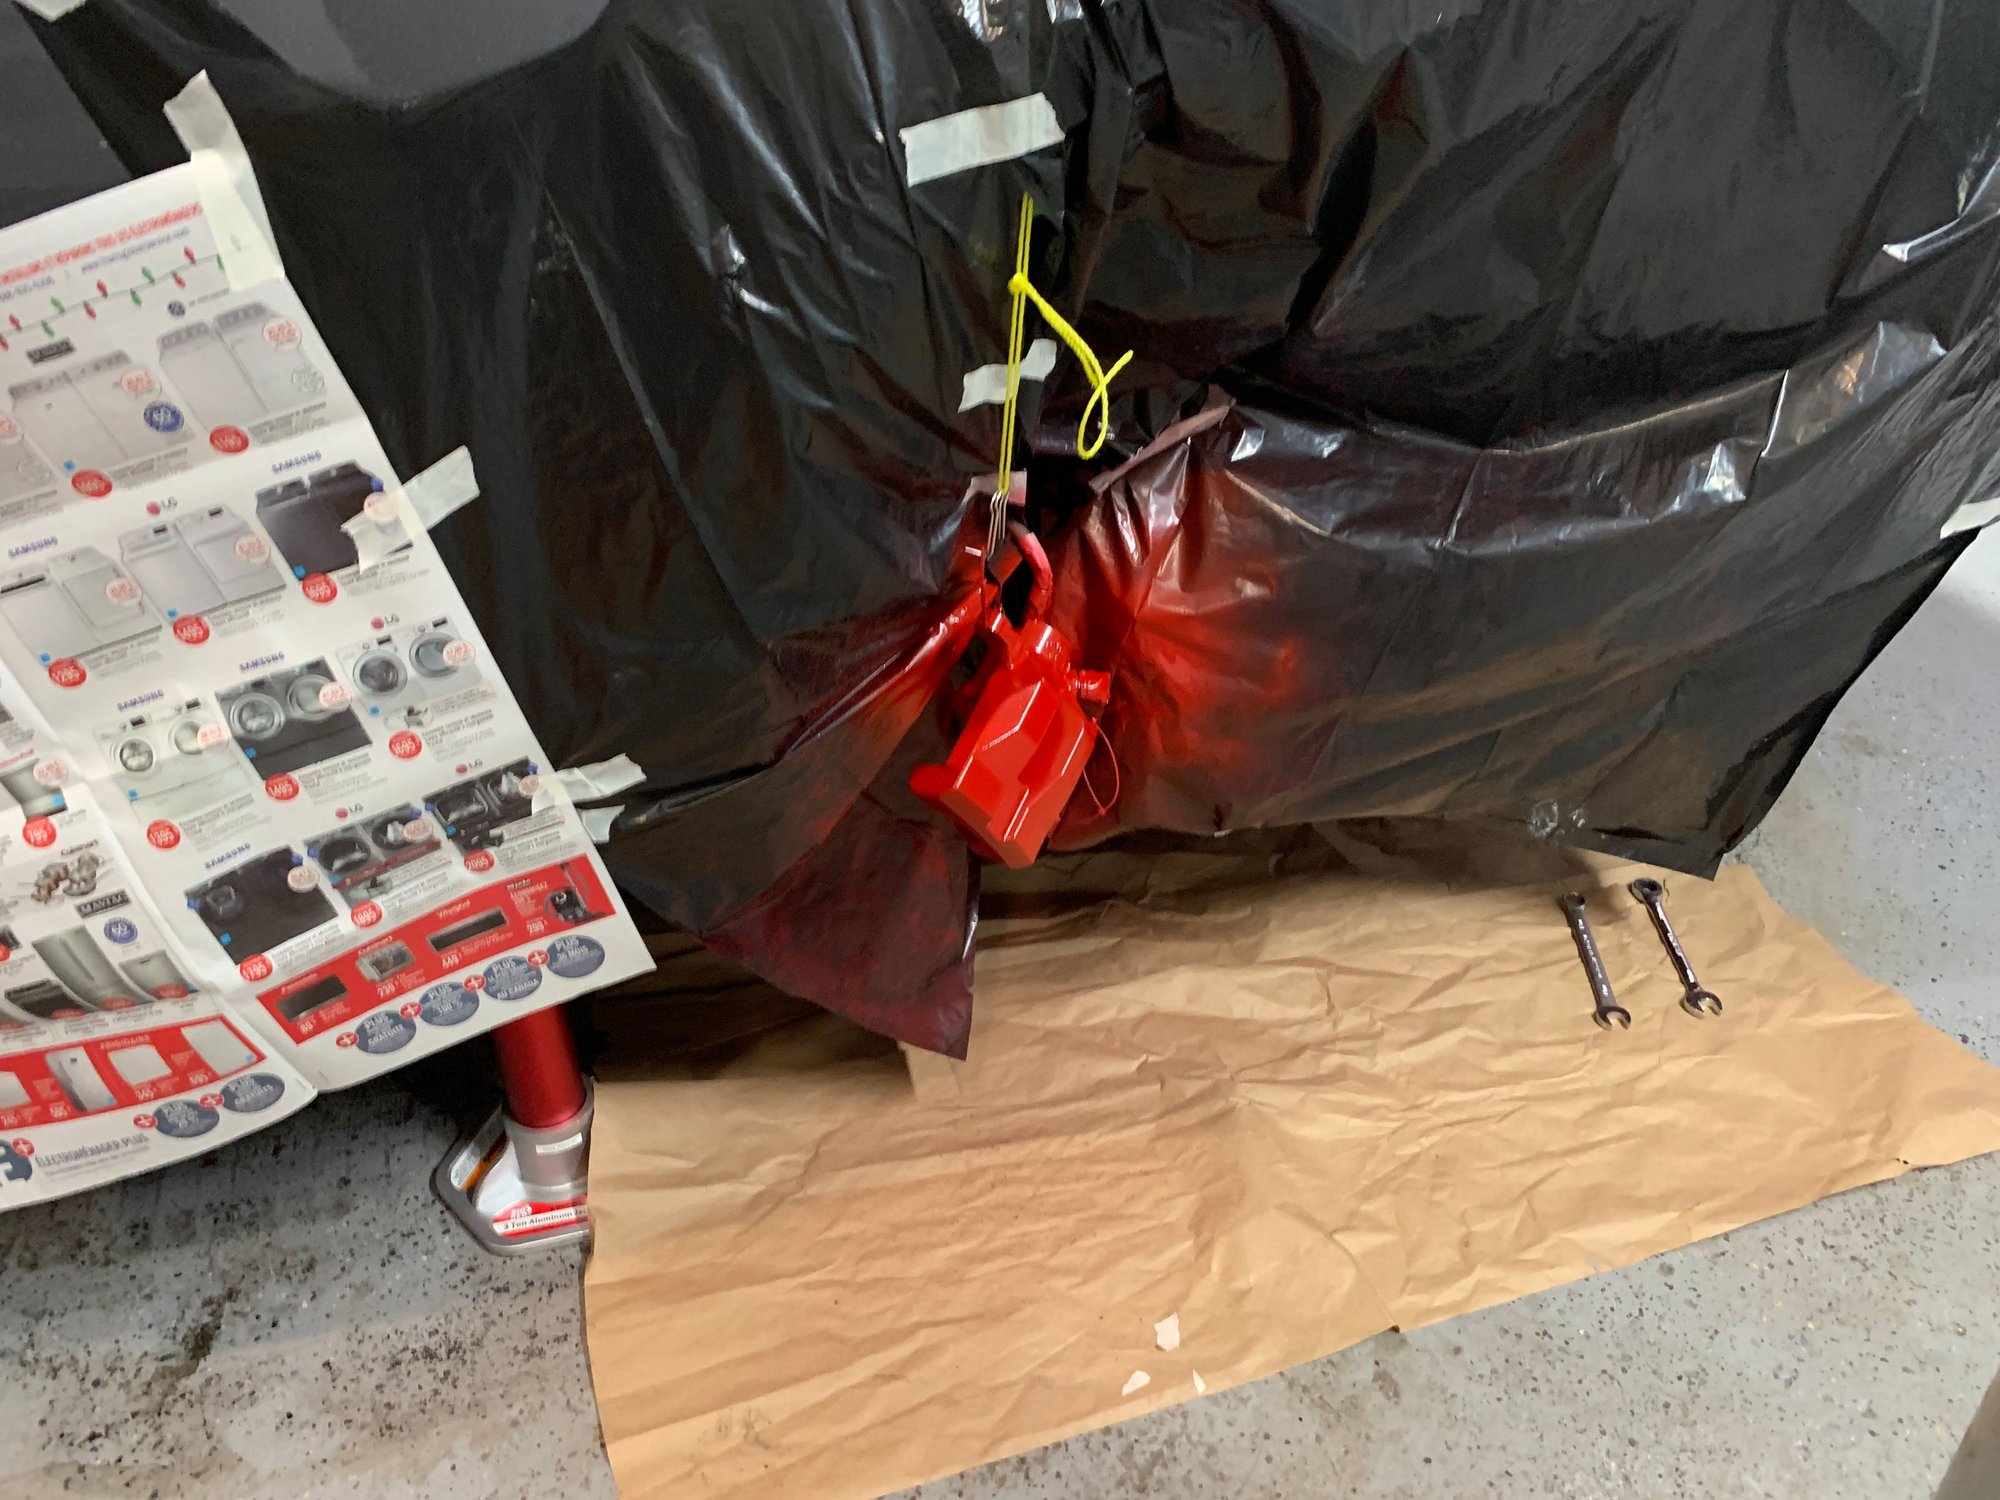
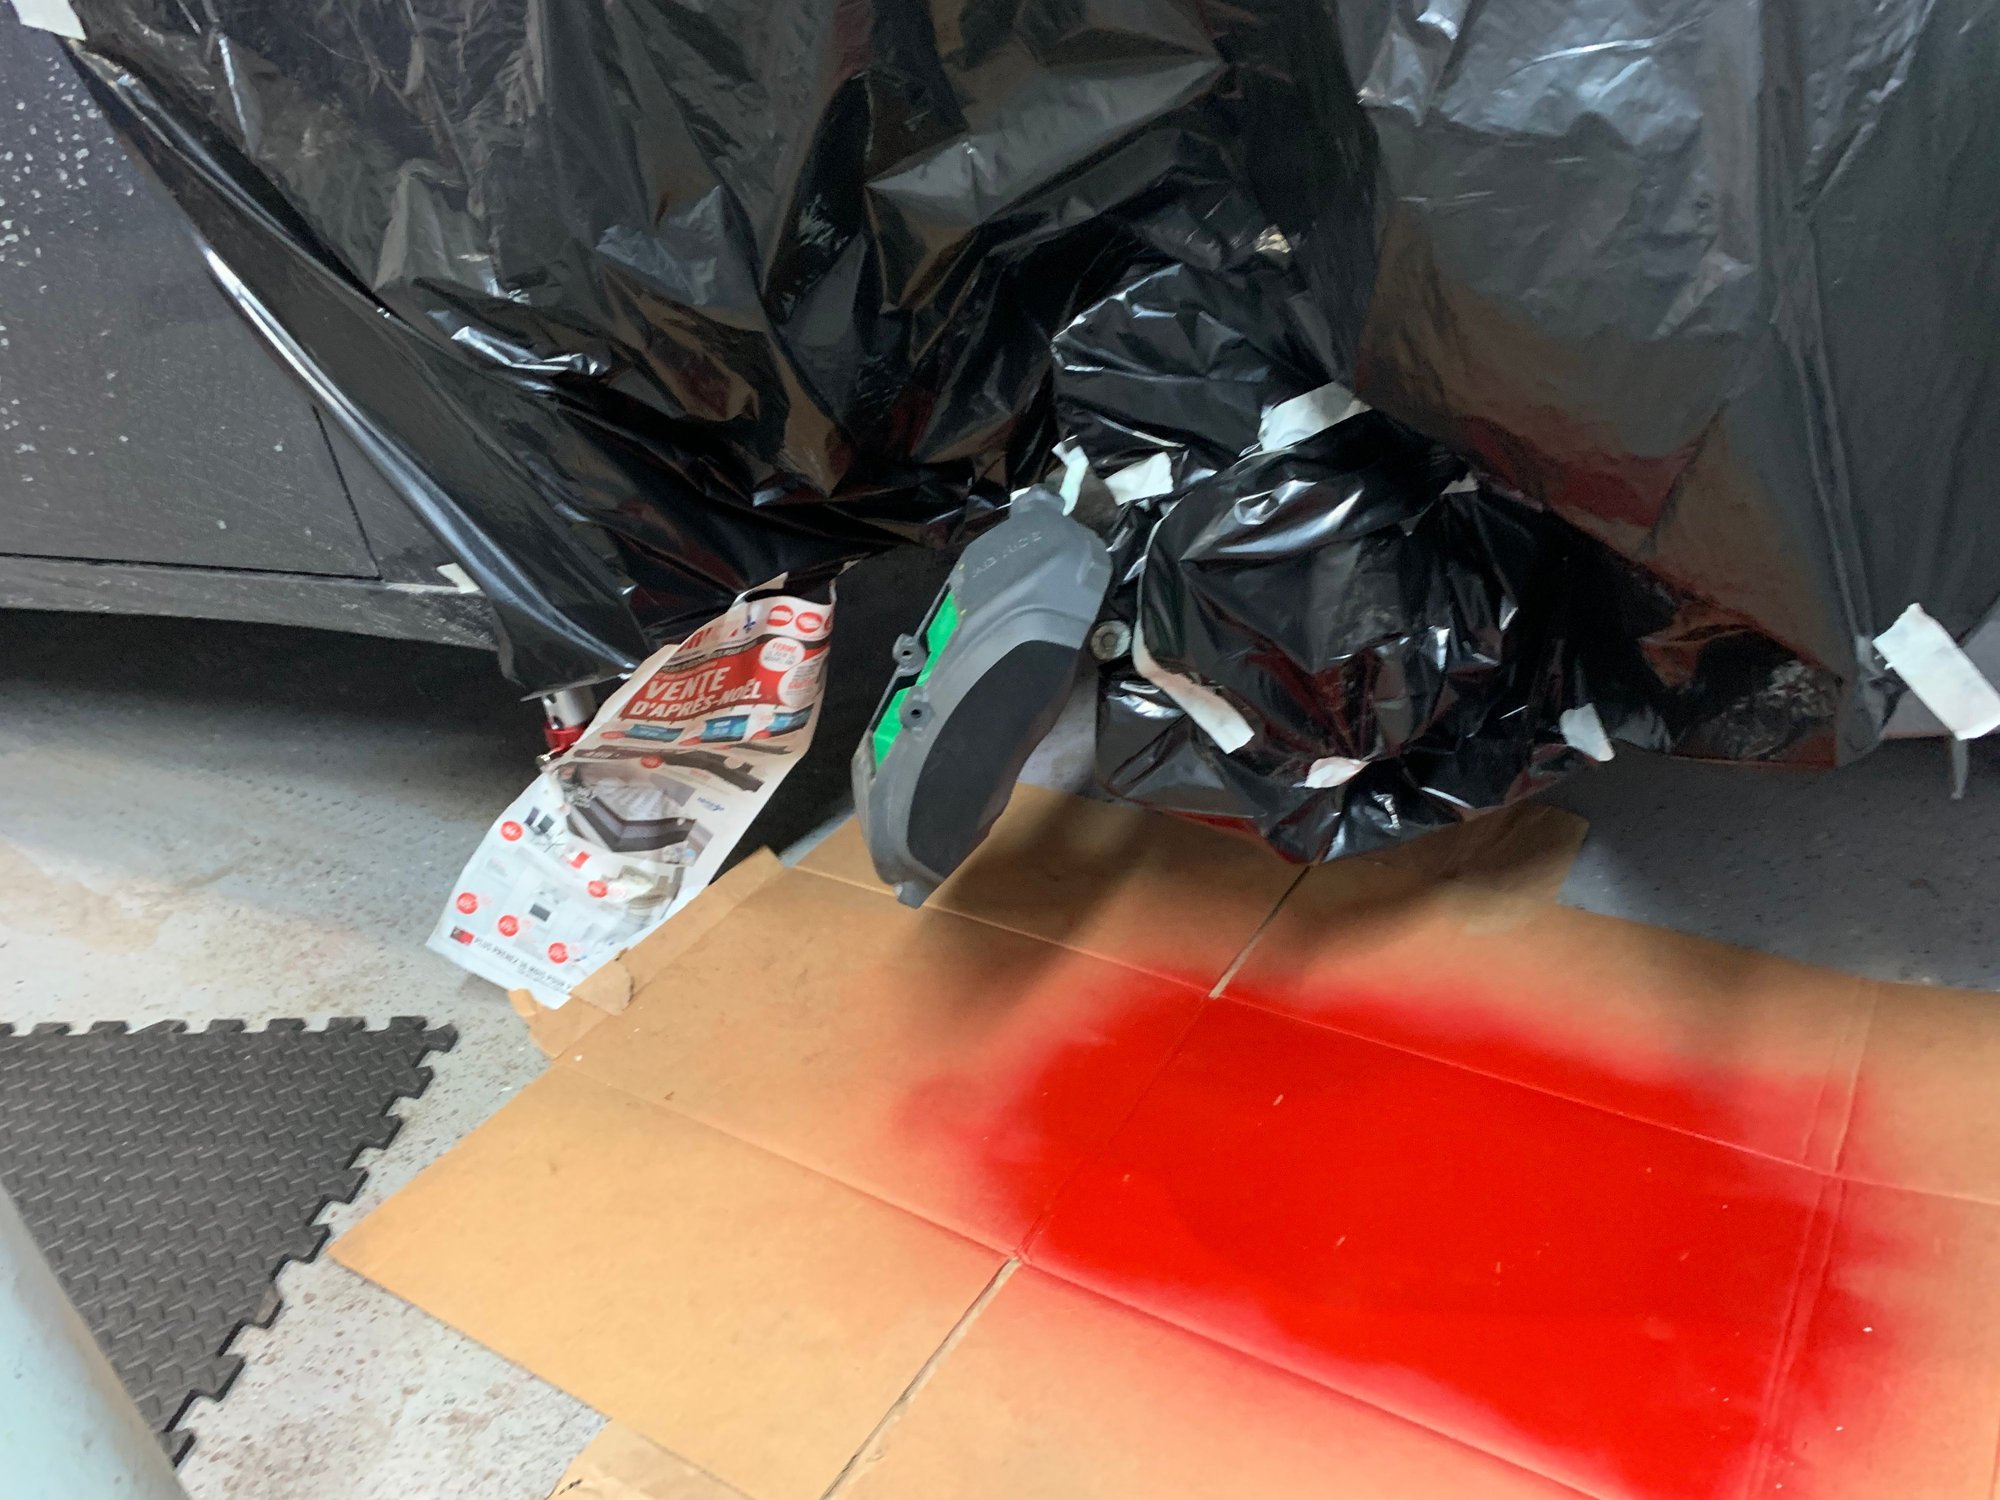
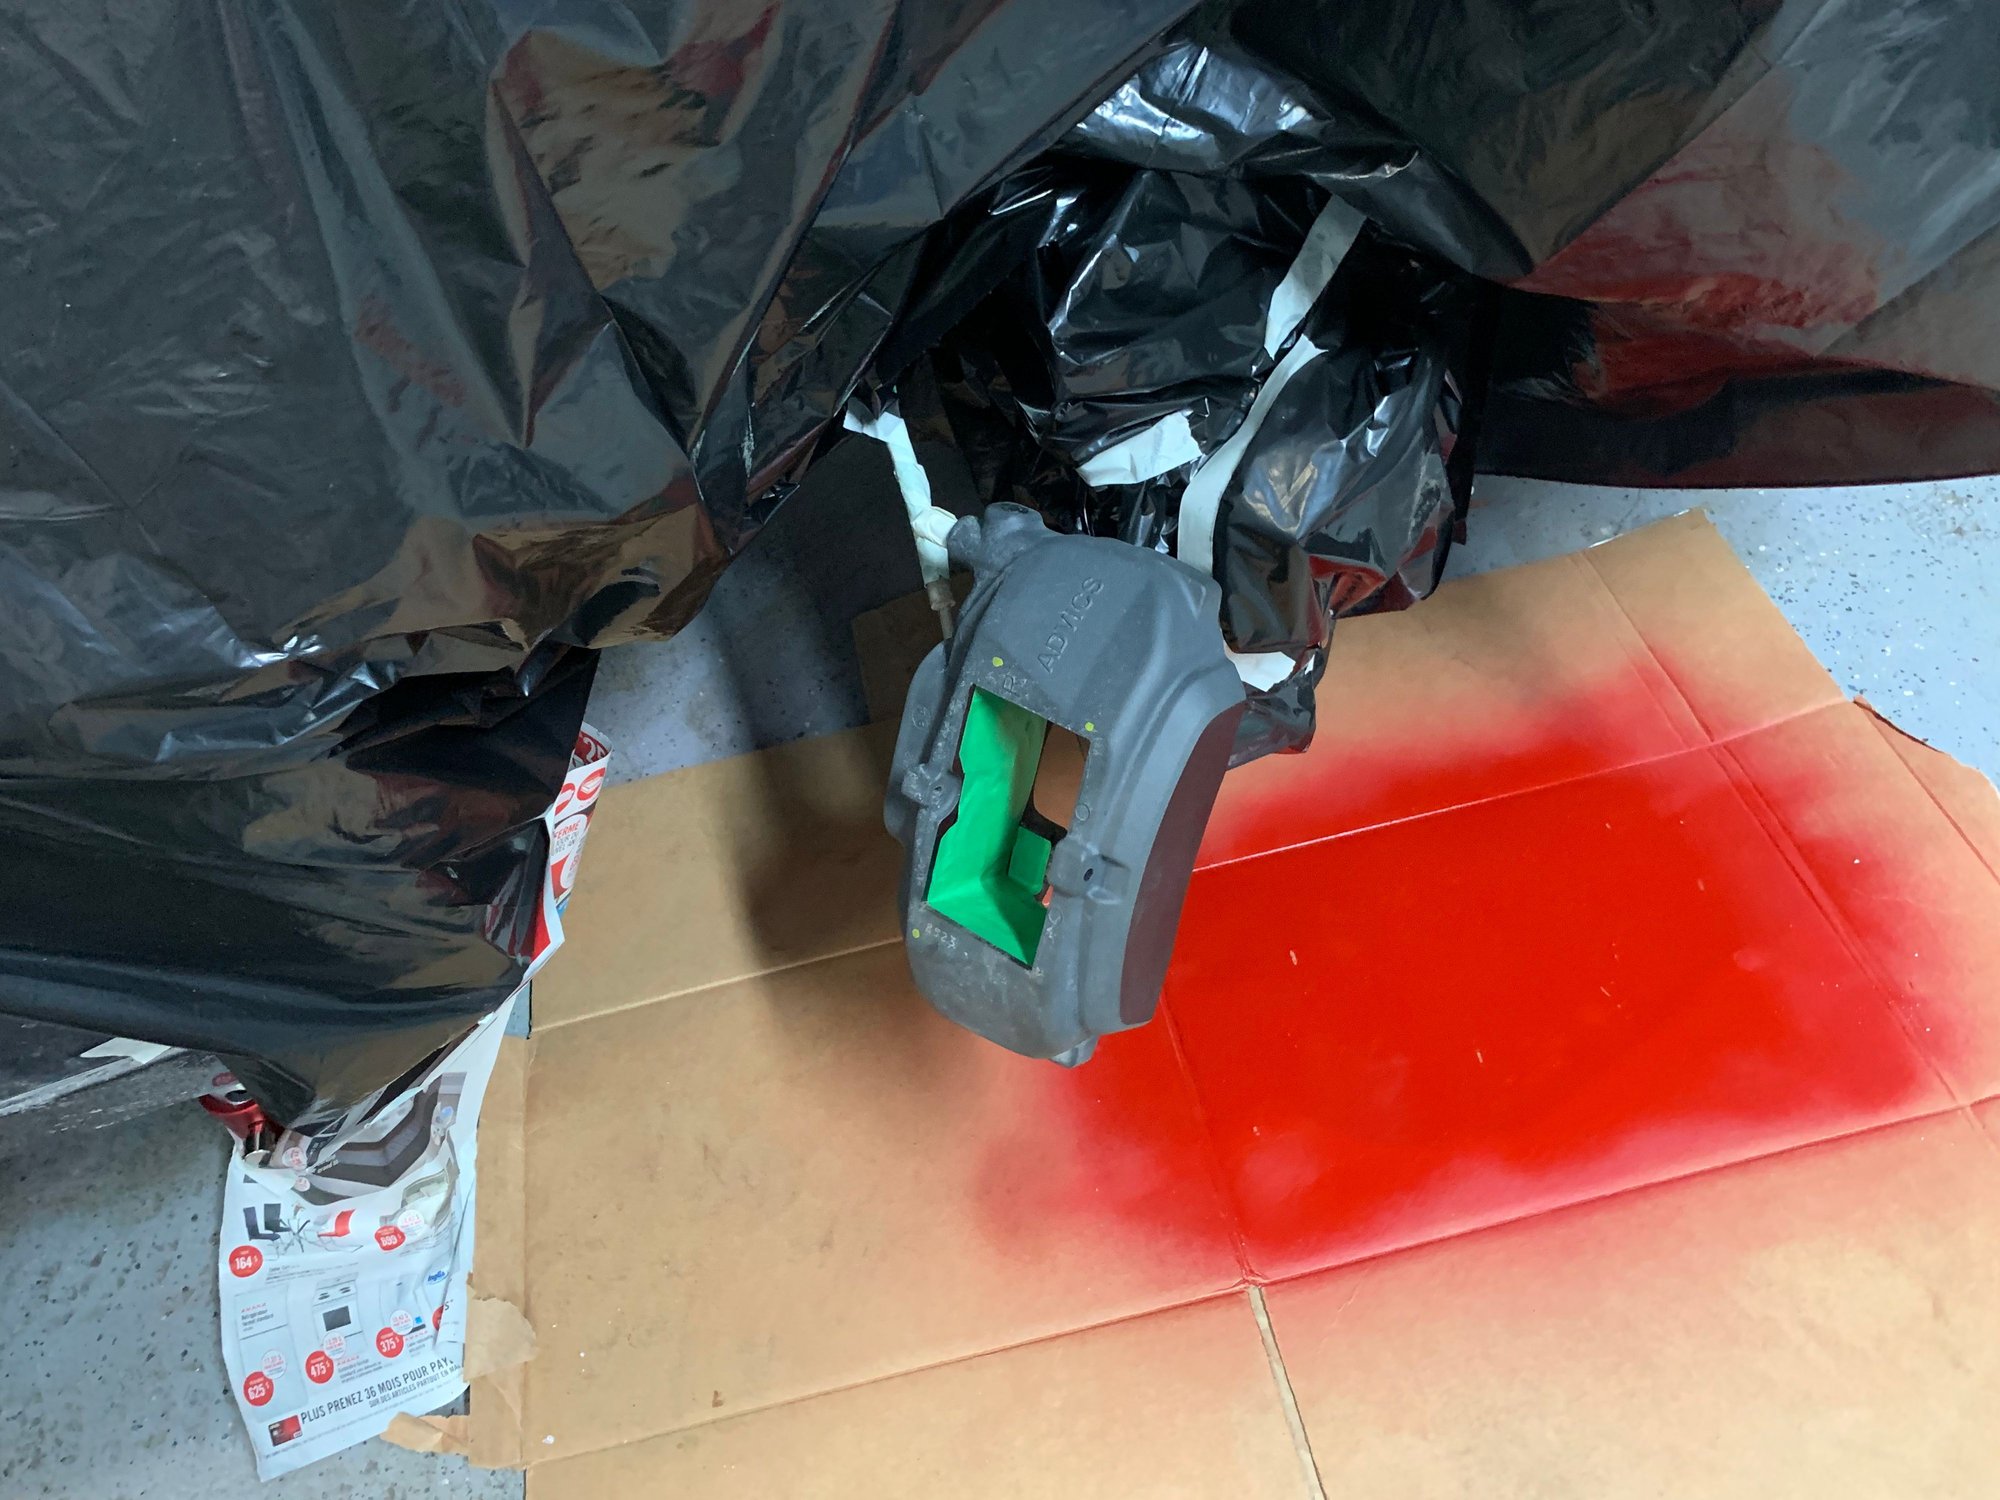
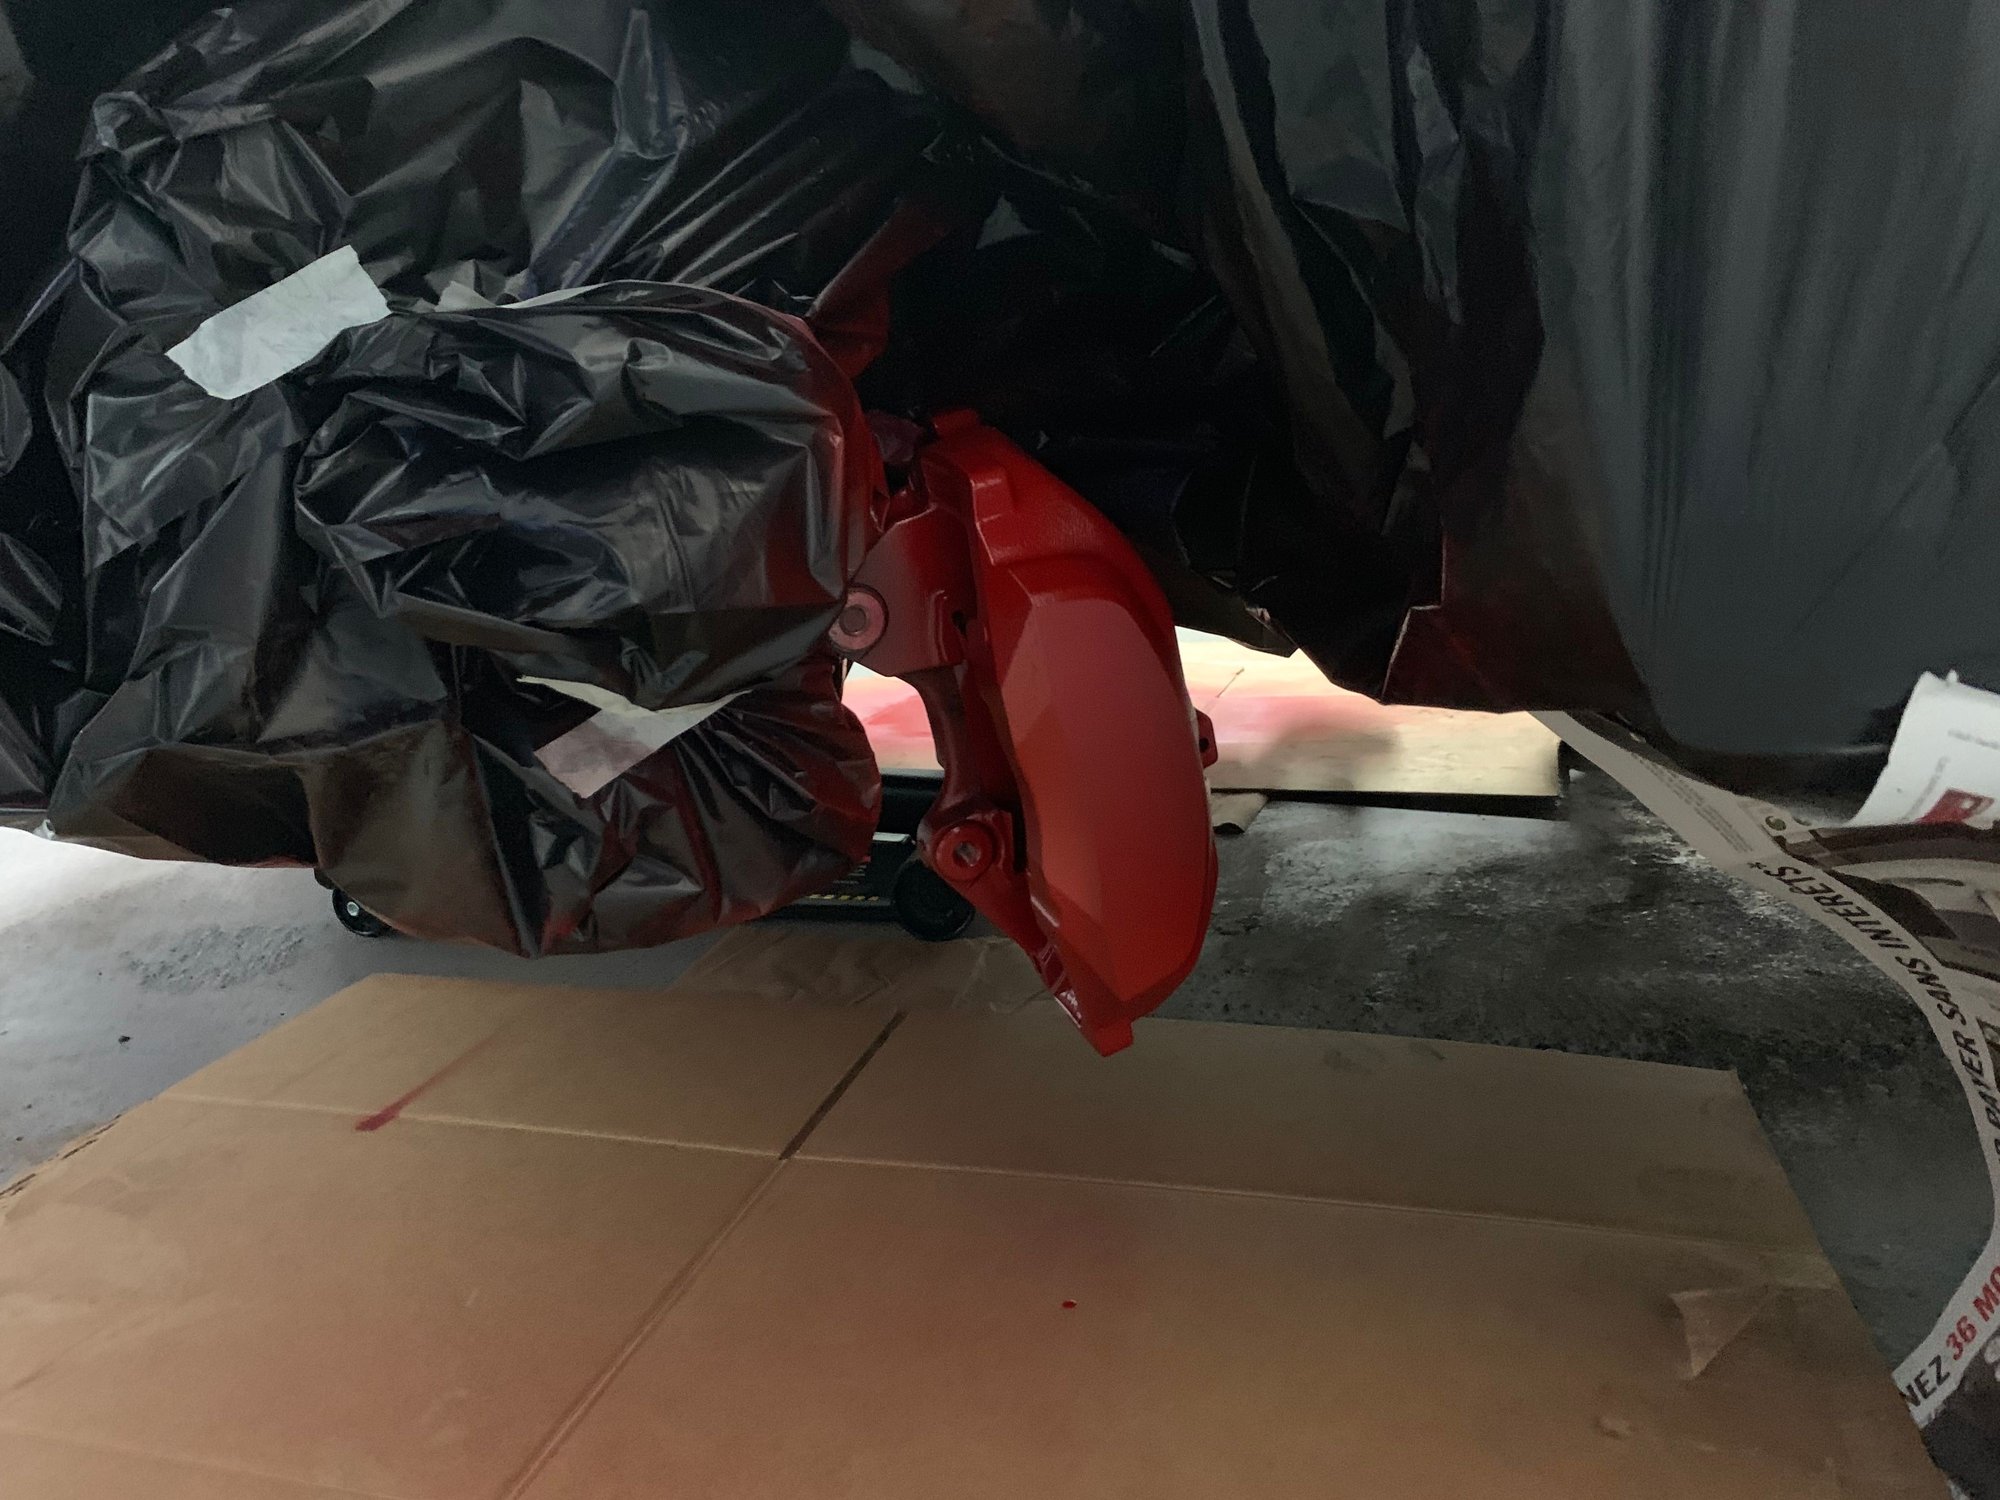
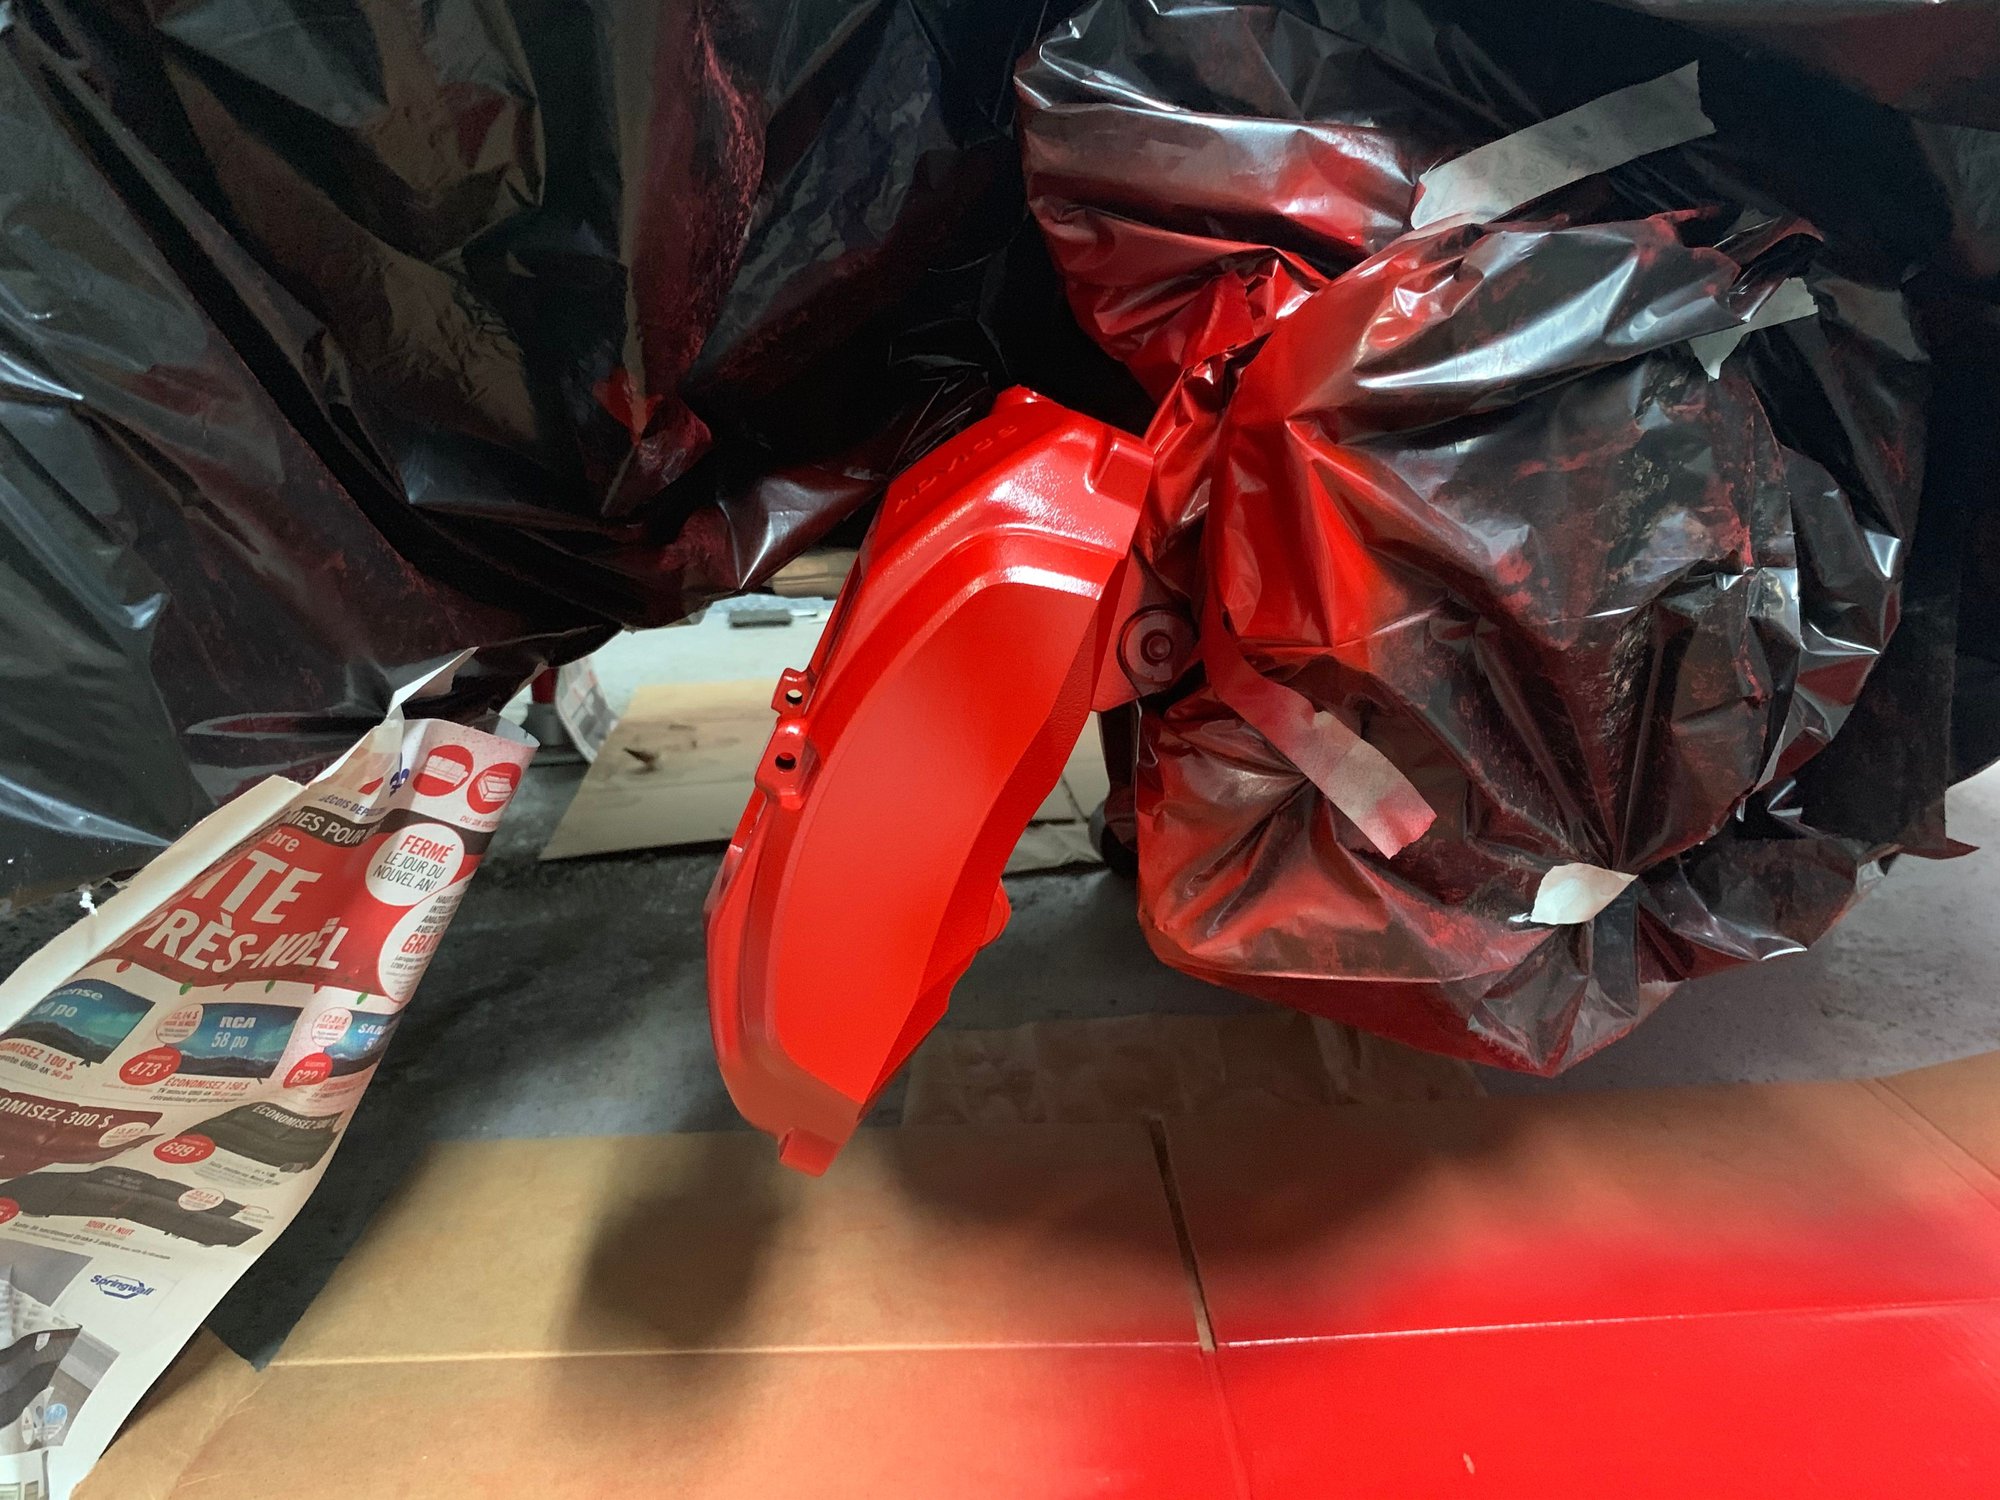
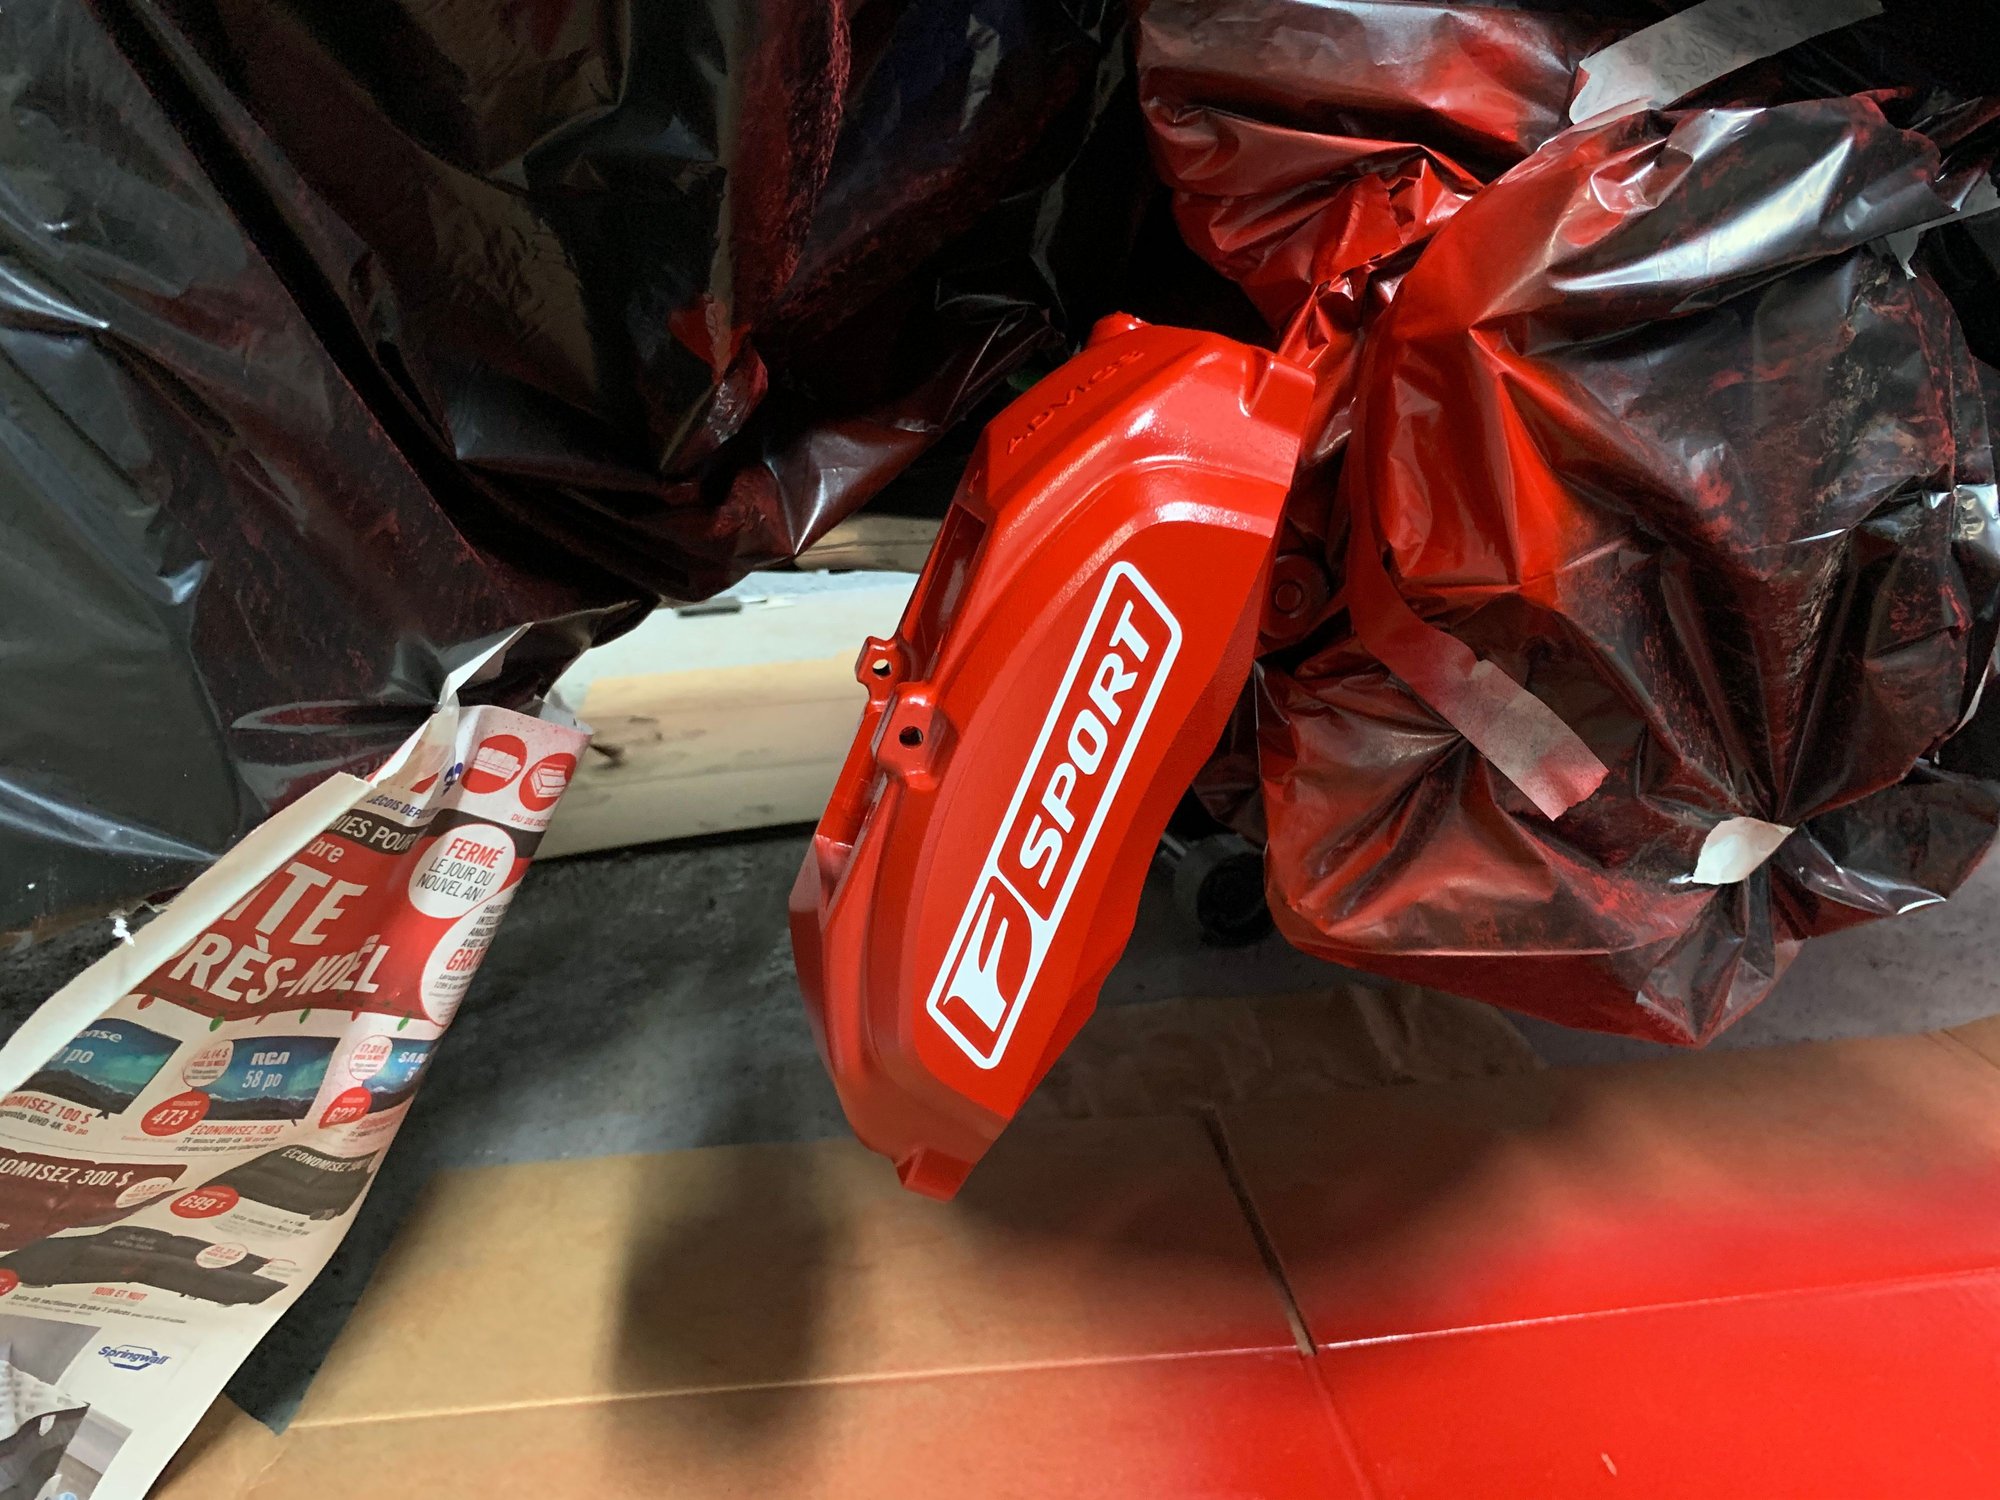
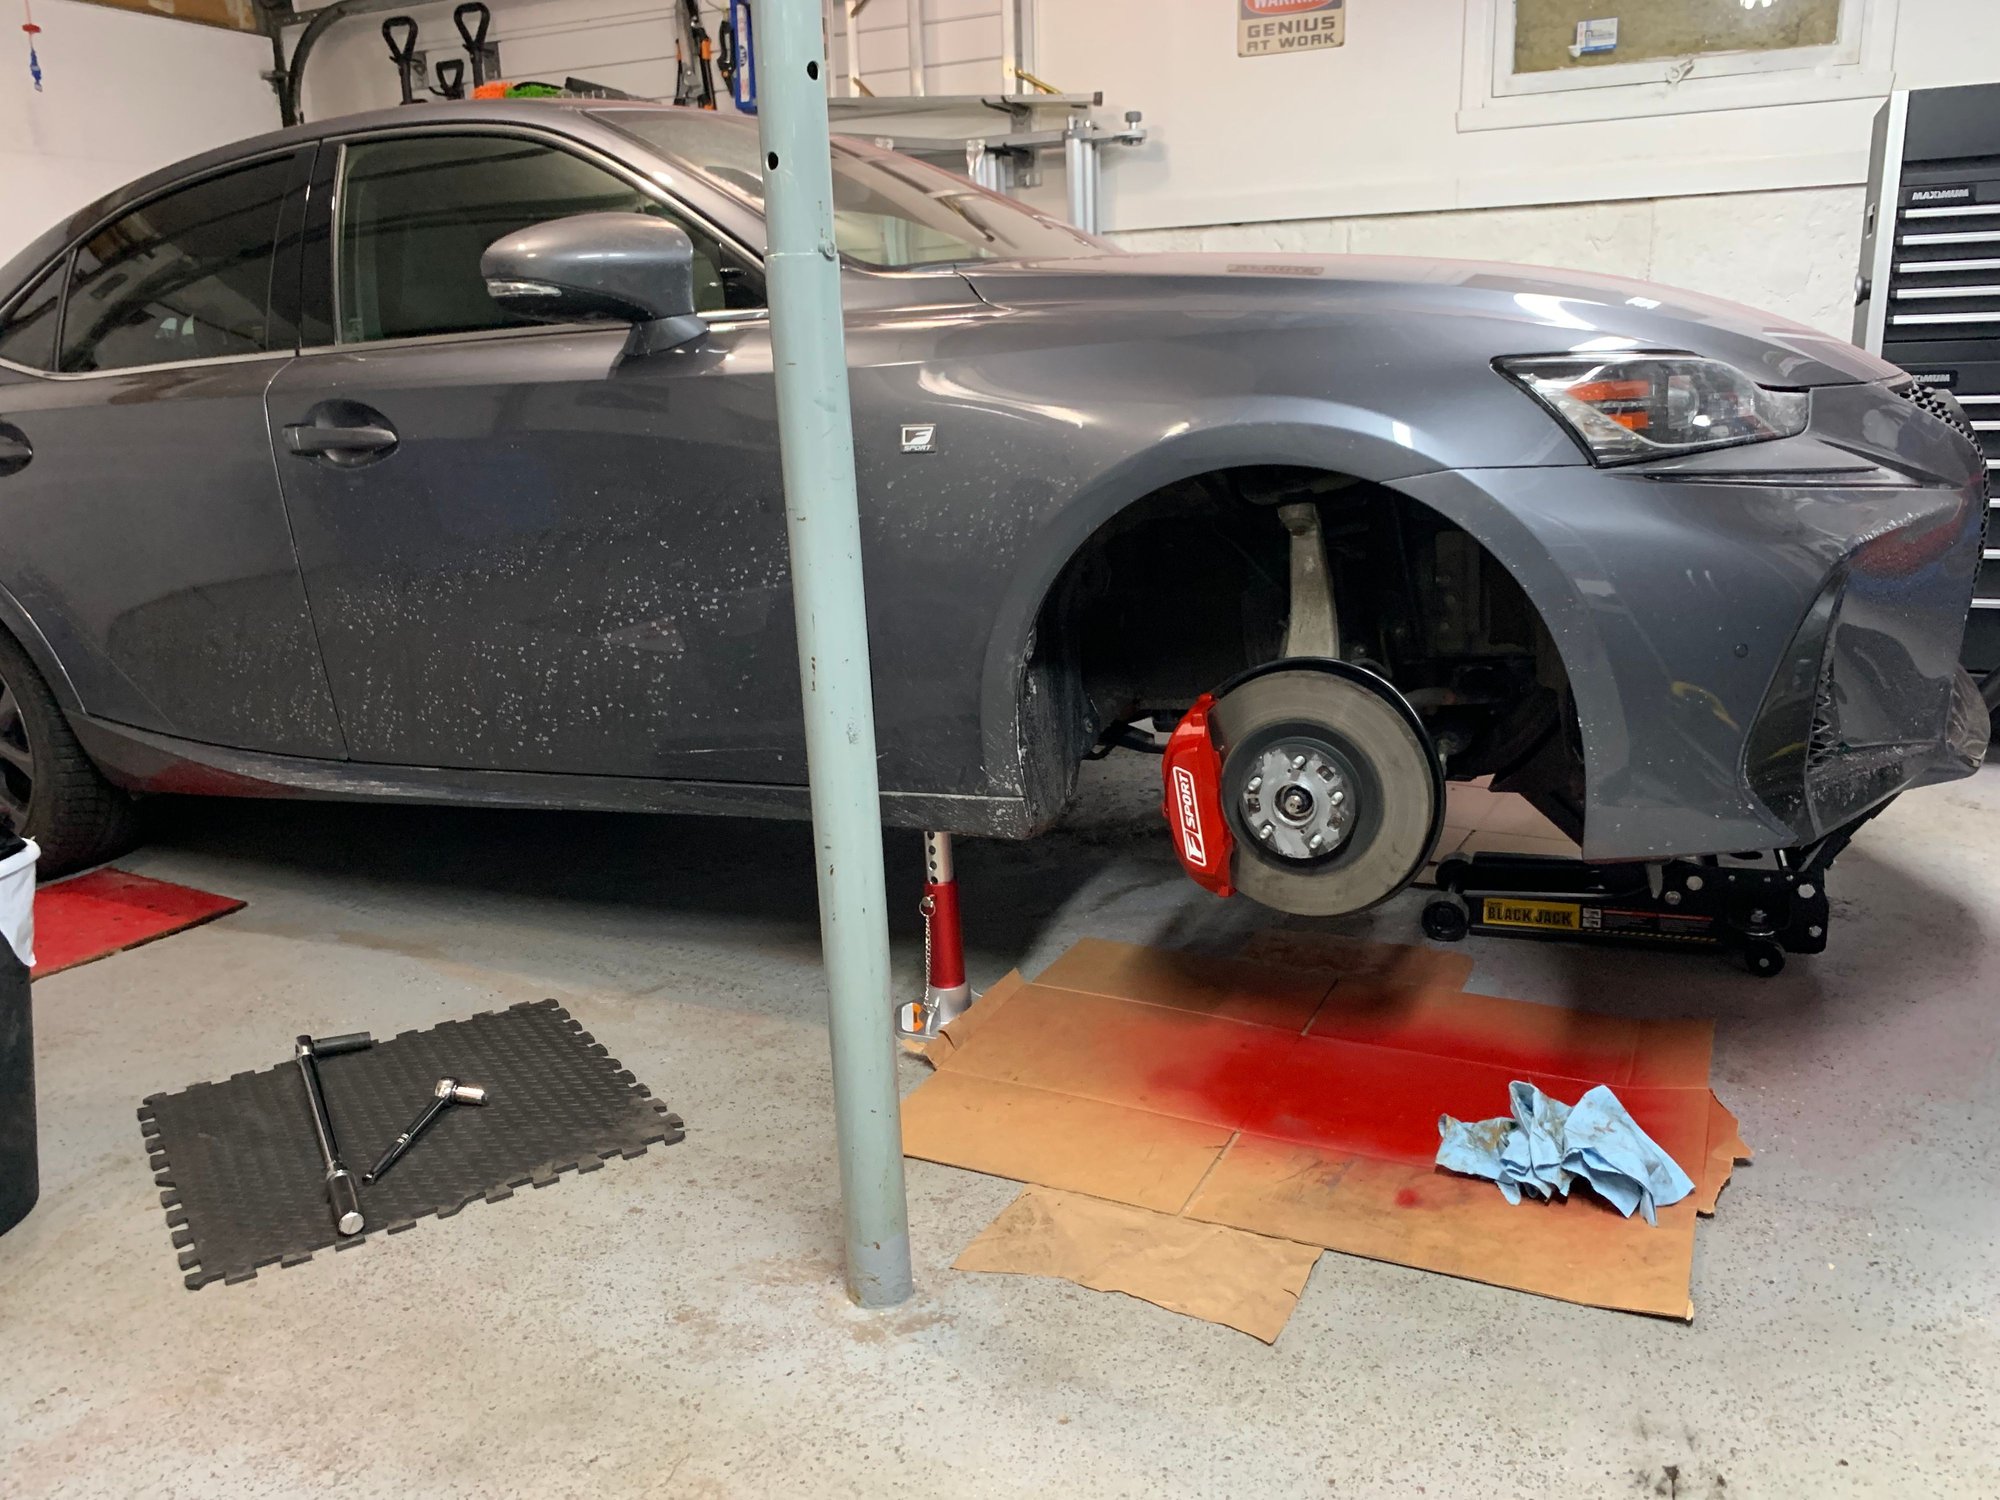
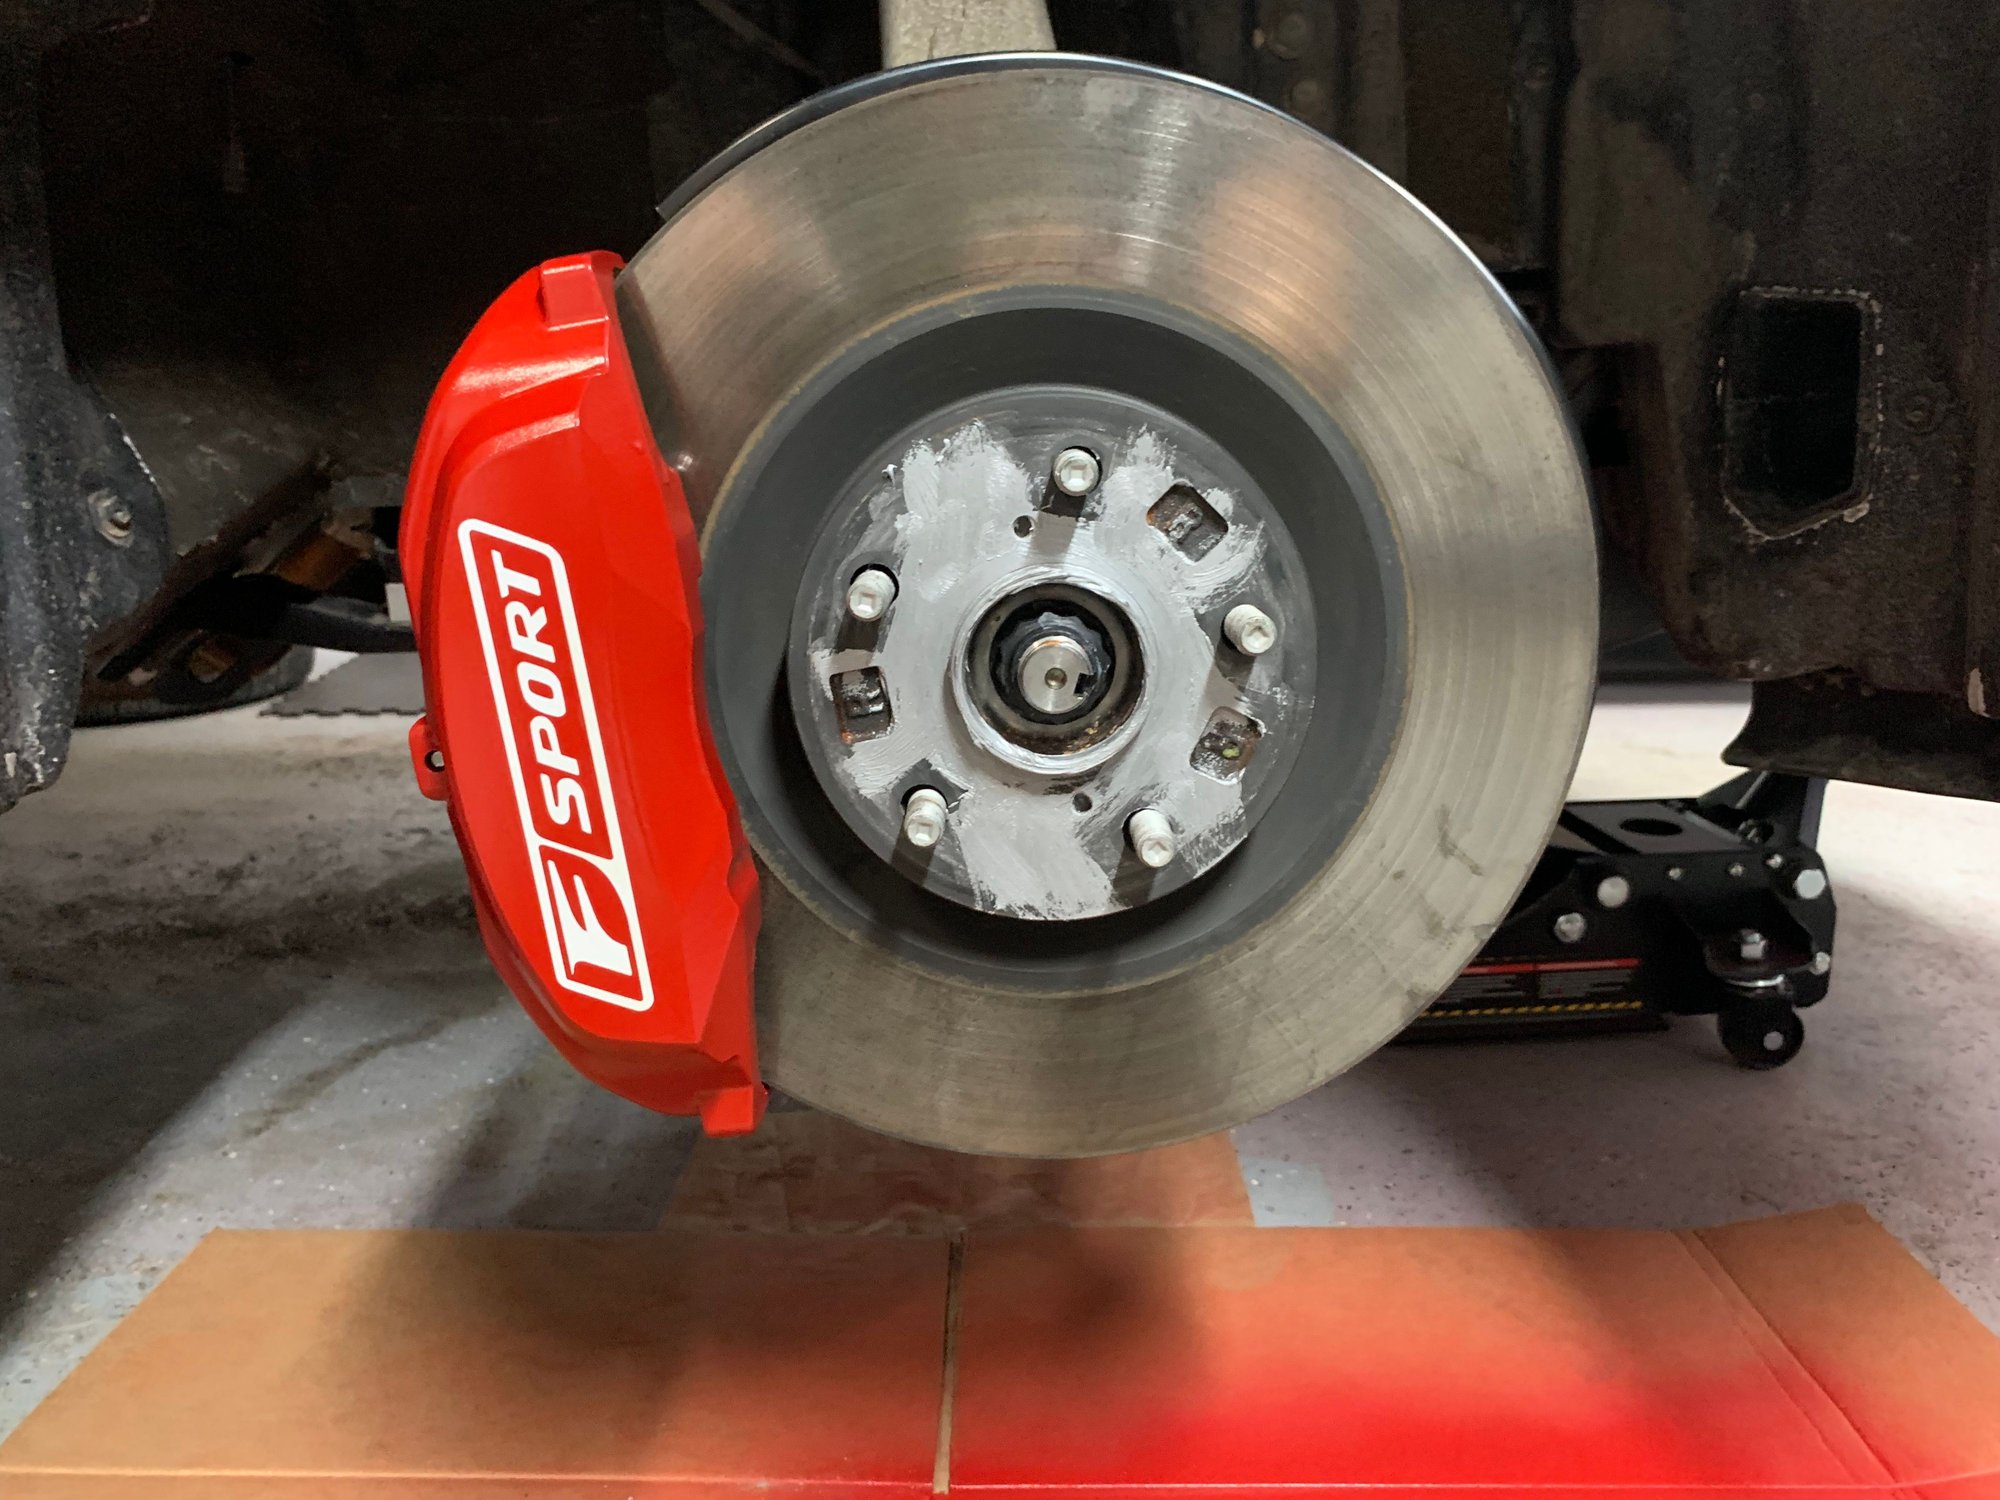
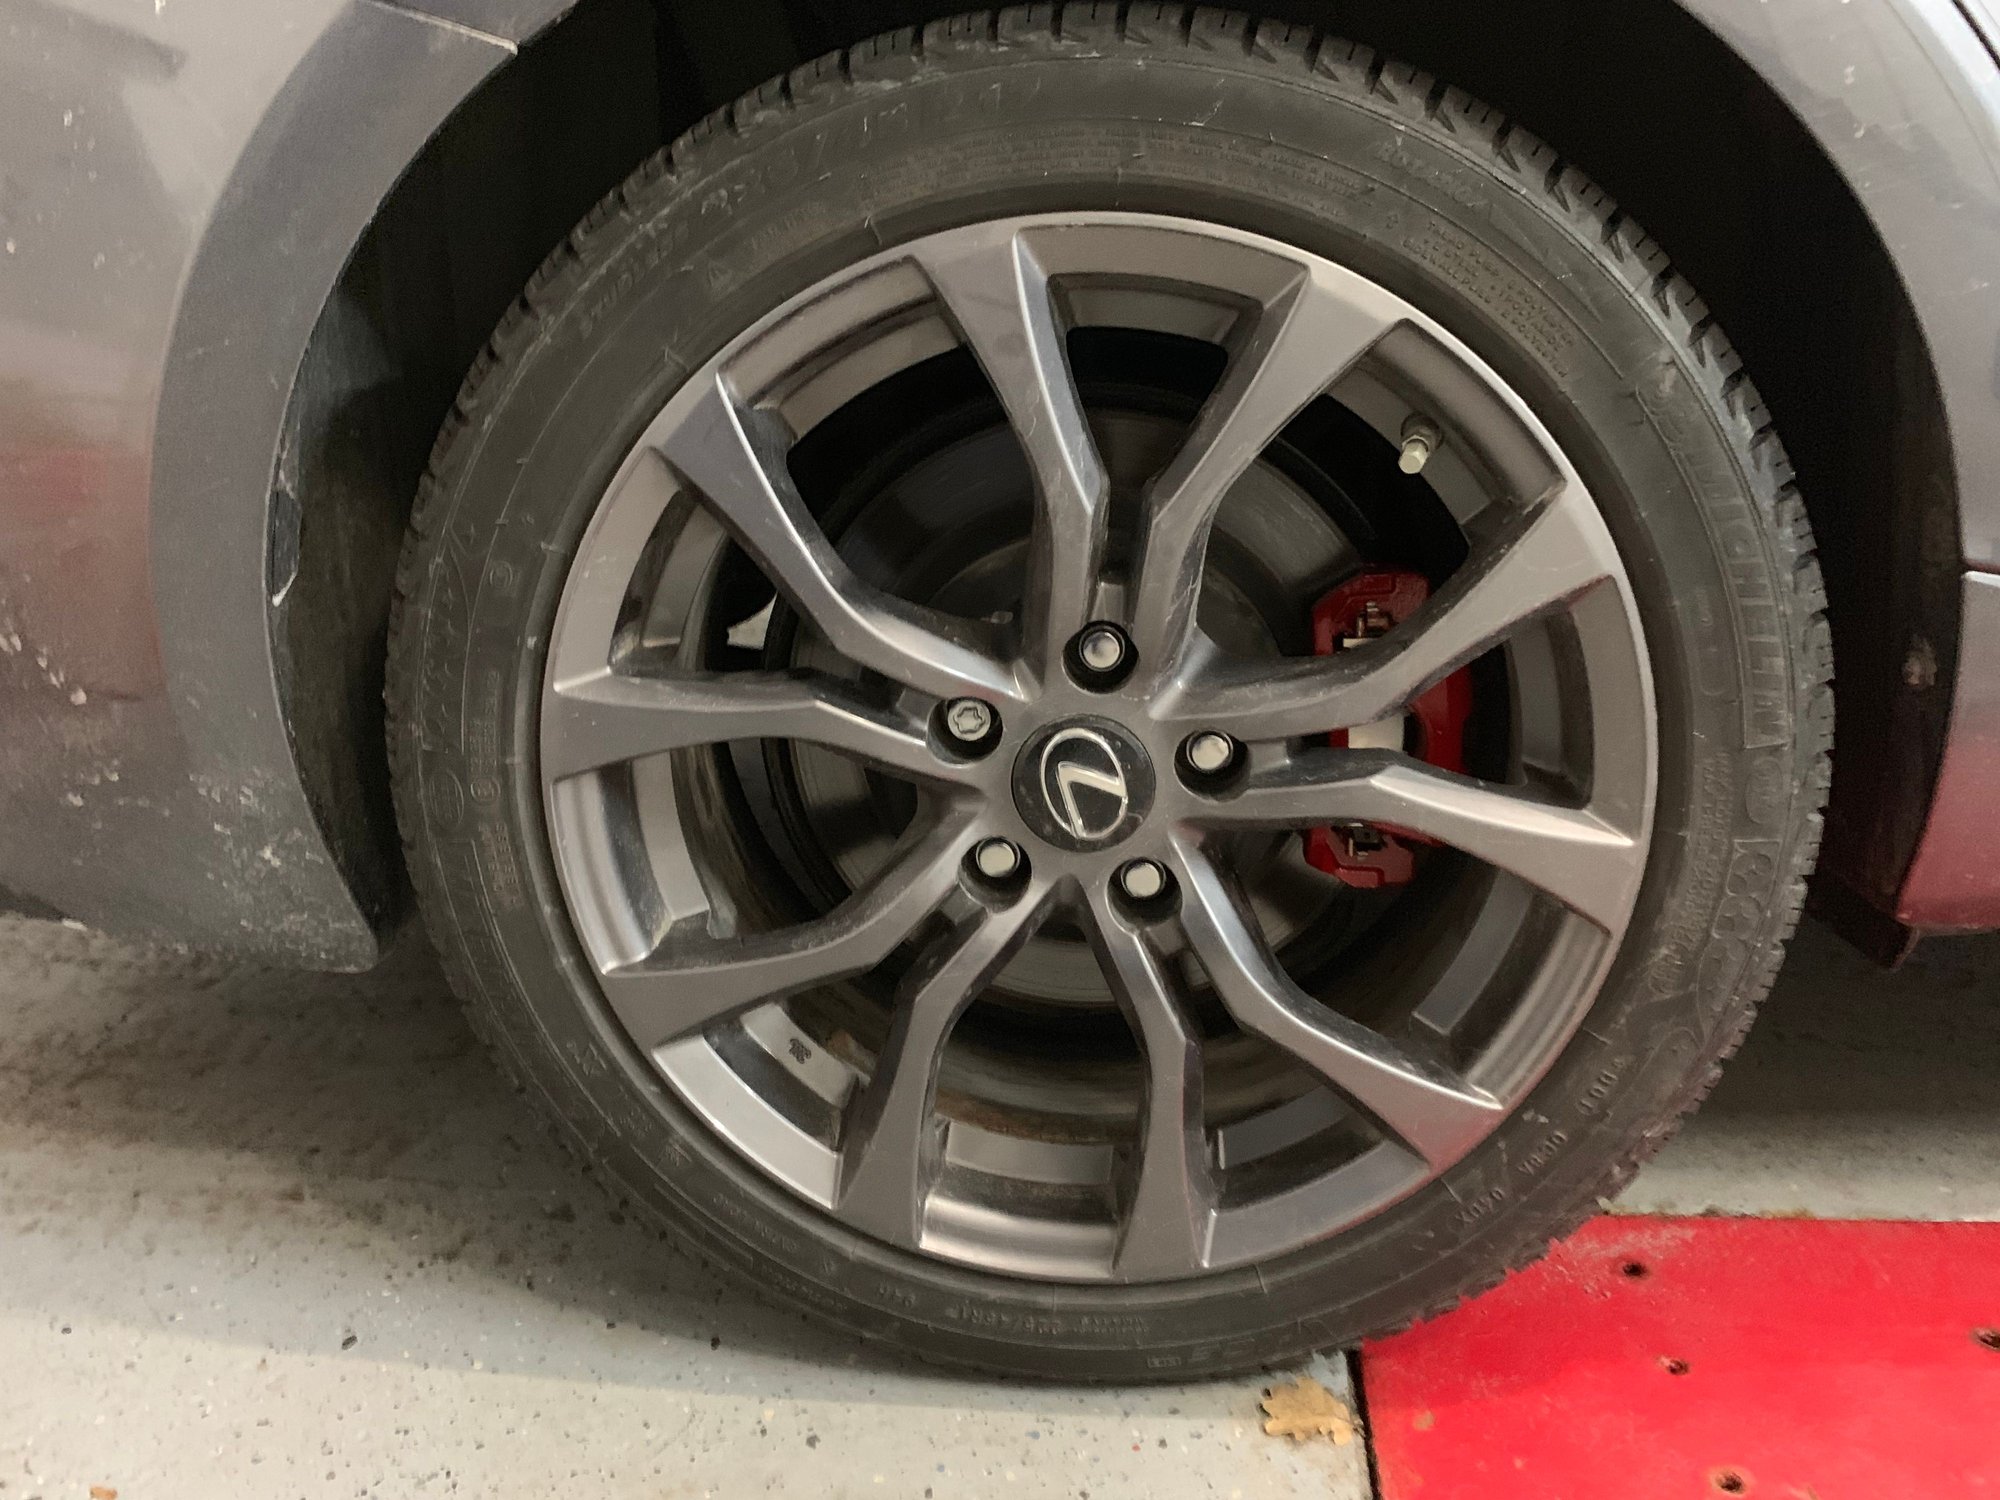
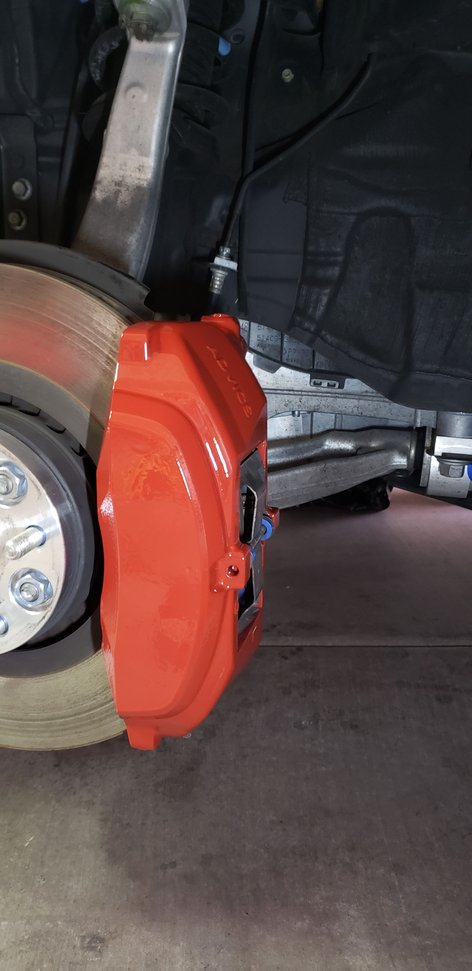
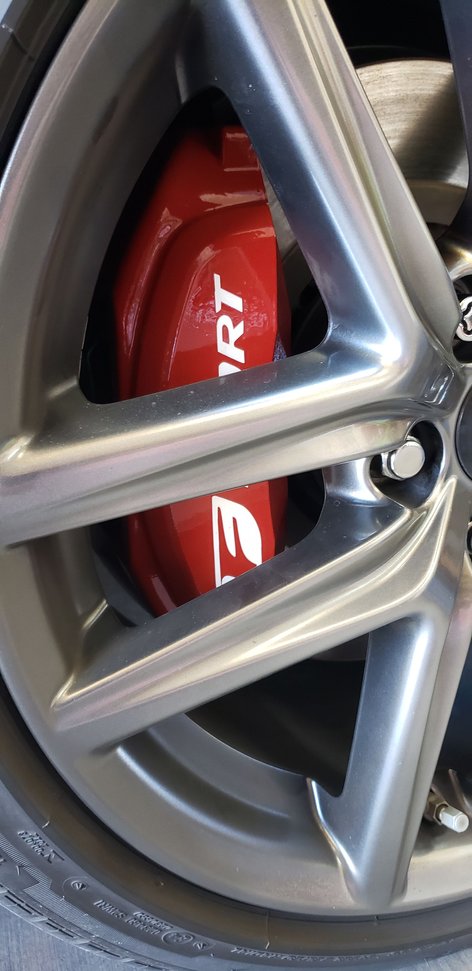
For the rear calipers, I attached a yellow string to the door hook and it held the caliper outwards for easy access (see pictures for better visuals). For the front calipers though, it took me a while to figure out how to hold the caliper for painting. In the end, I bolted the top hole of the caliper to the bottom hole of the wheel assembly (see picture for better visual). That way, I could easily reach most angles for painting and the biggest advantage is that I could turn the steering wheel to have better access!
So, here are the details of my 3-day project:
- Friday:
- Disassembled the rear calipers
- Cleaned them a bit (luckily, they weren’t that bad)
- Tape all rubber parts including piston
- Red paint: as per instructions on the can
- 2 light coats and 1 medium coat
- Wait at least 10 minutes between each coat
- Paint all coats within 1 hour
- Waited 4 hours for the red paint to dry
- Instructions said paint will dry to touch in 1 hour and can be handled in 3 hours
- Since I wasn’t in a rush, I waited more than 3 hours
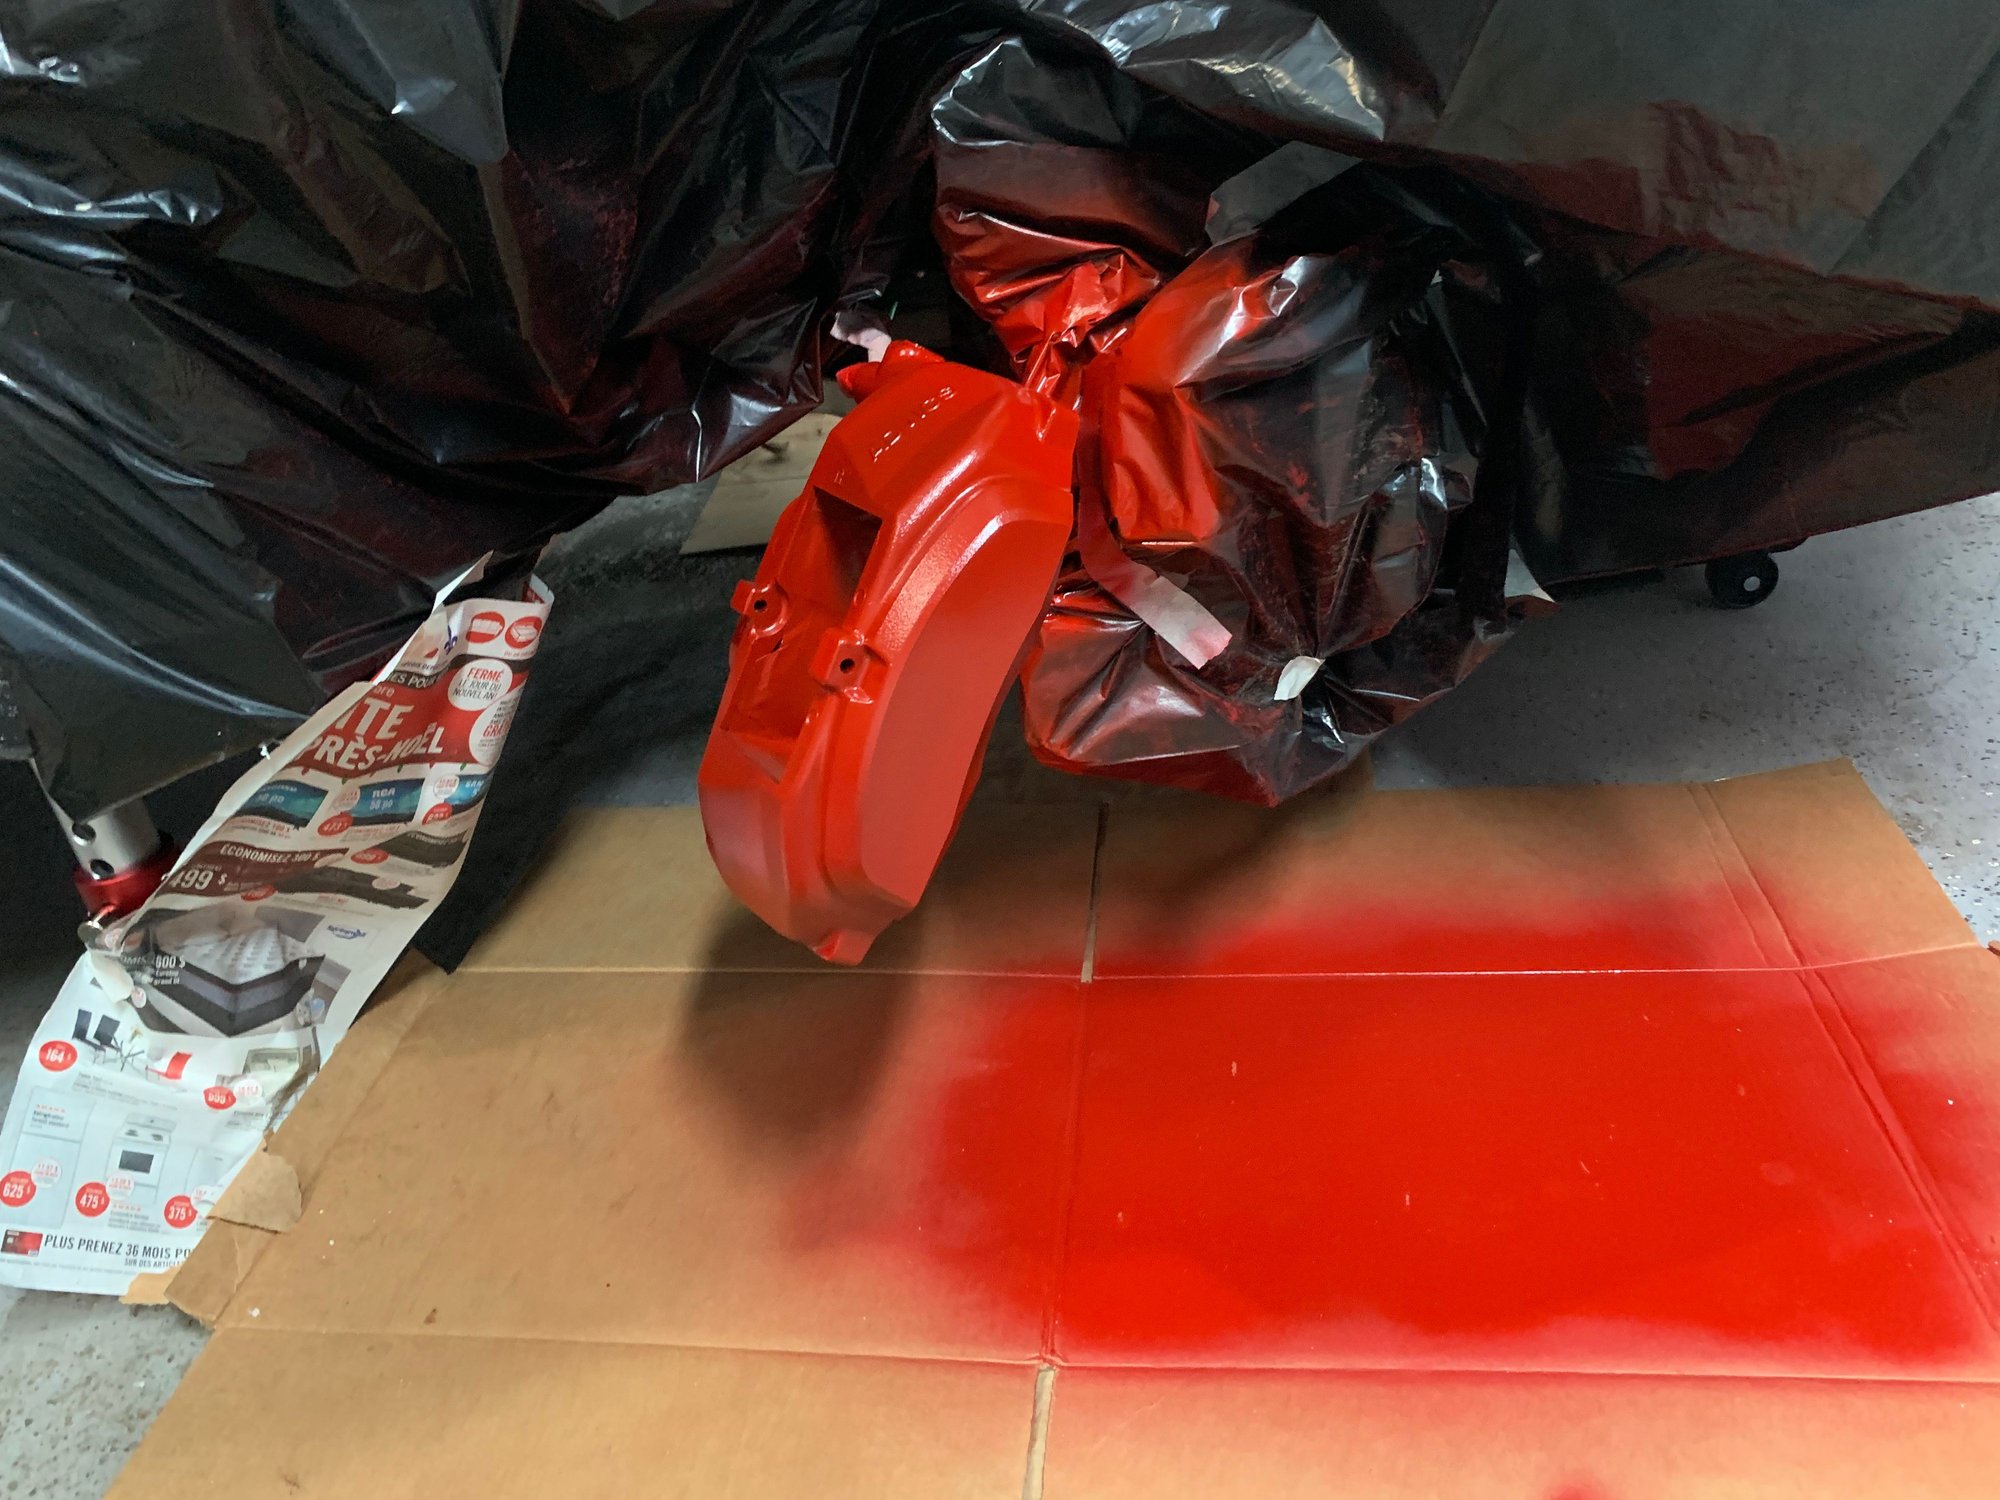
- Clear paint: as per instructions on the can
- 2 light coats and 1 medium coat
- Wait at least 10 minutes between each coat
- Paint all coats within 1 hour
- Left them to dry overnight
- Saturday:
- Reassembled the rear calipers with proper lubrication
- Disassembled the front calipers
- Cleaned them a bit (luckily, they weren’t that bad either)
- Tape all rubber parts including pistons
- Red paint: as per instructions on the can
- Waited 4 hours for the red paint to dry
- Carefully applied F-Sport decals
- Clear paint: as per instructions on the can
- Left them to dry overnight
- Sunday
- Reassembled the front calipers with proper lubrication
- Cure the paint: drive with a lot of braking in order to heat up calipers for at least 1 hour
- The other option was to bake the calipers...
Last edited by Dizordered; 01-29-19 at 08:29 AM.
The following 2 users liked this post by Dizordered:
arentz07 (05-31-22),
LatinLS430 (05-31-22)
#4
Lexus Test Driver
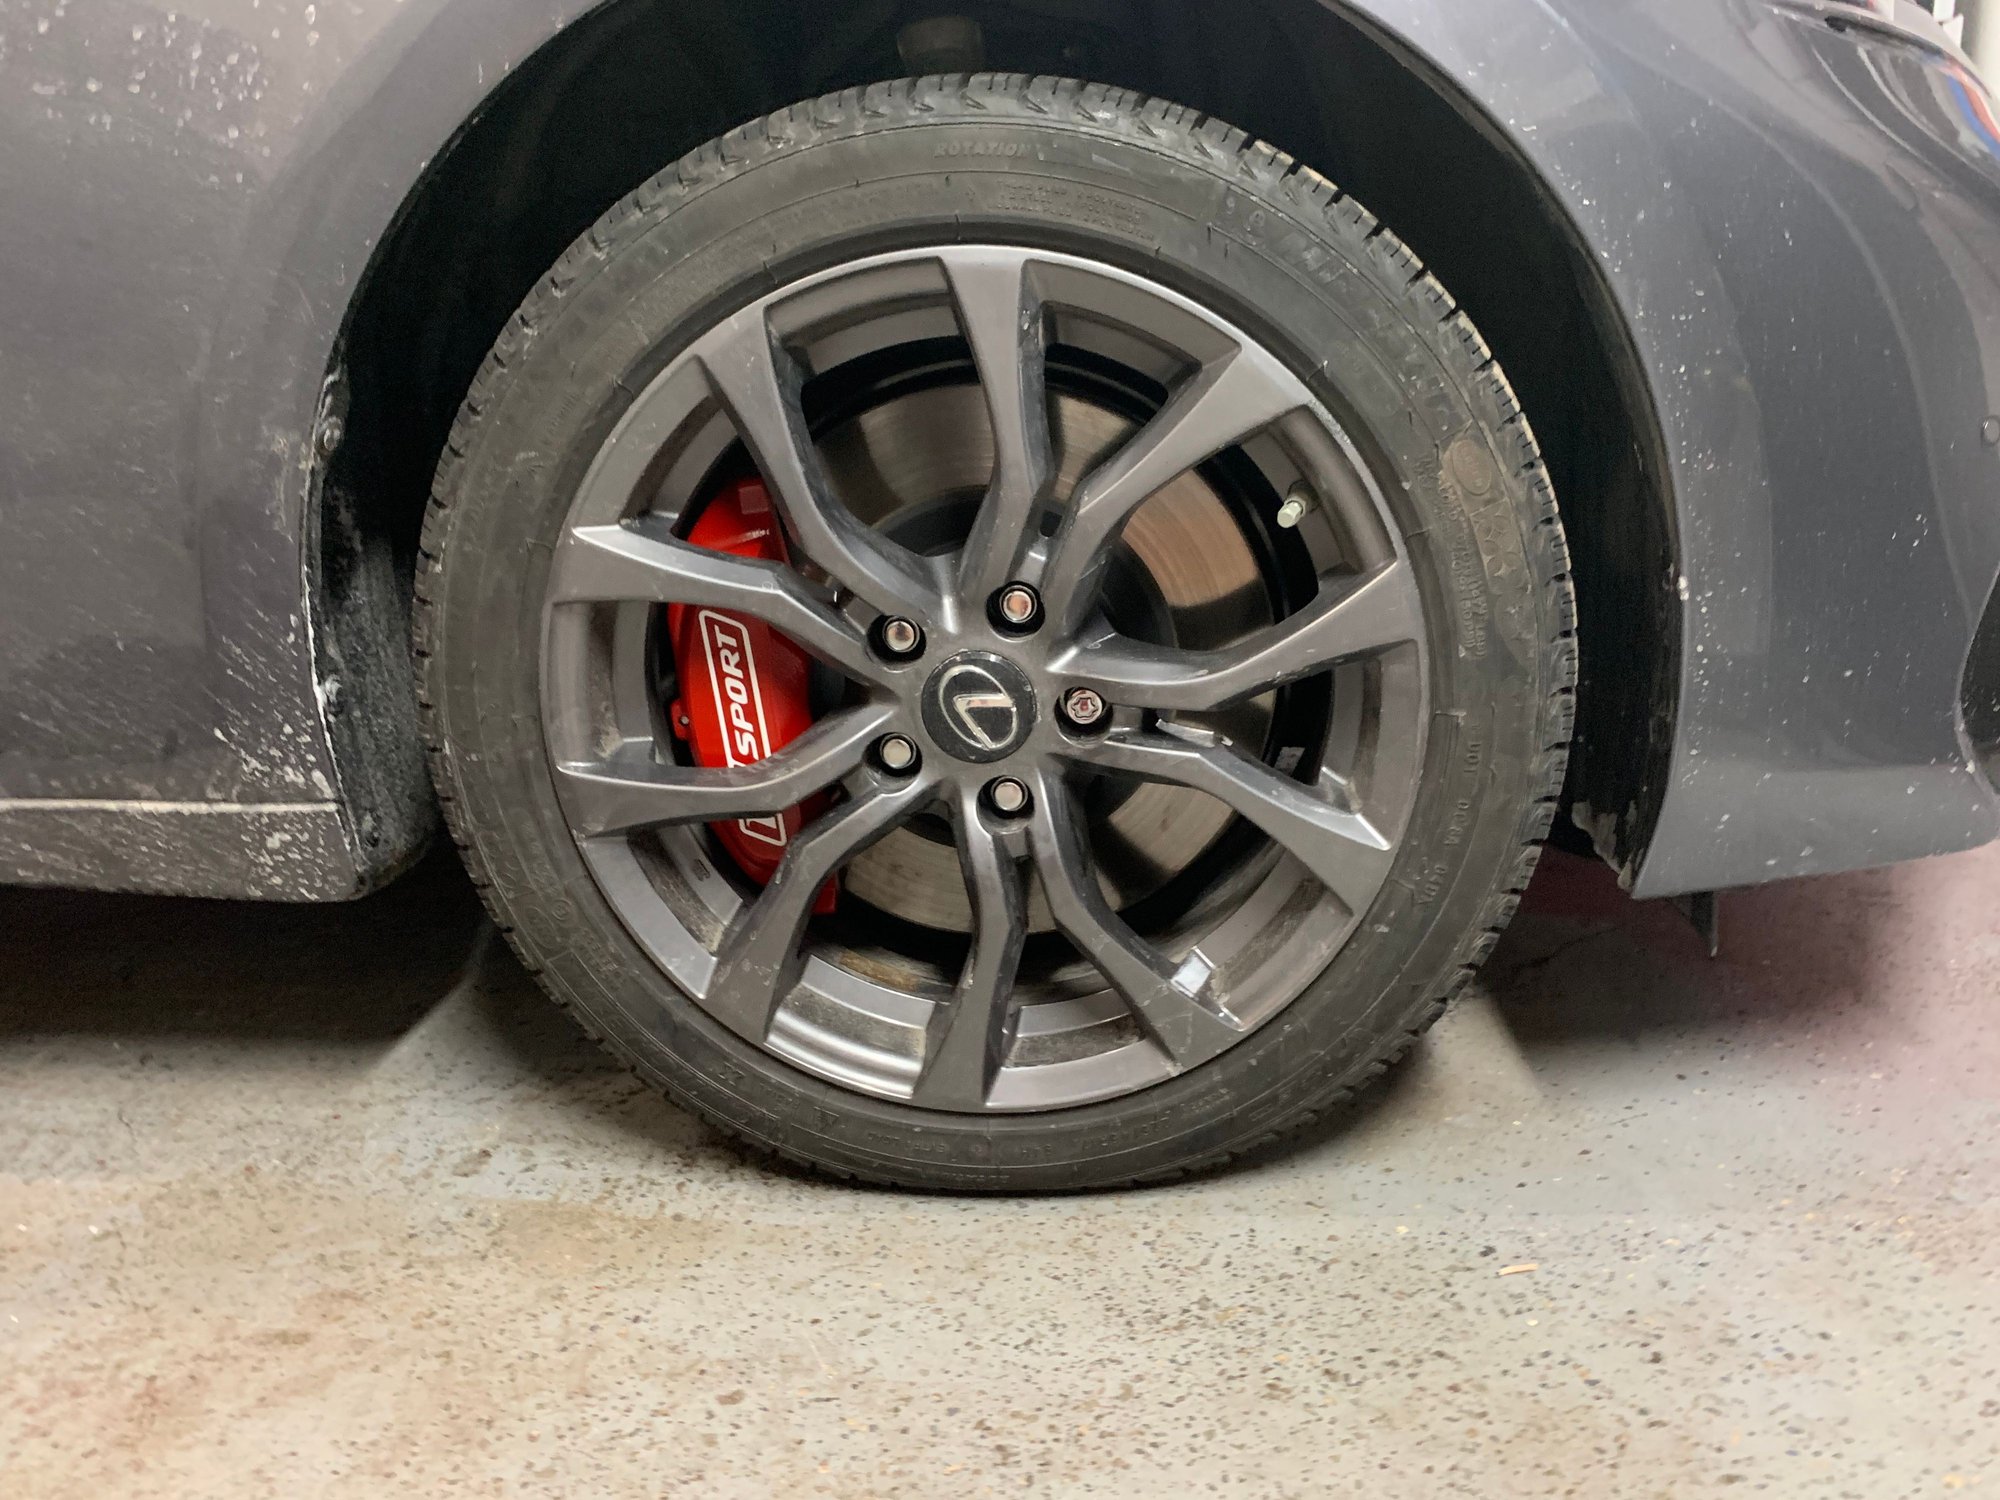
Nice wheels. nice job.
I would've left the rears stock as to not draw attention to them. now it's obvious they're stock =P
how come you didn't throw on a gloss coat?
I would've left the rears stock as to not draw attention to them. now it's obvious they're stock =P
how come you didn't throw on a gloss coat?
#5
Driver
Thread Starter
And yes, now it's obvious... but it's okay hahah!
Gloss coat...? I thought the clear coat was pretty much that no?
#6
Lexus Test Driver
Oh that is the clear coat. Maybe it didn't have time to cure? post some close up pics. i thought you went with a matte look. the ones ive seen online are highly reflective
#7
Lexus Test Driver
Join Date: Feb 2017
Location: Richmond Hill, Ontario, Canada
Posts: 6,260
Received 1,737 Likes
on
1,370 Posts
Nice job and write-up.
I have that same air hose reel and electrical cord reel. Clearly we both have a Crappy Tire near us lol!
Love the sign on the door "Beware of Vampires" lol! I gotta get me one!
I have that same air hose reel and electrical cord reel. Clearly we both have a Crappy Tire near us lol!
Love the sign on the door "Beware of Vampires" lol! I gotta get me one!
Trending Topics
#9
Driver
Thread Starter
When we moved in the house not long ago, my wife baptized a very creepy closet the "Zombie room" so we know what we're referring to. Then, there was another creepy room in the garage and we baptized it the "Vampire room". Those signs are just perfect LOL!
#11
Driver
Thread Starter
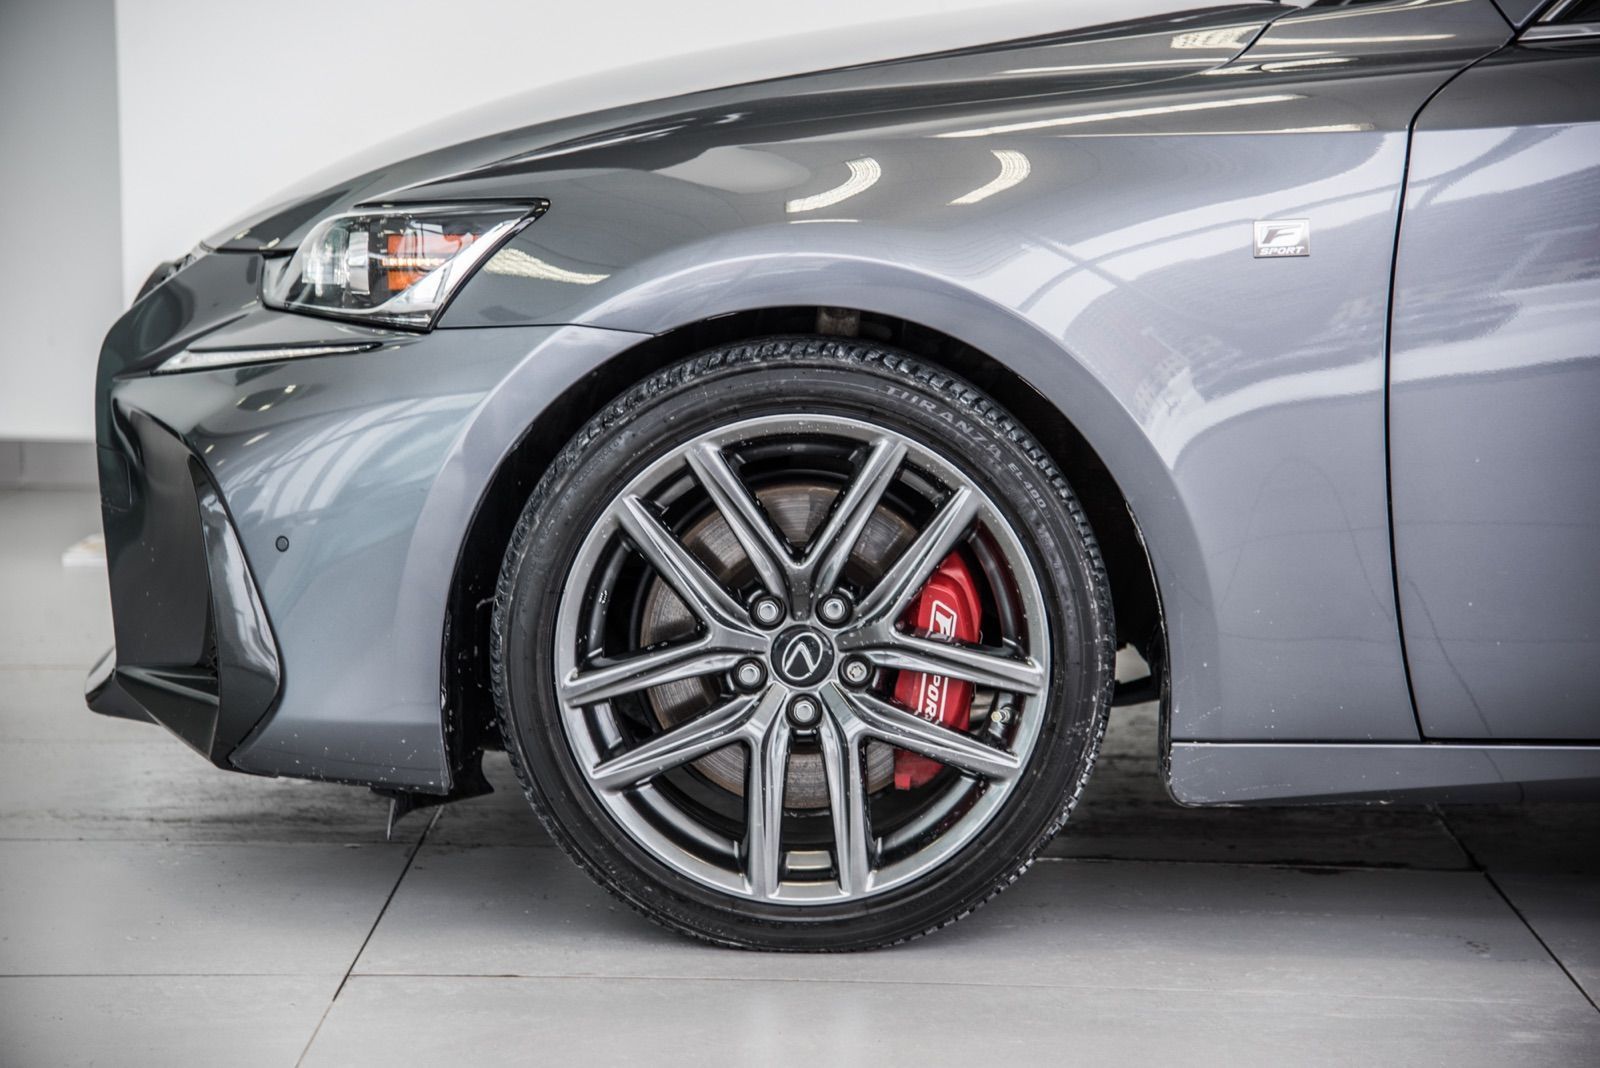
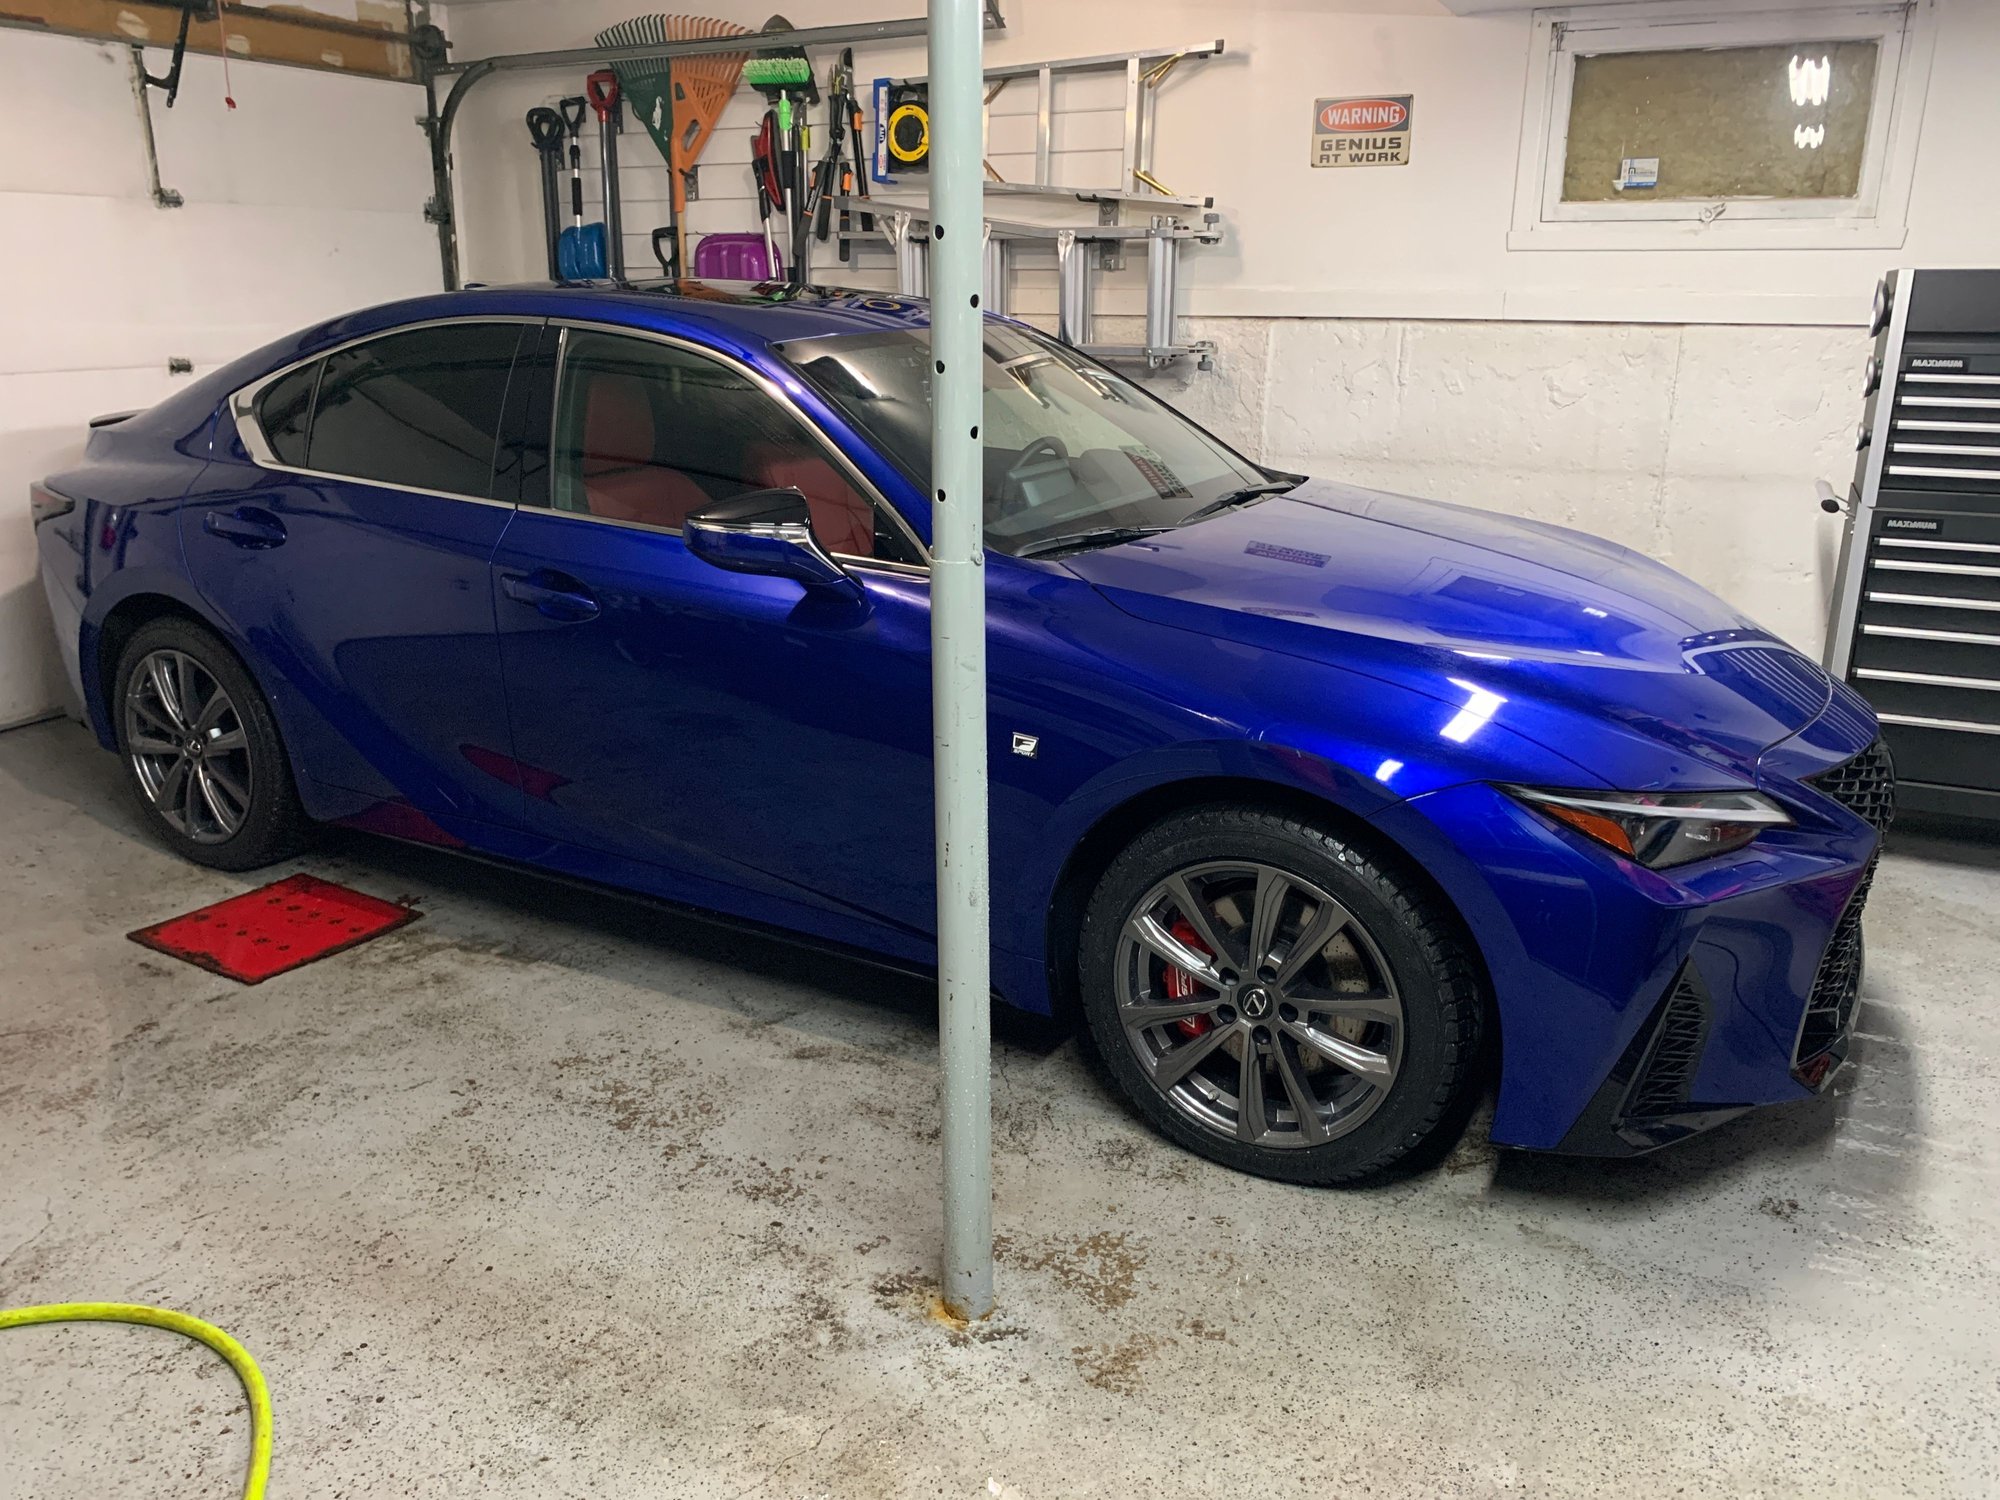
This is what it looks like after 4x Quebec winters. With a good clean, it can still be glossy! It's really worth the work. So when I got my new car, I did the exact same thing HAHA!
The following users liked this post:
Lex_Giorgio (06-03-22)
#14
I’d recommend using G2 Caliper paint which is basically a colored epoxy. This will not chip or fade and the finish is high gloss and has self leveling properties during application. You will brush it on so no need to mask off your wheel well.
#15
The only caveat would be - standard G2 red is more of https://en.m.wikipedia.org/wiki/Vermilion red than bright red. But it turned out alright so I kept it. I put like 2-3 layers so the paint is thick and resists chipping very well overall
The following users liked this post:
kj07xk (08-18-22)


