When you click on links to various merchants on this site and make a purchase, this can result in this site earning a commission. Affiliate programs and affiliations include, but are not limited to, the eBay Partner Network.
In the pic below I put a circle in red where it looked a little odd to me...but I'm also looking at this on a computer monitor and not in person, so it could literally be nothing more than my imagination.
In the middle of the circle the resistor looks a little blue-ish on the ends, which would be a sign of corrosion...it could also just be the pic and it's perfectly fine.
If the Amp looks ok, put it back together, install it into the car and see if you still don't have sound.
If you don't go into the navi diagnostic menu and check for codes...if you get a code for the Amp, then you're back to a likely Amp issue.
Next step would be to confirm both fuses are fine and the Amp has power and ground...if all those are ok and you still have an Amp code, then you're still looking at an Amp.
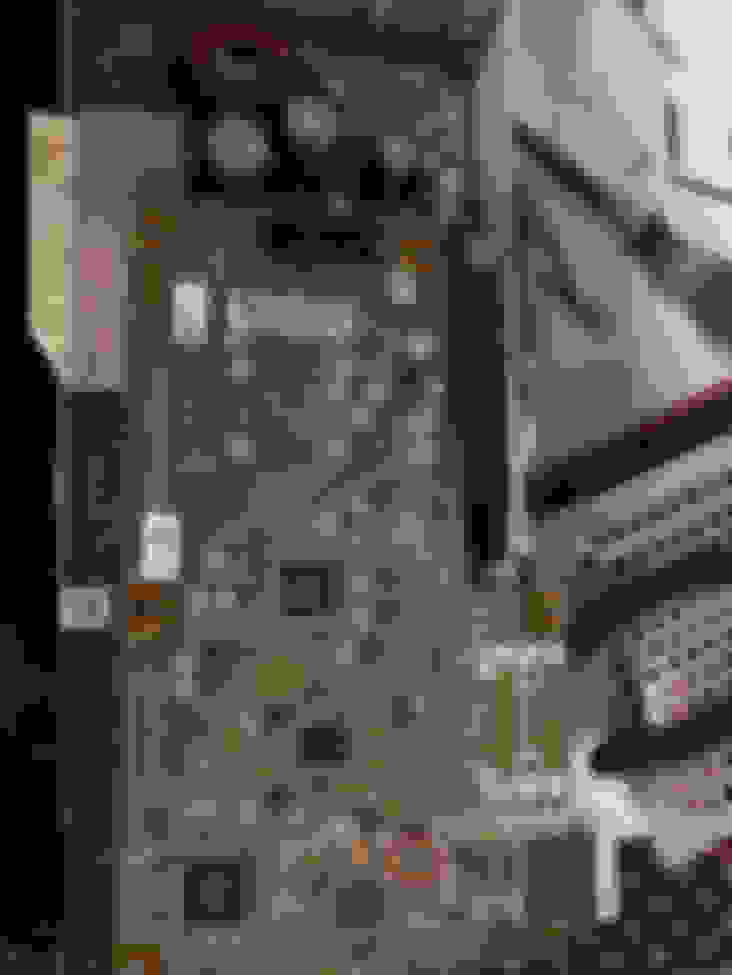
here is a photo looking closer into that area. It does look like it is discolored compared to the other ones. Not sure if it is supposed to be like that. I think I might change the fuses anyway just to be 100% sure and rule them out. I have checked the connections for power and both have power but not at all connections. Is there a diagram that shows which part of the connectors are supposed to have power?
here is a photo looking closer into that area. It does look like it is discolored compared to the other ones. Not sure if it is supposed to be like that. I think I might change the fuses anyway just to be 100% sure and rule them out. I have checked the connections for power and both have power but not at all connections. Is there a diagram that shows which part of the connectors are supposed to have power?
The coloring on the resistor looks very uniform, like it's supposed to be that way.
Maybe try taking a pic with you cell camera set to macro so it's super close.
From the above pic I think it's fine, but don't want to say for absolute sure...then find out later that was the issue lol!
... I think I might change the fuses anyway just to be 100% sure and rule them out. I have checked the connections for power and both have power but not at all connections. Is there a diagram that shows which part of the connectors are supposed to have power?
See attached. The Amp has 2 fuses, 2 power wires, and 2 grounds.
Anybody having similar issues like this in the GS forum? I can't imagine this is a one off.
The coloring on the resistor looks very uniform, like it's supposed to be that way.
Maybe try taking a pic with you cell camera set to macro so it's super close.
From the above pic I think it's fine, but don't want to say for absolute sure...then find out later that was the issue lol!
yes I agree with you looks like it was supposed to be like that. Looks fine to me. Is there a way to test the amp to rule it out. This seems like a weird problem as I see no signs of water damage. I uploaded more pics maybe you can see something I don�t. I don�t want to buy an amp just to try as they $700+.
The boards look good from here...I think that one blue resistor is supposed to be like that.
You can check the power and grounds wires and confirm that are good. Also the continuity to ground should be less than 1Ohm from the Amp connector...ideally 0.3-0.5Ohms.
If power and ground is ok there is no reason why the Amp shouldn't work.
At that point put the Amp together and back in the car.
Fire up the car, if still no sound, then check for trouble codes. If you get one for the Amp, then I'm confident it's the Amp...whatever the issue is.
But it is crucial the Amp has power and ground, and if it doesn't, then that needs to be fixed first.
Car is completely stock. Problem I�m not sure where to check on the connector and which pins are supposed to have power. I checked it with a gray light and it seems like few of the pins do have power on the big connector. On the small connector there is only one pin in the middle that has power. Not sure how to test for ground either. I�m gonna put the amp back together tomorrow and check for codes and also replace the fuses to rule them out.any tips on checking for power and ground?
Car is completely stock. Problem I�m not sure where to check on the connector and which pins are supposed to have power. I checked it with a gray light and it seems like few of the pins do have power on the big connector. On the small connector there is only one pin in the middle that has power. Not sure how to test for ground either. I�m gonna put the amp back together tomorrow and check for codes and also replace the fuses to rule them out.any tips on checking for power and ground?
First download the PDF attachment to post #53 above...that is the wiring diagram for GS audio from 2013-2015.
On the first page of the PDF you will see the two fuses, the two green wires that supply power to the Amp, and the two White/Black wires that are the Grounds.
The wires go to connector T40 on pins 1 and 16 (green wires) and pins 3 and 18 (Ground wires).
If you scroll to page 20 of the PDF you will see a picture of connector T40 with the pins labelled with then numbers.
If you have a multi meter the next steps are fairly straight forward.
With the ignition on and radio on, check from one green wire (with the red lead of the multi meter) to one Ground wire (with the black lead of the multi meter)...you should get battery voltage which should be 12.something volts.
Do the same for the other green wire and other Ground wire...it doesn't matter which green and which Ground you check first, or second.
If you get battery voltage from both green wires then you don't need to check the fuses...they are fine.
I checked the connector as you mentioned got 12.4 volts out both. I plugged in the amplifier still no sound. Ran the diagnostics and says amp is ok even though there is no sound..
Don�t think that blue bugger is a resistor, think it corresponds to label L900, which would make it a coil. Solder connections look good, but that bulging capacitor in the power supply is highly suspect. Lots of electronics stop working when a capacitor goes bad (had to replace several in different toys over the years).
I checked the connector as you mentioned got 12.4 volts out both. I plugged in the amplifier still no sound. Ran the diagnostics and says amp is ok even though there is no sound..
When you first go into the diagnostic menu the first option is Failure Diagnosis I believe. Did you go into that section to check for codes?
The above pic of the MOST check is the communication line check, which I would assume would be good even on a bad Amp. The MOST lines allow devices to speak to one another to transfer information.
this is what I get after just clicking on failure diagnosis then system check. You are correct that was MOST.Not sure if that bulging capacitor is the problem will look closer into pics.

 10-27-21, 10:55 AM