When you click on links to various merchants on this site and make a purchase, this can result in this site earning a commission. Affiliate programs and affiliations include, but are not limited to, the eBay Partner Network.
Anyways, back to our regularly scheduled programming.
Step 10: REMOVE FLOOR SHIFT GEAR SHIFTING ROD SUBASSEMBLY
Put transmission into neutral. You'll need to push the little shift lock bypass button in order to do this. Then it wants you to remove the entire rod from both ends - one end is under the heat shields towards the back along the rear driveshaft, and the other is connected to the transmission. I ended up just removing the one on the transmission side as I did not see a reason to remove the whole thing. Shifting assembly bolts.
Step 11: SUPPORT AUTOMATIC TRANSMISSION WITH TRANSFER ASSEMBLY
They want you to use a transmission jack, and all the goodies. I can't be bothered to pay $200 for something I'll never use again, especially when I just got this fancy new floor jack and could literally just bench press the transmission if I had to. So I ended up using a chunk of plywood to distribute the weight onto my jack and a ratchet strap to keep it in place. The brightest thing I've done? Probably not, but it's working so far.
Step 12: REMOVE REAR ENGINE MOUNTING MEMBER This thing. 4 outer bolts hold it to the body, and three inner nuts hold it to the transmission.
WARNING: THE REAR END OF THE TRANSMISSION WILL NO LONGER BE SUPPORTED AT THIS TIME.
Once you do that, the transmission will be held on by the bellhousing bolts with a little bit of support from the rear driveshaft. It's very important that the transmission be supported at this point, or you might break something. Near as I can tell, the driveshaft will just slide off, there doesn't appear to be anything holding it to the transmission aside from positioning.
I've also realized I made a bit of a mistake here. I assumed step 6, remove propeller shaft referred to the front one and not the rear shaft. We'd have had to remove the front to get to the starter and to remove the transmission anyways, but I missed that we had to get the rear too. But I think it may just pop out as we remove the transmission anyways, so we may be able to avoid disassembly of the rear shaft.
Step 13: DISCONNECT NO. 2 EARTH WIRE
This little bit right here.
Anyhow, it looks like the difficult/hard to reach bits are about done, so I'm hoping to finish up removing it over the next two days, and then we can move on to part 2: me cussing myself out for not doing a better job of organizing everything when I have to put it all back together.
Next two days actually meant next month, but it's finally out!
So a couple of final steps: It turns out that you do have to drop the rear driveshaft, at least the front half of it in order to get to the rest of the bellhousing bolts easily. It's 4 14mm bolts, but the ones on top are a bit difficult to remove as the angle has to be just right. To get the final top one broken loose I ended up wedging a breaker bar between the shaft and the body to keep the shaft from moving, and used a jack on a wrench to break it loose. After that it just slides right out of the transmission, nothing holding it in place.
I had to remove the transmission cooler to get to the bolts on the passenger side. 3 bolts, pretty easy. I was easily able to get to the bolts on that side of the transmission after that.
Finally, I just used a 3 foot extension and a u-joint on my impact in order to get the top three bolts. I did spray everything down with PB blaster the last time I was working on it which made it a lot easier, as the bellhousing bolts came right out while they were refusing to budge last time.
I also used a ratchet strap connected to the brackets on the sides of the transmission tunnel and wrapped around the transmission to keep it from falling out while I was removing the bolts.
It turns out that not getting a transmission cradle was a bad idea, as I ended up denting the transmission pan. Not a big deal since this one is going into the trash anyhow, but I will be getting one for the install. It was also very difficult to balance the transmission on the jack without one. Thankfully I had a good friend helping me out so we were able to get it out without dropping it, but it's definitely a little bit difficult to drop it entirely by yourself.
Next up: going to order one off of ebay and swap it in, see what happens. Probably going to present some interesting challenges. And I will also be checking the diff fluid. Since water leaked into the transmission, there's a chance some got in there too. Will replace if needed.
I don't think anyone can ever question your determination ever again.
Good job getting to the half way mark.
Question...could you post a close up pic of the area under the transmission cooler on the tranny? Some have wondered if the two holes that allow fluid to flow are treaded...even though nothing is threaded into them. The thought was adding an external cooler by treading adapters into those holes.
The world is definitely conspiring against me on this project. I ordered the AWD transmission... and got a RWD A960 transmission. And of course, they're closed on weekends so I can't even get this cleared up until next week.
I'm still alive! Got the parts I need, going to be taking my first crack at getting it in right now. Probably pull an all-nighter and see how much I can get done.
I'm assuming you edited your post, but to reply to the one I got in my email, yes, it was damaged by water, the transmission fluid was brown and obviously full of water. I�m doing this bc I got it off auction for 7k and it�s in pretty good condition otherwise, once running it�s worth double that at least and my wife needs a second car.
I'm assuming you edited your post, but to reply to the one I got in my email, yes, it was damaged by water, the transmission fluid was brown and obviously full of water. I’m doing this bc I got it off auction for 7k and it’s in pretty good condition otherwise, once running it’s worth double that at least and my wife needs a second car.
Haha yes, I went back to your first post and realized you stated the damage, keep us posted. I've noticed my transmission not shifting as smooth (or maybe it was always like that and I never noticed) despite changing it at 40k
Update:
Damn, this is definitely turning into one of those "weekend" projects
Anyways, got the new transmission mated to the engine. Was quite a piece of work. Due to how tight everything is you have to tilt the engine back quite a bit. Did this with an engine hoist. Also had to rotate the engine slightly counterclockwise to get it to line up. Did this with an extra ratcheting strap on the hoist going to a tab on the edge of the engine. I have the car lifted some 2 feet up. Was initially attempting to get it up with a regular jack with some plywood to distribute the load. That didn't work. Got the cheap motorcycle lift from HF, screwed together a few 2x4's for extra height, used that. Little bit unstable but "good enough". One major issue that most people probably won't run into is the mount where the awd shaft goes on the side - it makes it much tighter and more difficult to get everything lined up. I didn't manage to get everything else lined up and in until I first bolted in the bolts around it to keep the tranny from catching on it. Then it was just playing around with the lifts and nudging it until it got real close. Used the bolts to close the distance. Not supposed to do that technically but they went in with no resistance so I'm not too worried.
While lifting the engine realized there really isn't all that much keeping it from being lowered a foot or two, think it's just the subframe and steering. Will probably end up dropping the subframe after all and letting the engine dangle a foot down or so just so I'm not taking the rest of my skin off trying to get the starter and exhaust back in.
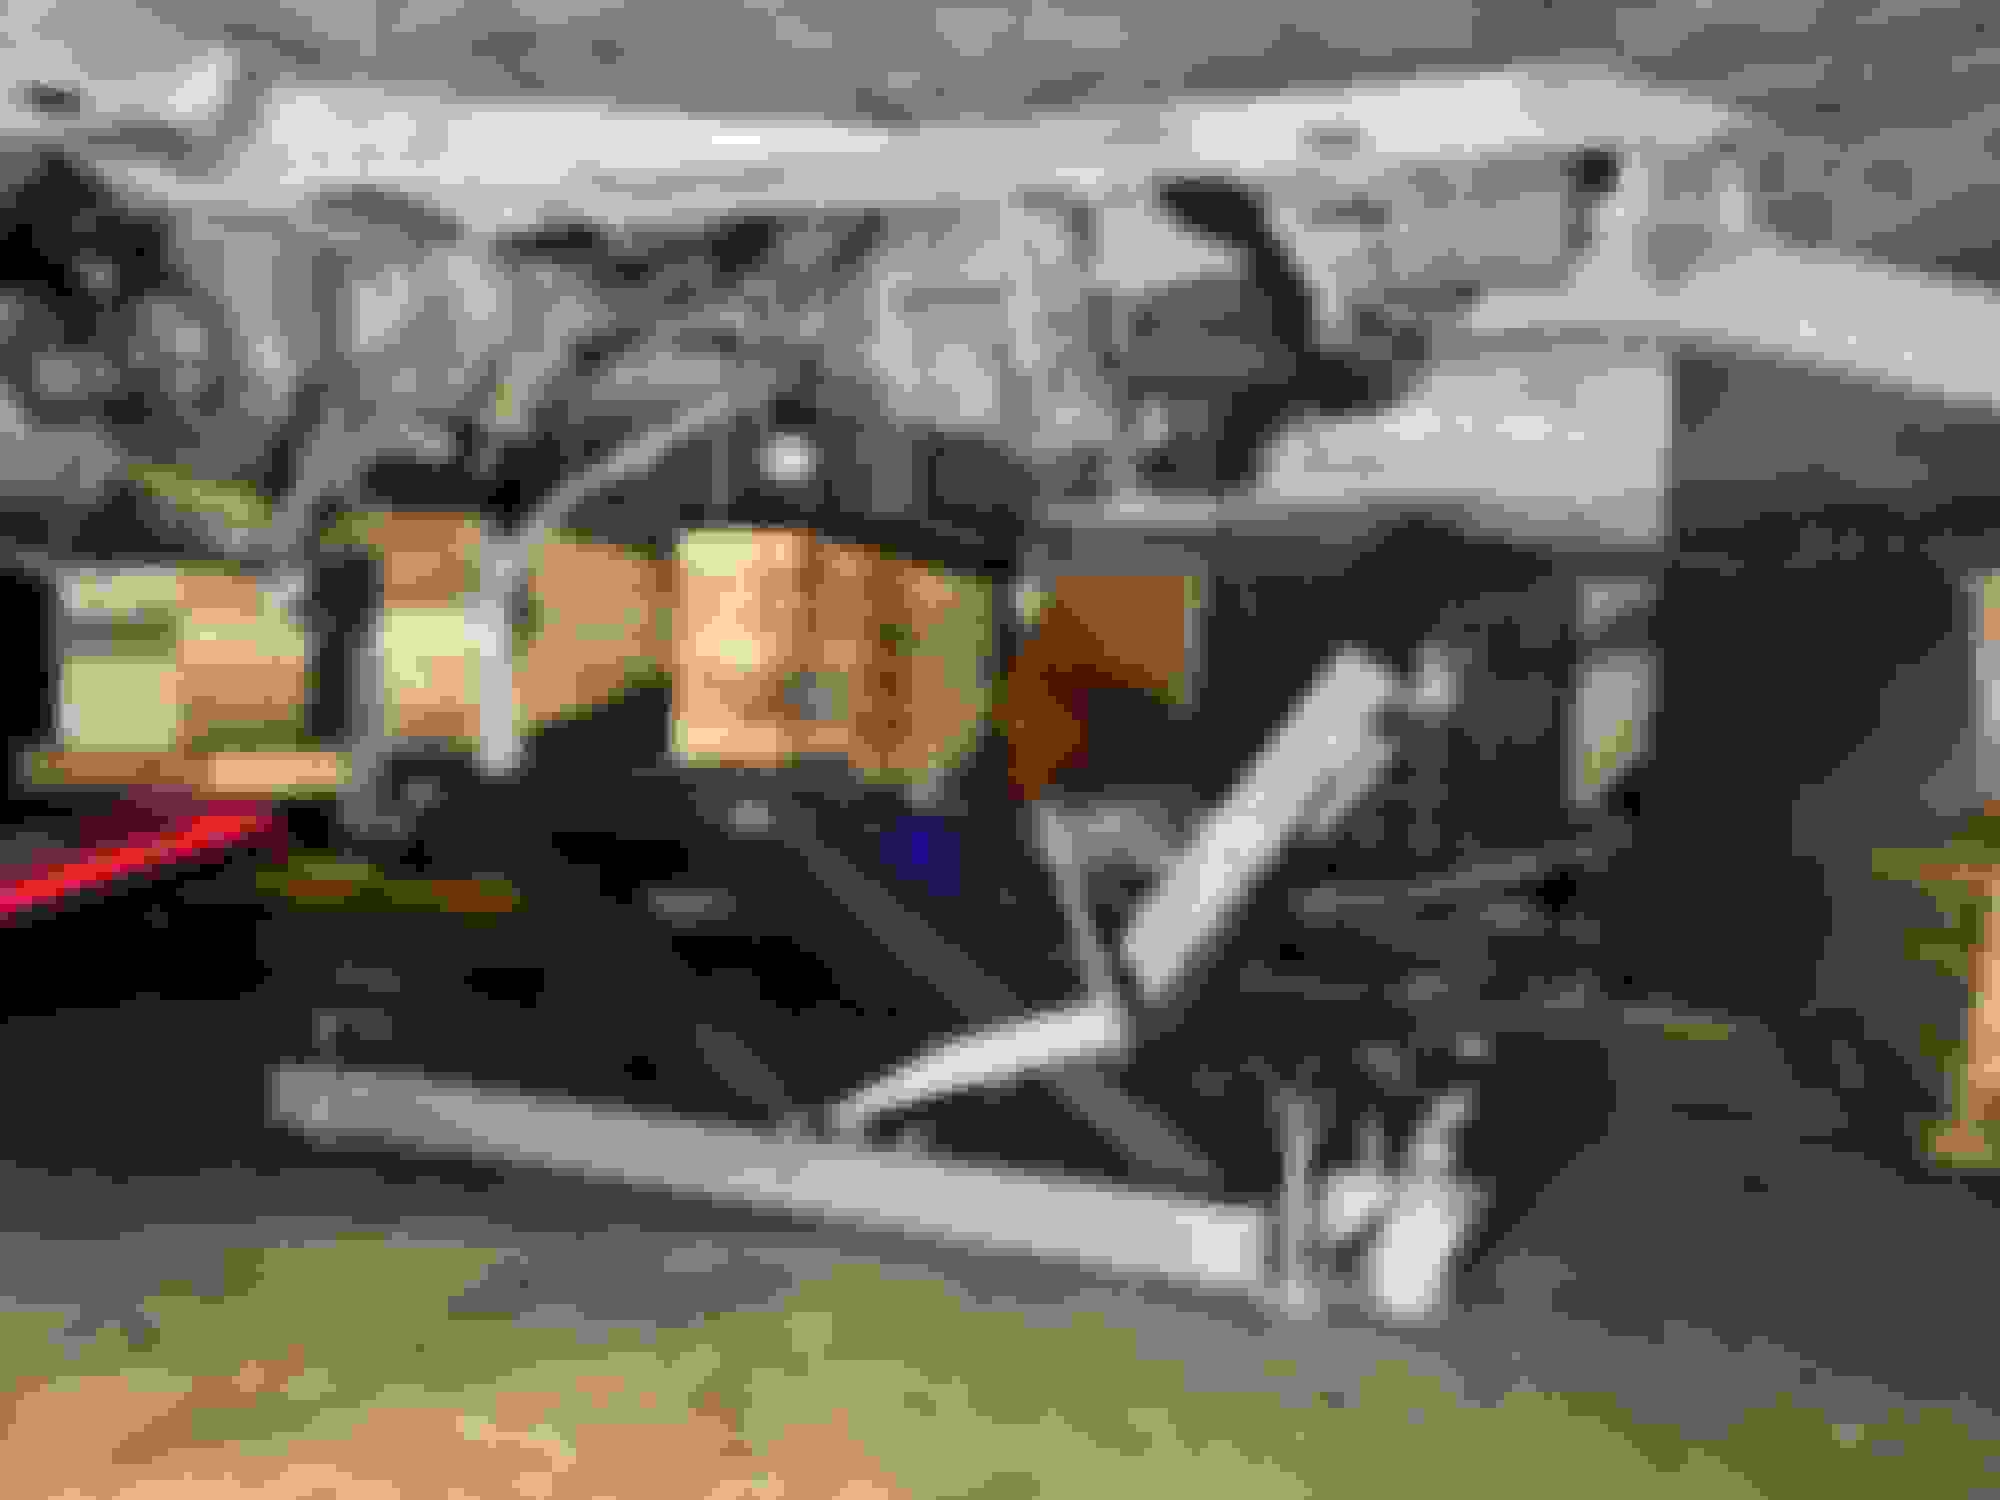
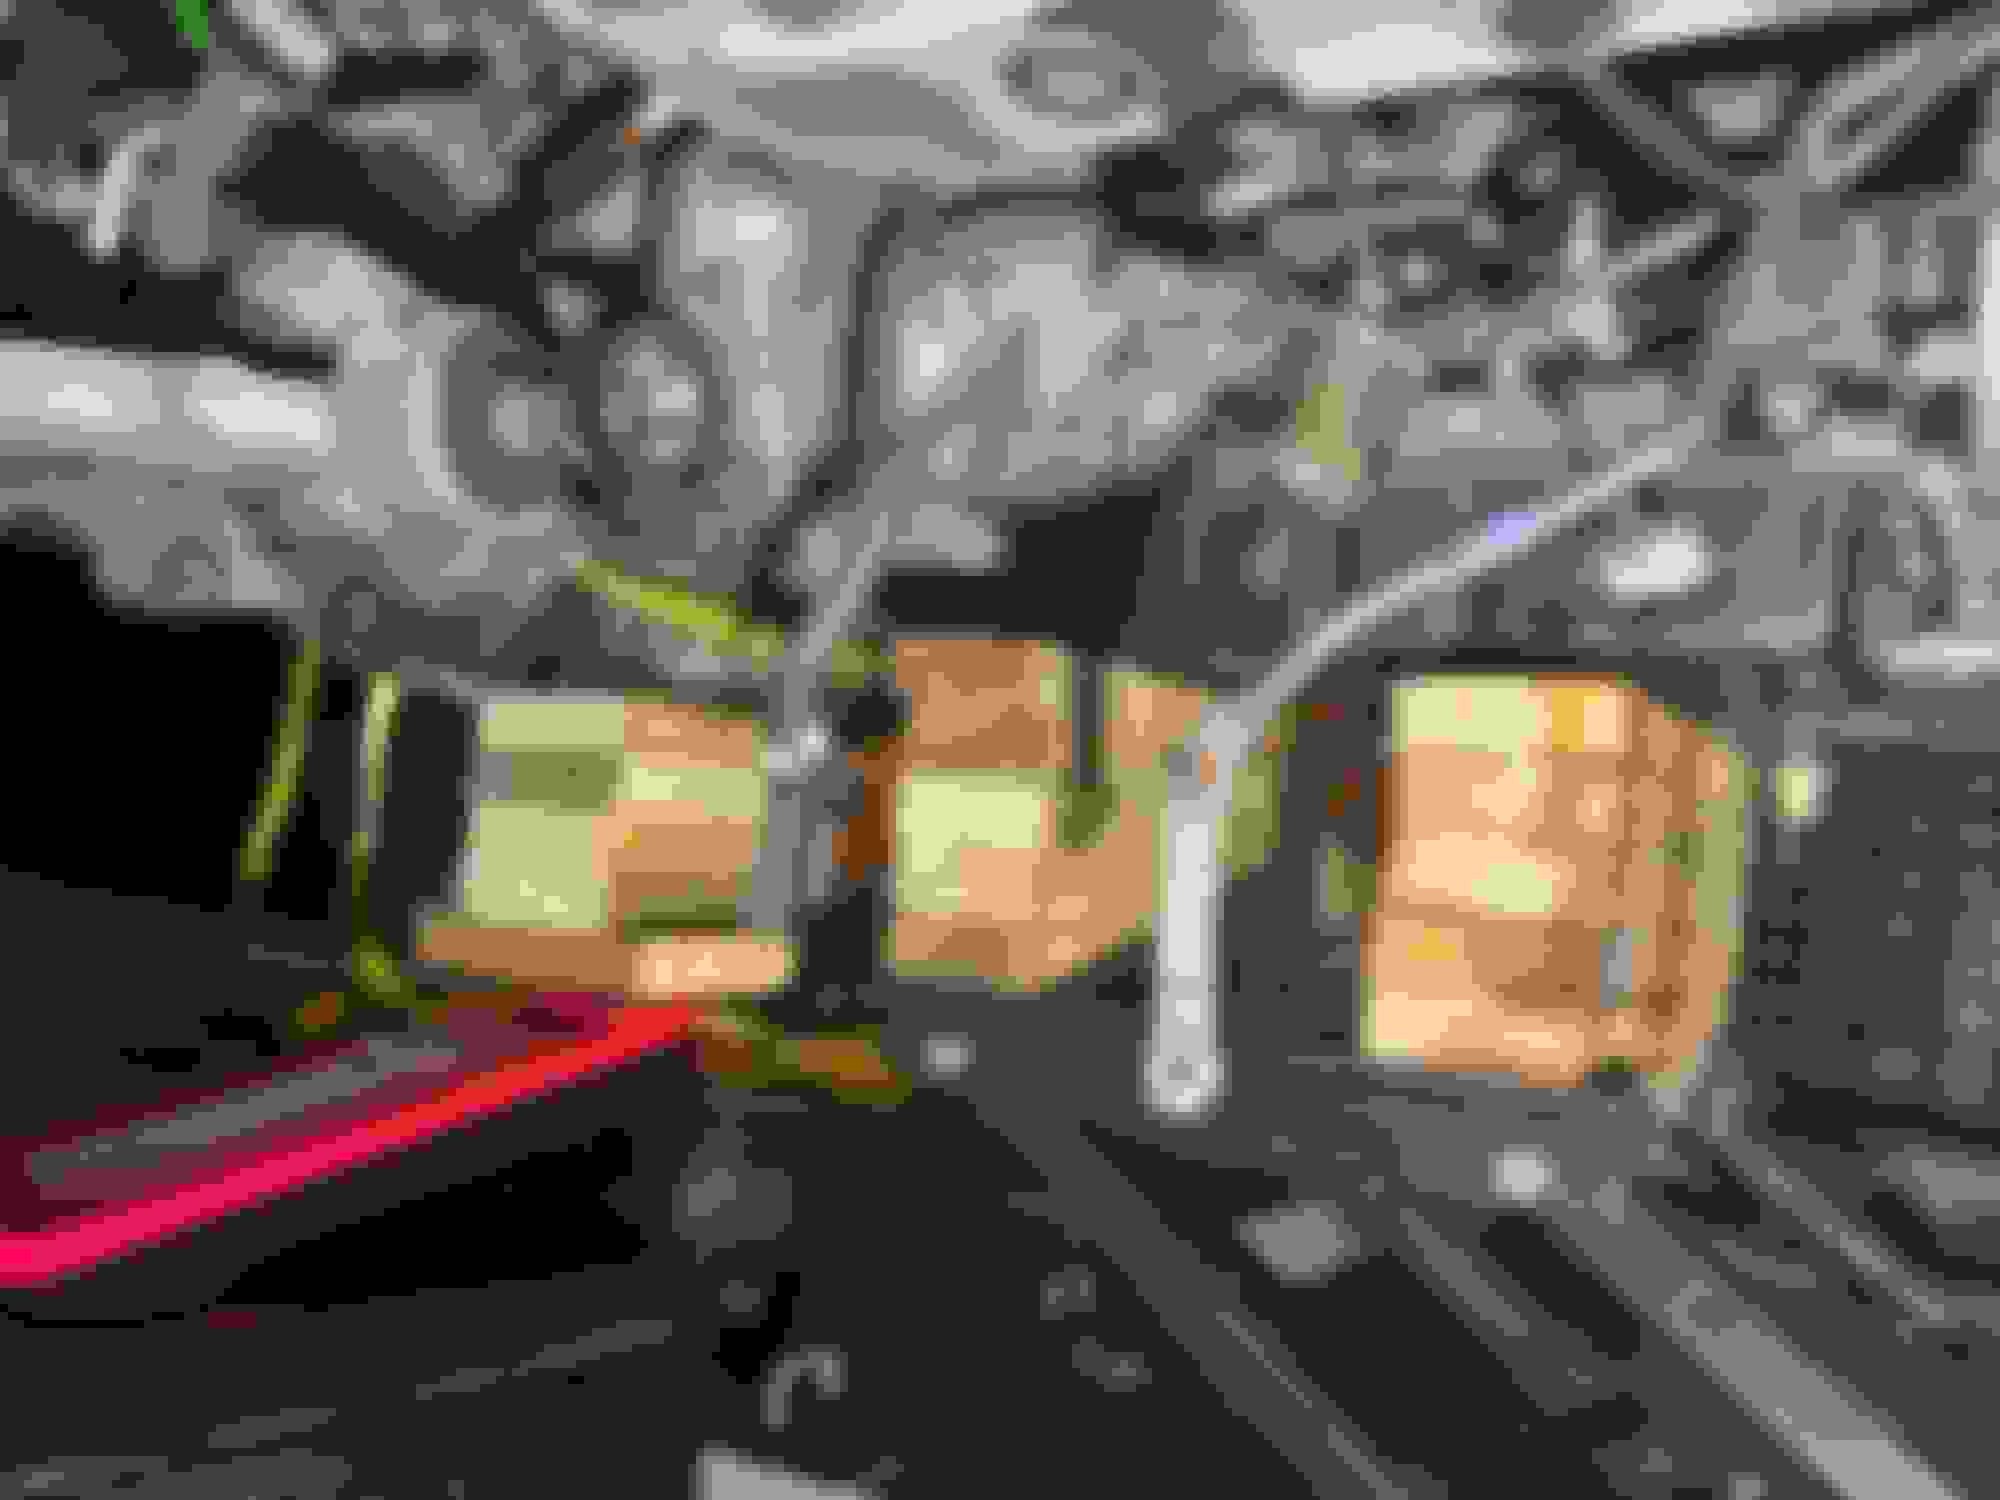
Subframe dropped.
For anyone doing this in the future, do yourself a favor: just go ahead and drop the whole steering/axle assembly with it. The steering assembly ends up preventing you from being able to get the engine low enough to get to the flexplate access port, meaning that you would have to bolt that up before you lower the engine. It's also just a general pain and makes the process of dropping the subframe significantly harder. The subframe itself isn't particularly difficult. Just a couple of bolts holding it to the frame. However, the sway bar does not want to come out nicely and needs a good bit of maneuvering to get past the CV joint. It also got "stuck" on the bolts on the front and needed a little bit of prybar work to get it loose. Here's where we are now:
Repurposed motorcycle jack holding up transmission
I've already got the tranny bolted up but I still need to bolt it to the flexplate, and then it's just re-assembly work. Guess I'll see if I can just lift the engine back up enough to bolt it together and then lower it back down for the rest. If not, I'll drop the rest of the steering assy. Having it this low gives me significantly better access to the starter, exhaust manifold etc locations, would have saved me a significant amount of time to do so in the first place, and I probably wouldn't have needed to take apart half the top end either. Oh well, live and learn. If my wife doesn't kill me for the biohazard I've leaked everywhere, anyways
I was able to get the flexplate and the torque converter bolted up just by raising the engine back up on the hoist. Simply turning the engine over by hand with a 22mm socket on the crank until the bolt hole lined up with the torque converter hole. If you do it this way then you do need to make sure that the torque converter bolt hole is in a location that is reasonably centered in the access panel or you won't be able to get the bolt in.
Note: It's very important to screw the black bolt in first - it gets the torque converter the proper distance away from the flexplate.
Anyways, now that I've gotten the flexplate and torque converter bolted up and all the bellhousing bolts in, we're on to the re-assembly step. Now I need to get the starter, alternator, and exhaust manifold bolted up, then front and rear driveshaft, and then we're just getting in into place and bolting the various frame bits in.
Going to have to find replacements for the bolts I've lost or had to grind off. Thankfully my local home depot has a bolt section that has most of the common metric bolts and lengths available to be purchased individual. Still, not pleasant paying $1-3 a bolt, so going to try to salvage what I can. Will update with what else I was able to get done later today.
I think the most important thing I've learned from this whole thing is that this is very much a 2-person job. A lot of things you just won't be able to do efficiently yourself - you need a second person to get things lined up and adjusted properly, preferably someone with long skinny arms and an up-to-date tetanus shot.
Starter, alternator in. Starter slipped right in. Alternator needed a little bit of encouragement with a crowbar. Don't forget to hook up the high voltage cable to each. Heat exchanger bolted on. It appears to be 3 M8 1.25 x 30mm bolts, in case you lost them like me and had to drive down to home depot to buy new ones. Not much left. Engine hoist makes job much easier, just lift and lower engine as needed for access, and then slipping a jack under driver side of engine to tilt it for better accessibility on that side.
 10-28-21, 10:32 AM