When you click on links to various merchants on this site and make a purchase, this can result in this site earning a commission. Affiliate programs and affiliations include, but are not limited to, the eBay Partner Network.
So far not looking great. Ordered on 11/10 no shipping information received. Hit them up via email earlier this week and no response, but maybe they are on holiday vacation.
So far not looking great. Ordered on 11/10 no shipping information received. Hit them up via email earlier this week and no response, but maybe they are on holiday vacation.
I'll call them up later this week.
We shall see.....
True, it could be due to the Thanksgiving Holidays. Hoping you will get it soon by next week.
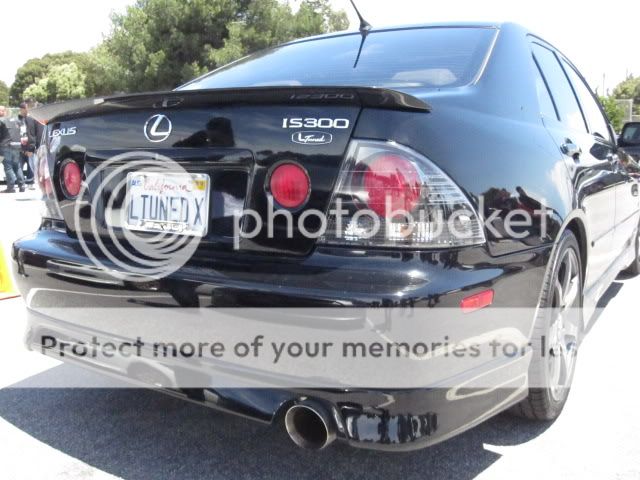
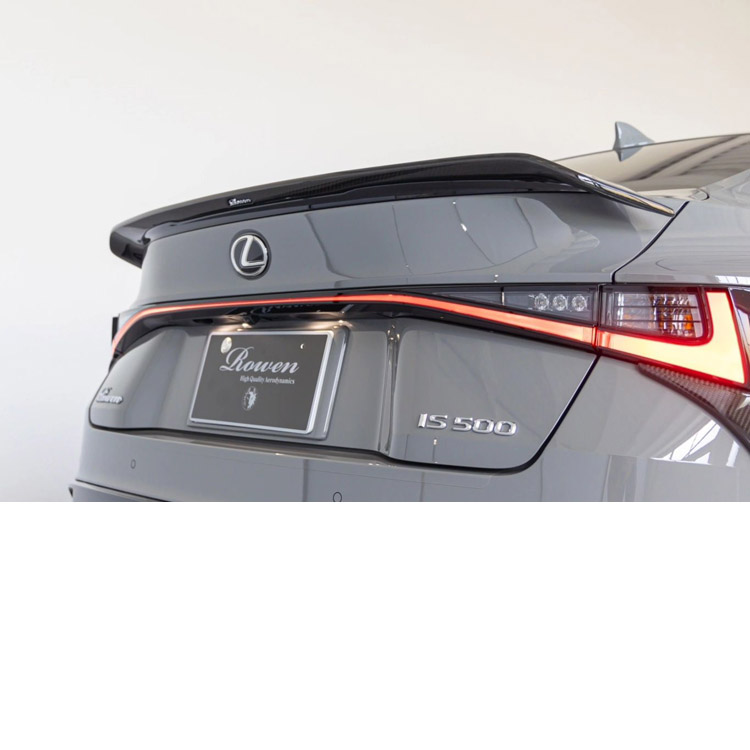
I kind of like the Rowan one, looks like a throwback to the L-Tuned IS300 spoiler. I do like the kick up duck tail style as well...tough choice for me. (I had an 03 L-tuned IS300 back in the day)
Get at it boys, spoiler came in and they have 3 left. $748 out the door. Tax and shipping included.
this is my first CF piece so not sure if its normal, but you can see some slight waviness in the right light. The 2nd pic shows it.
Fitment is good. Install was easy (except i dropped the washer and bolt in the trunk lid). Even though its taller than the oem spoiler, does not obstruct youre view in the rear view. Goes well with the body lines. Overall very happy.
Lmp was very responsive after a direct email to them. Shipping was very fast. Once I got a tracking number, it was delivered within 3 days (standard delivery). Based off my experience, I would reccomend buying from LMP.
Finally 2+ months later my Seibon has arrived. That one nut on the driver side was a pain to get the screw on though, a miracle i didn't drop the washer and nut.
Finally 2+ months later my Seibon has arrived. That one nut on the driver side was a pain to get the screw on though, a miracle i didn't drop the washer and nut.
Lesson's learned for those that want to install the Seibon wing themselves.
1. Make sure you really tape those edges when you take the old wing off. I ended up with very minor scratches that I can buff out but it would have been worse if I didn't tape around the wing when taking it off.
2. The plastic factory knubs are a pain to take out (there are four of them holding the factory wing on). These require you to squeeze them and push. To minimize scratching, take some pliers to squeeze and then use a screwdriver to push out from the bottom. This method will prevent scratching your paint as all the work is done on the bottom side.
3. I know this might sound crazy but taking the trunk off the car to do the install will make your life so much easier. I tried to avoid this but then dropped two washers and couldn't get them out. There was no way I was going to let them rattle so I took off my trunk and was able to shake out the two washers that fell. This also allowed me to access the outermost bolts much easier as I was able to rotate the trunk into the appropriate orientation. Even then, I dropped a washer again but was able to shake it out without much drama.
I hope this helps someone else as I was thinking about taking out my taillights to see if I could get the washers out which in hindsight wouldn't have done anything.
Last edited by hapyhar0ld; 06-15-24 at 05:29 PM.
Reason: spelling errors
I hope this helps someone else as I was thinking about taking out my taillights to see if I could get the washers out which in hindsight wouldn't have done anything.
Personal experiences (pitfalls or otherwise) are always SUPER helpful! I want to do this upgrade, but anything where parts have to be removed gives me agita. 😳😂
Im glad you found it helpful! If you were local, I would totally lend you a hand! I promise it's not as bad as it sounds but is really unnerving as this is the most expensive car I've personally worked on. My advice is to take it slow and make sure you have a couple extra hands to help take the trunk off.
You might have better luck in your area but I called around to find a body shop that would do this for me and they all turned me down as the job was too small for them.

 11-14-23 | 03:19 PM


 Awesome to hear!