When you click on links to various merchants on this site and make a purchase, this can result in this site earning a commission. Affiliate programs and affiliations include, but are not limited to, the eBay Partner Network.
Alright finally got the OEM trans cooler installed, the install went super smooth all in all the trans cooler install took about 1-2 hours, hardest part being removing all the panels, bumper, and under tray. I took plenty of pictures with cool details so instead of making a messy and long post I condensed everything into a nice pdf for everyone to check out. As I point out in the pdf, the car was actually made from the factory to have a trans cooler, they just put a closed loop where the trans cooler lines would've gone. Only modification required was to drill and rivet the crash bar and drill holes into the plastic shroud. It took about a half quart of additional fluid. Being that the ports to add trans cooler lines are already there it would also be very easy for companies to make aftermarket solutions, I believe RR Racing might be pursuing that route with a future trans cooler kit for this car. I will report back after the new year with real temp readings, I took some before readings and once the weather clears up I will take some after readings in the same temps/driving conditions. Also forgot to add, I was going to paint the cooler all black, but I made a quick F logo stencil and painted it that instead, so it doesn't come like that from Lexus.
^^ I was thinking the same I am approaching almost 1-year since ownership & never experienced the Front-Apron issue (Knock on Wood). I am worried if I were to go the Trans-Cooler install route this will develop buy taking off & re-installing the front bumper. It's a gamble at this point.
I haven't had the apron issue prior to this either, so I was reluctant taking the bumper off and I was extremely careful that's all. Even the service manuals calls to pull the clip to pop them off and I individually pushed each tab down so I wouldn't have to pop them off. After the install bumper went on perfect and after 200 miles no apron issue. Frankly I've had this same exact apron issue on my es and camry which use the same apron attachment design, and the failure point in both was the cheap plastic Philips screw Lexus uses, the fix for both the es and camry was to replace it with a metal bolt, so worst case ill do that here too.
I actually just received my cooler kit from Japan, here's all the part number per the oem manual, installation is definitely gonna take some time but the parts are very nicely made with nice references. Like the bracket to mount the cooler also has slight indentations in it which shows where you should drill the holes in the crash bar and the plastic shroud, so theres no guessing needed. It is in all Japanese but it seems to be a pretty straight forward install . I chose to add a trans cooler because in non track, spirited summer driving temps were reaching 240-250 and even the pre production units had issues of overheating with the cooler in track use. So at least with the trans cooler I won't have that constant headache if the temps might get too hot. Heck even the Lexus service manual states that for high temp, prolonged driving an
external cooler is recommended.
where did part number 10, 14 and 15 go? and did part 16 come in your kit?
where did part number 10, 14 and 15 go? and did part 16 come in your kit?
Yes it did, part number 16 was the included diy tool to install the rivets for the cooler brackets, handy tool but I just used my own rivet gun. Parts 14 and 15 are replacement o rings and crush washer for the fill and overflow trans plugs, and part 10 is an extra washer for the cooler line mount.
Yes it did, part number 16 was the included diy tool to install the rivets for the cooler brackets, handy tool but I just used my own rivet gun. Parts 14 and 15 are replacement o rings and crush washer for the fill and overflow trans plugs, and part 10 is an extra washer for the cooler line mount.
Thank you. On part 10 do you have a picture of where it goes? and can you post a picture of the tool they sent? i ordered straight from the dealership and there is no tool that I know of. I like your install guide, but it does leave some gaps on how it is installed. Im just trying to fill in the gaps.
Thank you. On part 10 do you have a picture of where it goes? and can you post a picture of the tool they sent? i ordered straight from the dealership and there is no tool that I know of. I like your install guide, but it does leave some gaps on how it is installed. Im just trying to fill in the gaps.
Yeah I'll attach a picture but it goes behind that metal bracket I pointed at, in exact order you would put the bolt thru the metal hose bracket and then behind it put the washer and bolt it in. Nothing special just a regular old washer, I don't have the tool with me but I will attach the pic from the instructions its the silver hexagon tool with the bolt, honestly much easier to use a standard rivet gun like I did.
hey, checking in�Any updates? How are the cooler holding up? I heard that if you take the front bumper off, some of the driver assist sensors will need to be recalibrated by the dealer. Did you have to take you car in for service?
hey, checking in�Any updates? How are the cooler holding up? I heard that if you take the front bumper off, some of the driver assist sensors will need to be recalibrated by the dealer. Did you have to take you car in for service?
Hi, both coolers have been holding up great, I actually just reinstalled the plastic engine cover back just to make sure there were no leaks for a few weeks. I haven�t gotten around to testing the after temps for the trans cooler bec of bad weather and I want the ambient temp to be around the same when I did before readings. Oil cooler however I can see immediately works well, as whenever I get to highway speeds and good airflow that oil temp gauge drops down. For the sensors I didn�t get them recalibrated. I think the only sensor that needs to be calibrated is the lda is your windshield when those are replaced. I didn�t recalibrate anything in the bumper, cars been perfectly fine and everything works good. Even the TIS service manual doesn�t require recalibration for bumper removal.
Yeah I'll attach a picture but it goes behind that metal bracket I pointed at, in exact order you would put the bolt thru the metal hose bracket and then behind it put the washer and bolt it in. Nothing special just a regular old washer, I don't have the tool with me but I will attach the pic from the instructions its the silver hexagon tool with the bolt, honestly much easier to use a standard rivet gun like I did.
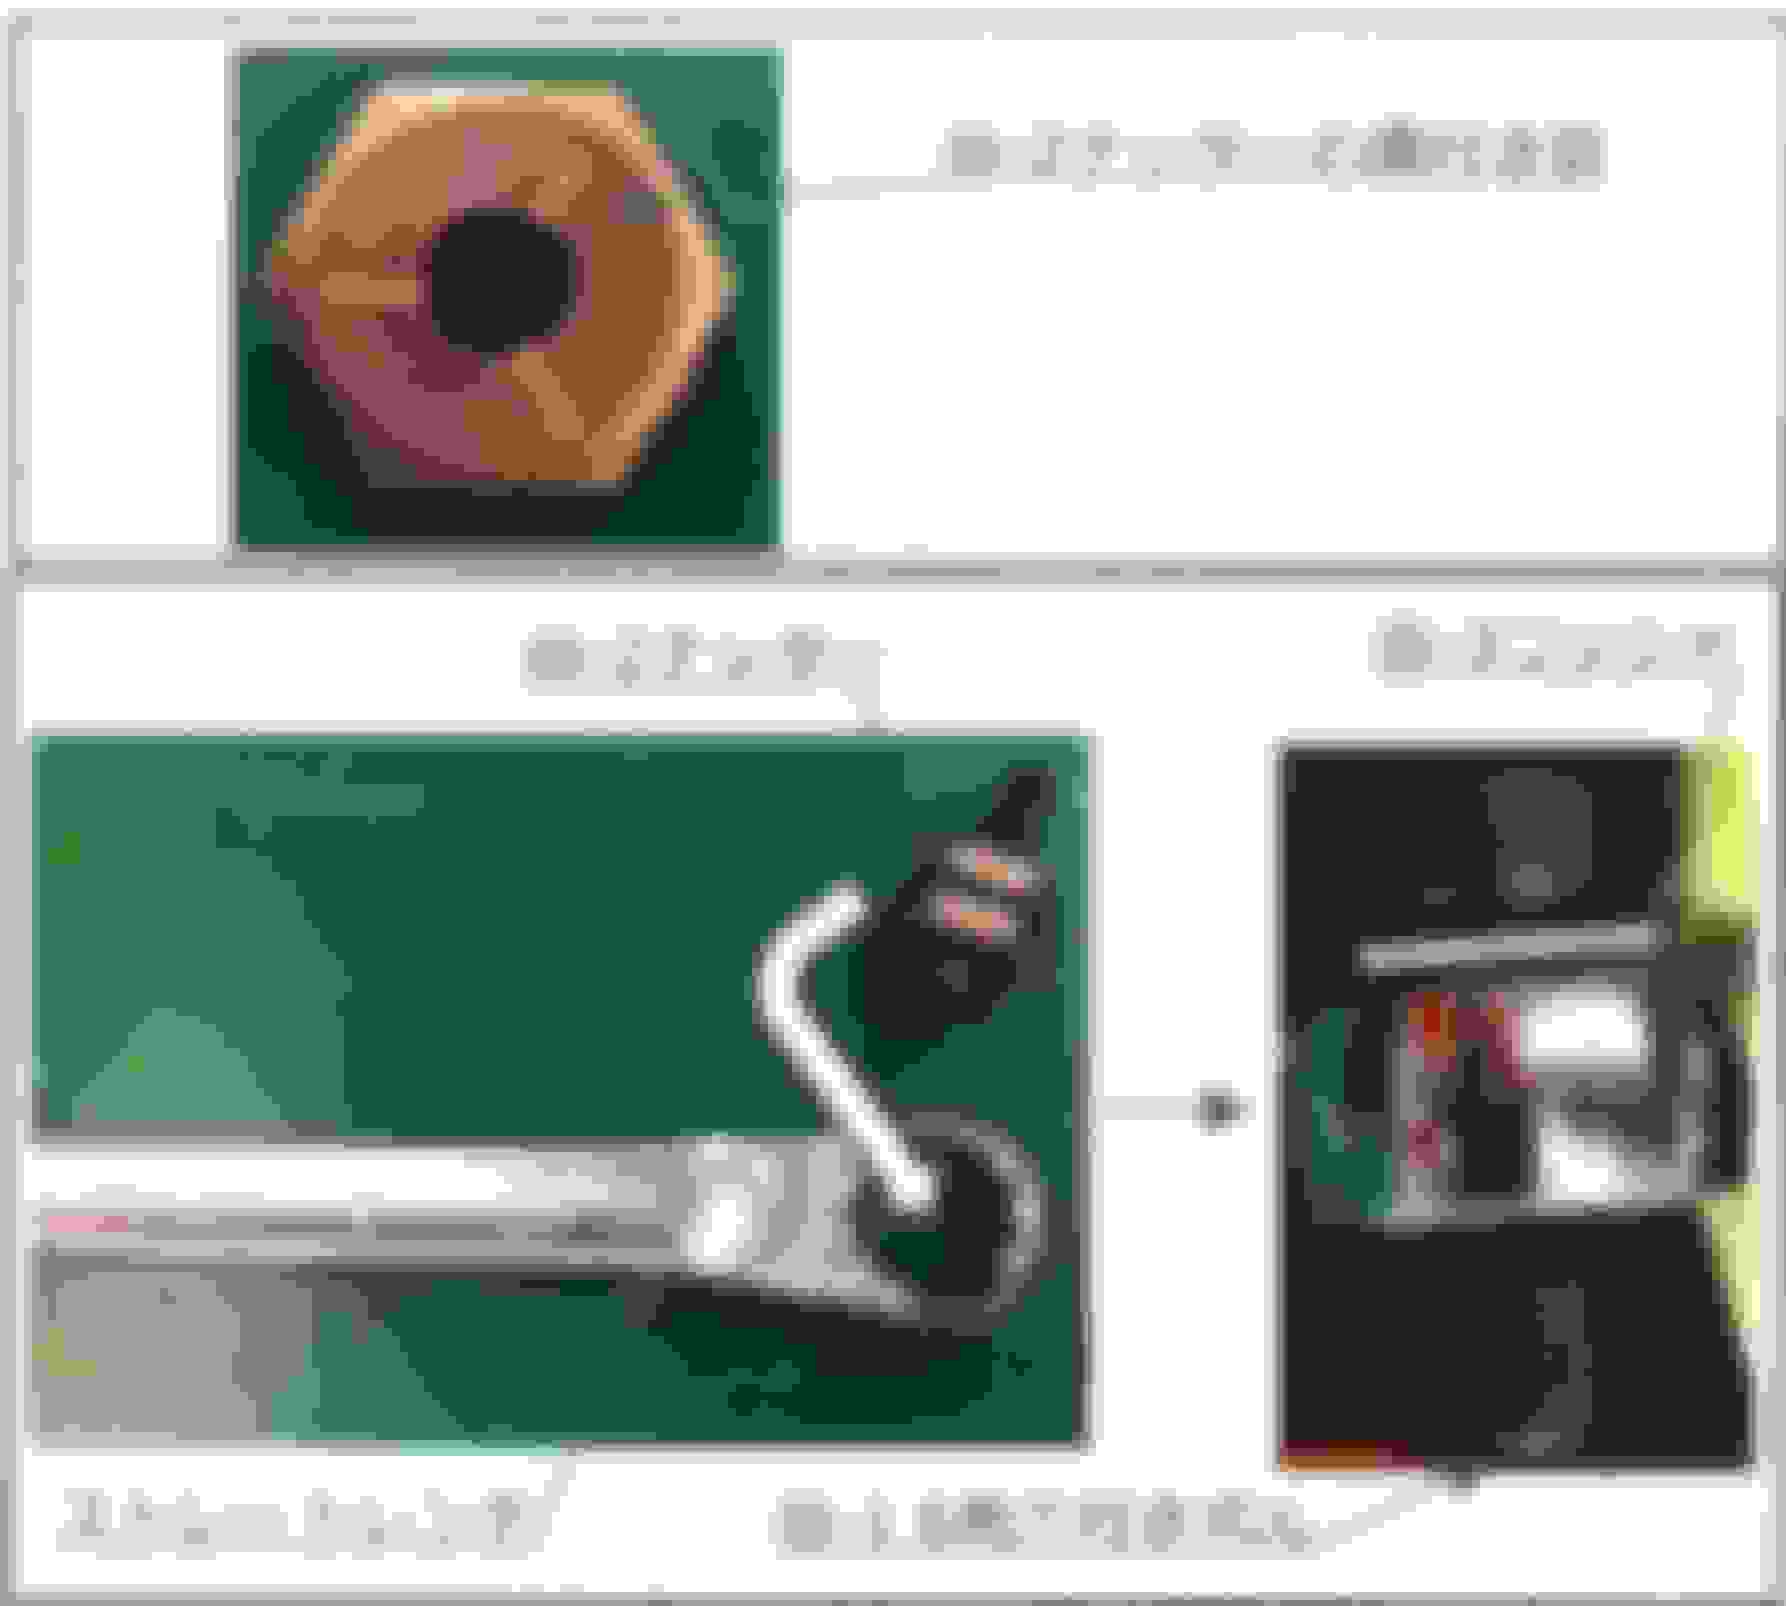
in the picture above, the brass looking nut, did you use that? If so, where did it go? Also, do you have a picture of where the cooler actually was bolted/mounted to?
in the picture above, the brass looking nut, did you use that? If so, where did it go? Also, do you have a picture of where the cooler actually was bolted/mounted to?
That brass nut is the included rivet install tool, pretty useless tbh so I just used my regular rivet gun, the cooler is mounted to the crash bar, I have a google drive link to all the pics I took here: https://drive.google.com/file/d/1aQW...9SkJG5MfX/view


 12-23-22, 07:47 PM