When you click on links to various merchants on this site and make a purchase, this can result in this site earning a commission. Affiliate programs and affiliations include, but are not limited to, the eBay Partner Network.
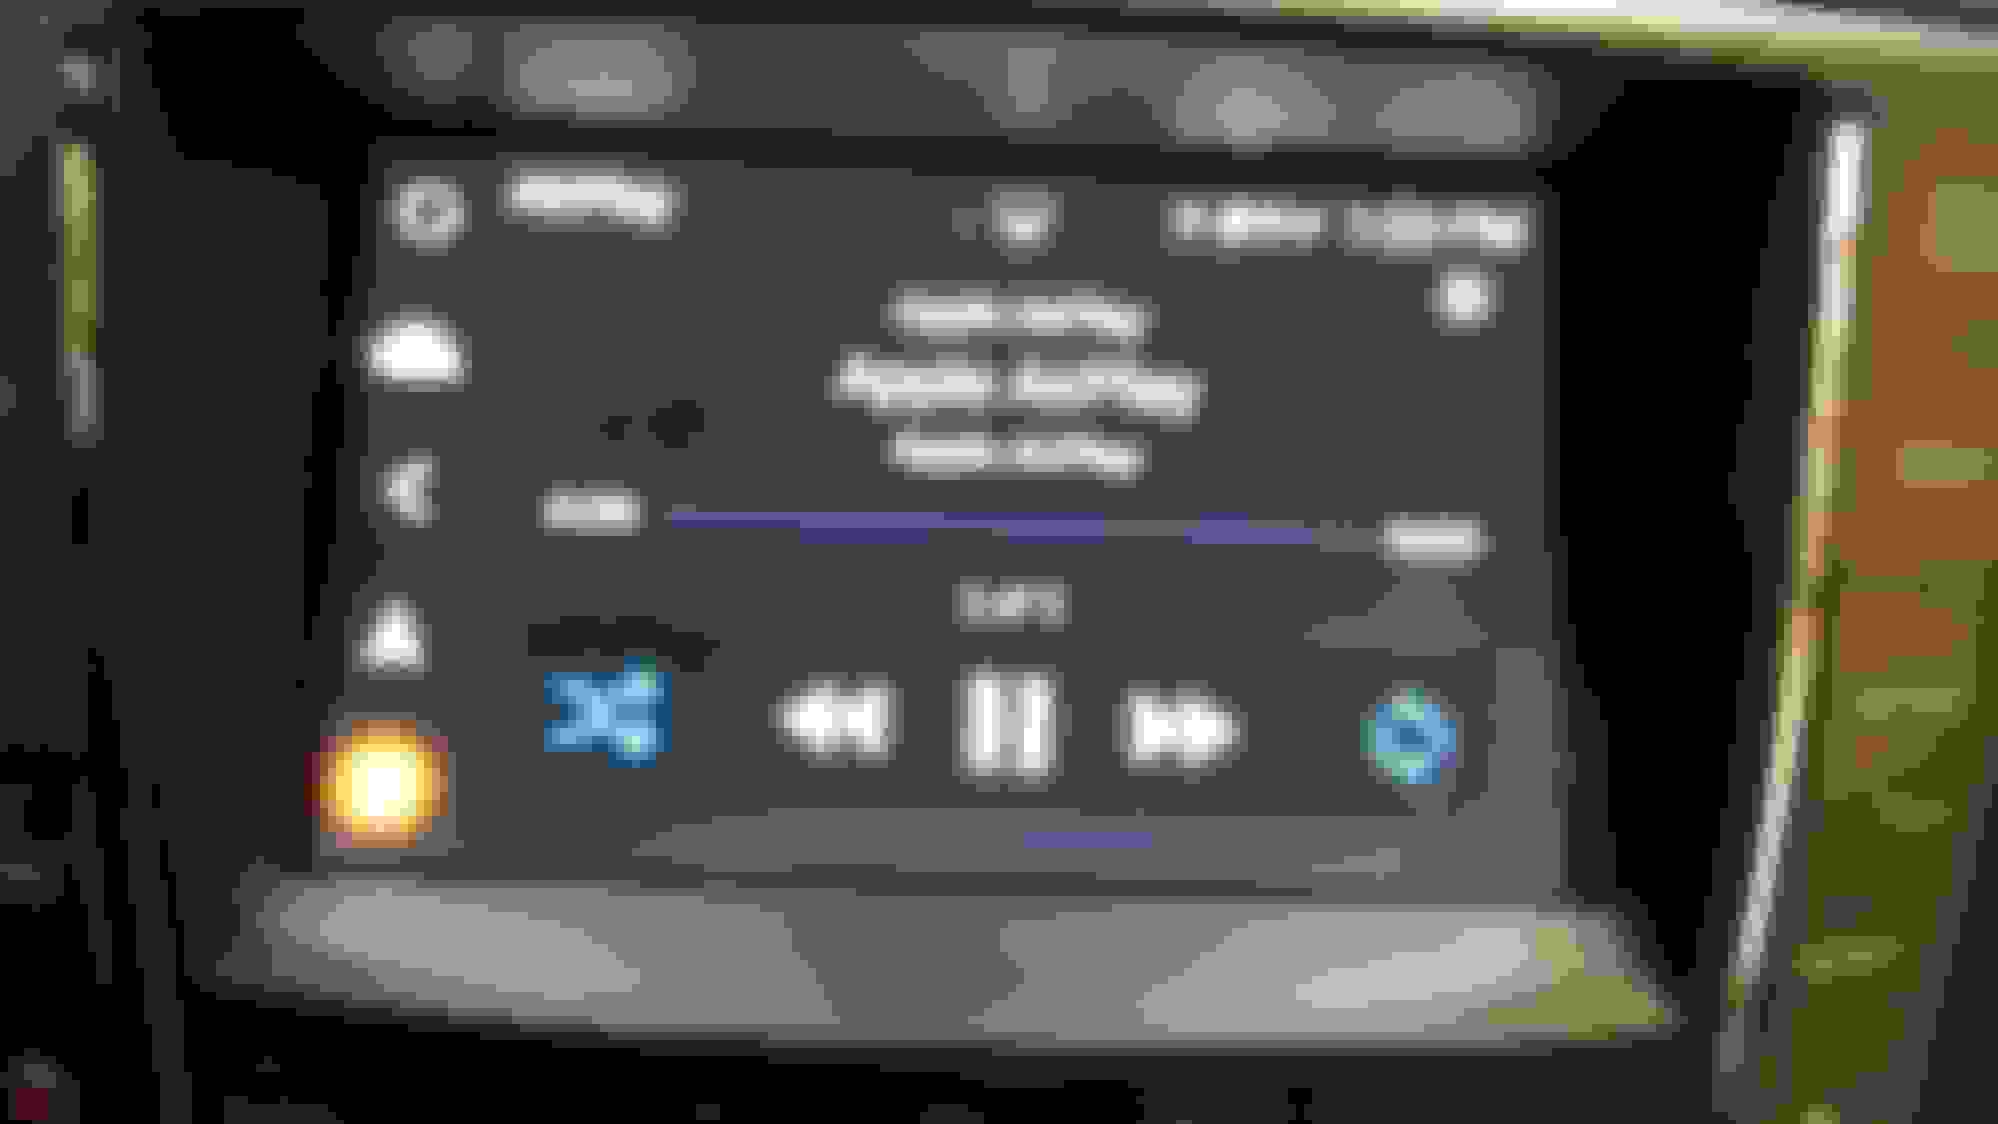
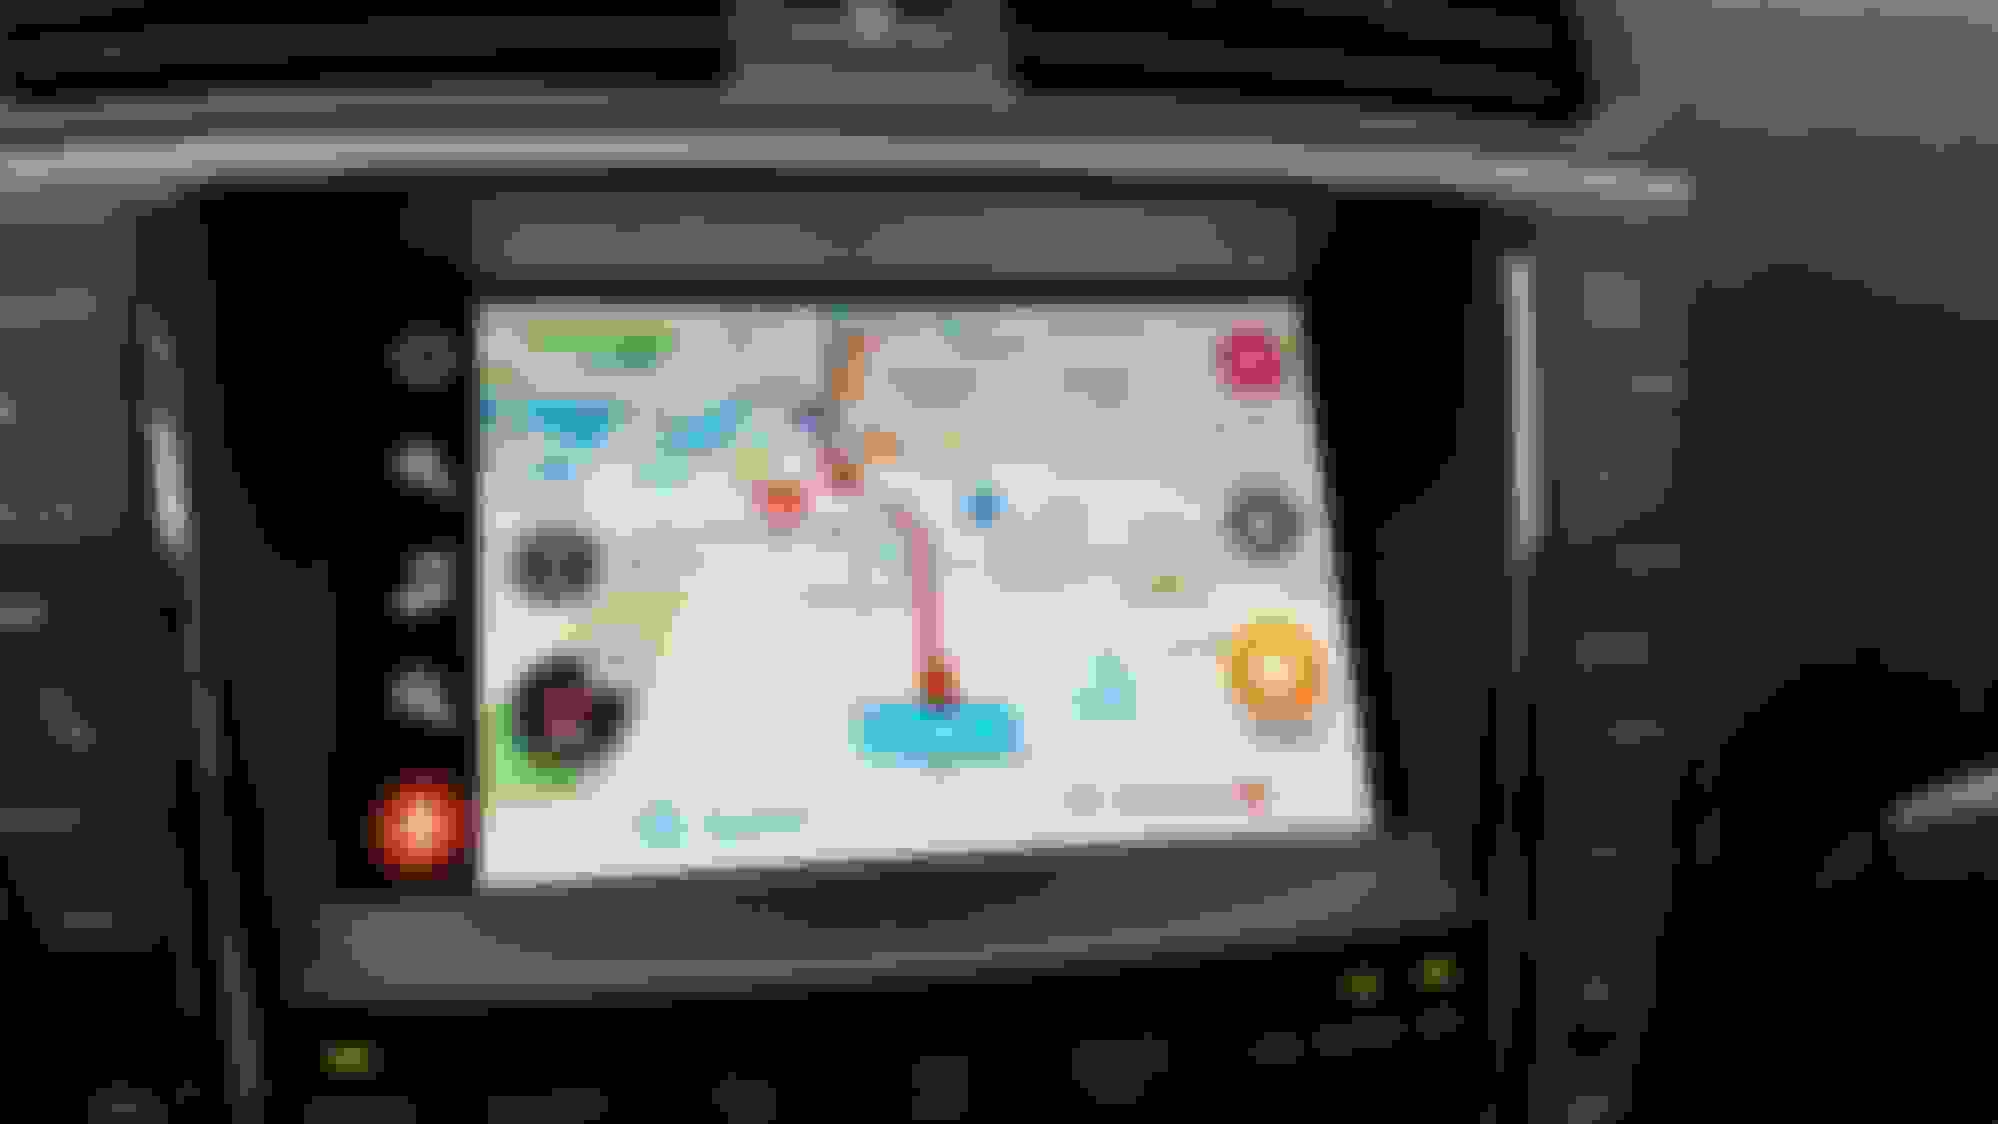
I installed mine about 4 months ago although I haven't tried Carplay. I use the native android apps and hotspot my phone for internet connectivity via wifi.
The install wasn't all that hard--I shot a video to post online but never got around to putting it up. The key for me was having the right tools (and patience) to not damage the interior (an adult beverage helped with the patience part ). Figuring out the trick to safely pull the center air vent deflector was the scariest part. I placed the grom in the glove box and the GPS antenna on right side of the dash.
From my experience, the grom unit is about 95% solid. If you're in and out of the car (like quick errands), it usually starts up immediately from a sleep mode. A longer gap results in a fresh boot which takes longer (maybe a minute?). I suspect this is done to save your battery.
I do occasionally have an issue or two--not unlike any other consumer Android products. On rare occasions I have to unplug the harness supplying power and reboot it. The most common problem I found is the automatic display switching--it either doesn't sense or doesn't switch the video between grom, native head unit function, and backup cam but will work the next time I get in the car. The unit works by setting the head unit to display audio control screen, AUX input. I changed the Lexus setting to disable automatic switching back to native navigation so it will lock on grom 99% of the time.
I didn't really take a lot of pics of the installation process so here are some snags from my failed video...Sorry for the poor quality, most of this was done to aid my failing memory.
Hope this helps.
First you have to get to the 4 bolts holding in the head unit. You need some plastic upholstery tools to get covers off.
4 little tabs that are super tough need to be flipped down to release the air vent.
I was extremely careful on this piece as I've seen a number of videos where people mangled the dash getting it out.
There's one wire connected to vent for a light.
Contrary to other instructions, I ended up just removing the shifter **** and leaving it in park. I also put a bunch of tape and towels down to prevent scratching.
After removing the 4 bolts, you have to lift up and pull forward.
There is a fair amount of slack to work with on the harnesses.
Installing the Y-cables supplied by VLine.
The large connector has a release tab which takes a little patience.
I took out the shelf and cabin filter cover in the glove box to fish the wires. (I did have to cut/notch the plastics inside to get the harness through)
Tested before putting it all back together. It took about 5 - 10 mins to update and perform initial setup process.
This is what it looks like in the glove box...I never really did much more other than clean up the wire management.
These are the few hi-res pictures I took of the back of the unit with the Y-cables... Boot-up screen.
I forgot to mention...
My 2015 used a version 7 Navi harness from VLine...I think the earlier years had a Version 6 Navi so it's likely there's some differences in the cable harness.
And from start to finish, the installation took about 2 1/2 hours...but I do have an intermediate amount of experience tearing interiors apart so your mileage may vary.
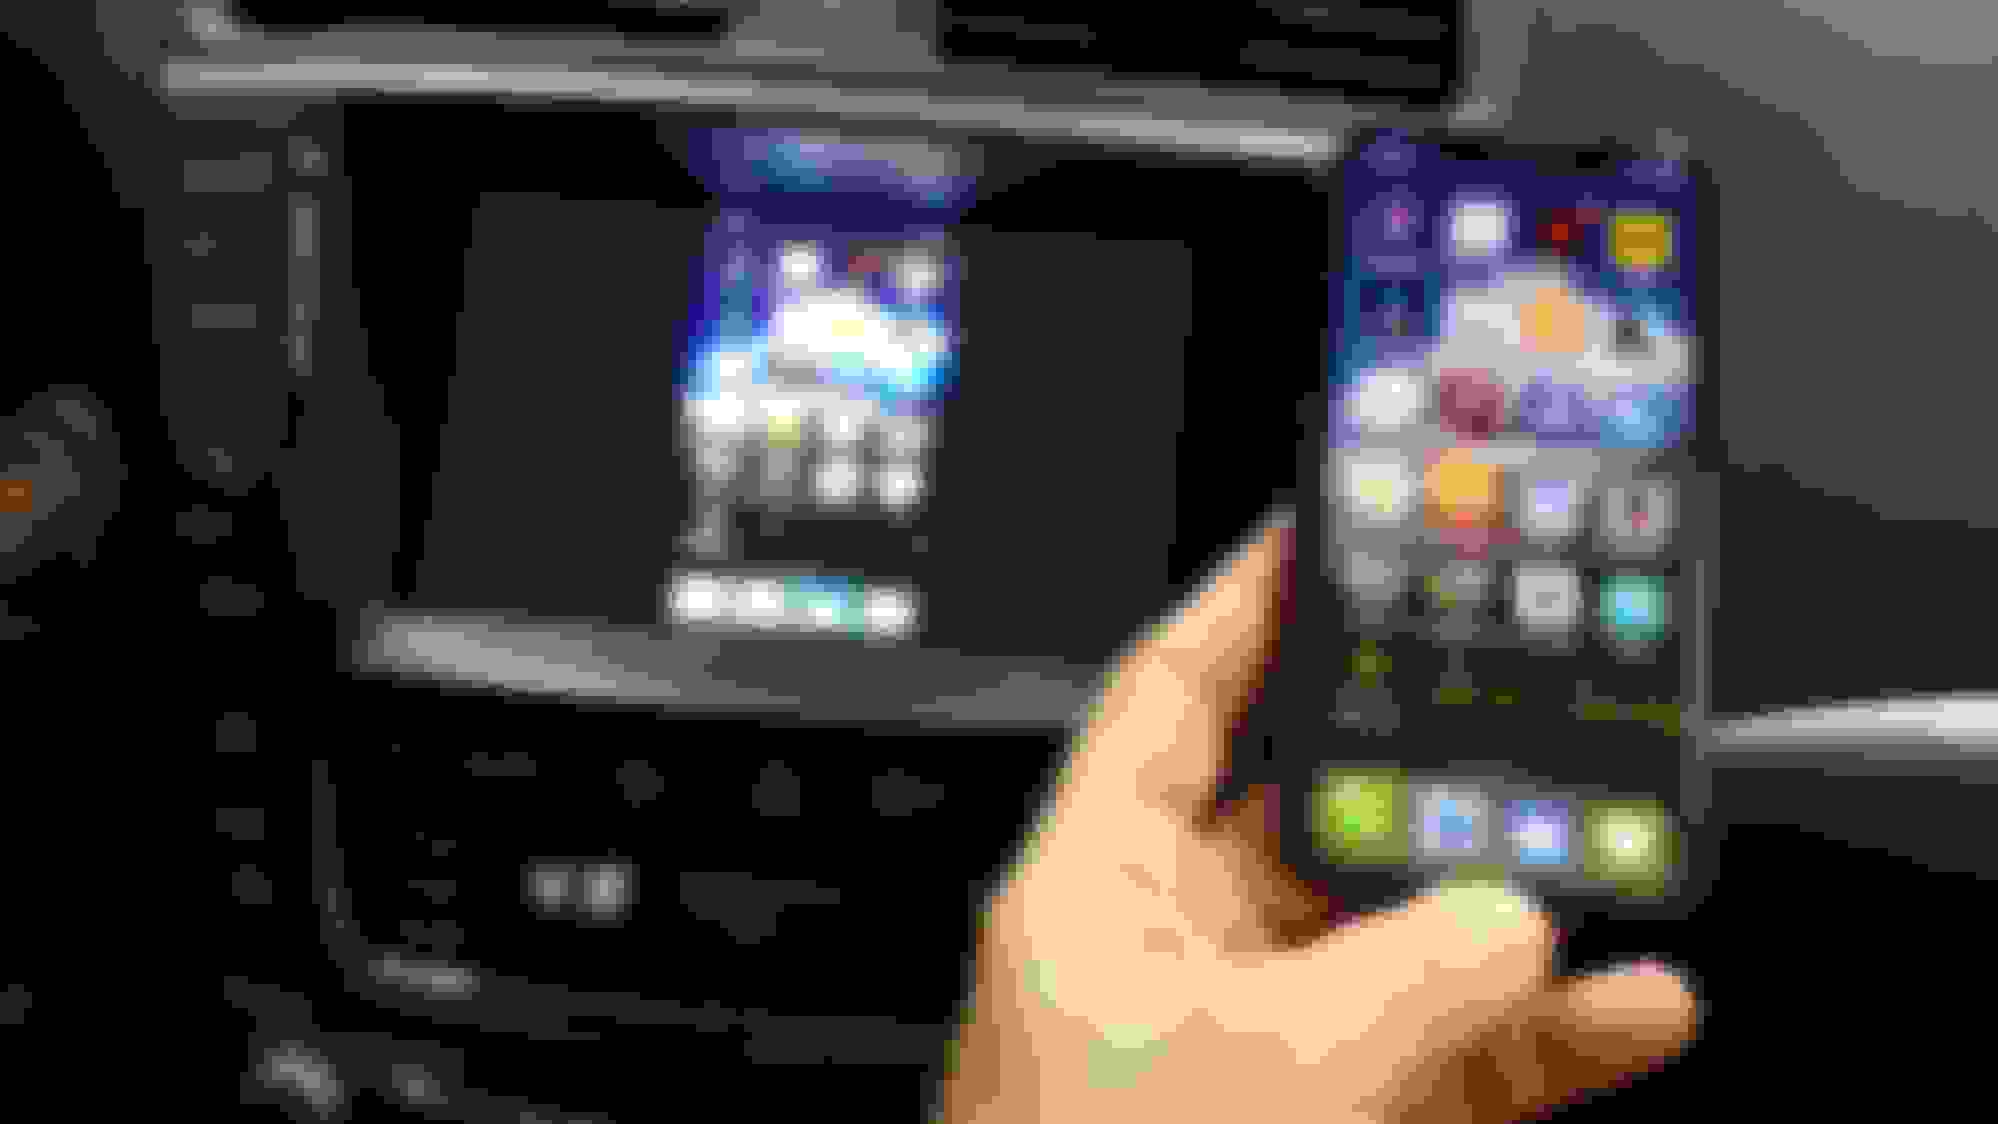
Thank you kindly for the pics. Do you have any pics of the screen (working) , post install, to see how that looks with apple car play or the navigation map?
I've not used that with my iPhone so I'll have to install the plugins and figure out how to use it. I believe there's both Airplay and Carplay...I'll get a couple pics over the weekend and upload them.
 10-16-19, 08:27 PM


") ). Figuring out the trick to safely pull the center air vent deflector was the scariest part. I placed the grom in the glove box and the GPS antenna on right side of the dash.
). Figuring out the trick to safely pull the center air vent deflector was the scariest part. I placed the grom in the glove box and the GPS antenna on right side of the dash.