ThinkDesign Carbon Vents and Gauge Trim
 07-24-11, 10:12 AM
#1
Thanks to mdsbrain and Isfast I was able to pick these up in the for sale section with no wait.
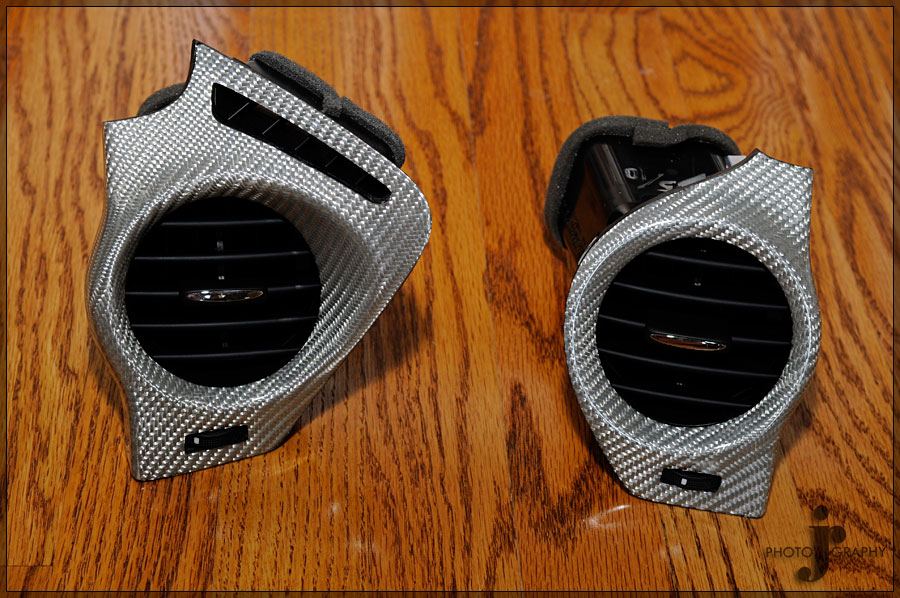
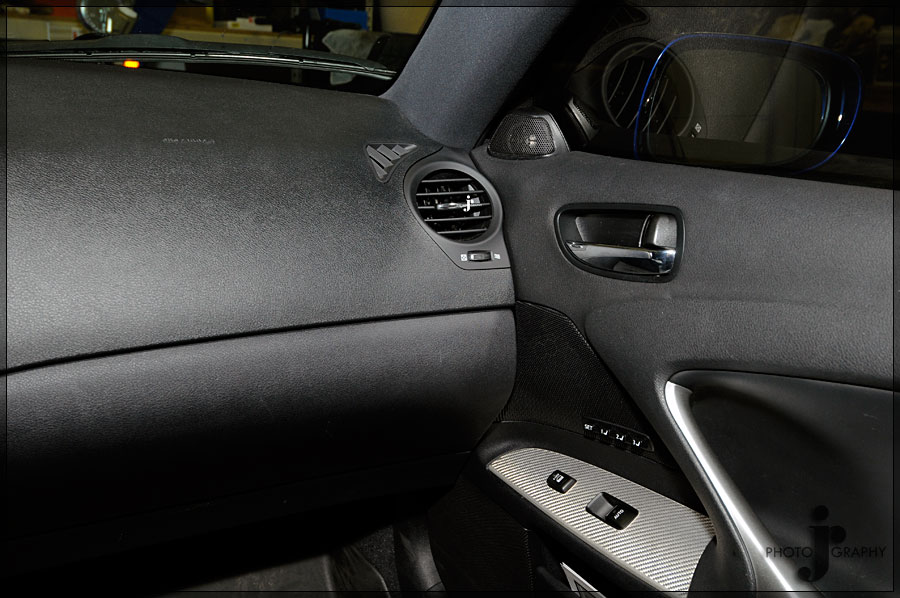
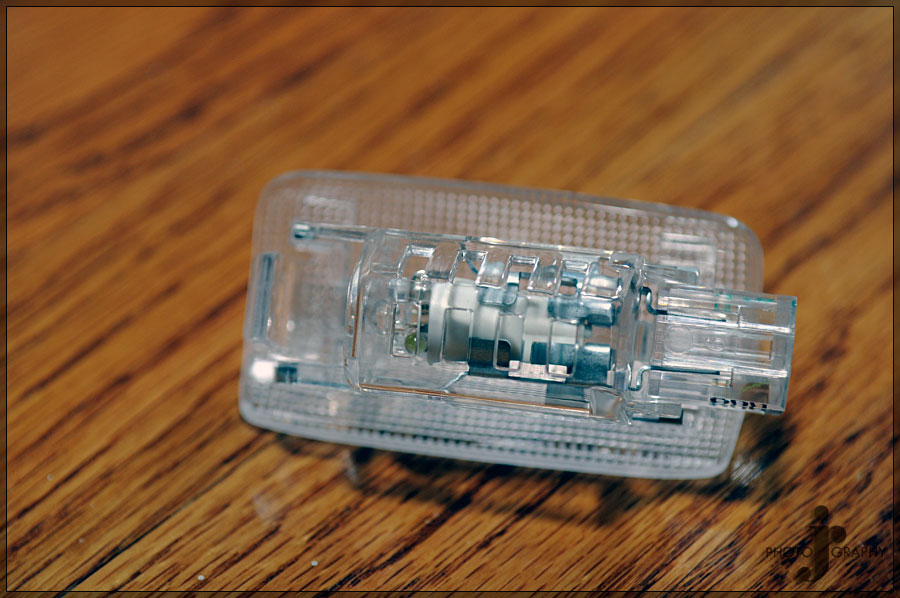
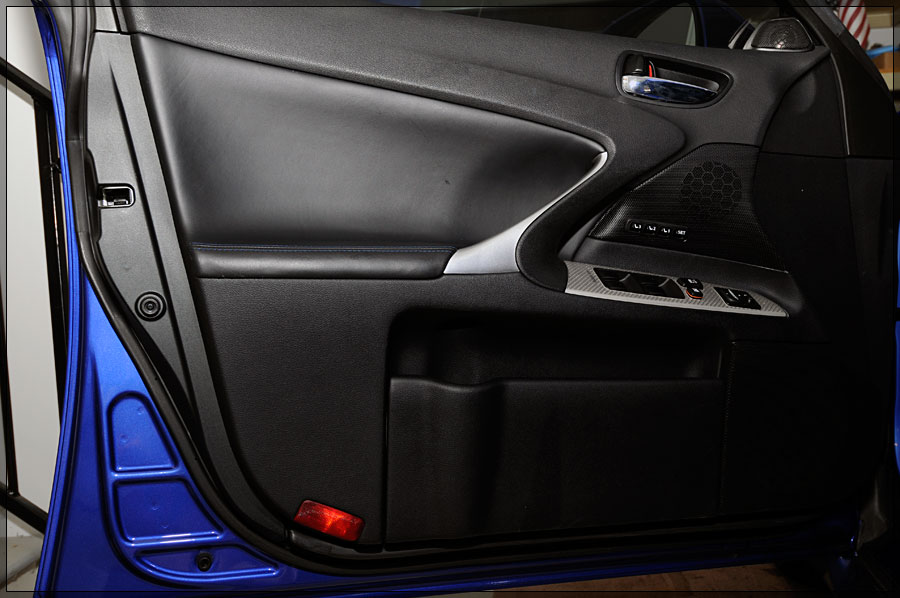
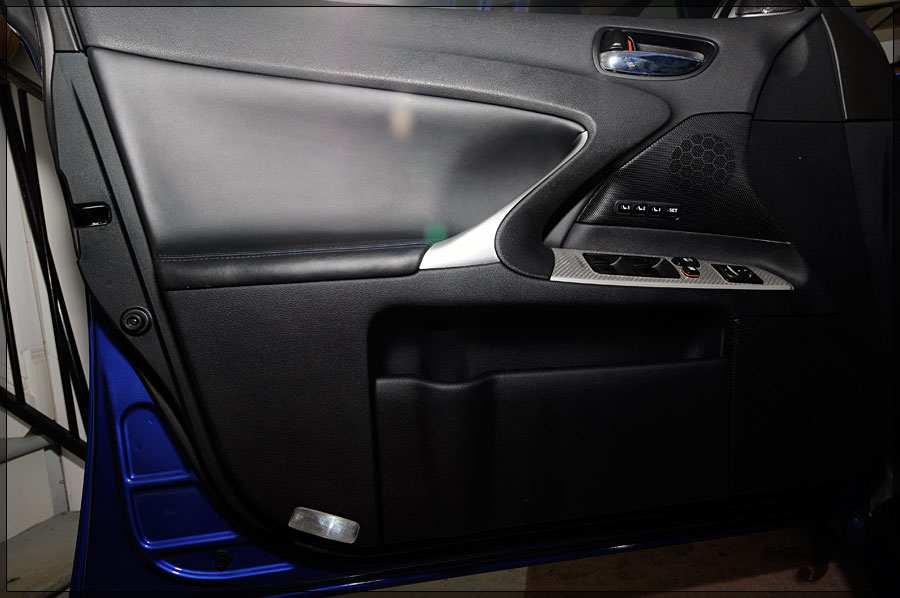
The ThinkDesign parts match the factory trim great. The weave size is slightly larger I believe but I could only just make it out when holding it right next to the center console area so you can't tell at all once they are installed. I also got some clear door lights as well to get rid of the red ones.
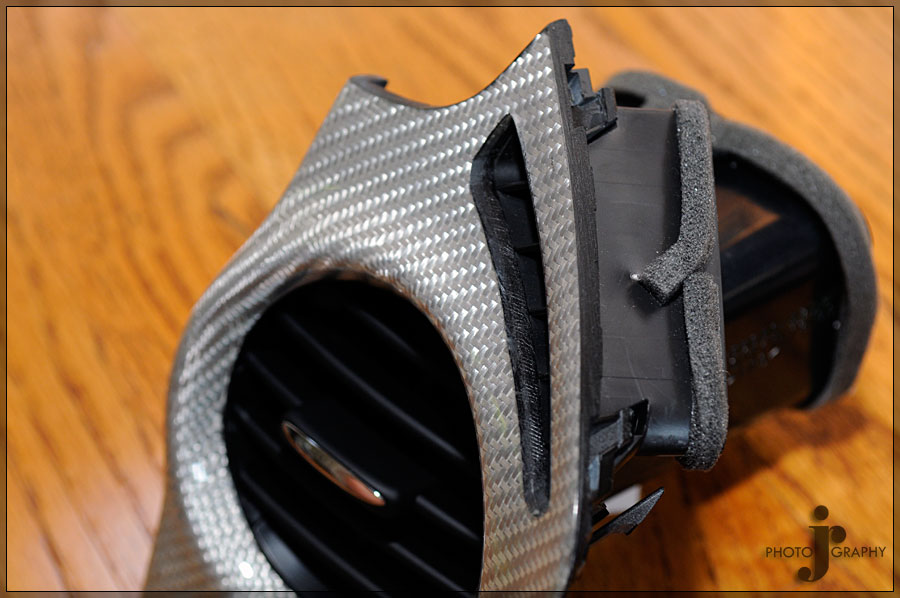
I included a quick install for the gauge trim. It isn't difficult but figured it might come in handy possibly. The vents are straight forward so and just pop out and the new ones clip right in.
I also picked up a Silver flat bottom wheel from Sewell but I am still waiting on that to arrive. Should have it in about 2 weeks time.
Now I just need to pickup the rear seat divider and maybe the latch to the armrest compartment in silver to finish off the interior.
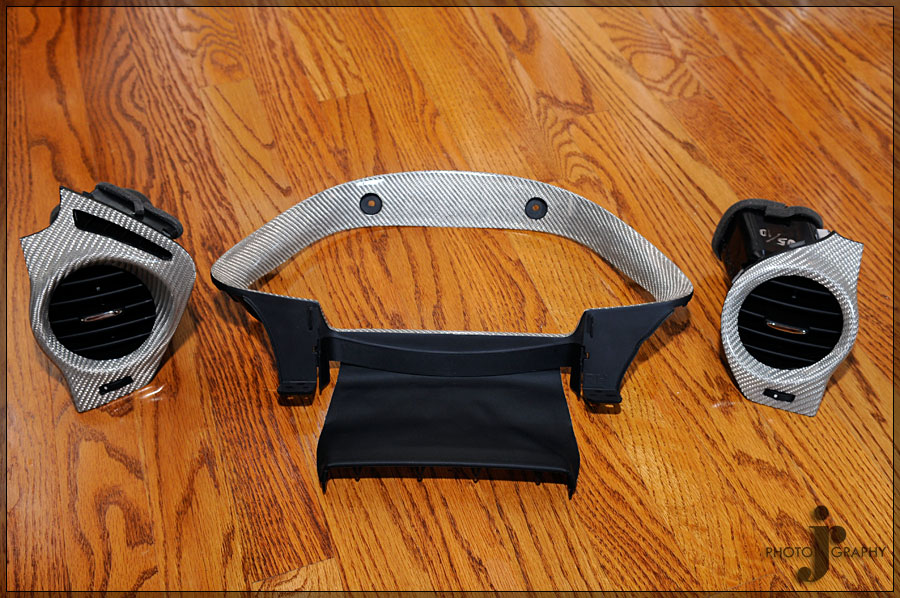
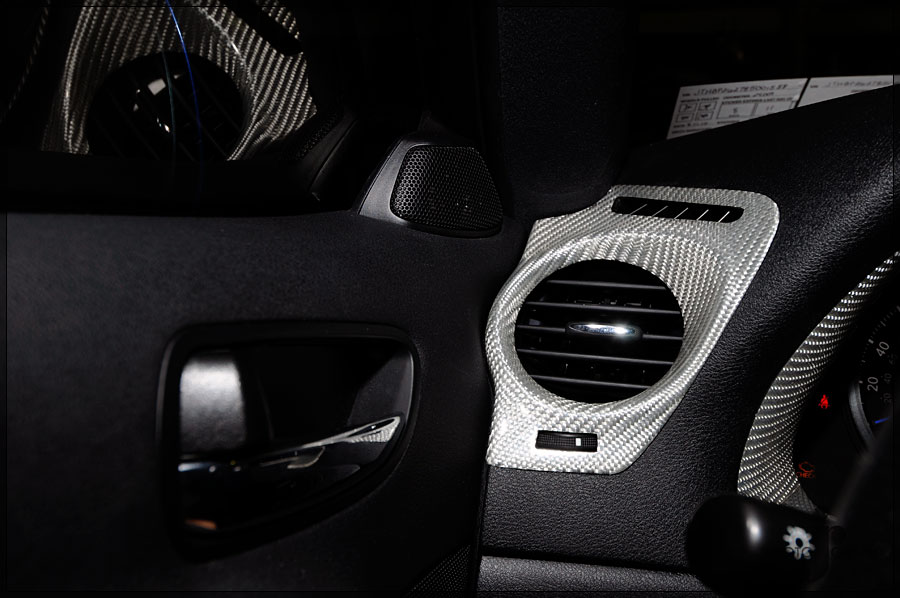
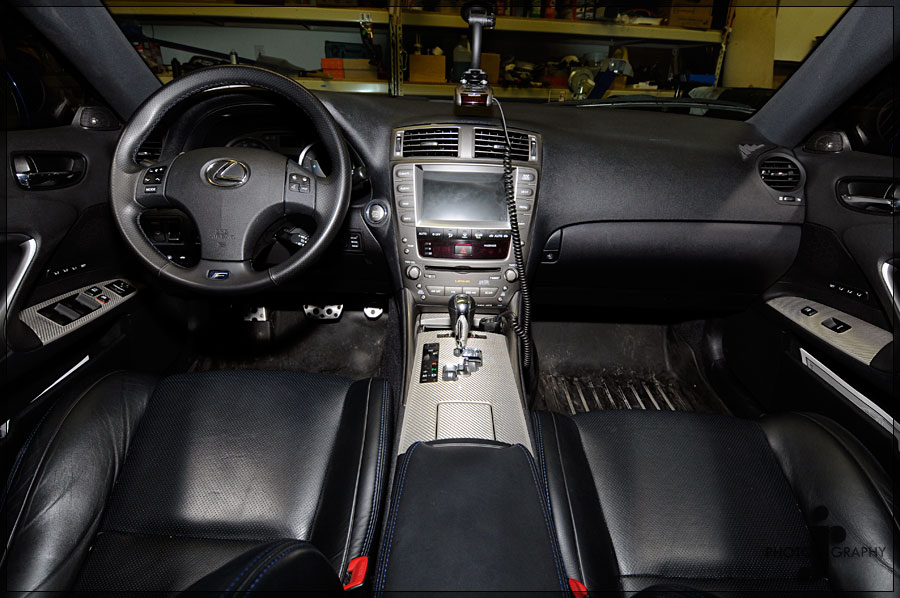
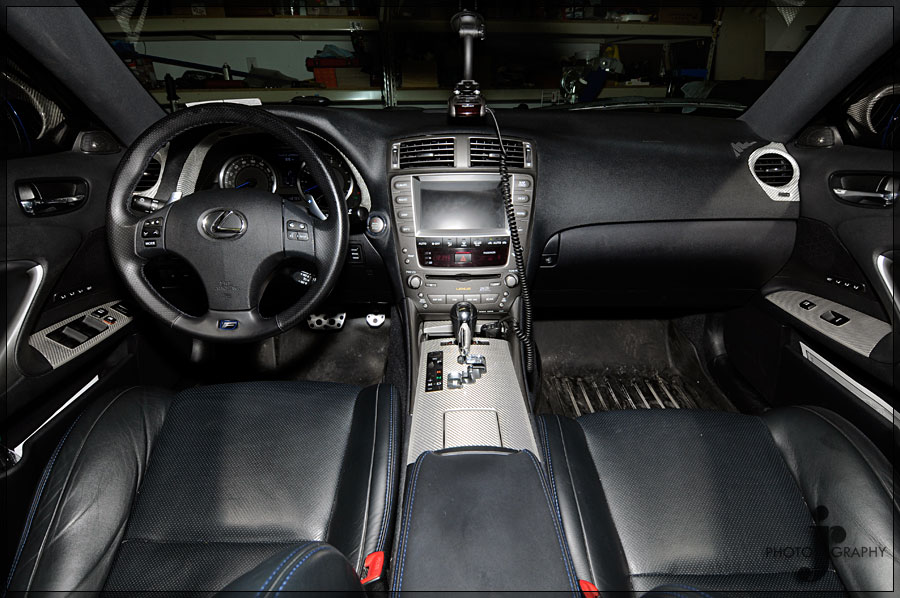
Vents:

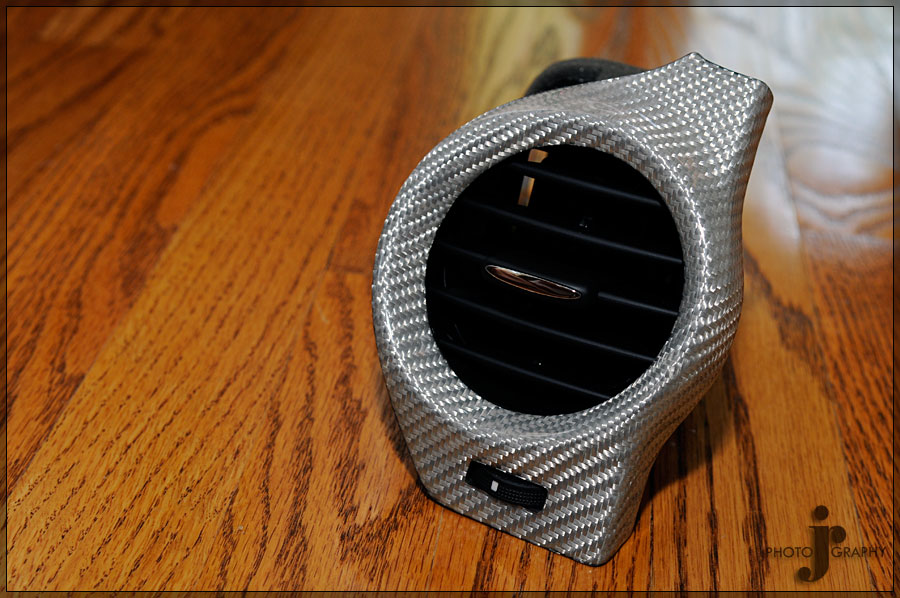
Great attention to detail in the construction
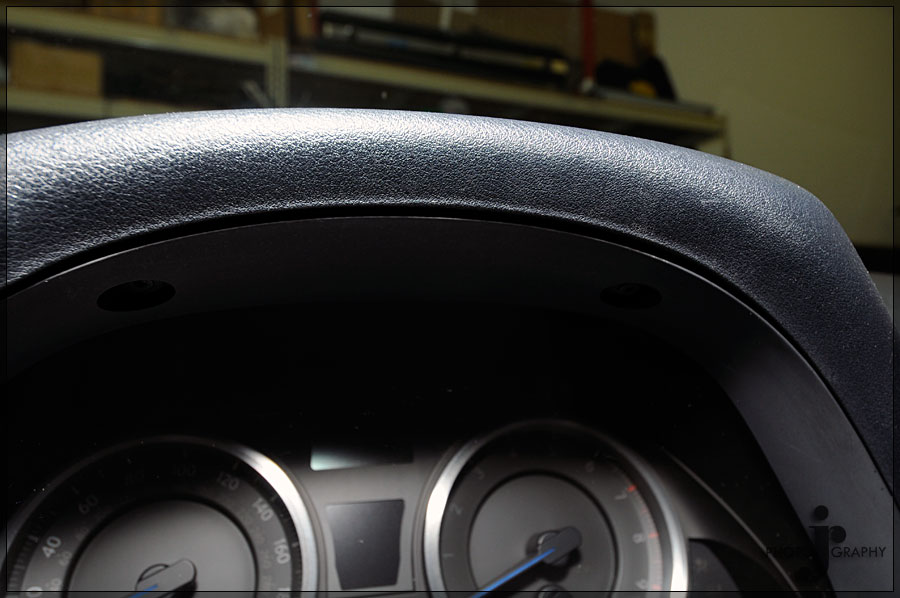
Gauge Trim:

Together:
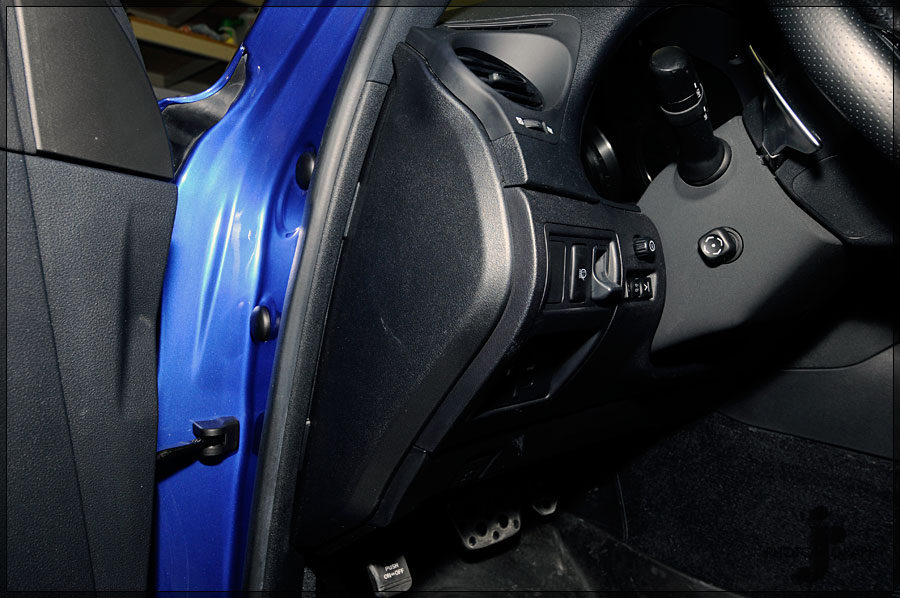
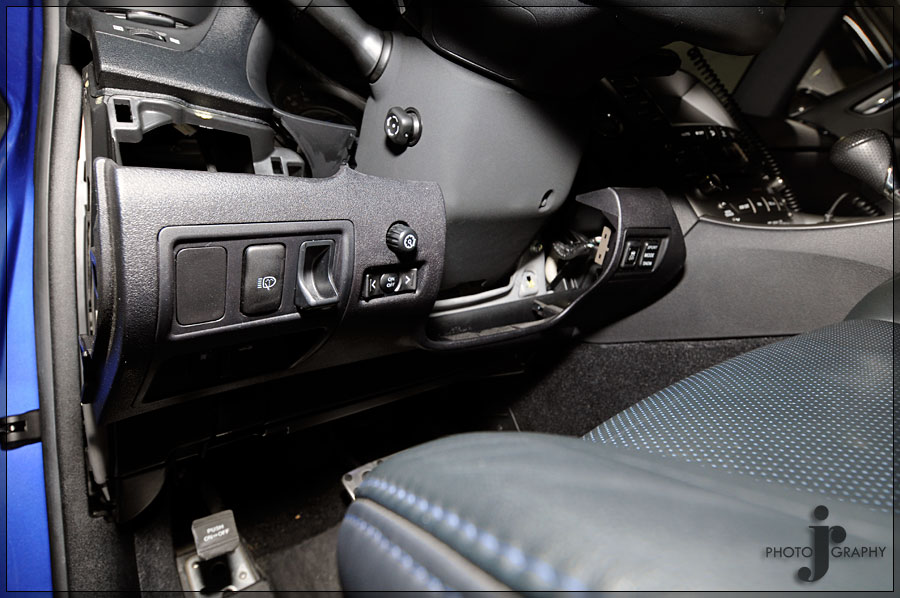
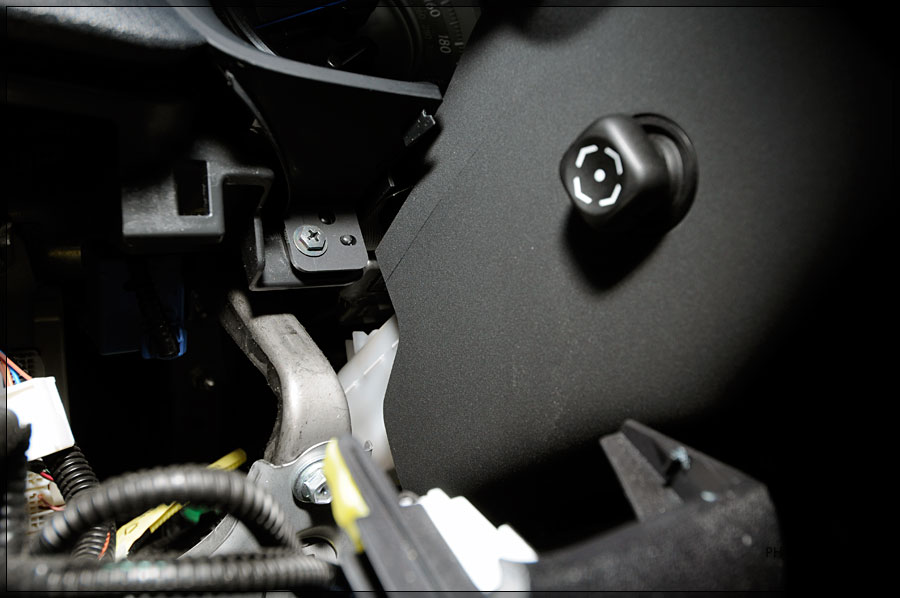
Install:
Remove this side panel first
You can now pull down the lower trim around the steering wheel. You can remove it if you want but you don't have to.
Remove the left screw to the gauge trim.
Remove the right screw to the gauge trim.

Pop up the clips that hold the leather trim in place.

Remove two top plastic screw clips. After this you can wiggle the trim loose and out of the dash.
Reverse to install.

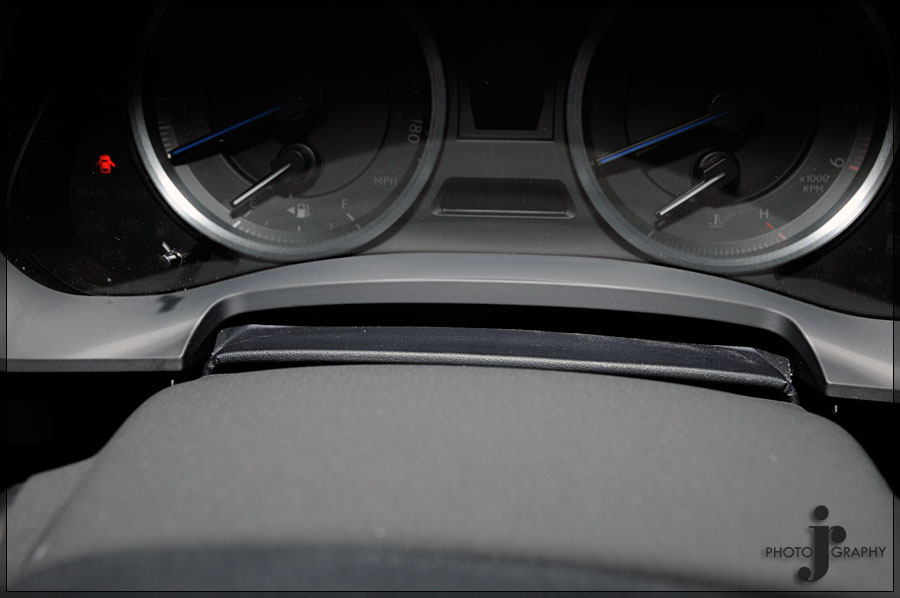
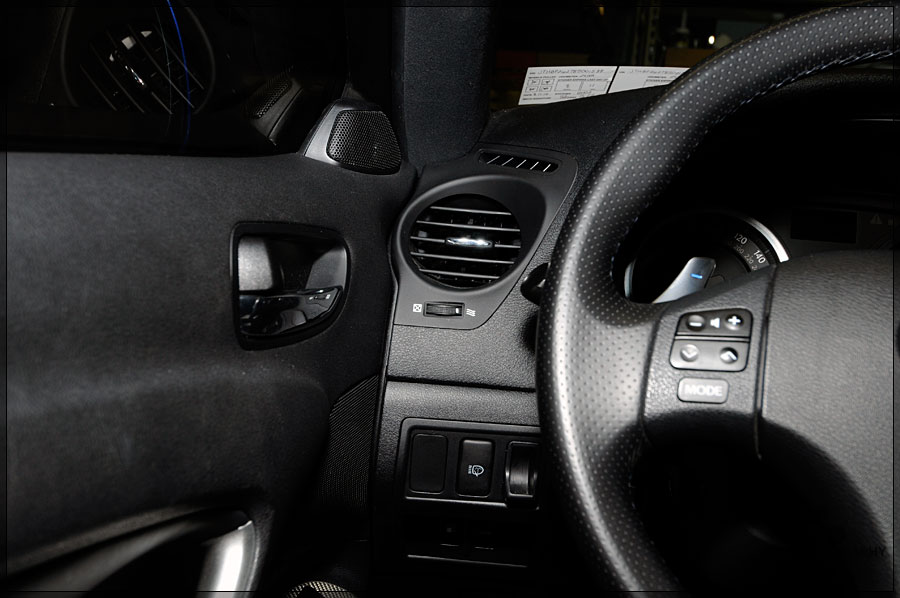
Before & After:

Clear Lights Before & After:
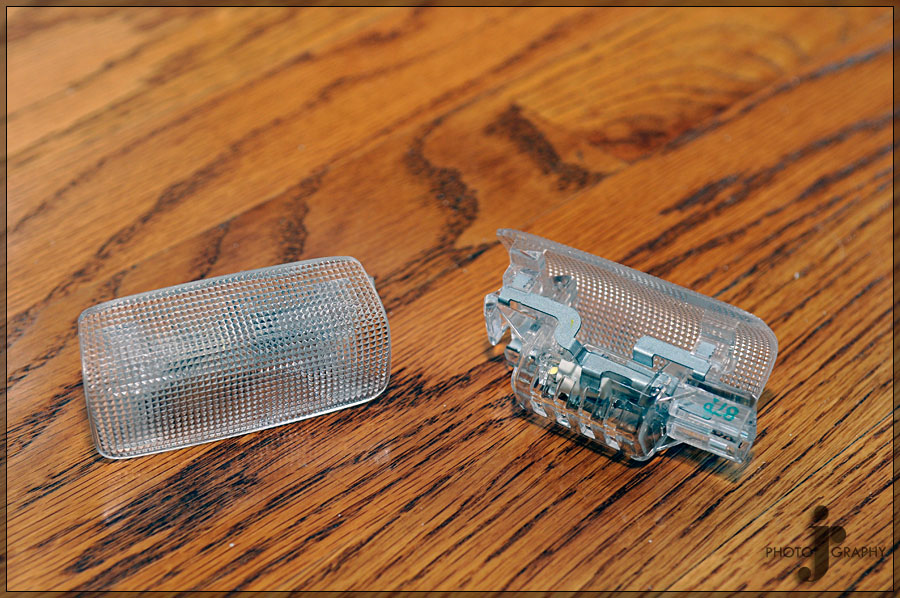
The ThinkDesign parts match the factory trim great. The weave size is slightly larger I believe but I could only just make it out when holding it right next to the center console area so you can't tell at all once they are installed. I also got some clear door lights as well to get rid of the red ones.
I included a quick install for the gauge trim. It isn't difficult but figured it might come in handy possibly. The vents are straight forward so and just pop out and the new ones clip right in.
I also picked up a Silver flat bottom wheel from Sewell but I am still waiting on that to arrive. Should have it in about 2 weeks time.
Now I just need to pickup the rear seat divider and maybe the latch to the armrest compartment in silver to finish off the interior.
Vents:
Great attention to detail in the construction
Gauge Trim:
Together:
Install:
Remove this side panel first
You can now pull down the lower trim around the steering wheel. You can remove it if you want but you don't have to.
Remove the left screw to the gauge trim.
Remove the right screw to the gauge trim.
Pop up the clips that hold the leather trim in place.
Remove two top plastic screw clips. After this you can wiggle the trim loose and out of the dash.
Reverse to install.
Before & After:
Clear Lights Before & After:


Trending Topics
07-24-11, 03:24 PM
#8
Pole Position
iTrader: (8)

Join Date: May 2011
Location: Florida
Posts: 391
Likes: 0
Received 0 Likes
on
0 Posts
Looks awesome. I got the Think Design shift **** off of Raj, I really wanted the vents but didn't go for em. Looking at ur pics makes me wish I did now lol. Your interior looks sick. Can't wait to see pics with the flat bottom steering wheel comes in.
07-24-11, 03:54 PM
#9
Lexus Test Driver
Sure the silver cf vents look good, but I don't know if I would have done it. Silver carbon in a sea of black in that area...dunno. But at least the silver carbon gauge trim connects it well to the rest of the other stock silver carbon.
Who is the best CL vendor for these (think design) again...L-Tuned?
Who is the best CL vendor for these (think design) again...L-Tuned?

 07-25-11, 08:21 AM
#13
Thanks everyone for all the compliments.
Glad I was able to pick them up. I love the look of them.
I was looking into doing black switch but the cost of doing everything was going to be so much. Plus the price I was able to get the vents and gauge trim for I just couldn't pass it up.
Yes L-tuned is the only vendor I know of that can get these.
I have been thinking of hardware but I love my mute button being easy to access. I also would like to put a front mount system in with laser jammers cause it is just to easy to speed in this car and not realize it.
Well I got them at a great deal in the for sale section so I think with the Steering wheel, vents, gauge trim, and door lights it should come in just under $1400. Doing it brand new though would be much more.
Yeah I wanted to keep it simple and not go crazy. I think the center gauges match with the radio so no reason to do those unless they come up for a good deal as well.
Haha well I am glad you didn't cause I love the look now that I have them. Can't wait for the wheel either.
I was worried a little bit at first and thought it would look to bright and almost obnoxious but now that it is installed I think it flows really well.
Sure the silver cf vents look good, but I don't know if I would have done it. Silver carbon in a sea of black in that area...dunno. But at least the silver carbon gauge trim connects it well to the rest of the other stock silver carbon.
Who is the best CL vendor for these (think design) again...L-Tuned?
Who is the best CL vendor for these (think design) again...L-Tuned?
Yes L-tuned is the only vendor I know of that can get these.
Well I got them at a great deal in the for sale section so I think with the Steering wheel, vents, gauge trim, and door lights it should come in just under $1400. Doing it brand new though would be much more.
Yeah I wanted to keep it simple and not go crazy. I think the center gauges match with the radio so no reason to do those unless they come up for a good deal as well.
I was worried a little bit at first and thought it would look to bright and almost obnoxious but now that it is installed I think it flows really well.
