When you click on links to various merchants on this site and make a purchase, this can result in this site earning a commission. Affiliate programs and affiliations include, but are not limited to, the eBay Partner Network.
Which type of 3M Double Sided tape to use for body kits? (Diffusers, spoilers, etc.)
Hi everyone!
I just bought a brand new Arkym Diffuser from a member on here (thanks Turbogoat3!) and would like to install it myself. I have never installed any mods on any car in my life before so this is all new to me. I did a bit of research and found out you would need to take off the rear bumper (which lolfunction was able to walked me through via Instagram, thanks!), and now I'm at the point where I don't know what type of 3M tape to buy. There are so many different type of model numbers for the 3M brand, 3M(TM) Automotive Acrylic Plus Attachment Tape 06384, 3M 4910 Double Sided VHB Tape, 3M Automotive Attachment Double Sided Adhesive Tape 1/4" x 20 yd - 1 Roll 6376, etc. There's so many varieties of 3M tape that I have no idea which is optimal for this particular installation. My ultimate goal is to get the diffuser to stick on without falling off at higher MPHs but also reversablle enough to take off in the future if I need it off for any reason without damaging the original paint (SFP). I will also be drilling two holes below the bumper to attach the screws (what size screws would you guys recommend? Does it make a difference?) Also I would like to know what the prep process before installing the diffuser so in the future I can reference back to this thread for other parts.
Thanks F'amily!
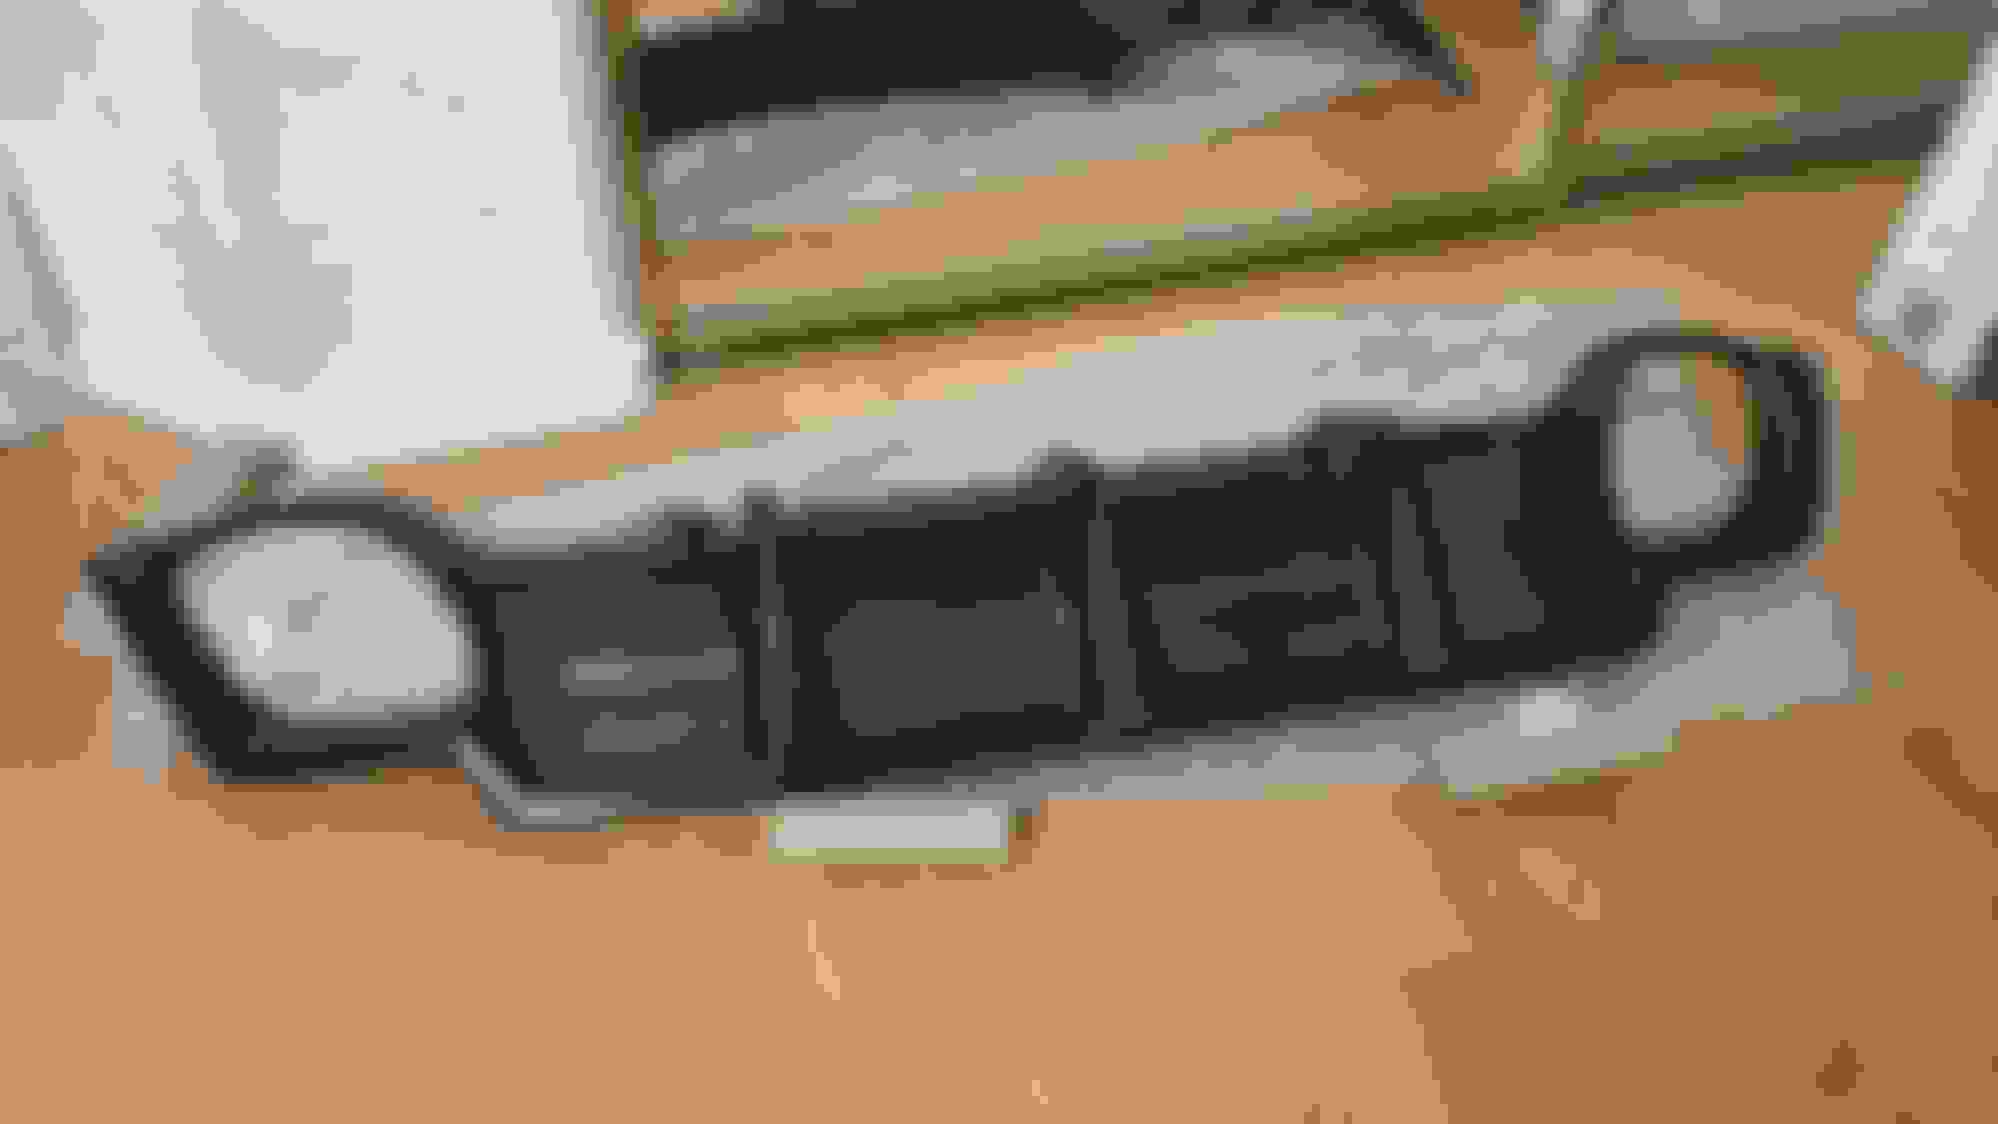
Arkym Diffuser
Test Fit (Don't know how it stuck on it's own without tape, took a quick snap and took it off).
I used the black 3M "Automotive Acrylic Plus Attachment Tape" for my diffuser..... 06384 (1/2 inch x 5 yards x.045 inch thickness). It worked extremely well.
To install my Tom's diffuser I used the following: If you search Amazon by that exact description, it should bring you to the listing I purchased from.
Automotive Tape 3M Acrylic Plus Double Sided Attachment Tape OEM 3M part # 3M 06384
To combo, I also purchased the following to ensure a good stick. Not sure if using this would make it hard to remove in the future.
My diffuser has been on close to a year with no problems and no sign of falling off. No portion of the diffuser or the tape has shown signs of unsticking, and I check periodically.
Not sure of the the fitment for your diffuser, but for the Tom's diffuser, the fitment between the curved portion of the diffuser and your bumper isn't 100%. It's more like 98%. If you were to just straight up put on the diffuser without pushing hard onto the diffuser to make sure it's flush against the bumper, you'd see a slight gap of about 1mm. In order to make the diffuser conform to the body of the bumper I had to stretch the curve slightly. This makes the install a challenge as the natural shape of the diffuser might end up pulling back on the double sided tape, resulting in a 1mm gap between the bumper and the diffuser. What I did was that I used the primer as an extra precaution. When installing, I first placed the diffuser against the bumper without any double sided tape to ensure perfect placement. Once I found the perfect placement I used painters tape and taped of line contour that the diffuser should be placed. That way, when you'd installing it with the double sided tape, it'll reduce the chances that you might stick on the diffuser crooked.
When it comes down to sticking on the diffuser I did it in the following way. I first removed the tape backing from only the portion of the diffuser that sticks to the rear bumper (the side of the bumper that faces the rear of the car). I left enough of the backing sticking out so that as I stuck on the rest of the diffuser (the portion that starts to curve to the bottom of the bumper), I could just pull away at the backing while at the same time applying force and pressure to make sure the diffuser's curved section ultimately follows the bumper's lines.
I know the procedure is hard to follow without pictures, and unfortunately I didn't take pictures during the install, but feel free to contact me if you have more questions regarding the process I took.
I used the black 3M "Automotive Acrylic Plus Attachment Tape" for my diffuser..... 06384 (1/2 inch x 5 yards x.045 inch thickness). It worked extremely well.
Originally Posted by kzlflash
To install my Tom's diffuser I used the following: If you search Amazon by that exact description, it should bring you to the listing I purchased from.
Automotive Tape 3M Acrylic Plus Double Sided Attachment Tape OEM 3M part # 3M 06384
My diffuser has been on close to a year with no problems and no sign of falling off. No portion of the diffuser or the tape has shown signs of unsticking, and I check periodically.
Not sure of the the fitment for your diffuser, but for the Tom's diffuser, the fitment between the curved portion of the diffuser and your bumper isn't 100%. It's more like 98%. If you were to just straight up put on the diffuser without pushing hard onto the diffuser to make sure it's flush against the bumper, you'd see a slight gap of about 1mm. In order to make the diffuser conform to the body of the bumper I had to stretch the curve slightly. This makes the install a challenge as the natural shape of the diffuser might end up pulling back on the double sided tape, resulting in a 1mm gap between the bumper and the diffuser. What I did was that I used the primer as an extra precaution. When installing, I first placed the diffuser against the bumper without any double sided tape to ensure perfect placement. Once I found the perfect placement I used painters tape and taped of line contour that the diffuser should be placed. That way, when you'd installing it with the double sided tape, it'll reduce the chances that you might stick on the diffuser crooked.
When it comes down to sticking on the diffuser I did it in the following way. I first removed the tape backing from only the portion of the diffuser that sticks to the rear bumper (the side of the bumper that faces the rear of the car). I left enough of the backing sticking out so that as I stuck on the rest of the diffuser (the portion that starts to curve to the bottom of the bumper), I could just pull away at the backing while at the same time applying force and pressure to make sure the diffuser's curved section ultimately follows the bumper's lines.
I know the procedure is hard to follow without pictures, and unfortunately I didn't take pictures during the install, but feel free to contact me if you have more questions regarding the process I took.
I have the same diffuser. I bought it damaged and restored it. The fit was not great and I needed a lot of pressure to fit it properly. My 1st try ata attaching it I filled garbage cans with water and pushed them up to the diffuser-it worked, but not well. So then I came up with this-
I have the same diffuser. I bought it damaged and restored it. The fit was not great and I needed a lot of pressure to fit it properly. My 1st try ata attaching it I filled garbage cans with water and pushed them up to the diffuser-it worked, but not well. So then I came up with this-
I have a Toms Diffuser and it wont stick from the edges... Anyone got a solution?

 09-01-15 | 10:37 AM


 You might get additional PM's from me later on. Haha~