When you click on links to various merchants on this site and make a purchase, this can result in this site earning a commission. Affiliate programs and affiliations include, but are not limited to, the eBay Partner Network.
Interesting, ok noted on the 2nd Lower Lock Ring to bottom that one out so I can just access the 1st Lower Lock Ring. Are the recommended 15F/20R going towards the stiffer end of the spectrum and the lower values going down into single digits put the dampers into a softer setting? Or is it the other way around?
Other way around. The number of clicks is referenced turning counter-clockwise from full stiff, which is at the clockwise stop, or what the (regrettably generic) Ohlins owner's manual terms "fully closed" (page 7). Turning counter-clockwise "opens" the shock by the desired # of clicks. Mike recommends "lagging the rear" by 5 clicks from the front, i.e. always keeping the rear softer by 5 clicks than the front. I think there are 30 clicks of total adjustment, but unfortunately cannot put my finger on where I saw that and have not tried it out yet.
Maybe splitting hairs a bit here, but I do not feel a "click" or detent at full stiff, so have been considering the first click back counter-clockwise as click #1. This is my understanding of the guidance on page 7.
Those adjusters are beautiful, tight tolerance parts. Definitely would not thread them on the shock rod until after installation on the car to keep them from getting banged up.
Does the lower piece with the eye or bushing also have a groove? the groove, as far as I know is the minimum threaded in length.
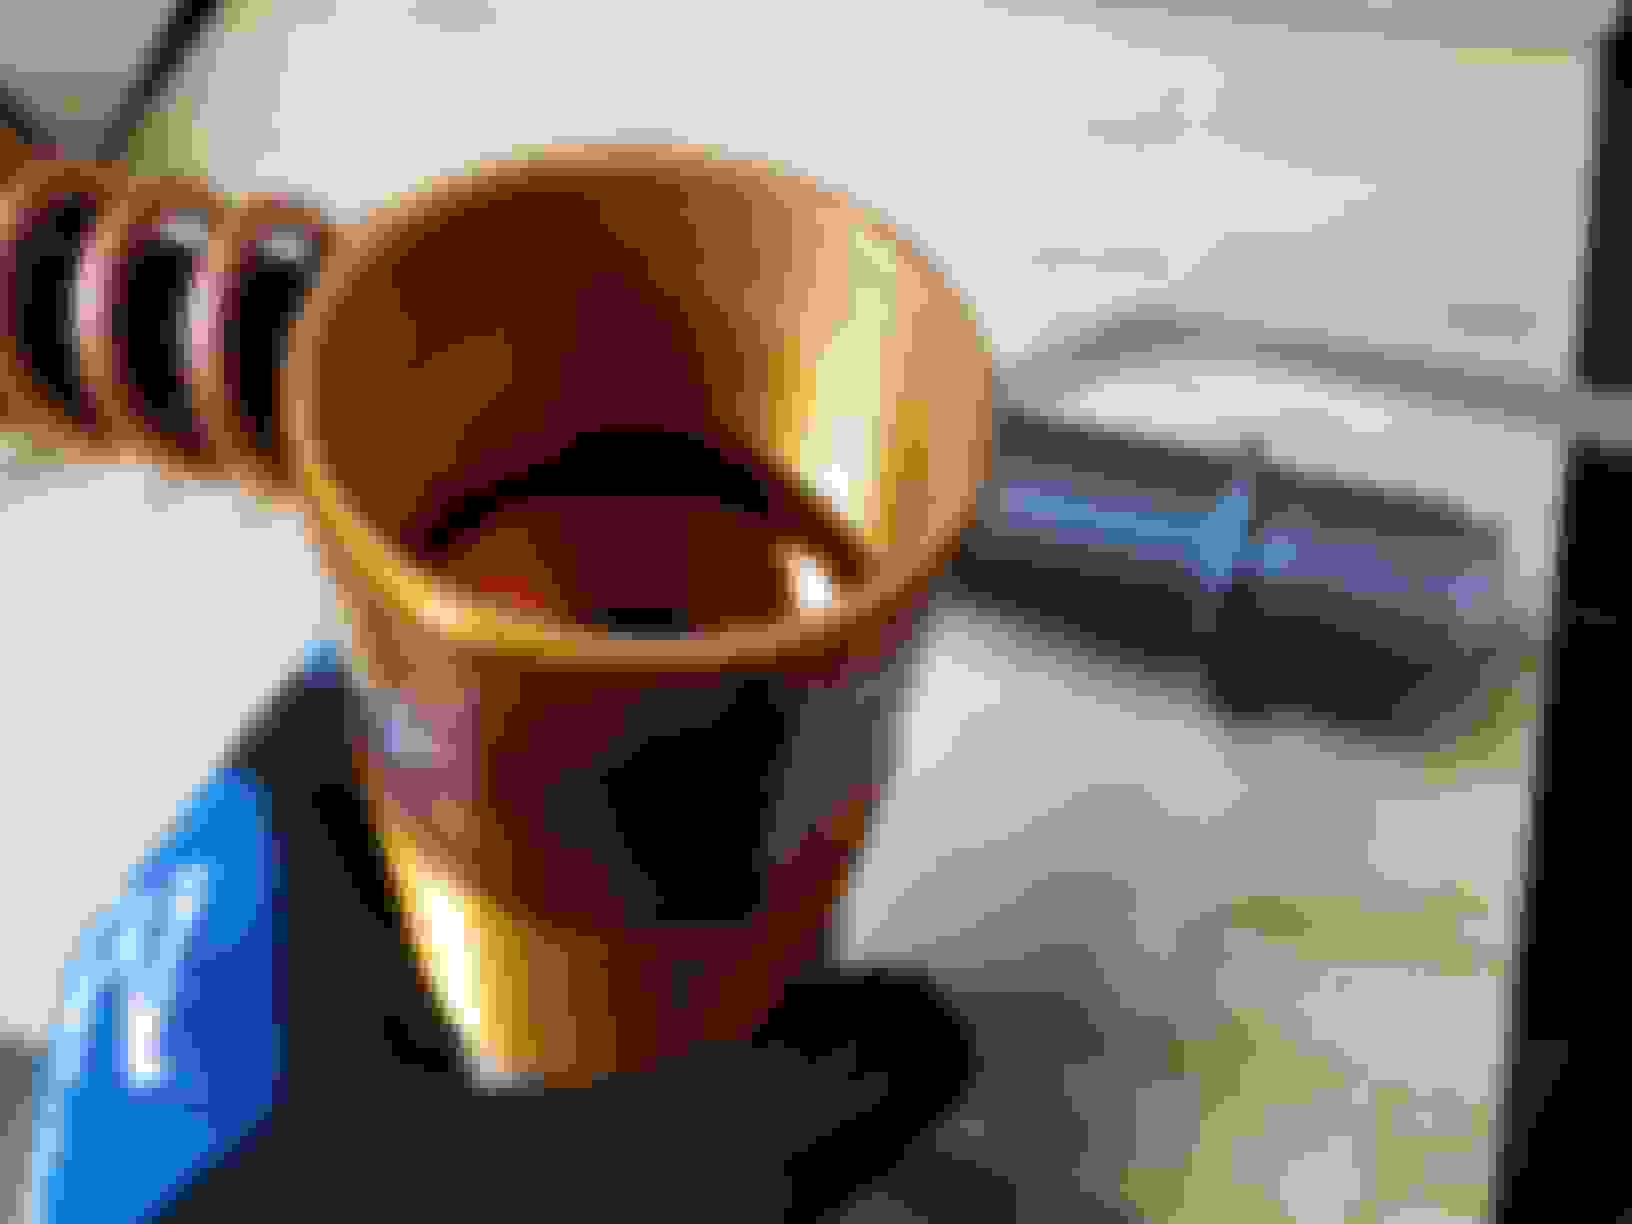
I was curious about this too...usually in these situations the concern is minimum thread engagement, and I was trying to get comfortable with keeping adequate engagement on both sides of the gold-anodized sleeve for target ride height. I backed out the lower threaded eye-bolt section from the sleeve and satisfied myself that there was well over 1.5in of engagement. The Figs installation guide recommends a max of 1in of exposed thread below the "intermediate body" (aka sleeve). My recollection is that it was set around 0.75in exposed thread out of the box. I do not have a good photo showing exact dimensions, but maybe those below give a general idea.
The scoring above the 1st Lower Lock Ring prevents travel into the un-threaded transition region inside the sleeve, but I did not see a similar feature on the 2nd Lower Lock Ring threads. The owner's manual talks about a "caution line" not to be exposed past, but I did not see this on the eye-bolt section. It is possible that I missed it.
My impression is that the main spring's free length has been carefully chosen to make sure there is adequate thread engagement on both sides of the sleeve for a variety of potential ride heights. My experience has been that just to get back to stock ride height I need to thread both sides almost all the way into the sleeve.
Un-threaded transition region inside the sleeve.
Sleeve has more thread on 2nd Lower Lock Ring side (left) than on 1st Lower Lock Ring side (right). I can take external measurements if desired.
The Shock witness mark is exactly what you mentioned, it's a marker to indicate the full engagement of the primary shock tube into the lower coupler. It actually is not much of a stop as an indentation and collars and threads can pass over it. The other side will naturally bottom out in the available threads. To lower the car more, you get into the slack of the helper spring to adjust the travel range and the shock droop limit, mostly set by the sway endlink, to prevent any true spring slack at full droop.
Mike
__________________ Redefining Lexus Aftermarket Parts Since 2001 -- We are your Lexus suspension experts--
BCR - KW - PENSKE - OHLINS - HKS - GREDDY - STANCEPARTS
Links - Arms - SuperPro Poly Bushings - Solid Bearing Conversions - Motor Mounts
RB BBK's and 2P Rotors, G-Loc pads, Radium Fuel Systems
Custom Fabrication Design and Machining - Industrial 3D Printing - Laser Cutting 2018 USTCC Sportsman Class Champions - 2018 NASA ST5 National Champions
So I just installed these over the weekend with a local ISF owner at a shop where I rented time on a lift. I can't add anything useful honestly about the install experience that wasn't already meticulously documented above by ChpEng above^^^^👌👏
Now onto my thoughts after about 2 days of driving with them on the car compared to the Bilstein/Swift combo that I ran for about 3+ years. The Ohlins DFV technology is lightyears ahead in damper technology, they react different compared to other options on the market. The car feels soooo much more planted to the ground compared to Bilstein/Swift combo it's literally night and day in how the dampers react to undulations in the road to keep the wheel/tire planted to the road surface at all times. I'm not saying that they turn the car into a modern plush adjustable OEM suspension which isolates you from everything on the road because they don't, but what they do do is absorb bumps, cracks, undulations in the road with more compliance and assurance that the chassis seems to settle in better over different road conditions.
I'm only 2 days post install so I still need to mess with the different settings and set them to my preference as I get use to them with more seat time. I think Mike/Figs sent them out @ 15 clicks on the front and 17 clicks on the rear as far as adjustments out of the box and I haven't messed with them yet.
I also didn't mess with ride height as I wanted to see how the car sat straight out of the box, then make ride height adjustments afterwards if necessary. I didn't want to start messing with settings on the coils without getting a baseline feel straight out of the box from Figs. I will update this thread as time goes on with my thoughts and experience with the Ohlins R&T DFV for the community. This was a super short experience/intro of my thoughts into the Ohlins.
I'll leave this video below that explains some of the nuances of the Ohlins and shows some real world results of what they can do for a car vs oem suspension.
Figs/Ohlins R&T Coilover Installation, Part 4 (Rear Adjustment)
A couple weekends ago I lowered the rear by 0.5in to get back to ~factory ride height in the rear. With the leverage ratio, this meant reducing the height of the shock/spring assembly by 0.35in. This brought the rear to within 1/8in of the original measurement using my T-square measurement method. I reset all the bushings that I could access.
Before taking it for a test drive, I dropped F tire pressures from 37.5psi to 36psi and tightened down the spare tire retention nut in the trunk. I think both factored negatively into my initial noise impressions. Then I hit the local handling and NVH reference route. It is amazing what doubling the front spring rate and more negative camber does for agility and turn-in on this platform. For me, there is no going back to the factory setup. And the damping is really nice.
Threaded sleeve (2nd lower lock ring) adjusted downwards towards eye-bolt section by 0.3in. No exposed threads remaining. Another ~0.05in taken from 1st lower lock ring above threaded sleeve.
Last edited by ChpEng; 03-14-21 at 09:40 AM.
Reason: grammar/clarity
Figs/Ohlins R&T Coilover Installation, Part 5 (Corner Balance and Alignment)
Going into the alignment, I suspected the car needed less positive rake, so I was prepared to request a 0.2in raise in Front and 0.1 drop in Rear. Had a great experience at West End Alignment in Gardena, Chris interviewed me extensively to figure out my use case and walked me through each step of the process. It took just over 3hrs to dial everything in. He took some chassis measurements and agreed the rake was too positive (front too low relative to rear), his recommendation was 3/16in net positive rake, which meant raising the front by ~3/8in and lowering the rear by ~1/16in to ~1/8in. I happily agreed with his recommendation, since I had come to suspect that some "rebound jerks" experienced on large freeway bumps were due to full Front bump stop engagement. No way to tell for sure, just a suspicion.
Through some combination of skill and blind/dumb luck, the lateral camber symmetry from my adjustments were very good for both Front and Rear, within 0.1� side-to-side. So maybe the Front sub-frame was square after all? Who knows. The major change necessary was the rake. All accessible bushings were reset on the alignment rack. Sway bar end-link lengths were fine-tuned to be "perpendicular and parallel".
Final alignment... Front
Camber = -1.8� Left/Right
Caster = Left +7.6�, Right +7.9�
Toe = 1/32in toe-in Rear
Camber = -1.8� Left/Right
Toe = 3/32in toe-in
Note that the "caster lead" on the Right (more positive caster on Right than Left) is intentional, to compensate slightly for crowned roads. A pure "track" alignment would match casters, so this is more of a "street" setup.
The drive home was great. The car seems much happier at less positive rake and a bit more travel in Front. Having just 1/32nd Front toe-in seems to increase on-center tracking and stability vs my previous alignment of zero. But some of that sensation may also be due to the sway bar end-link adjustments.
I highly recommend West End Alignment. I took my first coilover-ed car there over 15yrs ago, and they are still doing great work.
Corner balance data sheet, measurements taken with me in the driver's seat.
Diagnosing a slow coolant link has prevented me from doing a full send on my favorite "certification" canyon roads, but I have driven almost 200miles on mixed freeway and surface streets since the alignment.
A few quick thoughts:
1) I do not like toe-in at all, seems like I am fighting the car too much to turn. With nearly 8� of caster, this platform is plenty stable at speed. I wonder if the steering ECU is also helping with off-center resistance or something weird like that. The car was at zero before and I much prefer that setup. I should have been firmer to contradict the alignment shop's recommendation. @lobuxracer has it right = zero or toe out is best on this platform.
2) The damping is really nice. This is my first experience with high-quality dampers (Penske/Ohlins/Moton-class). Not sure I can go back now. I expected a few speed bumps on my normal traffic pattern to be brutal, but they are smooth as butter. Bumps are definitely heard more now, but not felt as much as I thought they would be.
3) Noise went down substantially after I re-installed the trunk lining.
4) I was able to cut an "X" pattern in the trunk liner to provide access to the rear shock adjusters. Nicely disguised, yet functional. Front adjusters do not interfere with installation of the engine bay's plastic covers.
Going into the alignment, I suspected the car needed less positive rake, so I was prepared to request a 0.2in raise in Front and 0.1 drop in Rear. Had a great experience at West End Alignment in Gardena, Chris interviewed me extensively to figure out my use case and walked me through each step of the process. It took just over 3hrs to dial everything in. He took some chassis measurements and agreed the rake was too positive (front too low relative to rear), his recommendation was 3/16in net positive rake, which meant raising the front by ~3/8in and lowering the rear by ~1/16in to ~1/8in. I happily agreed with his recommendation, since I had come to suspect that some "rebound jerks" experienced on large freeway bumps were due to full Front bump stop engagement. No way to tell for sure, just a suspicion.
Thank you so much for sharing all these details! I run DFVs on my S2000 and may run them on my ISF one day. I just haven�t been able to justify the price since use it mostly as a fun family car and my Bilsteins have been enough.
What points on the body/chassis are used to measure rake?
Have any pictures of what it looks like? I noticed people with coil overs tend to run more positive rake than stock, but I suspect that�s purely for looks and not performance.
Happen to know what stock rake is and how your setup compares?
Had a great experience at West End Alignment in Gardena, Chris interviewed me extensively to figure out my use case and walked me through each step of the process. It took just over 3hrs to dial everything in.
Final alignment... Front
Camber = -1.8� Left/Right
Caster = Left +7.6�, Right +7.9�
Toe = 1/32in toe-in Rear
Camber = -1.8� Left/Right
Toe = 3/32in toe-in
It seems the shop closed recently and I can�t see the new location, any update @ChpEng ?
Would you mind sharing the cost of such an alignment, I am about to put in RR Racing upper control arms and just recently upgraded my sway bay end links with Figs units. This could be a great opportunity to get everything dialed in.
@Rossi Front and rear alignment with corner balance cost me $320 in March of last year (flat rate, not hourly) at the South Vermont location in Gardena. West End was open for business again by October, because I had iterated with Chris (unsuccessfully) on a toes-only appointment time then before my work schedule got end-of-year-ridiculous. I do not know where they are located now. Chris can be reached at (310) 808-9233 by voice or text.
Please let me know how it goes, either here or PM. I took my other car to Evasive for the same service while West End was closed. In my experience, West End is the gold standard.
Thank you so much for sharing all these details! I run DFVs on my S2000 and may run them on my ISF one day. I just haven�t been able to justify the price since use it mostly as a fun family car and my Bilsteins have been enough.
What points on the body/chassis are used to measure rake?
Have any pictures of what it looks like? I noticed people with coil overs tend to run more positive rake than stock, but I suspect that�s purely for looks and not performance.
Happen to know what stock rake is and how your setup compares?
I used the fender "apex" as the datum and a drywall T-square for measurement. See this link for technique I used. The T-square has a 1/8in scale and, with discipline, the measurements are repeatable to 1/8in or better.
Caveat = due to tolerances, fender measurements are not the most accurate metric for car-to-car comparison. See this link for the better, factory-recommended technique. I could not figure out a way to do this technique without a lift or pit. I found fender measurement to be repeatable and informative enough for my purposes.
Here are my car's measurements before/after.
Keep in mind that "before" is with 10yrs and 115k mi of usage and probably some spring sag.
These values do not include the 1.5in T-square width.
So, Front was dropped about an inch and Rear about 0.25in, consistent with Mike's @FIGS guidance for this kit.
Here is a photo taken after corner-balance showing the fender over-bites with '08/09 factory wheels and factory tires sizes. I will look around to see if I have something better...
I noticed people with coil overs tend to run more positive rake than stock, but I suspect that�s purely for looks and not performance.
Rake is an interesting topic, especially as relates to downforce for a flat-bottomed or venturi-ed race car. Generally more positive rake (front lower) = more downforce. @illwillem probably knows more about rake effects on this platform than anyone else here.
How is the handling balance now (understeer/oversteer)? I noticed you�re running a staggered setup on stock wheels. Do people that run a square setup run different spring rates than the off the shelf 16/12 KG/mm? I�ve gone to a square 18� setup, which has gotten the car to rotate much better.
How is the handling balance now (understeer/oversteer)? I noticed you�re running a staggered setup on stock wheels. Do people that run a square setup run different spring rates than the off the shelf 16/12 KG/mm? I�ve gone to a square 18� setup, which has gotten the car to rotate much better.
@md6380 Well, I cannot comment on an 18in square setup because I have no experience with one. But that is my next step, the key objectives being more compliant ride on rough pavement, better braking, and more front grip (less understeer). When I bought the car two years ago, it had factory suspension, aftermarket wheels (F8.5in, R9.5in), and two blown rear shocks. I went back to factory wheels and tire sizes in an attempt to start at zero and figure the car out. The transient turn-in behavior was unacceptable (to me)...when loaded laterally, the car pitched forward to load the outside front, then rolled to the outside, then finally took a set and rotated. I considered that new rear shocks and a larger RSB might help but ultimately higher-rate springs were the best option. Increasing front spring rates by 2x and rear by 1.5x is always a risk, but in this case, with these quality dampers, I have been very happy with it.
Maybe @lexicon72 or others here can give their impressions on spring rates with square setup.
Having Ohlins and Penske coilover kit options for this platform is pretty darn awesome.
 02-23-21, 01:10 AM