When you click on links to various merchants on this site and make a purchase, this can result in this site earning a commission. Affiliate programs and affiliations include, but are not limited to, the eBay Partner Network.
For the DIY's who struggle getting the axles out of this diff, this worked great for the 350. HF bearing puller and 1/2" All-thread. No we have something to pry on. Get two bars up there and give it a good pop.
With one axle out, a long drift was used to pop the other out. It fits past the spider gear shaft, and with one hit, the axle is out.
And yes, air-hammer is good for those rear bushings too as well as a BFH and prybar. A drill was used to split the shell on the front bushings and those pop out pretty easy taking 5min or so to split the shell.
Used diff going back in while I wait for tools.
That wood stand made of 2"x6" and 2"x4" was a game changer putting it back in solo. Loosening the carrier bearing up in the tunnel also gives you some wiggle room to fit the driveshaft back onto the pinion flange.
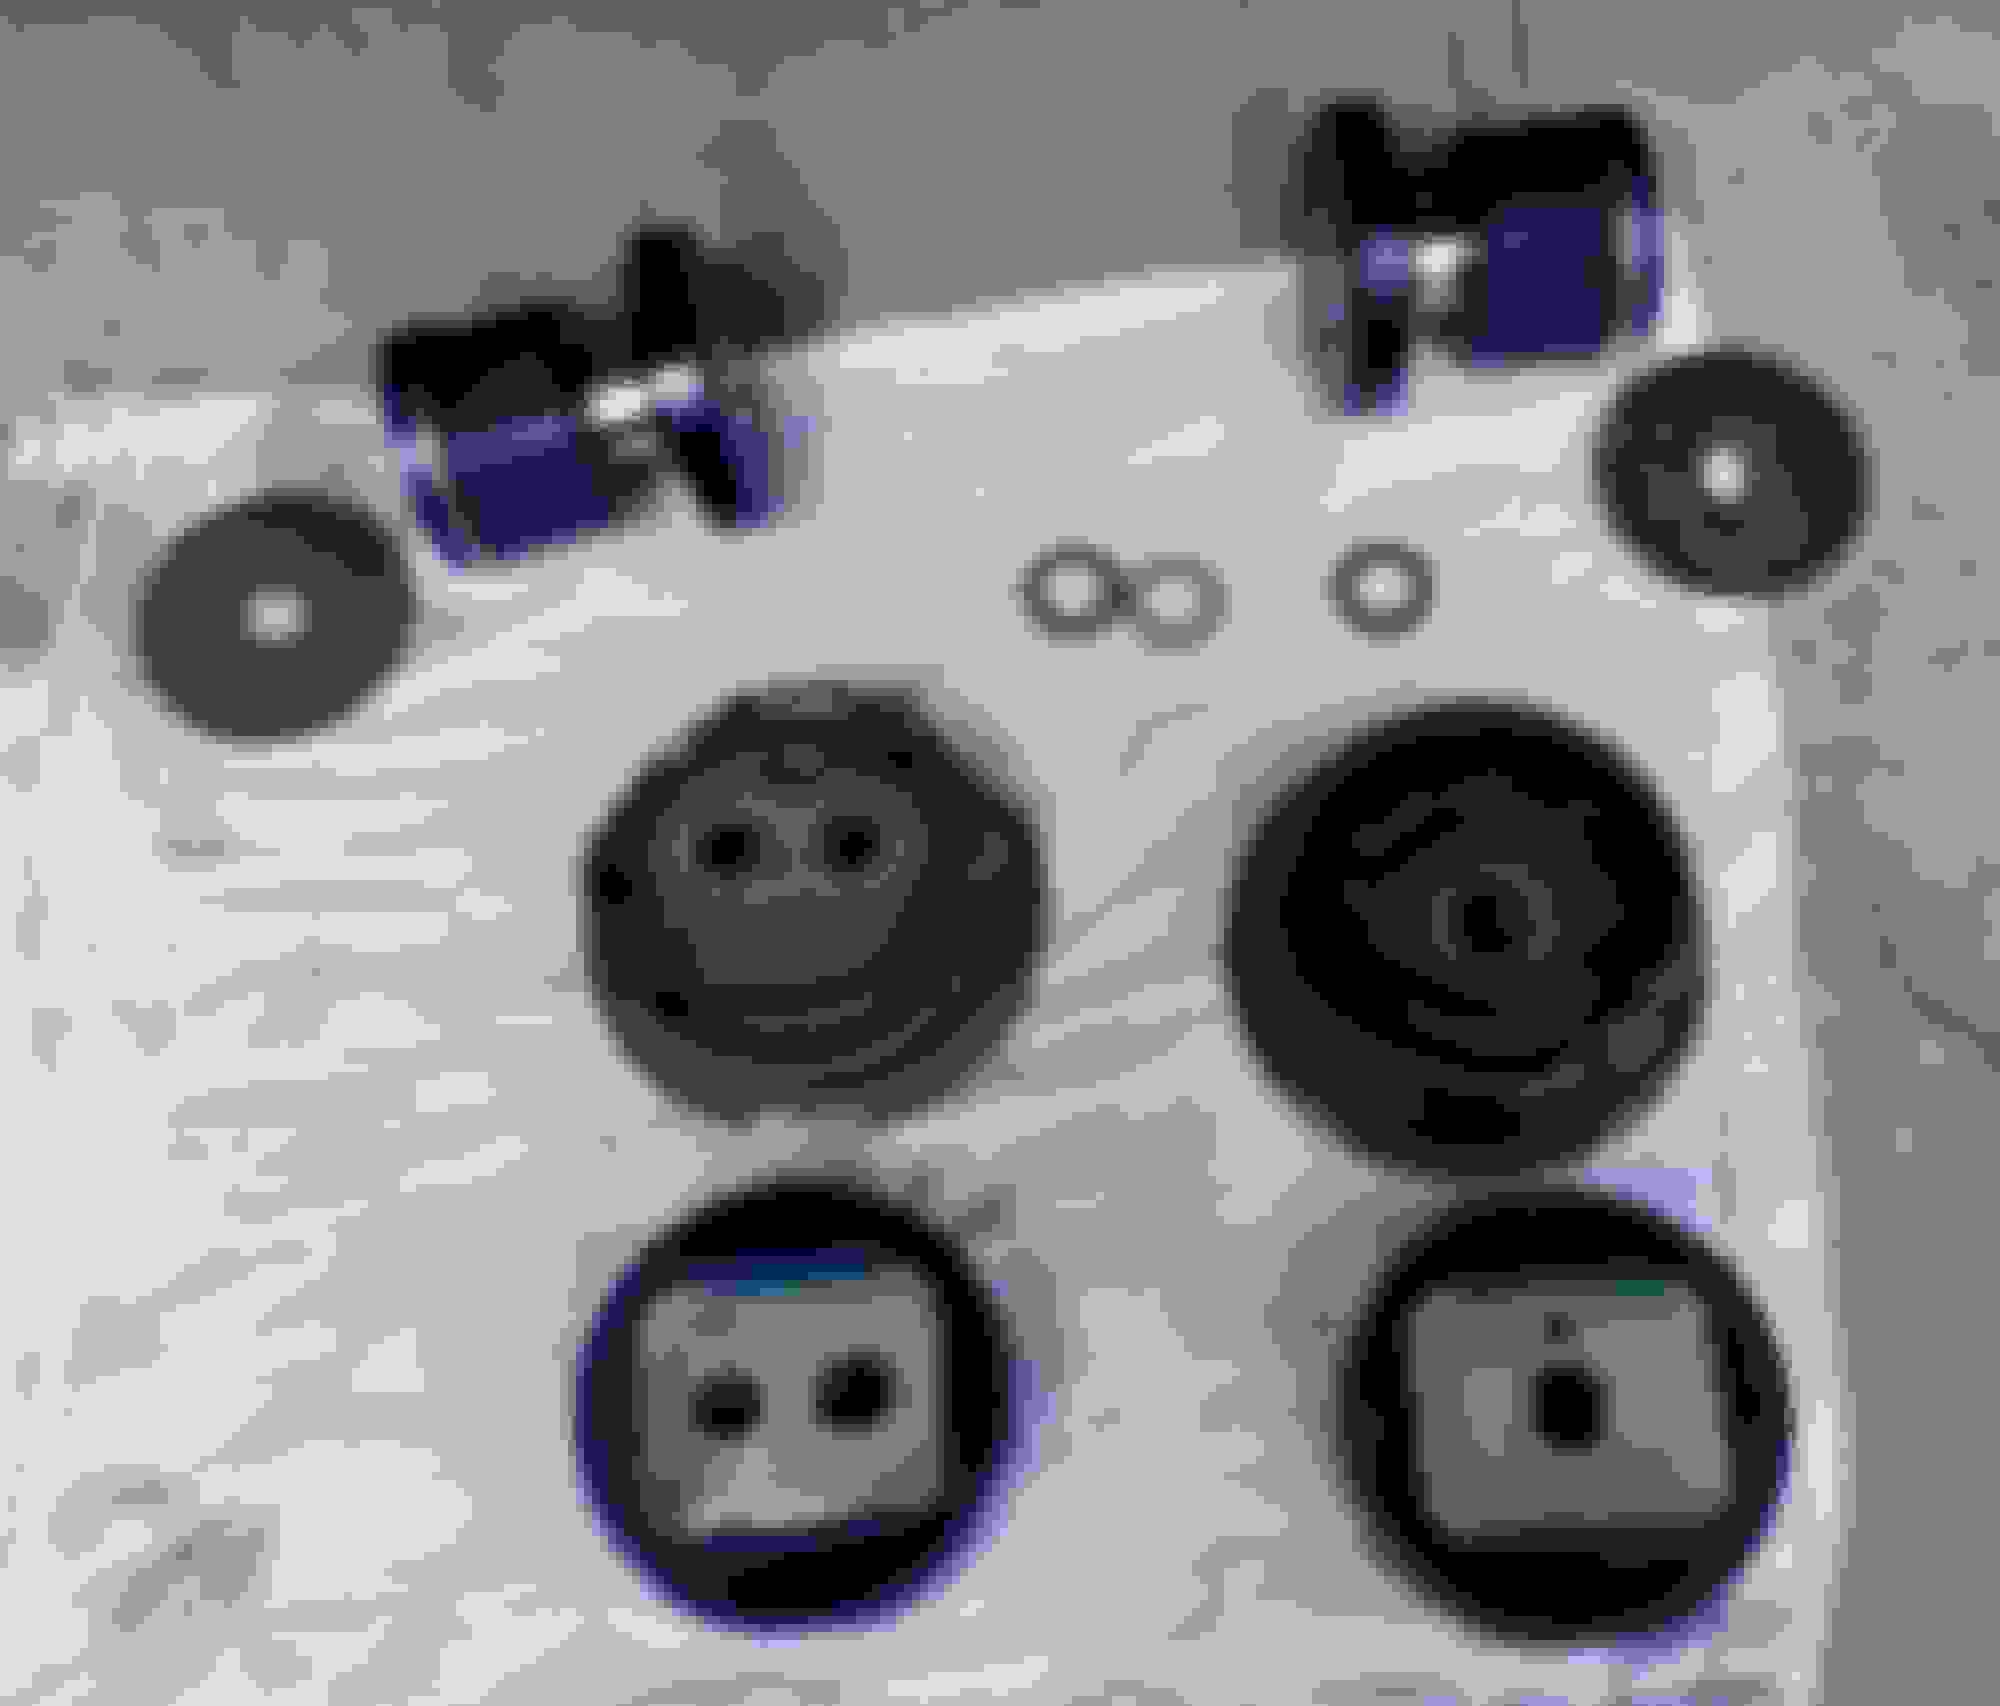
Minor bushing carnage. PS - the single hole unit is oil filled. Careful what you do to it. Those were 10min each. Not bad.
Anyone know of a good tool for those 100mm clips holding side bearings in the case? Please let me know! Thanks!
Build thread is here. Pick up at post #352 for delayed OS-Giken install.
For the DIY's who struggle getting the axles out of this diff, this worked great for the 350. HF bearing puller and 1/2" All-thread. No we have something to pry on. Get two bars up there and give it a good pop.
With one axle out, a long drift was used to pop the other out. It fits past the spider gear shaft, and with one hit, the axle is out.
And yes, air-hammer is good for those rear bushings too as well as a BFH and prybar. A drill was used to split the shell on the front bushings and those pop out pretty easy taking 5min or so to split the shell.
Used diff going back in while I wait for tools.
That wood stand made of 2"x6" and 2"x4" was a game changer putting it back in solo. Loosening the carrier bearing up in the tunnel also gives you some wiggle room to fit the driveshaft back onto the pinion flange.
Minor bushing carnage. PS - the single hole unit is oil filled. Careful what you do to it. Those were 10min each. Not bad.
Anyone know of a good tool for those 100mm clips holding side bearings in the case? Please let me know! Thanks!
Build thread is here. Pick up at post #352 for delayed OS-Giken install.
This what I used, worked well on all 3 diff builds I did so far.
My dad welded two roller bearings onto a pair of large Vise-Grips. Stupid easy with that thing, but you need the welder and roller bearings the right size laying around.
Excellent! I saw those ans they went to the "most likely order these list" but didn't know if the tips could handle the pressure.
The holes are 5.5mm (0.22") or so. Good to know they work as intended for this application.
So, you installed the OS -Giken in a couple of cases? Did the cases need grinding or what method was used to get it in there if it didn't drop in freely??
TIA
Yes, I�ve installed one in the original 2014 housing and then I built another one using a new housing and 3.13 ring and pinion. I believe if the housing is torsen equipped, it will not need to be opened up.
What i did to take those bad boyz! Used cutter hand chisel and hammer! Hope this will help!
Drill them. Aim for the shell starting with a small bit. Split the shell and they fall out.
Do your drilling towards the diff not away from incase you get into the cast iron.
If you miss, keep going up in drill sizes and eventually you will wear through them.
I did one in 5min and one in 20min when I missed and had to move up drill sizes.
Yes, I�ve installed one in the original 2014 housing and then I built another one using a new housing and 3.13 ring and pinion. I believe if the housing is torsen equipped, it will not need to be opened up.
On each of these installs, is it fair to say the OEM and Aftermarket center section returned the same clearances? That's pretty remarkable honestly.
I ordered that tool and it should arrive today. We'll see if the housing accepts the OS-G. Best guess is no on the open diff.
Have you done anything with the pinion bearings on these or just left them alone.
Didn't change anything on mine. If you change the bearings, you may find it necessary to order new snap rings to move the tooth engagement. Mine did not need that as the tooth engagement was right where it should be.
The first OS Giken build I did, I replaced only the side bearings, gear engagement and backlash did not change. The second build, also new bearings and OS unit, did not need new snap rings, didn’t touch the pinion on both builds. 3rd build, is the 2nd diff which I decided to get a new finned case and have the ring and pinion (3.13) Cryoheat treated and micro polished. Since this is now using a brand new case, I had to dial in the gear engagement and backlash, pinion height also was also set.
Didn't change anything on mine. If you change the bearings, you may find it necessary to order new snap rings to move the tooth engagement. Mine did not need that as the tooth engagement was right where it should be.
It is getting new OEM bearings on the carrier. The total rotational torque was just barely in spec. and the unit consistently maintained 100�F temp when checked which to me indicates pretty minimal preload on the bearings.
Originally Posted by JT2MA71
The first OS Giken build I did, I replaced only the side bearings, gear engagement and backlash did not change. The second build, also new bearings and OS unit, did not need new snap rings, didn�t touch the pinion on both builds. 3rd build, is the 2nd diff which I decided to get a new finned case and have the ring and pinion (3.13) Cryoheat treated and micro polished. Since this is now using a brand new case, I had to dial in the gear engagement and backlash, pinion height also was also set.
I have to say that getting that first snap ring out was a pain and these bearings have minimal preload on them. I'm hoping I don't need a case spreader or some means of compressing the races to get the thing back together.
It is getting new OEM bearings on the carrier. The total rotational torque was just barely in spec. and the unit consistently maintained 100�F temp when checked which to me indicates pretty minimal preload on the bearings.
I have to say that getting that first snap ring out was a pain and these bearings have minimal preload on them. I'm hoping I don't need a case spreader or some means of compressing the races to get the thing back together.
We shall see.
Yeah, that�s another thing I adjusted after getting the backlash dialed in. It needed more preload, pinion preload was at max. So I went with next size snap ring on the ring gear side. Get it started in the groove and then tap it in and you�ll see it seat all the way. You can also verify this by measuring the distance between the ends of the snap ring.
It is getting new OEM bearings on the carrier. The total rotational torque was just barely in spec. and the unit consistently maintained 100�F temp when checked which to me indicates pretty minimal preload on the bearings.
I have to say that getting that first snap ring out was a pain and these bearings have minimal preload on them. I'm hoping I don't need a case spreader or some means of compressing the races to get the thing back together.
We shall see.
Put the spool in the freezer overnight, then do the install. It will be really easy when it's cold.

 07-11-22, 11:37 AM