When you click on links to various merchants on this site and make a purchase, this can result in this site earning a commission. Affiliate programs and affiliations include, but are not limited to, the eBay Partner Network.
Heads on and cams in.
Very easy engine to set time on with colored chains. (Engine was spun 360* in picture so colored links will likely never line up again, it's simply for initial chain timing, white marks are from disassembly as mark of reference.
Back to the daily grind until I get more time to work on it.
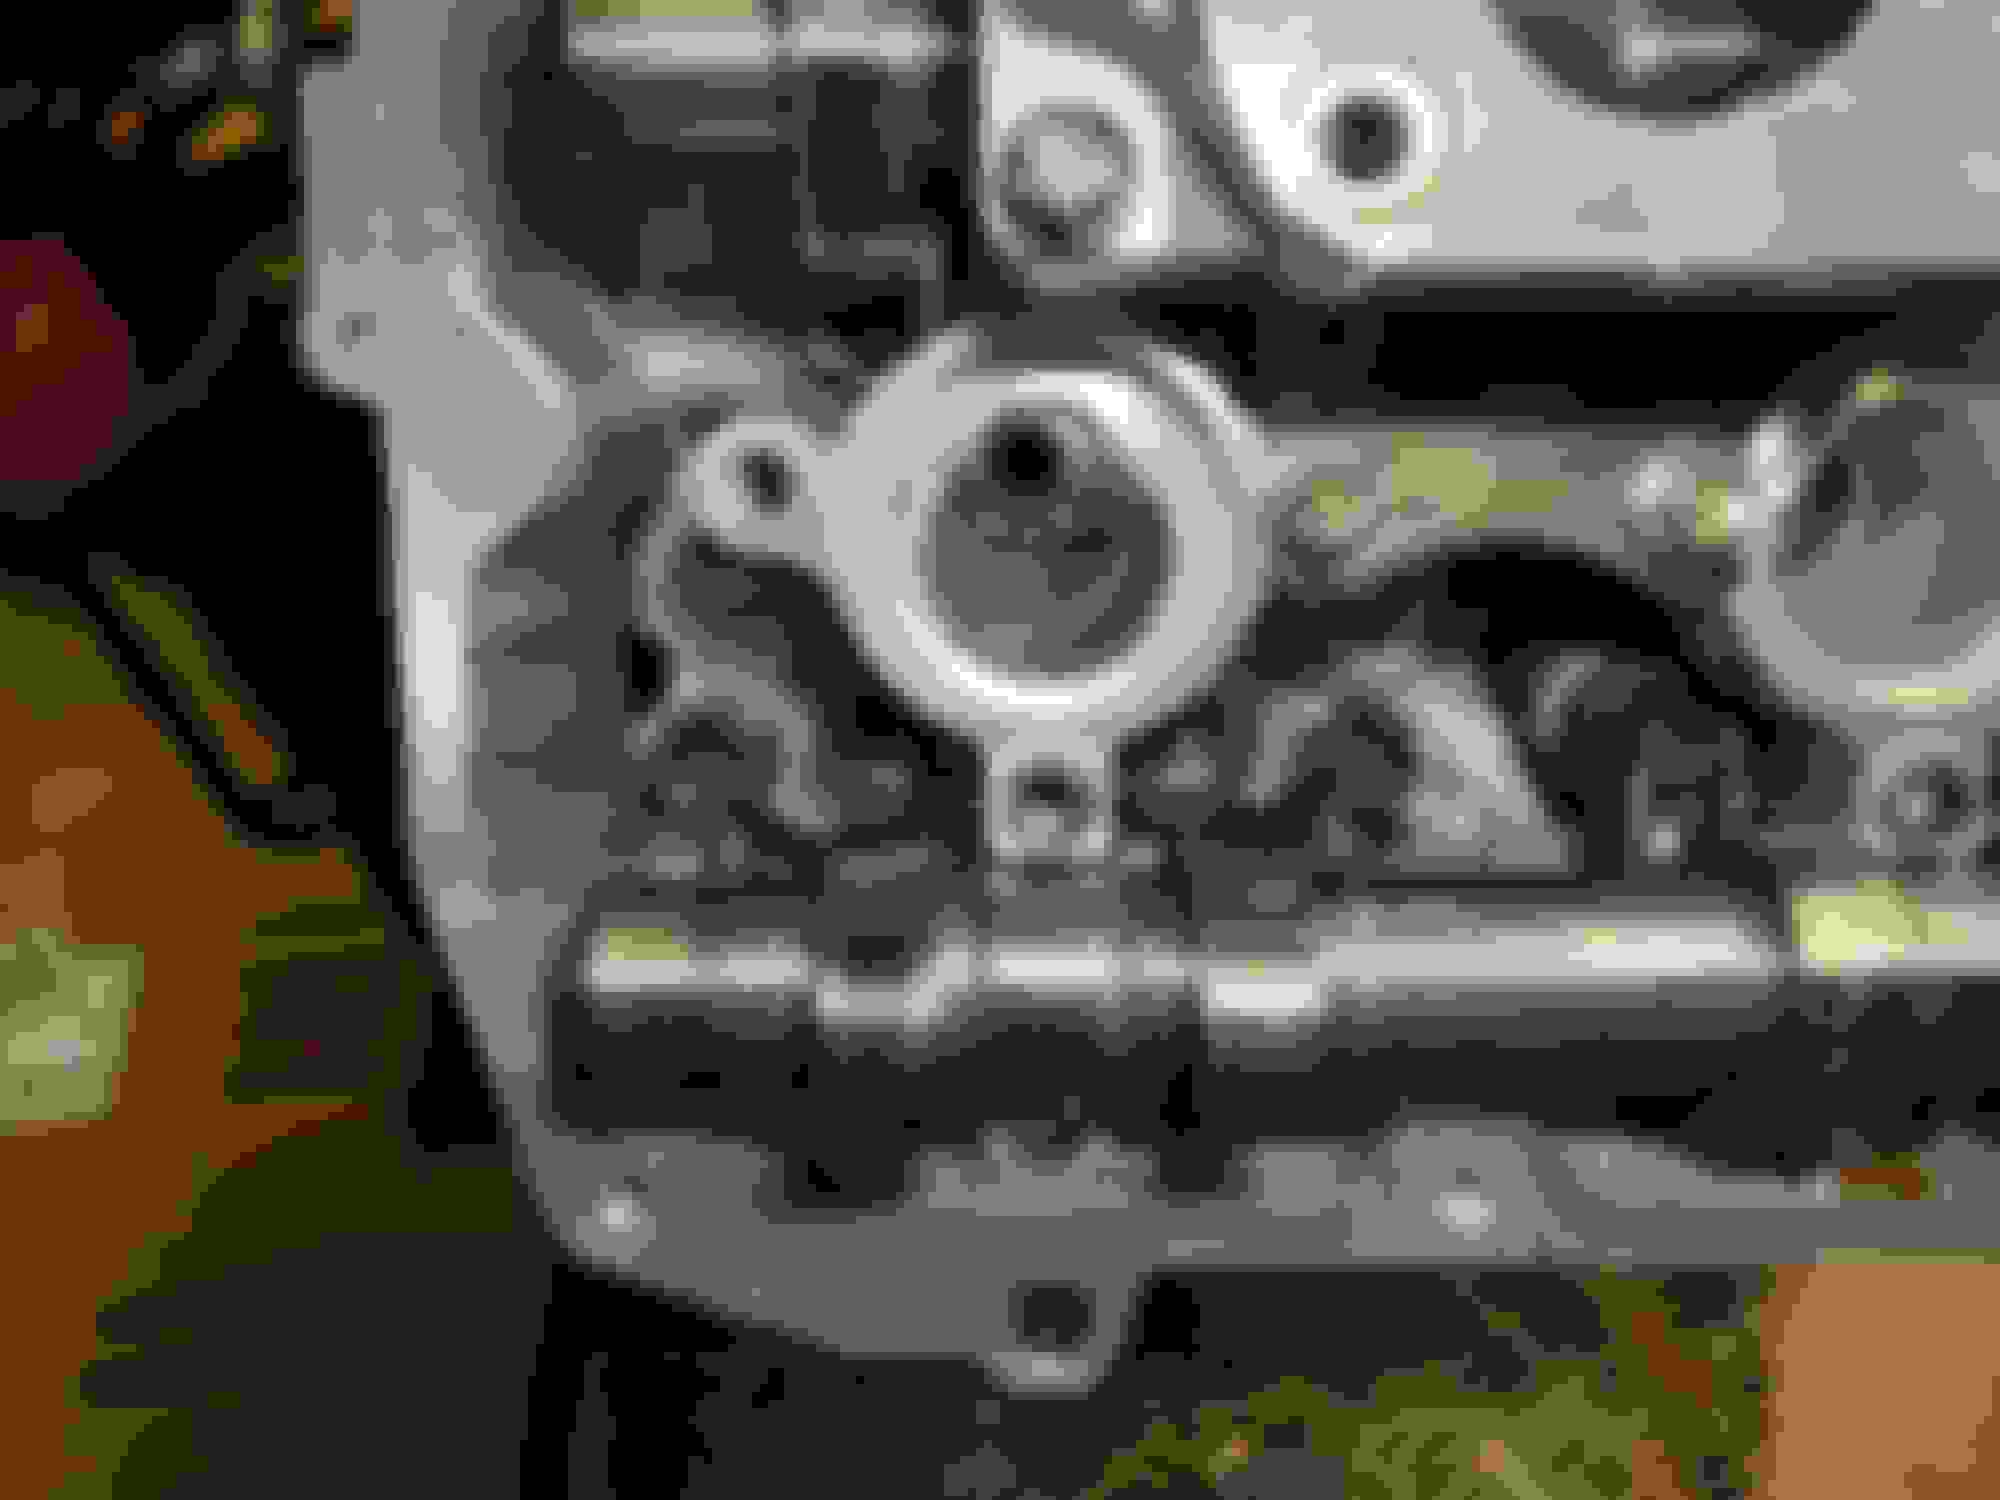
How to cheat valve lash adjustment without taking cams 100% out on cylinder 8.
Heads on and cams in.
Very easy engine to set time on with colored chains. (Engine was spun 360* in picture so colored links will likely never line up again, it's simply for initial chain timing, white marks are from disassembly as mark of reference.
Back to the daily grind until I get more time to work on it.
How to cheat valve lash adjustment without taking cams 100% out on cylinder 8.
Did you use stock head bolts? Also on the chains, does the double orange links line up with the crank or the cam?
Did you use stock head bolts? Also on the chains, does the double orange links line up with the crank or the cam?
Mahle head bolts.
Cam-to Cam is yellow marks aligned with cam phaser timing marks when viewing the backside of the phasers.
Cam to crank is: double orange saddle phaser timing mark, single orange saddles crank timing mark.
In the last picture you can actually cheat valve shim removal on cylinder 8, 6, and 2 with cylinder 6 at TDC. I would imagine you can do this on other cylinders set at TDC(Likely all cylinders )assuming you do Cyl 1 TDC on compression stroke and cylinder 6 TDC on compression stroke as well, as long as you only do one cam journal(s) being removed 100% I also slight loosened the intake cam journals as a precaution to eliminate the possibility of the cam jumping time. ( This takes pressure off the entire valve train)
Also, the rocker rollers are clipped to the fixed rocker arm pivots, which are nice since you won't loose them unless your're being careless.
Just precautionary statement here as well: TO THOSE OF YOU DOING VALVE ADJUSTMENTS IN CAR. BLOCK OFF OIL DRAIN GALLIES. YOU DO NOT WANT TO DIASSEMBLE YOUR ENGINE BECAUSE YOU DROPPED A VALVE SHIM. I put my oil pan on last, so if anything drops, I can hopefully get change
Thanks for your advice. Does Mahle sell the head bolts specifically for the car, or did you send them a sample to make one? Also, are you using TIS for assembly and torque specs?
Thanks for your advice. Does Mahle sell the head bolts specifically for the car, or did you send them a sample to make one? Also, are you using TIS for assembly and torque specs?
Mahle makes them identical.
I'm an automotive technician. I have full access to every service manual via my identifix membership.
I also have techstream loaded on my laptop in addition to other manufacturer scan tools like GM, BMW, VAG com to name a few .
Solvent bath. Everything gets a decent(exterior-wise) scrub but the important areas are definitely clean, and get final cleanings before any assembly. Remember, this isn't a show car, I don't care to have every single component look mint. It's inevitable that the engine bay and any exterior component of the engine bay on a street/daily driven vehicle will get debri accumulation. So IMO, it's a waste of time to polish those areas, given the use of my car and how virtually "un-seen" a majority of the engine is anyway.
As-far-as the oil galley/ports you can see a nice clean flim through all the ports, additionally I bag the engine when I'm done working on it for the day.
It isn't about anything to be show related, having built many engines I always take concern with a engine that was "cleaned" and still shows so much residue. Obviously you paid for a vat/hot tank, and I'm guessing lower end assembly so I'm hoping they took the time to honestly properly clean it. I have a huge brush set just for oil galleys, and will spend more time cleaning than actual assembly. You're doing your part in between assembly, hopefully they took the same care! The very first start and run in is crucial to hopefully have no extra metal or gunk around.
I understand what you're saying.
What you see(I'm assuming the valley is concern here) is caked on grime with a mixture of assembly lube drips that dropped while the shortblock was assembled. I brake clean everything, let it flash, scrub, oil where appropriate.
Also keep in mind this car engine has 118k of corrosion on it, so that makes things look less aesthetically pleasing compared to southern vehicles.
It goes to hot tank. Then when machining is in process, the fluid they use to keep the block cool and lubricated as the fluid pumped through the gallies to ensure any chips/debri/etc are pushed out the block drains.
Considering the machine shops build race engines, knows I'm a local technician, and has a large amount of high-dollar equipment in his shop. I'd be surprised for them to make such a careless mistake.
Also factor that I'm inspecting everything prior to assembly.
That being said, grime on external components is the least of my worries due to the location and high improbability such debri would travel towards gallies or components.
So while I understand your thoughts of having a pristine, eat-off-of engine. I don't see where these "non" pristine areas pose a threat.
Perhaps I should clarify. The picture with the beer bottle in the valley is straight out the back of my truck, onto the engine stand, and a gulp of beer with my phone in my hand. No cleaning (from myself) took place prior to those pictures.
Trust me, if you saw my running total on this build, I wouldn't overlook such a careless mistake. Cheers
Most of the guys I know pull the ***** out of the block and replace them with set screws just so they can run a stainless steel brush through the galleys unimpeded. I've seen the same thing done with cranks, but they have to be balanced after removing the ***** from the galley ends.
I was poking at just the basics on a rebuild for one of these. The parts bill won't be small by any means especially when compared to more common Chevrolet V-8s. Hope all is going well!

 06-18-18 | 08:38 AM