When you click on links to various merchants on this site and make a purchase, this can result in this site earning a commission. Affiliate programs and affiliations include, but are not limited to, the eBay Partner Network.
This will be a general guide of the valley plate DIY. Some people have been charged an absurd amount of money for this job when in reality a skilled technician can perform this job in under 3 hours. So if you are going to pay the dealership to do it, the most I would accept is roughly 7hrs labor. Remember the 2UR-GSE is not your common engine for technicians so unless it's a specific tech who works on them - most will likely be looking to cover their time due to the nature of the industry pay rate.
Here is a parts list from the valley plate thread.
Anyway! I apologize for the photos being in links, I'm short on time to upload every photo to photobucket,etc.Problem solved, pics are now visible. Lobuxracer.
We need to drain the cooling system. Make sure your car is cold, no one is responsible for you opening a pressurized hot cooling system.
Open your radiator cap.
Remove engine lower splash shield.
Drain the radiator, if you can't figure that out - stop and take your car to a professional. This isn't a job for you.
Next, I prefer to drain the block as well. The passenger side seems the more accessible of the two block drains. Be careful with the block drains, do not completely remove the bolt and do not over-tighten them.
10mm swivel socket or you can use a long wobble extension. I use a long handle 3/8" snap-on ratchet. This is the brass colored 10mm bolt with the tube coming out. It helps to have a small piece of hose connected to the end to drain this cleanly without making a large mess. IIRC you want a 3/8" hose I prefer clear.
Start by removing your engine cover.
You will expose the injector driver modules on top of the intake manifold, remove the module 10mm bolts, this allows the intake manifold to be removed easier.
Also remove the 10mm nuts holding down the engine harness loom covers. If yours is original or old it will break. When I get time I'll update part numbers.
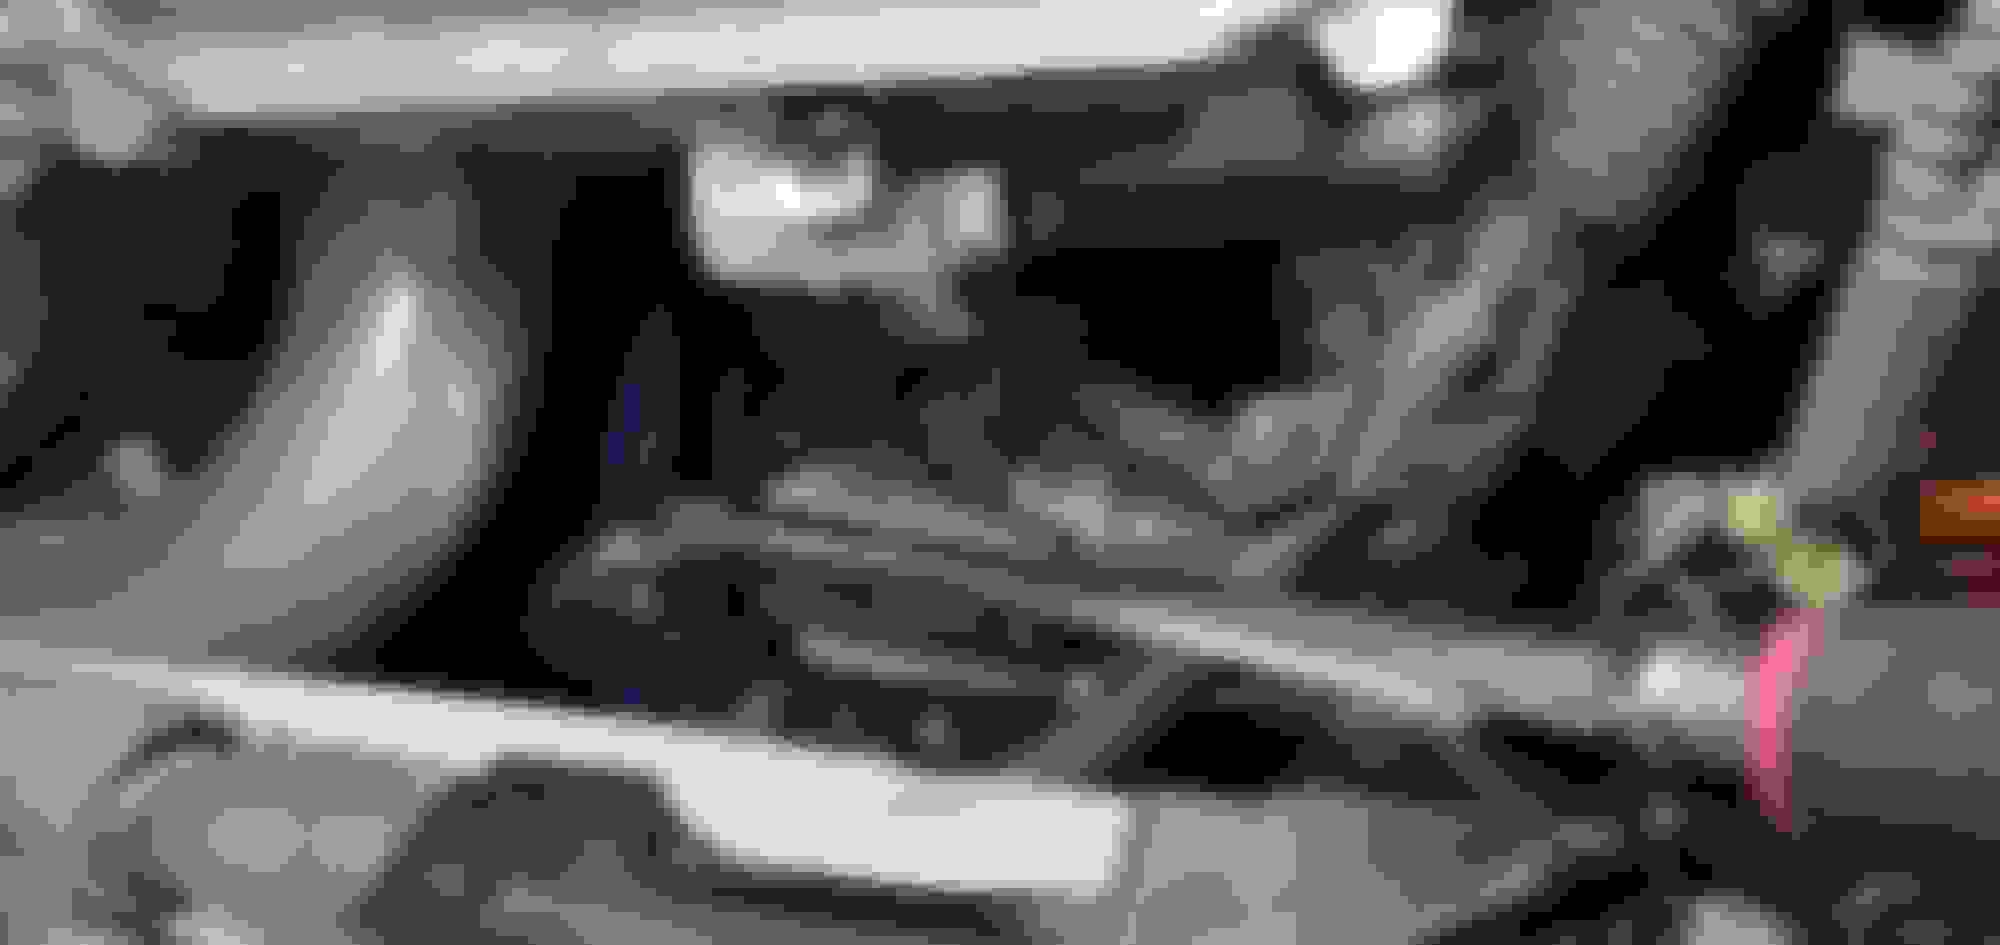
Ok, so next we are going to work on top of the engine, on the passenger side is a coolant pipe held down with two 10mm bolts, before you loosen these you will want to disconnect the hose clamps and use a soft nose pick to loosen these hoses. In the picture below you can see exactly what pipe I'm referring to and the easiest orientation to remove the pipe. You DO NOT need to remove the hoses from the rear of the engine compartment. Simply flex the hose and pipe around the hood strut.
Going over some things in the above photo. You need to remove from the intake manifold the purge emissions solenoid held down with a 10mm bolt on the driver side.
The PCV hoses on the front of the intake manifold, the brake booster line from the intake manifold.
DISCONNECT YOUR BATTERY.
Next, we want to remove the 10mm nut in the passenger side fuse box, you can see it hanging in the picture above. Here is another picture of it still connected for reference.
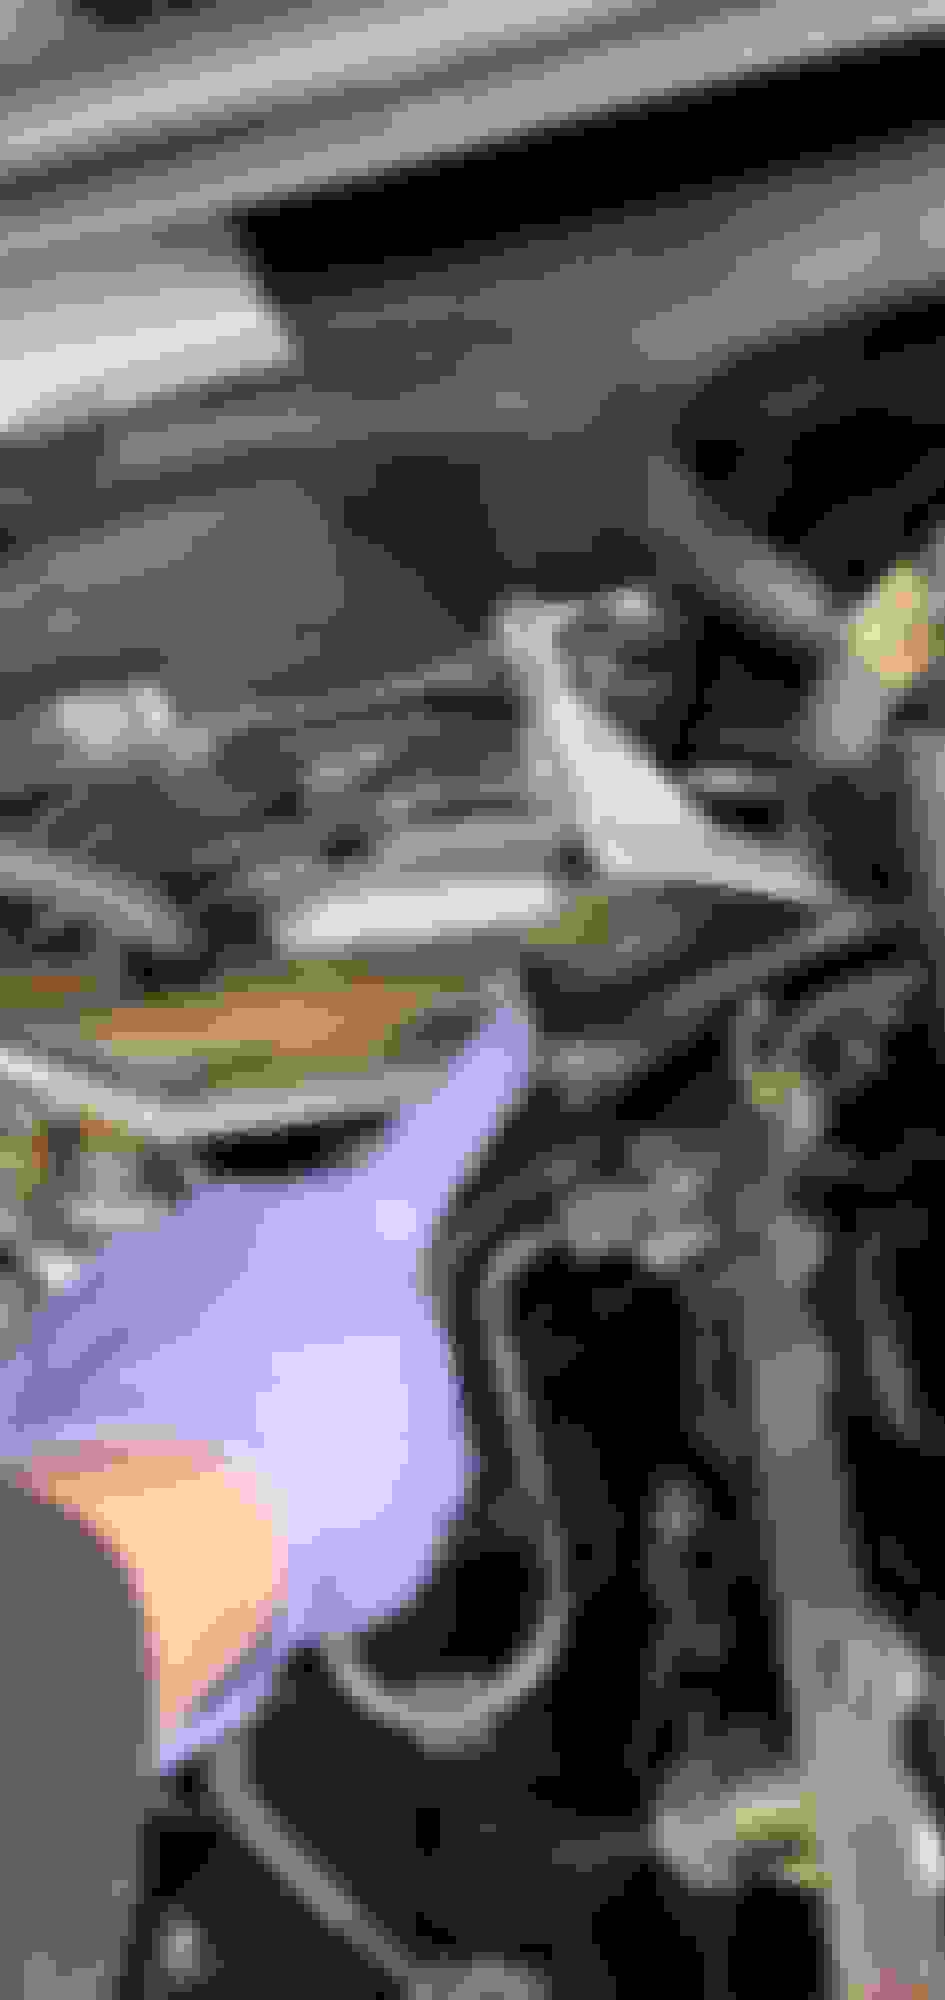
Ok, so we need to remove basically every sensor on top of the engine,also remove fuel line quick disconnect line on passenger side.
In this picture I'm holding a section of the loom, follow the loom to disconnect everything, Remember the cam sensor that's still connected in this picture. the objective here is to allow the engine harness to flex high enough to sneak the intake manifold out.
Repeat on the driver side - it just helps the harness move easier and also when working in the valley. YMMV.
Ok, so now test the harness by lifting it up, you should be able to do so freely now, the alternator stays connected since the crank sensor wiring, starter wiring is all buried and there is no point to do so.
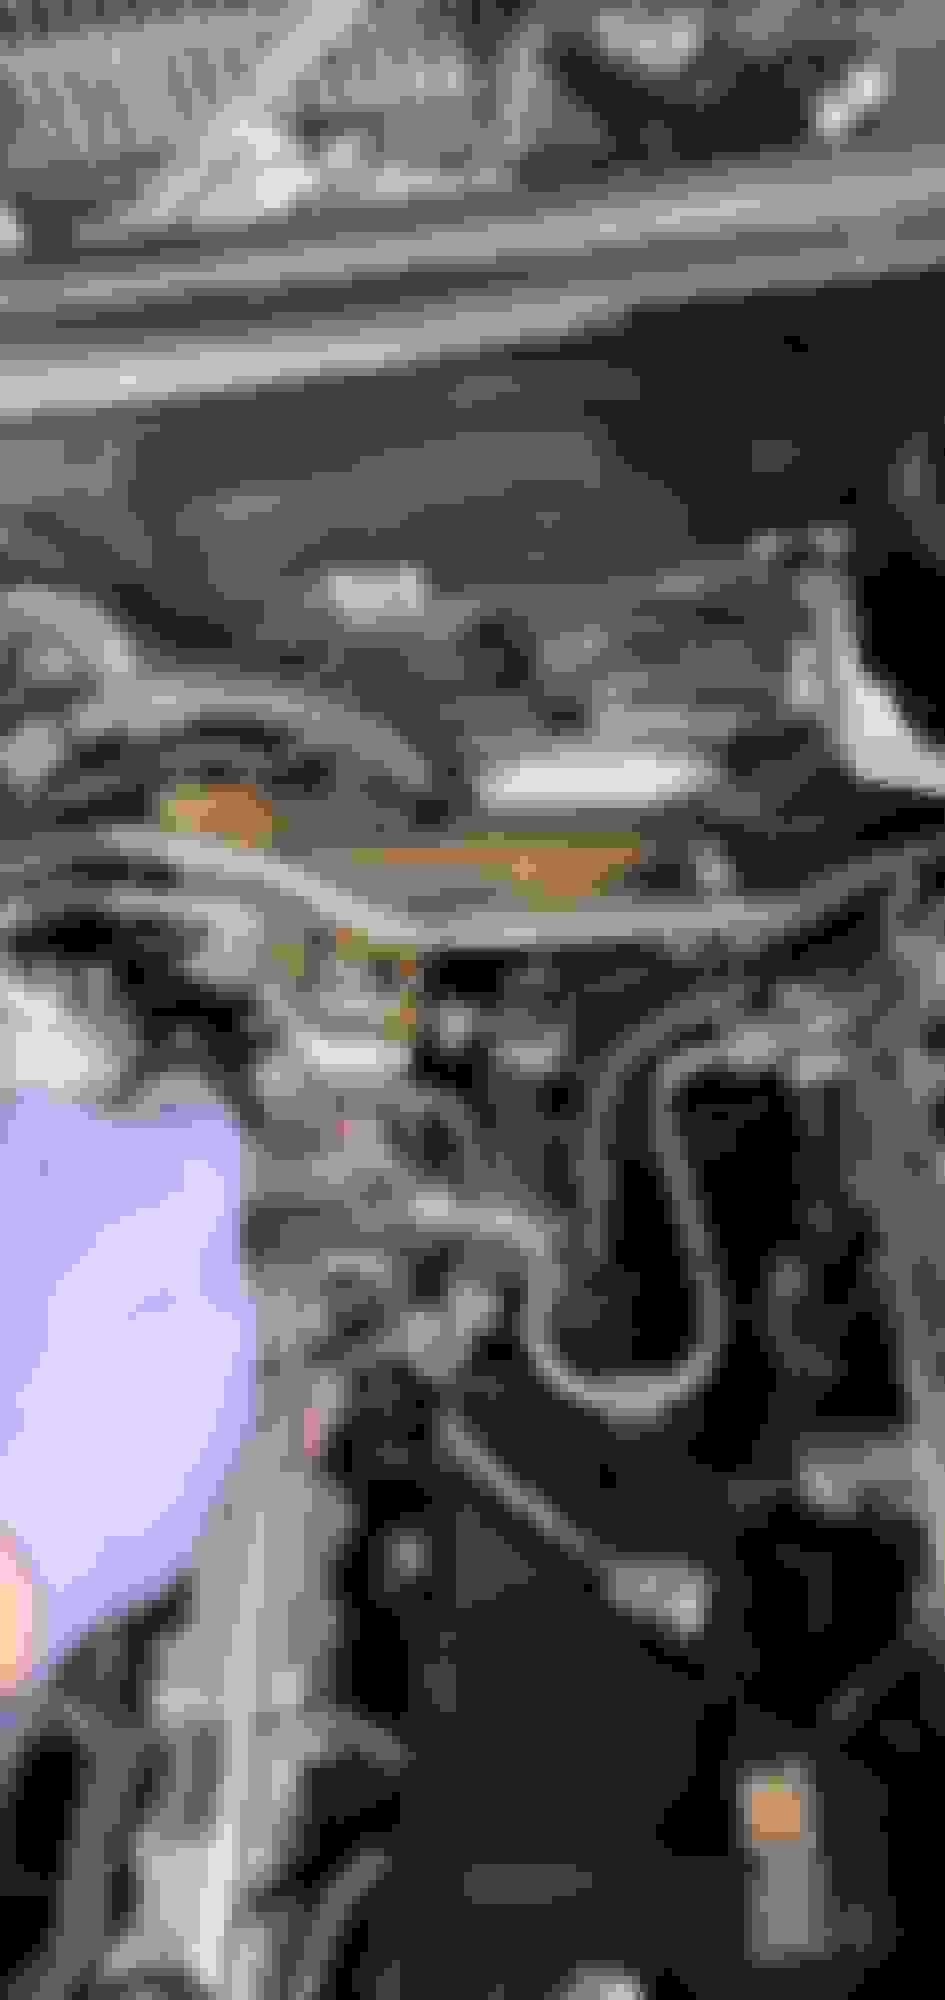
Peer on top of the intake manifold. There are 12mm bolts and (2) 12mm nuts iirc. Remove them all. 1" long 1/4" wobble extension & 12mm deep socket greatly helps.
DO NOT REMOVE FUEL RAILS.
Wiggle free the intake manifold, do not remove it yet, the fuel rail crossover line that is held in by a clip on the back of the intake manifold. Said clip pictured below.
The trick to removing the intake manifold is to rotate the back side out towards the passenger side (counterclockwise when viewing engine from front of car). You either need a bungee cord to hold the harness up, or a 2nd person. Be careful to not break port injectors.
Once the intake manifold is out the foam insulator may have stuck in the valley, grab that out of course.
Referencing to above photo, you'll need to remove the foam piece, IIRC 10mm bolt and a plastic clip. This will help gain access to the PCV box.
AGAIN DO NOT REMOVE DIRECT INJECTORS OR FUEL RAILS. You will be sorry if you do.
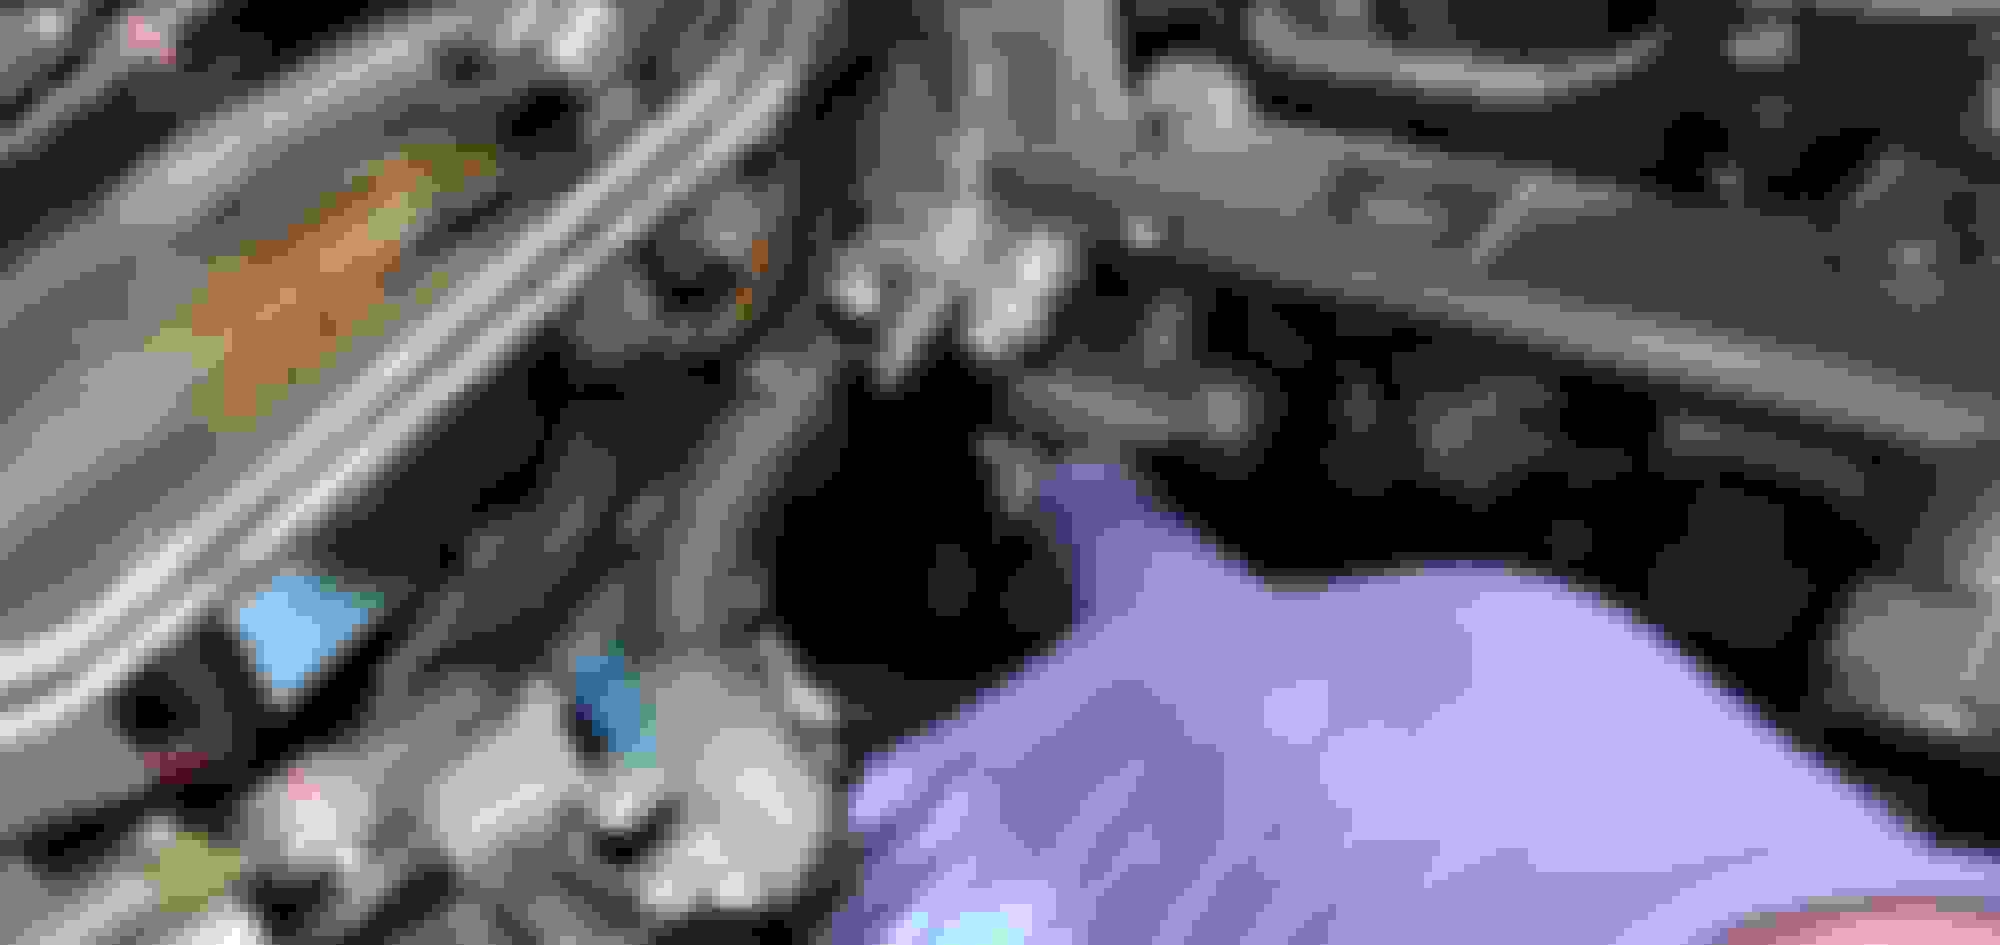
Disconnect the curved direct injection crossover pipe. 17 or 19mm IIRC. Also disconnect the driver side fuel rail pressure sensor connector.
Next we are going to remove the PCV box. Obvious 10mm bolts holding down the top of it, but there is one hidden 10mm in the back.
Next remove the knock sensors, 12mm. Be careful, if they are dropped replace them. Remove them from harness as well.
We need to fully remove the direct injector subharness. My black colored clips were so brittle I had to re-pin them into new connector housings.
Check out my Direct Injector Connector Re-pin DIY Thread Here.
Now we are down to the valley plate aka heat exchanger itself. Remove all the bolts and nuts, also disconnect the coolant hose clamp and slide the clamp back.
Get a nice pry bar to alternate pressure on the tabs seen in the pictures below.
Well? Get cleaning!
The Valley plate will wiggle out towards the back and there is a large transfer tube/pipe it connects to towards the front of the engine. For piece of mind I replaced these large o-rings on both sides of the pipe. Use a silicone paste or anything rubber safe chemical to keep the o-ring from rolling.
Use brake cleaner to prep surfaces for the correct sealant.
Once you have the surfaces prepped you will want to gently slide the resealed valley plate into position, make sure the transfer tube with the large o-ring is in place first.You can pull the pipe out a little and angle it upward to get the plate into position as everything should align given you are careful during install.
There really isn't much to reassembly as it's bolting things back up and reconnecting everything.
I Hope this helps people who have been asking me for it. I took the pictures over this winter and finally had time to compose at least some kind of guide.
Would most of this be necessary to remove the timing cover? I am thinking I need to replace the cam chain tensioners with the updated part from the European Technical Service Bulletin to get rid of my start up noise. Just wondering how much effort this will turn out to be.
Awesome write up !! thanks!
I live an area where there is no official lexus workshops around (grey imported).
and i'm having to top up the coolant every 2-3 mildly spirited drives but can't see any leaks after doing a pressure test, so i'm guessing i've got this valley plate issue.
Having said that, is there another way to check for if i got this issue without taking apart the head cylinder? I'm rather worried the independent mechanic i'm using will break something if he opens it up..
Peek at the very back of your engine and see if there is red dried up coolant that leaked out if the back. Or peek in the very right front corner under the throttle body.
Would most of this be necessary to remove the timing cover? I am thinking I need to replace the cam chain tensioners with the updated part from the European Technical Service Bulletin to get rid of my start up noise. Just wondering how much effort this will turn out to be.
Great write up!!!
The intake manifold can stay on. You need to remove both valve covers to remove the front cover.
is there a photo of where i these 2 locations are ? as you can probably guess i'm rather clueless when it comes to this....
Look under the car on the transmission. Sometimes coolant will leak all the way down there. Look at the top of the engine near the firewall for dried red substance.
I would like to add one thing and reiterate another.
If you remove the port injectors from the plenum you gain ~1.5in of clearance to remove the plenum from under the harness. IMO there is less chance of damaging the injectors if you remove them. Downside is the O-rings will need to be replaced. (orings are a lot cheaper than injectors btw)
LUBE THE O RINGS ON THE HEAT EXCHANGE PIPE!!!!!! I just did this job twice because the o ring slid out of the groove. Try your best to do a visual inspection of the o ring before you put it all back together. I had better luck putting the pipe in the engine and then sliding the heat exchange plate onto the pipe.
Would most of this be necessary to remove the timing cover? I am thinking I need to replace the cam chain tensioners with the updated part from the European Technical Service Bulletin to get rid of my start up noise. Just wondering how much effort this will turn out to be.
Great write up!!!
Do dealerships have the updated parts? Or is it through some other company?
**(OFF TOPIC)** The Euro TSB part is available in the US. I didn't see if the US online resources automatically updated to the newer part, but they definitely have them available. It's only one part they updated. Replacing everything (all four chains, all slippers, etc.) is a personal call. IMHO, because it's such a PITA job, I'll replace everything and be happy knowing I'm good for a very long time to come.
(/OFF TOPIC)
Thanks for the write up Viprez. I am going to try to tackle this job in the next week. Do you have an info on torque specs for the valley plate? Thank you.
 06-12-19, 11:00 AM