
Xenon Depot Volt HID kit: fog light installation...
 10-28-08 | 10:41 PM
#1
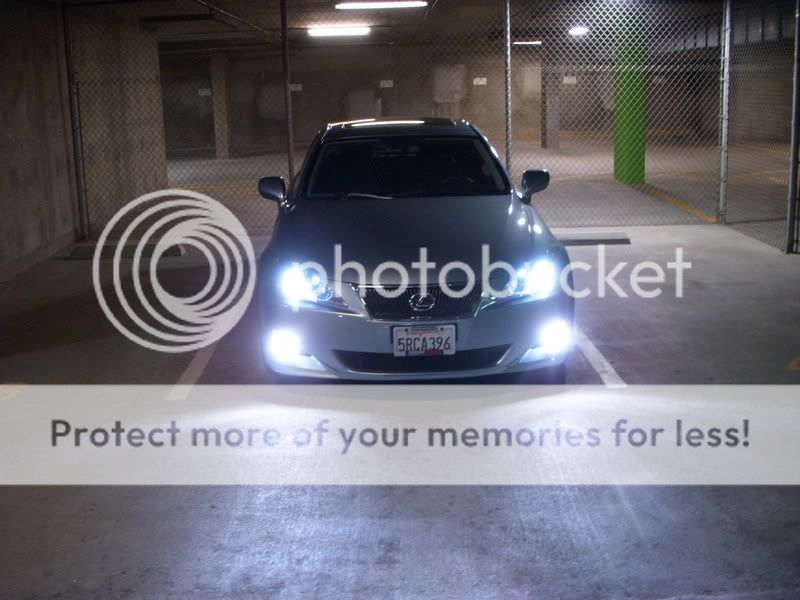
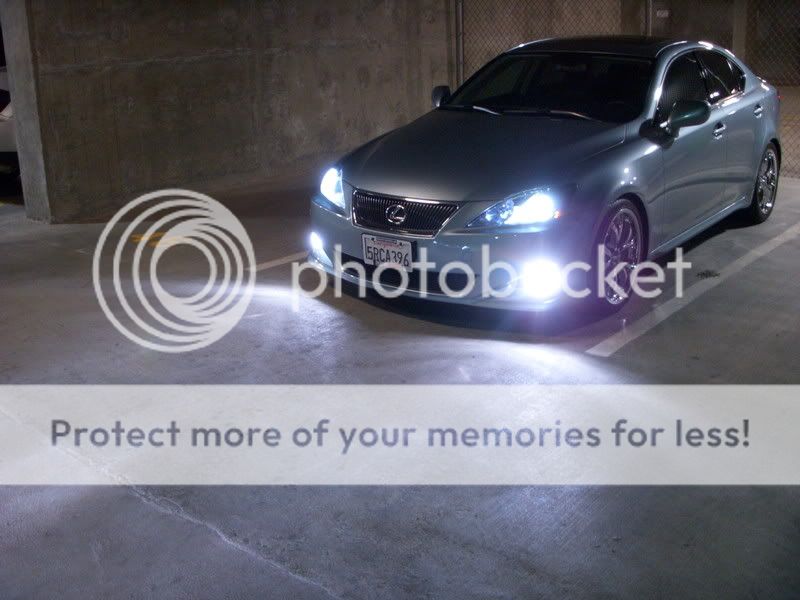
It took a while, but I finally upgraded from fog light overlays to actual HID bulbs. 
First and foremost, a big thanks to Steve of Xenon Depot for providing a superb product that was easy to install and exceeded my expectations.
Second, another big thanks to Tommy of Music Box in South El Monte, CA. He helped install the HID kit, and model the installation process below.
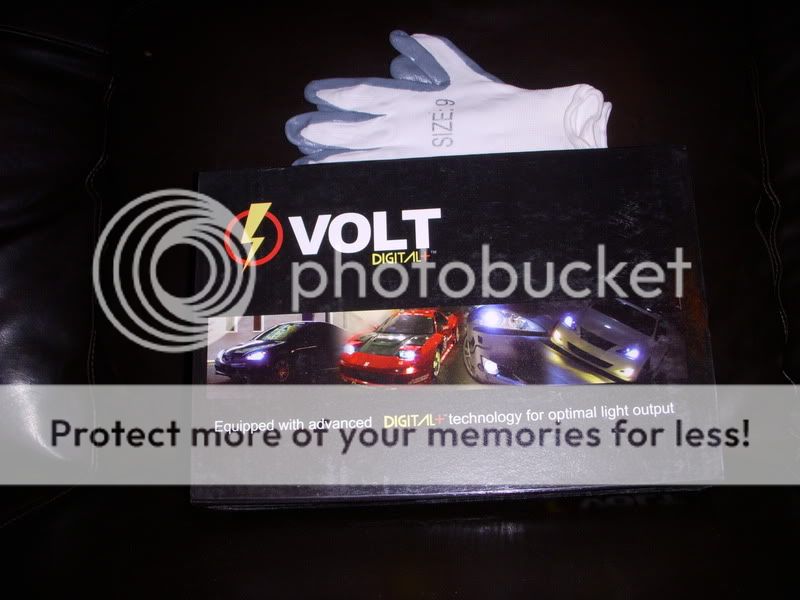
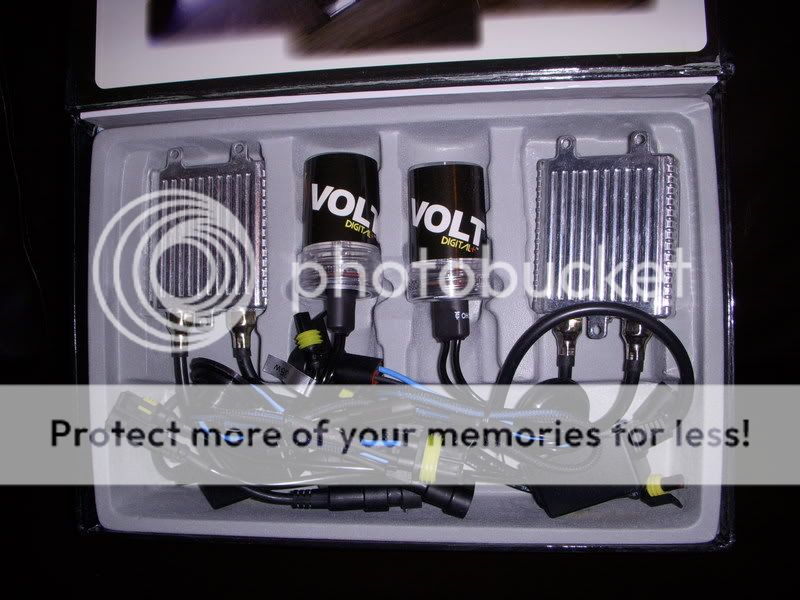
Xenon Depot has a new product, Volt HID Digital+ Kits. It's a high quality product that can be found on their website: Xenon Depot description of Volt HID Digital+ Kits. Volt HID Digital+ ballasts are the smallest and lightest ballasts manufactured today. This new ultra-slim design will enable the product to be used in a wider variety of applications.
The box was mailed via UPS, well packaged and complete with installation gloves:
 ]
]
INSTALLATION IS EASY!!!
Photos were taken while the car was lifted, for better views.
First, the passenger side:
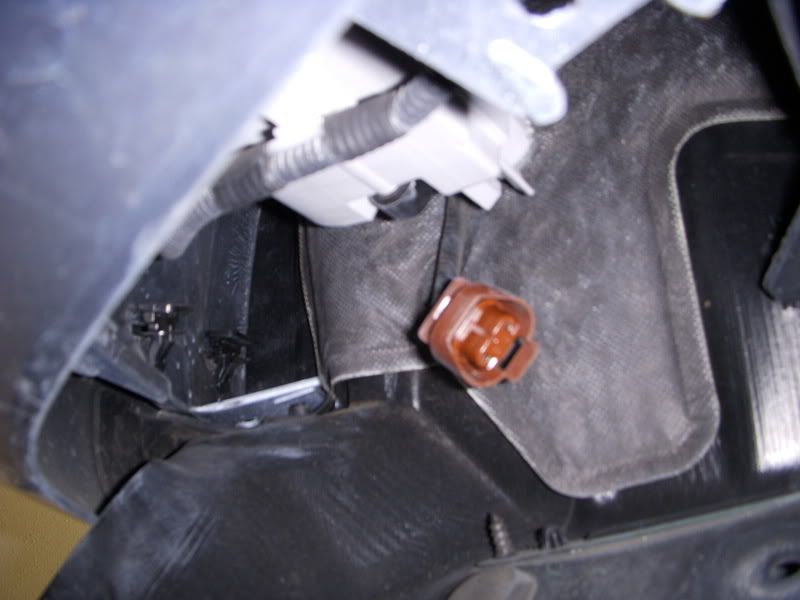
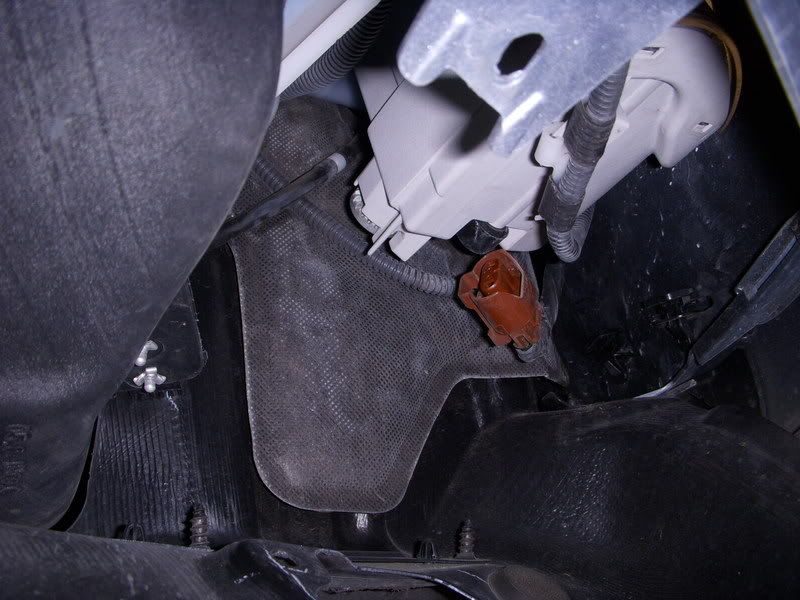
Remove the bottom covers behind the bumper below the fog lights. One panel with three screws on the passenger side; two panels with four screws total on the driver side. Remove the original bulbs from the fog light housing. The original bulb housing is orange.
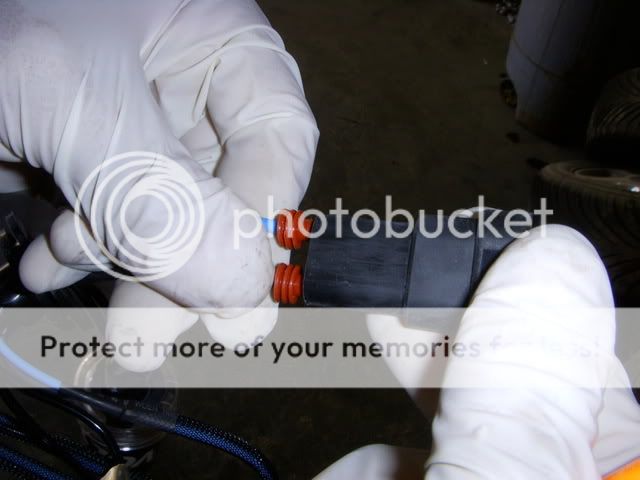
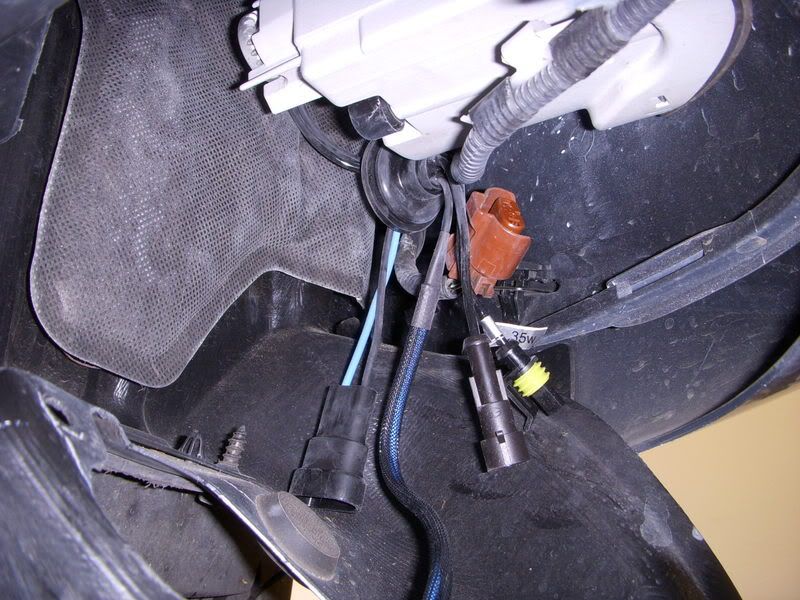
Note that with this kit, the positive and negative inputs need to be switched. That can easily be done by removing the prongs from the connector and switching it. The kit is a simple plug-and-play that you install between the bulb and bulb housing. No wiring harness required.
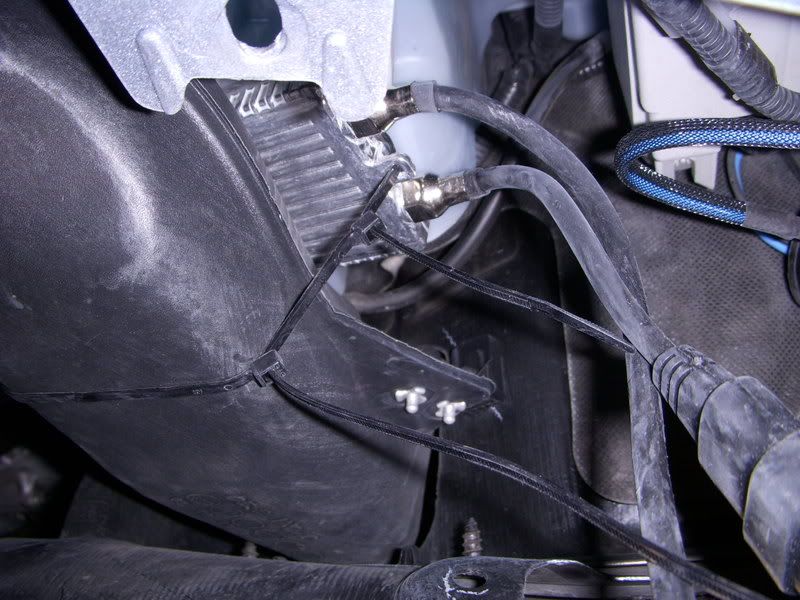
Next, attach the one end of the HID ballast to the bulb housing. Connect the HID bulb wire to the ballast and you have a pretty long wire loop. The HID bulb goes into the fog light housing.
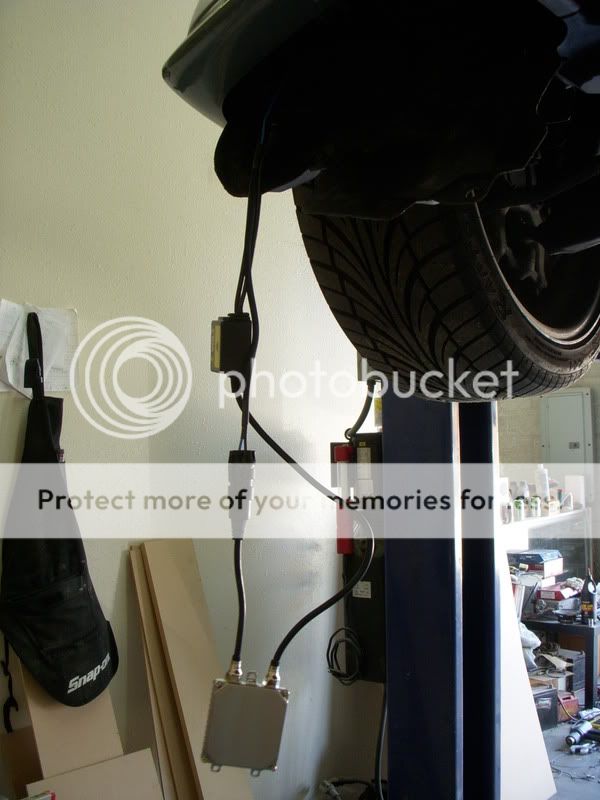
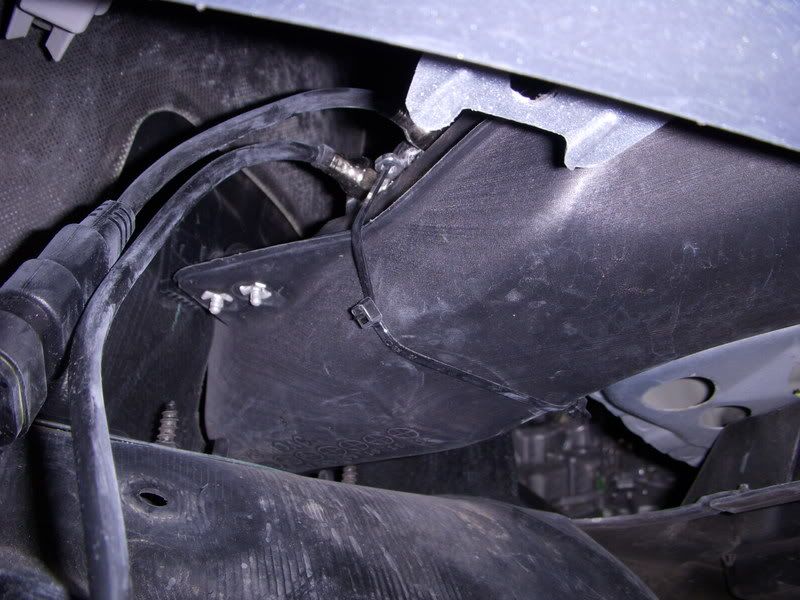
For security and the least amount of possible water contact, the ballast was zip-tied to the top of the front brake air dam (a tunnel from the front air dam to the wheel well).
The same process goes for the driver side.
First and foremost, a big thanks to Steve of Xenon Depot for providing a superb product that was easy to install and exceeded my expectations.
Second, another big thanks to Tommy of Music Box in South El Monte, CA. He helped install the HID kit, and model the installation process below.
Xenon Depot has a new product, Volt HID Digital+ Kits. It's a high quality product that can be found on their website: Xenon Depot description of Volt HID Digital+ Kits. Volt HID Digital+ ballasts are the smallest and lightest ballasts manufactured today. This new ultra-slim design will enable the product to be used in a wider variety of applications.
The box was mailed via UPS, well packaged and complete with installation gloves:
]INSTALLATION IS EASY!!!
Photos were taken while the car was lifted, for better views.
First, the passenger side:
Remove the bottom covers behind the bumper below the fog lights. One panel with three screws on the passenger side; two panels with four screws total on the driver side. Remove the original bulbs from the fog light housing. The original bulb housing is orange.
Note that with this kit, the positive and negative inputs need to be switched. That can easily be done by removing the prongs from the connector and switching it. The kit is a simple plug-and-play that you install between the bulb and bulb housing. No wiring harness required.
Next, attach the one end of the HID ballast to the bulb housing. Connect the HID bulb wire to the ballast and you have a pretty long wire loop. The HID bulb goes into the fog light housing.
For security and the least amount of possible water contact, the ballast was zip-tied to the top of the front brake air dam (a tunnel from the front air dam to the wheel well).
The same process goes for the driver side.
Last edited by PhilipMSPT; 10-29-08 at 09:08 AM.


 did you do something to your low's too?

 10-28-08 | 10:56 PM
#7


