tsx retro and deline headlights failure
 07-20-08, 04:31 AM
#1

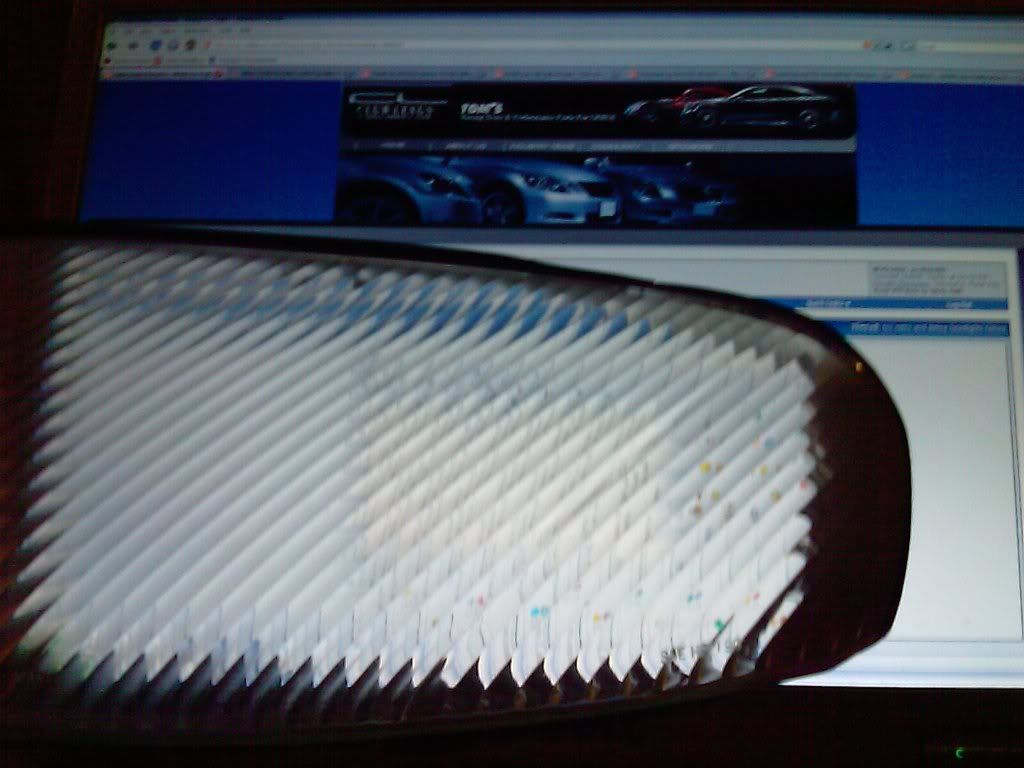
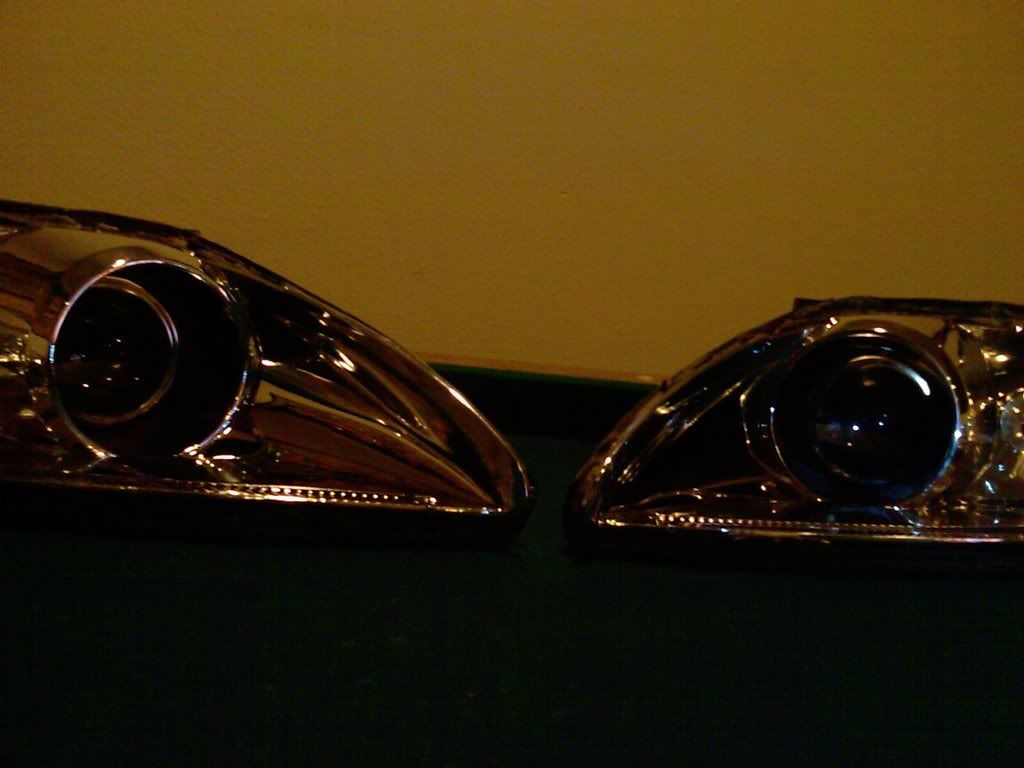
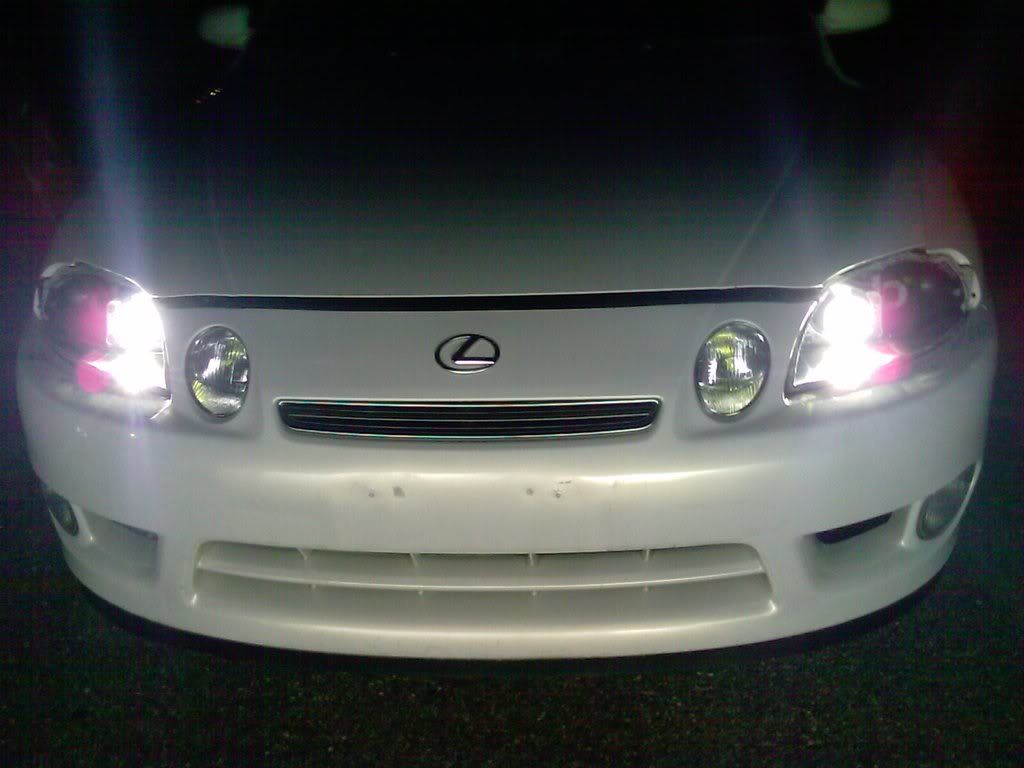
the projectors seem to sit to far in is that a problem any way i can make it flush with the chrome part? also i tried delining the headlights and it went terribly wrong... as you can see its super hazy and that is after 2000 grit wet sanding for about 3 min. on the left is the one i tried to sand and the one on the right is oem not touched. anyway i can revive this lense?
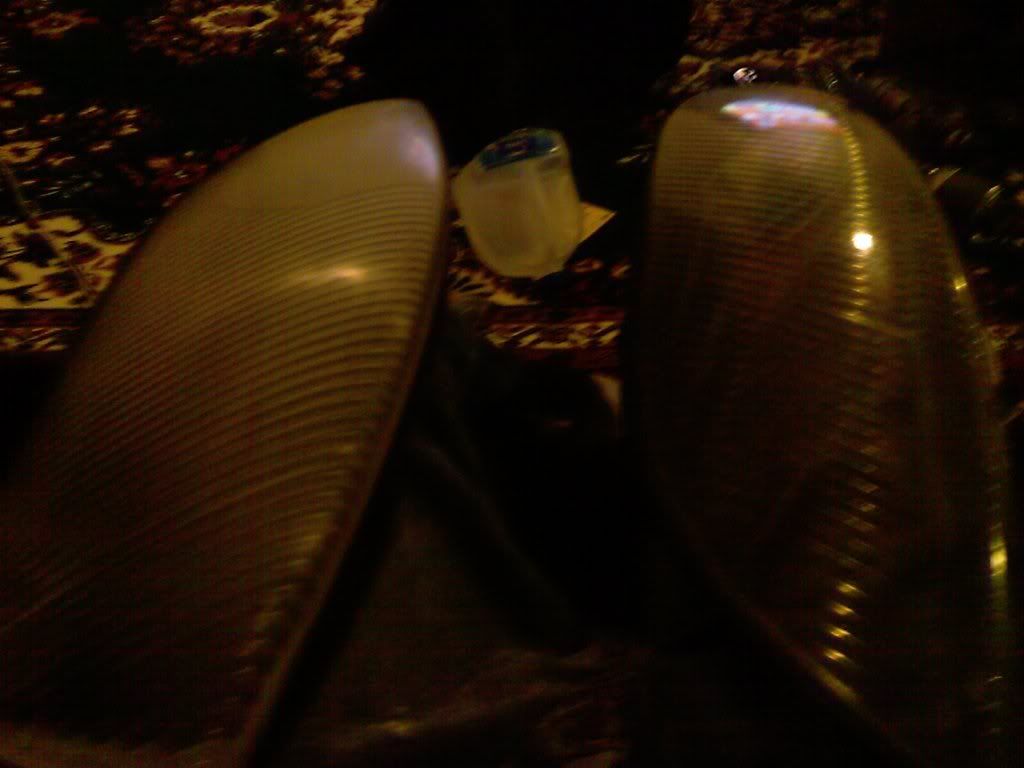
this retro is not going to good i broke two level things on the bottom right of the headlights it has a 0 in the middle and says L on one end and R on the other clear and the long screw that i think is used to adjust the level broke in two
this retro is not going to good i broke two level things on the bottom right of the headlights it has a 0 in the middle and says L on one end and R on the other clear and the long screw that i think is used to adjust the level broke in two


 07-20-08, 08:45 AM
#4
Pole Position
iTrader: (6)
Join Date: Feb 2008
Location: Texas
Posts: 346
Likes: 0
Received 0 Likes
on
0 Posts
To get the shine back your gonna have to use a product like PlasticX by Maguire's and either use a drill attachment or high speed buffer and buff them out. You can do it by hand but just doesnt come out as great. As for why your projector are sunken in like that I have no clue.
 07-20-08, 06:01 PM
#10
Lexus Champion
Join Date: Feb 2007
Location: WA
Posts: 2,910
Likes: 0
Received 0 Likes
on
0 Posts
yea..when i delined mine i used plastx too..that stuff is good. did mine all by hand too..it can be done..it just takes forever. if you have the tools or the connections to get tools..then i would suggest to get them. it will save you plenty of time. as you saw on mine..i still didnt get it too perfect. maybe if i get a buffer..then i would be able to get better results..thats if i dont decide on swapping them out for some new oem ones. i decided i liked the chrome better than my black/chrome ones.
07-20-08, 07:03 PM
#11
It won't help with this, the haze you have right now is basically many many very fine scratches; you have to work those scratches finer and finer until they disappear. You can use compounds basically the same way you would use 1500 and then 2000 grit sandpaper; start with an aggresive compound (rubbing compound, which is still finer than the 2000 grit); then move to a polish and then the Plastx which is a very very fine grit if any and I believe some fillers. This will save you alot of time over trying to work all those scratches out with the Plastx.
07-20-08, 07:16 PM
#12
It won't help with this, the haze you have right now is basically many many very fine scratches; you have to work those scratches finer and finer until they disappear. You can use compounds basically the same way you would use 1500 and then 2000 grit sandpaper; start with an aggresive compound (rubbing compound, which is still finer than the 2000 grit); then move to a polish and then the Plastx which is a very very fine grit if any and I believe some fillers. This will save you alot of time over trying to work all those scratches out with the Plastx.
07-21-08, 12:10 AM
#13
Pole Position
Join Date: Apr 2007
Location: Alberta
Posts: 353
Likes: 0
Received 0 Likes
on
0 Posts
3000 grit then plastix... when using plastix you cant just apply and wipe off you need to work it in as if it was like sandpaper. and yeah your output is gonna be affected because your projectors are sitting so far in. mostly on the side output. I recommend you purchase brackets and push them out. if you look at my link below it'll give you an idea of whats it looks like properly installed.
07-21-08, 03:34 PM
#14
You wouldn't necessarily need higher than 2000 grit paper, although if you could find 3000 that would probably make your job a little easier.
Your wax wouldn't do you any good in the middle of the process, it wouldn't hurt and may enhance the appearance a little to put a coat of wax on when your done though.
I'd go out and buy some rubbing compound, I've always been satisfied with 3M products but others should do the job just as well. Then follow that with your Plastx or a true mildly abrasive paint polish between the compound and Plastx.
The Plastx is your final step that will restore the shine and clarity of the lens. If you sanded after that you'd be right back where you are now with the haze. The rubbing compound and polishing and plastx is to eliminate the haze from the sanding scratches.
There's a stickied thread at the top of the detailing forum on headlight restoration that would be a good read, I think it'd help clarify what's going on and what needs to be done to clear it up.
07-21-08, 09:37 PM
#15
3000 grit then plastix... when using plastix you cant just apply and wipe off you need to work it in as if it was like sandpaper. and yeah your output is gonna be affected because your projectors are sitting so far in. mostly on the side output. I recommend you purchase brackets and push them out. if you look at my link below it'll give you an idea of whats it looks like properly installed.
iono if you can tell but i think i used them wrong? i used them to push the projectors back i think?
 the right one kinda give you and idea of where the brackets are
You wouldn't necessarily need higher than 2000 grit paper, although if you could find 3000 that would probably make your job a little easier.
Your wax wouldn't do you any good in the middle of the process, it wouldn't hurt and may enhance the appearance a little to put a coat of wax on when your done though.
I'd go out and buy some rubbing compound, I've always been satisfied with 3M products but others should do the job just as well. Then follow that with your Plastx or a true mildly abrasive paint polish between the compound and Plastx.
The Plastx is your final step that will restore the shine and clarity of the lens. If you sanded after that you'd be right back where you are now with the haze. The rubbing compound and polishing and plastx is to eliminate the haze from the sanding scratches.
There's a stickied thread at the top of the detailing forum on headlight restoration that would be a good read, I think it'd help clarify what's going on and what needs to be done to clear it up.
Your wax wouldn't do you any good in the middle of the process, it wouldn't hurt and may enhance the appearance a little to put a coat of wax on when your done though.
I'd go out and buy some rubbing compound, I've always been satisfied with 3M products but others should do the job just as well. Then follow that with your Plastx or a true mildly abrasive paint polish between the compound and Plastx.
The Plastx is your final step that will restore the shine and clarity of the lens. If you sanded after that you'd be right back where you are now with the haze. The rubbing compound and polishing and plastx is to eliminate the haze from the sanding scratches.
There's a stickied thread at the top of the detailing forum on headlight restoration that would be a good read, I think it'd help clarify what's going on and what needs to be done to clear it up.
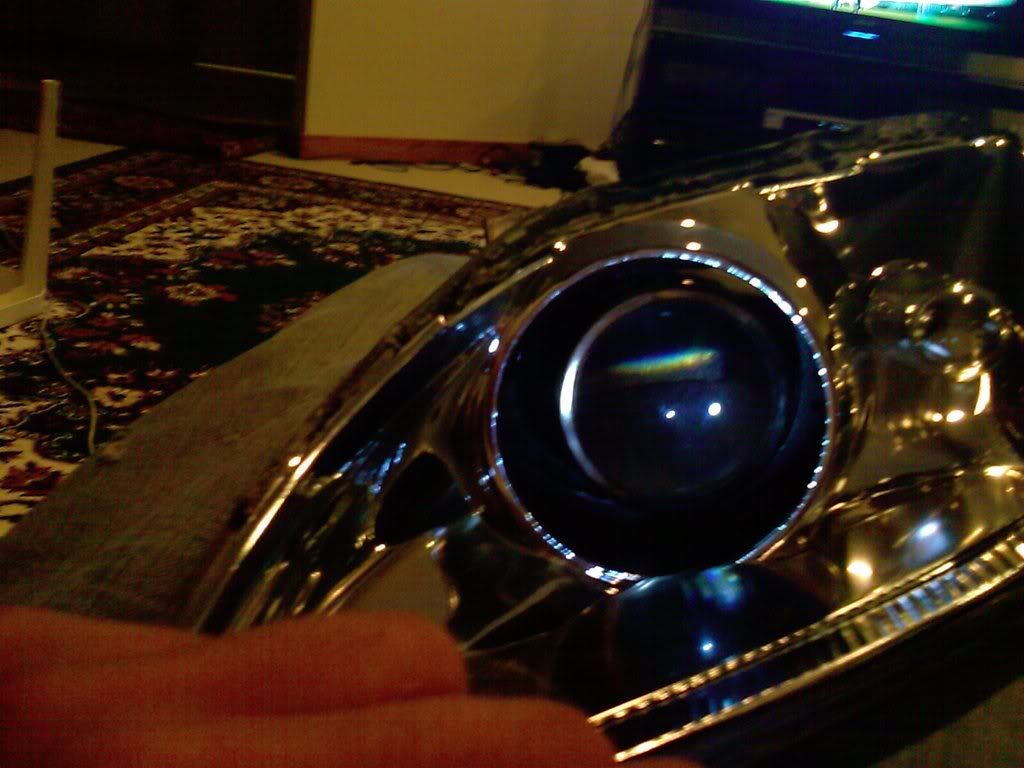
it is clear but still hazy i want it as clear as possible
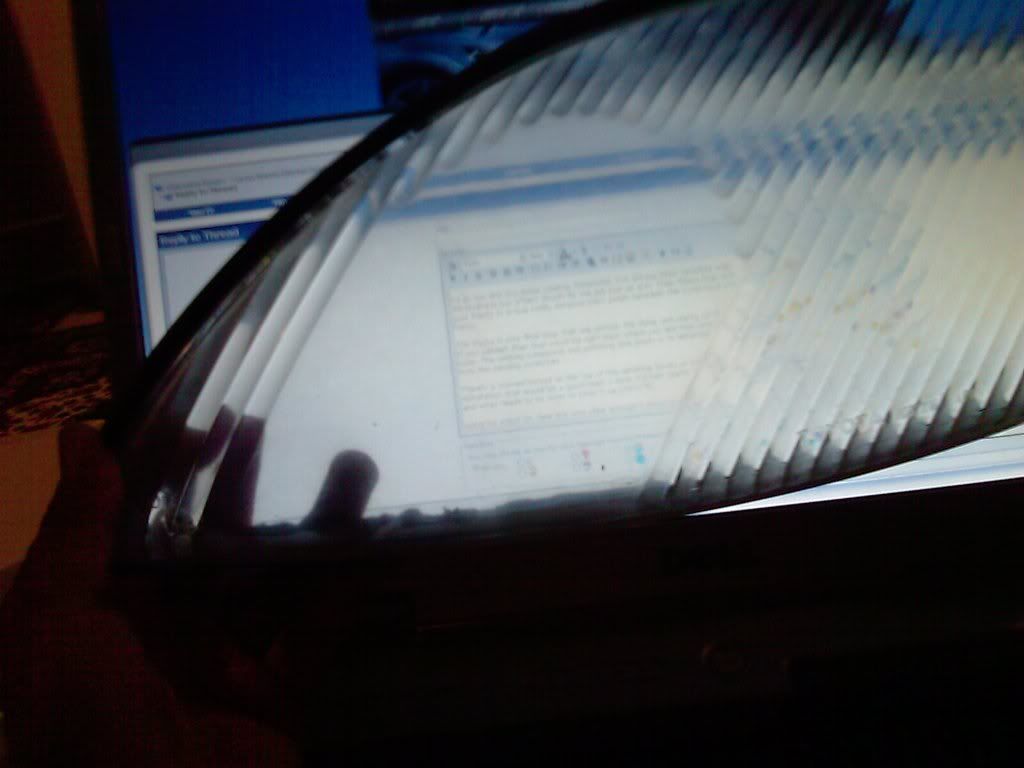
this is oem the right side of the lense has not been touched