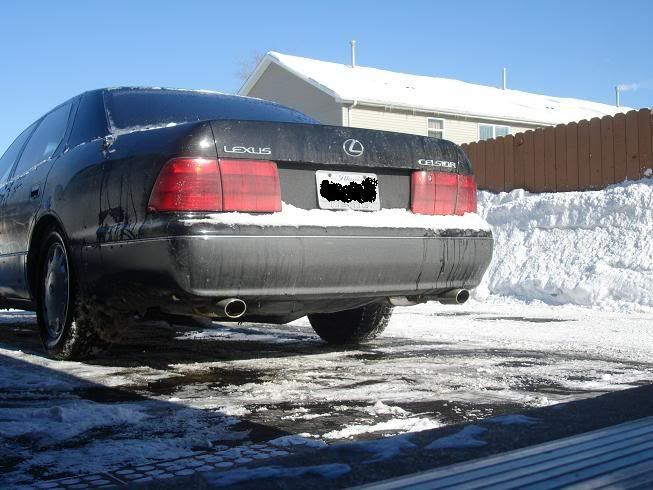
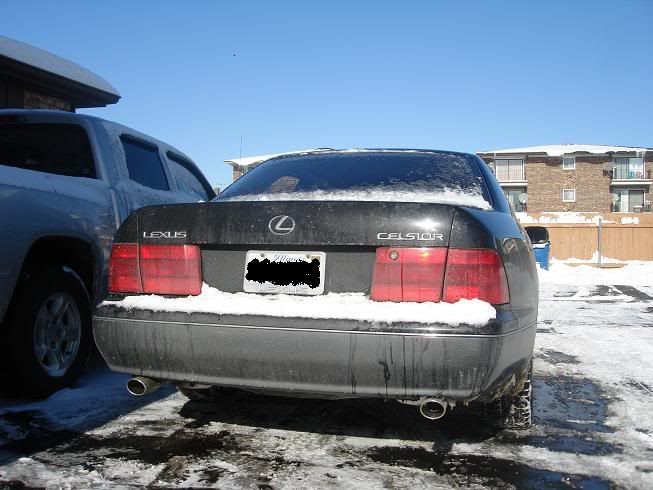
new exhaust =)
#17
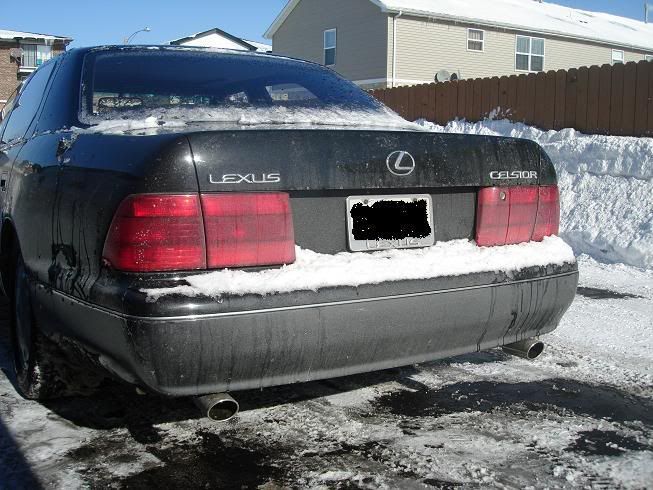
your the person i originally got the idea from only i didnt remove the resonator before the y pipes which im about to go do know and the tips had to b angled slightly from the muffler to avoid melting the bumper. its snow here in chicago so kinda sux with the pix n video n all but hopefully it will clear up soon so i can get some pix.

#18
the exhaust doesnt get hot enough even with hard use to melt bumper as long as you use quality tips.
http://www.youtube.com/watch?v=nhLK_Uu435c
^old crappy quality video.
http://www.youtube.com/watch?v=nhLK_Uu435c
^old crappy quality video.

#20
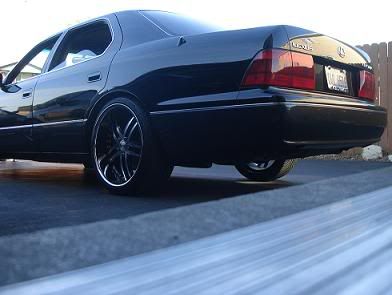
heres some recent pix =) tinted the tail lights myself and added celsior badge this is b4 the exhaust
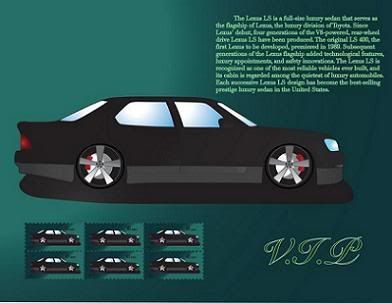
this is a project i made of my car in my design class =)
http://i34.photobucket.com/albums/d1...p111/ls4-2.jpg

this is a project i made of my car in my design class =)
http://i34.photobucket.com/albums/d1...p111/ls4-2.jpg
Last edited by V.I.P LS4; 01-10-09 at 07:49 PM.
#22
your the person i originally got the idea from only i didnt remove the resonator before the y pipes which im about to go do know and the tips had to b angled slightly from the muffler to avoid melting the bumper. its snow here in chicago so kinda sux with the pix n video n all but hopefully it will clear up soon so i can get some pix.

#23
heres some recent pix =) tinted the tail lights myself and added celsior badge this is b4 the exhaust

this is a project i made of my car in my design class =)
http://i34.photobucket.com/albums/d1...p111/ls4-2.jpg

this is a project i made of my car in my design class =)
http://i34.photobucket.com/albums/d1...p111/ls4-2.jpg
 It looks really cool in that shot
#26
fo sho i like the sound but im gna take out one more resonator the one before the y pipe should sound nicer =)
pix will come soon
the tints took a little time i sat on a bucket lol u need a hair dryer or heat gun the kit came with a plastic squeegy to take out the bubbles i put soapwater in a buchet cut out a bigger size then the light dip it in the water place it on the tail light position it then slowly heat while squeeging the bubles and stretching the tint on the light the tint melts from the dryer so u have to be careful so u dont overheat and melt it. slowly heat it and stretch it onto the light then use a razor blade to get rid of the edges and to shape it i measured and cut out the shape a little bigger. took a few tries but it came out perfect when i got it down =)
#28
Awesome - When I took mine out it really changed the sound - now imagine your tips maybe 4" x 10" welded on. The extra volume will change it even more 
In the morning when I start it cold it rumbles Not your normal Lexus

In the morning when I start it cold it rumbles
 Not your normal Lexus


 [/IMG]
 [/IMG]
 [/IMG]