
SonicC's 98 LS400 "Restoration" Thread
 06-03-15, 10:13 AM
#46


 06-25-15, 10:26 AM
#47
Rookie
Thread Starter

Join Date: May 2015
Location: MO
Posts: 68
Likes: 0
Received 0 Likes
on
0 Posts
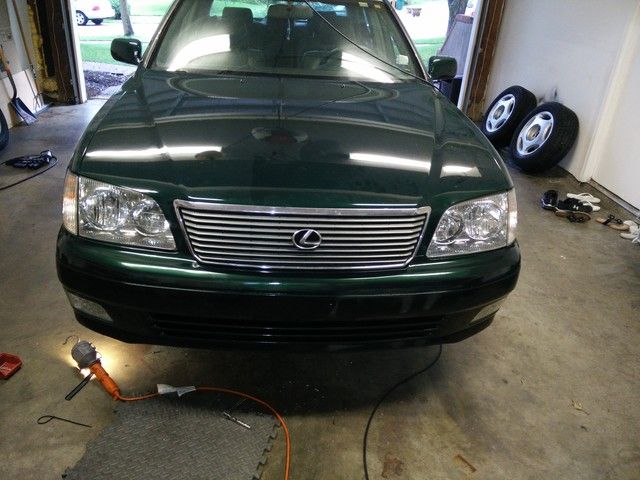
Figured i haven't posted any updates in a while...
After getting a new paint job, I was reminded the old saying "you get what you pay for"
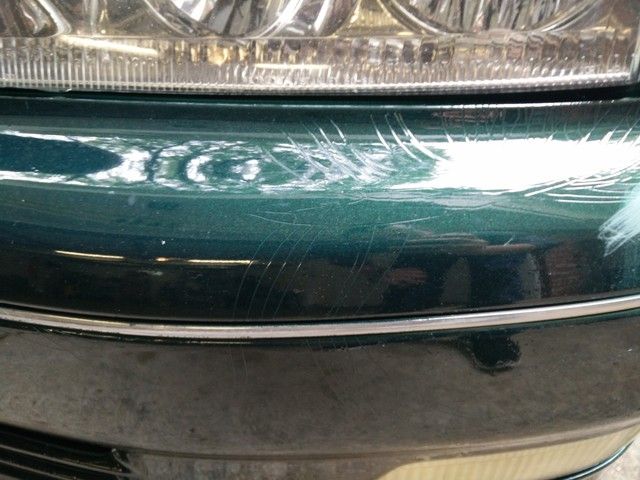
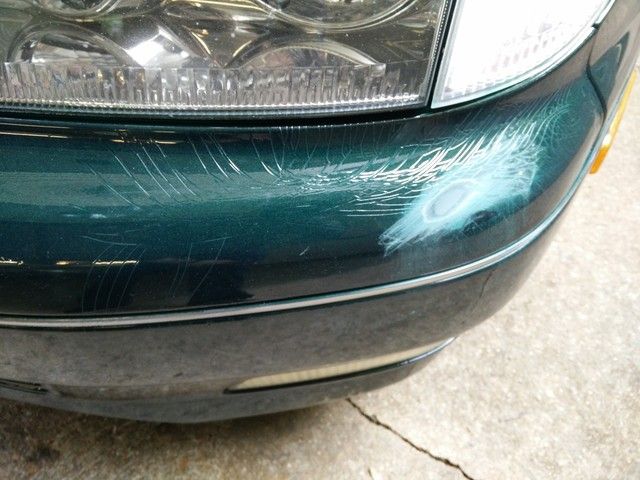
The old paint on the bumper had cracked so they just painted over it, without sanding out the cracks first. Their excuse: bodywork was not included in the price. They couldn't even call me to let me know this was there or ask if I'm willing to pay extra for them to take care of it...nope.
So I took the whole bumper off and sanded it down, primed it, then painted it myself.
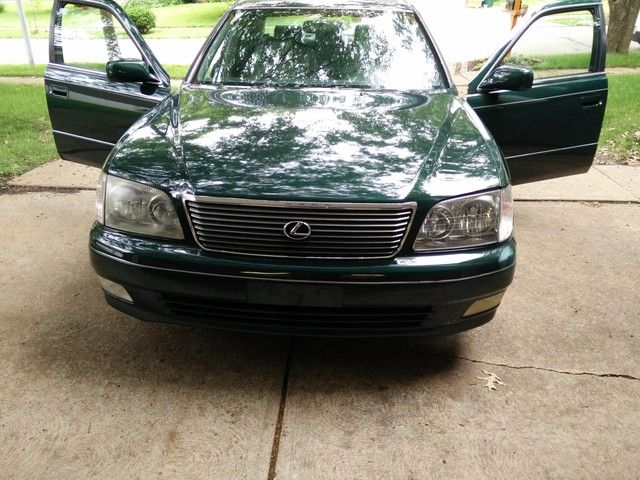
While at it, I polished both headlights as well as the fog lights/turn signals
Right headlight before:
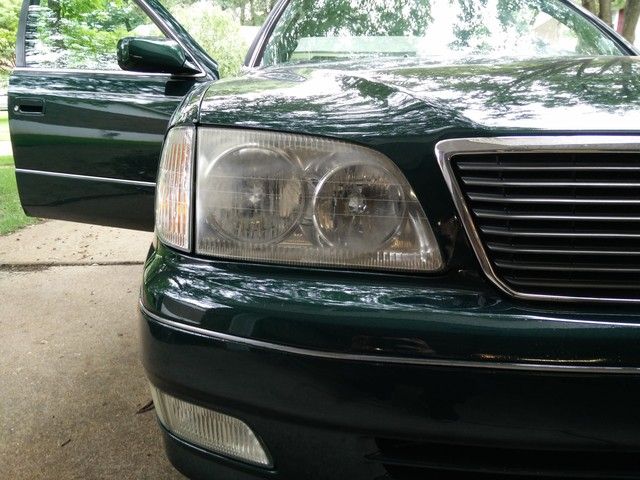
After

with painted bumper...
Took the wheels off, sanded down all the imperfections, then painted them with VHT Wheel paint
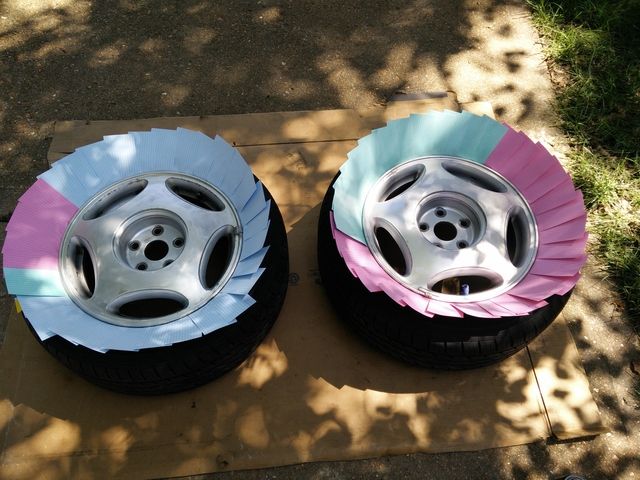
I forgot to take an "after" pic of wheels when I got done, but you can see in pic below...
Gave it a nice wash yesterday
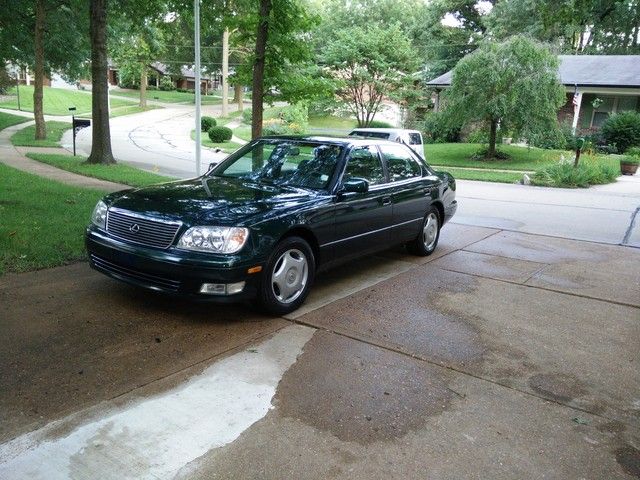
Still waiting for the chrome strip to arrive so I can put it on the front bumper.
After getting a new paint job, I was reminded the old saying "you get what you pay for"
The old paint on the bumper had cracked so they just painted over it, without sanding out the cracks first. Their excuse: bodywork was not included in the price. They couldn't even call me to let me know this was there or ask if I'm willing to pay extra for them to take care of it...nope.
So I took the whole bumper off and sanded it down, primed it, then painted it myself.
While at it, I polished both headlights as well as the fog lights/turn signals
Right headlight before:
After
with painted bumper...
Took the wheels off, sanded down all the imperfections, then painted them with VHT Wheel paint
I forgot to take an "after" pic of wheels when I got done, but you can see in pic below...
Gave it a nice wash yesterday
Still waiting for the chrome strip to arrive so I can put it on the front bumper.
06-25-15, 12:57 PM
#48
Figured i haven't posted any updates in a while...
After getting a new paint job, I was reminded the old saying "you get what you pay for"
The old paint on the bumper had cracked so they just painted over it, without sanding out the cracks first. Their excuse: bodywork was not included in the price. They couldn't even call me to let me know this was there or ask if I'm willing to pay extra for them to take care of it...nope.
So I took the whole bumper off and sanded it down, primed it, then painted it myself.
While at it, I polished both headlights as well as the fog lights/turn signals
Right headlight before:
After
with painted bumper...
Took the wheels off, sanded down all the imperfections, then painted them with VHT Wheel paint
I forgot to take an "after" pic of wheels when I got done, but you can see in pic below...
Gave it a nice wash yesterday
Still waiting for the chrome strip to arrive so I can put it on the front bumper.

Also what did you use to polish the headlights?
Thanks
06-25-15, 01:20 PM
#49
Rookie
Thread Starter
Join Date: May 2015
Location: MO
Posts: 68
Likes: 0
Received 0 Likes
on
0 Posts
For headlights I wet sanded with 1000,1500,2000,2500 grit sand paper, then polished with PC7424 polisher.
06-25-15, 06:05 PM
#50
Rookie
Join Date: Jul 2013
Location: Ca
Posts: 81
Likes: 0
Received 0 Likes
on
0 Posts
Looks so much better from where it came from! I admire all the work you are doing to it and the green ones seem to be hard to come by. Love it! Keep the pictures coming, my favorite thread right now for sure.
06-26-15, 12:26 PM
#52
Rookie
Thread Starter
Join Date: May 2015
Location: MO
Posts: 68
Likes: 0
Received 0 Likes
on
0 Posts
I used Pinnacle XMT swirl remover on Orange pad and XMT finishing glaze on white pad.
06-26-15, 09:23 PM
#53
Lexus Fanatic
Great project!
06-27-15, 04:48 AM
#54
 06-27-15, 07:19 AM
#55
Rookie
Thread Starter
Join Date: May 2015
Location: MO
Posts: 68
Likes: 0
Received 0 Likes
on
0 Posts
Snapped a quick pic this morning
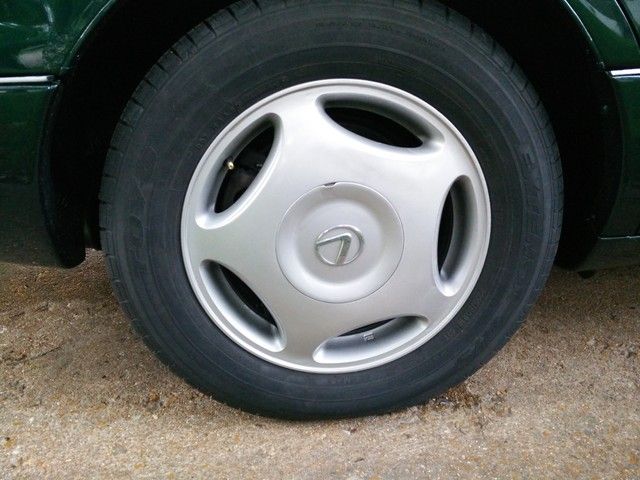
This was first time using VHT wheel paint. I like how it looks, but it's a little weird to work with...very very thin and it will create overspray/run if you're not patient and careful
Only color. I did a test on one wheel with paint and clear, but it was coming out too glossy, so I decided to just go with paint.
06-27-15, 08:04 AM
#56
Lexus Fanatic
Looks great! This is a car that this sort of resto is really worthwhile. With a little TLC you wind up with a great car. They age so well...

 06-30-15, 02:42 AM
#59

Also for the plastics there is a special additive to make the paint more flexible so if the plastic is deformed a small amount the paint won't crack. Looks good what paint did you use?