When you click on links to various merchants on this site and make a purchase, this can result in this site earning a commission. Affiliate programs and affiliations include, but are not limited to, the eBay Partner Network.
Cheap and easy method to really repair and reuse brake wear sensors
Hello everyone,
I came up with this great trick while replacing my brakes on my 97 LS. Unfortunately my idea to get photos was thwarted by a hot sun and greasy hands making photos difficult to do (cause working in the heat sucks) so my quick phone-based photoshop art will have to suffice. If you've seen the brake sensors, you'll understand exactly what is going on. Maybe If I do this again in a few years, I can add photos. Whatever. Onward!
Ok, so the trick to the fix is conductive carbon paint. Its $5-20 depending on qty (you only need a little bit) You can buy it on eBay / Amazon / Frys has even been known to have it. The thicker, brush-on type works the best for me (you'll understand why in a minute) but you can likely get similar results with conductive paint pens as well. Sometimes its called wire paste or wire glue.
So the method is simple. Since essentially all the sensor is is a conductive coating connecting the two wires in the sensor body, the paint rebuilds this part that is missing when the indicator sticks on. This is why the wire strip method makes the light go away. This will make the sensor work like its supposed to , not like the destructive (but effective!) wire strip method.
Now, when you do this, you might have to get creative to make the height of the sensor right depending on how much you have worn it out, but thats beyond the scope of this tutorial. The idea is to get it close and to shut that stupid light off while having some actual functionality return.
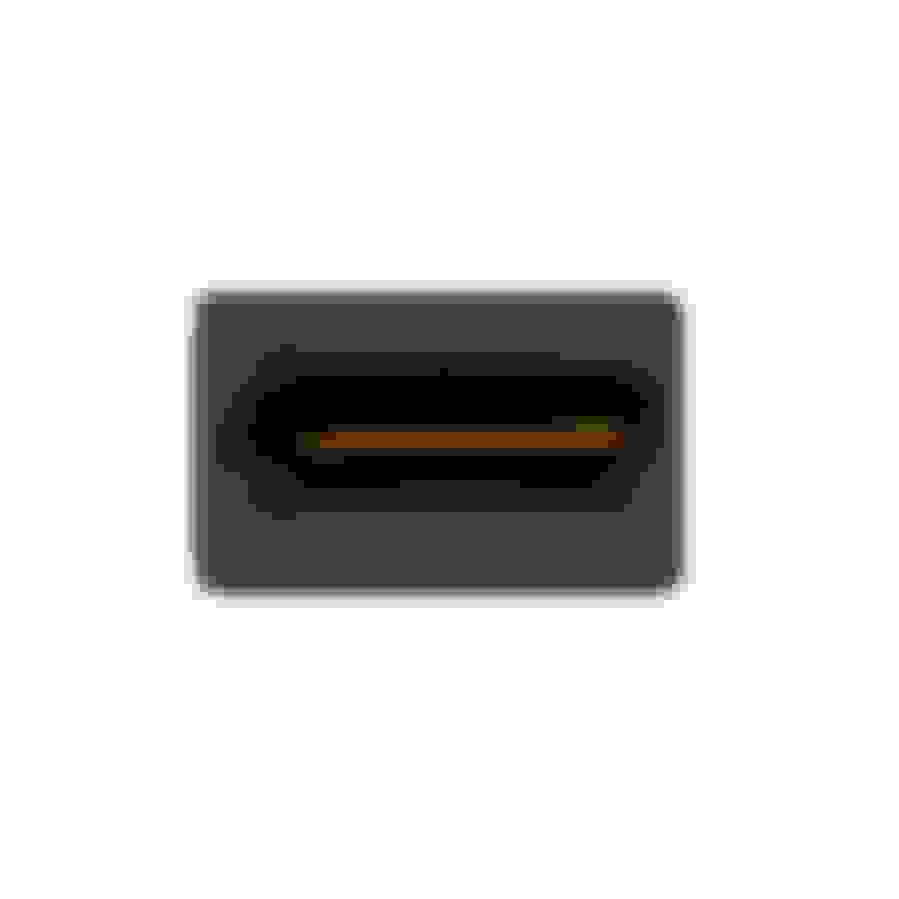
Here is what the worn-out sensor looks like from the front (the part that hits the rotor) the two dots are the wire that is embedded in the sensor molded housing. You might need to clean your to see this (i used a little drop of alcohol and steel wool to clean the surface)
The idea is to connect those two dots. If the part bridging those two dots becomes disconnected (Or the resistance gets too high) the indicator on the dash appears. so, with the paint, we connect them You will need to do a couple of coats as the paint resistance lowers with more coats. The resistance cannot be measured until dry, but you end up in the 1-5 ohms region with 2-3 coats. That should be low enough to tell the ECU to shut the light off.
Now, to make sure the resistance is very low (like 1 ohm or lower), I like to stick a single strand of wire into the wet paint as close to the two dots as possible. This is why I like the brush on stuff, cause there is more time to put in the wire while the paint is tacky. *This part might be optional depending on the resistance of the paint. I did it just for good measure.
Paint over the strand of wire with more conductive paint
And thats it! You can expedite the drying process with a heat gun if you are VERY careful not to melt anything. If you let it sit for a bit and then go stop a few times, the heat from the brakes will dry it in no time.
I guessed this might work, and i got it right when I had two bad sensors the first time i tried it. I use this paint all the time as I am an electronics tech. its not the most durable, but then again, where it is it will be fine (my light has been off for 1500 miles) and you DO want it to wear off when it comes into contact with the rotor as thats why those sensors are there!
Just be careful, dont blame me if you mess up something on you or your car, and be patient for it to dry before judging success or not.
I'll try to field questions if I left something out. I might not be able to answer you all. I wanted to leave this for you guys as this forum was been so helpful for me while owning an ES, and IS and now my LS. If someone makes a better tutorial I'd be stoked, just give me a little credit
good good job here sir, and welcome to the LS boards! this is a great alternative to purchasing new sensors. functionality restored, unlike the cut-strip-tie together method!
This is quite easy. As easy as painting on 4 brush strokes of paint. You could probably skip the extra piece of wire if you wanted to. Its also a bit cheaper I think? I dont know the latest prices on the sensors? $15-30 ea?.
The carbon paint is useful for fixing a lot of other things like remote control button repair, shielding boxes (and electric guitars), and other experimenting if you're into DIY electronics. Depending on how bad they're worn this is an actual fix that restores 100% original functionality. Its only $5-10.
I probably would have bought sensors too if I didn't have a hankering to experiment. ALWAYS
Just a different approach I thought might be helpful for others.

 06-26-15, 10:57 AM


 You will need to do a couple of coats as the paint resistance lowers with more coats. The resistance cannot be measured until dry, but you end up in the 1-5 ohms region with 2-3 coats. That should be low enough to tell the ECU to shut the light off.