When you click on links to various merchants on this site and make a purchase, this can result in this site earning a commission. Affiliate programs and affiliations include, but are not limited to, the eBay Partner Network.
Nice work! I just got those tires as well for my LS. They are awesome! Whisper quiet and the grip is great. I only have 5,000 miles or so on them but i am loving them. Top of the line tires for the top of the line car!
Progress on the blackberry LS400 is coming along. Once I have another couple hours of time to work the engine and trans will be on their way out. Last session I got the exhaust and drive shaft out. The engine and trans are only connected to the body via a couple grounds and the motor and trans mounts.
Yesterday I wrapped the cars wheels with some new high quality rubber. Pirelli P7's. I had a VW TDI Goodwill dealership card that was going to expire today so I used it, plus a little extra, to put some new shows on the wheels. I can't wait to try them out. I've heard really great reviews so far.
Also, at some point during the blackberry car's life, someone thought the potentially the very best place to lift or support the car on the rear was via the center of the lower suspension arms... They are tubular and ended up with significant bends in each side. Good news is that I have 2 straight ones on the white car that will get transplanted.
Interesting...had my lower control arm snap on me while I was doing about 80mph. Though I believe mine broke due to stress corrosion cracking. Why would someone think it is okay to jack it from there?
Interesting...had my lower control arm snap on me while I was doing about 80mph. Though I believe mine broke due to stress corrosion cracking. Why would someone think it is okay to jack it from there?
Good question. A 20 year old car has generally been touched by a lot of people. This probably happened from some dumbass kid.
They have the right thought just the wrong part. The suspension is designed to take many times the weight of the car so it is the most logical strong point on the vehicle. They picked the wrong part and area to support the weight. The LS is one of the worse for jack points zero thought went into it. A Mercedes clk has a way better system.
Too many failures of that pursuit... In conclusion pinch welds at the rocker panels will not take the G force a suspension will. If I remember right a huge hole in a road can cause about 20 G's of force, please correct me if that isn't true.
Youre very right. There aren't any recommended jack points behind the punch welds. You really need the hockey puck with a groove adapter to properly use a floor jack there. The back is especially susceptible to damage from lifting and supporting. The lower suspension arm can take lots of side to side load but jacking in the middle of it will bend it like a noodle just like it did on mine. If you think you're going to put the floor jack on the bottom of the differential like a pickup truck you'll be in for a rude awakening. Speaking of which, I better check those bushings...
The shop manual recommended floor jack points are the center of the aluminum cross member in front (and pad the steel jack cup), and the differential in the rear.
I'll have to post pictures my areas for jack stands some time. If I use the pinch welds I use a slotted piece of hard wood on wood blocks, no one makes a jack stand to support a LS400 on those points, using them will smash into the rocker panel.
i finally found the jack point location document while sifting through my manuals. Like you said, it recommends the front crossmember for the front point and the rear axle beam for the rear point. Does that mean the rear diff or the large tubular frame that runs under and just behind it? The term 'rear axle beam' is a little vague, but to me sounds like part of a frame structure not the actual differential housing.
On gen 1 its the differential, maybe things changed for the gen 2's I don't know. I just hate seeing someone using jack stands on those rocker panel points, because like I said you can't buy jack stands that are made to fit the pinch welds, at least I haven't seen any. Its okay for a padded car lift to lift there, but not jack stands, unless they have a nice 3 or 4 inch round or square thick hard rubber pad like a car lift does, or special grooved pad designed for pinch welds. I sure wouldn't want a supposed "mint" LS that's been bent to crap on the rocker panels because of some idiot that put jack stands there to support an almost 4000 lb car. Hmmm any one got some pictures of dented or crapped out rocker panels from jack stands?
On gen 1 its the differential, maybe things changed for the gen 2's I don't know. I just hate seeing someone using jack stands on those rocker panel points, because like I said you can't buy jack stands that are made to fit the pinch welds, at least I haven't seen any. Its okay for a padded car lift to lift there, but not jack stands, unless they have a nice 3 or 4 inch round or square thick hard rubber pad like a car lift does, or special grooved pad designed for pinch welds. I sure wouldn't want a supposed "mint" LS that's been bent to crap on the rocker panels because of some idiot that put jack stands there to support an almost 4000 lb car. Hmmm any one got some pictures of dented or crapped out rocker panels from jack stands?
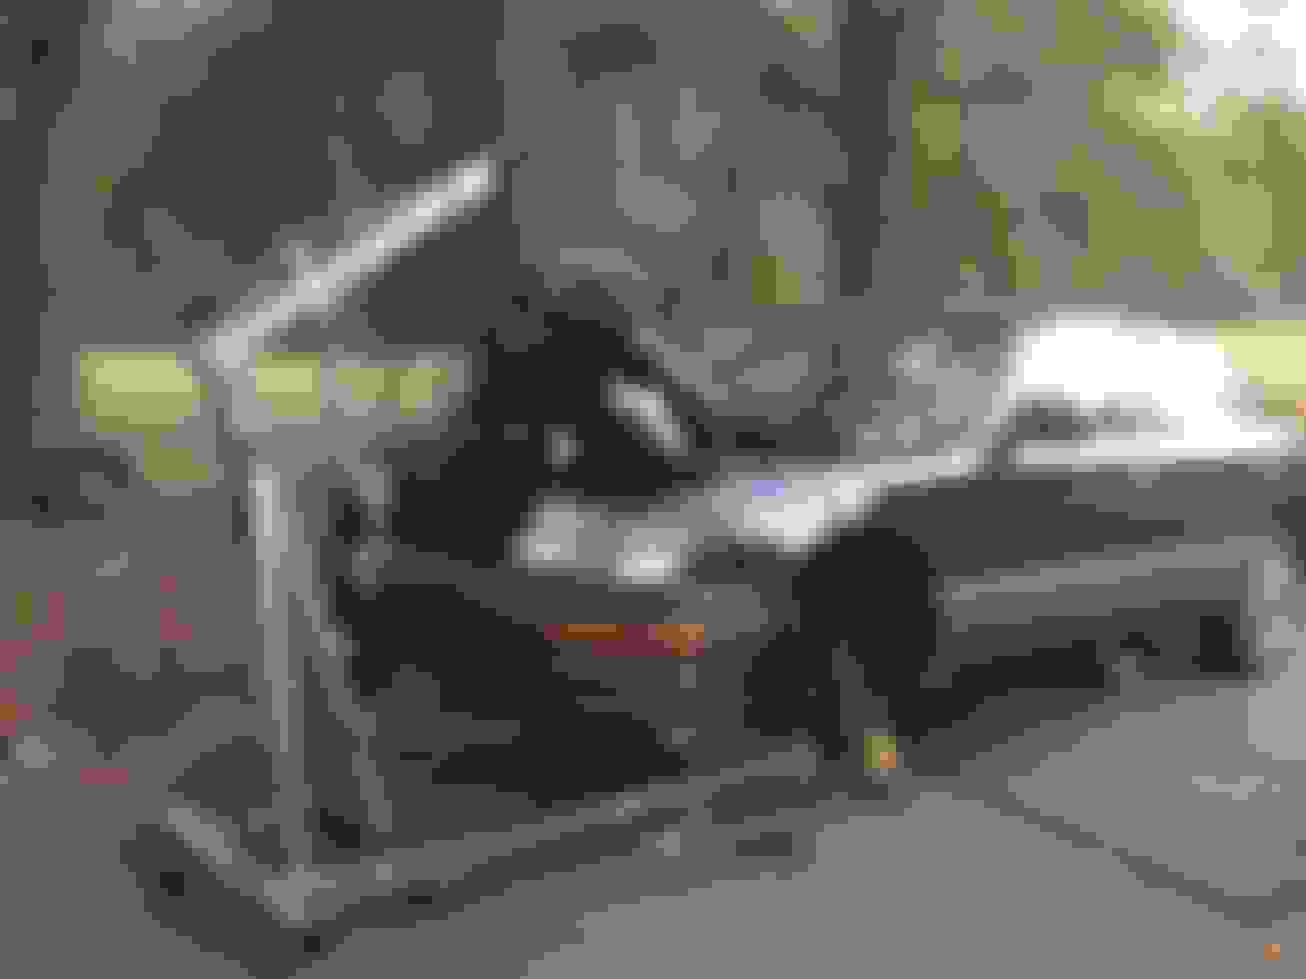
That slot is a mile too deep and too wide for an LS pinch weld, that will press and dent the sheet steel on the rocker panel. The slot depth needs to be a 1/4 inch or less deep. The idea is to do what the factory jack does it contacts ONLY the pinch weld. And the factory jack should have been made with a piece of hard plastic on it with a Proper size slot. The picture is not the best but shows my wood block with slot.
I got a few hours to work on the car some. The engine and trans is out. It got dark so I have yet to find out why the engine is binding up back there. The torque converter came with the engine unlike the way it's supposed to be done.
It went pretty smooth, really. I hadn't pulled an LS400 engine before but it's really pretty straight forward. With the AC system intact it complicates things a little bit, mainly because of the condenser. If I had to do something different I would remove the trans cooler lines from the unit. They stick out several inches in front of the harmonic balancer and really add limits to how far you can come out with the unit until it starts hitting the condenser. A load leveler on your hoist is your friend here. I think it would also be best to go ahead and disconnect and remove the power steering pump before pulling the unit. It hits up against the ABS pump when you're trying to come forward.
Once I get another project done on an F-150 that's in my driveway I can get the wrecked donor car in that spot and pull that engine and trans and wheel it right over to the black car and drop it in there. Once that is done the rest of the car will get finished up pretty quick except for maybe some of the suspension stuff.
I'm also going to detail the engine bay before dropping the drivetrain back in the car. I want it shiny as a new penny!
Wow nice place you have Banshee, lots of room for a wrecking yard of sorts. So how do you access the wire harness to shove everything out the big hole? That is sure the way to go and not try to unhook every little connector. And you didn't leave the plastic fuse cover stuff on did you? I see jack stands are on the sub frame. And sure is the way to work on that engine and transmission by having it all out. So is the worse part to fool with the exhaust system? And about how much time would you figure getting all ready to pull it out? And wow with that load leveler and all the extra chain I'm surprised it lifted high enough to clear the radiator support. Your ram looks very close to the limit. For my hoist I have a shorter chain at the pin, and I would have used some small shackles or something to hook at the engine lift point and taken a lot of the distance out, glad it all worked.
Wow nice place you have Banshee, lots of room for a wrecking yard of sorts. So how do you access the wire harness to shove everything out the big hole? That is sure the way to go and not try to unhook every little connector. And you didn't leave the plastic fuse cover stuff on did you? I see jack stands are on the sub frame. And sure is the way to work on that engine and transmission by having it all out. So is the worse part to fool with the exhaust system? And about how much time would you figure getting all ready to pull it out? And wow with that load leveler and all the extra chain I'm surprised it lifted high enough to clear the radiator support. Your ram looks very close to the limit. For my hoist I have a shorter chain at the pin, and I would have used some small shackles or something to hook at the engine lift point and taken a lot of the distance out, glad it all worked.
I have HOA bylaws so any sort of salvage yard storage is out! I can work on this stuff in the driveway temporarily but I try to keep it to a minimum. I'm going to haul the wrecked car back to the woods out of sight until I get it stripped and hauled off for scrap, after pulling the drivetrain and interior out of course.
The engine harness has 3 connectors going to the ECM and another two connectors in front of the blower assembly. The firewall grommet is a stiff MF'er. It seals amazingly well. Just like any grommet you get one part of the lip curled under and work it around. The harness feeds through the firewall pretty easy. Then you just lay it across the engine.
What do you mean did I leave the plastic cover on the fusebox?
The jack stands are actually on the unibody of the car. I'll have to take a photo tomorrow of where I put them. I always put them there for trans removals and such and have never had a deformation of any metal. They look like pseudo frame rails but they are built into the unibody.
The exhaust can be a pain. It has to come out for trans removals so I've gotten pretty good at it. 1/2 wobble extension and 14mm socket for the 6 converter nuts. 15/16" or 7/8" (I can't remember) open end for the downstream o2 sensors. Just let them hang after removing. Then there is the clamp under the driveshaft carrier bearing holding the front exhaust pipe to the rear before it splits to the mufflers. Sometimes (like this car) the exhaust is pretty frozen on there and I run ratchet straps pulling the front of the exhaust forward aft of the connection rearward. I put a bit of tension pulling the union apart then crawl under, grab the cats after they're off the manifolds, and twist the exhaust back and forth. With the constant tension on the union under the back seat, the twisting will usually let it slide apart. You have to slightly pry the support that bolts to the front of the trans when the trans pan is on but it clears with plenty of room with the trans pan removed. There is enough slack in the exhaust hangers at the rear to allow pulling the exhaust back off the manifold studs without having to remove them.
If I had to guess I would say a competent wrencher could have the engine ready to pull in 5-6 hours. I removed the steering rack first so that add's some time. You have to drain the coolant, remove the fan and the radiator. Once the exhaust is out you need to remove the tunnel heat shield and loosen the drive shaft. I usually drop the carrier bearings and remove the joints from the rear end and transmission instead of fiddling with the adjuster nut at the middle of the shaft. It's easier to just totally remove the alternator. You have to unplug the igniters (or unmount the unit and lay it over), AC compressor, engine oil level sensor, oil pressure switch, grounds at the AC compressor, RH engine mount, and under the LH fender apron, disconnect fuel lines, disconnect assorted vacuum hoses, any heater hoses that goto the firewall, shift linkage, engine and trans mount fasteners, and separate the positive battery terminals and lay the one that goes with the engine over. There may be a couple things I'm forgetting, but that's off the top of my head.
My hoist didn't max out but yea, it was probably close. I can't shorten the chain on my hoist at the pin without cutting the links. Maybe I could use a D-ring or something, I'll have to try that out. For this job the car was pretty high in the air and my setup didn't have a problem at all getting up and over.
I did cut my hook chain, I knew I would never want it that long. HOA is crap period. CCR's are crap.
Plastic cover looked like it was still on the fuse box, that's all.
Speed ? It would be faster the next time you know all the tricks now. 5 to 6 hours not bad considering how long a starter change and dealing with the egr tube could be.
Why remove the steering rack? Is it in the way?
Without the air struts will the hood go up 90 degrees? If so the hood could stay on and be tied back with straps. That's how I have done Geo metros. And I think ponitac grand ams don't remember the ga that well though its been some years now.

 11-30-16, 11:11 AM