When you click on links to various merchants on this site and make a purchase, this can result in this site earning a commission. Affiliate programs and affiliations include, but are not limited to, the eBay Partner Network.
A nice nick in the aluminum is a stress riser and a place for a crack to start. My method doesn't stress a thing that isn't capable of the load, I'll take a picture some time. Oh and there is zero metal to metal contact.
A nice nick in the aluminum is a stress riser and a place for a crack to start. My method doesn't stress a thing that isn't capable of the load, I'll take a picture some time. Oh and there is zero metal to metal contact.
The car is sitting on a shop rag on each jack stand. Even without them the jack stand foot wouldn't nick the aluminum any discernible amount. I've seen you mention that you wrenched on aircraft in other posts. I fly them for a living and understand the importance of metal fatigue and stress cracks as well.
I have put jack stands where you are talking about before. Just not this time.
Here is where I am at on parts ordering day. I'll include a few photos of some oil leaks that are going to be taken care of. To finish the job I am ordering:
Beck-Arnley valve cover gasket set. Although the OEM valve cover gaskets are only $28, you have to add another $90 to get OEM plug tube seals and grommets. I have seen in an Amazon review that everything in the package is made in Japan. We will see. This set is about $40.
Set of Denso PK20R11 plugs
OEM vacuum hose from intake connector to charcoal canister.
RH coil pack connector
RH CMP connector
2 OEM camshaft seals
2 OEM throttle body gaskets for each car.
5 extra splash shield bolts. The white car is missing one and the black car is missing many.
The plugs and valve cover gaskets are coming from Amazon. I'm going to pay the $3 or so more over ordering from RockAuto to get them a little faster with Prime. The rest of the parts are coming from Lexus of Pembroke Pines Parts. I've ordered from them a lot over the years and have alway's been pleased with them.
After I finished disassembly a few days ago, I was surprised that this thing wasn't leaking coolant all over the place. Pop quiz, what is wrong with this bypass outlet o-ring? And the thermostat housing o-ring where it connects to the cross over was so old it broke off in pieces when removing it. I do not think the water pump was OE. It had a metal impeller and the gasket used was a paper type with a white sealant applied to both side of it, common practice on your chevy and ford small block intake gaskets.
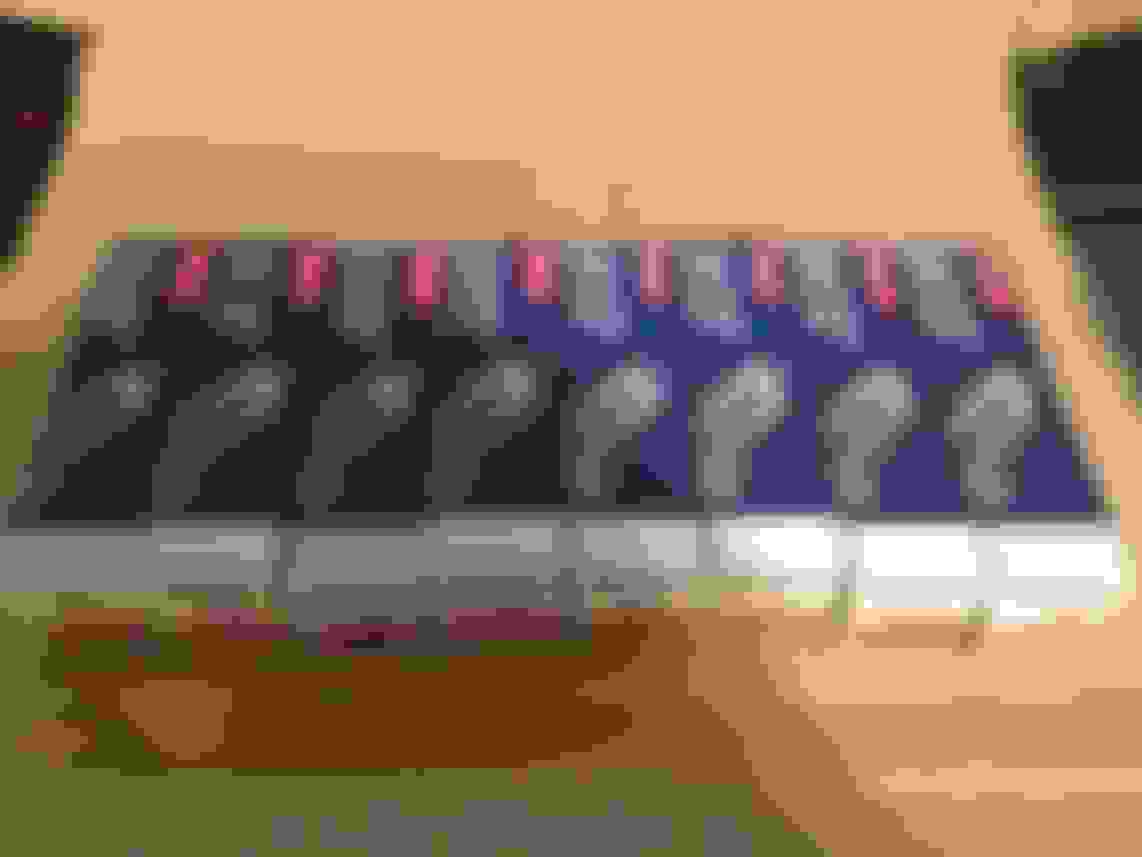
Also, the set of plugs came in. The plugs in the car are OE recommended but I have no idea how long they were in there. Lexus calls for the iridium plugs now (SK20R11 instead of PK20R11) but with as easy as plugs are to change in this car I'll stick with the OE double platinums for now. There is quite a bit of the electrode on the plugs eroded away compared to new.
***Factory torque spec for the plugs is 13 ft/lb.***
While doing valve cover gaskets and waiting on the rest of the parts, I got the stupid bug to check the valve clearances. Bad idea... Now I'm waiting on 3 more parts... All intake clearances were good. Three exhaust valve clearances were a little fat, about .015". The spec on the exhaust is .010"-.014". The manual has you correct back to .012". I do not have the special valve adjustment plier and wedge tools. They can also cause lifter deformation or damage even if you're careful. The tools are meant to allow you to remove the shims without removing the cams and having to remove the timing belt and lots of other parts. That's all well and good, but my belt is already off. I've got the crank currently set at 50 degrees ATDC. This lowers the pistons in the bores and I can turn the cams any which way I want without valve contract. Since all adjustments are to be made on the exhaust clearances, I opted to remove both exhaust camshafts rather than trying to fish the shims out with the proper special tools. You must remove the cam shafts when they are as unloaded as possible and in a certain sequence in order to prevent damage to the thrust surface of the cam. You can even chip the cam or cam journals. If you know the do's and don'ts removing the camshafts is by far the best way to adjust exhaust valve clearances, and even intake valve clearances in my opinion if you're apart like mine is. With the cam out, just pull the entire lifter out with a magnet and remove the shim on the bench. Blowing compressor air into the hole in the shim is the best way to release the suction of the oil under it.
While doing valve cover gaskets I resealed the semi-circular plugs. They are machined aluminum. For some reason I alway's thought they were rubber. For that reason I almost ordered 4 of them until I saw the cost. I opted to just reseal and it proved my intuition to be confirmed when I got it apart to find that they are machined aluminum. Simply clean them up, apply a thin bead of FIPG in the groove, and reinstall them as level as you can. It's best to install the valve covers and torque them down right after installing the plugs to help level everything out for the best chance at a 100% leak-proof seal. I am planning to retorque the valve cover bolts after a few day's of driving as I'm sure the bolts will loosen up slightly. They torque down to 53 in/lbs.
If you have wondered what the lifter and shim assembly looks like I've included a few photos showing it assembled and the shim sitting on top of the lifter. I've got 3 shims coming from Lexus that add a hair over 2-thousanths over the original shim. That will put those clearance in the middle of the 4-thousanths thick window.
The shims finally came in to the dealer the other day so the family and I made a day out of going to the big city to pick them up. All made in Japan of course and I think they had to come from the California warehouse. I got the new shims installed, rechecked my math with the mic, and made sure to put them back on the right valve. I also made sure to keep the lifters in their original spots for any possible size difference, but I bet there is zero between the 3. The 3 exhaust valve clearances were all about 15-thousanths. The manual has you correct back to 12-thousanths so that is how I figured it. With the cams back in I checked the clearances. Two of them are right at 12-thousanths and the other is 13-thousanths. For the 13-thousanths one I could have gone with the next thicker shim but 13 is within the 10-14 window so I'm happy with that.
When removing and installing the cam you must ensure that the camshaft raises and lowers and even amount across the journals or you risk tearing up the thrust surface. An M6 service bolt is used to hold the bevel cut gears in the middle of the exhaust cam together when removing. There is a wavy washer that puts tension on the two-piece gear on the exhaust cam to make sure the mesh is alway's right. If you don't put the bolt in the hole and snug it down they will spring away from the correct position when removing. You obviously MUST remember to remove this bolt after the caps are torqued down. The cap bolts torque to 12 ft/lb or 144 in/lb.
I will resume assembly tomorrow. I think I will clean the brackets behind the cam pulleys, replace the cam oil seals, and install the pulleys with the valve covers off. That way I can hold the intake came with the 24mm wrench on the casted in hex for torquing the cam pulleys. I do not have a sprocket counter-hold tool so it's either this or reinstall the old timing belt just to hold the sprockets while torquing. You can't just jam a prybar in the sprocket wheel spokes against the engine because it will deform/bend where the timing belt cover bolts to.
I should be able to get most of the car done tomorrow I imagine.
After finally getting a few hours after the weekend to work on the Lexus, she's back roaring down the road again. I've got straight distilled water sitting in it now and will drain and fill with Toyota Long Life tomorrow when I get home from work (with another car of course.) No leaks or issues so far but there is alway's that chance with having the thing apart as far as I did this time. Here are a few high points on the project before I start working on my DIY for the timing belt side of it:
I ended up removing the front intake cam bearing caps to remove the cam seals. It's easy for a drill bit to walk and slip into the aluminum. I had mine start to walk a little and I stopped before that happened. The seals are pretty hard. I mainly wanted to remove the bearing caps as I could really clean the cam sealing surface much better than if I the cap stayed on. I've never seen anyone remove a bearing cap to replace the cam seal it's just something I personally did. I already had the valve covers off so it was hardly any extra work. I was able to get the sealing surfaces spotless this way as well as resealing the bearing cap mating surface.
The Schley Toyota crankshaft holding tool is awesome. I don't think I would bother R&R'ing the crank bolt any other way now. It's so worth the money. Banging the bolt out with an impact is an easy choice for removal but the torque spec going back on is 181 ft/lb which is quite a lot compared to other engines. Small and big block V8's are like 80-100 mostly for comparison. Impacting the bolt back on is a hack job in my opinion. I never impact crank bolts on because on some engines that impacting force can literally shatter crankshaft thrust bearings and such. This may not be the case with the 1UZ but it's just a hack job to impact the bolt back on and call it good. The bolt in my car wasn't as tight as it should have been. That is consistent with the hack job that was done on the last timing belt change that I had to spend time replacing connectors and fixing all of his mistakes. Now it's done right.
I may have said in an earlier post but I torque the cam pulley bolts to 80 ft/lb with the valves covers off so I could hold the intake cams with the 24mm open end wrench. Just too easy. Otherwise you'd either need a pulley counterholding tool or just reinstall the old timing belt parts and use the belt to hold the cam pulley's while torquing. You would obviously have to hold the crank still for 80 ft/lb of course.
I replaced the RH coil connector and RH CMP sensor female connectors from Toyota. This is a relatively cheap and very positive thing that you can do in my opinion. These connectors alway's break when removing on these older cars if yours are not already broken.
I'm sure there are more interesting things along the way from this project but maybe those will come out in conversation from the comments to follow.
Also, last night I received and email that a 1996 LS400 had entered one of the junk yards that I frequent. I got there just after they opened and started tinkering on the car. Before I could complete my walk around and assessment of desirable parts on the car a couple guys walked up and starting tearing the glovebox out to get the ECM. By tearing apart I mean I heard the glove box shatter as one idiot ripped it out. I walked around and gave him a piece of my mind saying that I may want to pull the dash if it's in good shape and it won't be if his dumb *** breaks it. He explained he doesn't have the time to remove every screw and nut. I corrected him explaining that he has the time he just doesn't want to use it. He actually agreed. THIS is why you must get to any junk yard car the day that it hits the yard AT opening time. Otherwise the car get's quickly destroyed in the blink of an eye. I mainly drove out their for front seats and an EGR tube if I could find one. Both for the black car so I can get it sold. This yard doesn't sell cats so every car has their cats sawz-all'd off. This makes it easy for the EGR tube. Last week I checked out an LS400 in another yard but the EGR tube was cracked half way around. This one was actually solid once I got it out! Success! That saves $125 from my profit margin. The front seats were the right color but were torn pretty bad too so I didn't take them. I did, however, like the shape the dash was in. It didn't have any sun cracks and dumbass didn't break any of the dash when he gorilla'd the glovebox out. The dash in my white car has broken mounting locations for the CD changer but is otherwise perfect. This one was complete so I decided to pull it for the $50 to replace my dash at a later date. For those who haven't removed an LS400 dash before, it's not easy task. I used one of my Milwaukee M12 batteries to hotwire the seat back and forward so I could get at all 4 mounting bolts. The passenger seat must be at least partially removed to remove the dash. I could go on and on how how to remove the dash but an hour or two later I had a solid complete dash. I left the dash harness in there as it's pretty buried in the AC ducting and they aren't easy to find complete these days so it's worth the less than $10 to buy it. Junkyards don't charge hardly anything for wiring harnesses because they're usually completely destroyed from morons that roam around there. These guys remove engines with nothing but bolt cutters and a sawz-all. I'm very excited with walking away with an EGR tube, very nice dash and undamaged dash harness for 2.5 hours of my morning and $70 or so.
A couple hours after I was done with it.
For whatever reason the driver side AC vent was broken. This was the only flaw of the dash but is easily swappable with the vent from my old dash with a couple of screws.
That's awesome that the junkyard informs you of specific cars. Wish my local pick yards had an option like that. Always random when I go.
I'm looking for the stupid shift-lock cover that covers the button that would allow you to move the shifter without the key on and foot on the break pedal. Everyone always seems to throw them away or lose them in all the JY LS400's I have seen so far.
I'm also looking for a new cd changer door in gray, and an oem passenger side floor mat.
I just scored that cover the other day. I think I went through 10 cars before I found one. Even tougher is finding the trunk plastic tab.
Next time if someone is messing things up, just offer to take it out for em. I've seen people walking around just breaking glass in the junk yards before.
Some times I do a short cut too because I know if I leave the part its just going to get crushed in a month or so.
The car is running great but I'm still experiencing low idle and I bet it will still shut off leaving the highway after an extended highway drive. The ECM is totally to blame in my opinion. I checked to see that it has 89661-50302 installed. The one you want for a 1996 is 89661-50303. The later one has updated ECM strategy to fix those and other quirks like jerky transmission when letting off the gas, which I also have experienced... I then remembered that until I get the engine put back together on the black car, it is my parts car. For grins I decide to check the ECM label on that car. It sort of surprised me. It has 89661-50304-84 and say's 'Remanufactured for Toyota". Awesome! I don't know what the different is but later numbers are alway's better. 50304 also appears to be the current ECM p/n in the parts books. Since I had it out I checked the 6 capacitors for leaking. This is a very rough check and is not a way to actually prove the capacitors are good. But, chances are everything is fine in there with there being no acid leaking. I have not ran the car yet but wanted to throw this post up. I'm going to take it into town later this evening and will report back with the results. I'm pretty stoked about it though. I have another ECM laying around number 89661-50303 that has a leaking capacitor. I'll probably repair that one myself and install it in the black car.
The progress on the black car is slow. I thought I had all the parts I needed until I put the car up on jack stands for the first time. I sprayed the cat nuts with penetrant in preparation for removing the exhaust to replace the EGR tube. I looked at the rear trans mount and it is clearly split. I'll probably go aftermarket on this one and call it good for the $25 or so. Other than that I'm going to get cracking on that one here soon too.
Well, here is the story on the ECM. Replaced by the dealer in Feb 2013.
SERVICE: REPLACE ECM - LS400 (WL2)
DESCRIPTION: REPLACE ECM - LS400 (WL2) ~ ~CUSTOMER STATES CHECK ENGINE LIGHT IS ON ~ ~ ~ ~200209 FOUND SYSTEM LEAN CODE STORED IN ECM. ALSO HAS INTERMITTENT TPS CODE STORED. REPLACED ECM.

 10-08-16, 08:30 AM