When you click on links to various merchants on this site and make a purchase, this can result in this site earning a commission. Affiliate programs and affiliations include, but are not limited to, the eBay Partner Network.
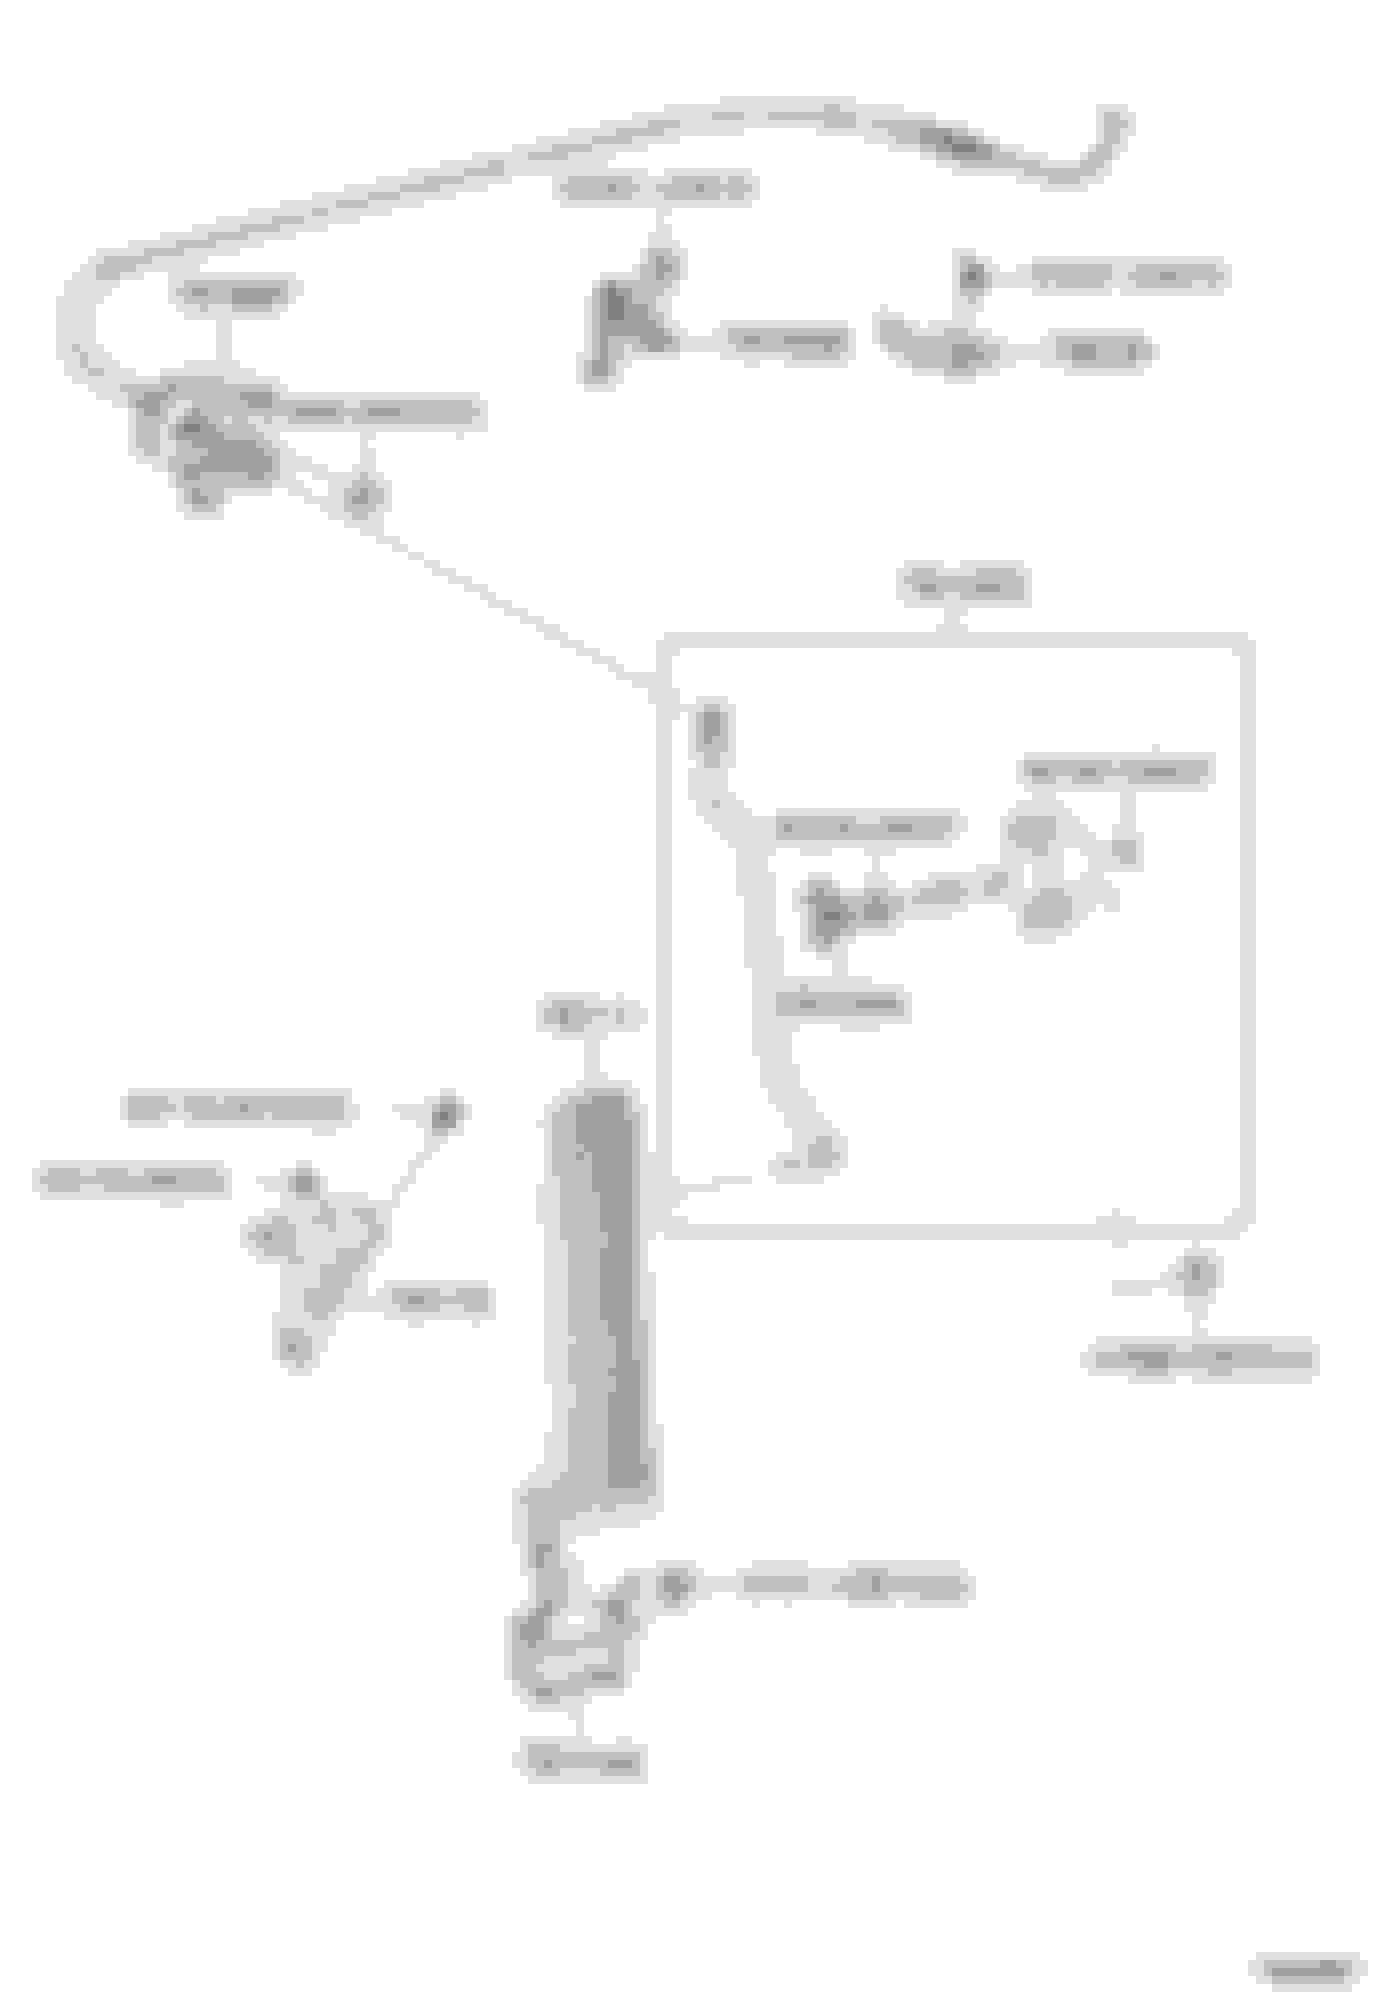
The attached Lexus parts diagram depicts 1995-2000 LS400 accelerator rod and pivot assembly as 78120G. (78120-50130)
Lexus parts department informs me this assembly is discontinued...
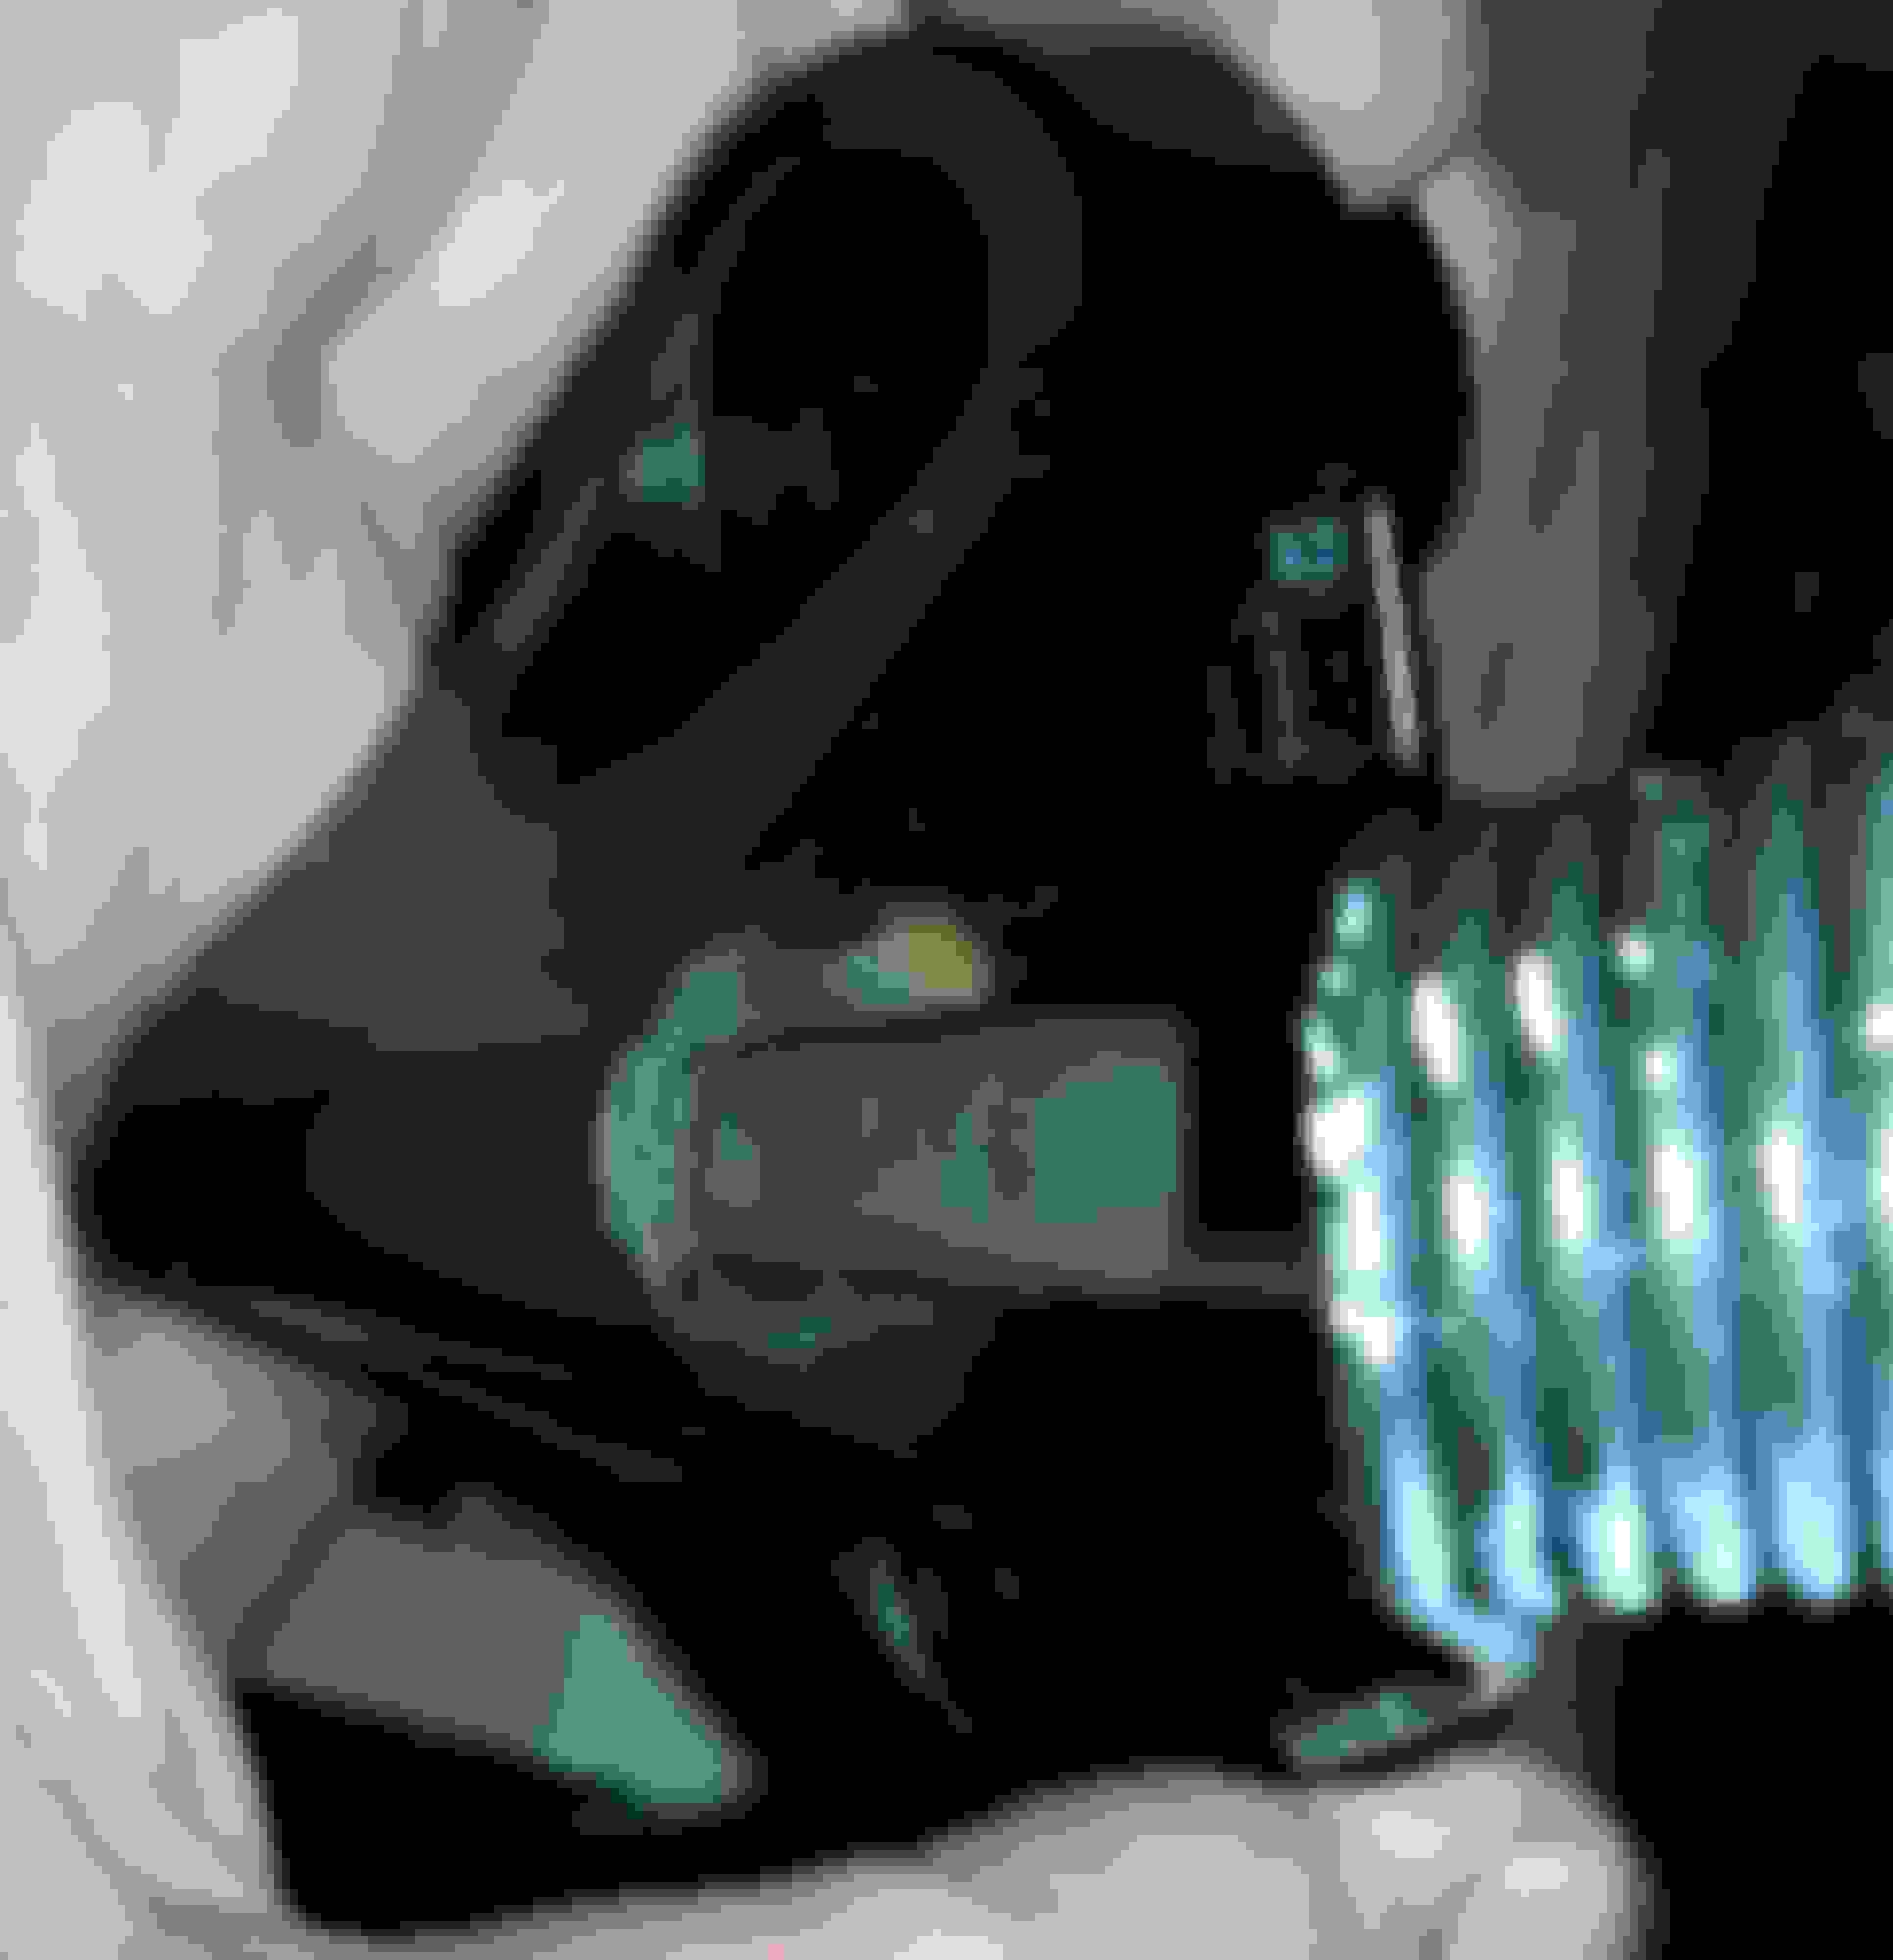
The reason for replacement is the plastic triangular shaped block which serves as a pivot/bearing for the accelerator rod is worn.
Unsure why plastic is mated with a metal rod and expected to serve durably as a bearing material, but in several that I have examined this match-up has caused elongation of the plastic bearing hole resulting in sloppy gas pedal actuation ..this tolerance has to be absorbed before the engine knows you are pushing on the accelerator.
This excessive tolerance permits the gas pedal to move 1/2-3/4" (holding at top of pedal) without actuating the accelerator cable..
So the purpose of this posting is to determine if anyone has an engineered solution, such as drilling/boring the plastic block and inserting a bronze bushing or some other thin-walled insert.
As the existing pivot pin hole is close to the edge of the plastic block presents a challenge...perhaps offsetting the hole would work.
The plastic block is on far right.
The accelerator rod assembly
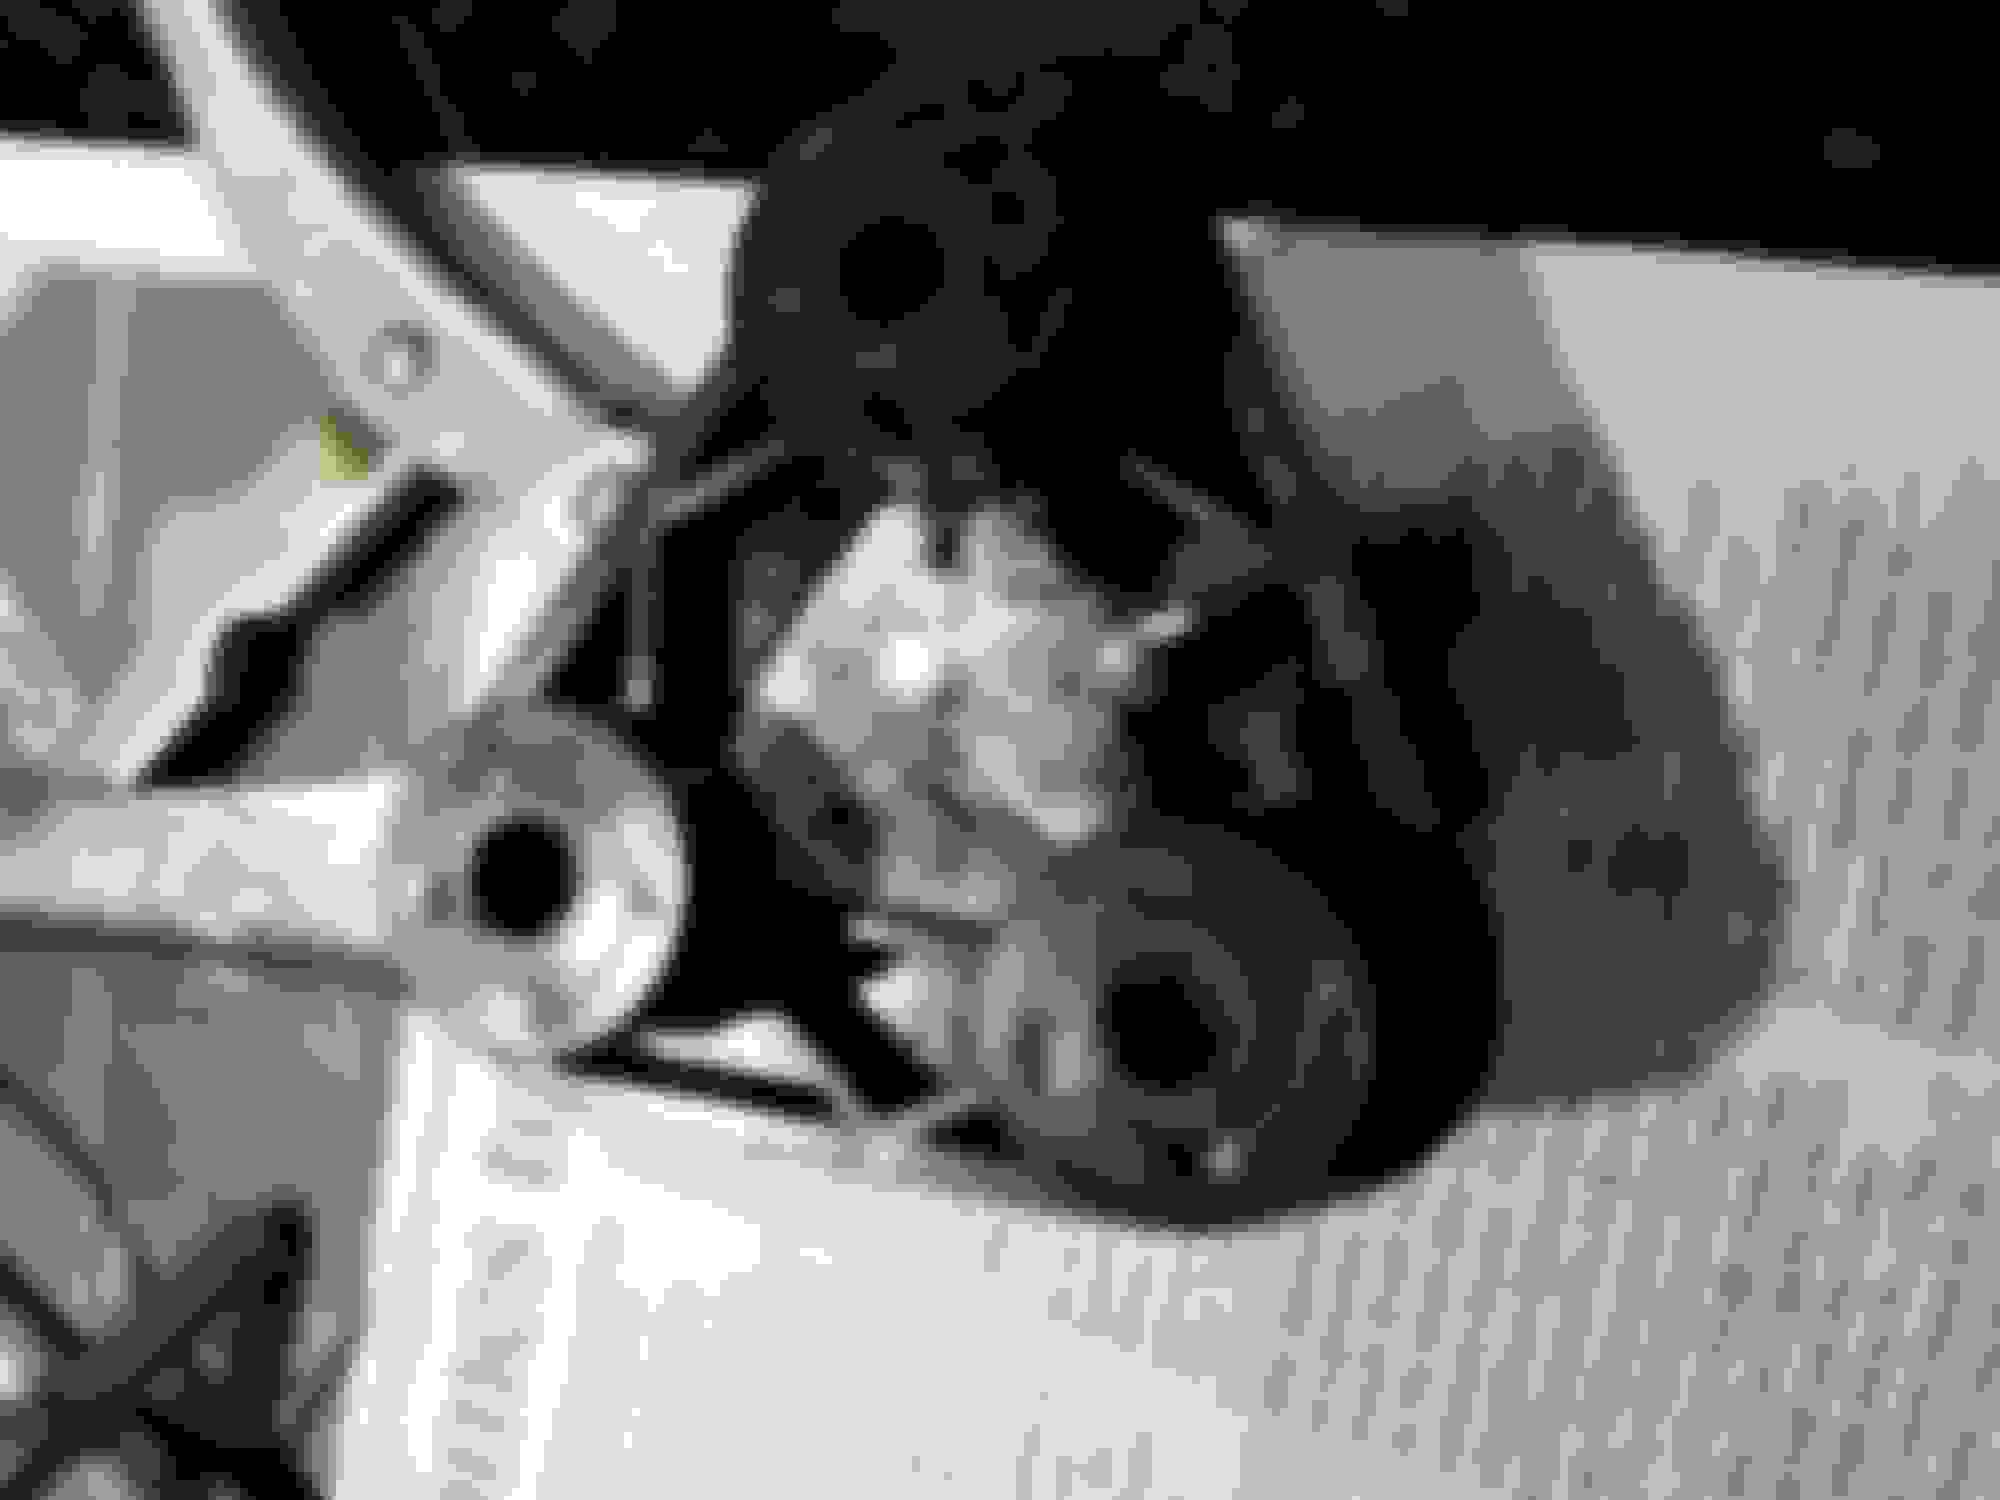
Side view of plastic bearing/floor mount depicting accelerator rod pivot. Not a lot of sidewall for a bearing insert... Possible solution is to offset ithe hole inward, but will require a machine shop.
If I had a little HAAS cnc I could make them out of aluminum or even something like 15-5 stainless. You know kinda like they should have been made for a high dollar luxury car. And your image is depicting the clearance and probably not the tolerance. Tolerance is a plus minus amount allowed in manufacturing, clearance is the result of the accumulation of the tolerance or wear, that is likely by wear.
A quick fix if it can't be modified would be a weldmet, meaning to cut the parts in the correct shape and weld it like that and drill the hole inline. And if there is space make the area with more material and do your bushing idea.
A delrin spacer or similar phenolic can be drilled for the ID and OD of the worn fixture. I like the CNC from alu thought, that eats up programming and machining costs so it would be $$. I'll have to check ours, I don't notice any slop off hand.
This part could be produced on a CNC machine. I prefer to stay away from Aluminum as a bearing surface however. If anyone has experienced General Motors throttle bodies..they used unbushed Aluminum for the throttle body casting with steel throttle shaft resulting in vacuum leaks in short order. The mechanics could never figure out resulting driveability issues. Bronze bushings solved the problem. Not sure how Toyota wear tested and determined plastic an appropriate bearing surface...
Yeah, hard to say what was in mind other than a cost effective piece for given usage. At these ages of use we'll find economy materials won't hold up.
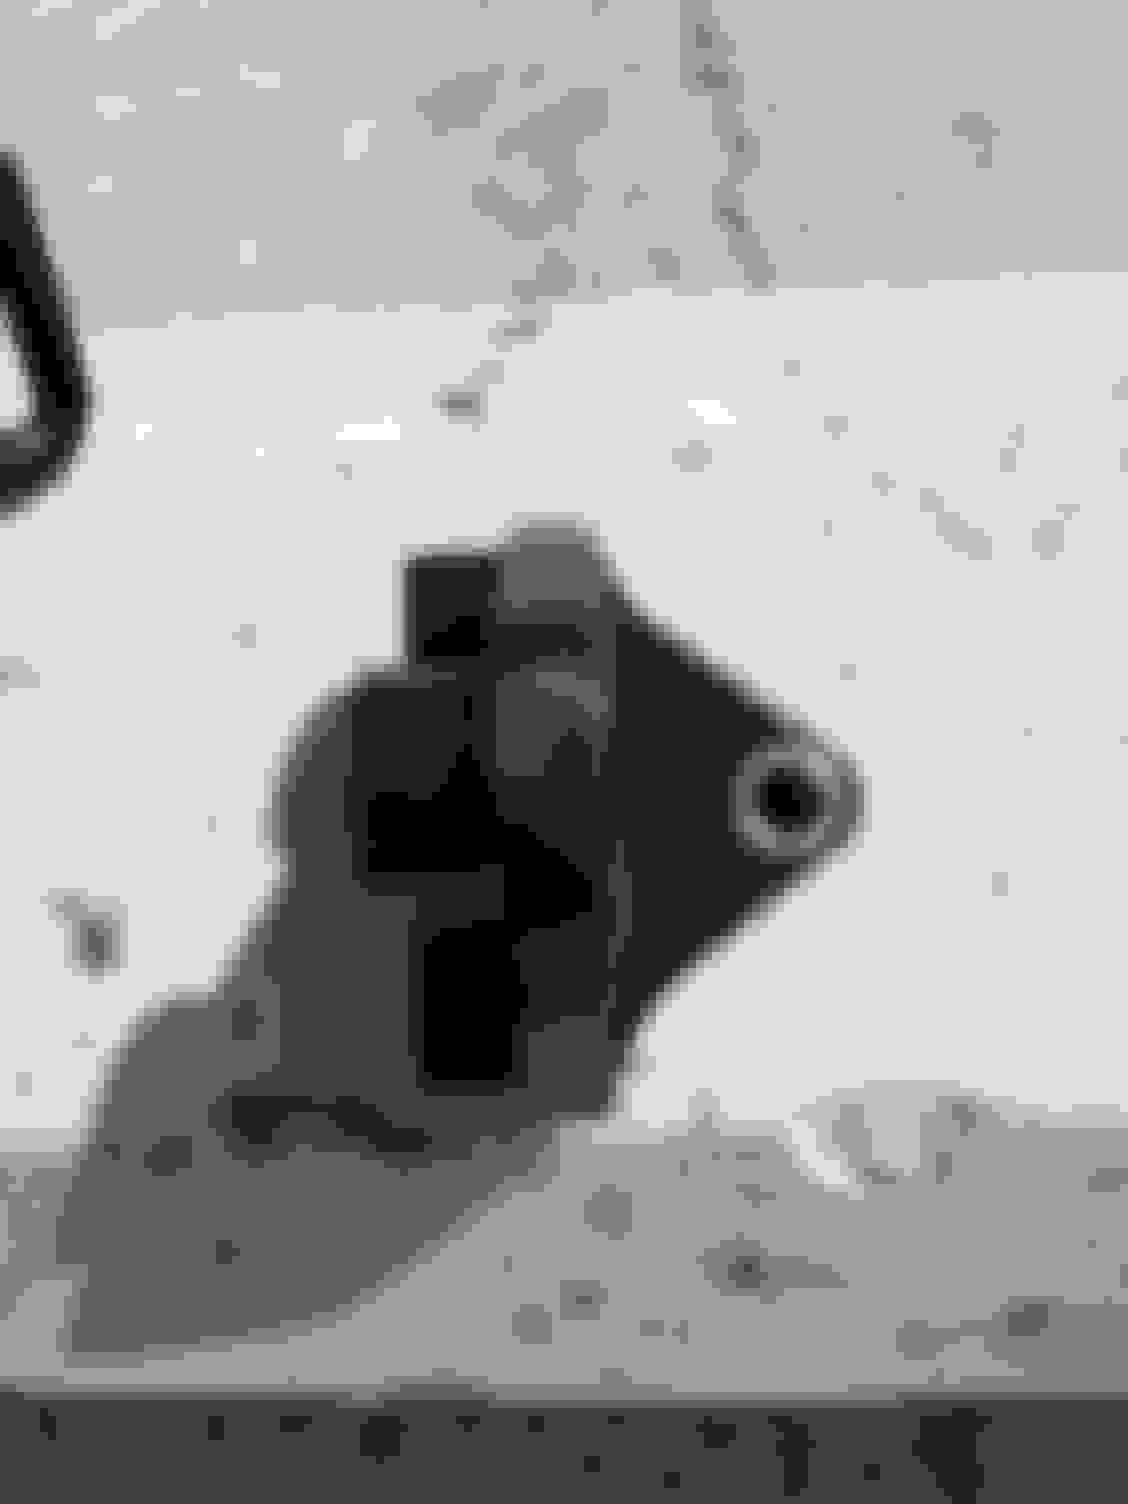
H.R. Slater Co. , Inc. on 17th St. In Chicago came up with a Bronze bushing that fit the bill.
As I understand the process, the original plastic bearing hole was filled with epoxy to allow boring a larger, slightly offset hole (so as not to bore too close to edge of block) to accommodate the bushing.
One end of the bushing was slightly tapered to permit pressing into the plastic and the other end flanged. See attached images.
Perfect fit now...no slop...positive pedal actuation.
As this block is mounted directly to undampened floor panel, I will be filling the recess in the back side of the block with lead for improved vibration damping.
Bronze bushing installed...flange side.
Tapered bushing end O.D. permits seamless insertion into block without binding or snagging..
H.R. Slater Co. , Inc. on 17th St. In Chicago came up with a Bronze bushing that fit the bill.
As I understand the process, the original plastic bearing hole was filled with epoxy to allow boring a larger, slightly offset hole (so as not to bore too close to edge of block) to accommodate the bushing.
Molten lead poured into rear of gas pedal pivot block....
This plastic block mounts directly to metal floor pan so extra weight dampens vibration or at least reduces its frequency.
One end of the bushing was slightly tapered to permit pressing into the plastic and the other end flanged. See attached images.
Perfect fit now...no slop...positive pedal actuation.
As this block is mounted directly to undampened floor panel, I will be filling the recess in the back side of the block with lead for improved vibration damping.
Bronze bushing installed...flange side.
Tapered bushing end O.D. permits seamless insertion into block without binding or snagging..
 08-20-16, 09:29 PM