When you click on links to various merchants on this site and make a purchase, this can result in this site earning a commission. Affiliate programs and affiliations include, but are not limited to, the eBay Partner Network.
Tin foil time for improving usable light from the interior door panel lamp assembly pockets...
Anyone know the best way to remove the clear plastic cover lenses?(what I mean by that is have you already done it without breaking anything....)
Front left interior lower door panel depicting plastic light lense... Proper technique for removal, or does door panel come out? (For those asking for before and after pictures of aluminum foil reflectorization..it is difficult to capture.. This light is not as yellow or dim as photographed.)
Have removed interior door panels several times but do not recall if lighting is integral to the door panel or if light assembly is separable.
I've got a few busted door panels laying around until I haul them off to the land fill in a few days. I took the liberty to photograph the assembly for you so you can see how it comes apart. Sometimes the clear lens part pops off but Lexus thinks the whole thing comes out in one piece all the time. I have pretty good luck going straight at the corner of the lens with a very small flat head screwdriver which is right straight on at the clip. For safer results you could remove the 4 screws along the bottom of the door panel and reach your fingers up behind the assembly to pinch the tabs.
BTW, did you see my last post on your timing belt tensioner thread or have we moved on from that?
You might want to consider LCD projection lights. I replaced my units with ones that project the Lexus logo on the ground in color! Pretty spectacular. I purchased mine on eBay, cost was $25 for a set of four. Were shipped from China.
I've got a few busted door panels laying around until I haul them off to the land fill in a few days. I took the liberty to photograph the assembly for you so you can see how it comes apart. Sometimes the clear lens part pops off but Lexus thinks the whole thing comes out in one piece all the time. I have pretty good luck going straight at the corner of the lens with a very small flat head screwdriver which is right straight on at the clip. For safer results you could remove the 4 screws along the bottom of the door panel and reach your fingers up behind the assembly to pinch the tabs.
BTW, did you see my last post on your timing belt tensioner thread or have we moved on from that?
Thanks for the images...very helpful.
Access is sometimes a question of what is less likely to break when going in...
Gray plastic is poor reflecting so it should respond well to foil overlay.
Will attempt before and after pictures.
What color door panels? (Have a Cypress or Agate --G0 color code and looking for Drivers side door panel....stilleto heel mark)
Also, read your post. on tensioner..see today's post on idler pulley
I've got a few busted door panels laying around until I haul them off to the land fill in a few days. I took the liberty to photograph the assembly for you so you can see how it comes apart. Sometimes the clear lens part pops off but Lexus thinks the whole thing comes out in one piece all the time. I have pretty good luck going straight at the corner of the lens with a very small flat head screwdriver which is right straight on at the clip. For safer results you could remove the 4 screws along the bottom of the door panel and reach your fingers up behind the assembly to pinch the tabs.
BTW, did you see my last post on your timing belt tensioner thread or have we moved on from that?
Using Banshee's information was able to extract the door panel lighting modules.
This time I captured before and after pictures of luminosity without using flash.
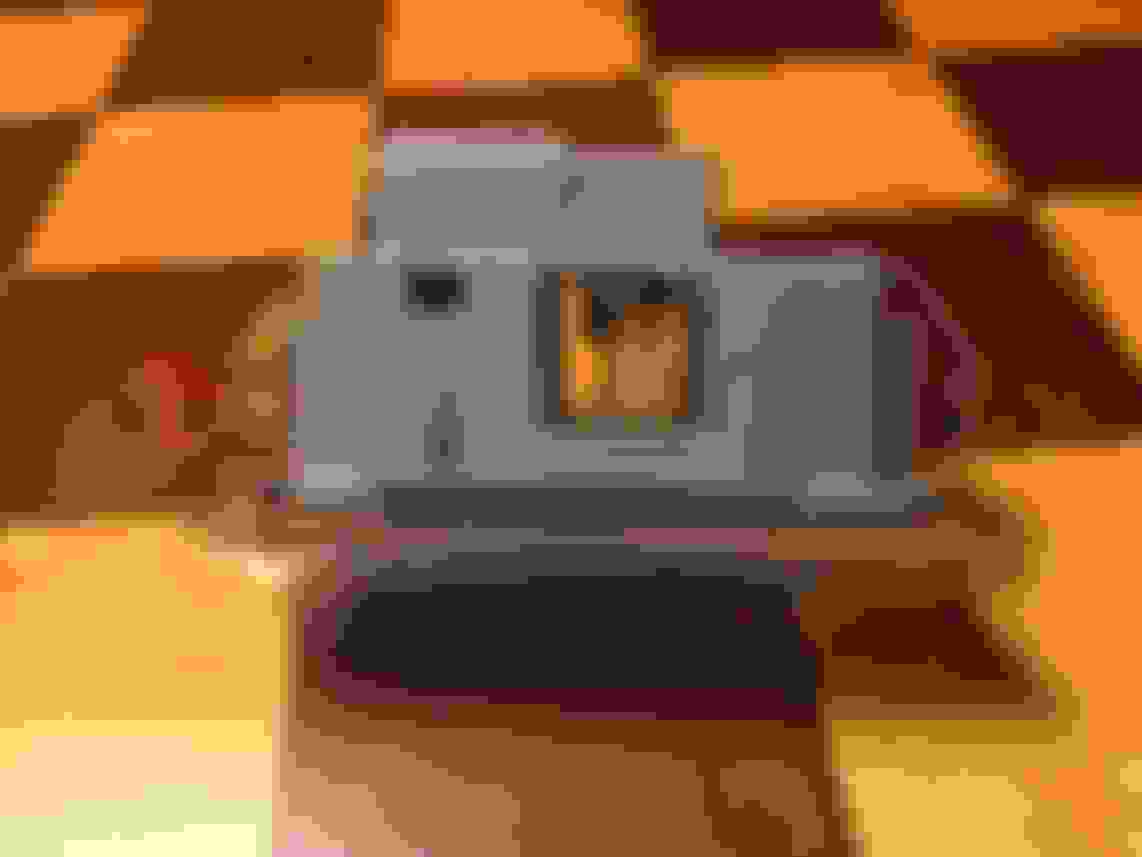
This is before image taken of illuminated door panel lighting module prior to disassembly and application of the high temperature outdoor rated aluminum foil tape with high surface energy pressure sensitive adhesive/peel off backing to the interior of housing.
Notice bulb hot spot due to perpendicular bulb mounting (bulb envelop should be parallel to the lense...)and resulting lack of light uniformity across the lense face...gray plastic absorbs light better than reflecting it...and it shows.
This image is taken after application of foil..
Much improved uniformity across the lense with improved luminosity but the incandescent bulb hot spot remains, but is less prominent. An after shot taken at a different angle Happy Toshiba brand incandescent T-3 1/4 all glass envelop wedge base lamp. Good quality..uncertain plastic wedge base will fit in the OEM socket..Toyota did an excellent molding job such that no other bulb may fit. Side image of light assembly showing side openings...purportedly to allow heat to escape..or because the plastic sides would be too close to bulb...I covered the entire interior side to improve light uniformity...and because the aluminum foil does an excellent job of reflecting heat and not absorbing it as does gray plastic. If I feel the assembly temperature is too hot...then I will open up top opening and leave bottom covered. Light assembly pocket with lense removed. Prepared surface with Q-tip. Beginning to apply foil tape. Here I cut tape to width, insert it into the pocket and bend it where it will be cut. The backing release paper haa not been removed at this point.. The high energy adhesive makes this tape difficult to work with, but is necessary to durably adhere to the plastic housing. To better manage the tape while inserting it into the pocket, and improve results, I used the backing paper (wax side!) To use as a guide. Once the bottom is in place, I use my skewer stick to press it onto the bottom surface, then release the paper to finish the top. Insering foil panel using backing release paper Using side, tip and cut end od skewer stick to apply and smooth foil onto surface.
Foil applied to entire pocket of lamp assembly...sure does reflect light. By using a piece of release paper to guide the foil panels in place and a thin pointed skewer stick, the application turned out well..no wrinkles. I will advise on whether temperature issues with covering side holes in pocket. It is the authors opinion these cutouts were there because the sides were too close to bulb,(melting) so the OEM had to remove those sections...
how confident are you in the adhesive of the tape that it wouldn't come unglued and accidentally rest against the bulb, possibly causing a thermal event?
how confident are you in the adhesive of the tape that it wouldn't come unglued and accidentally rest against the bulb, possibly causing a thermal event?
Aluminum does not burn...moreover, the surface energy of the adhesive is such that it will almost take off the skin on your fingers. Outdoor rated for HVAC applications
You might want to consider LCD projection lights. I replaced my units with ones that project the Lexus logo on the ground in color! Pretty spectacular. I purchased mine on eBay, cost was $25 for a set of four. Were shipped from China.
Hay do you have any pics I realy want to see real life photos befor I get .
Hay do you have any pics I realy want to see real life photos befor I get .
There are before and after images(without flash) depicting door panel lense illumination in this post. The lense are still connected to the door panel wiring, just not inserted into door.
No worries about the reflection area if all your output goes the way you want it, plus you can get them in a variety of sizes.
LED lamps in combination with reflecting and strong diffusion lense would be ideal.
Not a fan of LED arrays positioned too close behind a lense..hot spots are the end result...but for this application merely attempting to improve the stock assembly for a few pennies of material.
I see this in LED tail lamp lenses and rearview mirror turn signal LED's..poor diffusion resulting in a cheap LED rope light look..reminds me of theatre stairs.
Also, captured a few images of Mercedes door lighting at Chicago Auto Show
Bottom of inside door panel lighting module on Mercedes...The top is red and bottom is clear...
This is done correctly from a safety standpoint. Whole Mercedes door panel depicting door lighting module red at top and warm white at bottom ..
As an aside...while I generally liked the 2017 Lexus lineup .. was not impressed at all with SUV interior lighting... (presume the LS500 is same interior engineering group).simply hideous for a luxury vehicle...too dim, wrong color temperature (pasty white kitchen CFL look), , perceived hotspots, diffusion not optimized, reflecting surface not aluminiumized nor parabolic..
I preferred warm white aesthetics of 99 LS400 interior lighting technology (with improved reflectivitty mods herein)

 02-04-17, 06:40 PM