When you click on links to various merchants on this site and make a purchase, this can result in this site earning a commission. Affiliate programs and affiliations include, but are not limited to, the eBay Partner Network.
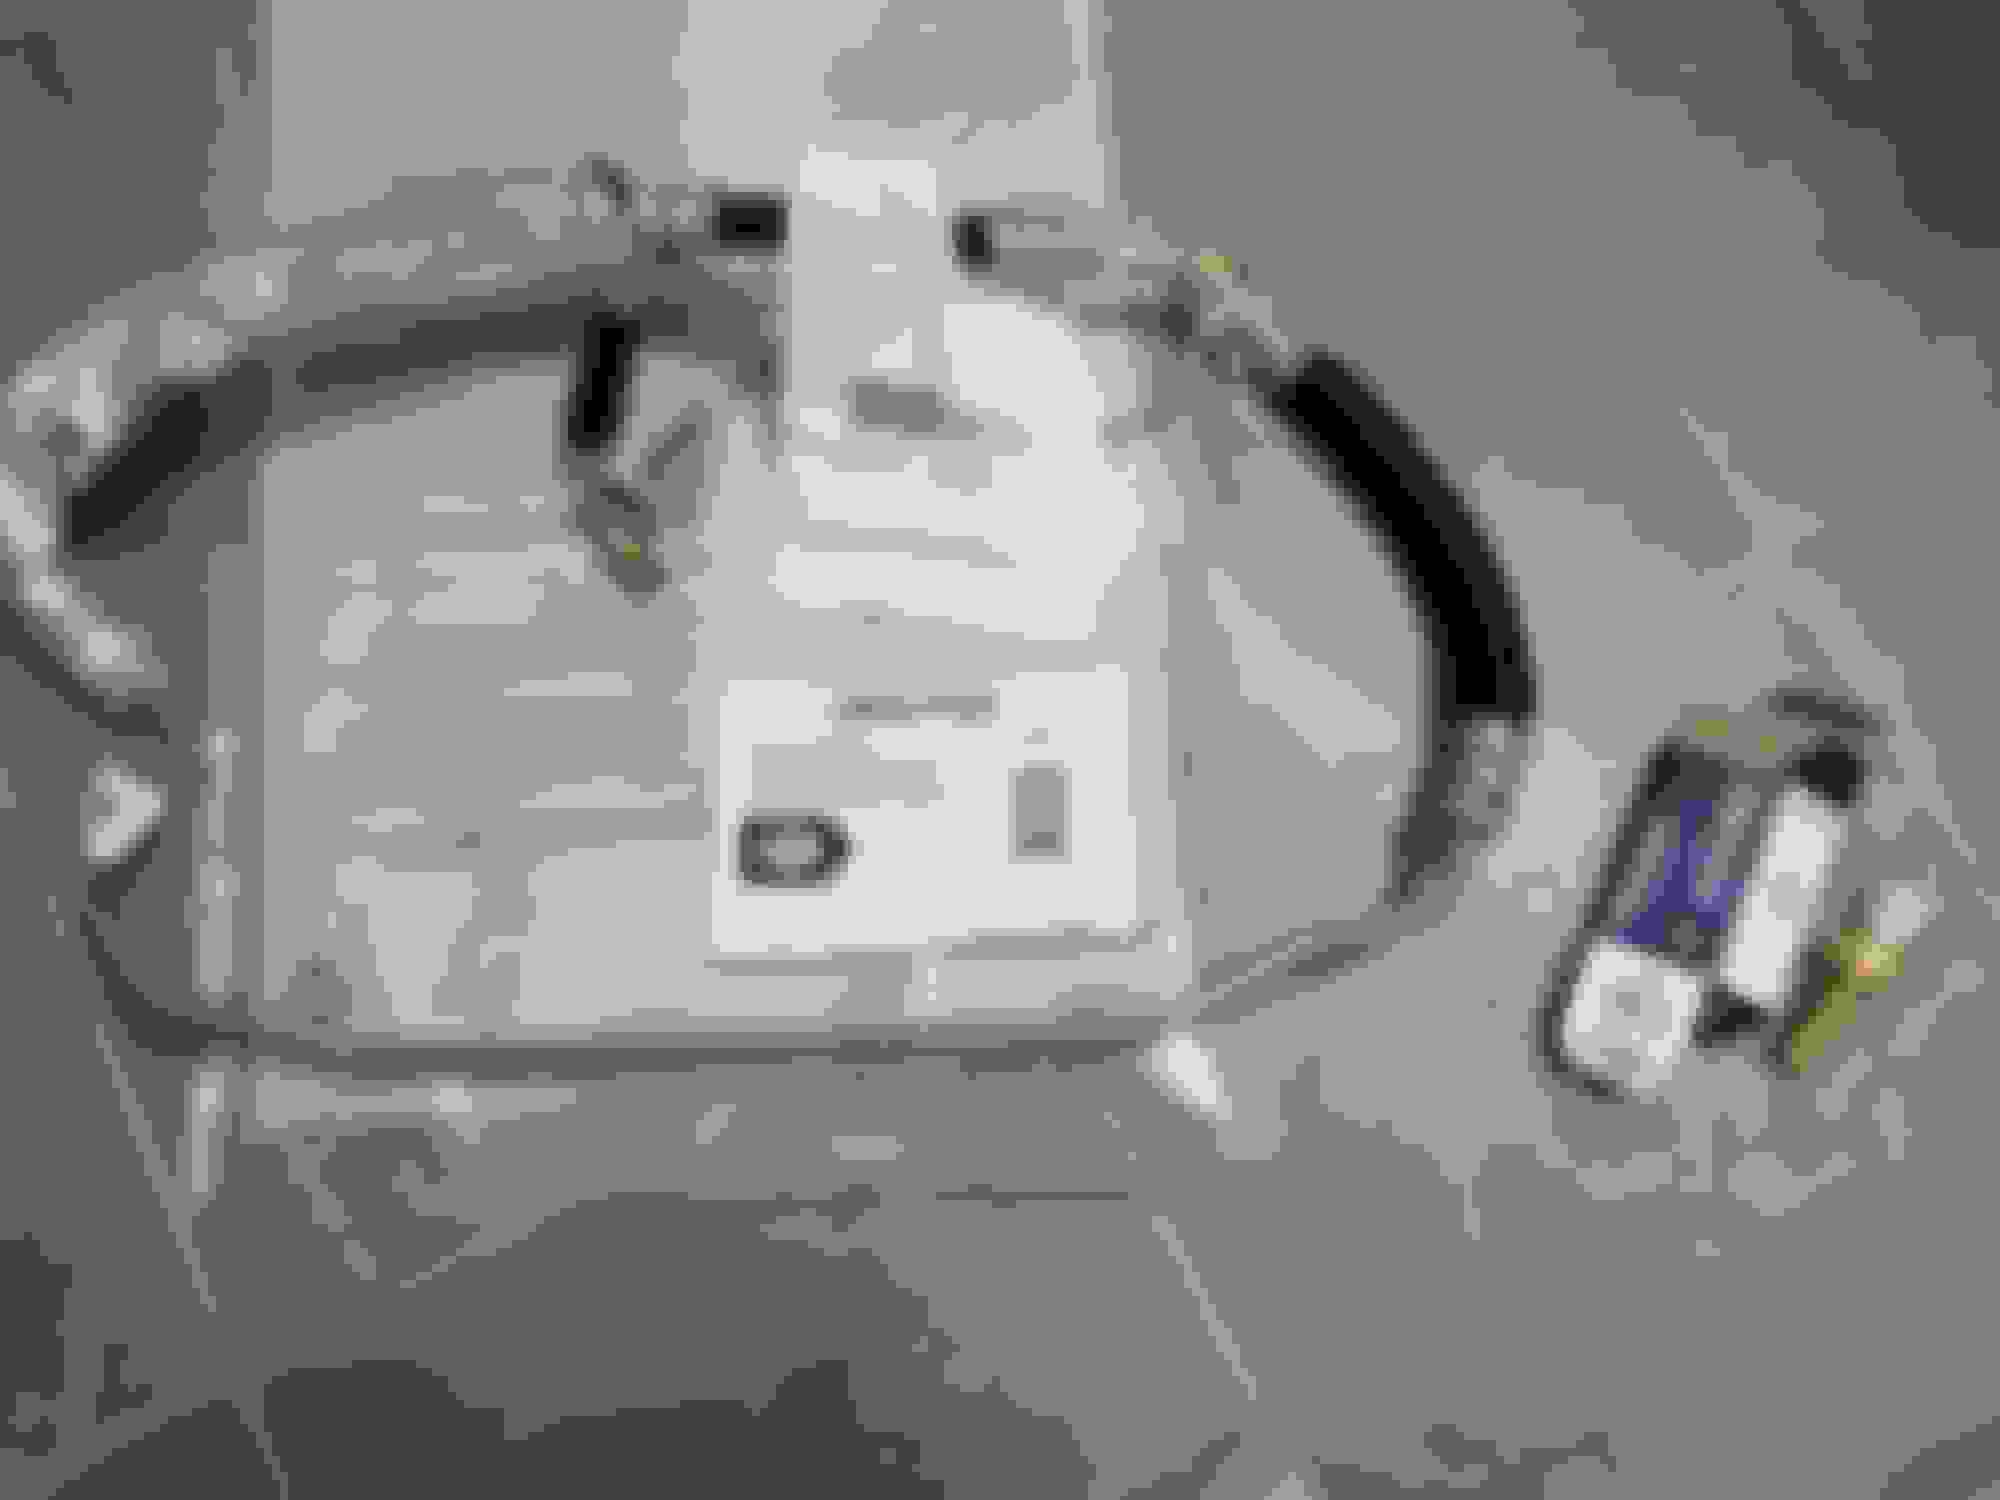
I noticed some drips on the frame/bracket that's beneath the high pressure hose. Car has been on stands and not running for about a week. Felt around the first fitting (where it changes from hardline to hose) on the high pressure hose and it is wet. I'm thinking if it's dripping without even being used it must leak pretty good while being in operation. And I can see some "wetness" on the rubber hose part. Had a lot of gunk built up on that bracket and the undercover right beneath there when I removed it. I'm on another forum for my 80 series Land Cruiser and everyone there is pretty OCD about using OEM parts but several speak highly of the Gates high pressure hose. For the price difference (delivered for $58 versus $320) I ordered the Gates and I'm gonna try it out.
General comment that may help depending on where you park and how perfect you want to make your car ...
Obviously, the main PS leak concern is any leak that can fall on the alternator. That is a notorious problem for these LSes.
But once you get below that, it may be practical to accept some level of leakage. Many of my PS lines show some sort of wetness, but the actual fluid loss is not significant, as I confirm by checking PS reservoir level. So I have not needed (by my standards) to replace any of the high pressure side of the system (rack, lines).
For any people with the early LSes (not sure how early, but definitely on my '91), the very first thing to do when you have any PS problem is to clean the rack solenoid filter. That clogs and causes pressure to build immensely, stressing the high pressure side of the system way more than it should, causing leaks, wear, and loss of power steering assist. Details on this are in a sticky.
That Gates is vastly different in price from the Toyota/Lexus variant. I'm thinking that the solenoid valve will need to be checked for any debris that may be creating higher pressure on ours as well. At 208K miles of use, I'm inclined to replace the return hose as well.
That Gates is vastly different in price from the Toyota/Lexus variant. I'm thinking that the solenoid valve will need to be checked for any debris that may be creating higher pressure on ours as well. At 208K miles of use, I'm inclined to replace the return hose as well.
Just a heads up the PPS solenoid was updated circa 97 and looks different than what's depicted in the above 2 links. It's a different design using 3 O-Rings internal so be very careful when removing it. I had mine out (years ago) when replacing the vane pump on my 99 and took the entire solenoid to Bell Lexus in Scottsdale looking for new O rings. No one in the service or parts dept had the slightest clue what it was or where it went...
Needless to say I didn't leave with new O rings for it! I can't find a pic of what it looks like removed but here's one showing where it is and the one 10mm bolt holding it in...
Thanks for the head's up Bradland! I'm going to have the indy do the install and I'll mention about the solenoid screen for his thoughts. I've regularly changed the fluid but it still may be possible the screen has become clogged now that it has 208K and is at that 23 year old mark. This was the July '97 production.
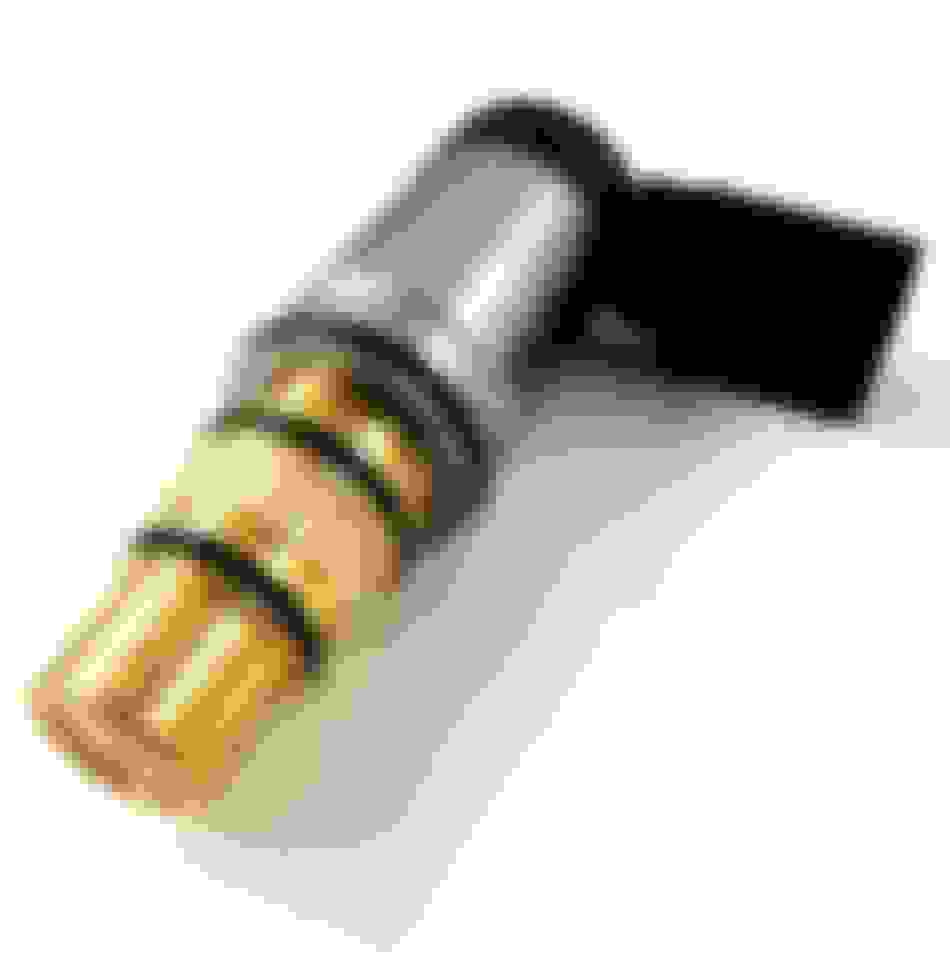
The solenoid looks like a beefier VVT valve but without plastic pieces. Somewhat similar to this and the screen is much smaller than the older version, almost nonexistent...
***(This is NOT a photo of the PPS solenoid. I'm only posting this pic, of an AC compressor solenoid as an example, as it looks very similar.)
Got my Gates high pressure hose in today. Looks like I'm going to have to check/clean that filter on the rack solenoid as well now. Now whenever I do get this thing all buttoned back up, assuming the problem is fixed, I'm not going to have any idea what fixed it.
Anyone have a picture of the inside of the reservoir?
I pulled the pump and reservoir with plans to rebuild the pump. While getting my ducks in a row (i.e. thinking about how I'm going to pull that shaft since I cannot weld nuts together and do not have a slide hammer) I decided I would spray some Brakleen in the reservoir to clean the filter/screen. Before actually spraying anything I shined a light up through the bottom hole and it looks like there is a piece of mesh/screen but it was kinda laying in there sideways. Appeared not to be attached properly in place. So I proceeded to start spraying the brakleen and the pic is what was coming out. The tub was a clean white tub before I started. That's about the second half of a can of brakleen - I had already dumped the first half which had bigger chunks in it. After a full can particles are still coming out. And every time I spray and look into the reservoir the screen/mesh is moved again. I'm imaging it's just a small circular piece of mesh that should be attached all around at the bottom of the reservoir. Mine appears to be possibly still attached in one small spot but basically flopping around inside the reservoir. Not loose completely so that it I can feel it bouncing around when shaking the reservoir, but definitely not fixed 100% in place.
I thought about just bending the tabs out and taking the top off so I could get a good view of what is going on inside. But those things are not cheap and I'm afraid I won't be able to get it back on correctly and if I reinstall and it leaks I'll be pulling the whole pump back out to fix/replace it. Thought I'd ask here if anyone opened one up and had some pics of what it's supposed to look like.
Of course, if I end up replacing the reservoir I will definitely be opening it up to see what's inside and post some pics.
Well curiosity killed the ps fluid reservoir. I guess it was dead already. That donut that you see inside the reservoir is actually about an inch "deep". The return line comes in through the side of the reservoir and turns 90 degrees at about halfway down the side of the donut (I guess to make the fluid swirl rather than just shoot straight out across the reservoir). The filter material/mesh should be attached along the outside of the bottom of the donut. The donut is held in place by the 3 indentations on the side of the reservoir and the return line is tack welded to the reservoir on the outside which holds it in place as well. My filter/mesh was pretty much shredded. In fact, about a 1" square piece fell out when I popped the lid off. It's $255 from LexusPartsNow, $153 from PartSouq and $350 from Advance Auto Parts. I'll need to keep looking for an aftermarket solution.
OK, so you lost the filter in the bottom of the reservoir. How about keeping the filter-less reservoir and putting in an inline filter like a magnefine? I've had a magnefine filter on my PS system for many years now. 3/8" barb fittings. They cost around $15. Should last 50k miles.
My '91 is different from yours, but ... it has to be on the low pressure side, of course. I have mine right before the return line goes into the reservoir. That's where I'd put yours. From the drawing, it looks like that's where you've indicated.
Yesterday went to the indy to have the high pressure hose installed. His parting comment was the return hose is also leaking. Last night was looking for true 10mm ID hoses but they come up as 10mm-3/8" actual. What is the opinion on using the 3/8" for the return line? I came across Gates offerings locally.
As far as his hose swap, he did the job fast. My estimate is that it took him just about 1 hour to do the job which included letting the car cool down 15 minute from the drive in. Charged $110 which I felt was a super price to pay.
So here we are 4 months later and I'm just getting around to this. Using this tutorial (thank you sir) I've got the pump disassembled. With the exception of the back side plate (step 12 in the tutorial). The front side plate, cam ring, rotor and vanes came out rather easily but the back side plate will not budge. There seems to be enough of a lip to get a screw driver on from the back side and I've been beating on it but it will not budge. Any suggestions?
 02-02-20, 08:08 PM


 I'm going to have the indy do the install and I'll mention about the solenoid screen for his thoughts. I've regularly changed the fluid but it still may be possible the screen has become clogged now that it has 208K and is at that 23 year old mark. This was the July '97 production.