When you click on links to various merchants on this site and make a purchase, this can result in this site earning a commission. Affiliate programs and affiliations include, but are not limited to, the eBay Partner Network.
Today I had my rear upper control arms replaced. There was nothing discussing this job here nor on Youtube.The LS manual suggests that to do this you need to:
Remove the exhaust.
Remove the drive shafts.
Remove the strut spring assembly.
Disconnect the brake caliper and emergency brake cable.
Remove the bolts connecting all the arms from the hub carrier.
Remove the hub carrier and upper control arm from the vehicle. Place the hub carrier in a bench vise, remove the UCA lock nut and tap out the UCA tapered shaft.
On a 20 year old car that lived in CA this would be a big job. My car lives in Wisconsin's brine !
There is another method. I watched today.
Disconnect the stabilizer bar end links.
Unplug the pad wear sensor cable.
Remove the strut lower mounting bolt from the hub carrier.
Disconnect the drive shaft from the diff. coupling, six bolts and hub, big nut.
Split the diff end from the diff coupling with a pneumatic chisel (PC). It was tight? There is room to then drive the splined drive shaft from the hub with a PC with a pointed bit on low power. The drive shaft will be supported on the exhaust pipe.
Remove the UCA ball joint nut with a pneumatic impact wrench (PIW).
Drive the ball joint taper from the hub carrier with a PC, pointed bit. Both popped out easily.
It is now possible to slip the UCA off the bottom of the strut and replace it !
FYI. To get the spline shaft back into the hub use the PC in "reverse". Drive on the hub gently while feeding the spline shaft and it returns to its fully engaged position ready for the hub nut.
Tools the average DIY may not have that are almost essential to do this job.
Oxyacetylene torch to heat frozen nuts.
Snap On air impact wrench.
Snap On air chisel.
The skill to use these powerful tools safely and prudently. Justin did not break even the 4mm bolts that anchored the ABS/Brake wear cable mounting brackets.
My thanks to Justin Basile at Lake Country Alignment in Oconomowoc WI for his skill and ingenuity in performing this job.
When he is not working on my cars he takes care of the WI/IL SCCA cars and the local Ferraris and the odd Mclaren that need suspension work.
FIY Partsgeek has the rear UCAs for $185 each. They are I presume OEM as they come in Toyota labeled bags.
A little late, but thanks for this post and its info. Have new upper arms and plan to install them on my �97 soon. Fortunately I just had the axles off of the differential a few weeks ago to do the differential bushings. The left one was pretty stubborn!
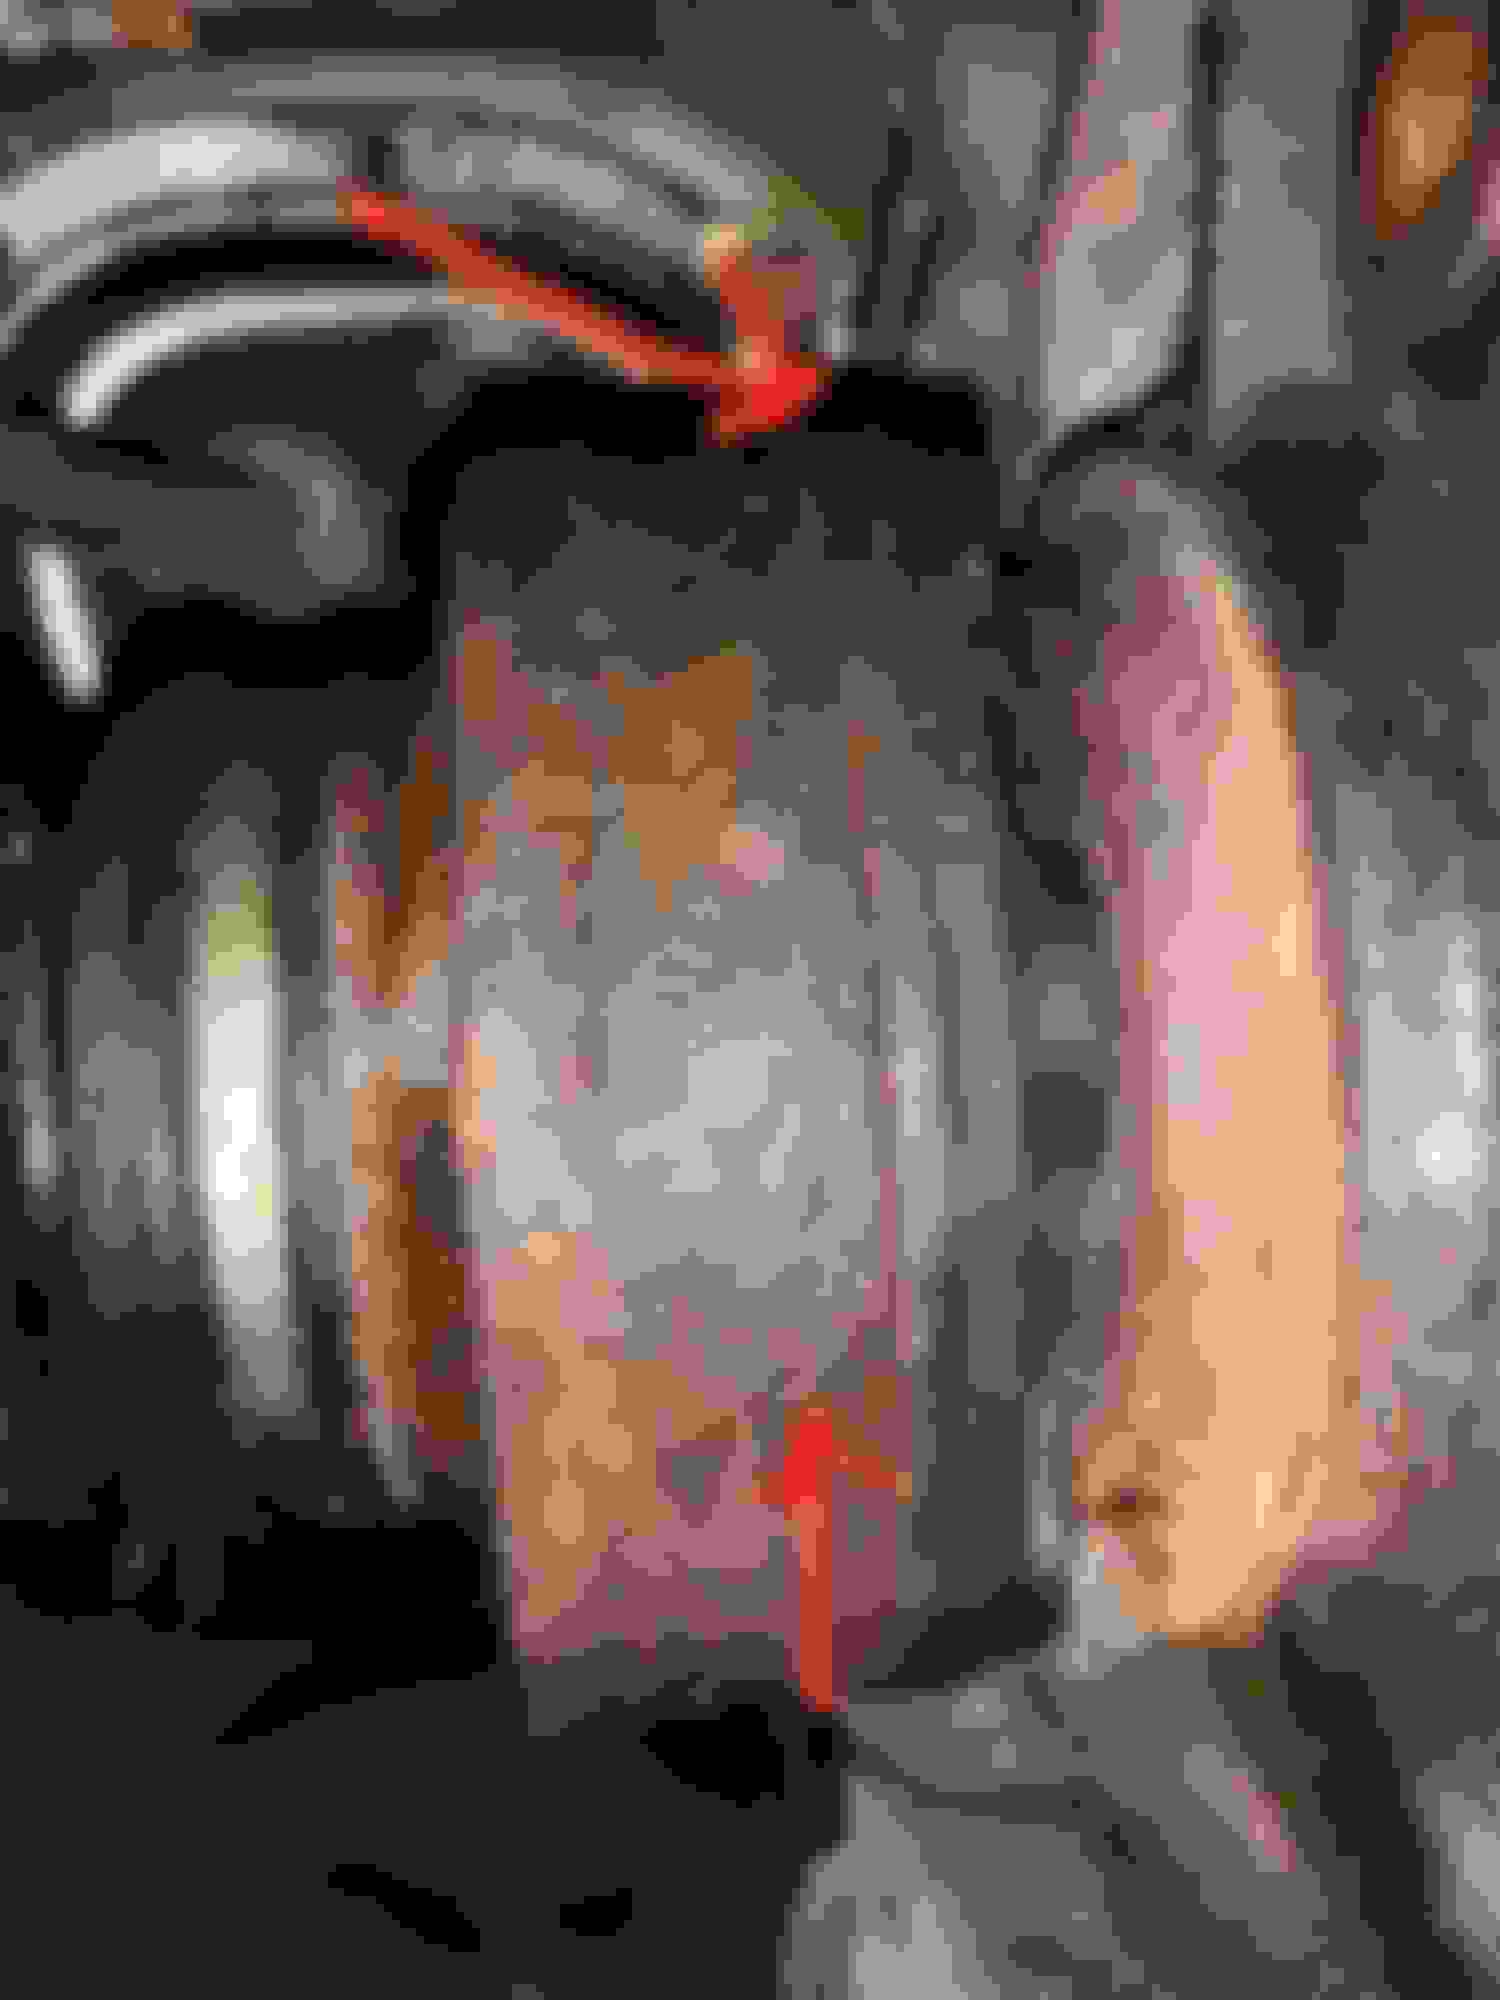
I'm trying to follow these instructions and struggling to get the inboard side of the axle to separate from the differential. The OP said it was tight so I'm not surprised. However, I don't want to bang on the wrong item and damage the differential parts. Should I focus the impact on the center flange and just keep going until it finally releases (bottom arrow)? Or do I focus on what looks like the joint area and focus impact there (top arrow)? It seems like focusing on the top arrow area could damage the differential flange. Or is there a different area entirely that I don't understand?
I'm trying to follow these instructions and struggling to get the inboard side of the axle to separate from the differential. The OP said it was tight so I'm not surprised. However, I don't want to bang on the wrong item and damage the differential parts. Should I focus the impact on the center flange and just keep going until it finally releases (bottom arrow)? Or do I focus on what looks like the joint area and focus impact there (top arrow)? It seems like focusing on the top arrow area could damage the differential flange. Or is there a different area entirely that I don't understand?
I took a 4lb sledge hammer and hit just left of the top arrow as hard as you can, my car was an Ohio car all its life and it took me about 2 days of solid hammering and PB blasting and repeat to get it to separate from the differential flange working on jackstands on my garage floor.
A shop could probably get it done in 20-30 min having the ability to use a lift and get extra room to swing and whack them harder to separate.
Ok now I don't feel as bad as I did about not buying that car before you did.
A lift does give ya so much more room to swing. But us, we just gotta roll around on the floor.
Thank you for responding! You have confirmed my question. I have also seen some videos of people using the "V8 breaker bar" method where they hold the brakes on while putting the car in drive to use the torque of the engine to twist it loose. It doesn't look too sketchy although there is some banging after the parts separate and the differential is still spinning down. However, that doesn't seem any worse than hitting it as hard as you can with a small sledge hammer.
Ok now I don't feel as bad as I did about not buying that car before you did.
A lift does give ya so much more room to swing. But us, we just gotta roll around on the floor.
yeah needed all new rear arms due to 5 of the 6 bolts seizing up for alignment adjustments and Y pipe was leaking, but sourced replacements once I moved to AZ. Cars here are pristine and pretty readily available. Even found one with a fresh Lexus brake service so found all OEM brake parts for $50 with no miles on them.
Thank you for responding! You have confirmed my question. I have also seen some videos of people using the "V8 breaker bar" method where they hold the brakes on while putting the car in drive to use the torque of the engine to twist it loose. It doesn't look too sketchy although there is some banging after the parts separate and the differential is still spinning down. However, that doesn't seem any worse than hitting it as hard as you can with a small sledge hammer.
yeah you dont have to worry about breaking that flange, its a solid thick piece of metal on that end of the halfshaft and can take the hits from the sledge to break free. Just need the heaviest hammer you got, the weight and impact will help break it free.
 02-08-19, 06:23 PM


")

