When you click on links to various merchants on this site and make a purchase, this can result in this site earning a commission. Affiliate programs and affiliations include, but are not limited to, the eBay Partner Network.
The problem I have is the OEM 90467-09093 style retainers are very hard to remove, once installed. The plastic screw pin is very difficult to remove from the retainer, because the threads are not aggressive enough to grab onto the retainer's inner surfaces, so it just spins freely in-place.
Instead, I am looking for a different style of clip, like the one in the attached photo, having the same dimensions of a 15 mm head and that is designed for a 9 mm hole.
What makes this alternate design better is there is a recessed slot where you can put a flathead screwdriver to remove the inner pin, making these clips reusable and easier to remove.
------
My intention is to buy this style replacement clip and to remove every single original retainer on the front bumper, so I can easily service parts like the electric fans and hood latch by taking the bumper off of the car, when needed.
Ok thanks. Do I have to remove anything to get to the bolts? Like remove the radiator or any belts?
Not the radiator or belts but some of the covers on top and air intake tubes. I'm sure you've seen these many times but this will give ya info on the covers and air intake tubes; http://www.lexls.com/tutorials/ignition/sparkplugs.html and the VCs; http://www.lexls.com/tutorials/engine/valvecover.html If you're just tightening the bolts you don't need to remove the throttle body but will need different size extensions and a swivel adapter.
ok thanks, yea lmk if you find an alternative to those plastic trim clips.
This alternate Toyota part, 90467-09096, shares nearly the same dimensions as the original clip/retainer (90467-09093). [See attached image for spec]
Unlike 09093 originally used on our cars, the pin for 09096 has a coarser thread and a slot on the head of the pin for inserting a pry tool to remove it easily.
This was apparently used on some 1990-1993 Celica, 1990-1995 MR2, and 1993-1998 Supra Mk IV models. I guess Toyota noticed the design flaw after a few repair jobs.
[ Source for model usage: [url]https://www.toyotapartsdeal.com/oem/toyota~clip~90467-09096.html ]
From what I found online, 90467-09096 was also used on 1995-2000 LS 400s.
Last edited by CELSI0R; 04-21-20 at 09:27 AM.
Reason: New info
Thanks for the pointers everyone. I put the bumper front bumper back on and the fenders and I tried tightening the bolts but it's still leaking a bit. I'm not gonna worry about it too much because the leak is not that bad. I put the white fenders and bumper back on and I'm digging the look. My plan is to keep painting section by section and eventually hopefully have the whole car painted white.
EDIT: I removed all 19 clips from my bumper last night (18 on the cover, and 1 holding the temp sensor to the metal bumper reinforcement) and can confirm there are no clearance issues with the new clips
Thanks, I'll definitely get some of those and swap them out considering I only have about 5 of the original clips holding my front bumper on at the moment with a few zip ties.
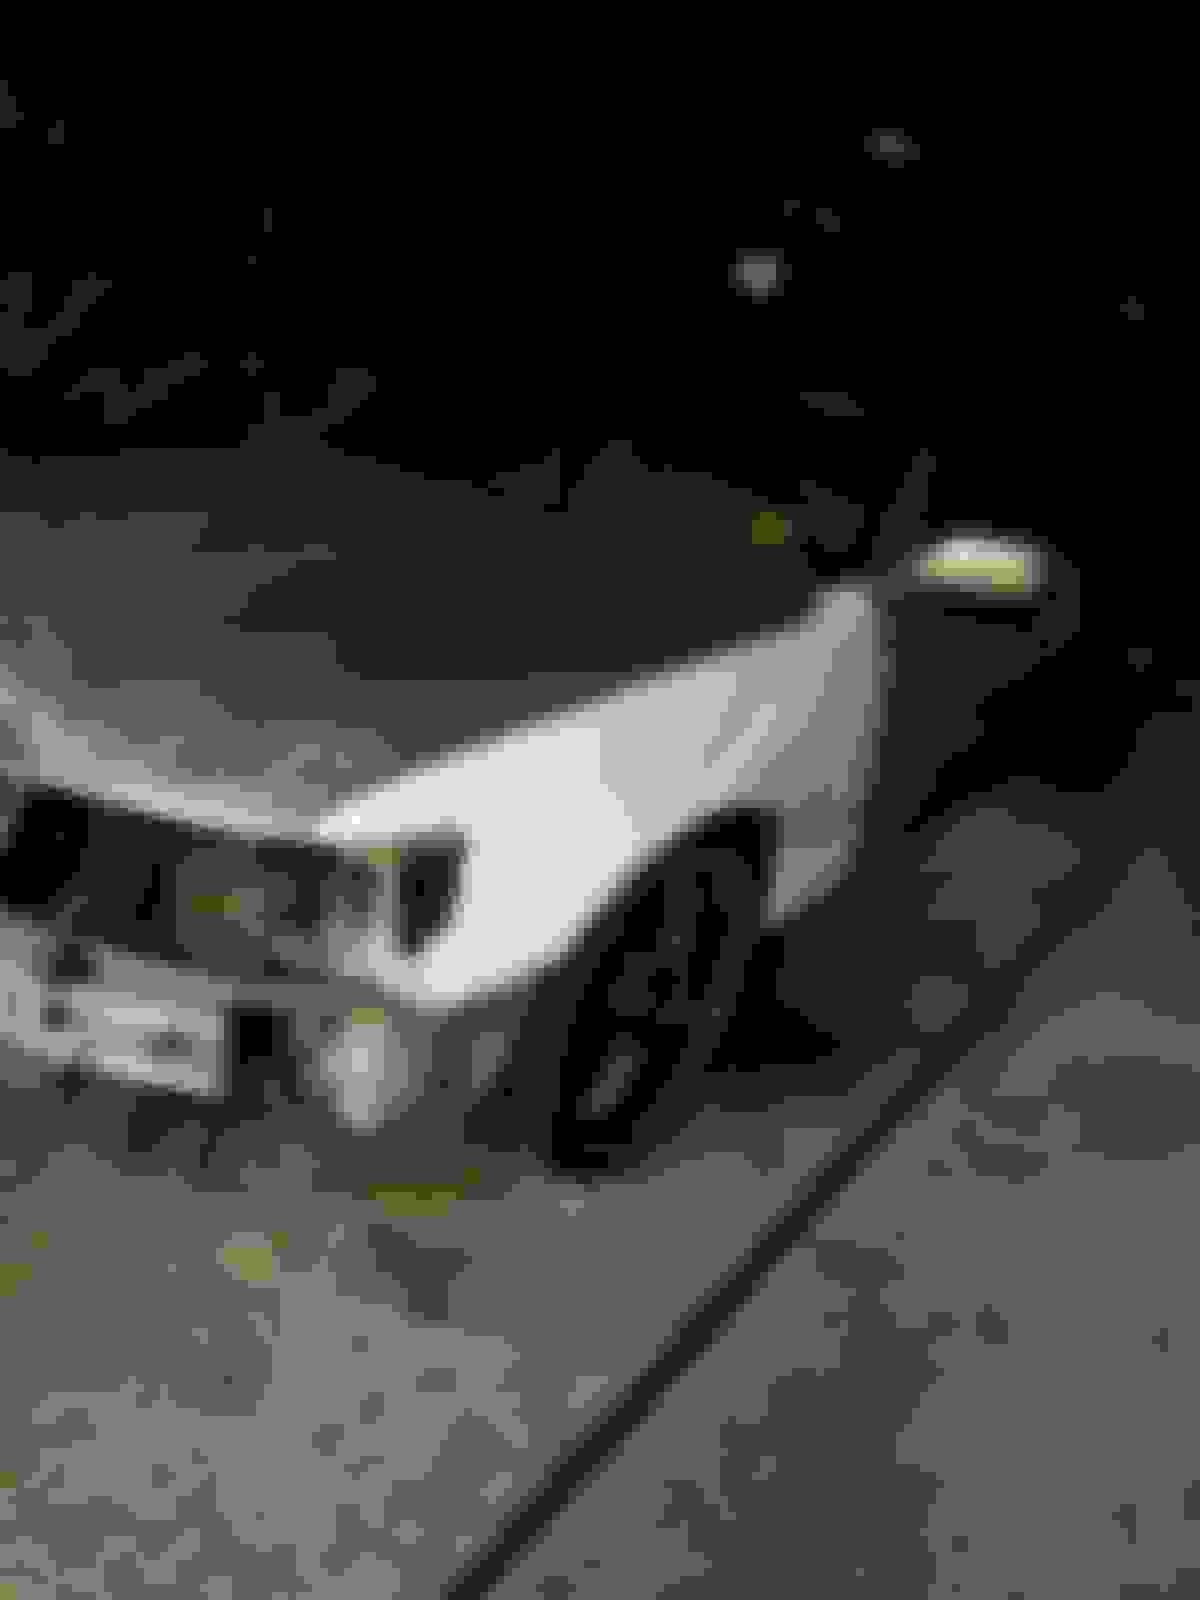
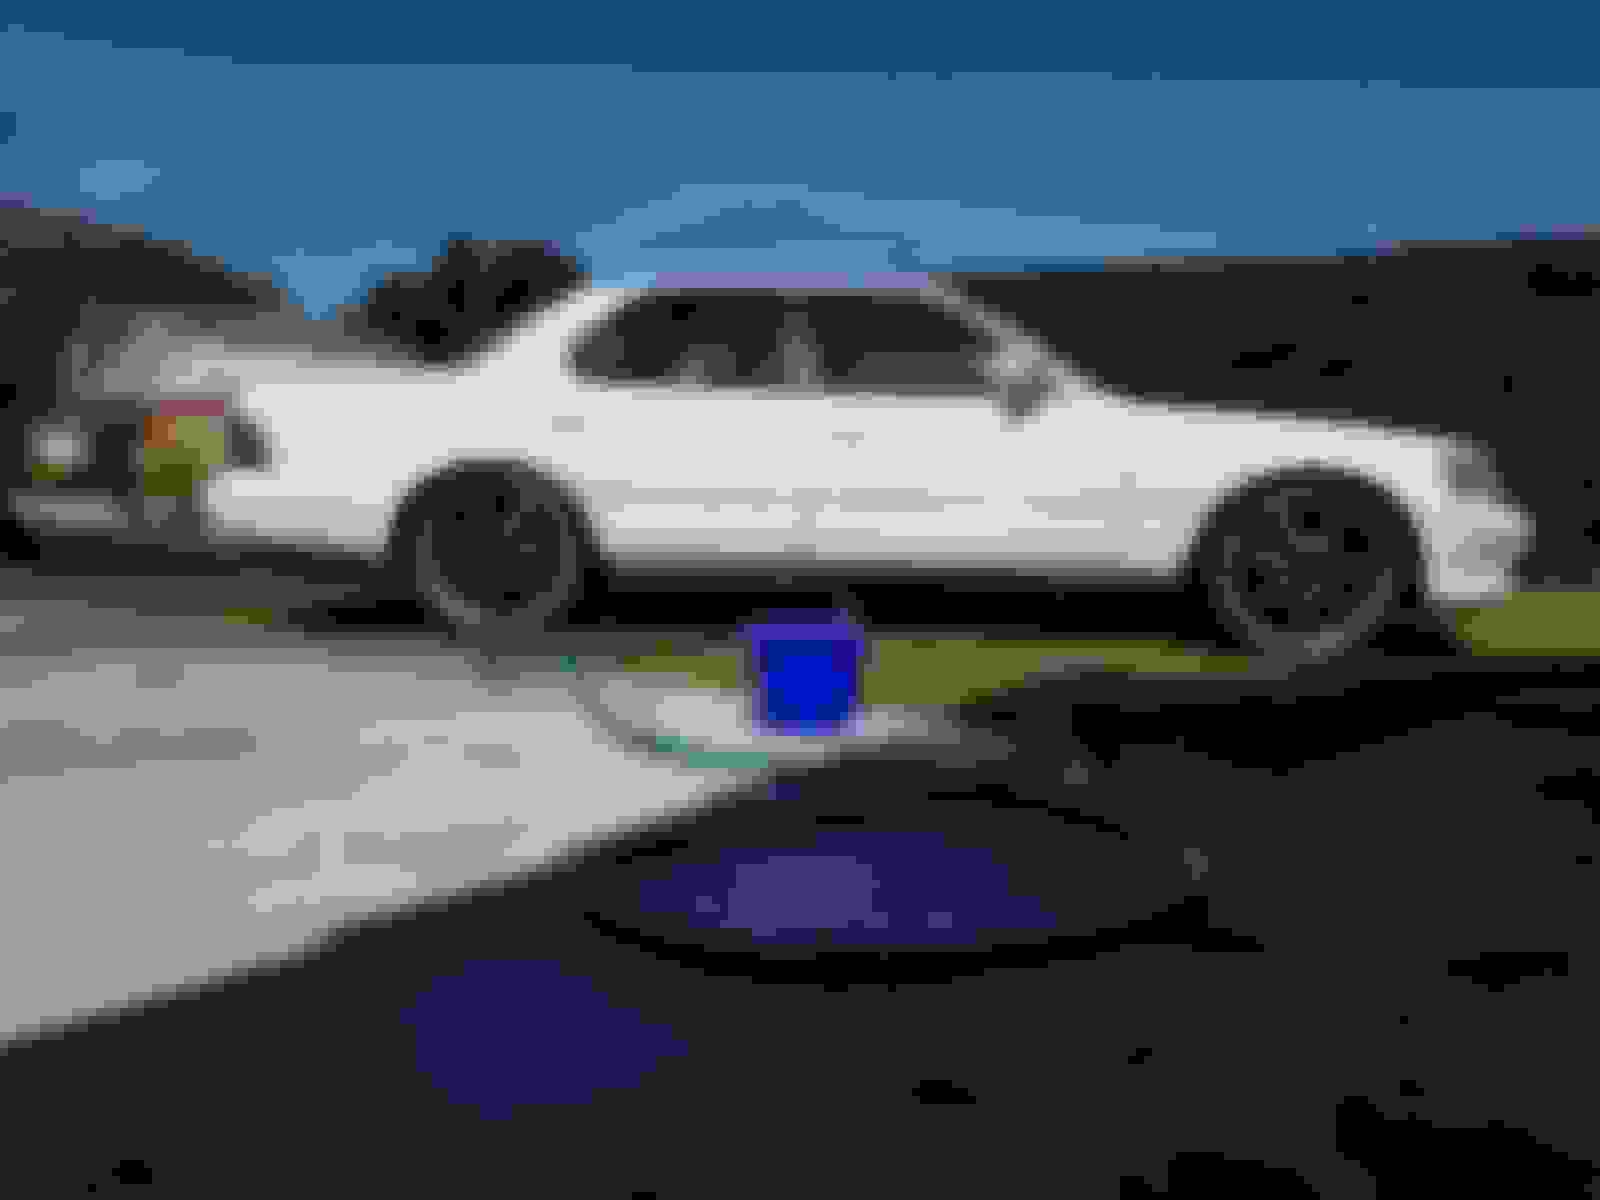
Finally, door panel by door panel and hour by hour I finally got it all painted. I'm saving the hood for a different color, maybe carbon fiber wrap. It took about 2 weeks for me to get this all done but I think it is so worth it. About 18 cans of spray paint and 8 cans of clear coat and my forearms are dead. I'll wash it tomorrow and post some pics of it without the plastic but this is what I'm working with so far. I will say the first door I painted I did not have plastic and I got a significant amount of over spray on the windows so I had to spend a lot of time with a razor blade scraping the little white dots off of my window. But I learned by lesson after the first one.
Side note: I just bought a 67 Buick Riviera which is the one under the car cover right next to the Lexus. So my time is gonna be split cuz I got a really good deal for the riviera but it needs a lot of love. But I still daily the Lexus. It took me so long to paint because I had to paint the car after school on days that I wasn't working.
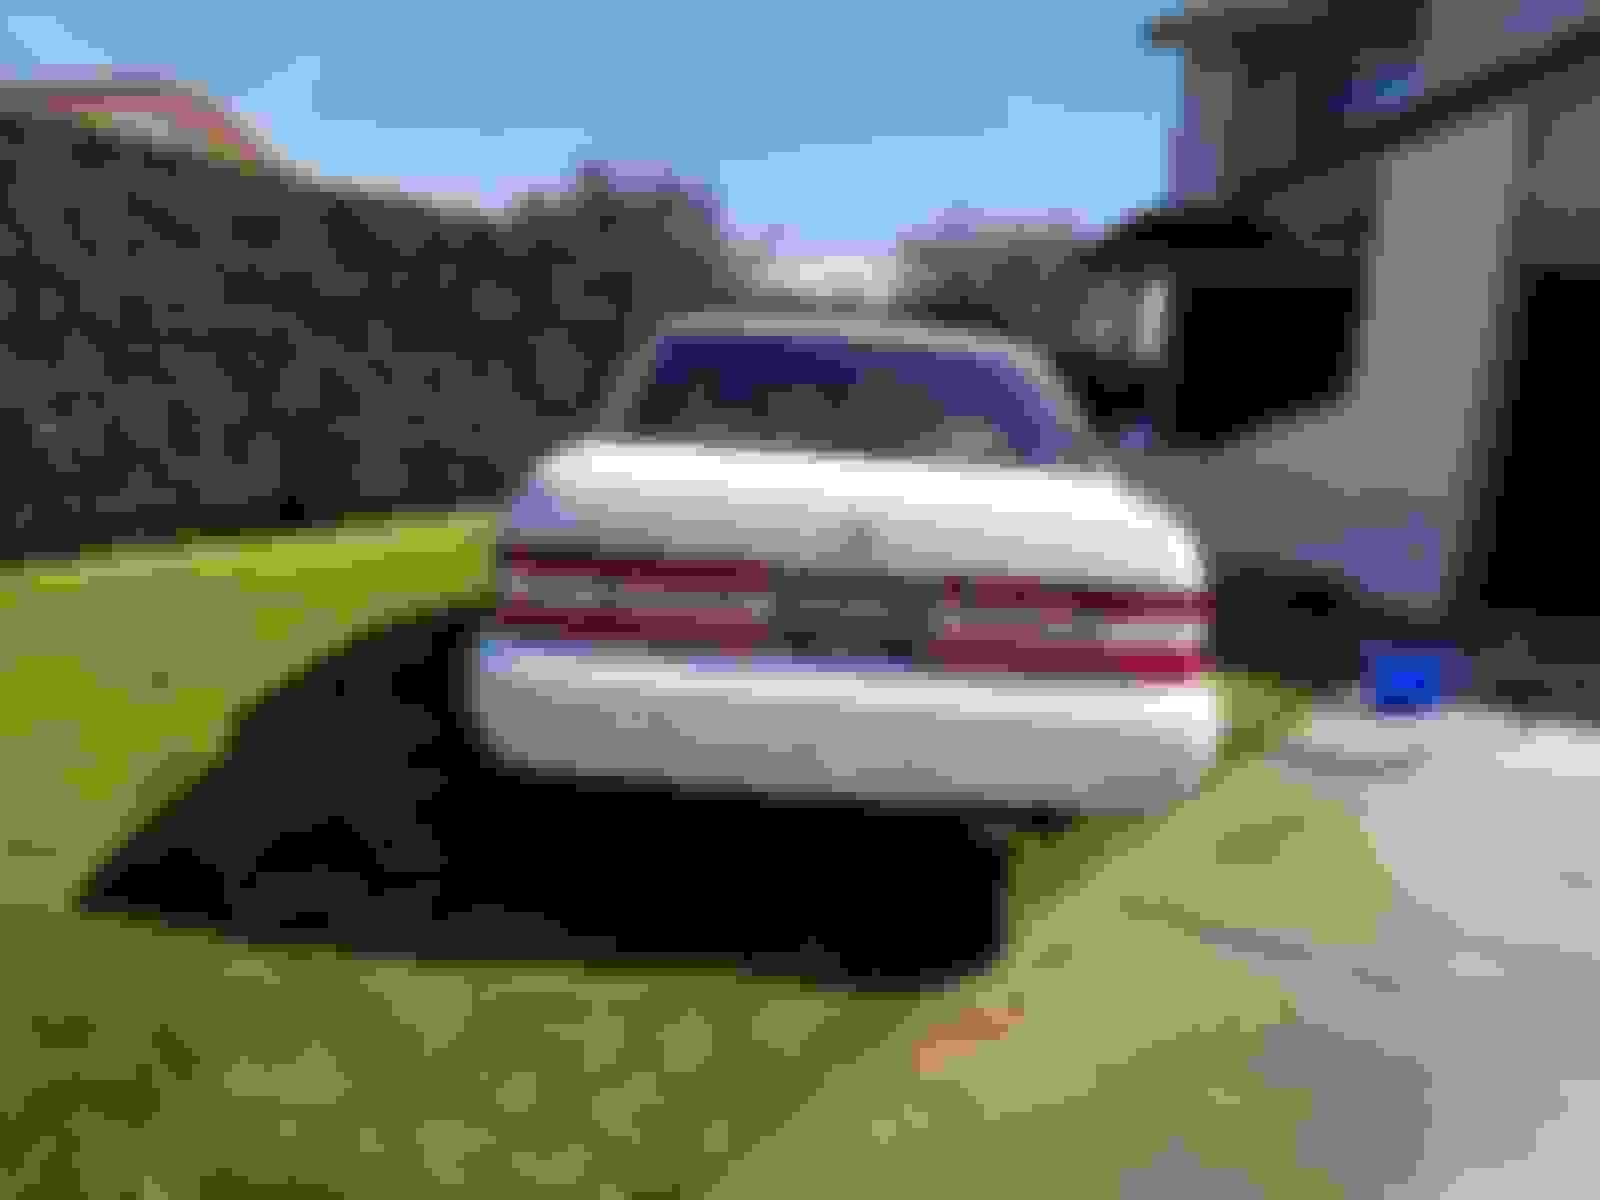
Here are some picks of her after she has been all washed and dried. I think she came out really nice although I will say you can tell in the back bumper that it is self painted because the back bumper isn't super even but other than that I like how it turned out.
Also, the valve cover is leaking less now after I tightened those bolts but the oil pump is still leaking a lot. I'll take some pics of the underneath of my car but there is oil everywhere underneath. I am going to try and spray some carb cleaner underneath everywhere to clear up the gunk and see if I can't locate where exactly this leak is coming from. Although I don't really want to take the oil pan off.
It looks good Jeik. Why didn't you paint the black window trim part white? might have looked ok. I'm inspired to do some minor paint work on mine. Winter is over so its ok to go outside again. How hard was it do remove the front side panels? I need to remove one of mine and get some dents out.
It looks good Jeik. Why didn't you paint the black window trim part white? might have looked ok. I'm inspired to do some minor paint work on mine. Winter is over so its ok to go outside again. How hard was it do remove the front side panels? I need to remove one of mine and get some dents out.
I didn't even think about painting the window trim white. I might try and do chrome but idk. The front panels weren't too hard. When I was at the junkyard I got them off without taking the front bumper off but at home I had to take the front bumper off to get the fenders off. The most difficult part is there are these two bolts connected to each other that have a big washer that sticks them together and keeps them there. Taking off the washer that is around both bolts is difficult but once that is done it is pretty easy. Also had to take part of the inner fender wall off but I was too lazy to take it all off. Good luck on it.

 02-17-20 | 11:05 AM