View Poll Results: Was this a good purchase
Yes


7
58.33%
No


1
8.33%
I don't Know


3
25.00%
We need pictures first


1
8.33%
Voters: 12. You may not vote on this poll
My First Lexus LS400
#122
Intermediate
Thread Starter
Thank you RA. You the man.
My back was killing me so I had to take a bit of a break. I really should get the front bumper back on, but I feel like I am making so much progress when I am taking things apart ya know???

Passenger Side rocker panels off.
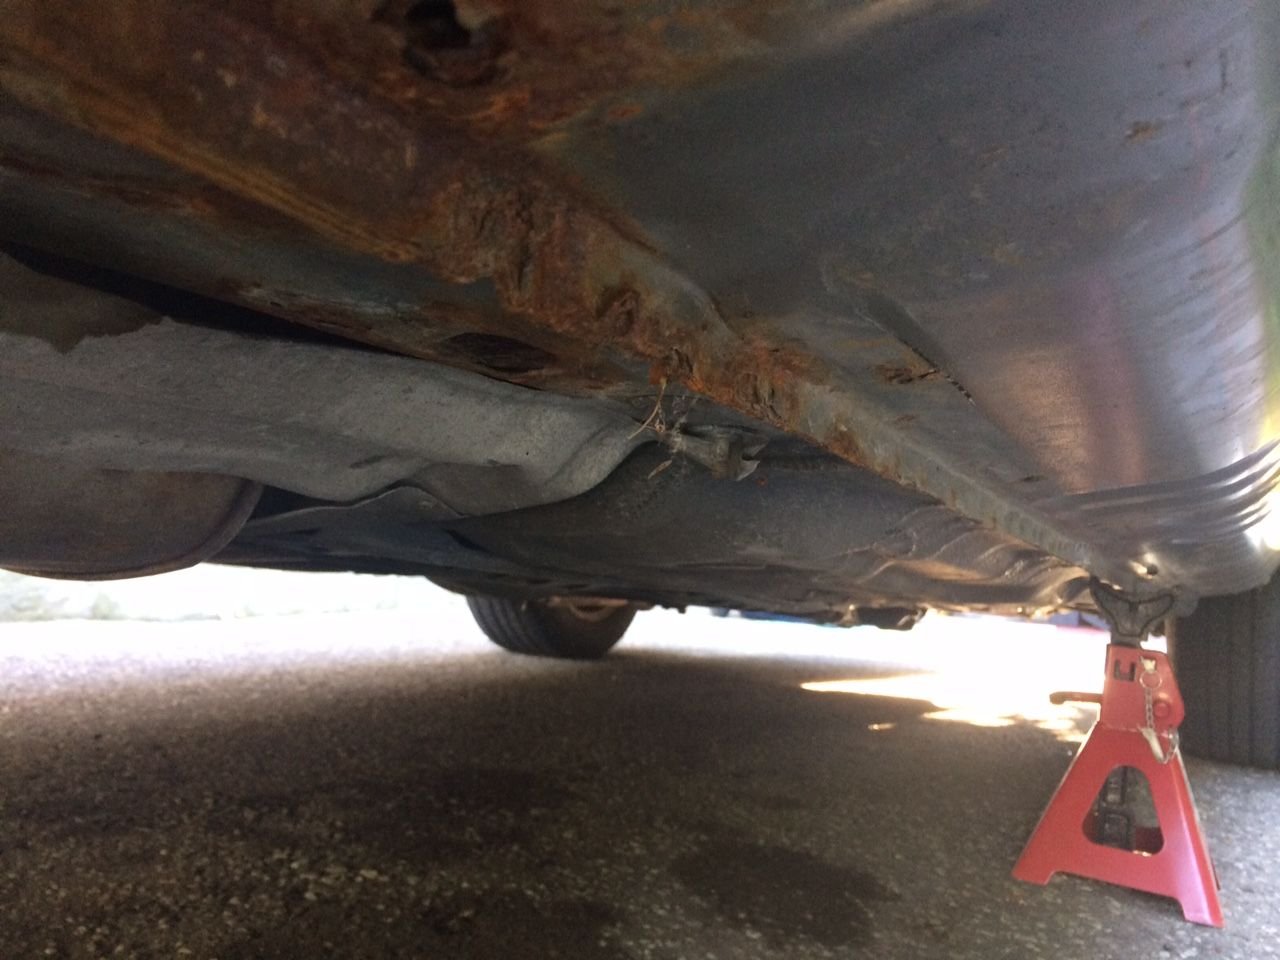
Doesn't look good.
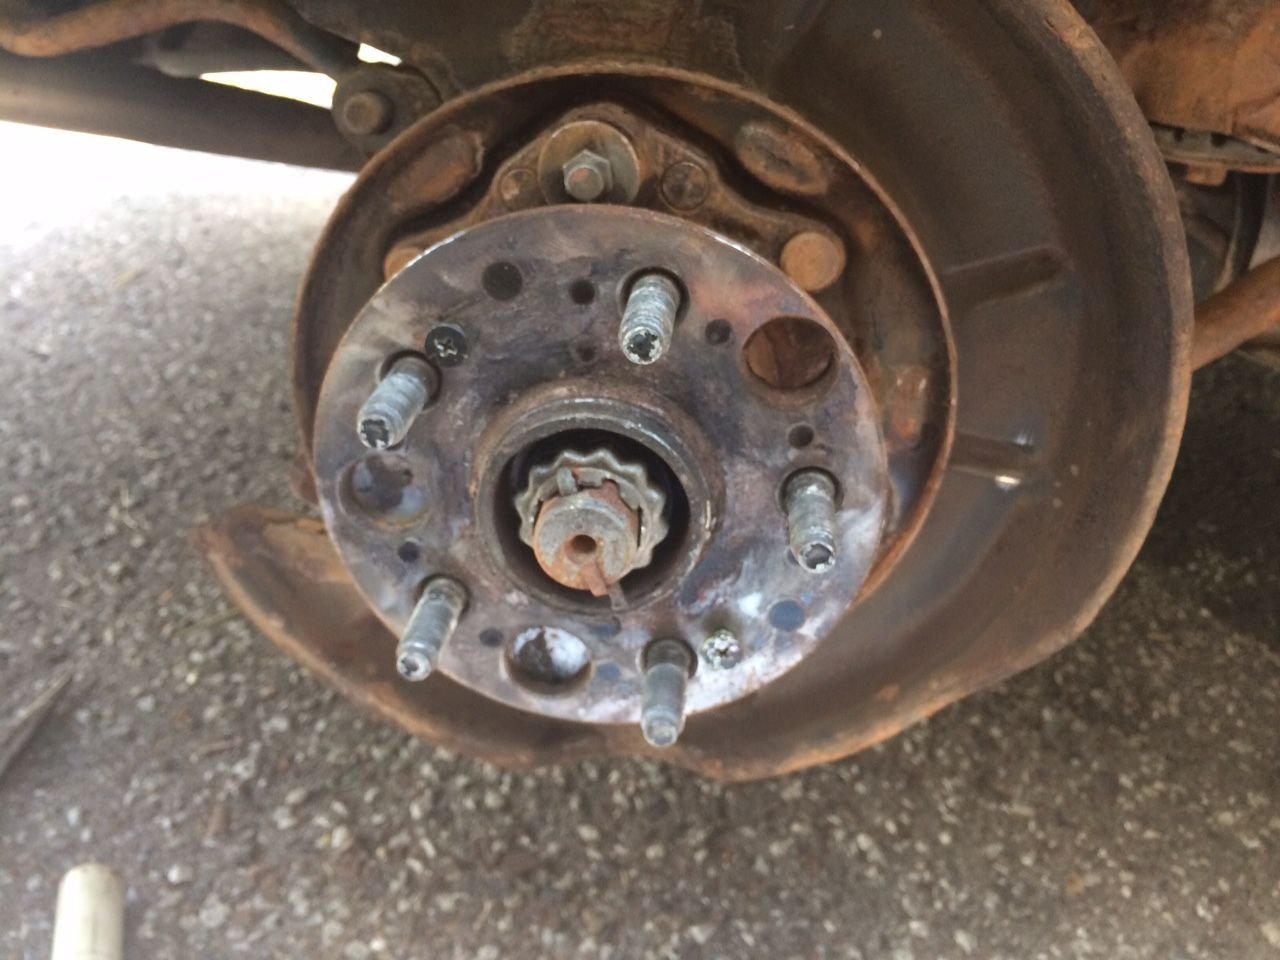
I was planning on trying to rust paint all the suspension but I realize this is not gonna work unless I can take it all apart. I can't do that because I can't get the hub off with the hub removal tool. So many things to do on the car, I think I will leave it for the most part.
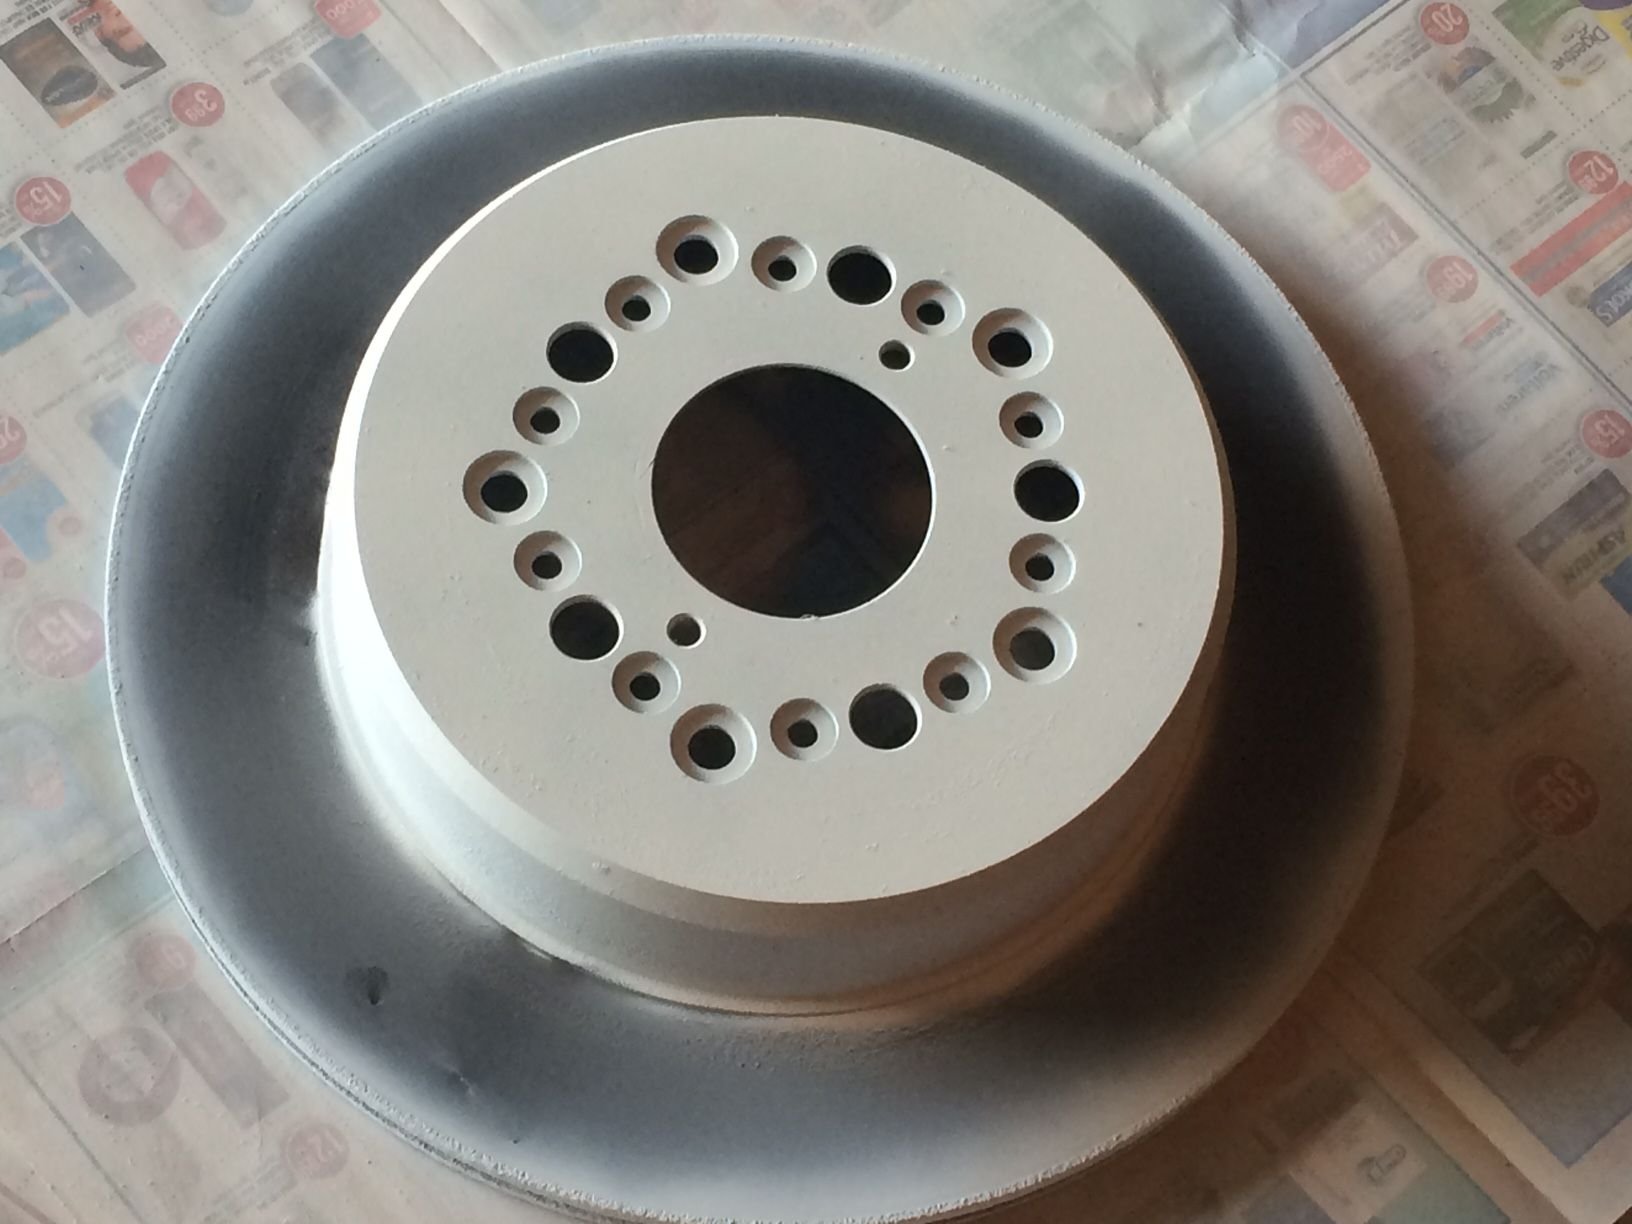
Cleaned up the rotor with a drill wire brush. I will get before afters on the next one. High temp paint. Might tape the next one. Seen some videos where they paint the entire thing and let the brakes wear the paint off for max paint coverage.

Passenger side parking break.. bolts broke on the parking break cable connector...

Never got around to bondo this part but I will eventually. The black paint seems forgiving to me.
#123
Intermediate
Thread Starter
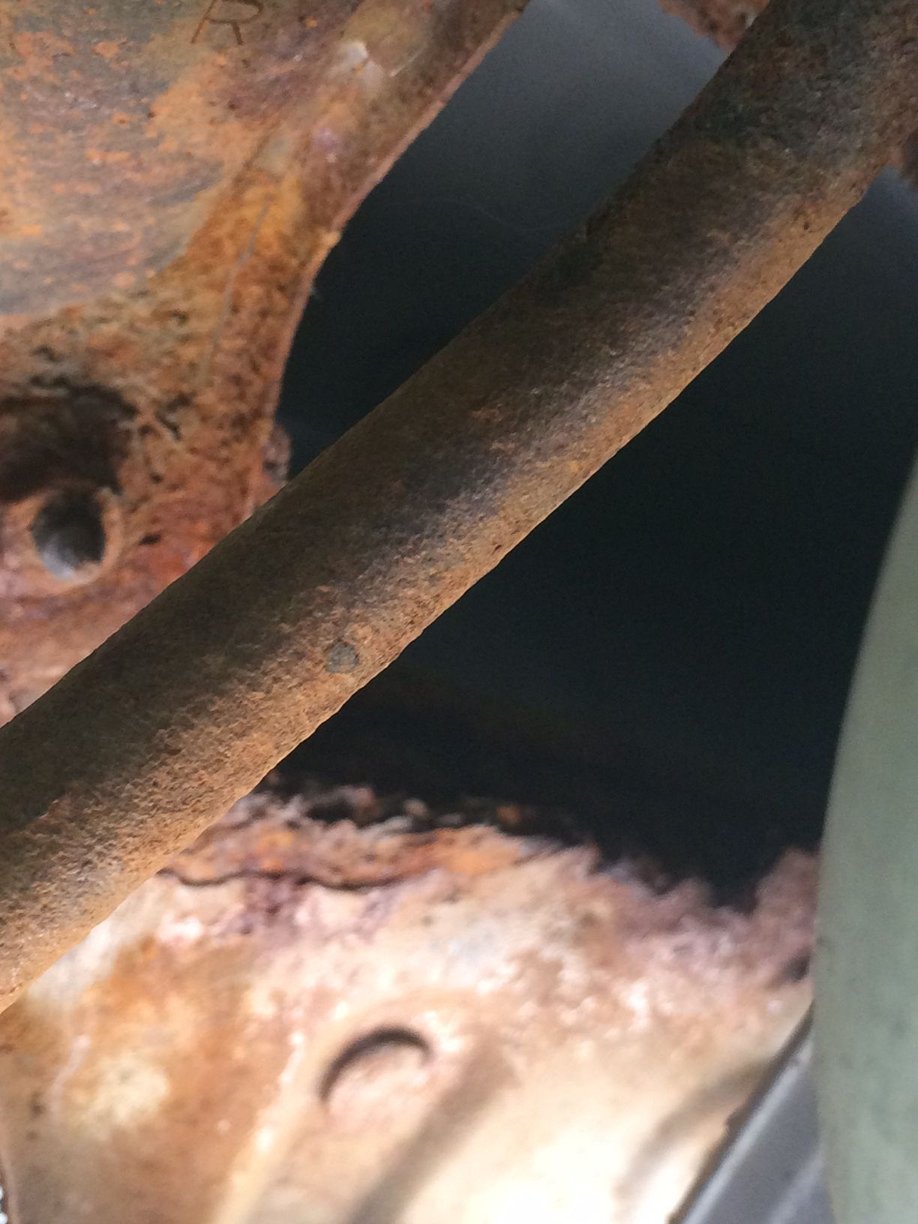
If you have water in the trunk, you may have this issue also. Large area of rot under the trunk on the passenger side. Can't really do anything to get to it.

I said I wouldn't but couldn't help but get rid of the scale. I doubt I will on the other wheel wells.
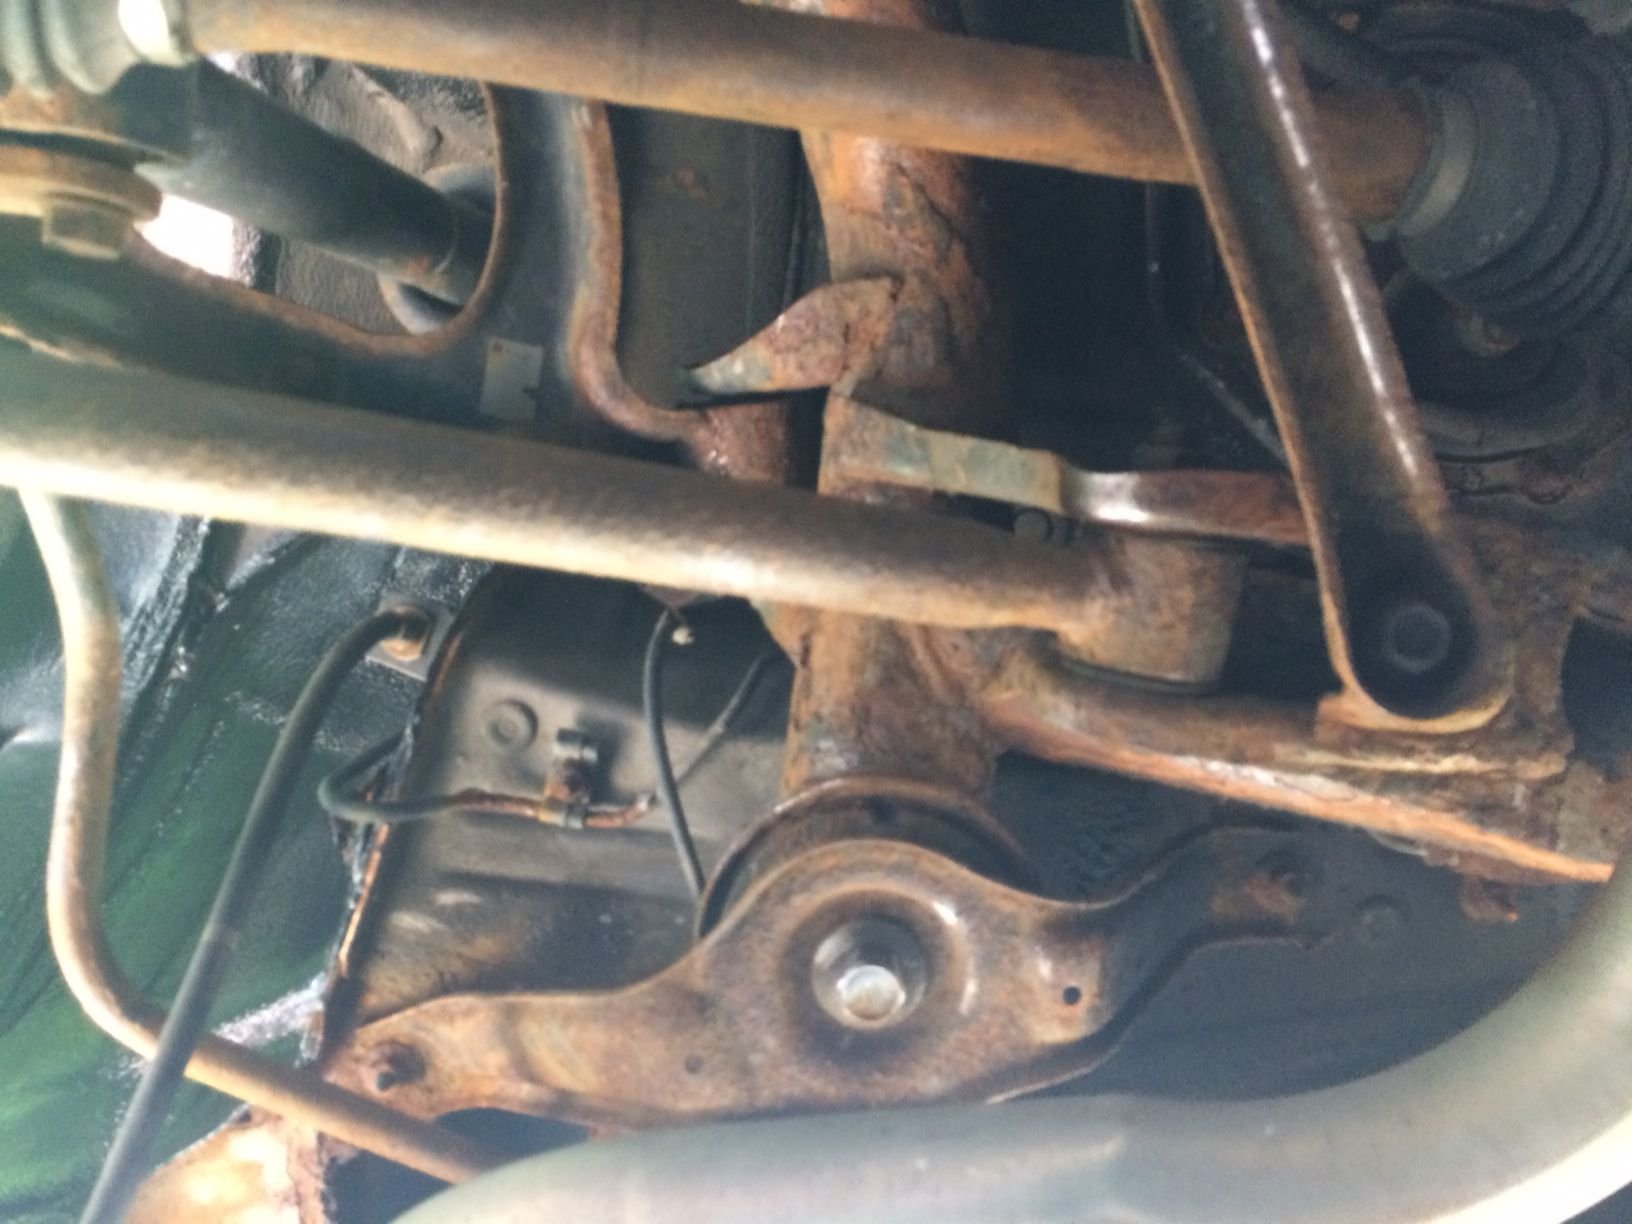
post scale removal

Bad photo. But I painted some aspects on the suspension.
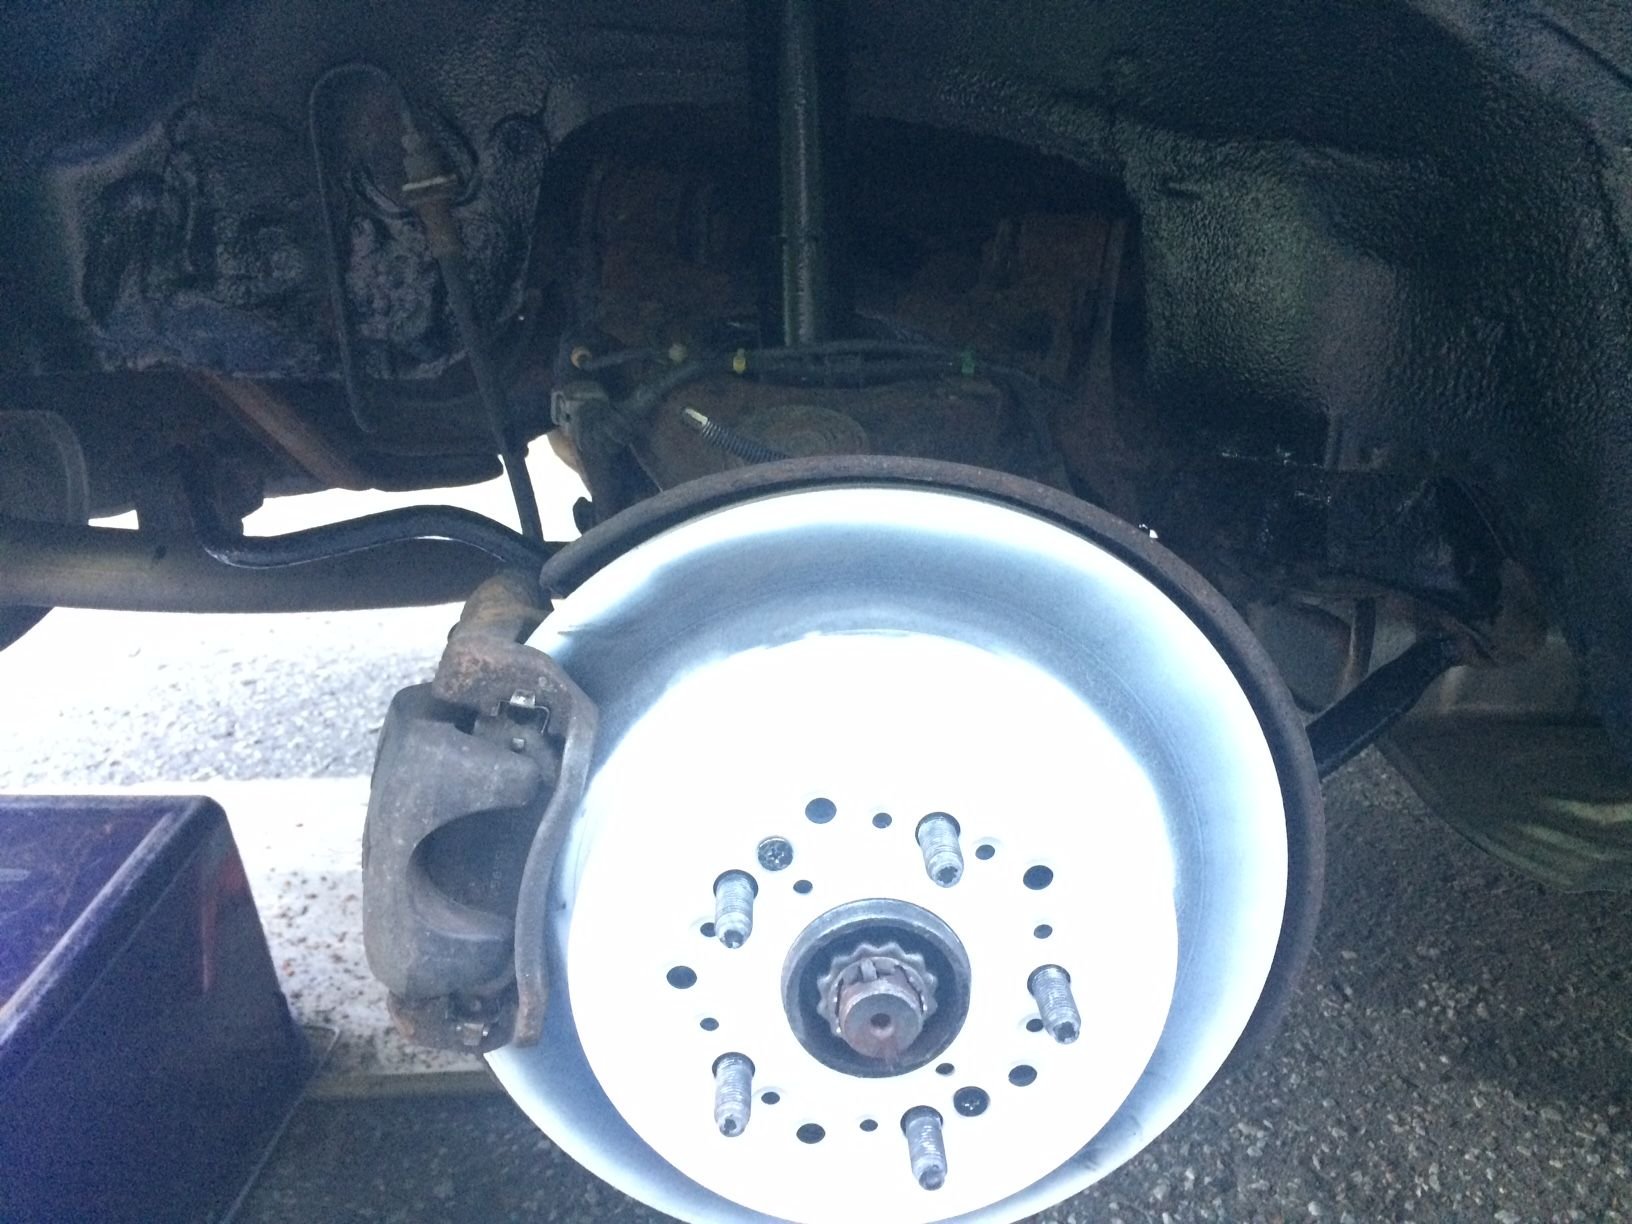
I painted what I could. Didn't put my parking brake back, it didnt work quite right and since I broke the bolts holding the cable in it will have to wait.
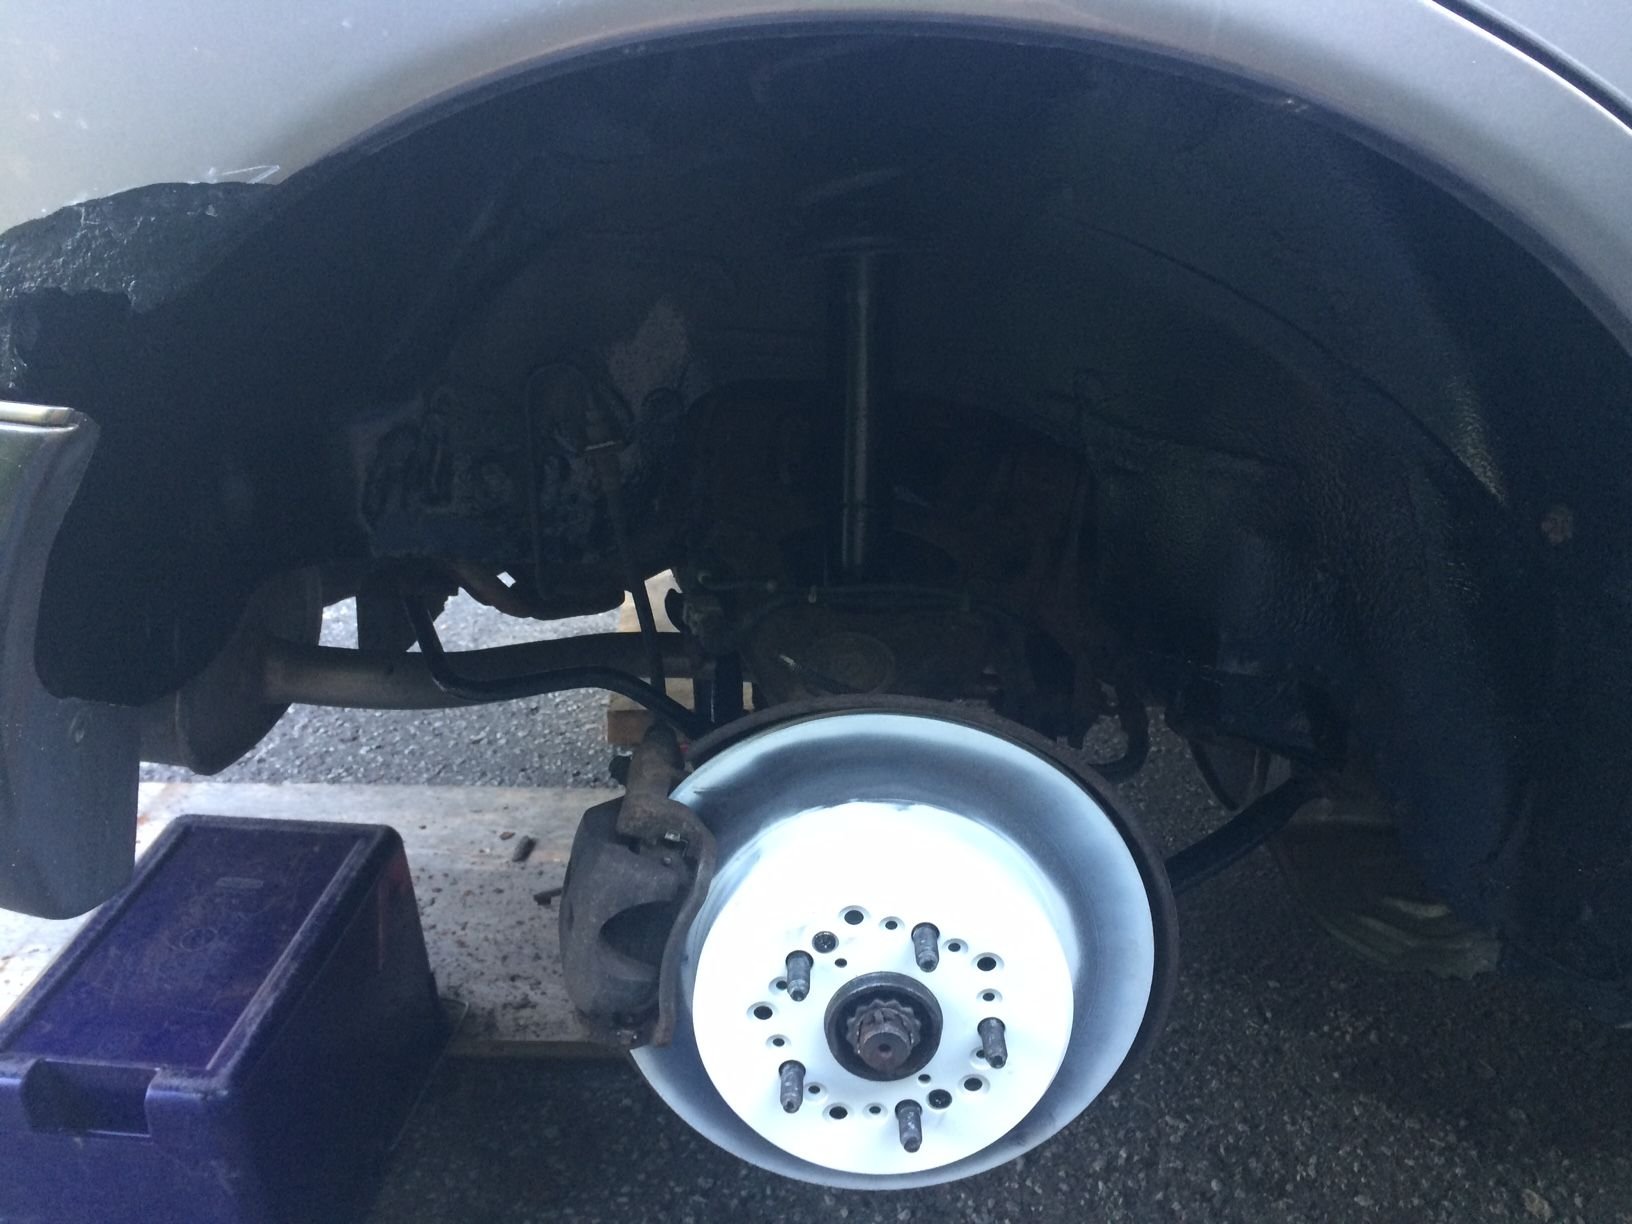
Pretty sure my rear brake is not working quite right. Seems to be holding the rotor to tightly. The brake pads are still real thick but they are clearly old.
Last edited by JohnAndic; 06-29-20 at 07:51 PM.
#124
Pole Position
#125
Mine seized up partly from corrosion after 3-4 years. I needed to scrape the brakepad support points in the caliper really clean.
I put some copper grease there also to keep it ok a bit longer. Check that the cliper pistons move easily when you are at it.
I put some copper grease there also to keep it ok a bit longer. Check that the cliper pistons move easily when you are at it.
#126
Intermediate
Thread Starter
I guess it could be the paint DS. I saw some vids where they painted it legit I tired to cover it some. I will probably tape the other ones. Thing is I wanted MAXIMUM rust protection and you get that painting the surface more and letting it wear off. I was a bit worried about getting gummed up but also. But I mean even before.
And yes Mika.. Like I mentioned to DS. Well. When the brake caliper was off the rotor the pad was not pushed in by the pressure like I have seen before. Kinda seemed as if one side of the pad just fell and the other had not moved. I wasn't quite confident enough to take the brake apart but I probably should have. Driver side will be next.
#127
Intermediate
Thread Starter

Front bumper is clipped on. Still need to get some new bolts and bolt the corners in.

Vinegar bath for the parking brake.
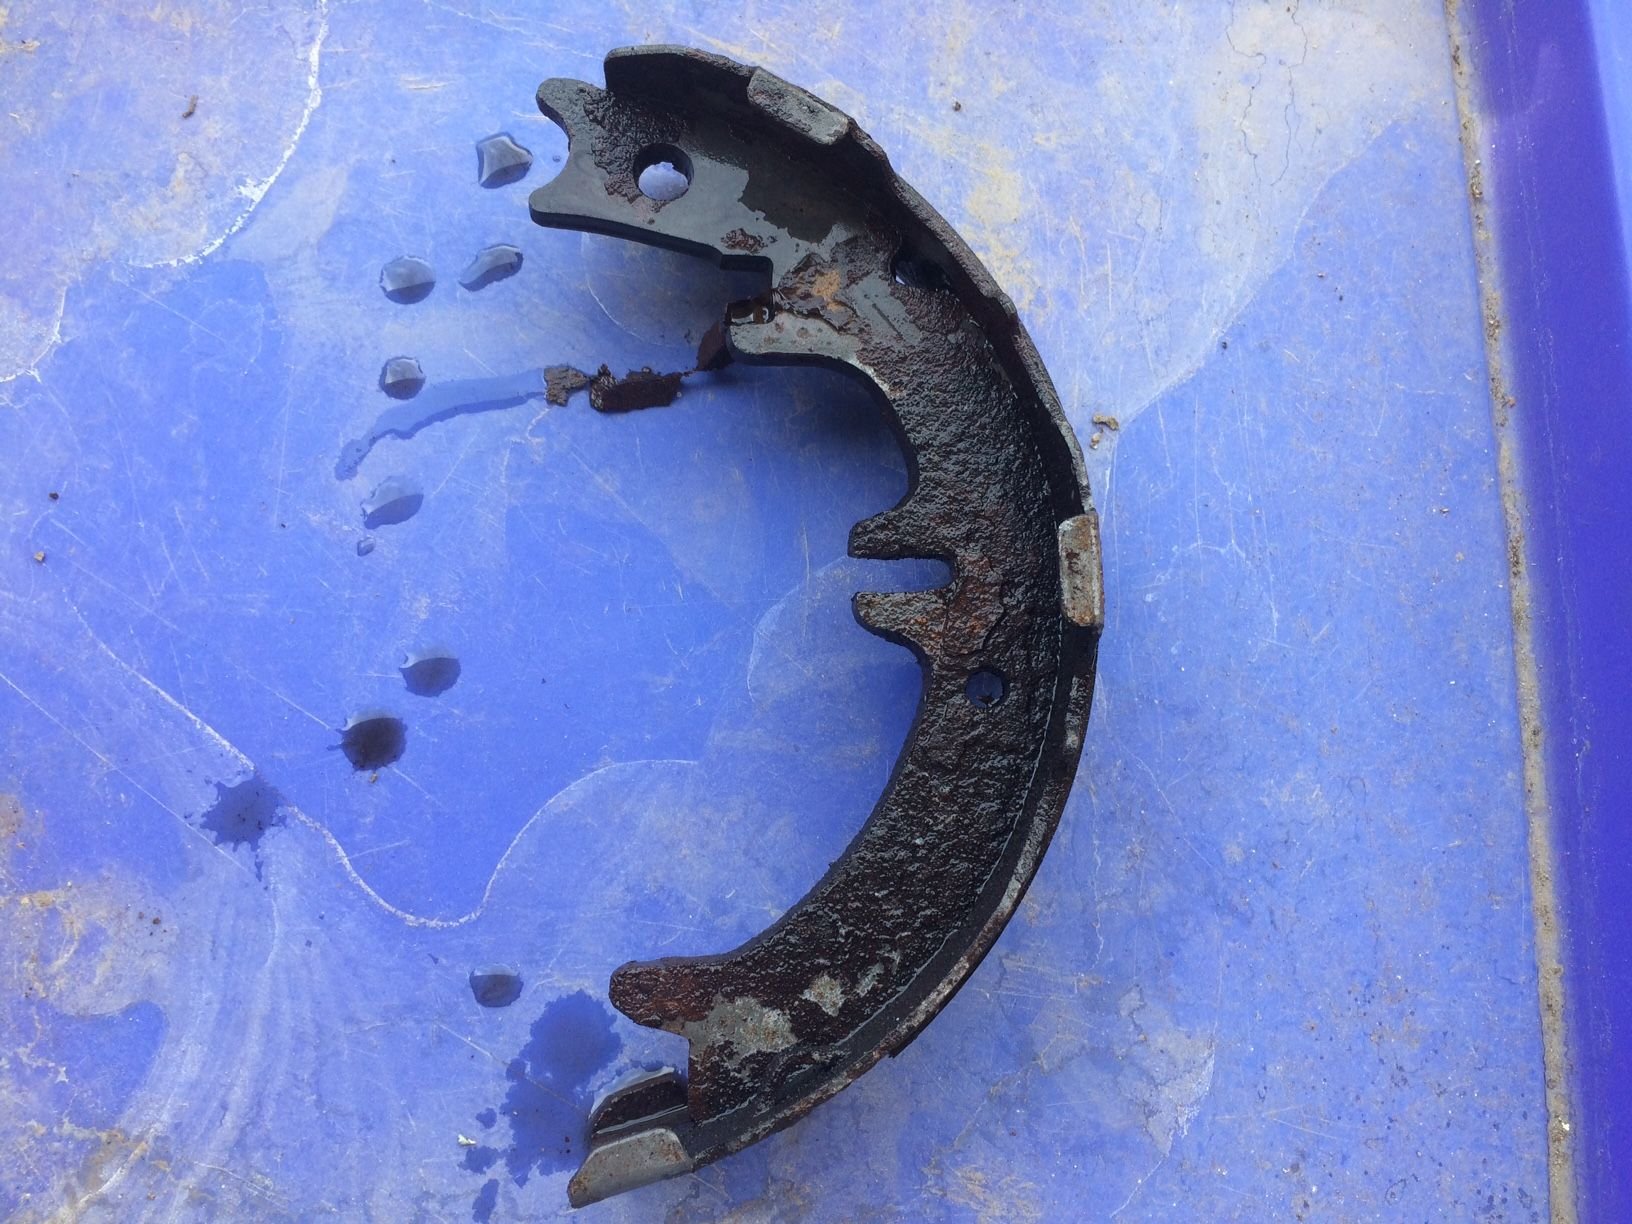
After the bath
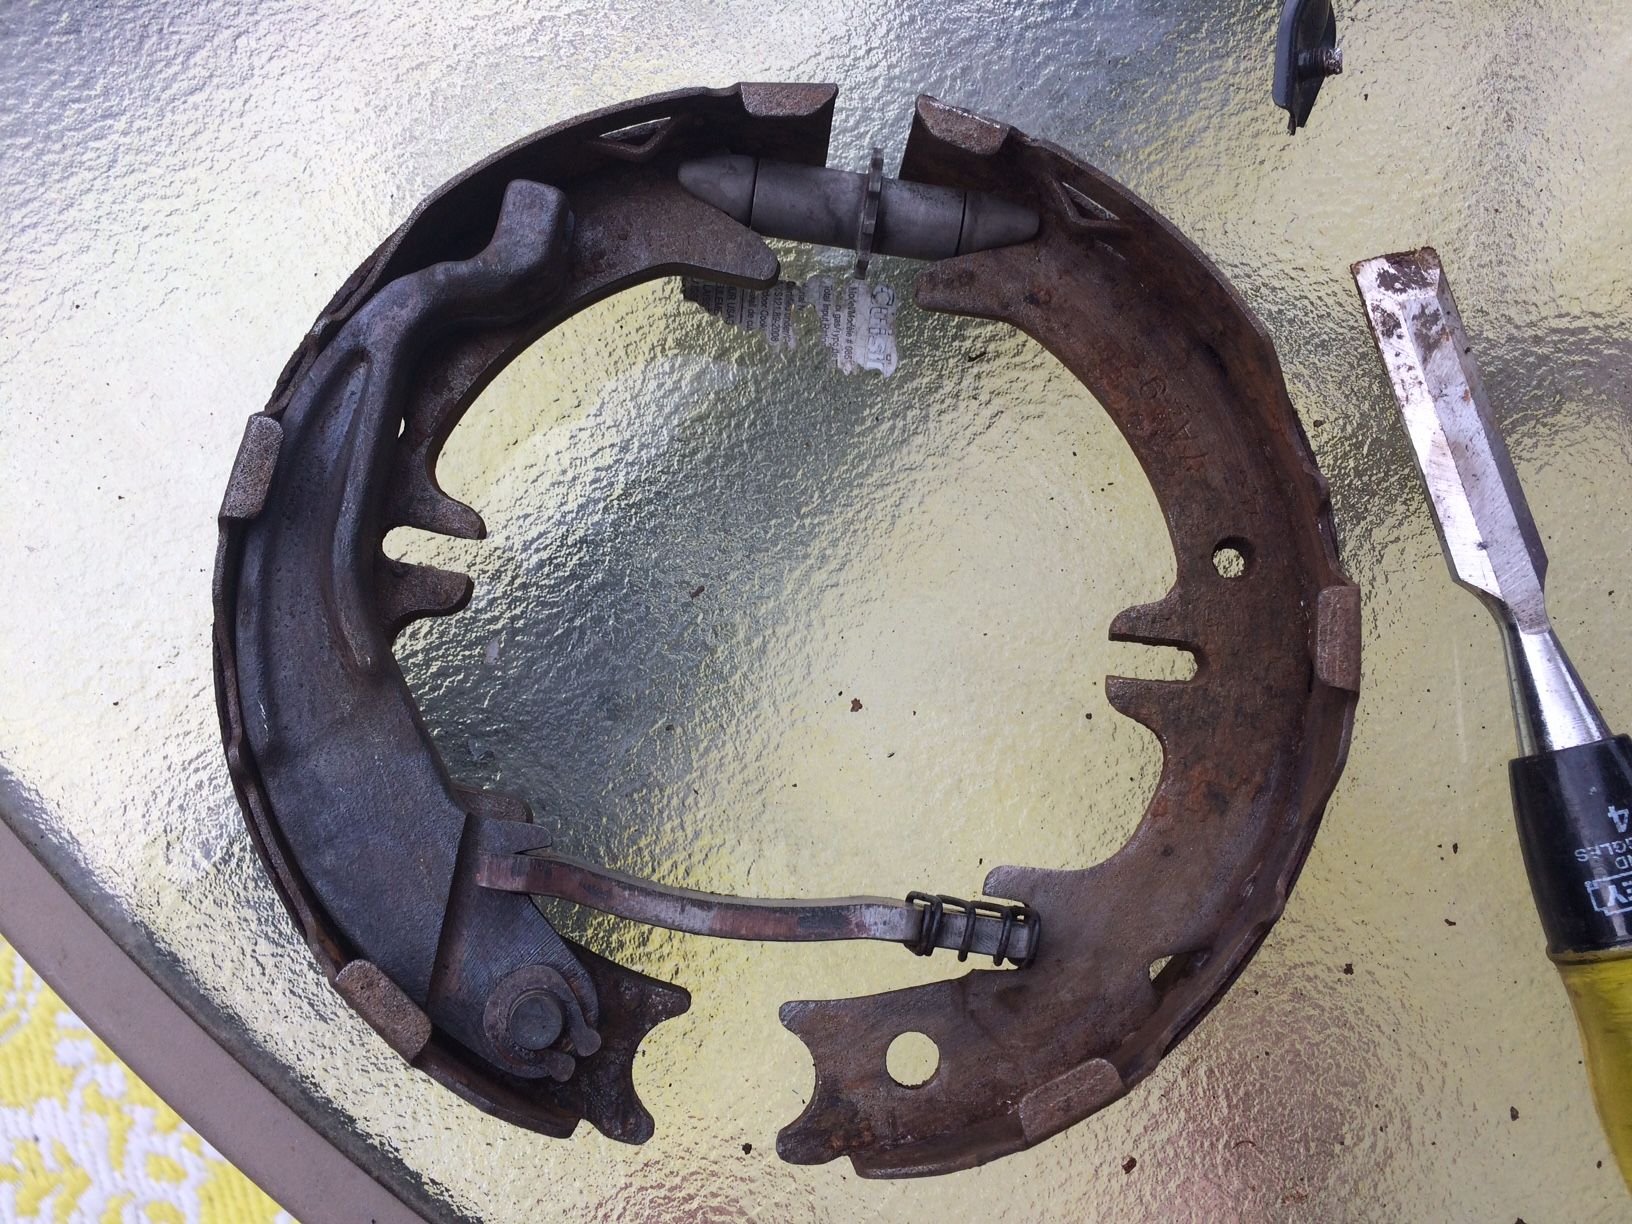
After being cleaned up. Still a bit rusty, thought about giving it a round two, but the movable parts of the brake move freely now so If I ever get it back in there it might work better.
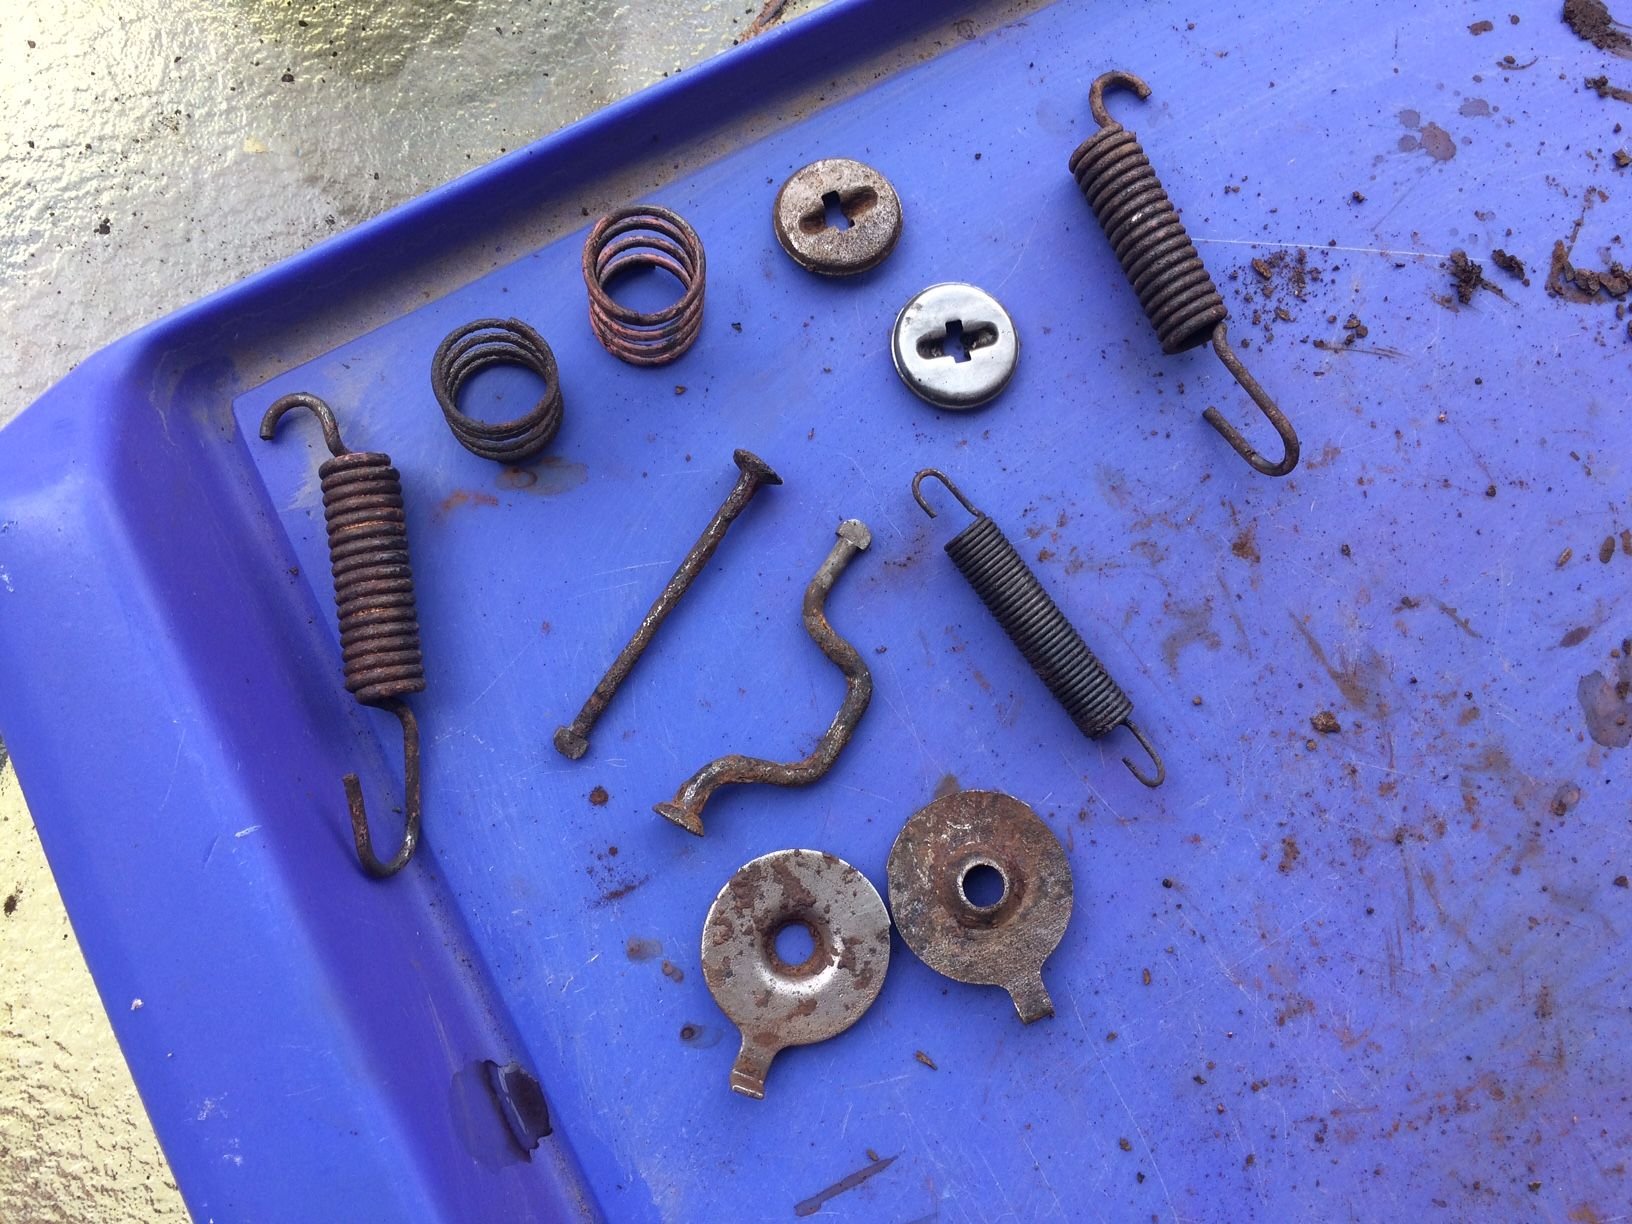
Bunch of hardware from the brake.
#128
Personally I would never consider putting old crysty parking brake parts back. New pads + hardware bits from a good maker are not at all expensive . around 35 US$
However I need to wait for them for a week or even more to get a good price.
I found that it was a very good idea to very thoroughly lubricate the end of the actuator cable and exersize it thorougly. I do not use my parking brake so much.
What I experienced which was important was that the brake otherwize did not retract well after a while and
The brake stuck sligtly sometimes and was because of this worne down in a year or so. Had to exchange the pads one more time. Worked well second time with proper lubrication.
#129
Pole Position
#130
Intermediate
Thread Starter
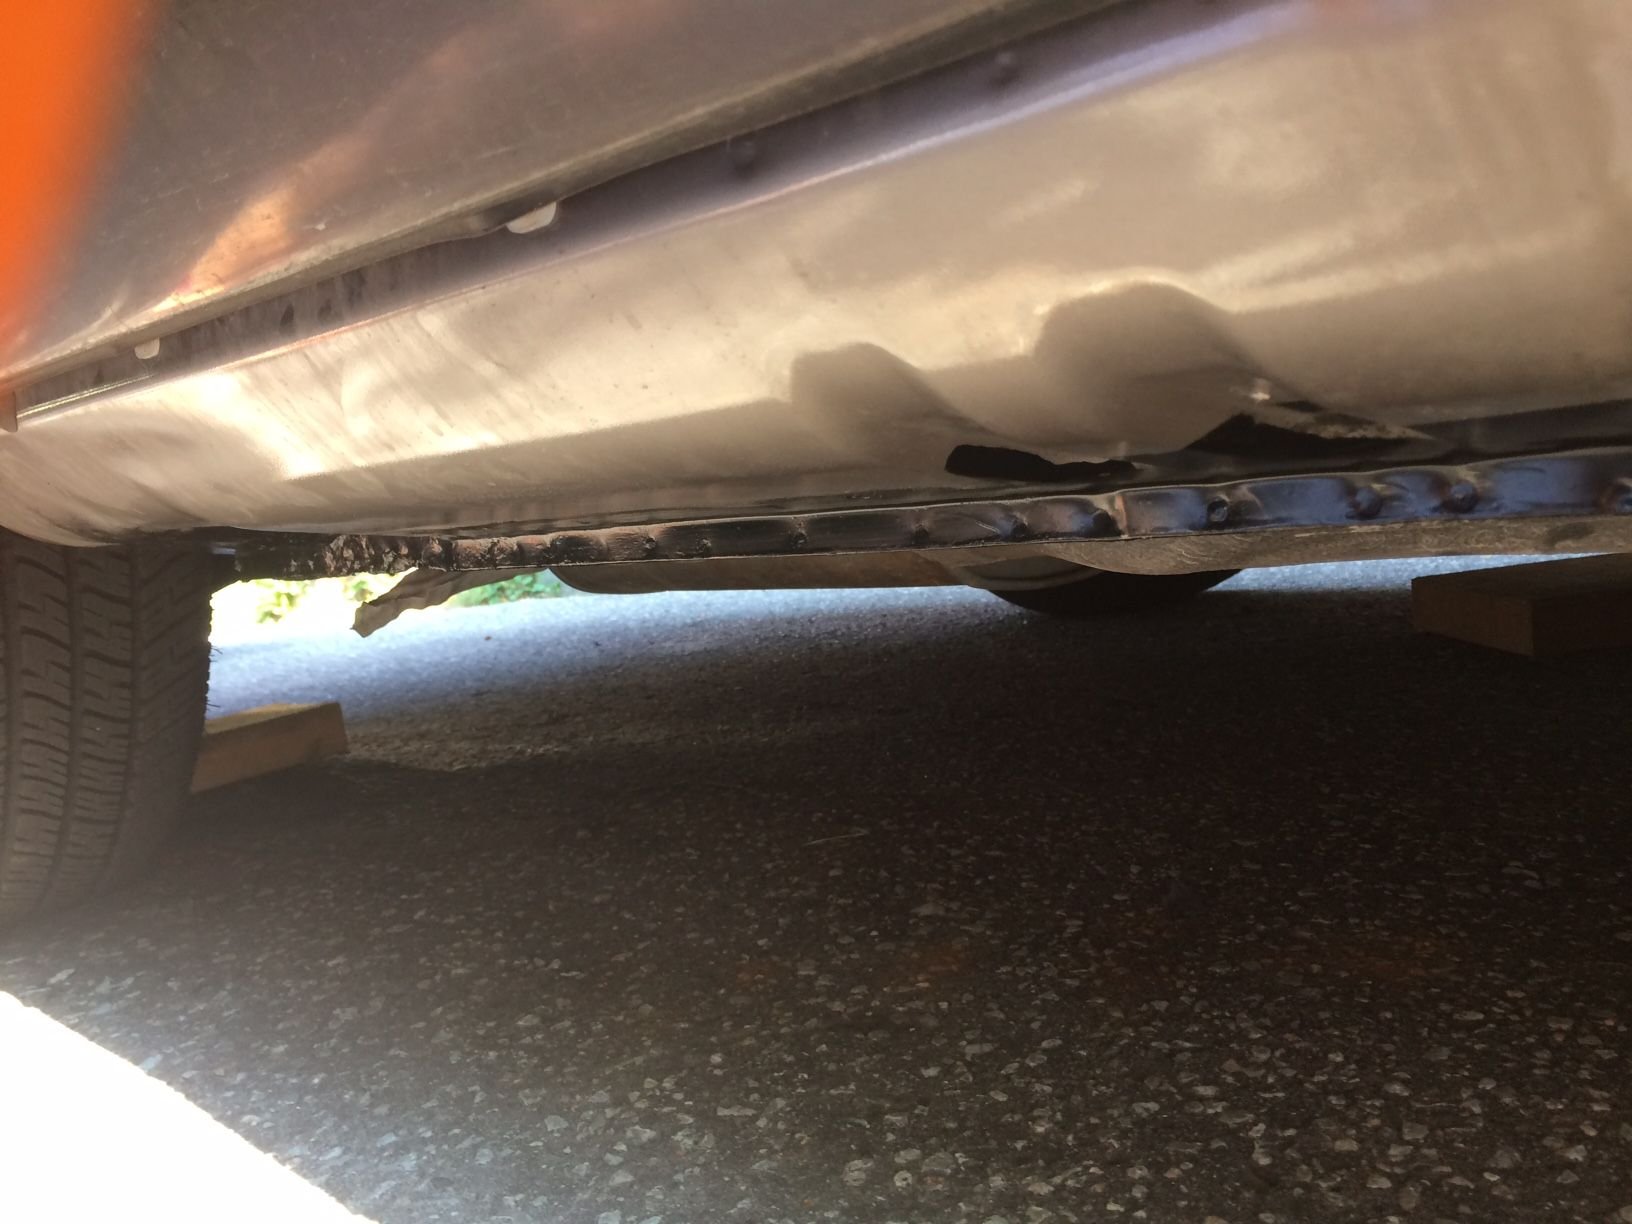
Passenger side pinch weld painted up.
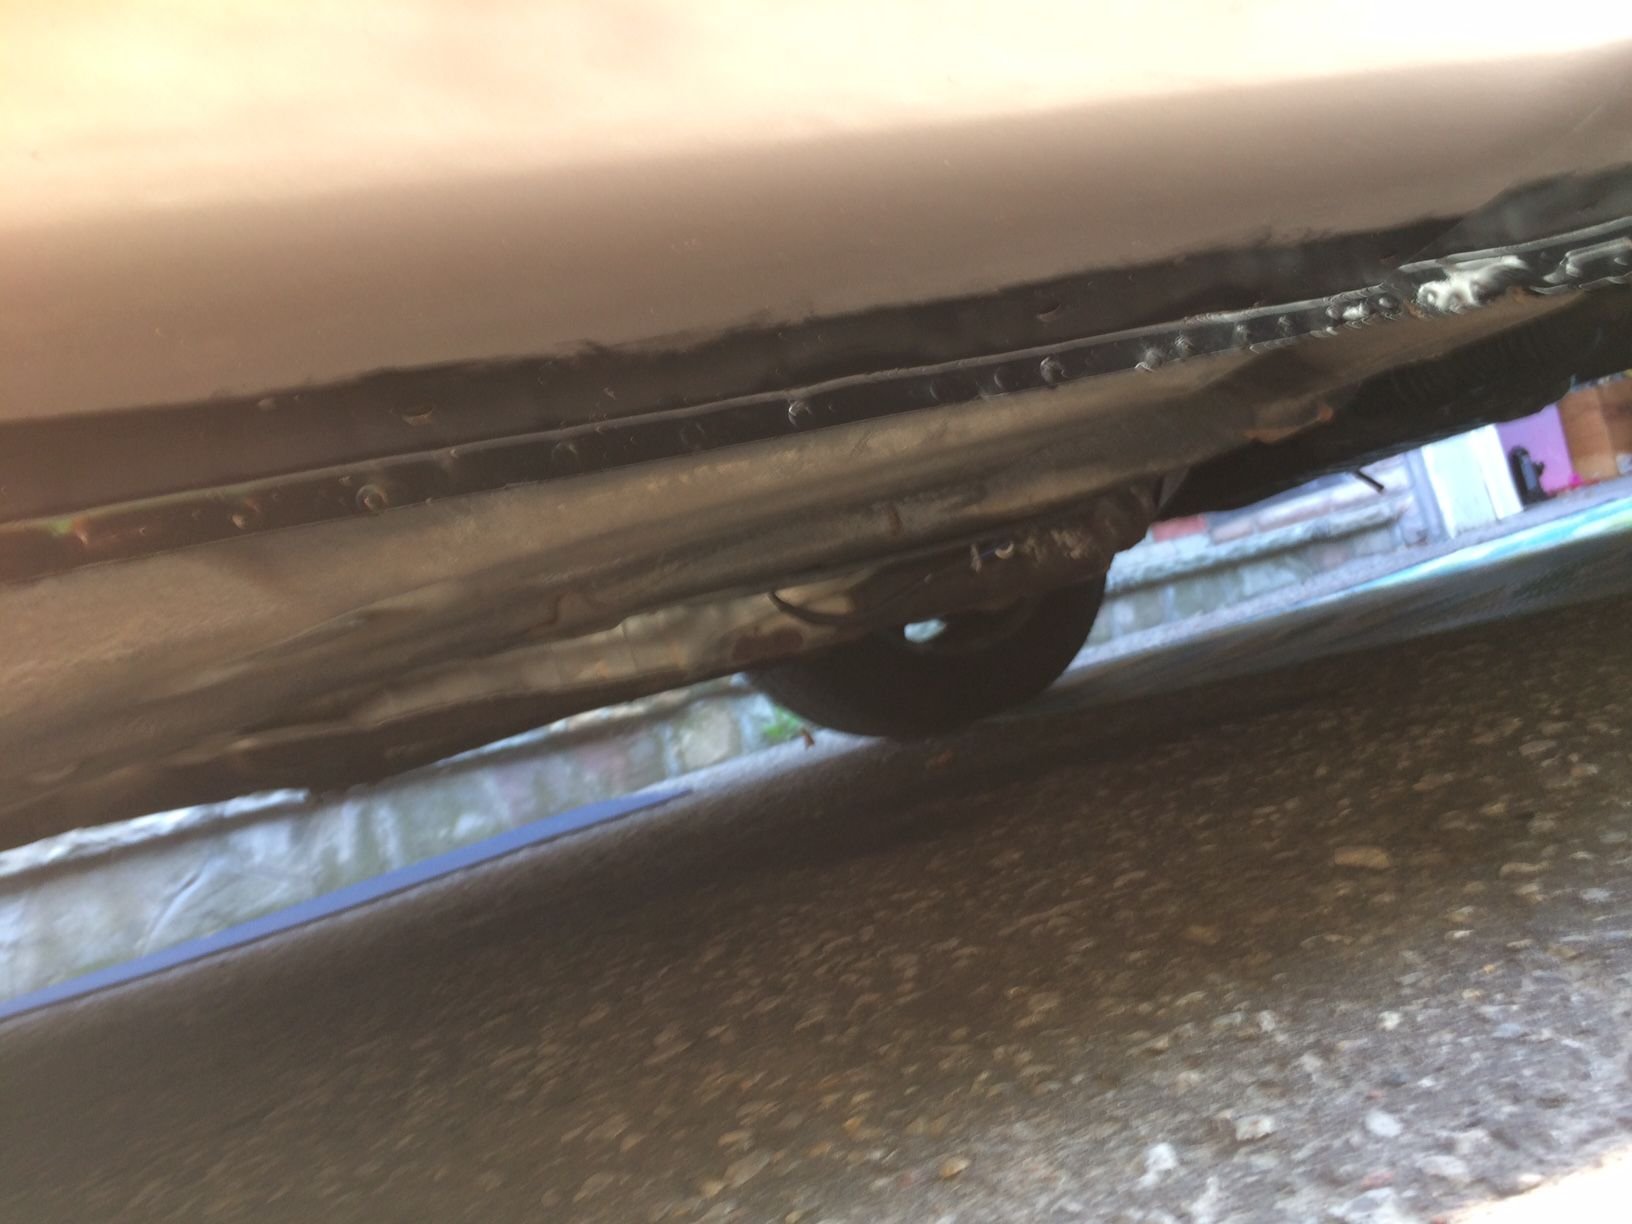

This part got kinda dirty. I will hit it again before putting the rocker panels back.
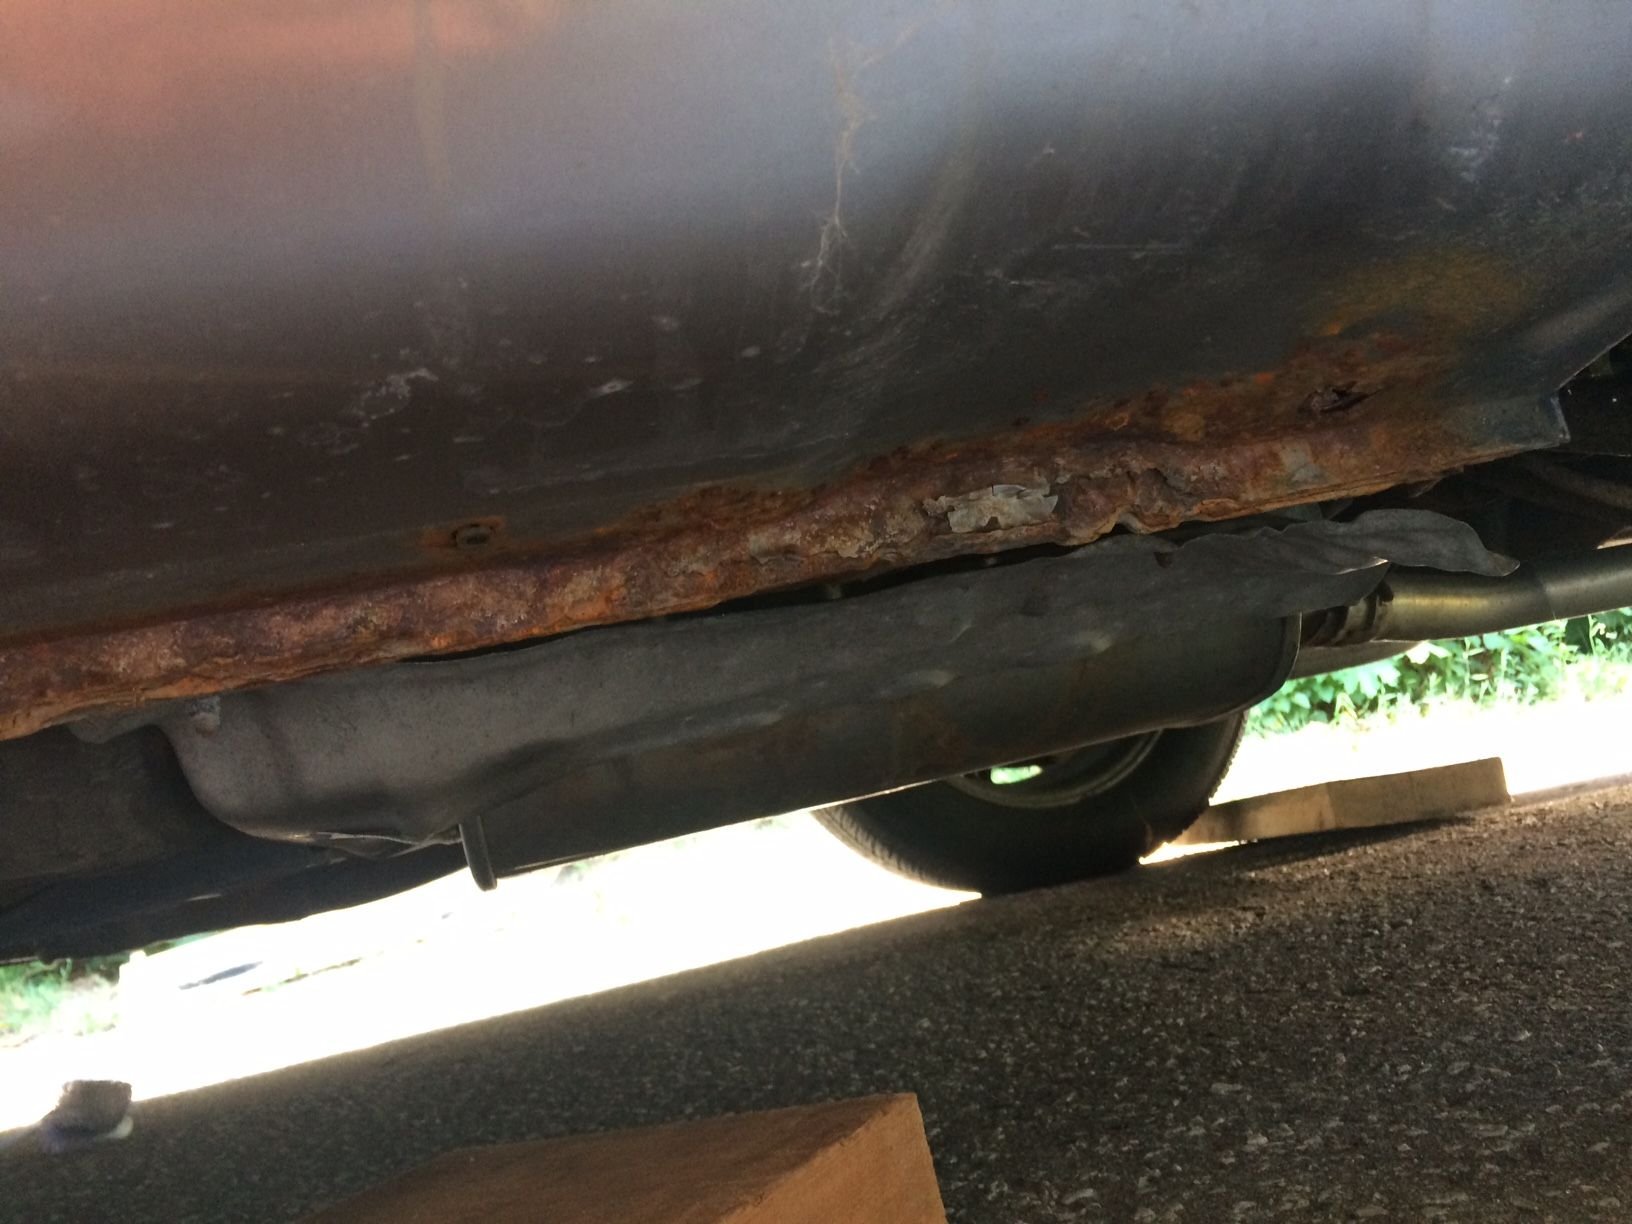
And the drivers side rocker panels off. Rear end

Front end.
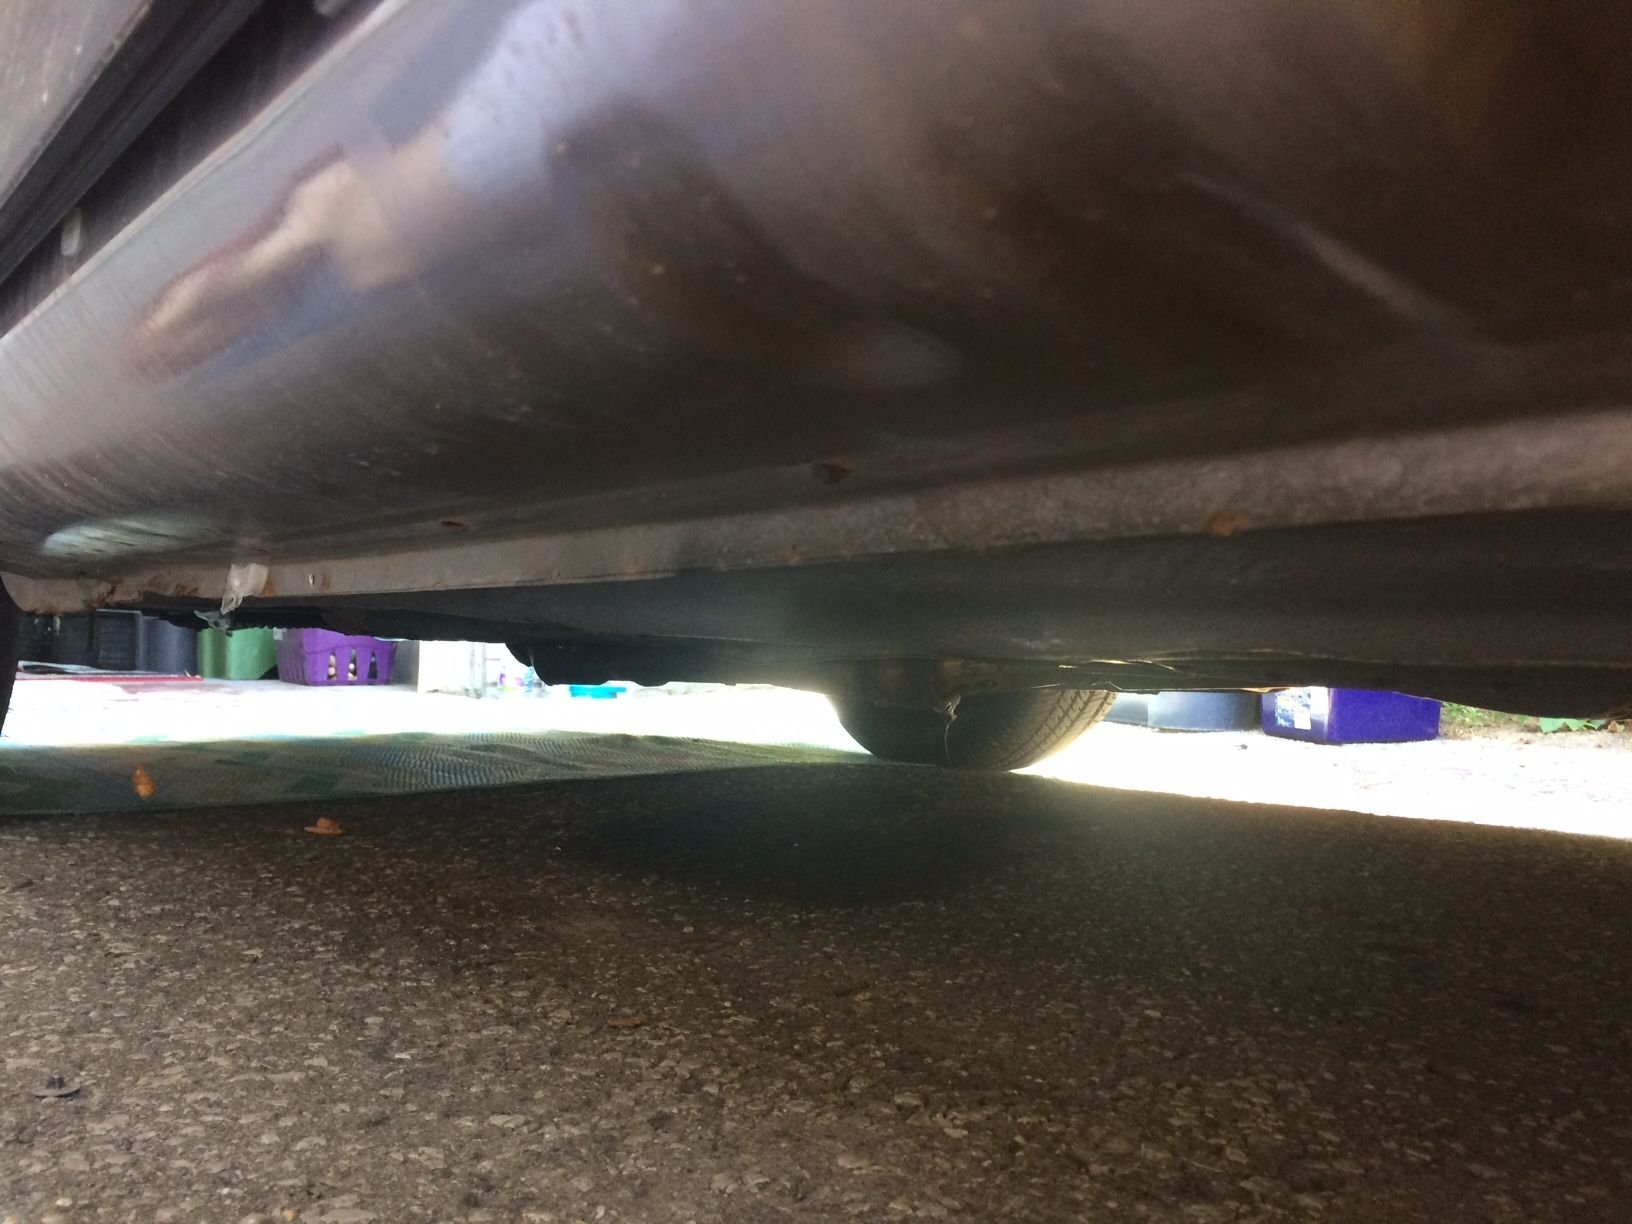
It doesn't look so bad overall. I will reshape what I can.
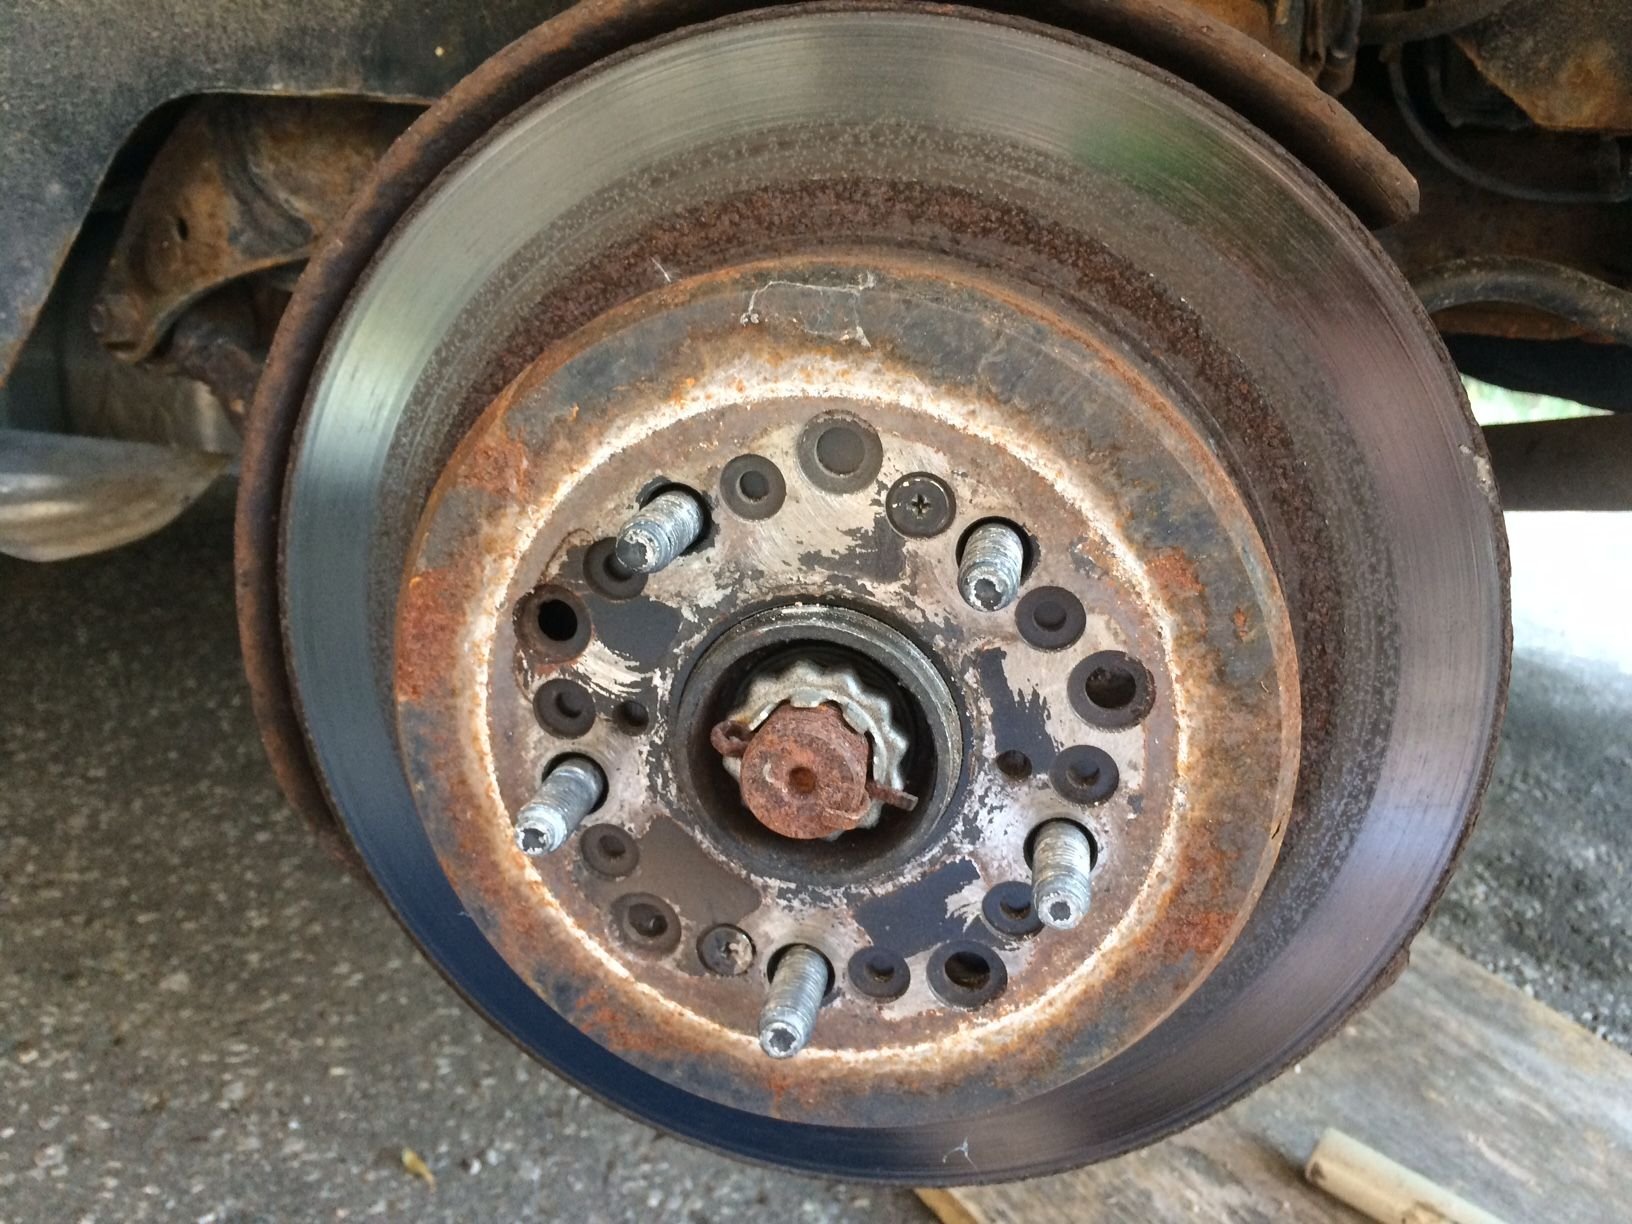
Doesn't look so bad but she was stuck on there good.
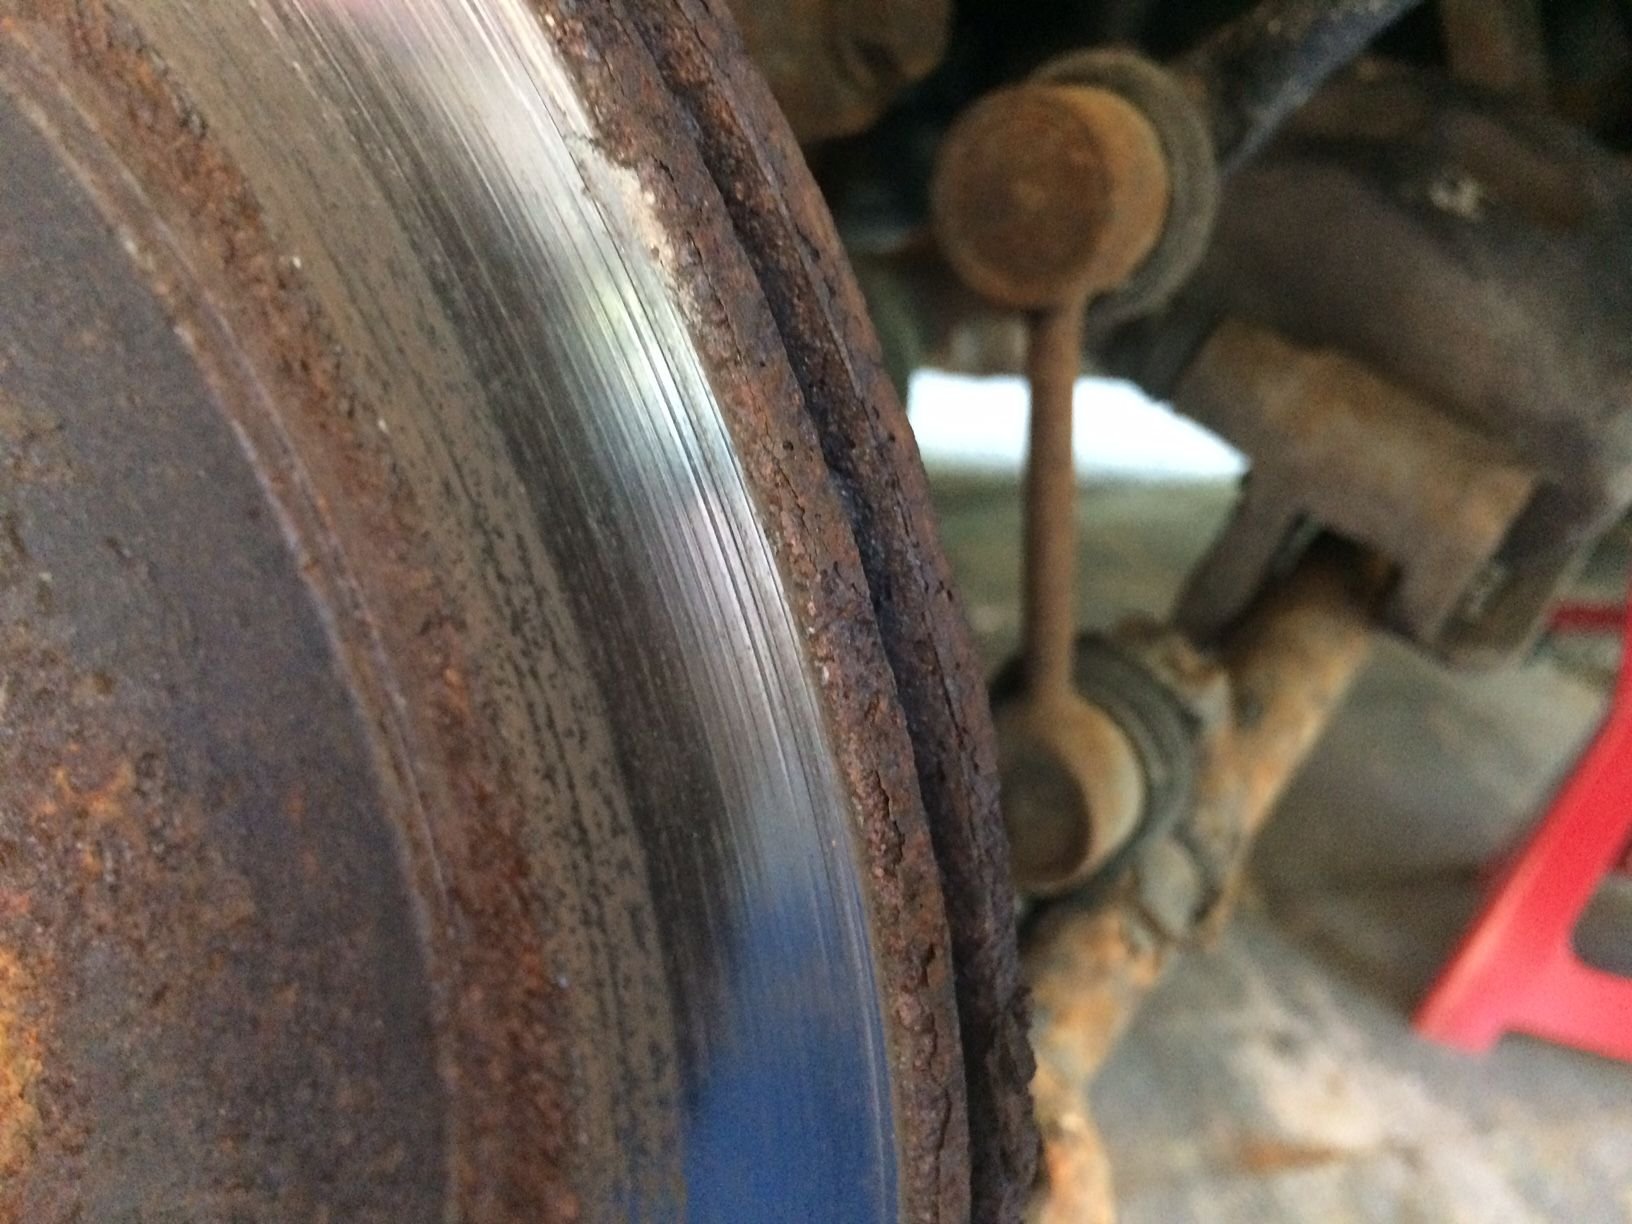
Canada.... After seeing this driver side rear brake caliper... Yea something is wrong with my passenger side for sure.
#131
Intermediate
Thread Starter
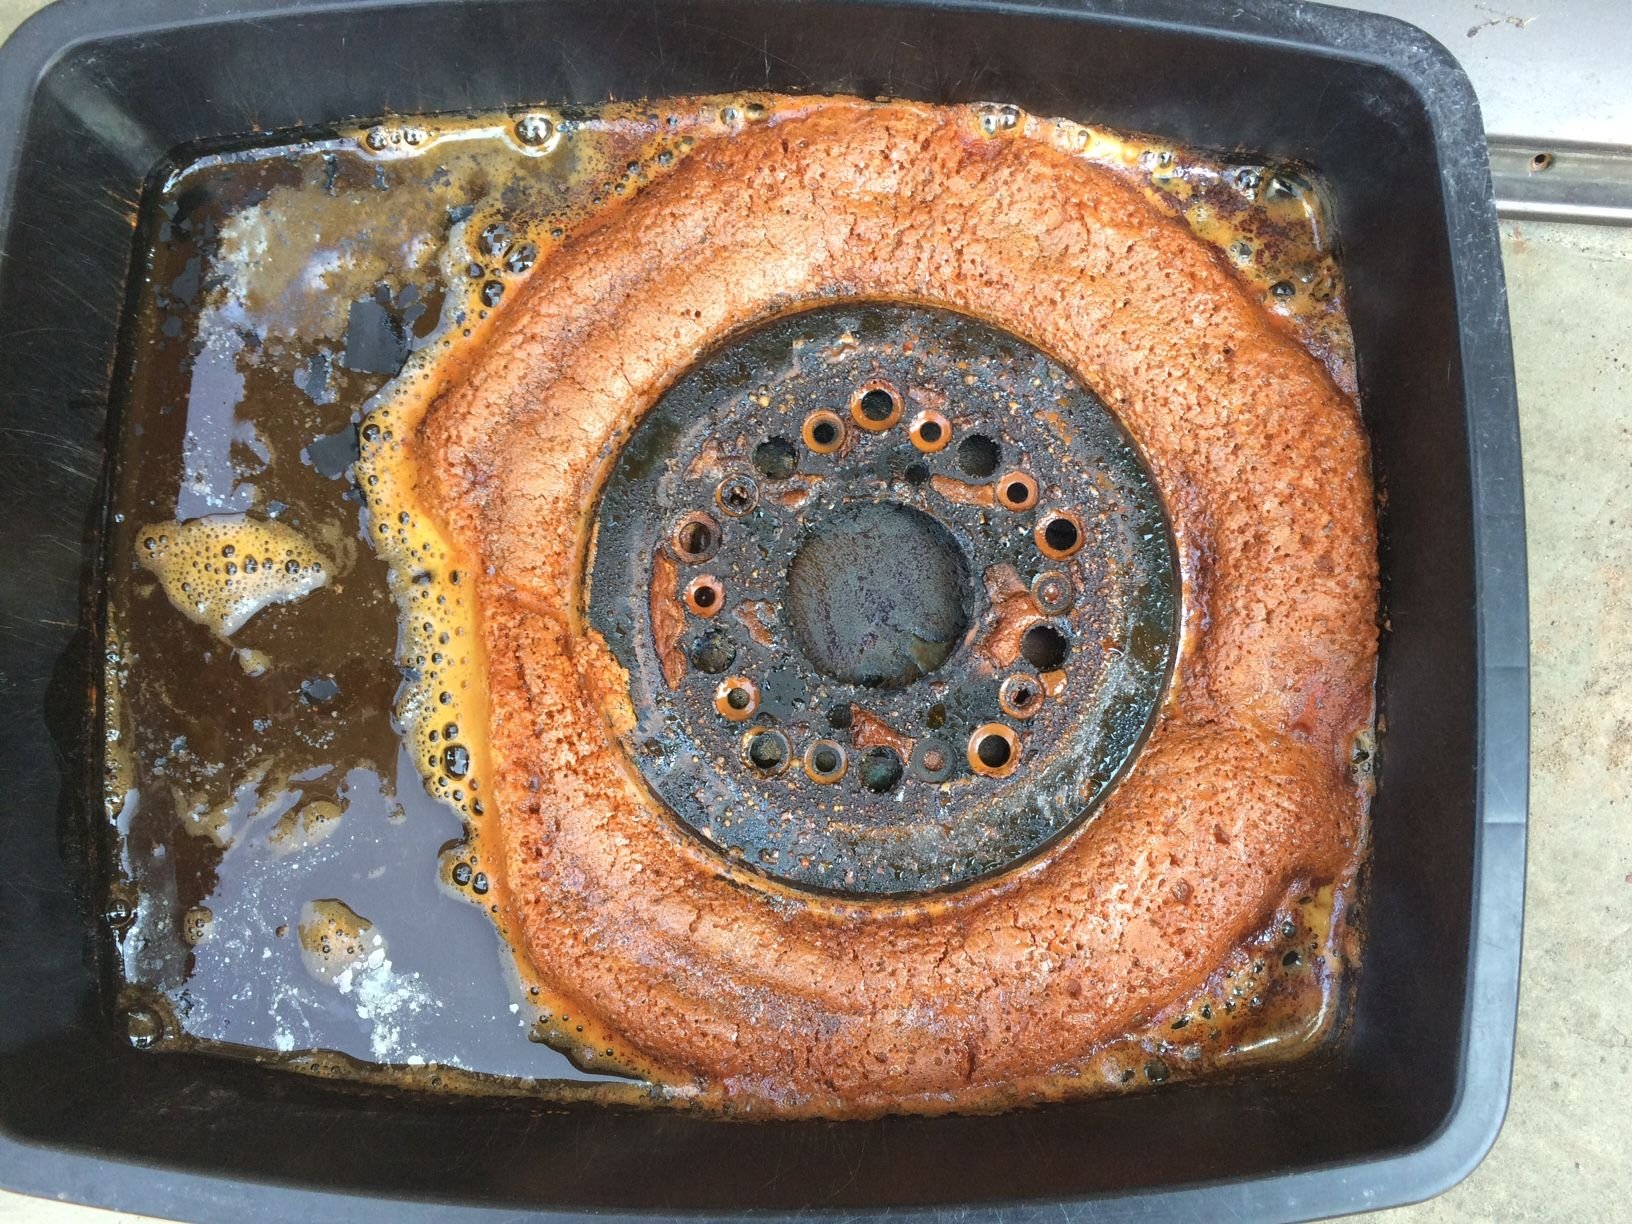
Vinegar and Rust foam soup anyone? This was after 48 hours in the bath, didn't expect this.

Does a good job with the rust, the old paint remains for the most part. After the bath it was as if the rotors were covered in a layer of sand. Rust came off way easier then only using the wire brush.
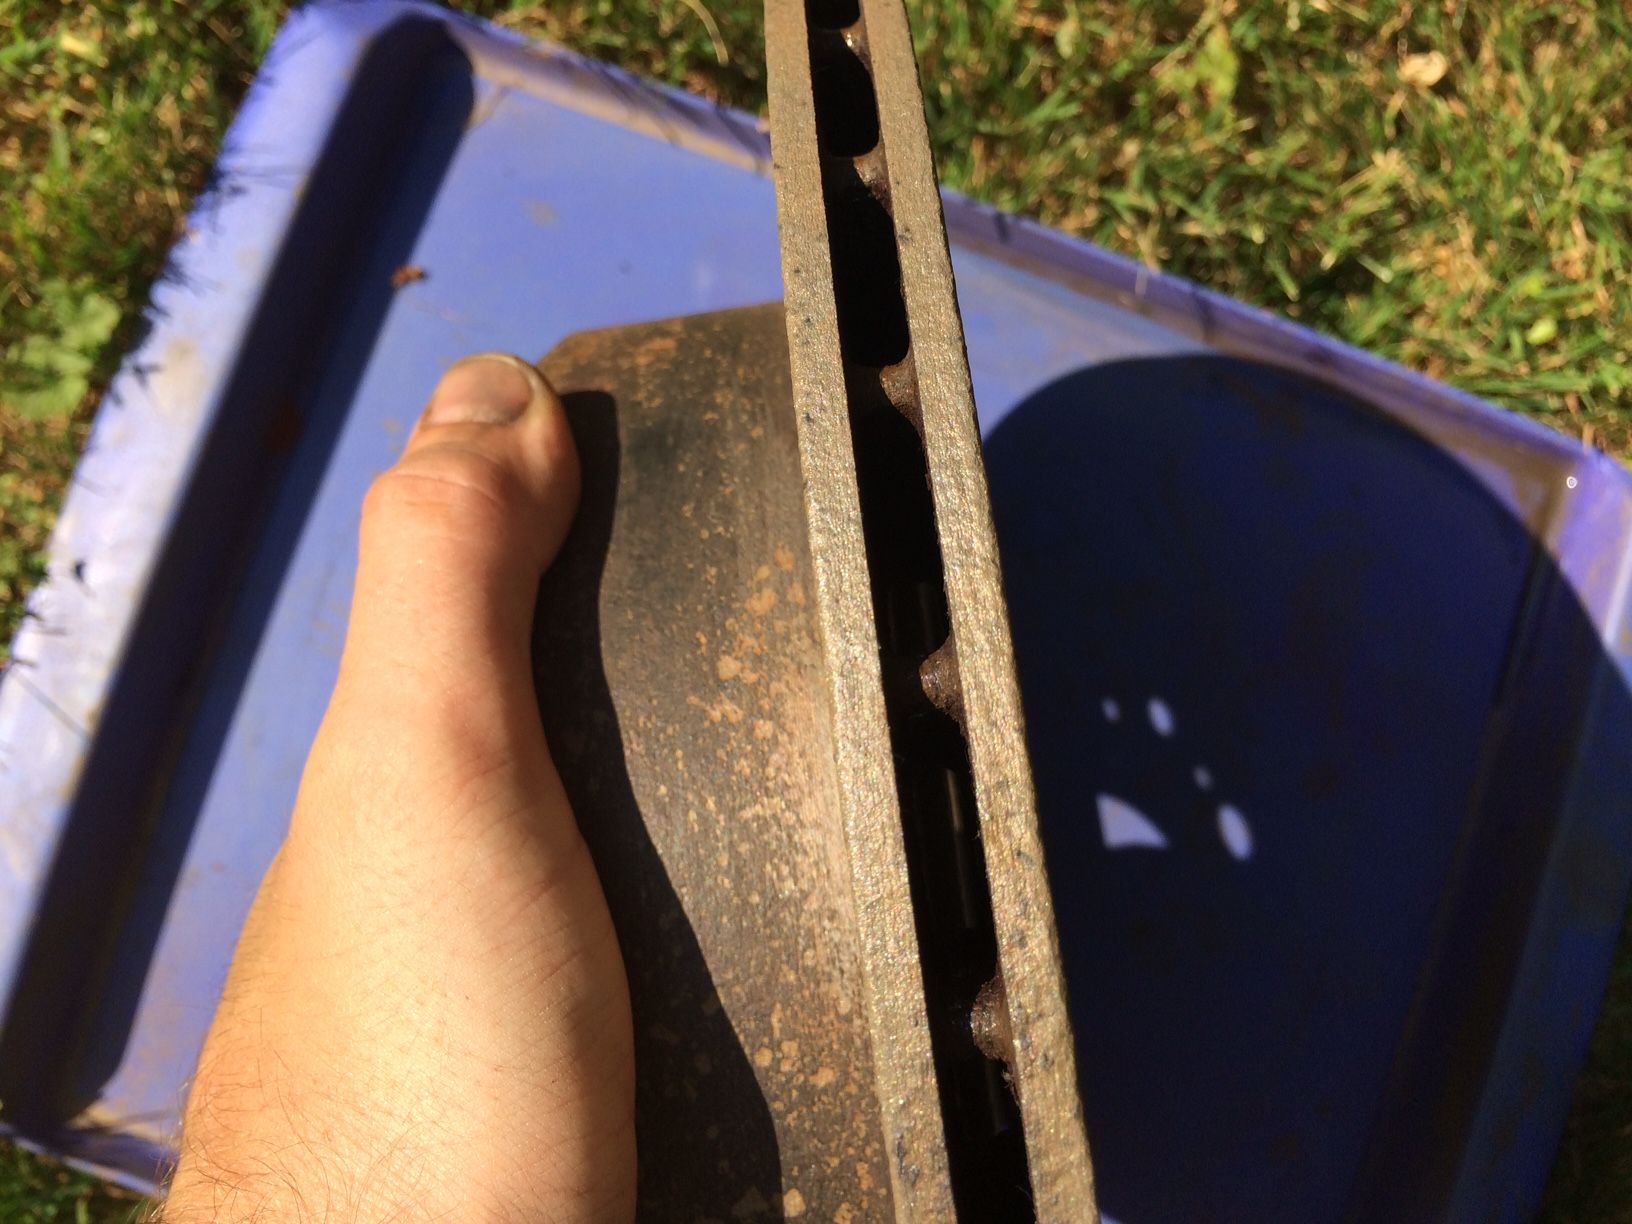
Didn't expect the edges to come out so clean.
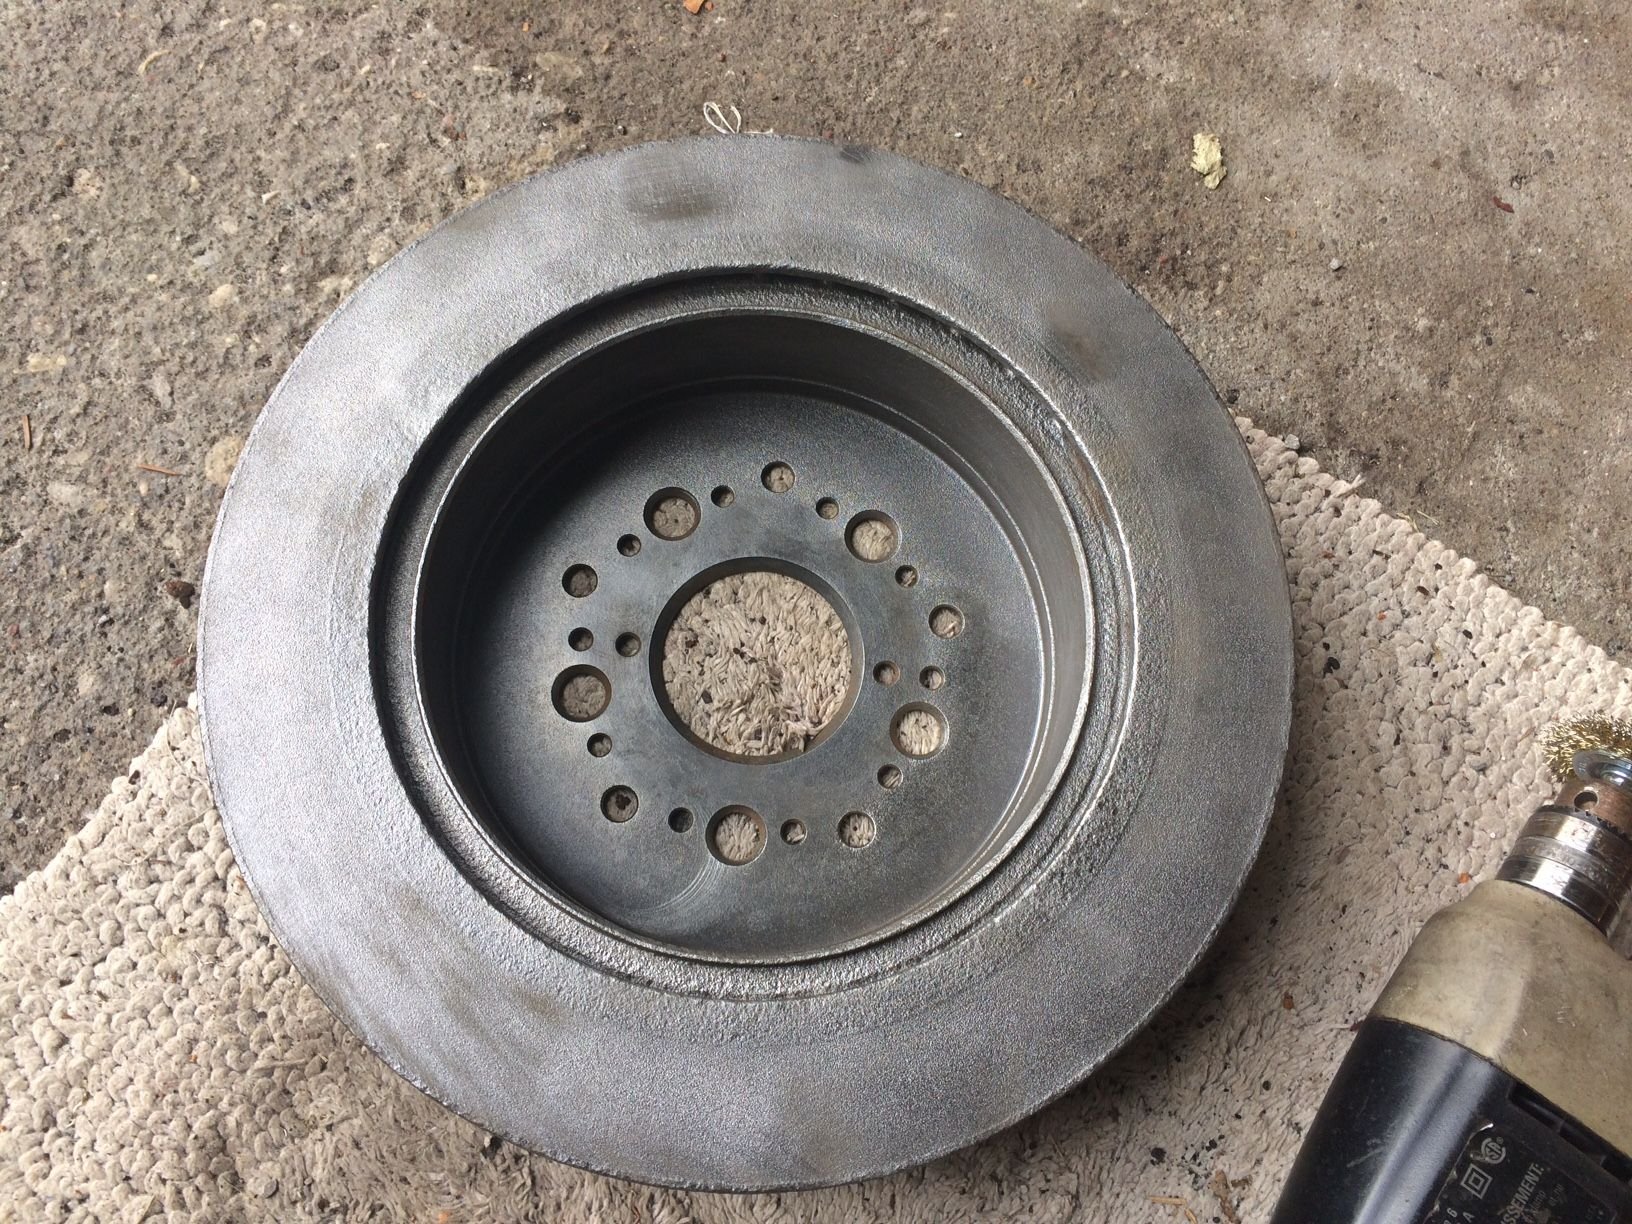
After the wire brush.
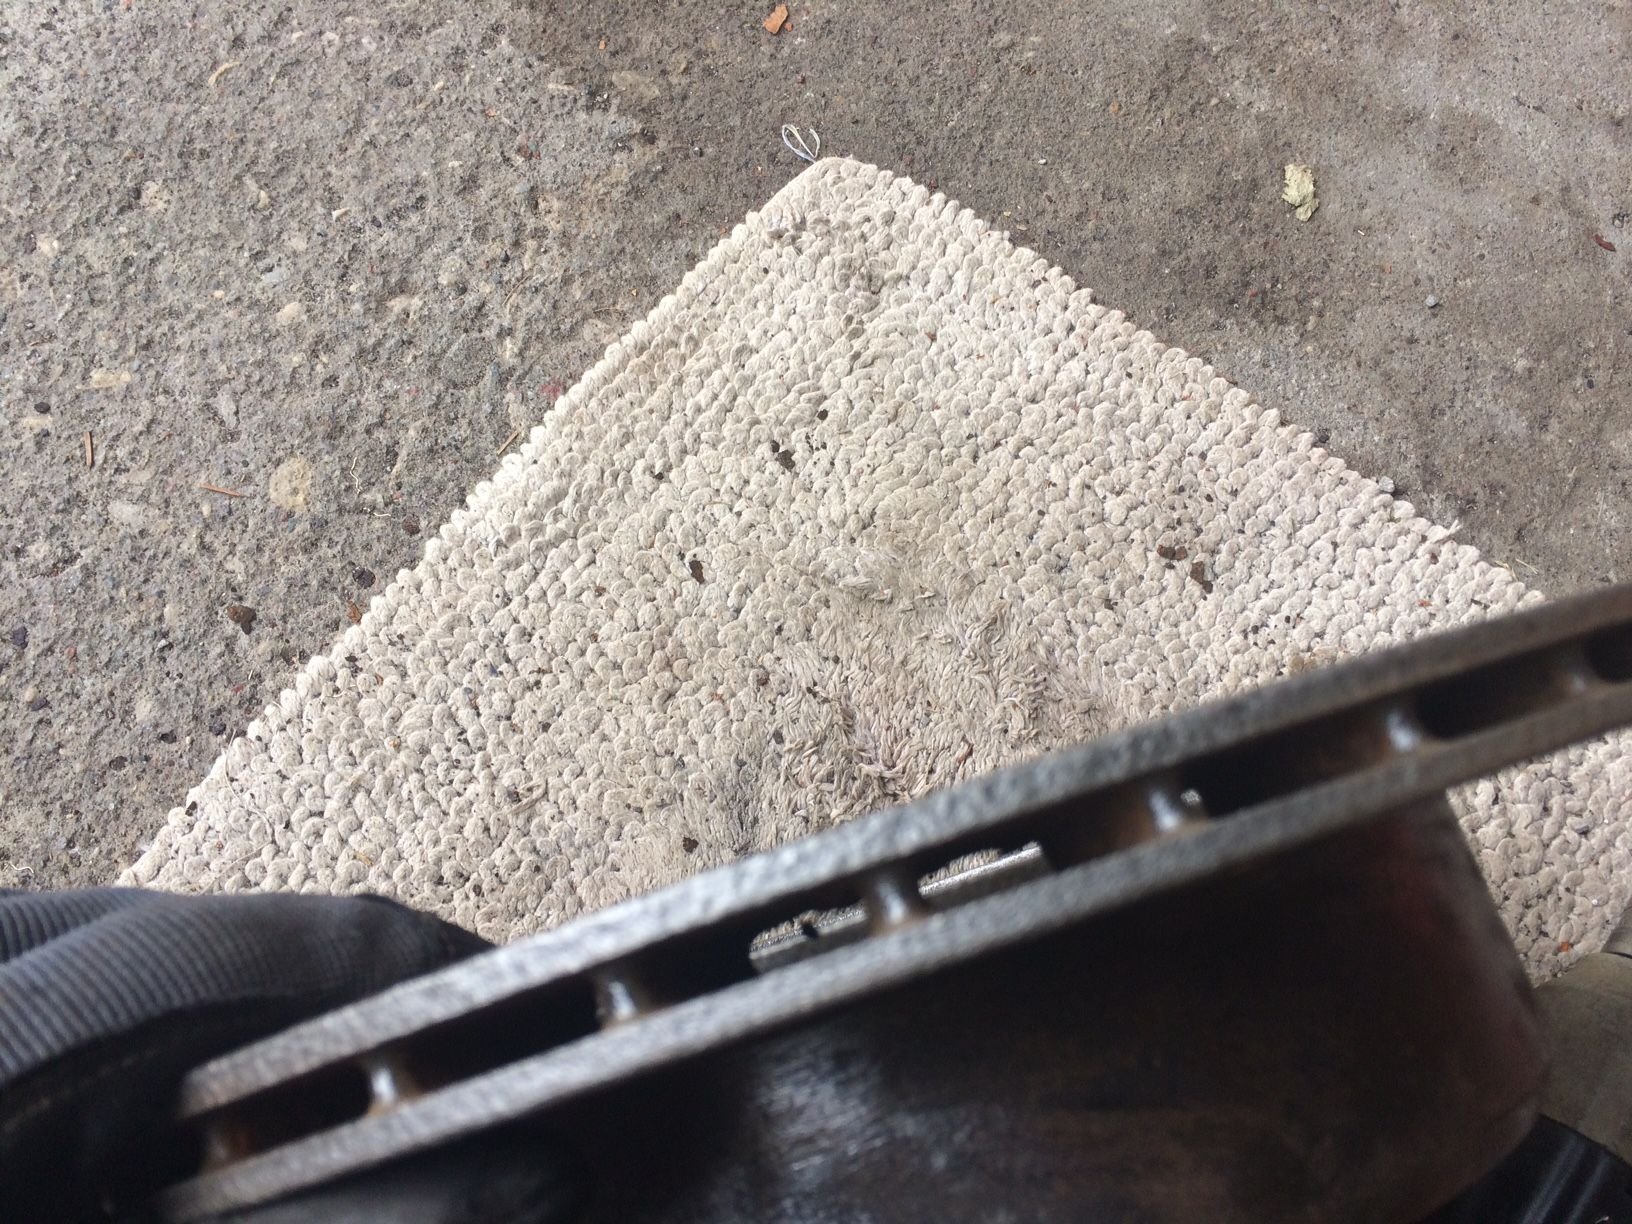
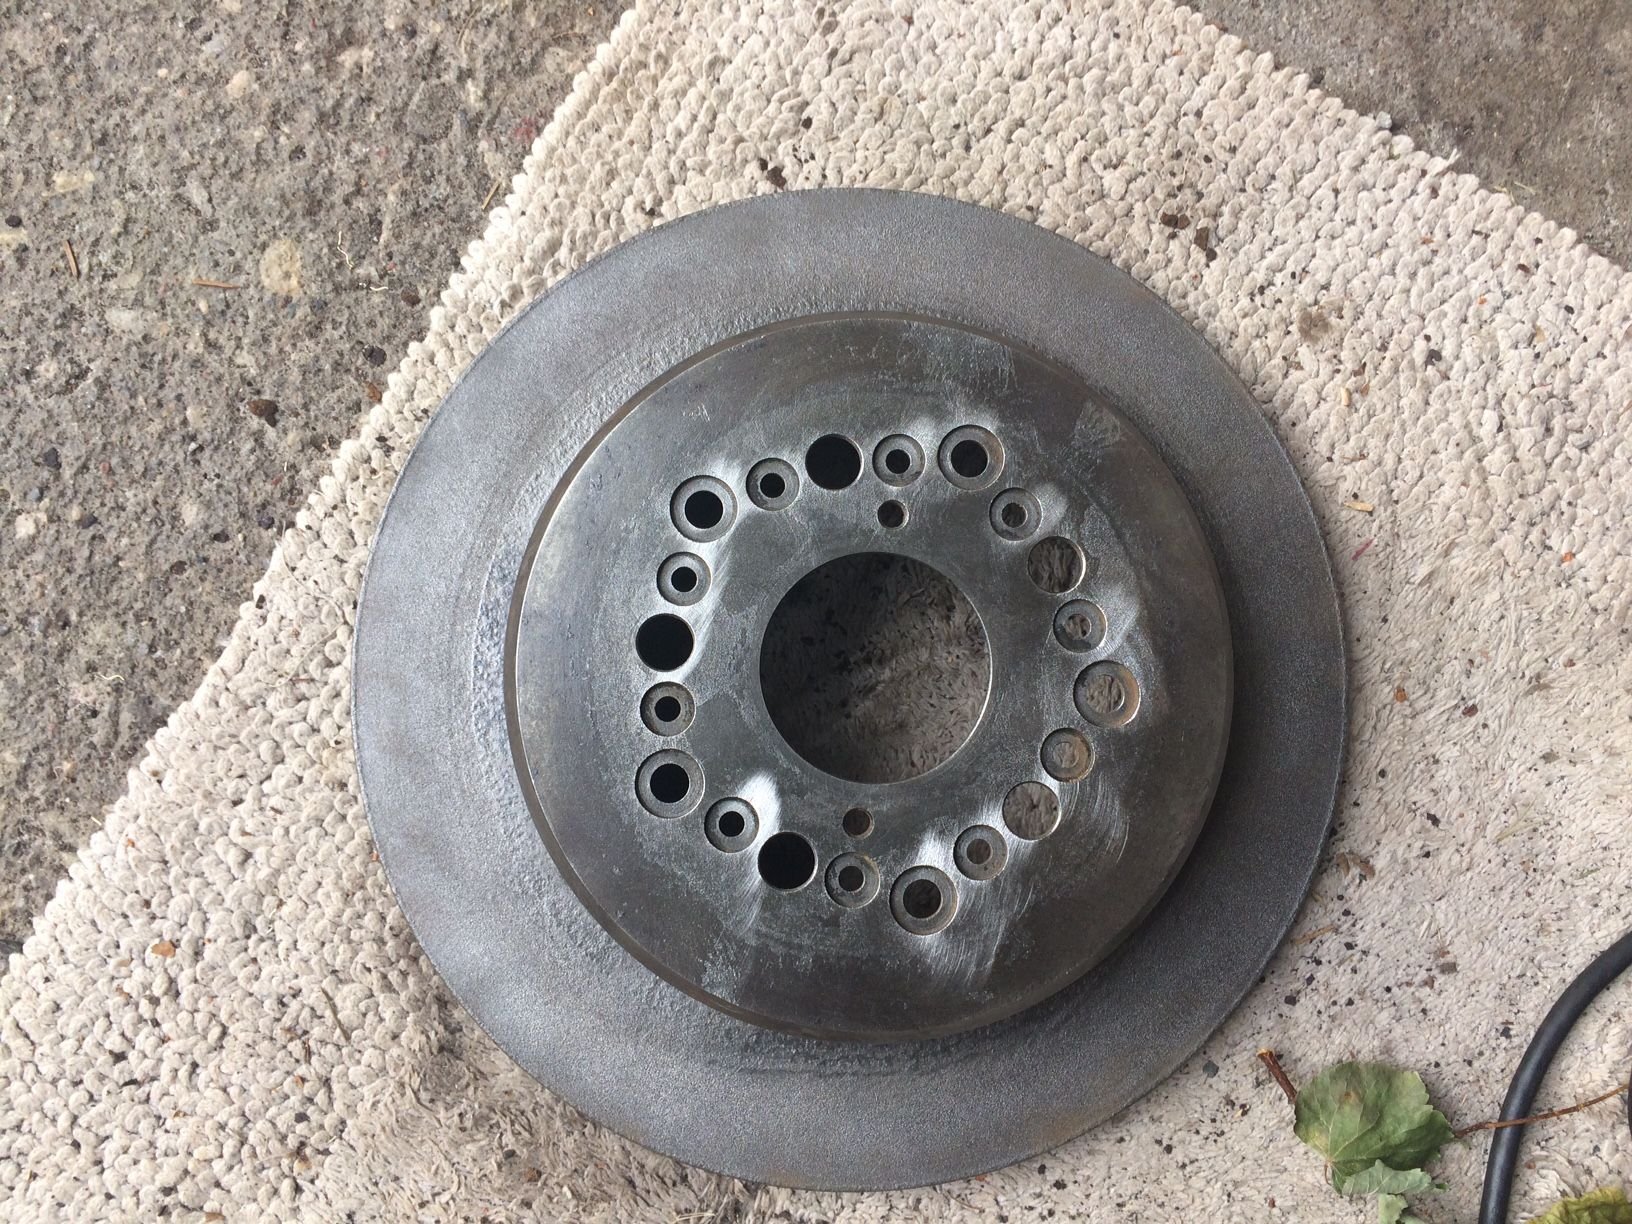
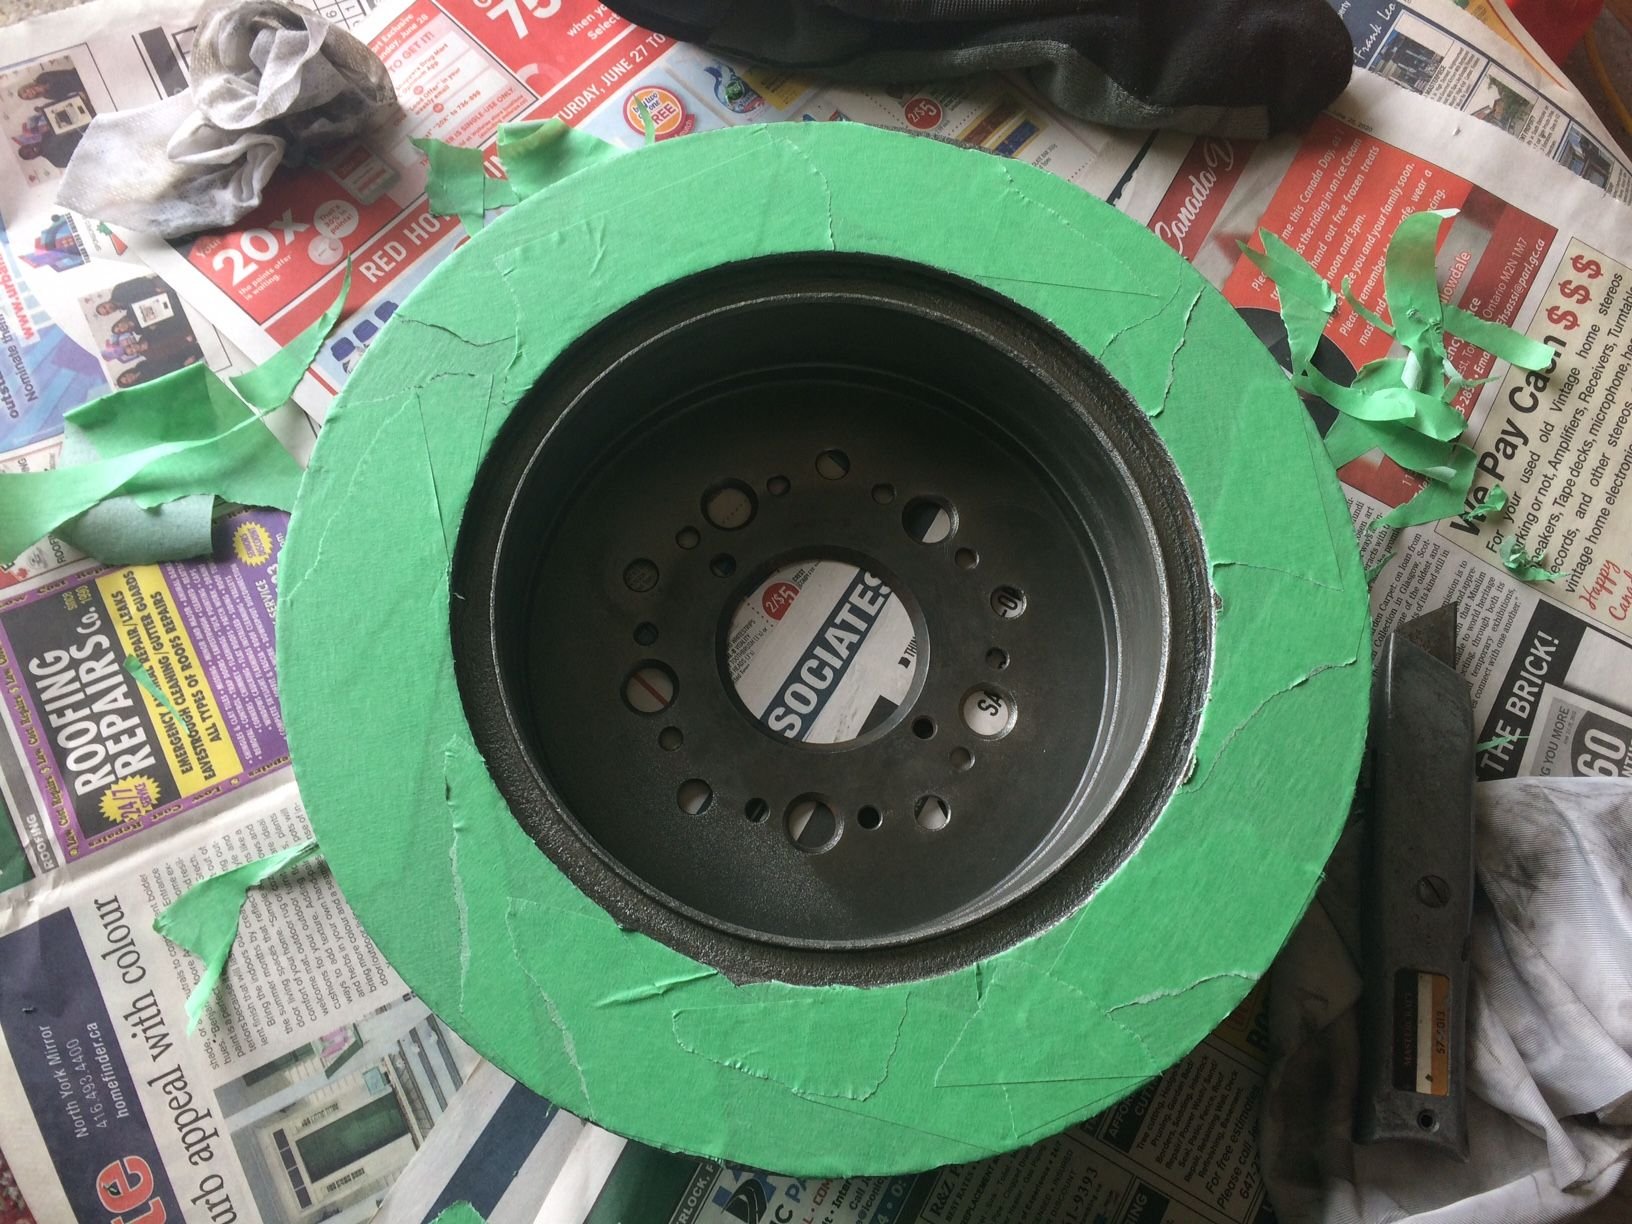
Taped up this time sharky.

That is white enough.

I bought 3 sets of these automotive body bolts for getting the bumper back on. Will be attempted soon. I took a look recently might not be as difficult as I have been thinking.
Last edited by JohnAndic; 07-11-20 at 08:18 PM.
Thread
Thread Starter
Forum
Replies
Last Post
motorscape
LS - 1st and 2nd Gen (1990-2000)
7
07-12-12 06:07 PM
FinnLS
LS - 1st and 2nd Gen (1990-2000)
8
08-24-07 06:25 PM


 Projects like this are good learning experiences. Appreciate seeing some of the innards of this restoration.
