When you click on links to various merchants on this site and make a purchase, this can result in this site earning a commission. Affiliate programs and affiliations include, but are not limited to, the eBay Partner Network.
YODA many of the mod write-ups you submit could be great, but without application (LS400) specific data they are basically incomplete assumptions.
No one is arguing the fact that two 90 degree bends would impede flow. We don't need a diagram to understand that. The question is how much? The LS is one of the most beautifully engineered cars ever produced and the cooling system is by no means lacking. So the real question here is DOES THE 430 HOSE PROVIDE A 2% INCREASE OR A 20% INCREASE? This is a simple mod so there's not much at stake. Readers need to know a mod will actually make a discernible difference before they spend money on a part and commit to the labor involved. Cost vs Benefit is normally a simple equation.
You said "Let the physics guide you", physics with only generic data assumptions, not specific to the application, is not necessarily valid science.
I won't apologize for being so critical because discerning readers are expecting more than "This is better BECAUSE I SAID SO..."
There are quite a few posts submitted by the author and the responses gloss over the fact the O.E.M. made the same improvement on subsequent model years, so at least eliminates: "why didn't the manufacturer do it ?".
Even if testing was practical in this case, it wouldn't be accepted.
You recall the intake extrude hone project with before and after professional dyno results that were painted inaccurate by certain individuals so if I feel the physics suggests improvement then will present the project.
I understand Yamae is or was affiliated with Toyota engineering and lives in Japan. Let's wait and see whether he is able to obtain any information you seek.
Meanwhile, will complete the remainder of the project which consists of better aligning the fan blades within the venturi of the radiator shroud.
I trust no one questions the physics of that...and no, am not gonna provide before and after testing here either, but observe the original (U.S. model variant) design presents an example of what not to do from an airflow efficiency perspective...generated airflow however, must be directed.
Doesn't the long plastic intake that covers the radiator and fan act as a shroud to isolate the air flow with the factory fan? It hugs the fan blade profile pretty tightly when installed.
I haven't checked, but I think its molded underneath for this purpose, right?
Doesn't the long plastic intake that covers the radiator and fan act as a shroud to isolate the air flow with the factory fan? It hugs the fan blade profile pretty tightly when installed.
I haven't checked, but I think its molded underneath for this purpose, right?
It is a combination air inlet "ram air" box and top (4th) side for airflow "ducting" flowing into the engine from the hood grille.
Its bottom side clears the top of the radiator shroud , but does not encircle the shroud venturi.
Moreover, it has little or no effect on how the blades draw (suck) air through inside of the shroud.
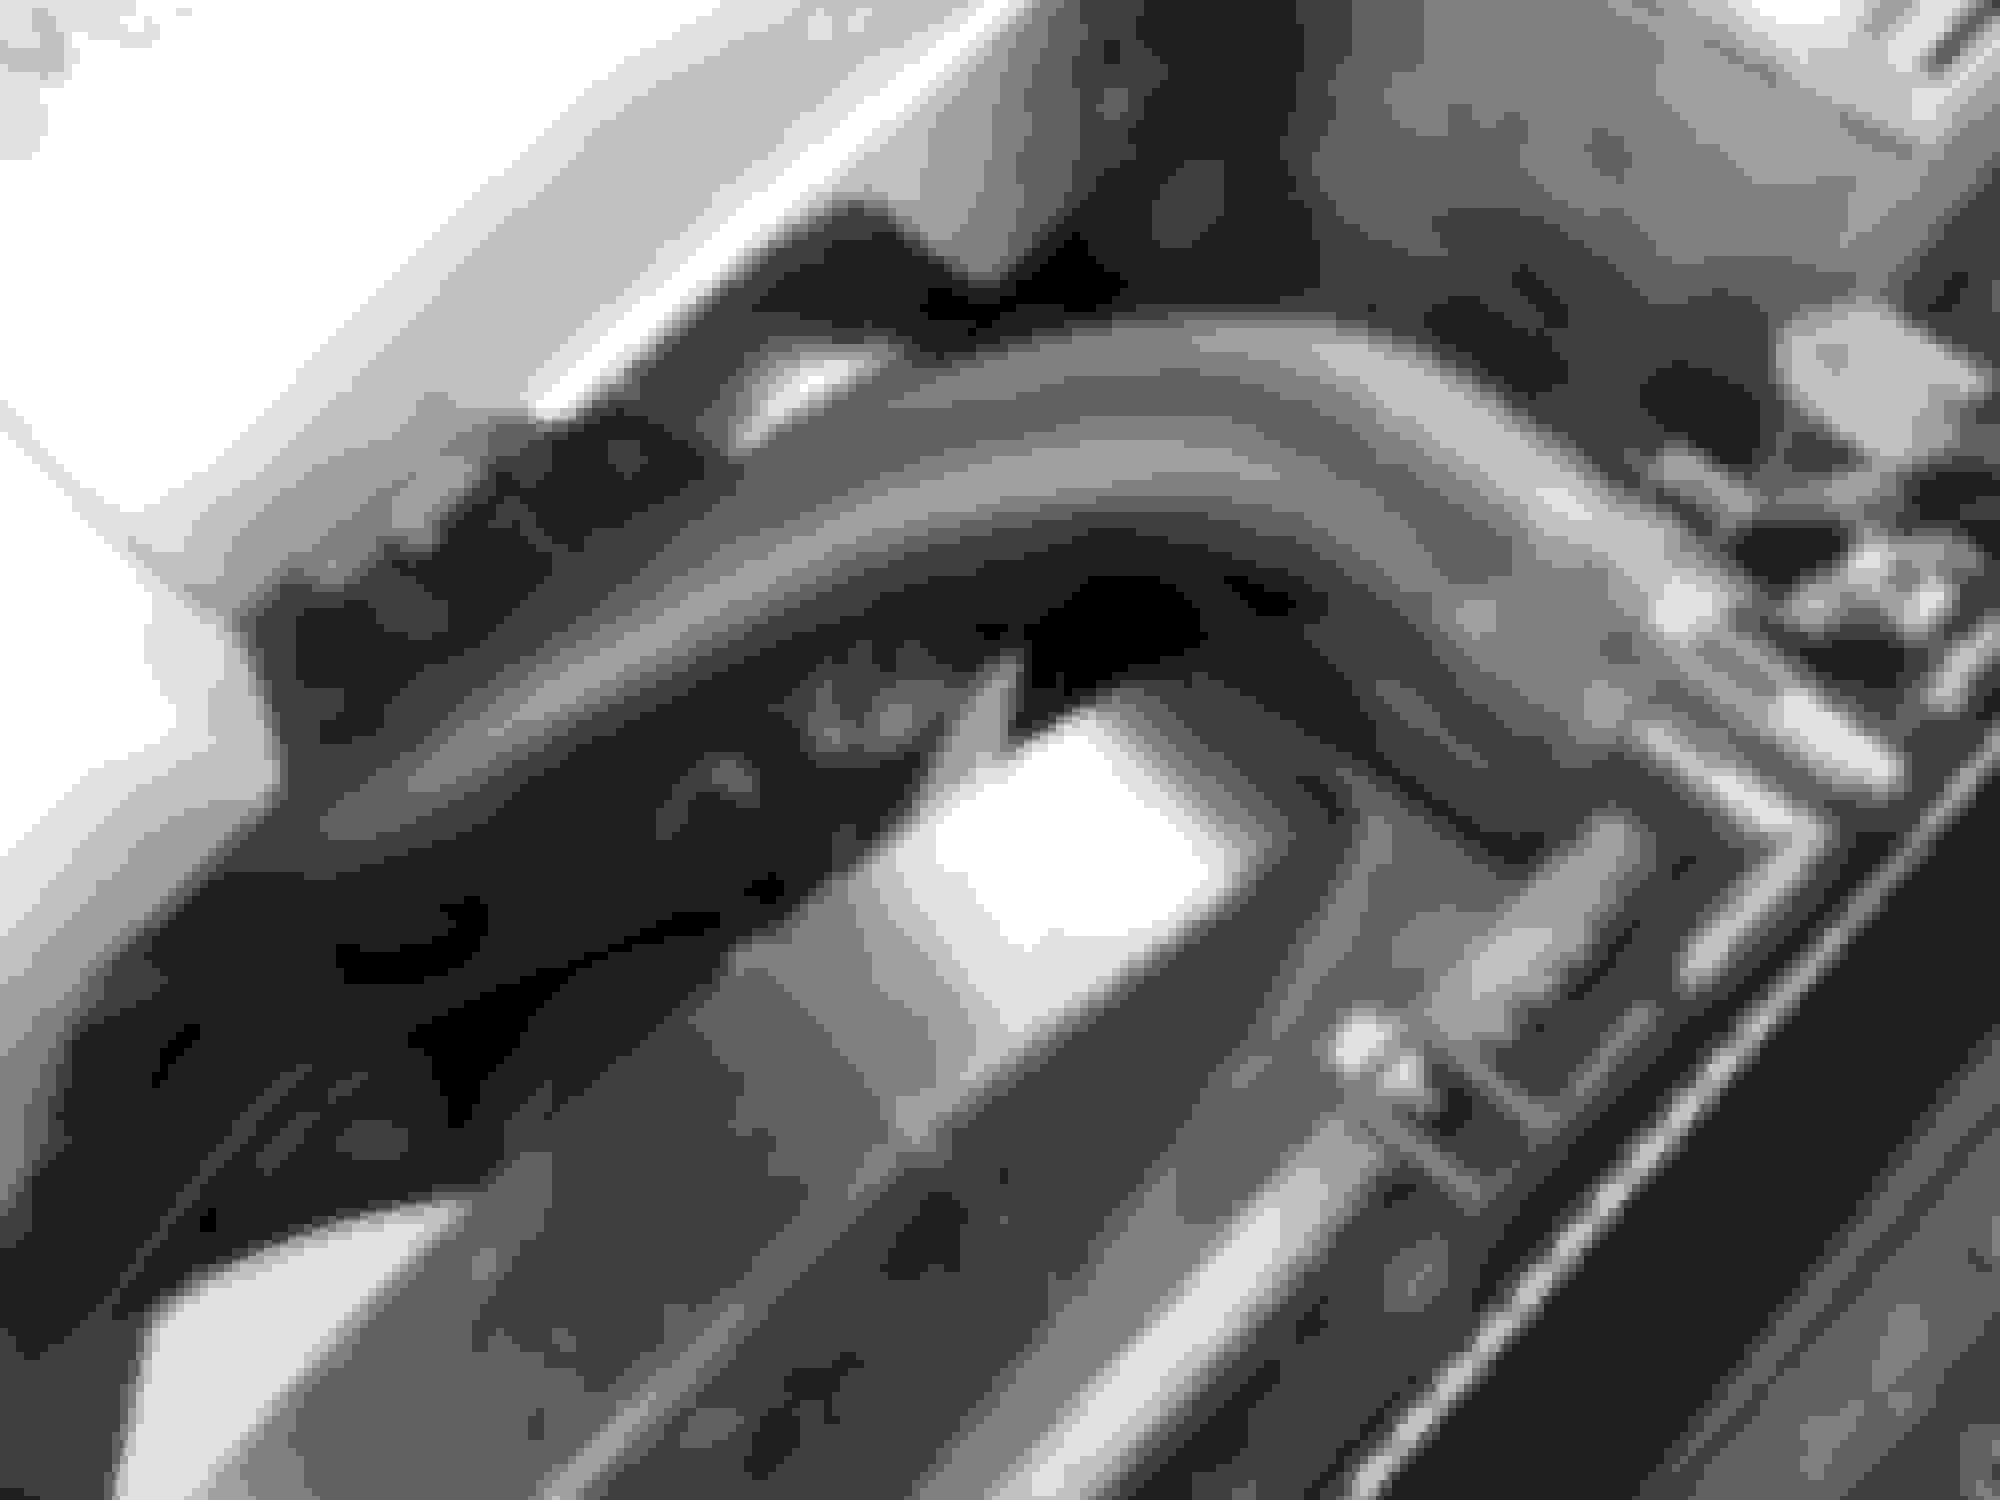
As the fan blade assembly is positioned now, and the huge gap between blade tips and shroud, makes it easier for the airflow recirculate in the engine compartment instead of being fully drawn into the front of the radiator when sitting at idle. Denser cold ambient air is heavier than engine compartment air, so this is a factor.
The fan blades are more effective at drawing air when residing in the radiator shroud venturi. Here the blades are clearly outside. Am having a machinist fabricate a 20 mm spacer(with neccessary indexes) to move the fan blades further forward into the venturi. Not sure if 90-97 LS400 are so configured. Unsure why this was allowed in production. Images to come.
It's been a while since I've turned a wrench on a 400 as I sold my 99 2 years ago. When I looked at the above pic this morning I quickly remembered an important detail.
The LS400 radiator employs a 2 piece fan shroud. Lexus actually named the part Fan Shroud No. 2- 16712-50030
This second piece, when removed, allows for clearance of the fan blades when removing the shroud vertically. It also allows the shroud to remain bolted in place when removing the radiator again allowing clearance past the fan blades. Removing the shroud allows for greater access when subsequently removing other parts in a timing belt or water pump service for example. Try removing the fan with the main shroud in place and you'll quickly realize how extremely arduous it is! It would seem the engineers considered the steps of service when positioning the fan as it's a happy medium which allows the use of the lower No. 2 shroud.
Cooling section of the Svc. Manual, attached, showing proper removal of the fan shroud.
In a nutshell-
You can't remove the fan with the shroud in place.
You can't remove the shroud with the fan in place.
The lower No. 2 shroud solves this problem. Moving the fan forward will further exacerbate this.
On 1999 was able to remove the fan/fan clutch assembly and the fan bracket assembly without removing the upper radiator shroud. Of course the upper radiator hose was removed..
Will advise whether fabricated spacer has any effect.
On 1999 was able to remove the fan/fan clutch assembly and the fan bracket assembly without removing the upper radiator shroud. Of course the upper radiator hose was removed..
Will advise whether fabricated spacer has any effect.
It is possible to remove just the fan but it's a PITA. Removing the bracket would help I'm sure. Several ways to skin the cat...
I'd like to think this is the reason Toyota chose this particular location for the fan,.
ssible to remove just the fan but it's a PITA. Removing the bracket would help I'm sure. Several ways to skin the cat...
I'd like to think this is the reason Toyota chose this particular location for the fan,.
The (original?) Japanese - Taiwan market design used a hydrofan set-up.
Expensive...
Comparing how well designed and integrated the hydrofan system suggests the otherworld fan clutch scheme is secondary.
Color Images here depicting how well hydrofan blade assembly fits within fan shroud venturi:
The fan blade assembly is not adequately positioned within the radiator shroud venturi.
So removed the fan bracket and fan clutch assembly to fabricate a 20 thich mm spacer.
Selected steel over Aluminum to test the concept, for durability and to match material of bracket pulley, hub and fan clutch hub.
The hub spacer weighs 2 pounds....
Using semicircular cutouts in radius with bolt holes will reduce rotating mass at outer diameter.
Machinist generated a blueprint, should anyone wish to manufacture one.
Will also need to acquire new studs.
Am adjusting valve lash, replacing valve stem seals, front cam seals and polishing valve covers, so am unable to present final installation now.
Fan blades are too far outside radiator shroud venturi... A spacer between fan bracket bearing assembly and fan clutch will position the blades forward. Fan spacer forward fan clutch facing side. Fan spacer rearward - fan bracket side
Spacer mounted on fan bracket bearing assembly. Not depicted are semi-circular slots in radius with and between mounting through holes. Specer mounted between fan bracket bearing and fan clutch. All one big happy family
Finished installing the LS430 (3UZ-FE) engine in LS400
After minor trimming, installed LS430 upper radiator hose.
300 miles and no issues LS430 vs LS400 hose eliminates two 90 degree bends for two 45 degree bends. More than adequate clearance(s) without need for using a spacer between fan bracket pulley and fan clutch to move fan blades forward.

 09-07-19, 07:05 AM