When you click on links to various merchants on this site and make a purchase, this can result in this site earning a commission. Affiliate programs and affiliations include, but are not limited to, the eBay Partner Network.
I believe that this type of sealed system also requires "burping" at this fitting to get air pockets out and restore coolant flow to all areas.
I agree that is the "right" way to do it if you are a professional mechanic and need to hand the car back to the owner in a 100% surely filled state, with no need for further topping off. And that's one good reason it is part of the official procedure for refilling. Another reason for pro's is that it is probably a faster way to fill. And if you have the exact right washer ready to go, to add to the bill, and if it leaks you can replace the thermostat housing, and add that to the bill, yes, that's how you do it. No doubt. But ...
In my case, I know that any smaller air pockets (big ones might be a problem - of course if the WP is pumping air ...) or bubbles will work their way to the overflow tank, which I can conveniently top off a day or two after the re-filling procedure. I also have a slightly (4*) sloping driveway, and generally have the front jacked up when filling, and I believe the angle makes air pockets less likely to be an issue. Of course, I do things like repeatedly squeezing the upper radiator hose until no more bubbles come out in the overflow tank.
Not touching that fill port + washer gives me one less thing that could go wrong, so that's what I do.
I removed the radiator and upper and lower hoses. I realize that most say this is very easy but I'm in my 50's and this is my first real attempt at actually fixing something on any vehicle myself. I have an FSM and I get to justify buying a bunch of tools. I'm going to try to link a short video here of something I don't think is right. In case it doesn't work I'll try to explain. When I push on the drive belt, what I have recently learned is the drive belt tensioner, clicks and moves a little bit. Like it's not tightened down enough. As it is called a tensioner I assume that you don't just crank on it, there is some point when you should stop tensioning it. Therefore, not sure if it's supposed to do this or if there is something wrong. Just re-read what I wrote there and man, I really hope the video works so someone understands what I'm talking about.
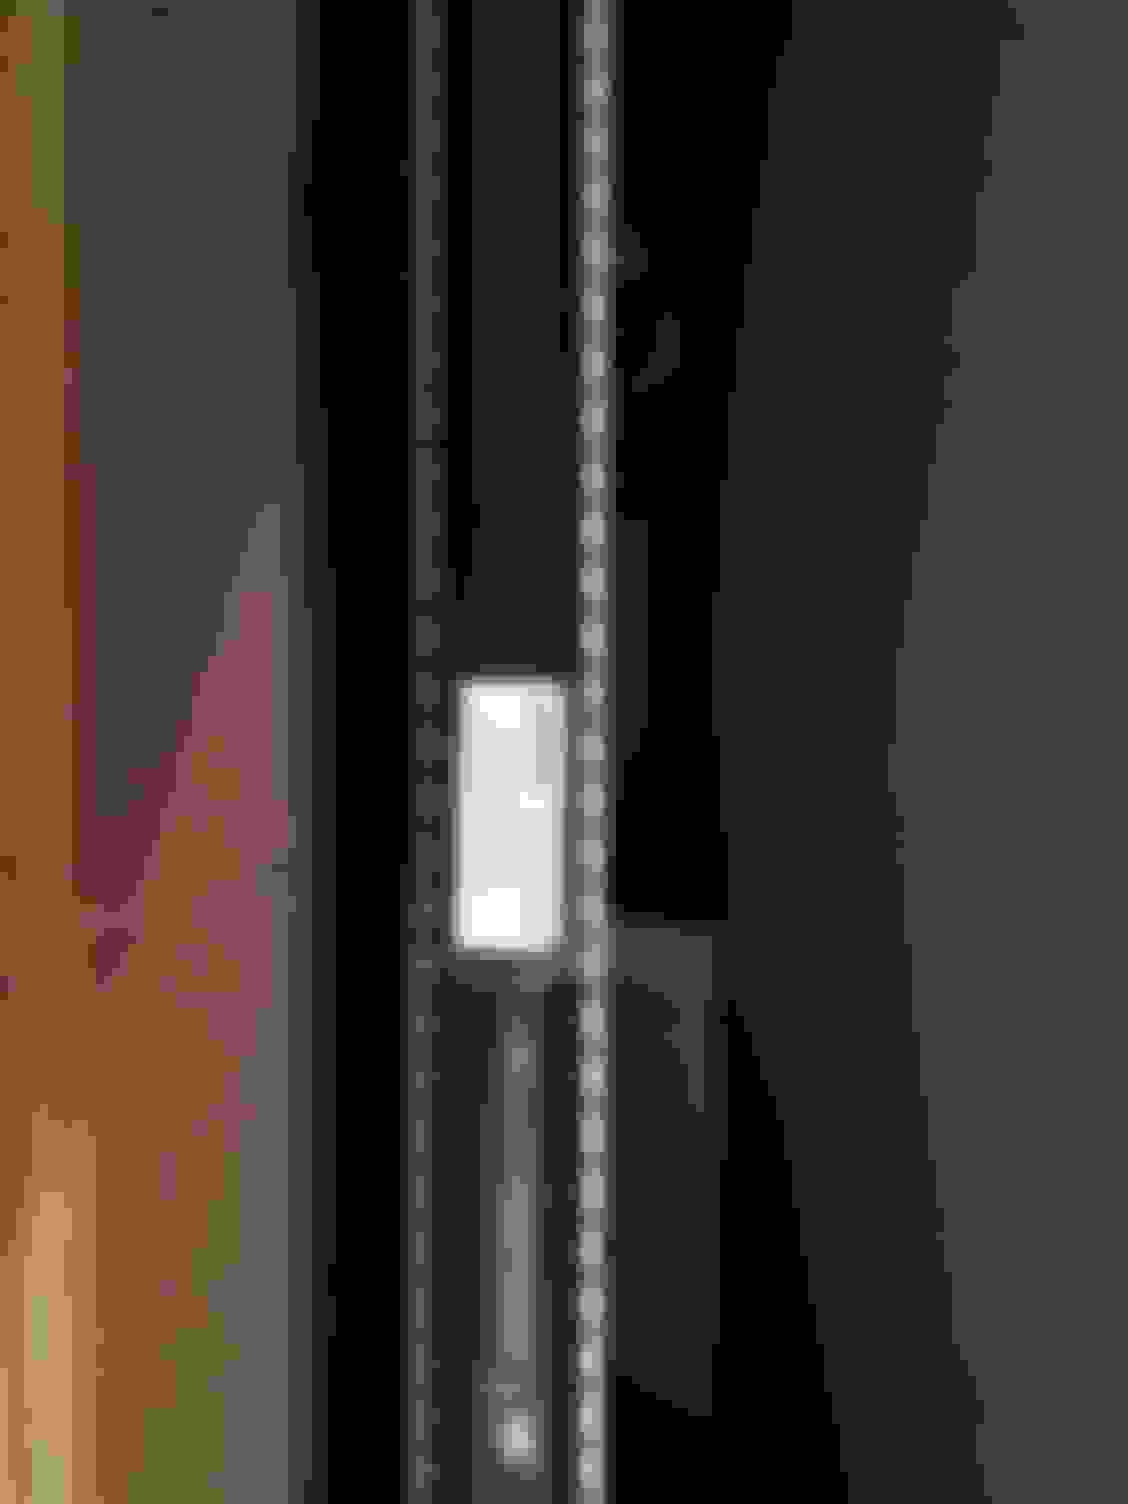
So... it's an mp4 file and I couldn't attach it. Here's a screenshot. The location is right behind the fan. When I push down on the belt the pulley right below my hand moves to the left about 1/8" and makes a clicking noise. Let off the belt, it moves back to the right, push down, it clicks and moves to the left, etc..
I agree that is the "right" way to do it if you are a professional mechanic and need to hand the car back to the owner in a 100% surely filled state, with no need for further topping off. And that's one good reason it is part of the official procedure for refilling. Another reason for pro's is that it is probably a faster way to fill. And if you have the exact right washer ready to go, to add to the bill, and if it leaks you can replace the thermostat housing, and add that to the bill, yes, that's how you do it. No doubt. But ...
In my case, I know that any smaller air pockets (big ones might be a problem - of course if the WP is pumping air ...) or bubbles will work their way to the overflow tank, which I can conveniently top off a day or two after the re-filling procedure. I also have a slightly (4*) sloping driveway, and generally have the front jacked up when filling, and I believe the angle makes air pockets less likely to be an issue. Of course, I do things like repeatedly squeezing the upper radiator hose until no more bubbles come out in the overflow tank.
Not touching that fill port + washer gives me one less thing that could go wrong, so that's what I do.
There's more than one way to do it, as long you get the job done!!
Nobody knows about the pulley with the tensioner moving when I push on the drive belt?
New Denso radiator arrived. Hole in the box where the lower hose connection is but everything appears to be OK. Nice big ol' Made in China sticker on it mocking me and my budget. Compared it against the Toyota 5013 I removed and all the connections, etc... appear to be in the right place.
I removed the radiator and upper and lower hoses. I realize that most say this is very easy but I'm in my 50's and this is my first real attempt at actually fixing something on any vehicle myself. I have an FSM and I get to justify buying a bunch of tools. I'm going to try to link a short video here of something I don't think is right. In case it doesn't work I'll try to explain. When I push on the drive belt, what I have recently learned is the drive belt tensioner, clicks and moves a little bit. Like it's not tightened down enough. As it is called a tensioner I assume that you don't just crank on it, there is some point when you should stop tensioning it. Therefore, not sure if it's supposed to do this or if there is something wrong. Just re-read what I wrote there and man, I really hope the video works so someone understands what I'm talking about.
So... it's an mp4 file and I couldn't attach it. Here's a screenshot. The location is right behind the fan. When I push down on the belt the pulley right below my hand moves to the left about 1/8" and makes a clicking noise. Let off the belt, it moves back to the right, push down, it clicks and moves to the left, etc..
It should not click. It should smoothly move under tension. So that's a problem.
And you don't do anything to adjust tension. The tension is set by the spring inside the assembly. You just install it to the specified torque, then when you torque the 14mm bolt (lefty loosey) to "loosen" the tensioner, you're pivoting the pulley so you can slip the belt on it. Then at that point, the tension is set based on the spring. And slightly based on the length of the belt if it is not to spec.
OK, I get it. Thanks very much for the explanation. I'll have a look and see if I can figure out why it's clicking then. Appreciate it.
OK, I get it. Thanks very much for the explanation. I'll have a look and see if I can figure out why it's clicking then. Appreciate it.
I went to acknowledge how much courage it takes to something like this for the first time. Obviously, a few issues will come up, as they always do in most repairs. Glad you've gotten started! Cotton gloves to avoid busted knuckles please.
The stuff that concerns me the most is the stuff "everyone" knows that I don't. "Well everyone knows that you're supposed to xxx before yyyy."
Other than that I think the formula is..
5% courage
5% right tools
15% FSM (that thing is great)
75% internet (thanks to sites like this one)
i started to type 40% experience and 40% right tools and I realized the 2 function hand in hand.
Your experience, much like an education, is a tool so-
80% experience AND the right tools
20% varies depending on the person and the task
Just my 1.5 cents...
Edit-yes the internet is a tool as well but all the bandwidth and tutorials in the world can never replace a simple10mm wrench.
The stuff that concerns me the most is the stuff "everyone" knows that I don't. "Well everyone knows that you're supposed to xxx before yyyy."
...
I find the same thing too, when I try to learn how to do something in a new field. Toughest are those things that are very important, but so obvious to anyone not completely new, that nobody bothers to say it.
I've found that watching youtube videos that don't edit out the obvious boring stuff are great for that. I pay attention to the little details. Also, when watching videos of mechanics work on cars, even if I know the main stuff they're making the video about, but if I notice they are really skilled, I'll watch carefully just to pick up the little tricks about how they do things as simple as loosening a nut.
You Tube has been really great to help many DIY'ers now. There are some really great tips from members here who've done the tasks. Saves time and some of the frustration knowing what is ahead. Breaking things is part of that education when I started to wrench. Sometimes a $$ lesson and lots of colorful words as well. Those Chilton's manuals were a bit thin on details for noobs.
Well, I've been looking at "my cart" nightly for about a week now, adding and removing stuff. Then re-adding, etc... Finally pulled the trigger and hit the checkout button. Items marked red are for the LS (others are for the Land Cruiser). This same list on LexusPartsNow was just shy of $1100 shipped. It's a savings, but still a lot of money. I hope to take care of the power steering before putting the radiator back in. And got some engine mounts and suspension stuff. Timing belt kit I'll get from rockauto.
You Tube has been really great to help many DIY'ers now. There are some really great tips from members here who've done the tasks. Saves time and some of the frustration knowing what is ahead. Breaking things is part of that education when I started to wrench. Sometimes a $$ lesson and lots of colorful words as well. Those Chilton's manuals were a bit thin on details for noobs.
Yes, I quite agree with you, Mike.
I have been a soldering tool and an oscilloscope guy and not good at to wrench. But thanks for Youtube videos. Watching those, I now can do many kinds of mechanical jobs. I used to ask mechanics to fix mechanical problems.
The other day, I needed to replace a hub bearing of my wife's car and requested a local shop owner to do it. He is a guy who is not good at electronics related issues and often requests me to assist.
He said,"Yes, of course for free thanking your assists". But his shop was quite busy on that day and I dare tried to do the replacement job myself using tools in that shop. I just watched
by a young lady and understood how to do it. All I needed was to do the job in accordance with that lady's explanation and to use special tools such as a bearing remover and a press machine in that shop. You can find how the bearing was bad seeing here and here although everything is written in Japanese.
Youtube videos really help me to maintain 8 old cars in my family.


 01-20-20, 11:23 AM

 Another reason for pro's is that it is probably a faster way to fill. And if you have the exact right washer ready to go, to add to the bill, and if it leaks you can replace the thermostat housing, and add that to the bill, yes, that's how you do it. No doubt. But ...