When you click on links to various merchants on this site and make a purchase, this can result in this site earning a commission. Affiliate programs and affiliations include, but are not limited to, the eBay Partner Network.
Currently trying to fix my tach needle... Think I screwed everything up.
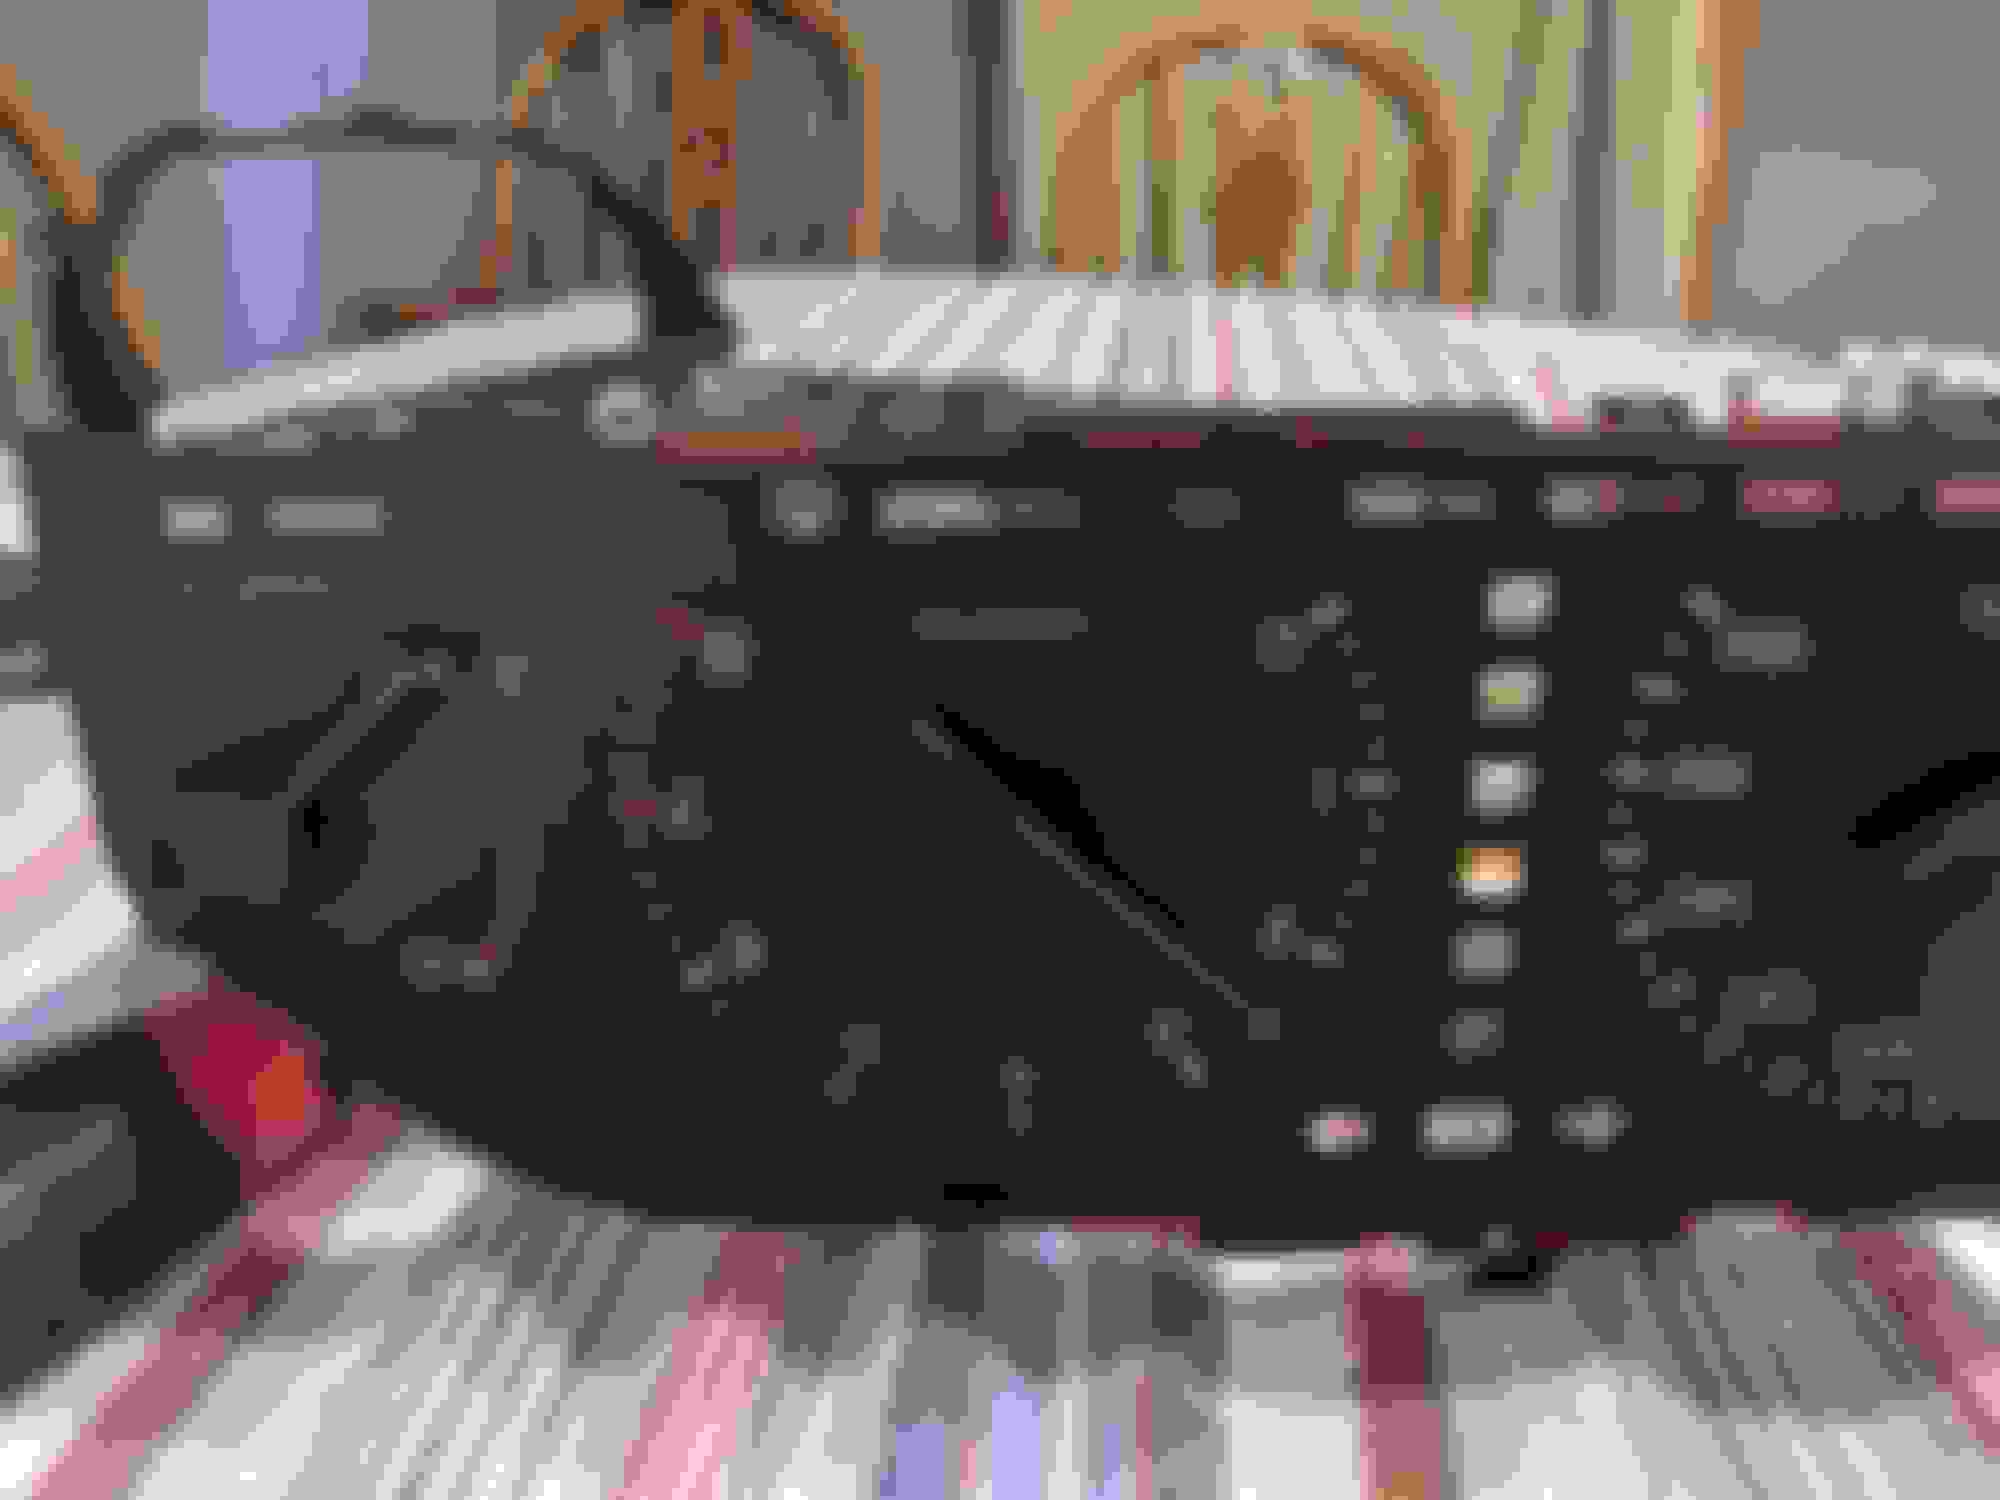
Hey guys, so I am currently trying to repair my tach needle on my 91 Celsior. . I followed the write-up on here about taking the cluster out and apart. They were great write-ups.
so I finally have my needle and the little motor for it out and open. Only to try a little pulling it out a little bit to get some glue on it.
Well, that's when I noticed the needle fell and the parts behind it didn't. I swear I heard the sound of something unraveling, but it may have been my pulse shooting up to 1937 bpm.
So now I'm pretty sure my needle isn't correctly clocked at all. How screwed am I?
Is there a way to set the timing or "clocking" it correctly?
I attached a few photos below. I'm currently sitting on the chair in front it it as of 1:10 est.
Thank you so much in advance!
attached are a few pictures. Any help would be greatly appreciated! I was hoping this would go smoothly but wouldn't you know it, my stupidity gets in the way.
The needle assy does look like it's screwed to the panel. So you can either look to replace the whole needle assy or the whole instrument panel. A used panel is one source or a new one. Fixing it is a guess job and only a rare few would bother to go that route.
The needle assy does look like it's screwed to the panel. So you can either look to replace the whole needle assy or the whole instrument panel. A used panel is one source or a new one. Fixing it is a guess job and only a rare few would bother to go that route.
It definitely seems like it can pull straight out. Is my only option to just remove the connector and let it never work? Or is there any way to set it back with the inside, or does it just run off voltage and not even matter how it's positioned behind the needle?
Hey guys, so I am currently trying to repair my tach needle on my 91 Celsior. . I followed the write-up on here about taking the cluster out and apart. They were great write-ups.
so I finally have my needle and the little motor for it out and open. Only to try a little pulling it out a little bit to get some glue on it.
Well, that's when I noticed the needle fell and the parts behind it didn't. I swear I heard the sound of something unraveling, but it may have been my pulse shooting up to 1937 bpm.
So now I'm pretty sure my needle isn't correctly clocked at all. How screwed am I?
Is there a way to set the timing or "clocking" it correctly?
I attached a few photos below. I'm currently sitting on the chair in front it it as of 1:10 est.
Thank you so much in advance!
attached are a few pictures. Any help would be greatly appreciated! I was hoping this would go smoothly but wouldn't you know it, my stupidity gets in the way.
I did this repair on my Tachometer needle. From what I can see, everything looks fine on yours. A few tips I would recommend:
- Use gloves (if possible) to prevent finger print staining.
- You do not want to pull the needle up and off the assembly. You can move it up slightly to dislodge it and reconnect it by lightly pushing down, but do not rip it out or push it down hard.
- I do not recommend removing the motor. You must work in very tight quarters as described in the other thread. Using a thin toothpick or flat coffee stir, you may offer a very small amount of glue (and I mean very small) to the motor shaft that is visible between the bottom of the needle and the motor shaft only. Don't get any on the copper coil
- Make sure you apply the glue with the needle in the 0 position. Test the needle's movement first before applying any glue, by guiding it to the max reading and then slowly following it back with your finger to 0 a few times. Let the glue dry with the board sideways, so that it does not drip into the motor.
- If the needle sticks after installation, move it very gently with your hand while the car is running to the proper reading, until it starts to move freely. Sometimes, the glue can cause stickiness, which is remedied by a little exercise. Just make sure not to force the needle, because the motor will be powered on. This is why you want to prevent glue from going into the motor.
To adjust the needle when it sticks while the car is on, you just need to have the the tinted plastic/acrylic lens removed from the gauge cluster when it is plugged in.
Note that if you do not plug in the warning lights with the cluster before you turn on the car, you may get an airbag light, which can be reset but is a bit of a pain.
To adjust the needle, I would recommend reinstalling the cluster without its lens and connecting all other electrical connections that were disconnected during disassembly.
I did this repair on my Tachometer needle. From what I can see, everything looks fine on yours. A few tips I would recommend:
- Use gloves (if possible) to prevent finger print staining.
- You do not want to pull the needle up and off the assembly. You can move it up slightly to dislodge it and reconnect it by lightly pushing down, but do not rip it out or push it down hard.
- I do not recommend removing the motor. You must work in very tight quarters as described in the other thread. Using a thin toothpick or flat coffee stir, you may offer a very small amount of glue (and I mean very small) to the motor shaft that is visible between the bottom of the needle and the motor shaft only. Don't get any on the copper coil
- Make sure you apply the glue with the needle in the 0 position. Test the needle's movement first before applying any glue, by guiding it to the max reading and then slowly following it back with your finger to 0 a few times. Let the glue dry with the board sideways, so that it does not drip into the motor.
- If the needle sticks after installation, move it very gently with your hand while the car is running to the proper reading, until it starts to move freely. Sometimes, the glue can cause stickiness, which is remedied by a little exercise. Just make sure not to force the needle, because the motor will be powered on. This is why you want to prevent glue from going into the motor.
Dude, thank you so much! This forum is so amazing. I am continually amazed at the responses I get. Thank you so so very much. I have been noticing I have been having a little sticking. It doesn't seem to go below 800rpm ever and sticks around 2400 rpm until I floor it. I will take the gauge face off and reinstall the cluster it and do what you mentioned.
i ended up setting my tach needle on the same red part of the coil/motor like the speedometer is set up.
Another thing I am noticing, after I put everything back together. My fuel gauge shot straight to full. I filled the car up in case it somehow reset itself. But is this a normal thing? Or should I adjust it? Same with the coolant gauge. It now starts about a tick or two above the bottom and runs a few ticks past the center on normal.
Should I do the same thing as adjusting the tach needle?
Seriously, thank you again. I should have done more research here.
Just to clarify with terms, to adjust the needle when it sticks, you just need to remove the tinted plastic/acrylic lens from the gauge cluster and reinstall it.
Note that if you do not plug in the warning lights when you reinstall the cluster, you may get an airbag light, which can be reset but is a bit of a pain.
To adjust the needle, I would recommend reinstalling the cluster without its lens and connecting all other electrical connections that were disconnected during disassembly.
------
For the fuel gauge, I have not seen this behavior on a 90-92. I would say leave it alone for now. Reset your Trip meter to 0, and see if your fuel gauge goes down as you drive more miles/kilometers. If it does not, it may be a little sticky, too. Make sure not to touch the fuel gauge when the cluster is removed from the car.
For 90-92, the fuel gauge always stays in its last known position, unlike 93+ where the fuel gauge moves to the current fuel level when the car turns on, then resets to empty when the car is turned off.
------
For the Temperature needle, I believe it goes down to 0 (lowest temp reading) when the car is turned off. With the car off and the engine cool, you can try moving it down to the minimum reading. Just don't force the needle. Worst case, the needle will just be slightly above the correct reading, but it will never be off by much.
Just to clarify with terms, to adjust the needle when it sticks, you just need to remove the tinted plastic/acrylic lens from the gauge cluster and reinstall it.
To adjust the needle, I would recommend reinstalling the cluster without its lens and connecting all other electrical connections that were disconnected during disassembly.
------
For the fuel gauge, I have not seen this behavior on a 90-92. I would say leave it alone for now. Reset your Trip meter to 0, and see if your fuel gauge goes down as you drive more miles/kilometers. If it does not, it may be a little sticky, too. Make sure not to touch the fuel gauge when the cluster is removed from the car.
For 90-92, the fuel gauge always stays in its last known position, unlike 93+ where the fuel gauge moves to the current fuel level when the car turns on, then resets to empty when the car is turned off.
------
For the Temperature needle, I believe it goes down to 0 (lowest temp reading) when the car is turned off. With the car off and the engine cool, you can try moving it down to the minimum reading. Just don't force the needle. Worst case, the needle will just be slightly above the correct reading, but it will never be off by much.
I definitely understand that. That is my plan to adjust the needles back to zero. I will definitely be sure to plug all the harnesses in. I'll try and get the tach needle reset back to zero. Thank you!
Well, I put 135kms / 88 miles on the car since that day/fill up and it hasn't dropped at all yet. Pegs out just a tad above the full line. I remember it taking a while to drop after I filled it up last year (haven't driven it much since I got it out of storage a few weeks ago) I'll try and keep a close eye on it. Maybe I'll have to just turn the dial back to the full line next fill up?
Sounds like a good plan. You could try to move the fuel needle back to full on next fill up, but maybe you'll be lucky and it will work itself out.
I'm not speaking from experience for the fuel gauge, so it's all trial and error for now.
 03-21-20, 10:08 AM