2005 LS430 puddle light replacement
 03-20-09, 04:50 PM
#1
Pole Position
Thread Starter
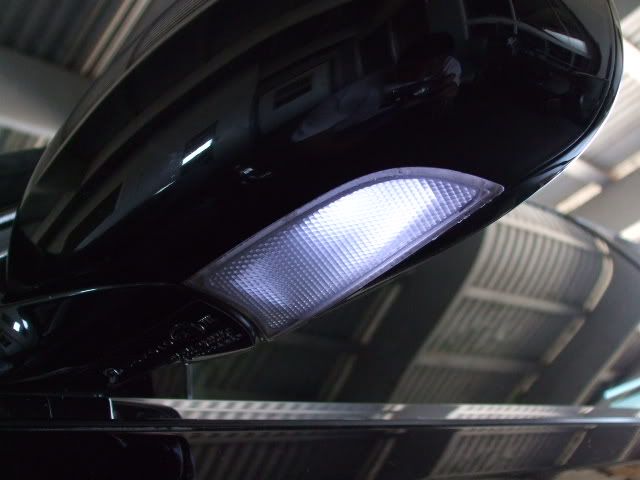
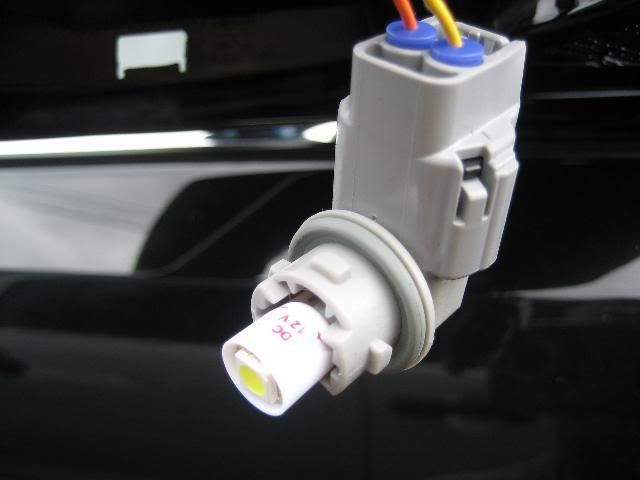
I managed to get the puddle light out of the mirror w/o removing the mirror. Attached pictures show what the light housing looks like.
The procedure described in this thread seemed too complicated: https://www.clublexus.com/forums/ls4...t-removal.html
All it takes is careful insertion of a putty knife along the straight edge between the lamp housing and the mirror housing. There are 2 plastic tabs holding the straight edge in. Once those are cleared, just CAREFULLY work the housing out. the rounded edge along where the mirror folds toward the door is the part that seemed to cause the most binding but there never seemed to be enough resistance to make it crack.


 03-28-09, 04:01 PM
#10
Moderator

 05-28-15, 01:50 PM
#11
Instructor

Thanks chunkyda and RomanTPA (https://www.clublexus.com/forums/ls4...ml#post5610106) for the pics and tips.
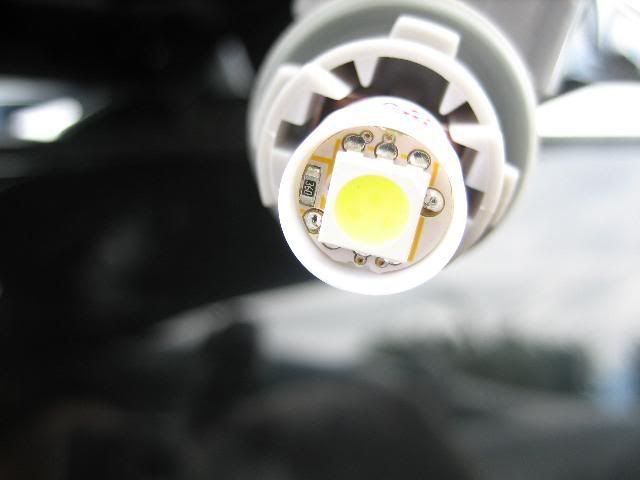
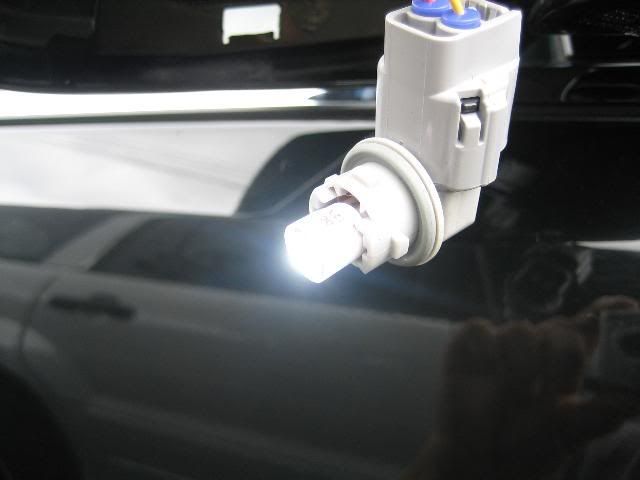
I finally got around to changing my undermirror lights and installed 5-SMD LEDs (4 sides + 1 straight). The 4-SMD LEDs I have where all 4 shoot straight down did not seem as bright in my testing. I believe this is because the mirror light assembly is an internal reflector, so it was meant for the original incandescent bulb that outputs light in all directions. Plus 5 LEDs are brighter than 4..
Taking out the assembly is easy using 2 expired credit cards and a thick flathead screwdriver for the final push (I didn't tape the screwdriver but you probably should, or use a plastic pry tool if you have one).
Reinstalling is harder than removing - start on the side closest to the door and engine, wiggle and push upwards until you are square with the original fit, then use your prytool to slightly pry apart the housing, follow the same pattern while pushing up hard, work slowly all the way around, then when you get to the first clip, pry a little bit more and push up a little harder, then same as you get to the last clip. Once everything is fit in, push and wiggle upwards to ensure everything is locked in, then you're done.


Thread
Thread Starter
Forum
Replies
Last Post
mrsardar
IS - 2nd Gen (2006-2013)
24
02-25-18 11:57 PM