When you click on links to various merchants on this site and make a purchase, this can result in this site earning a commission. Affiliate programs and affiliations include, but are not limited to, the eBay Partner Network.
You will need hyper-flash suppressing resistors if you decide to install LED turn signals.
Hijacking an old thread - had anyone successfully installed an 8-Pin Led Flasher instead of the resistors? Im going through dealers PDFs and cannot find the relay in the specs. One person on this forum mentioned that this flasher is integrated into the driver side junction box, but I couldn't get to the flashed not did I get if the flashed is soldered there for good or if it can be replaced. Thanks everyone in advance.
Has anyone found an LED that will fit the backup light? I've tried 2 types from Amazon sellers both 921 (per O/M), one with projector end and the other w/o. Both are too long for the lens Amazon's listing said they both fit my 2005 LS 430!
Has anyone found an LED that will fit the backup light? I've tried 2 types from Amazon sellers both 921 (per O/M), one with projector end and the other w/o. Both are too long for the lens Amazon's listing said they both fit my 2005 LS 430!
Take a look at the Xtreme 921 LED bulb or the Philips 921 LED bulb, we've never had any fitment issues with either of them in any vehicle. The Xtreme will be a little brighter while the Philips ones have more of a cool white color.
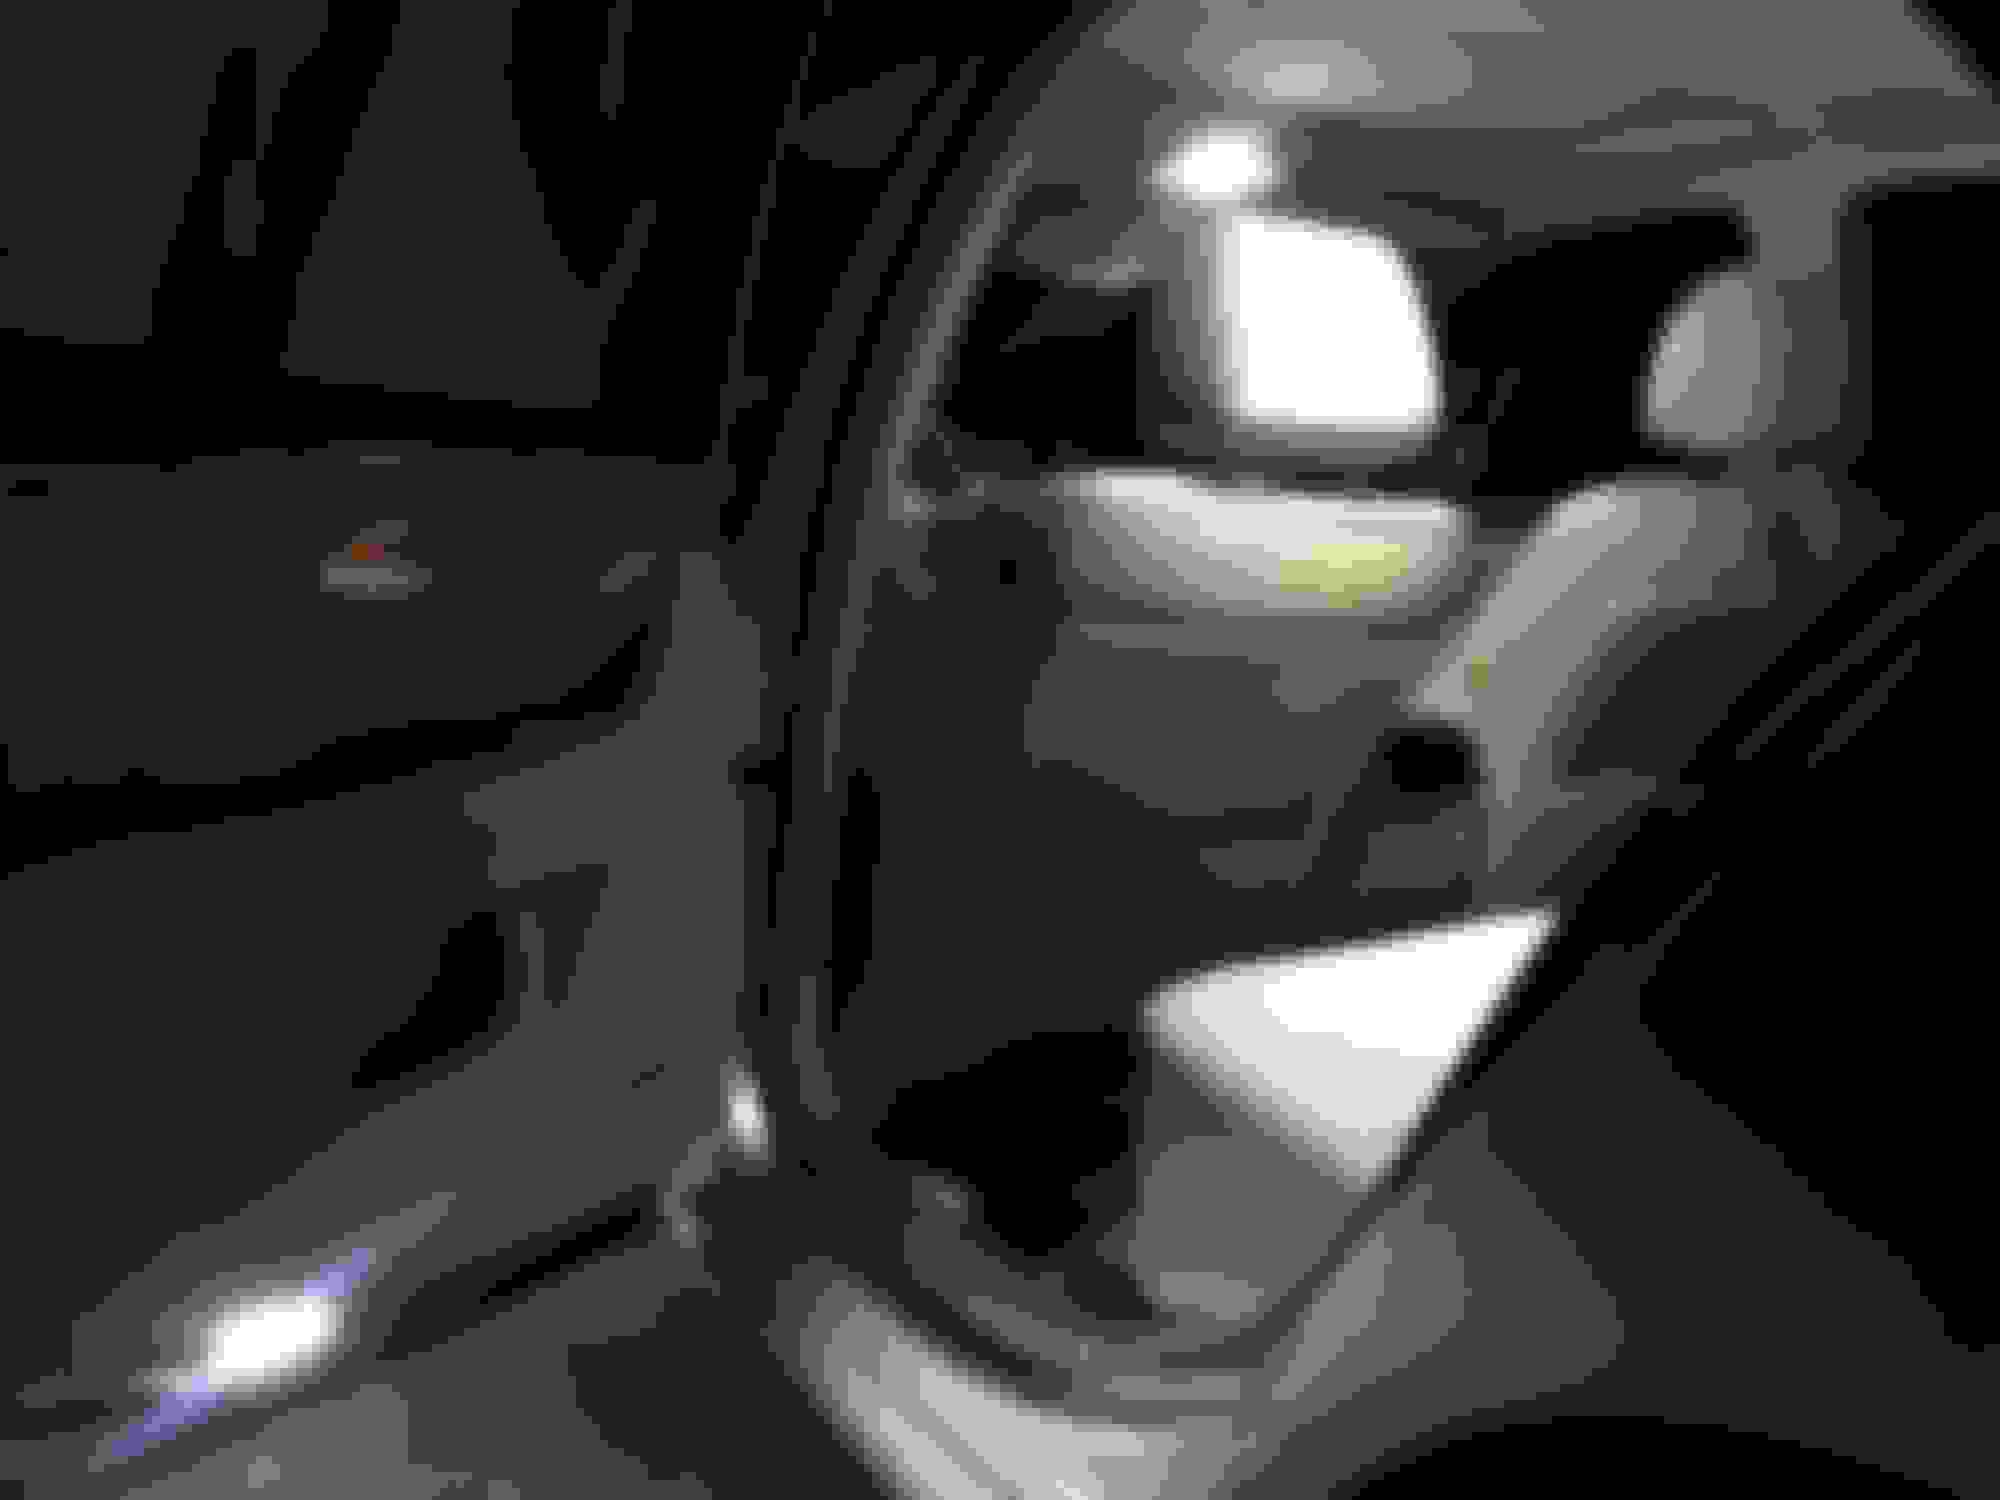
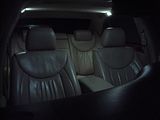
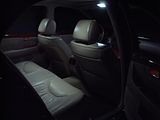
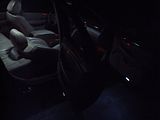
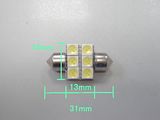
Hello, just fixed some of my interior lighting
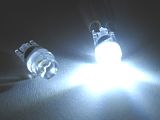
Bulbs come from China, Neo Wedge T4.2
Base did not fit so I removed bulbs and put them on original base with the green cover. Total cost, less than 10$ and I have some left.
All of a sudden I'm interested in this stuff. I've been watching YouTubes of Peterbilt 389's, and there are all kinds of LED options. One rig had over 300 LEDs......I've got to get moving on the LS lol
Keeping this thread alive to help some more people out looking to do this. There are two areas that you need to pay special attention to: the map lights on this car and the reverse lights.
There are two (seemingly identical) types of map lights. One type has the positive pole on the bottom, whereas the other type has the negative pole on the bottom.
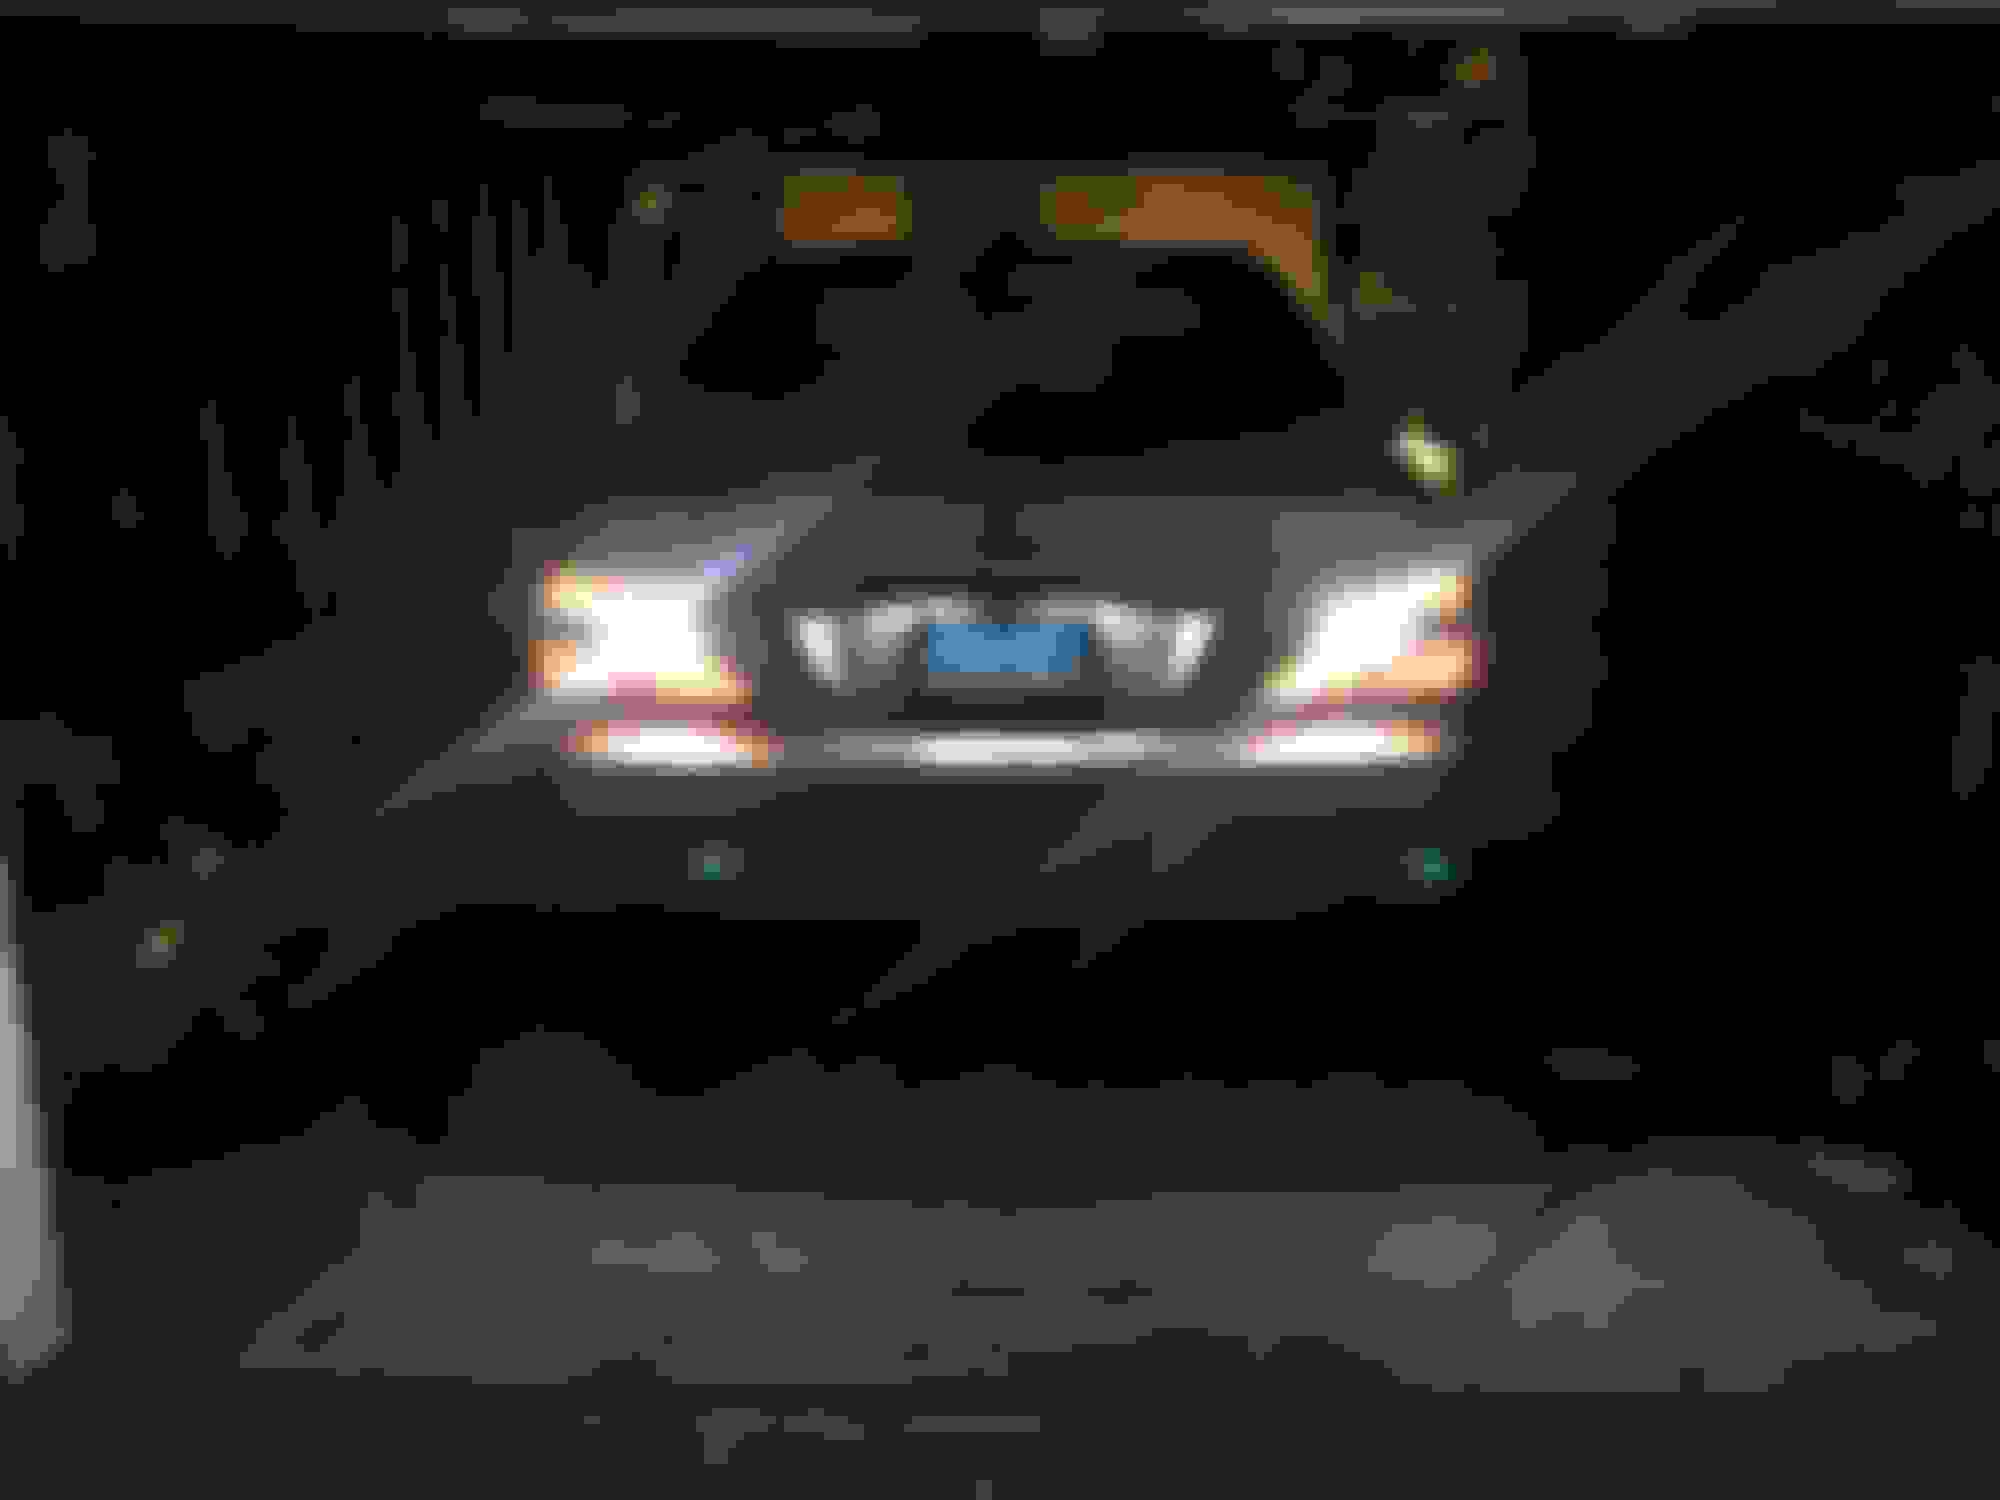
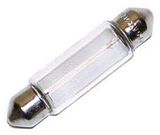
They are really bright, and they work great, but they are not plug and play. I had to remove the tail light, take it apart, and then remove the yellow plastic light deflector (or whatever it is). Also, I will note that they are very heavy, so I had one of them pop off and rattle around in the tail light. My solution was to add a couple of drops of thread locker where the bulb base meets the bulb socket, being careful not to put too much. Not in the socket, just on the outside. So far so good on that fix.
Also, when I took the tail lights apart, I left the wires loose in the housing to make future repair/replacement easier. If you don't you may have to remove the tail light again to replace the new led bulb.
To recap, I'm not sure I would buy these again, knowing that a shorter alternative is out there. I didn't know what else to buy so I made these work.
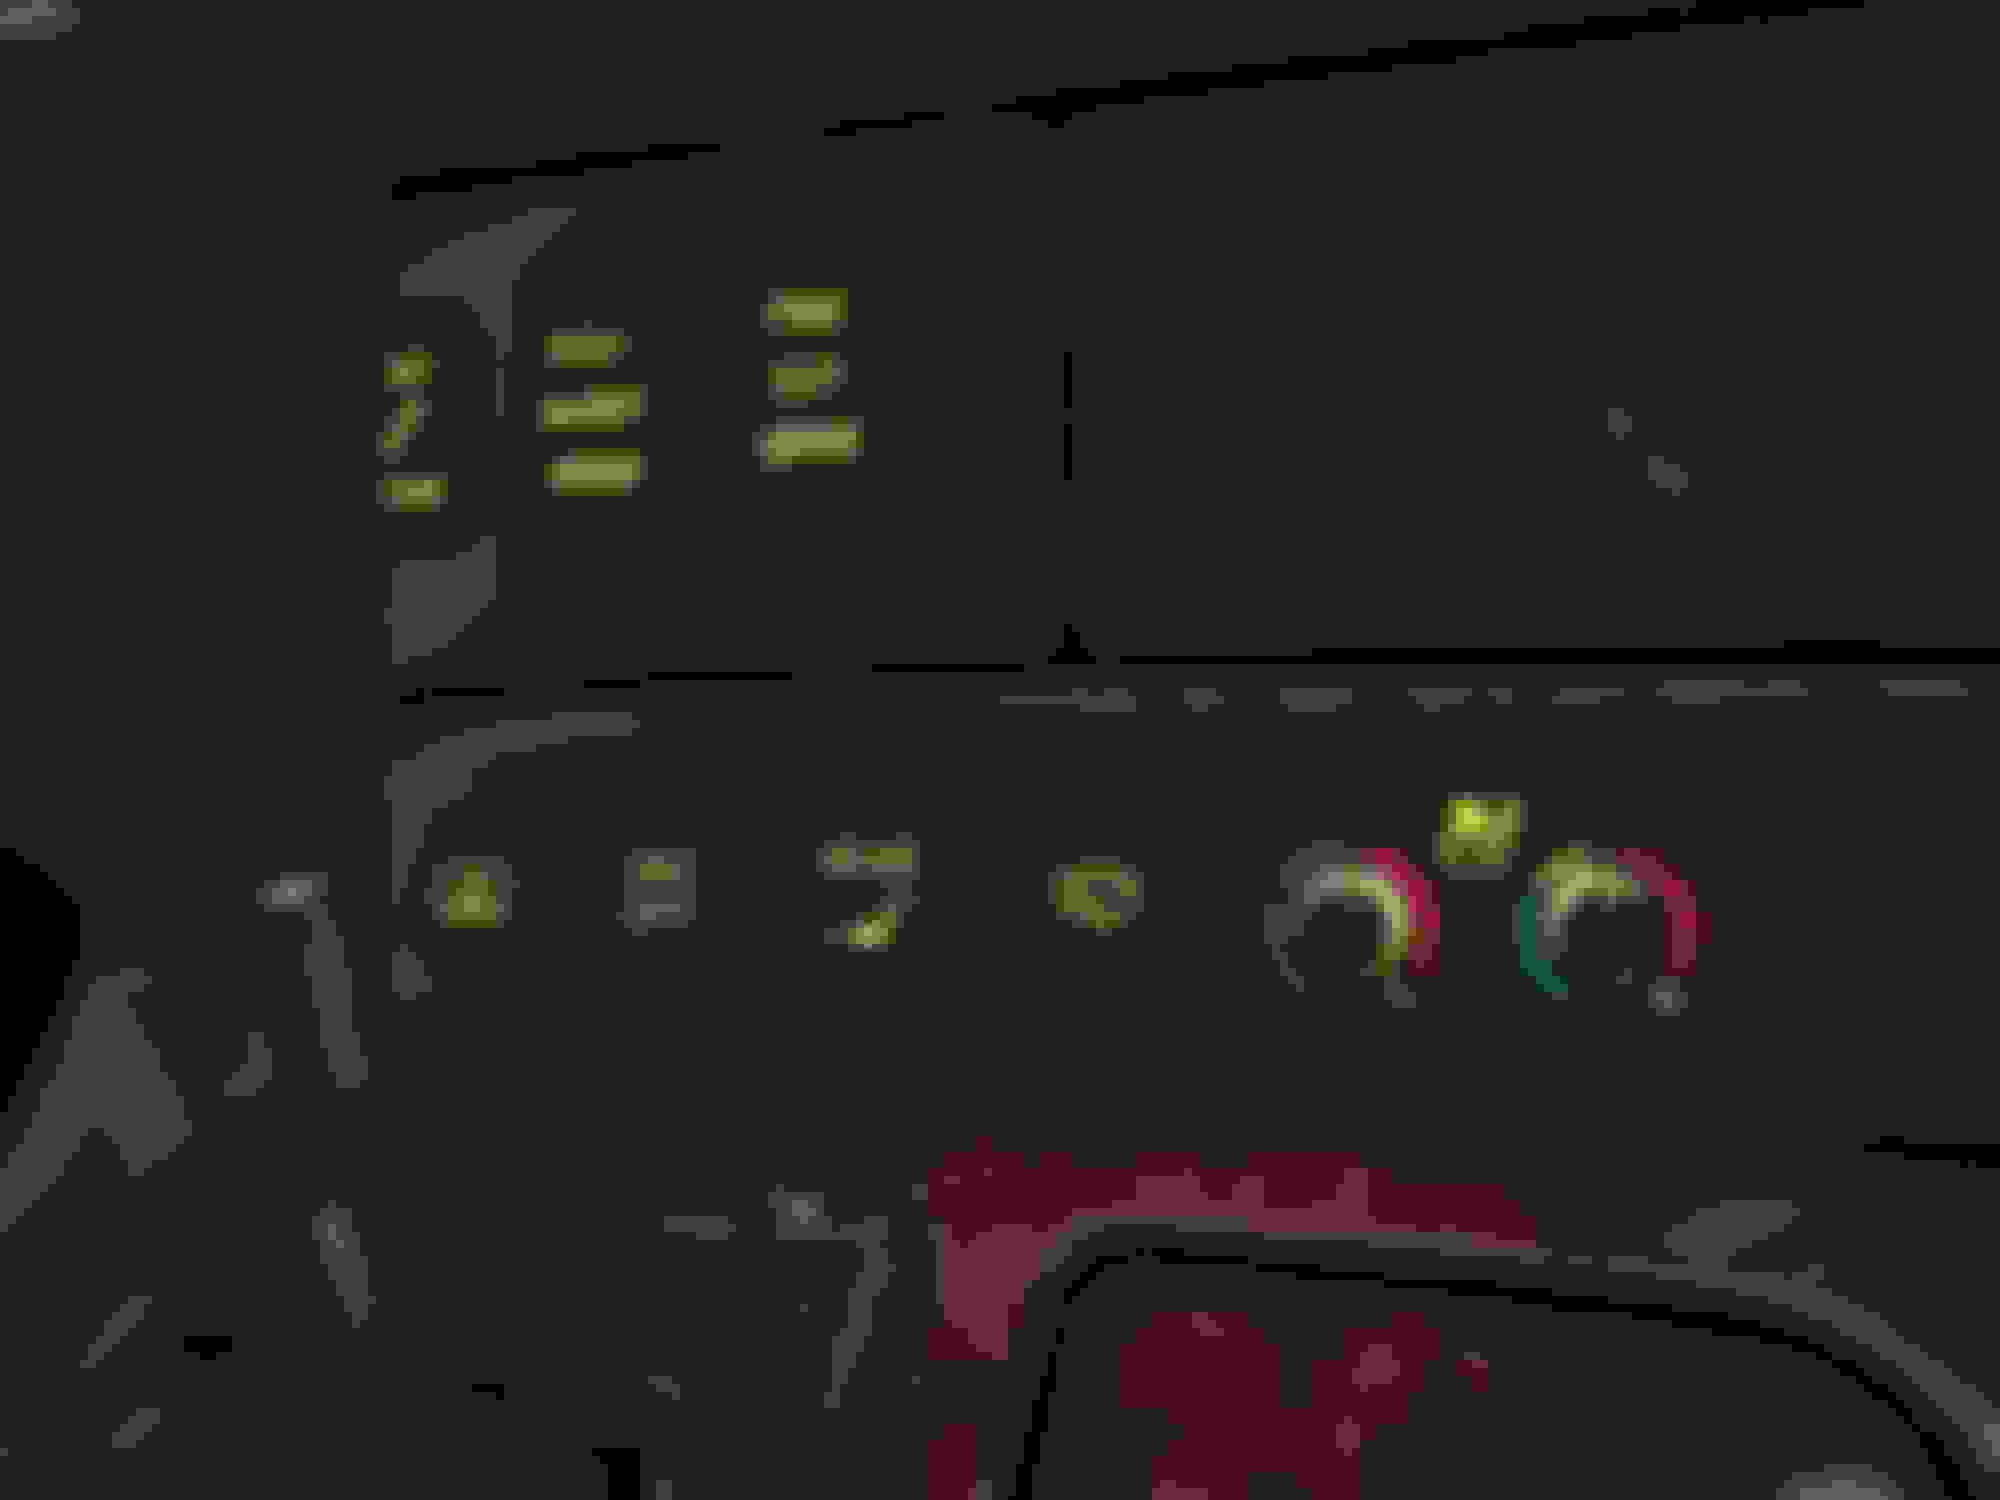
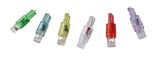
Adding my findings to this thread. My ECT and seat control lamps were out, so I went hunting for replacements and found that you could only buy the whole socket and bulb, at about $6-8 per not including tax and shipping. I figured there was a cheaper way to do this (I own a vintage electronics repair business, so I'm used to subbing and coming up with solutions for NLA or hard to find parts) and after a couple hours of research, I found amperage and wattage specs for almost all the bulbs used for backlighting all the dash switches and controls.
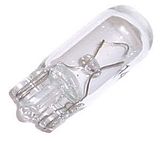
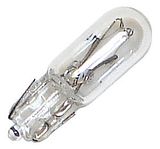
I found that you can use the DW07 bulb from JKL to replace the lamps for the seat control, washer, sunshade, VSC, ECT, Sport/Norm and Height switches. Almost exact replacement, same specs and very similar sizing, the DW07 is just a little longer (stock is 10mm long and the DW07 is 10.8mm), but it does not affect fitment at all. I got mine from Mouser, part number 560-DW07. Quite a bit cheaper than getting the stock bulbs, especially if you need several of them. These bulbs may also work to replace other bulbs used in the dash, but I have confirmed it to be a replacement for the above bulbs. Comparison of old vs new, new is on the right:
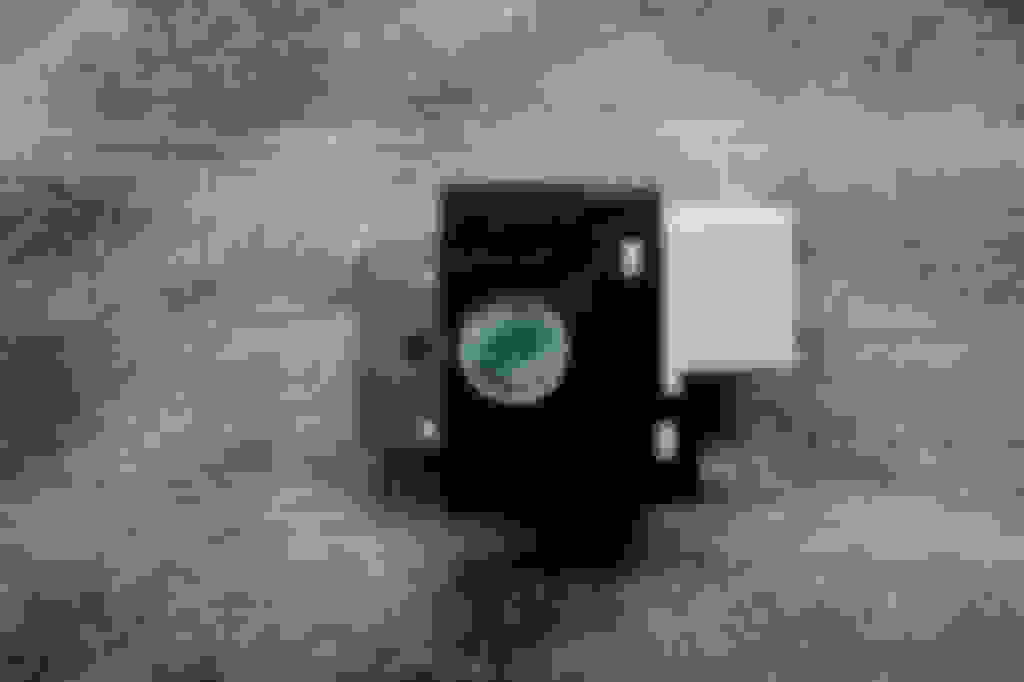
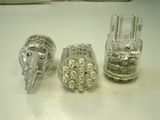
Replacing the bulb is very straightforward, use a small jewelers flatblade to pry up the end of the wires in the old bulb socket, unwrap and straighten them out and pull the bulb up and out of the socket. Remove the green sleeve, you will reuse this on the new bulb. Be sure you don't tear it, if you're not careful it's easy to do as they tend to get stuck to the bulb. To put the new one in, insert the wires through the holes in the bottom of the socket and make sure the bulb is pushed into the socket as far as it will go, then tightly wrap the wires around the notched sections in the socket. Note the bulb and socket I'm showing is for the seat control, but all of them install the same way.
Then, clip the wires and tuck the end using the flatblade into the the slot for the wire tail.
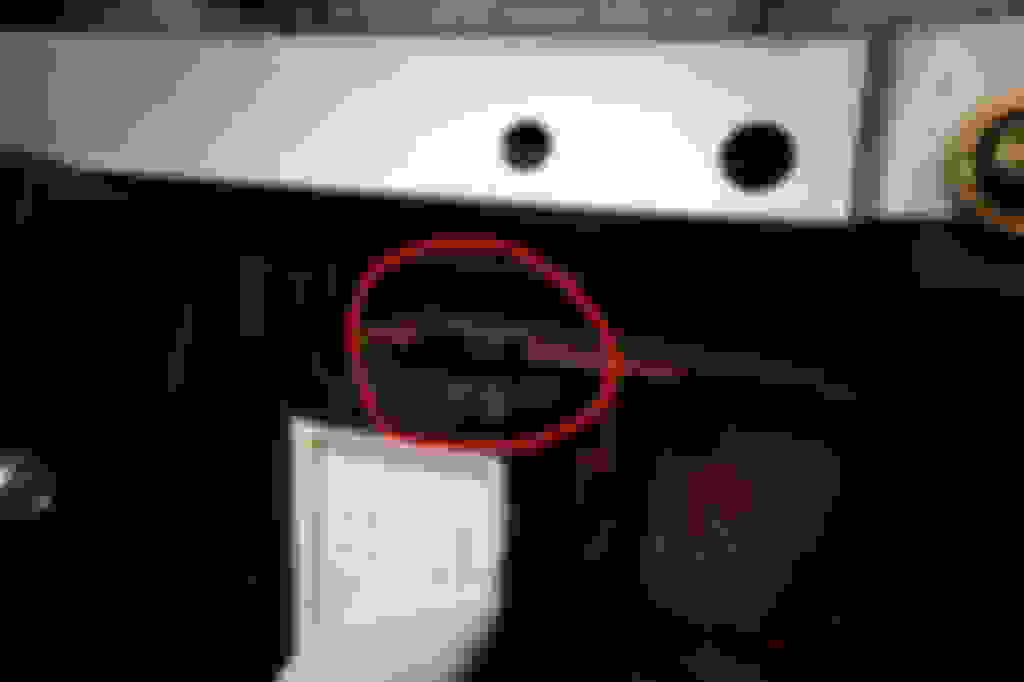
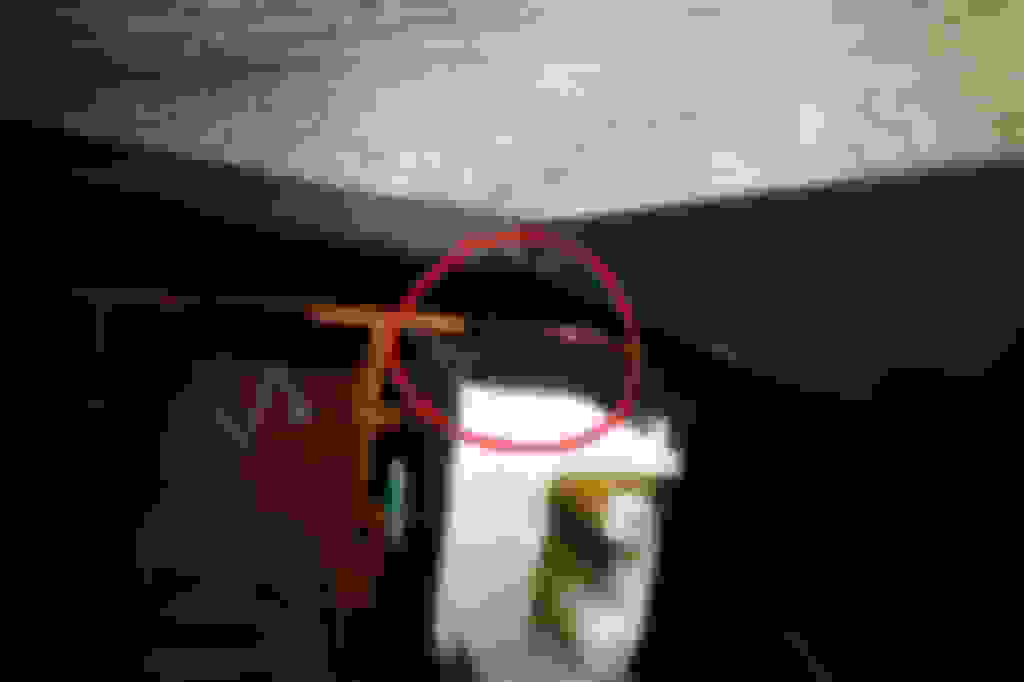
For the ECT switch, the way I replaced mine was to remove the seat and VSC switch panel (making sure the shifter was out of the way), then there are 3 screws holding the cubby/ECT/CD changer door panel in place. Remove the three screws (be careful not to drop them!), then pull firmly straight out and the assembly will pop loose. Remove the harness from the ECT switch and the clip that holds the harness to the panel assembly, needle nose pliers should do the trick. Turn the panel over on its front and you should see something like this (if you have a CL or UL there will obviously be more switches, but I believe removal of the other switches is the same):
Using the jewelers flatblade, pry gently at the top and bottom of the switch between the switch and the panel tabs, you'll see a couple of plastic nubs that hold it into the panel tabs. Do one side at a time, once you have both loose the switch should pull straight out.
And voila!
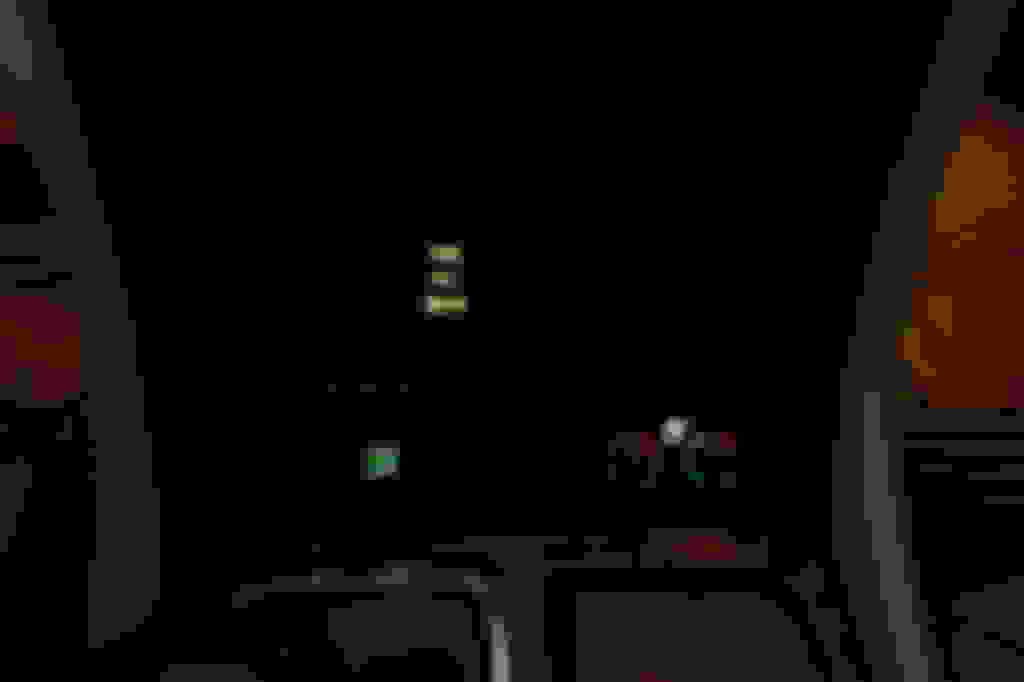
Same process to put the bulb in this one as well. To reinstall the switch, just push it back in to the panel until it clicks (be sure it's not upside down!) and reinstall everything in reverse. This was a very easy job, it took me about 20 mins start to finish to replace both bulbs. And I have nicely illuminated controls again!
Car Used: 2001 Lexus LS 430 w/Nav before M/C Difficulty: Very Easy to Medium
POST 01: Bulb part numbers and pictures
POST 02: Fog lights to HID and headlight adjustment
POST 03: Interior Bulbs (dome, map, ashtray, puddle)
POST 04: Rear (trunk, license plate, 3rd brake light)
POST 05: Exterior (mirror lights)
POST 06:
POST 07: Bulb locations POST 28: Dash, door handle, glove box, etc lights (tnx mrsandman) POST 32: Follow up pictures for post #28
POST 91: LEDs in the radio (tnx weizs13)
Part Numbers:
Low Beam Headlamp Light Bulb Size: HID-D2R
High Beam Headlamp Light Bulb Size: 9005
Fog Light Light Bulb size: 9006
Parking Light Bulb Size: 2825
Front Turn Signal Light Bulb Size: 7440
Rear Turn Signal Light Bulb Size: 992 (7440A)
Tail Light Bulb Size: 2825 or 7443
Stop Light Bulb Size: 7443
High Mount Stop Light Bulb Size: 7440
License Plate Light Bulb Size: 2825
Back Up Light Bulb Size: 7440
Front Sidemarker Light Bulb Size: 2825
Rear Sidemarker Light Bulb Size: 2825
Glove Box Light Bulb Size: 37
Step/Courtesy Light Bulb Size: 194 or 74 or DE3021
Trunk/Cargo Area Light Bulb Size: 194
Instrument-General Light Bulb Size: 194 Sport/Norm, ECT, and Height switches: Lexus pn/90010-01059 (tnx StanVanDam) Glove Box, Center Console, and Door/Window Switches (tnx mrsandman)

 12-16-14, 11:41 AM