When you click on links to various merchants on this site and make a purchase, this can result in this site earning a commission. Affiliate programs and affiliations include, but are not limited to, the eBay Partner Network.
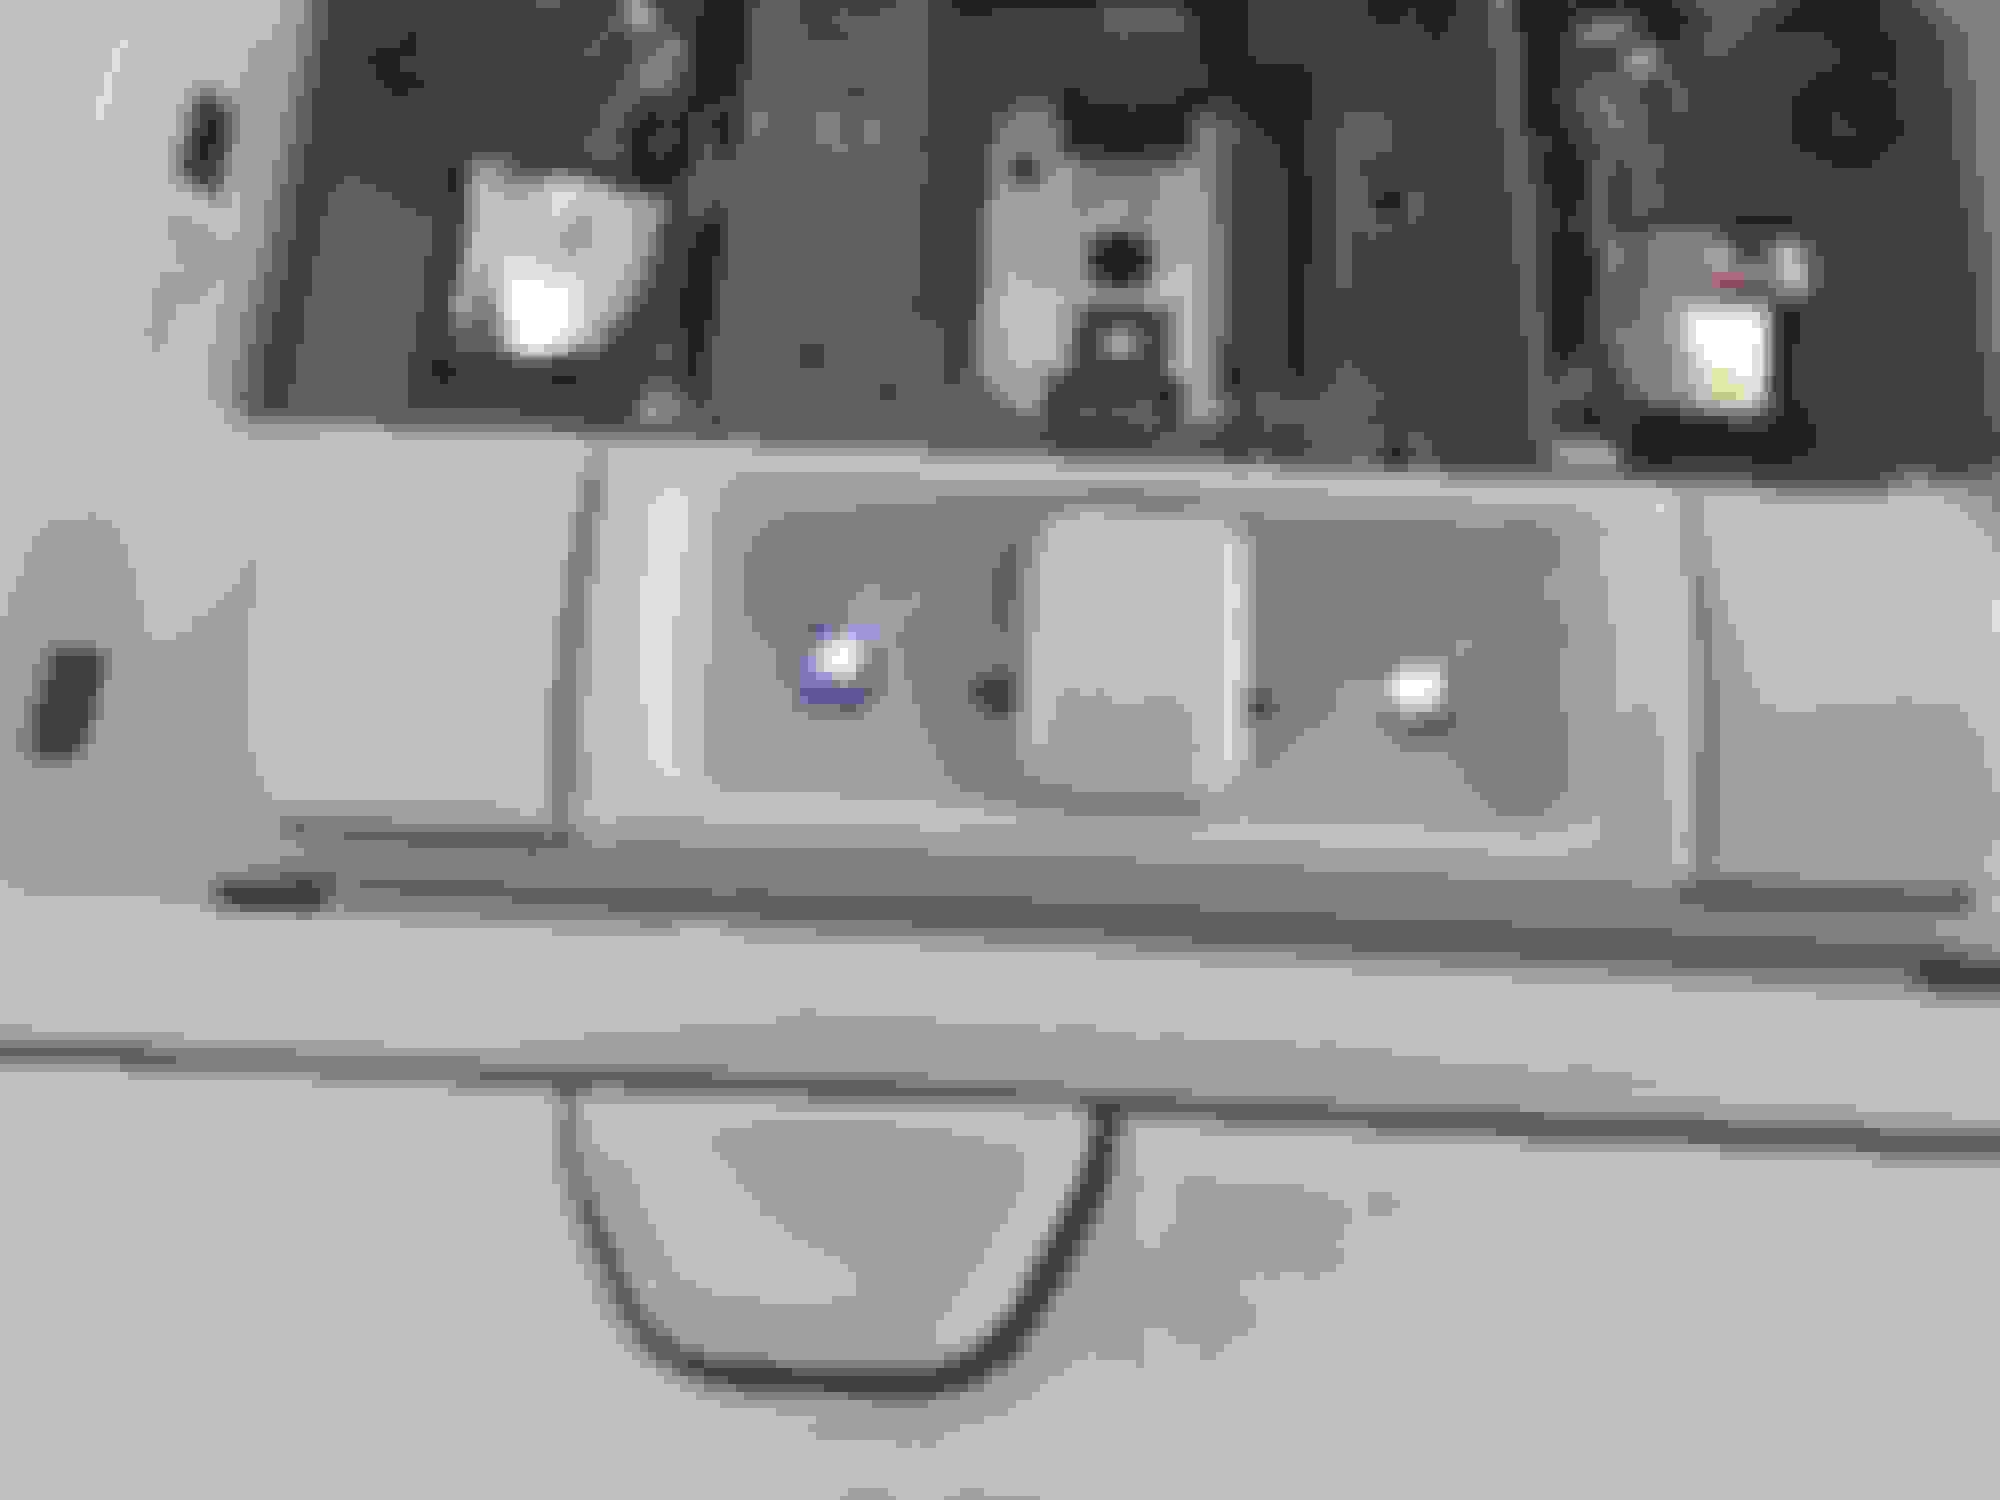
Took out the over-head console and replaced the night lights LEDs from amber to white. Might install a potentiometer inside the sunglass-holder if it turns out to be too bright at night.
I restored my headlights today to a new-like condition. I may confirm that Silvania Headlight Restoration Kit has more advanced compounds compared to 3M that I used 4 years ago. Also, there is no need to use rotor buffing, as the work can be solely done by hands.
Wanted to thank forum members for providing additional guidance to the technique of polishing headlights.
Did front and rear brakes on my '05 Sport today and found this on the right front:
Also found 3 shims on every pad front and rear and both wear sensors were unplugged. Not tripped, just unplugged.
I restored my headlights today to a new-like condition. I may confirm that Silvania Headlight Restoration Kit has more advanced compounds compared to 3M that I used 4 years ago. Also, there is no need to use rotor buffing, as the work can be solely done by hands.
Wanted to thank forum members for providing additional guidance to the technique of polishing headlights.
I think I also used the Sylvania several years back on my Honda Ridgeline. It did come out well also. I did mine all by hand too.
I installed a cheap front brake set. The set was the �Autospecialty (KOE6364) Daily Driver OE Brake Kit, Front� from Amazon.
The rotors are out of true, have a disappointing amount of runout, about a 1/16 of an inch. I guess that�s what you get when you go for cheap Chinese crap.
I put on 1 side, saw the runout, considered getting OEM rotors, then decided I would test drive it with the one side done. I must say that it seemed to work OK. No detectable pulsing. I have to believe OEM rotors would be better than these.
So I went ahead and did the other side as well. Note to self, don�t do that after a brake test as the caliper gets kinda hot. We�ll see how it holds up. I can�t recommend this set, probably would have gone for OEM in retrospect. Still, it was only $145 dollars, so not out a lot if I decide it must go.
I also tried the Figs jack block on the front side, that did not go so well. The plastic panel next to the pinch weld gets in the way. To the point where it shot the Figs block off to the side and collapsed on to the top of the jack. Just jacking right on the pinch weld works, I just didn�t want to bend it, if possible. I looked at removing the plastic rocker panel, but that is just more trouble than it�s worth. I guess I�ll just keep jacking on the pinch weld.
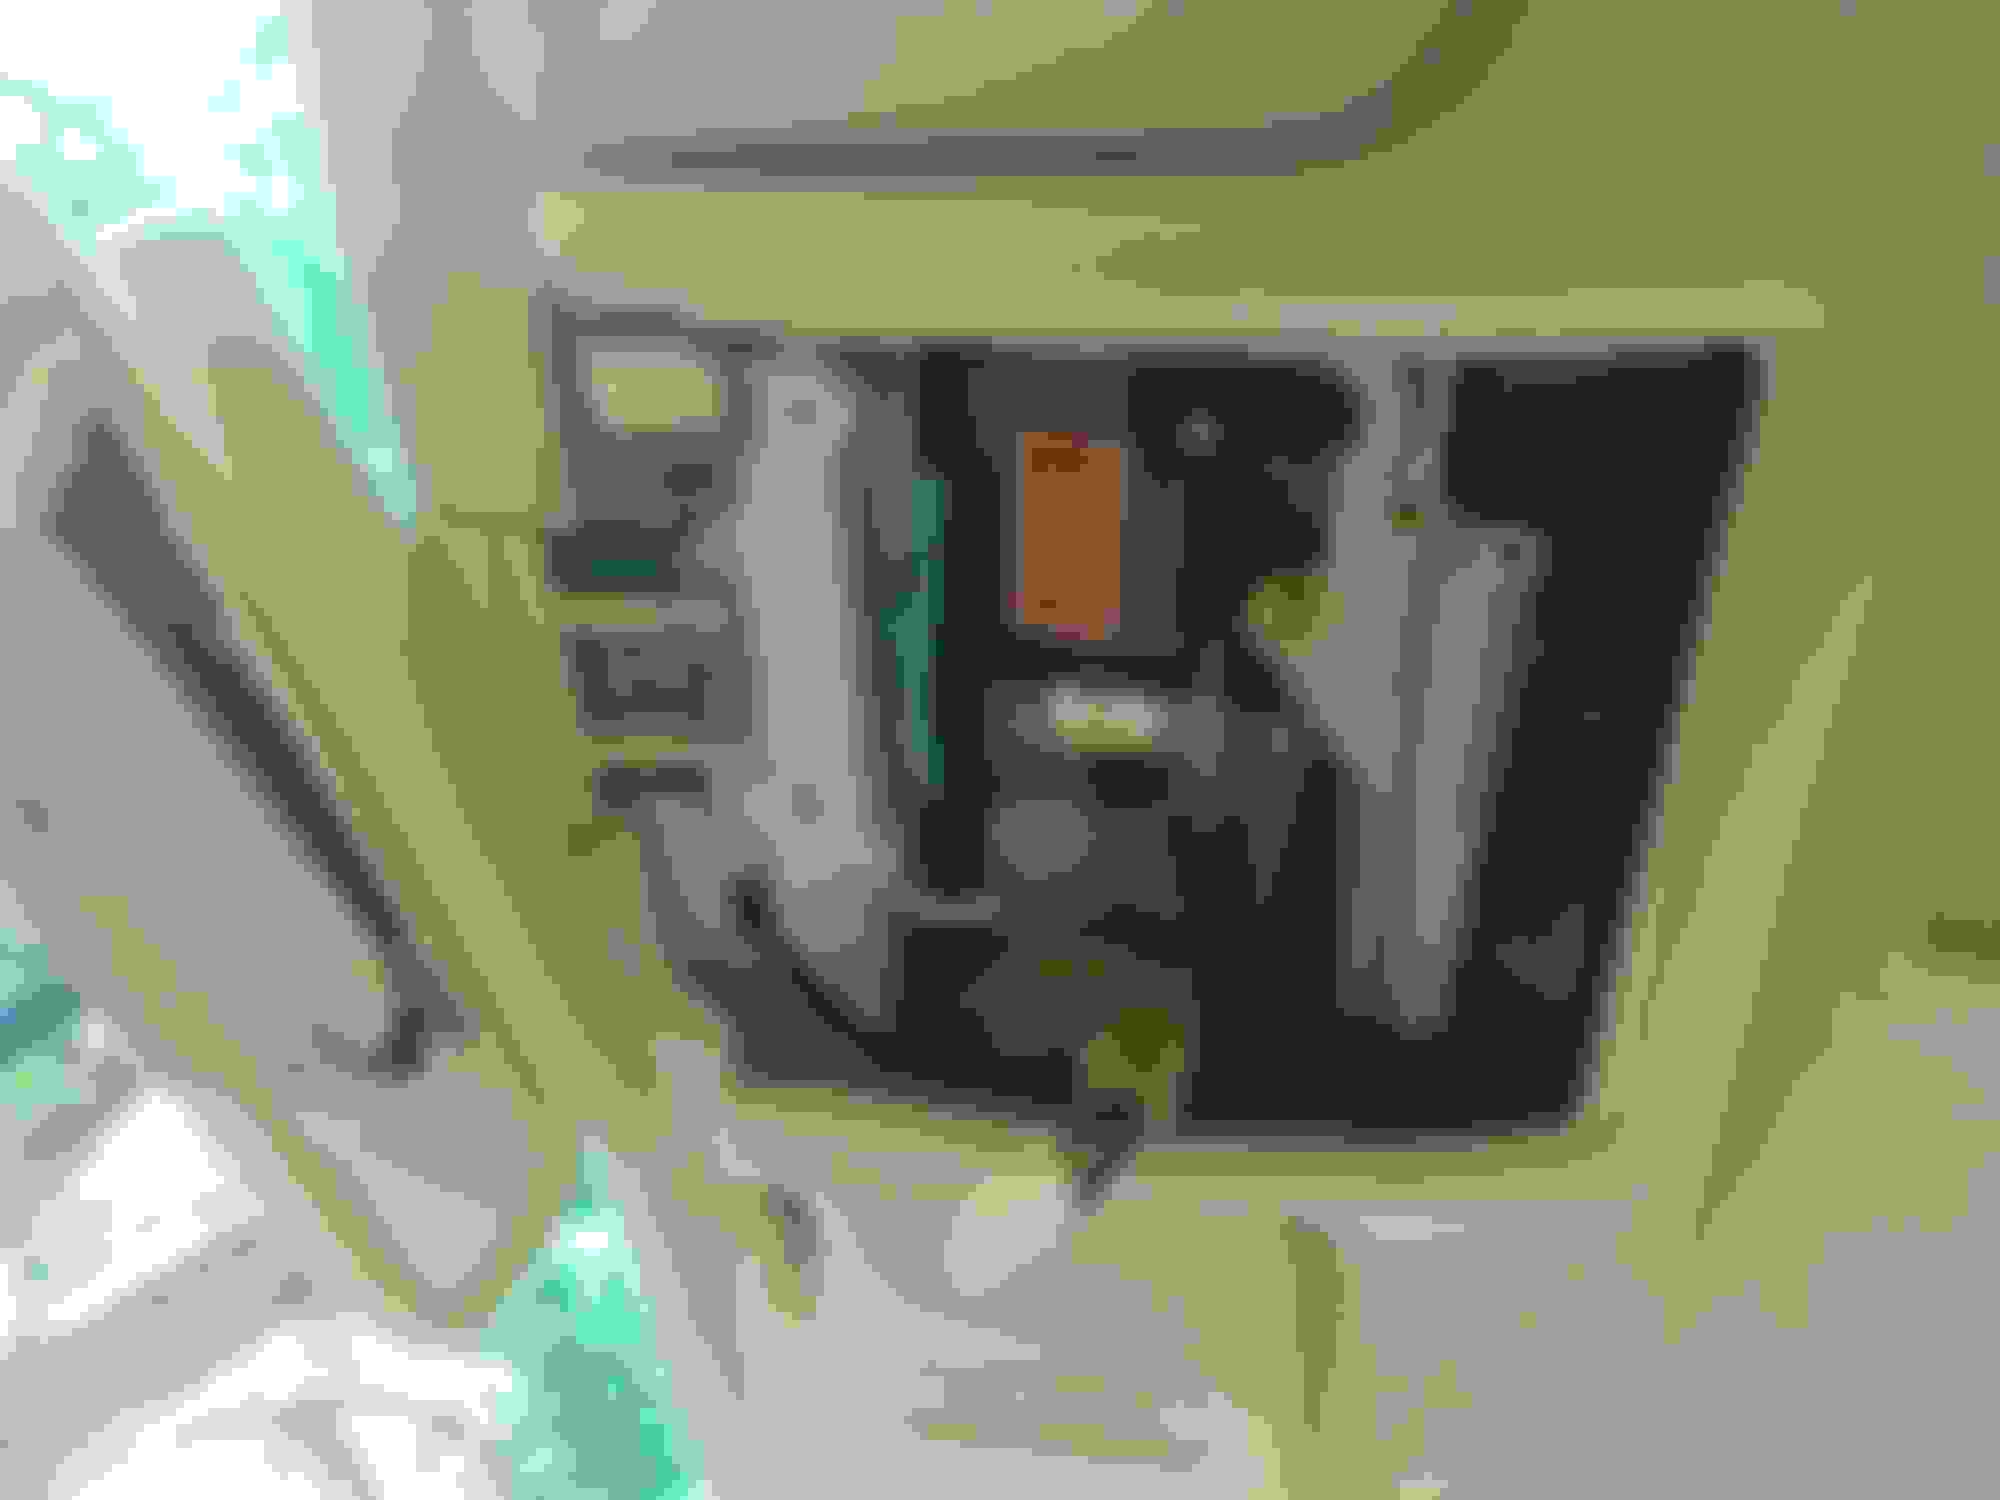
Spent some time in the garage with the LS this afternoon.
- Figure out that the fuse is blown for the cigarette lighter in the middle console.
- I replaced the license plate bulbs with LED.
- I have notice that the trunk button with the melted rubber is getting harder to operate to turn on the trunk, so I decided to take a look while I am in there. Apparently the repeated action to open the trunk has pushed the melted rubber into all of the small cracks of the button, causing it to jammed up. I disassembled the button and clean up the melted rubber crap with brake cleaner and put it back. Let me just say these melted rubber is a real pain to clean up. I still have some residue on the outside of the trunk. Anyone got any idea what to use to clean it up that does not hurt the paint? I am going to use a lot of soap tomorrow and see if that works. I am also trying to figure out what to use to cover the button up since I get rid of the rubber cover.
I restored my headlights today to a new-like condition. I may confirm that Silvania Headlight Restoration Kit has more advanced compounds compared to 3M that I used 4 years ago. Also, there is no need to use rotor buffing, as the work can be solely done by hands.
Wanted to thank forum members for providing additional guidance to the technique of polishing headlights.
Stunning results!
Thanks for sharing the pics of your beautiful LS. I was never too fond silver as I had bad experiences with fading on previous vehicles...then again they were not Lexus...LOL. Really warming up to silver again after seeing so many beautiful examples here.
The Silvania kit was attractive to me when I was researching best kits because you did not need to use an electric device in the process. Not keen on attacking my baby with electric devices, especially in such a small area where hand sanding/buffing will work just fine.
Feeling the 800 grit attacking the contaminants and UV damage under your fingers when hand-sanding was a satisfying experience to me. Then feeling the smoothness of the plastic on each additional decrease in the grit just confirmed in my brain that the process was working.
And only having to apply the final coat with a microfiber towel at the end without attaching a buffing wheel to my drill and attacking the plastic to achieve a brilliant shine was the best part!
The last step is a true magic, I should say I was impressed when I applied the �petroleum-based� coat which immediately converted the surface into incredible transparency. The power of appropriate chemicals is indeed amazing, but it takes time to learn from others what is a good product to use. Silvania was the right one thanks to your experience.
Also, I completely forgot to mention one additional tip of utilizing UV clear coat. Let�s say in case you have some of it left after doing the headlight job. Take a look at plastic �glass� inside your car - climate control, time, radio tuner, speedometer. When the climate is too humid or if you like cleaning these areas with wet towels, you may notice some white spots in these areas that are stuck there.
Well, this UV clear coat is so incredibly strong that just by one quick touch of it will almost permanently restore the clarity of these plastics �glass� elements.
Recently completed my extra heavy-duty DIY project of removing old paint from 12 years old rims and complete covering
them with a German-made Blue Chrome layer. Took me a lot of time to understand the process and obtain necessary tools and proper compounds. So far, I am far more than happy with results. In the future I expect to being able quickly fix any possible scratches on the surface as the procedure will be very easy (15 min per possible issue with a rim).
I treated my seats with a lot of Leatherique. The interior is in really excellent condition, but the surface of the seats feels very hard. Not what I remember from my �97 LS. That was Coach leather edition, perhaps that just has a better feel. This is while it is still soaking in. I think some of it is actually vinyl, not sure though.
That looks really good. Do you have a link to this product? How difficult is the process? Do you need to get the tires off? The chrome in my spare is in very poor shape.
That looks really good. Do you have a link to this product? How difficult is the process? Do you need to get the tires off? The chrome in my spare is in very poor shape.
I would rate the difficulty as 10/10. My rims were not chrome originally. However, now they have a shinier reflection on bright sun especially than some other chrome wheels that I see around. I used Menzerna bars and high torque low-speed grinder to get the result. Basically, after stripping paint and multi stage sanding, I colored the rims in to chrome. I didn�t have to take tires off.


 07-27-18, 09:49 AM