When you click on links to various merchants on this site and make a purchase, this can result in this site earning a commission. Affiliate programs and affiliations include, but are not limited to, the eBay Partner Network.
From my observation of the 2004 there are 2 motors, my understanding of the 2003 there are 2 motors too. This thread is only about the telescopic motor, if you go back to the start of the thread you would see a link to the tilt motor. I am just thinking you could be unlucky or there might be something else that needs to be looked at, perhaps check to see if the power is making it to the plugs as you would be wasting money getting 2 motors, my 2 centsr
Good advice. I am not good at wires but has sense of logic and skill to fix basic.
If I remove the lower steering cover and want to test the two motors, what is the best way to do that?
I have a volt meter
Good advice. I am not good at wires but has sense of logic and skill to fix basic.
If I remove the lower steering cover and want to test the two motors, what is the best way to do that?
I have a volt meter
I've attached, to Post #31 of this thread, the procedures to access the "tilt" motor and the "telescopic" motor. Shown below is Page 9 from that document. The 2 motors are circled in green. First, check to make sure the 20A fuse called "TI/TE" in the driver-side fuse box is in good working order. Then simply unplug each motor and check for power on the incoming connector while you operate the small "joystick" on the left side of the steering column. Moving the joystick up-and-down will send power to the tilt motor, moving it back-and-forth will send power to the telescopic motor.
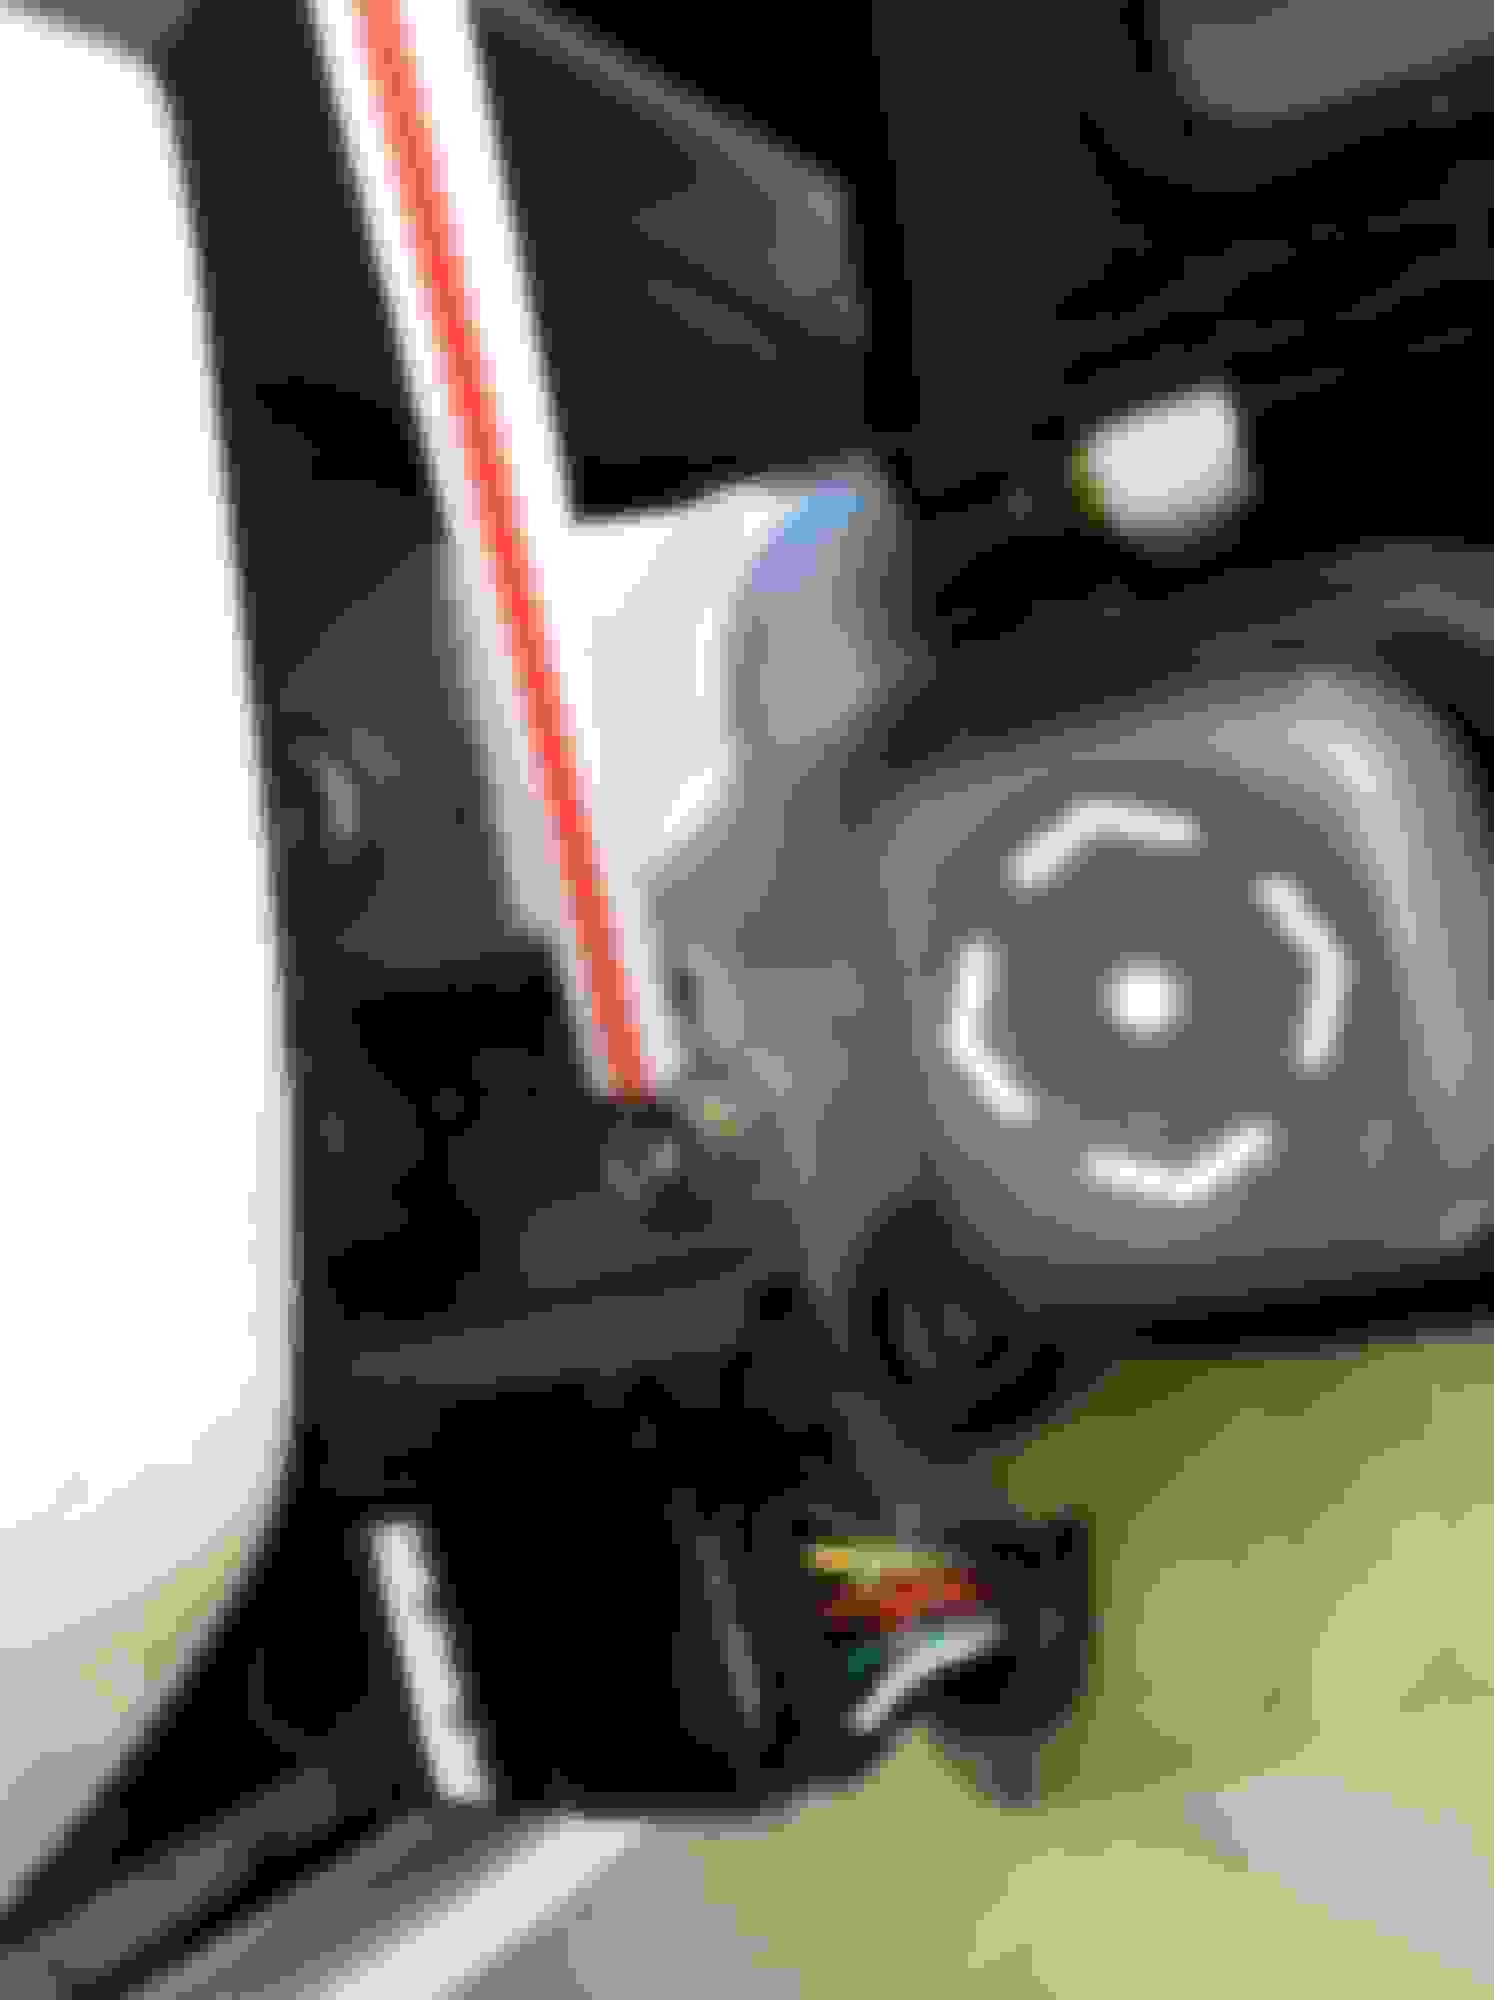
Hi All. I'm a new poster here because my telescoping motor seems to have stopped working. I searched Google looking for a how-to on this issue and came across this forum. First, this is a great write up. I'm not much of a mechanic but after reading this thread, I thought, "OK, I can do this". Well, it turns out, I'm stuck. My car is a 2005 and I can't seem to get the panel out that hides the knee air bag. Also, I'm a pretty big guy (6' 2", 225 lbs) with big hands. How in the world do I get to the telescoping motor without taking off the knee air bag or the bottom half of the dash. I've included some pictures of where I got stuck. Any advice would be greatly appreciated. I really don't want to spend $800 at my local repair shop to have this motor replaced.
How do I get my big hands in here to get the motor out? This is a wiring loom that's attached to a bracket and it's preventing me from getting to the motor. This is just a better view of the wiring loom
Hi All. I'm a new poster here because my telescoping motor seems to have stopped working. I searched Google looking for a how-to on this issue and came across this forum. First, this is a great write up. I'm not much of a mechanic but after reading this thread, I thought, "OK, I can do this". Well, it turns out, I'm stuck. My car is a 2005 and I can't seem to get the panel out that hides the knee air bag. Also, I'm a pretty big guy (6' 2", 225 lbs) with big hands. How in the world do I get to the telescoping motor without taking off the knee air bag or the bottom half of the dash. I've included some pictures of where I got stuck. Any advice would be greatly appreciated. I really don't want to spend $800 at my local repair shop to have this motor replaced.
How do I get my big hands in here to get the motor out?
This is a wiring loom that's attached to a bracket and it's preventing me from getting to the motor.
This is just a better view of the wiring loom
Not certain. But, maybe this will help: Remove Instrument Panel Air Bag Assembly Lower No. 1. A. Disconnect the connector from the instrument panel airbag assembly lower No. 1. NOTE: When handling the airbag connector, take care not to damage the airbag wire harness. B. Remove the 4 bolts and the instrument panel airbag assembly lower No. 1.
From: http://australiancar.reviews/_pdfs/L...B-ST001-04.pdf (please note bulletin says 2002-2004)
Thank you for the reply! I probably should have been more clear. The part I'm having trouble with is the step before this. I can't get the 4 clips undone. Do you have any idea how to get the knee bag cover, or as they call it the "Instrument Panel Safety Pad Sub--assembly No. 1" off? Those four clips, I just can't seem to get them off. Thanks again for your help!
Finally installed the new telescoping steering motor and new rubber bushing in the boss using these instructions. Took maybe an hour total - that top bolt for the motor was a pain to feel for and then find a socket/extension that would get to it without the brake pedal shaft and such in the way. As noted farther down in the comments (which I hadn't read closely enough) The motors do have a start and an end built in, so when you put in the new one dont re-attach the boss/bushing until you've figured out whether the new motor is all the way "in" or all the way "out". My column was stuck all the way out but when I put in the new motor it was in the "in" position but I didn't know that, so when I tightened it all up it would spin once then stop since it thought the column was in when it was actually out. So I loosened the bushing bracket and removed the boss screw all the way, then pressed the switch to the all the way out position until the screw stopped spinning, screwed the boss back on to where the threads were just poking out of the end, and then re-attached the bracket and then it worked great. Also you want to clean all the dirt and old grease off the telescopic column itself - mine was covered in dust and had a light film of surface rust from the humidity, so I cleaned all that off with a towel and alcohol and liberally applied some white lithium grease all the way around with my finger. Also applied white lithium to the tilt screw while I was there as well as the telescopic screw after cleaning off the old black grease. Anyway, could prob do it again in 30 minutes having done it once. Thanks for this write-up!
_ Cowl and under cover removal
_ Steering bushing removal/replacement
_ Telescoping motor removal/replacement (refer to post #32-36 prior to installation)
_ Motor № / Year / Model Compatibility List
_ Possible fix for weak, squealing, squeaking motor
_ Manual steering wheel extension/retraction positioning with defective motor
_ Disable auto retract/tilt function
Tools required-
_ Cross+tip screwdriver, 1/4" drive ratchet,10mm and 5/16 socket
_ Parts - Bushing ( pn-45768 )
_ Materials - grease ( White Lithium grease in a spray can was used in this maintenance procedure)
_ Optional - towel to protect carpet, rag and hand cleaner
* Procedure performed on 2002 LS430....
******************* Cowl and under cover removal -
1) - Remove bottom cross+tip screw from steering column cowl - Pic #1
2) - Turn steering wheel to right to access and remove cross+tip screw - Pic #2
3) - Turn steering wheel to left to access and remove cross+tip screw - Pic #3
4) - Remove lower and upper cowl. You will need to gently bend lower cowl over telescoping **** - Pic #4
If you are having problems removing cowl, raise steering wheel by using tilt **** to assist in removal of lower half of cowl, then lower/tilt steering wheel to remove upper half
5) - Remove 10mm bolt from tilt motor wiring connector bracket and remove either as assembly or slide connector off of bracket prior to removing as it clips on bracket - Pic #5 & #6
6) - Remove under cover ( 2 -5/16/cross+tip screws ) - Pic # 7
Disconnect any wire connectors. Once all connectors and 2 +screws are removed , grab under cover on each side and pull towards rear of vehicle as it has male plastic 'clips/fasteners that snap into dash framing - Pic #8
7) Reassemble in reverse order
Pic #4 ---- Lower half cowl pulled over telescoping control ****
Pic #5 --- 10mm bolt to tilt motor wiring connector bracket
Pic #6 --- bracket removed as assembly
Pic #7 ----- Remove under body 5/16 screws 2 ea
Pic #8 ---- To remove pull towards rear of vehicle ... Note plastic clips/fasteners
************************************ Optional...
The picture below is of your tilt motor screw, operate tilt control **** for visual operation. You may desire to clean threads and lube since you have access to it at this time. If you're having problems with the tilt motor, search the forums as there are some great write-ups detailing shimming of gear or reversing the gear itself
*************************************
========================
Telescoping bushing/nut maintenance procedures -
1) - Remove 2 -10mm bolts and bracket. Note - upper half of bracket is shorter in length than the lower half for reassembly purposes- Pic #1
2) - Remove bushing ( PN 45768 ) and inspect for any visible damage. Also check for softness as rubber has a shelf life and will deteriorate over time, especially when associated with any petroleum products like grease. A damaged bushing is known to cause binding and minor squeaking during retraction or extension of the steering wheel .
3) - Remove nut - Pic #3
4) - Clean bushing and nut, replace if defective. Clean threads of jackscrew and lubricate with white lithium grease - Pic #4
5) - Install nut, bushing and bracket. I found it is easier to start upper bolt first when replacing bracket
At this time, check for proper in/ out operation as this procedure may be all that is required depending on fault
* Note position of jackscrew in comparison to nut, this is the extended position of my steering wheel
* Auto tilt function will still work with a defective telescopic ( in/out ) motor whenever key is removed/inserted, hence if your auto tilt does not function whenever key is removed, you have an issue with the tilt motor, it has been programed by dealership not to function ( turned off) or you have a blown fuse. Scroll to bottom of page for fuse location.
Pic #1 --- Bracket
Pic #2 --- Bushing PN-45768
Pic #3 - Nut
Pic #4 ---- Nut and bushing removed, jackscrew greased with white lithium grease
>>>>>>>>>>>>>>>>
Removal/Installation of telescoping motor ....
1) - Remove 2 - 10mm bolts from motor bracket
2) - Remove the flex shaft -Pic # 2A - 2B
3) - Disconnect wiring connector from motor ( easiest performed if you let the motor hang freely after removing the bolts and flex shaft)
4) - Install in reverse order - you may choose to add grease to ends of flex shaft prior to assembly ( I'm sure that may draw some debate)
*** Note - If replacing telescoping motor only, the undercover is the only component that needs to be removed to gain access
*** Note - refer to post #32-36 prior to motor installation/replacement
Pic #2B -- Motor and flex shaft viewed from front side, downstream from jackscrew carrier bearing
<<<<<<<<<<<<<<<<<<
Motor № / Year / Model Compatibility List
LS430 01-06
Part № 89232-50041
LS430 03-06
Part № 89232-50050
LS400 99-2000
Part № 89232-50041
Currently the cheapest price for a new motor online is at www.lexuspartsnow.com for $287.81 and free shipping. If you find a cheaper price online, please share with the forum so we can make changes. Additionally, the compatibility list can be useful as a reference for those that may wish to try and locate a used motor in a salvage/parts yard
<<<<<<<<<<<<<<<<<<
{This step only for those that want to try and salvage a weak or noisy motor that bushing replacement did not correct fault and with the understanding that replacement may be necessary anyways.. The following worked for me}
1) - Bend back tabs with side cutter w/o breaking ( Pic _A)
2) - Disconnect wiring connector ( Pic_B)
3) - Disconnect electronic ribbon, pull back on black connector until it releases ( 1/4"), now gently pull electrical ribbon from connector ( pic_ C & D )
3) - Separate motor housing and spray vigorously inside of motor with wd40 or lubricant of choice. ( Pic_E)
5) - Reassemble ... bend tabs back with wide jaw pliers and reconnect connectors. When connecting electronic ribbon, grab from the sides and push firmly into connector, with other hand push connector forward to the closed position, locking ribbon in place
*** Note - my motor had a continuous squeal and lacked the power to extend or retract steering wheel whenever motor was activated in auto mode or manually . Complete disassembly of internal components not required. If this does not fix your motor , more than likely the electronic ribbon is bad. I also sprayed connectors with electrical cleaner and electrical shield to protect from moisture..
Pic_ A -- Bending tabs
Pic_B -- Disconnect connector
Pic_ C -- Pull back on black connector until it releases
Pic_D --- Pull electronic ribbon from connector
Pic_ E --- Housing separated and spraying with W-40
===================
Defective motor - Manual in/out adjustment
If telescoping motor is defective and you have no plans to replace the motor and the steering wheel is not extended or retracted to your liking, view the following picture for manual adjustment. There is a square nut on the screw shaft at the carrier bearing but I found it easiest at the motor where it aligns with the flex shaft as shown in picture, the motors shaft has 2 flat sides and can be manually turned by a open end or adjustable wrench. Turn clockwise to extend and counter clockwise to retract.
Manually turn with wrench here for permenant in/out setting
++++++++++++++
Disable auto retract/tilt function
To disable the auto retract/tilt function when key is inserted or removed w/o having the dealership program the task, remove fuse from fuse panel located on drivers floorboard next to the parking brake. Fuse is a yellow 20A located in upper left and labeled (TI & TE). On the vehicle this write-up reflects ( 02 Yr ) the steering wheel remained in the last position prior to fuse removal and neither tilt nor in/out functioned from control ****, basically disabled ..
Firstly, thank you very much for the detailed post!
I've what I think is a weak motor, it works when it's free from the steering rack but it can't seem to carry the weight of the steering rack when it's bolted onto it. Should I just go ahead with a new motor?
Bolted on steering rack video:
Telescopic steering wheel retraction/extension not working
Fantastic thread and very helpful. Thank you! My 2002 LS430 telescopic steering wheel stopped working. Tilt works fine. I've removed the extension motor and noticed the motor does not turn freely. I cannot turn it with my figures and requires quite a lot of torque to turn. Are these motors supposed to work like that?
Fantastic thread and very helpful. Thank you! My 2002 LS430 telescopic steering wheel stopped working. Tilt works fine. I've removed the extension motor and noticed the motor does not turn freely. I cannot turn it with my figures and requires quite a lot of torque to turn. Are these motors supposed to work like that?
Thank you
jim
There is a gearbox inside the motor housing so yes they are not easily turned especially by hand. Plus they ave a fixed limit on each end so if it is all the way at the stop then you'd have to turn it the other way. But with the gears in there they are hard to turn by hand
Yes, will not turn by hand. I disassembled one years ago. The internals consist of a gear plate and some thin brass/copper disc shaped shims which leads me to believe when not activated the motor is locked position and turns when activated by voltage.. I have the parts in my shop in a baggie, I’ll post pics later if I find it. Totally different than the earlier models where internals wear out and can be replaced
I suggest connecting the motor to the harness without installing and test for operation - back and forth several times, if it works without stopping ... clean and lubricate the shaft under column. If it works back and forth several time, you may be able to get more life out of it, just don’t let it travel to the aft or forward end of travel
I bought a used motor out of a junkyard years ago, recently it stops working now and again... so far, I’ve been able to yank on steering wheel with one hand while depressing switch with the other and it goes back to working
There is a gearbox inside the motor housing so yes they are not easily turned especially by hand. Plus they ave a fixed limit on each end so if it is all the way at the stop then you'd have to turn it the other way. But with the gears in there they are hard to turn by hand
oops, my bad...
Did not intend to hijack thread and double answer, didn’t realize anyone responded as I posted from email link to thread
I just wanted to drop in and thank OP and all the other posters for the quality content on this thread!
I replaced the tilt motor on my 2005 LS in 2017 (with help from another thread here), and the telescoping motor this weekend. My new genuine OEM Lexus motor came from Japan via eBay for ~$209+tax to Texas. The part was actually made in Q4 of 2023, so it is great to see they are still making parts for these models.

 03-09-20, 03:16 PM