When you click on links to various merchants on this site and make a purchase, this can result in this site earning a commission. Affiliate programs and affiliations include, but are not limited to, the eBay Partner Network.
LS430 Ultra - Rear armrest, Module replacement - made easy
After owning a LS400 and a LS460L AWD, I recently purchased a 2004 LS430 Ultra. There were three items wrong with the car when I purchased it. First the passenger mirror would not work. After reading the forum, I cleaned the switch and all is working correctly - $0. Second the telescopic steering would not go in and out, it would only go up and down. For now, I set the steering wheel where I wanted it and pulled the fuse for the telescopic steering. I decided to tackle it at a later date. $0. The third issue were the controls in the rear armrest. It had soda spilled all over the temp/fan/radio controls. I tried clearing the module, but it was a goner. After looking at replacement modules on-line for $1000-$1500, I decided to go to the forum and got a great suggestion regarding www.car-part.com. I found the module for $150.00 which included shipping. Below are the simple steps to replace the module. It took me 15 min to complete the process as this was my second time to go through the process.
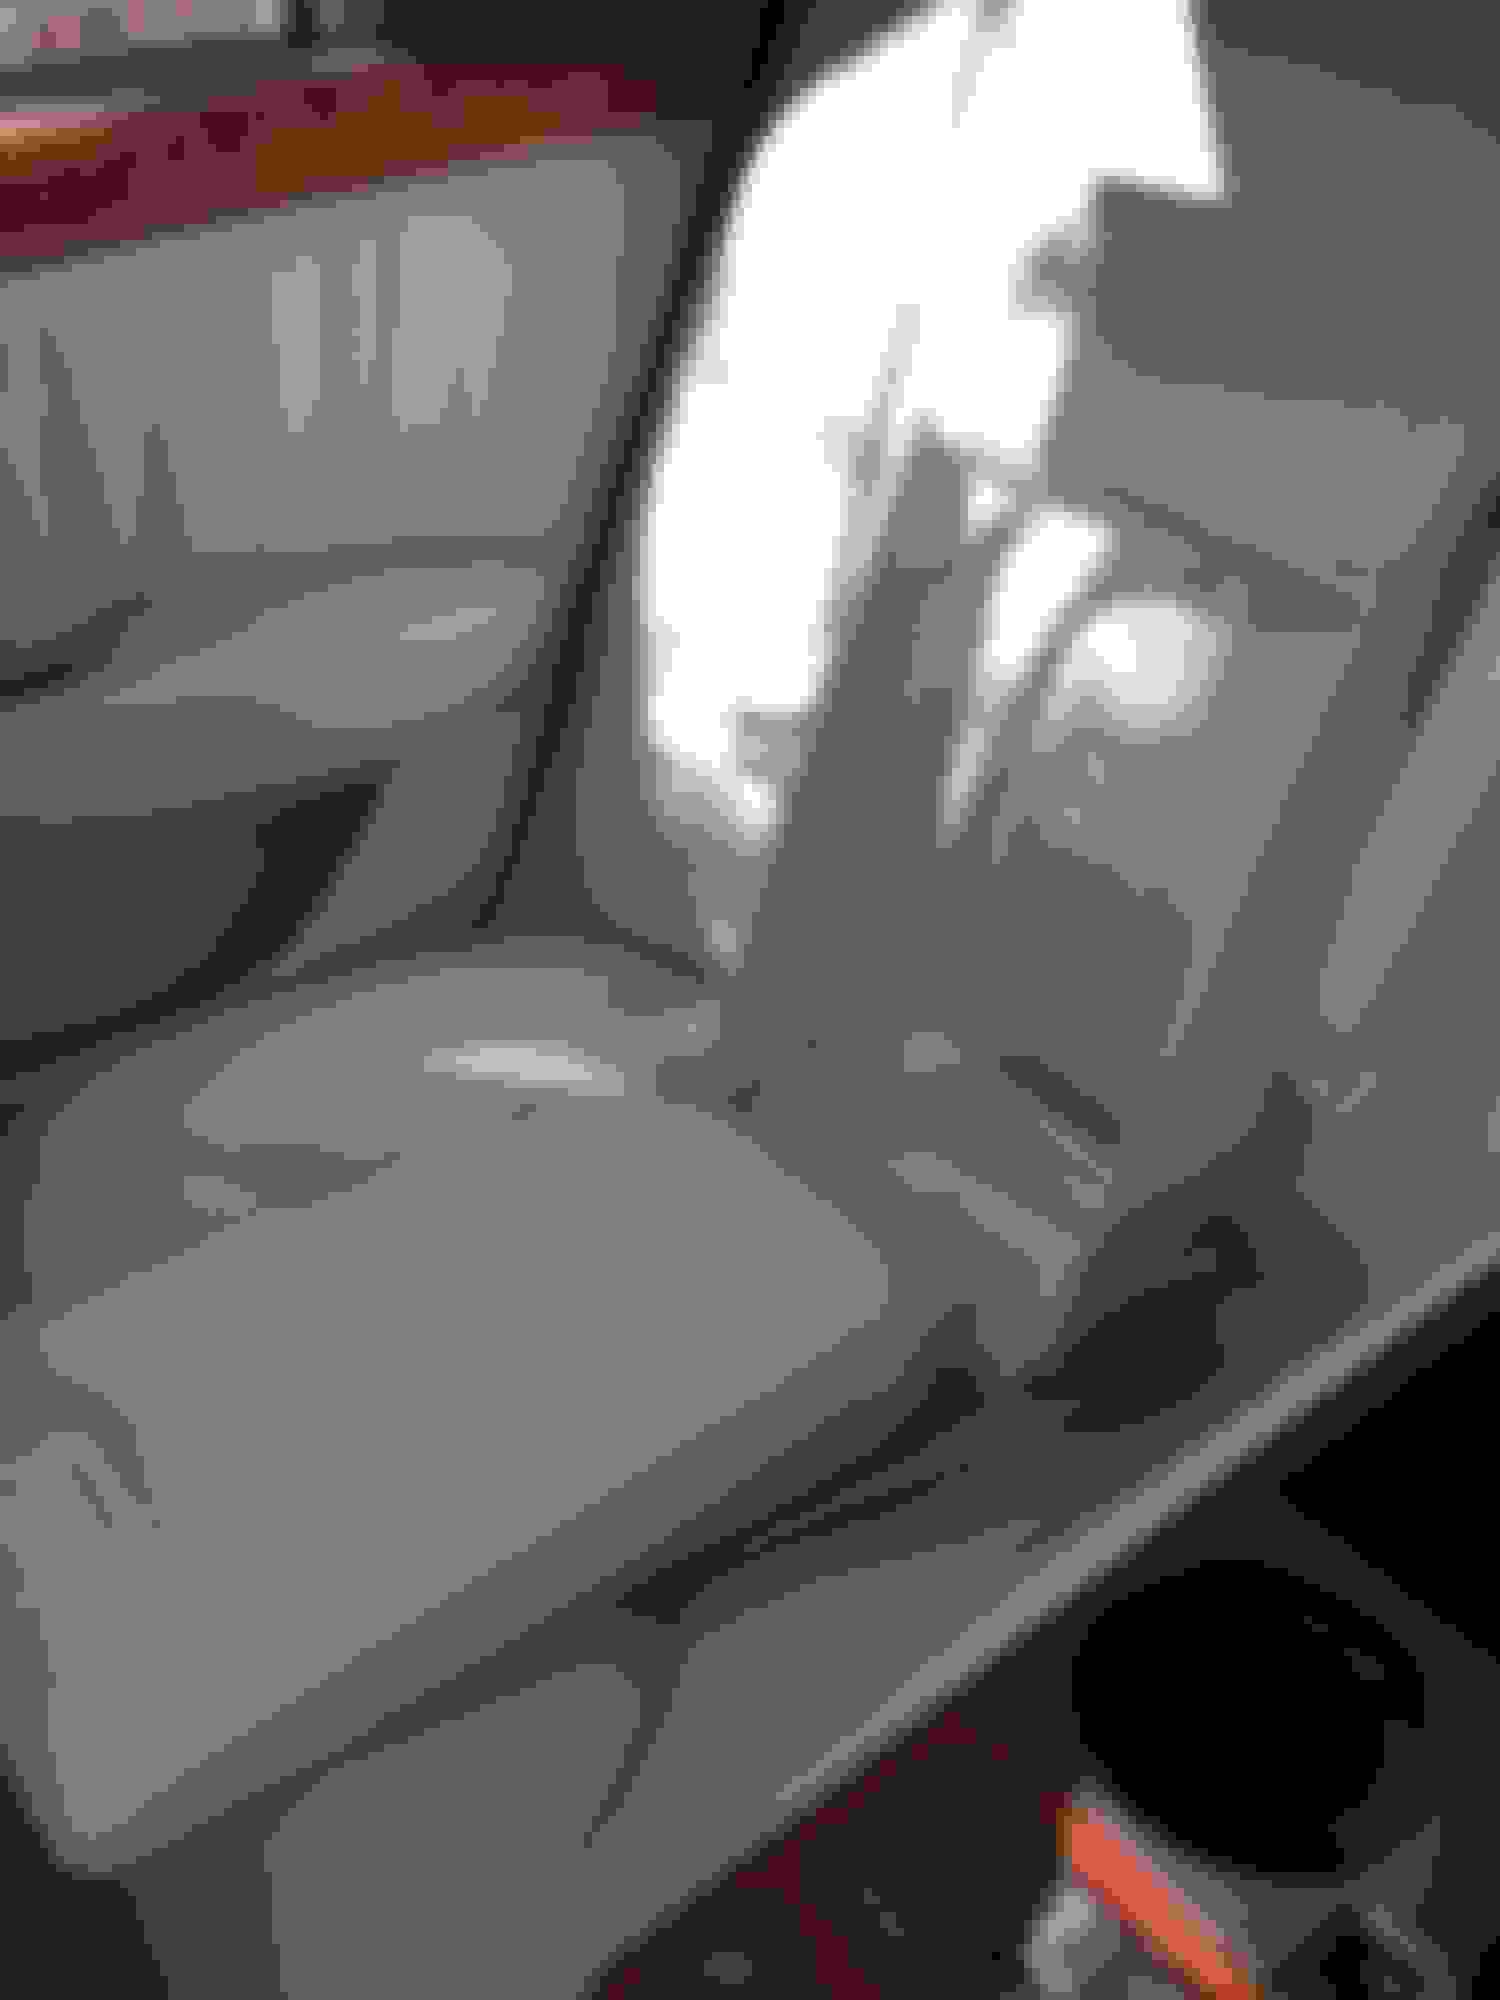
Step 1 - Fold down the armrest<br/>
Step 2 - Take the bezel off by pulling the bezel
Step 3 - This is the bezel removed from the headrest area. There are no screws attaching the bezel.
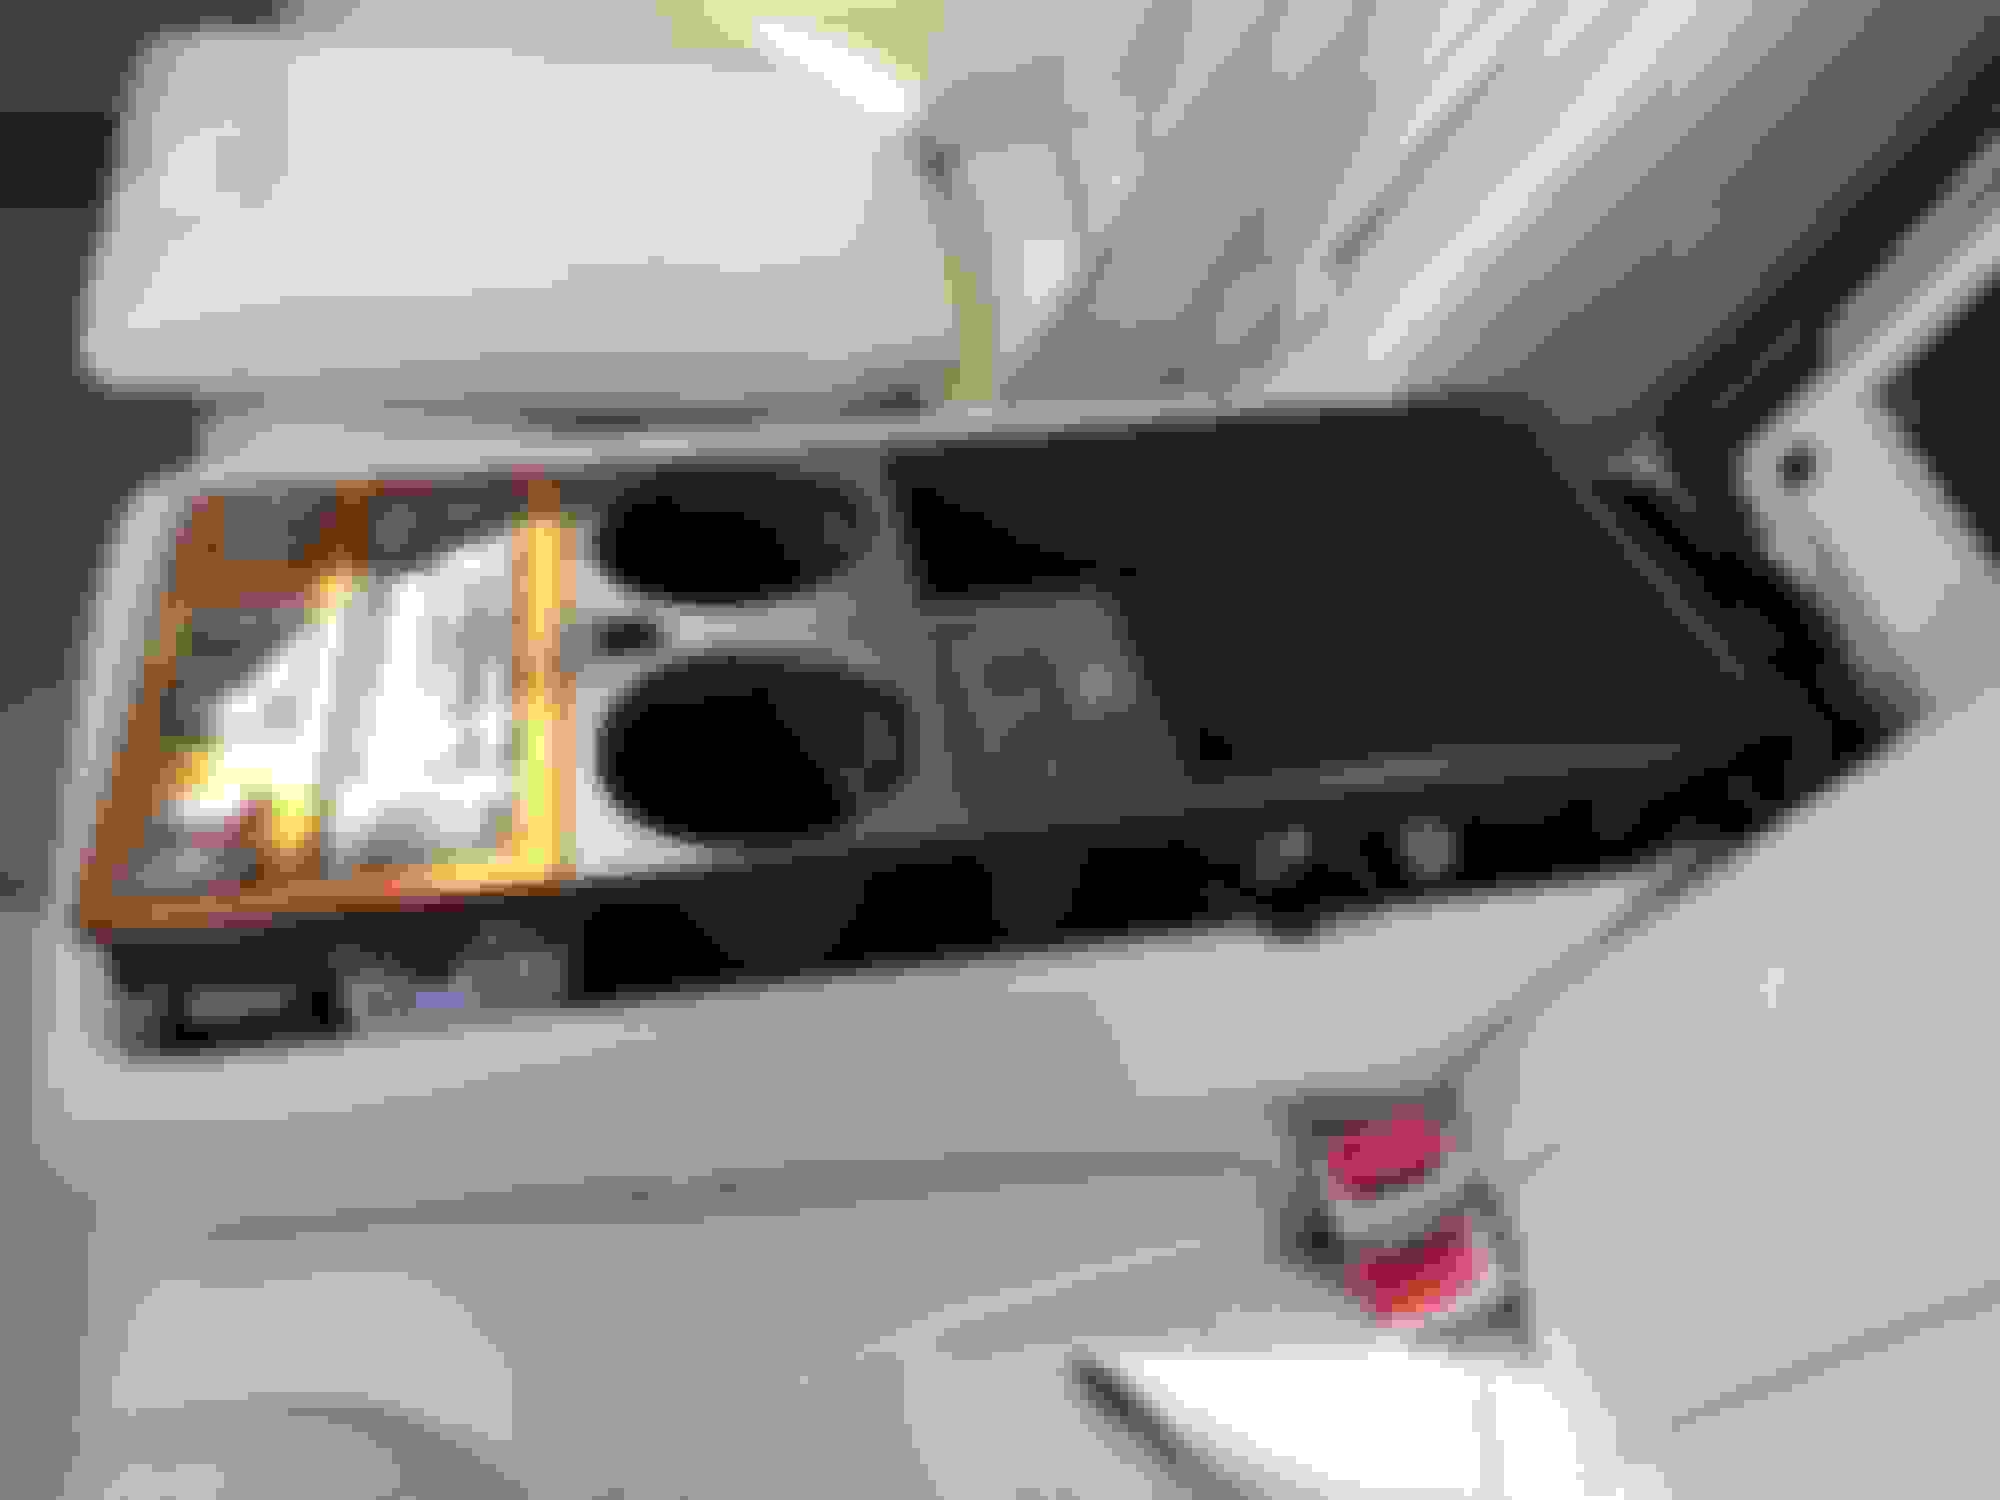
Step 4 - Lay the bezel on the open armrest<br/>
Step 5 - This is the back of the bezel from the previous picture
Step 6 - You can see the strap from the previous picture in this pic.. and one of the two screws holding the armrest cover and bezel onto the armrest. This will require a small #2 philips screwdriver... This is done by feel.
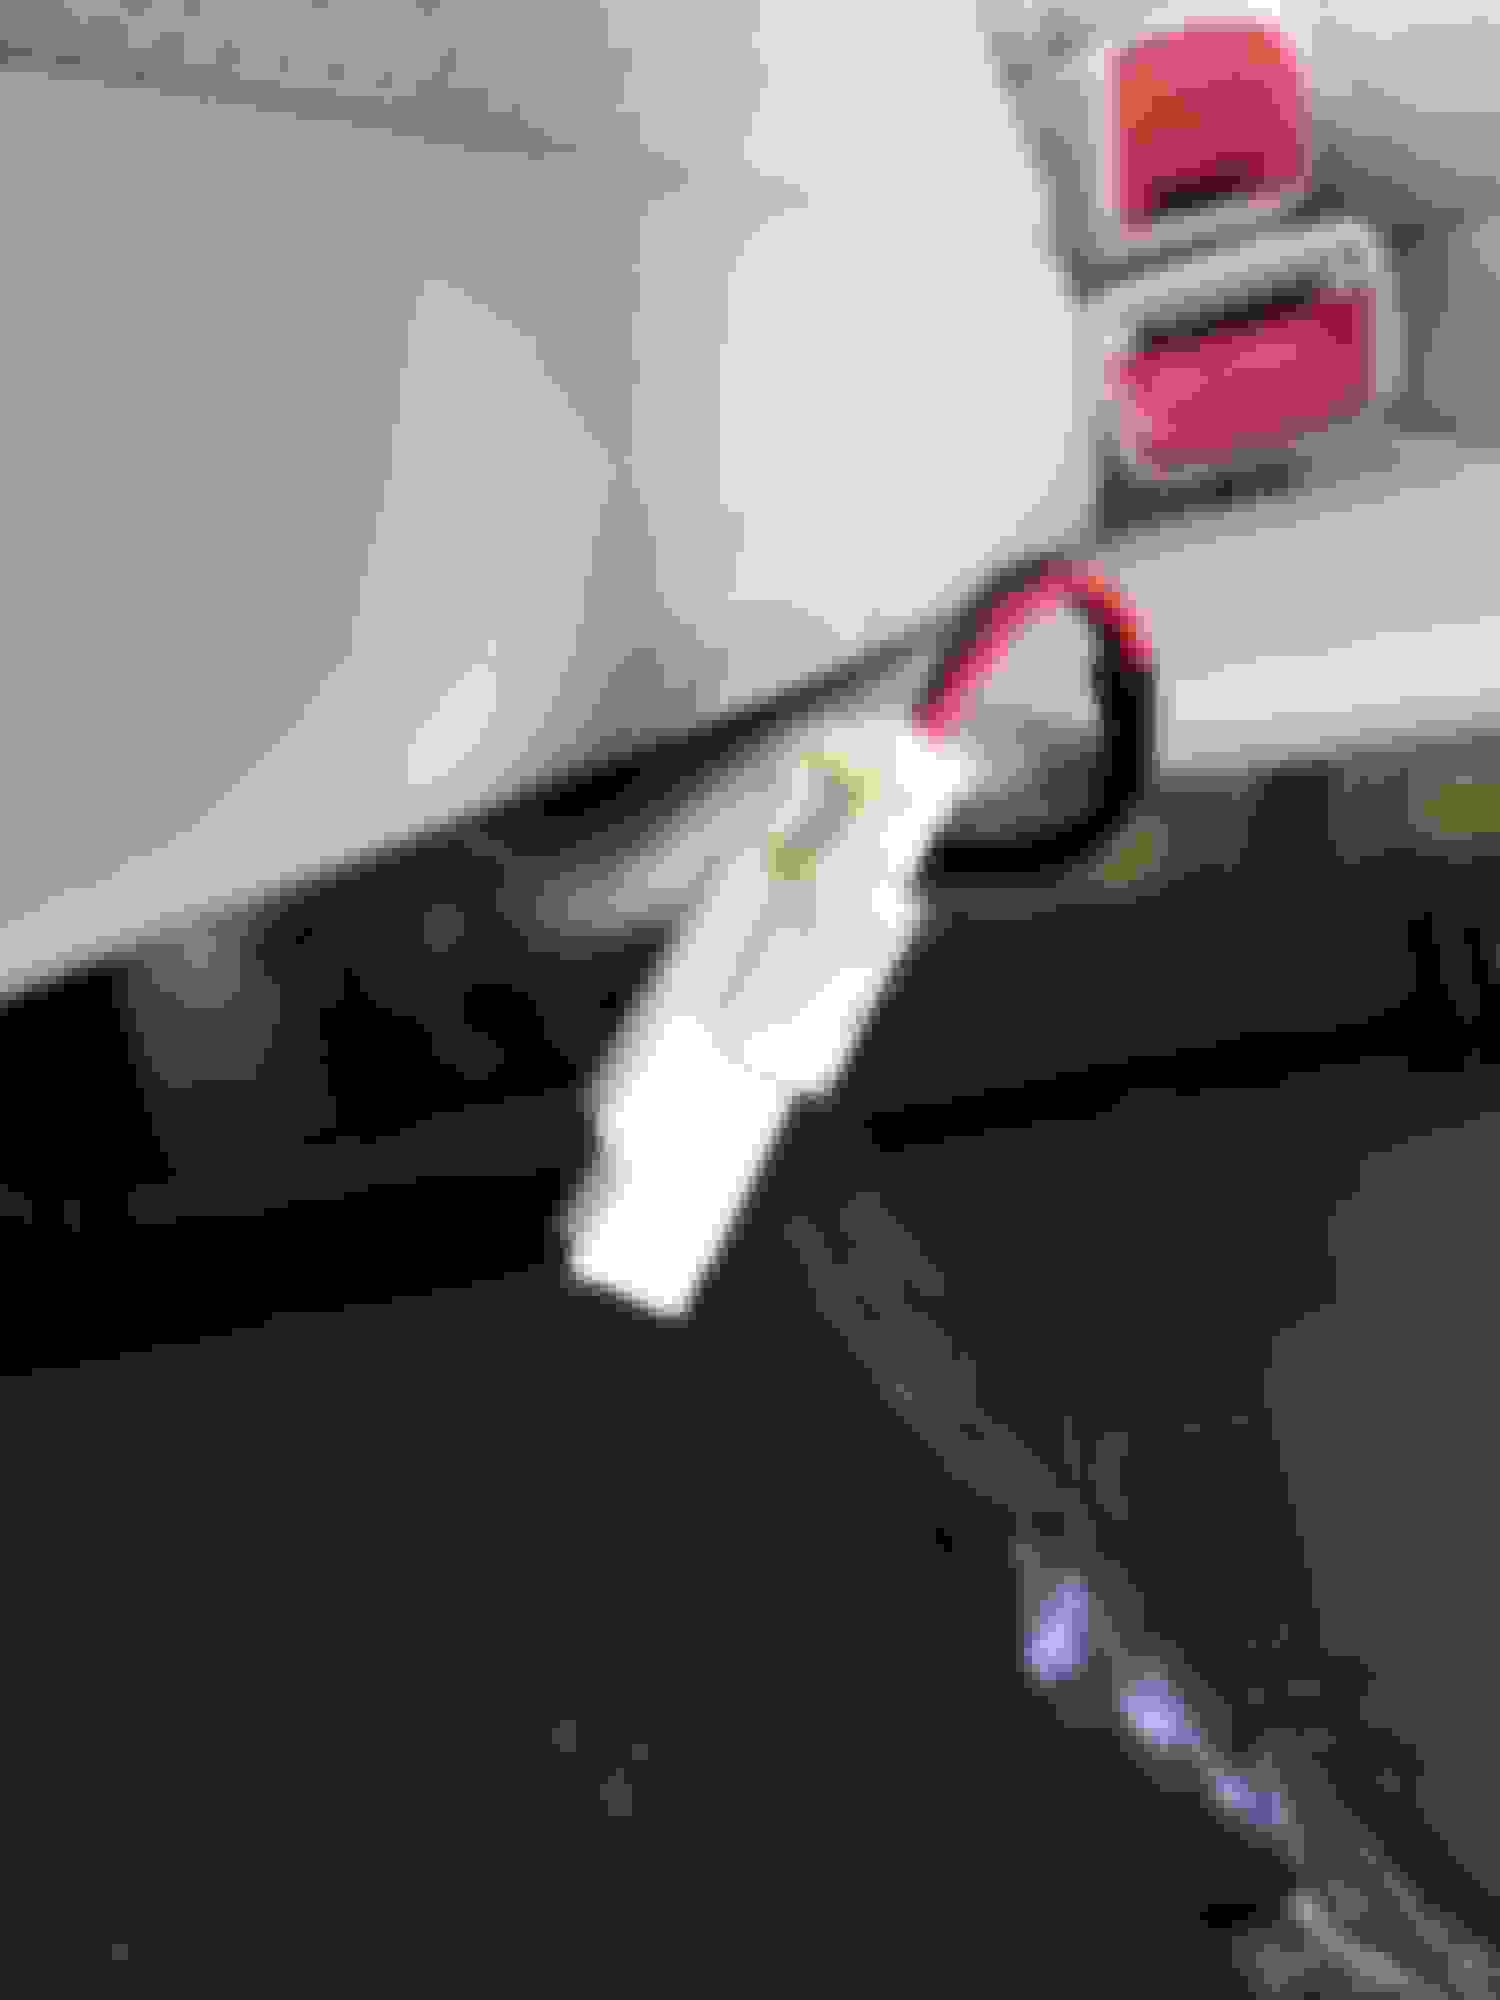
Step 7 - Remove the other screw...handle the screws with care as you can lose them.
Step 8 - set the top of the armrest and bezel aside.
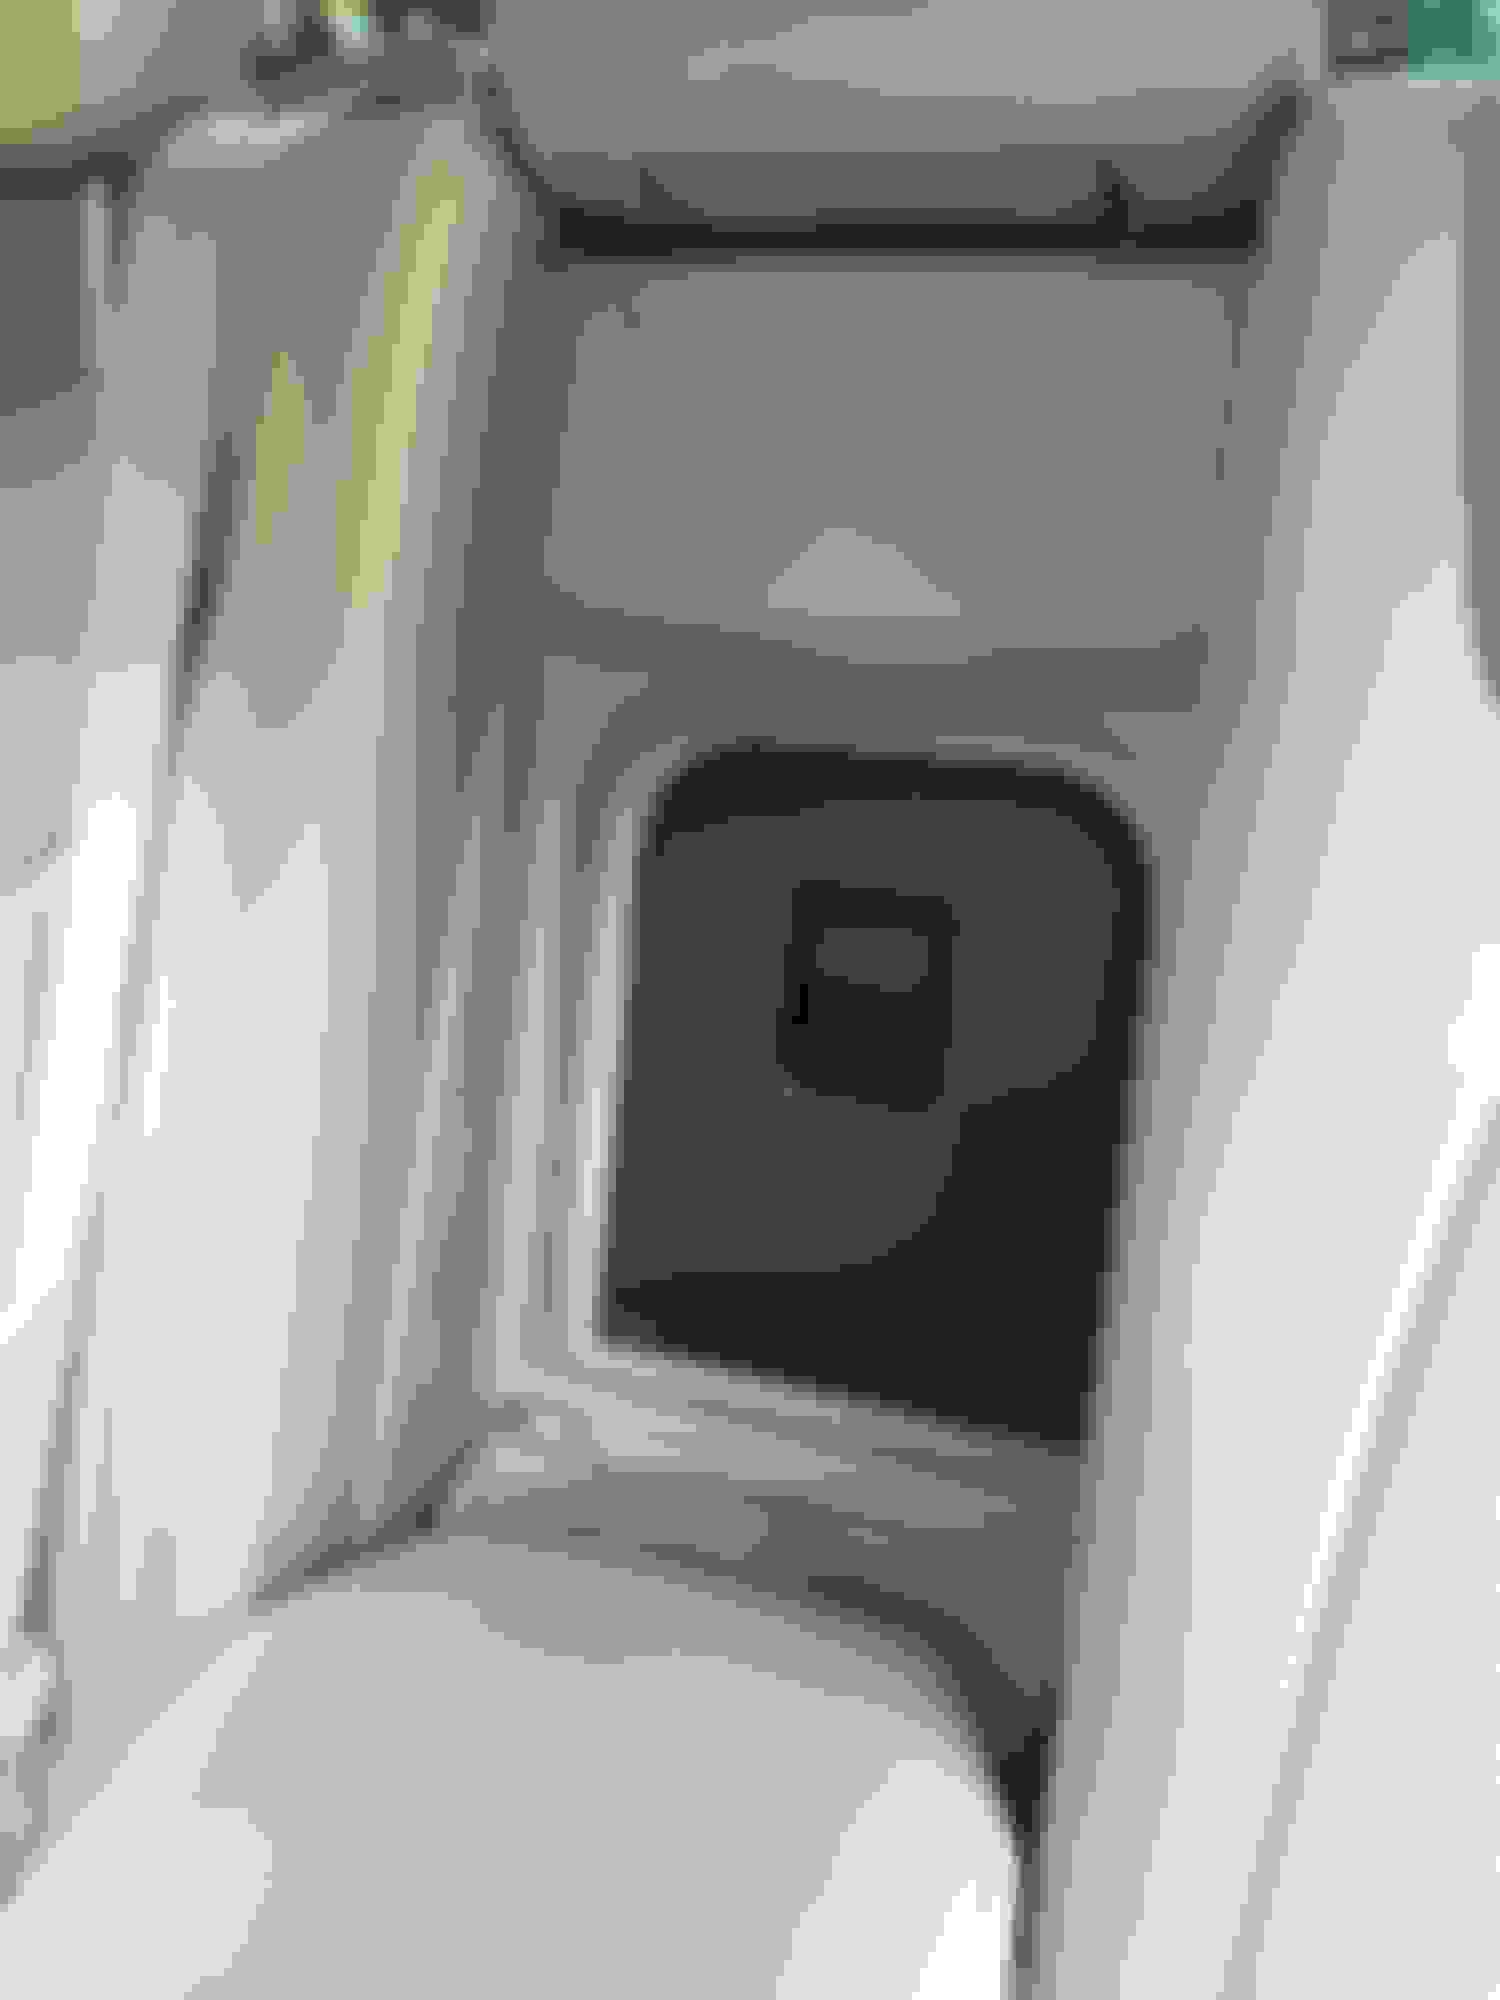
Step 9 - The only other screw holding the electronics to the armrest is this screw. Use another #2 screw driver to remove. Once you have this removed the electronic's platform can be removed.
Step 10 - This the the electronics portion popped out. Take a flat head and pry gently until it pops out. There is a cable taped to the bottom and the tape needs to be removed.
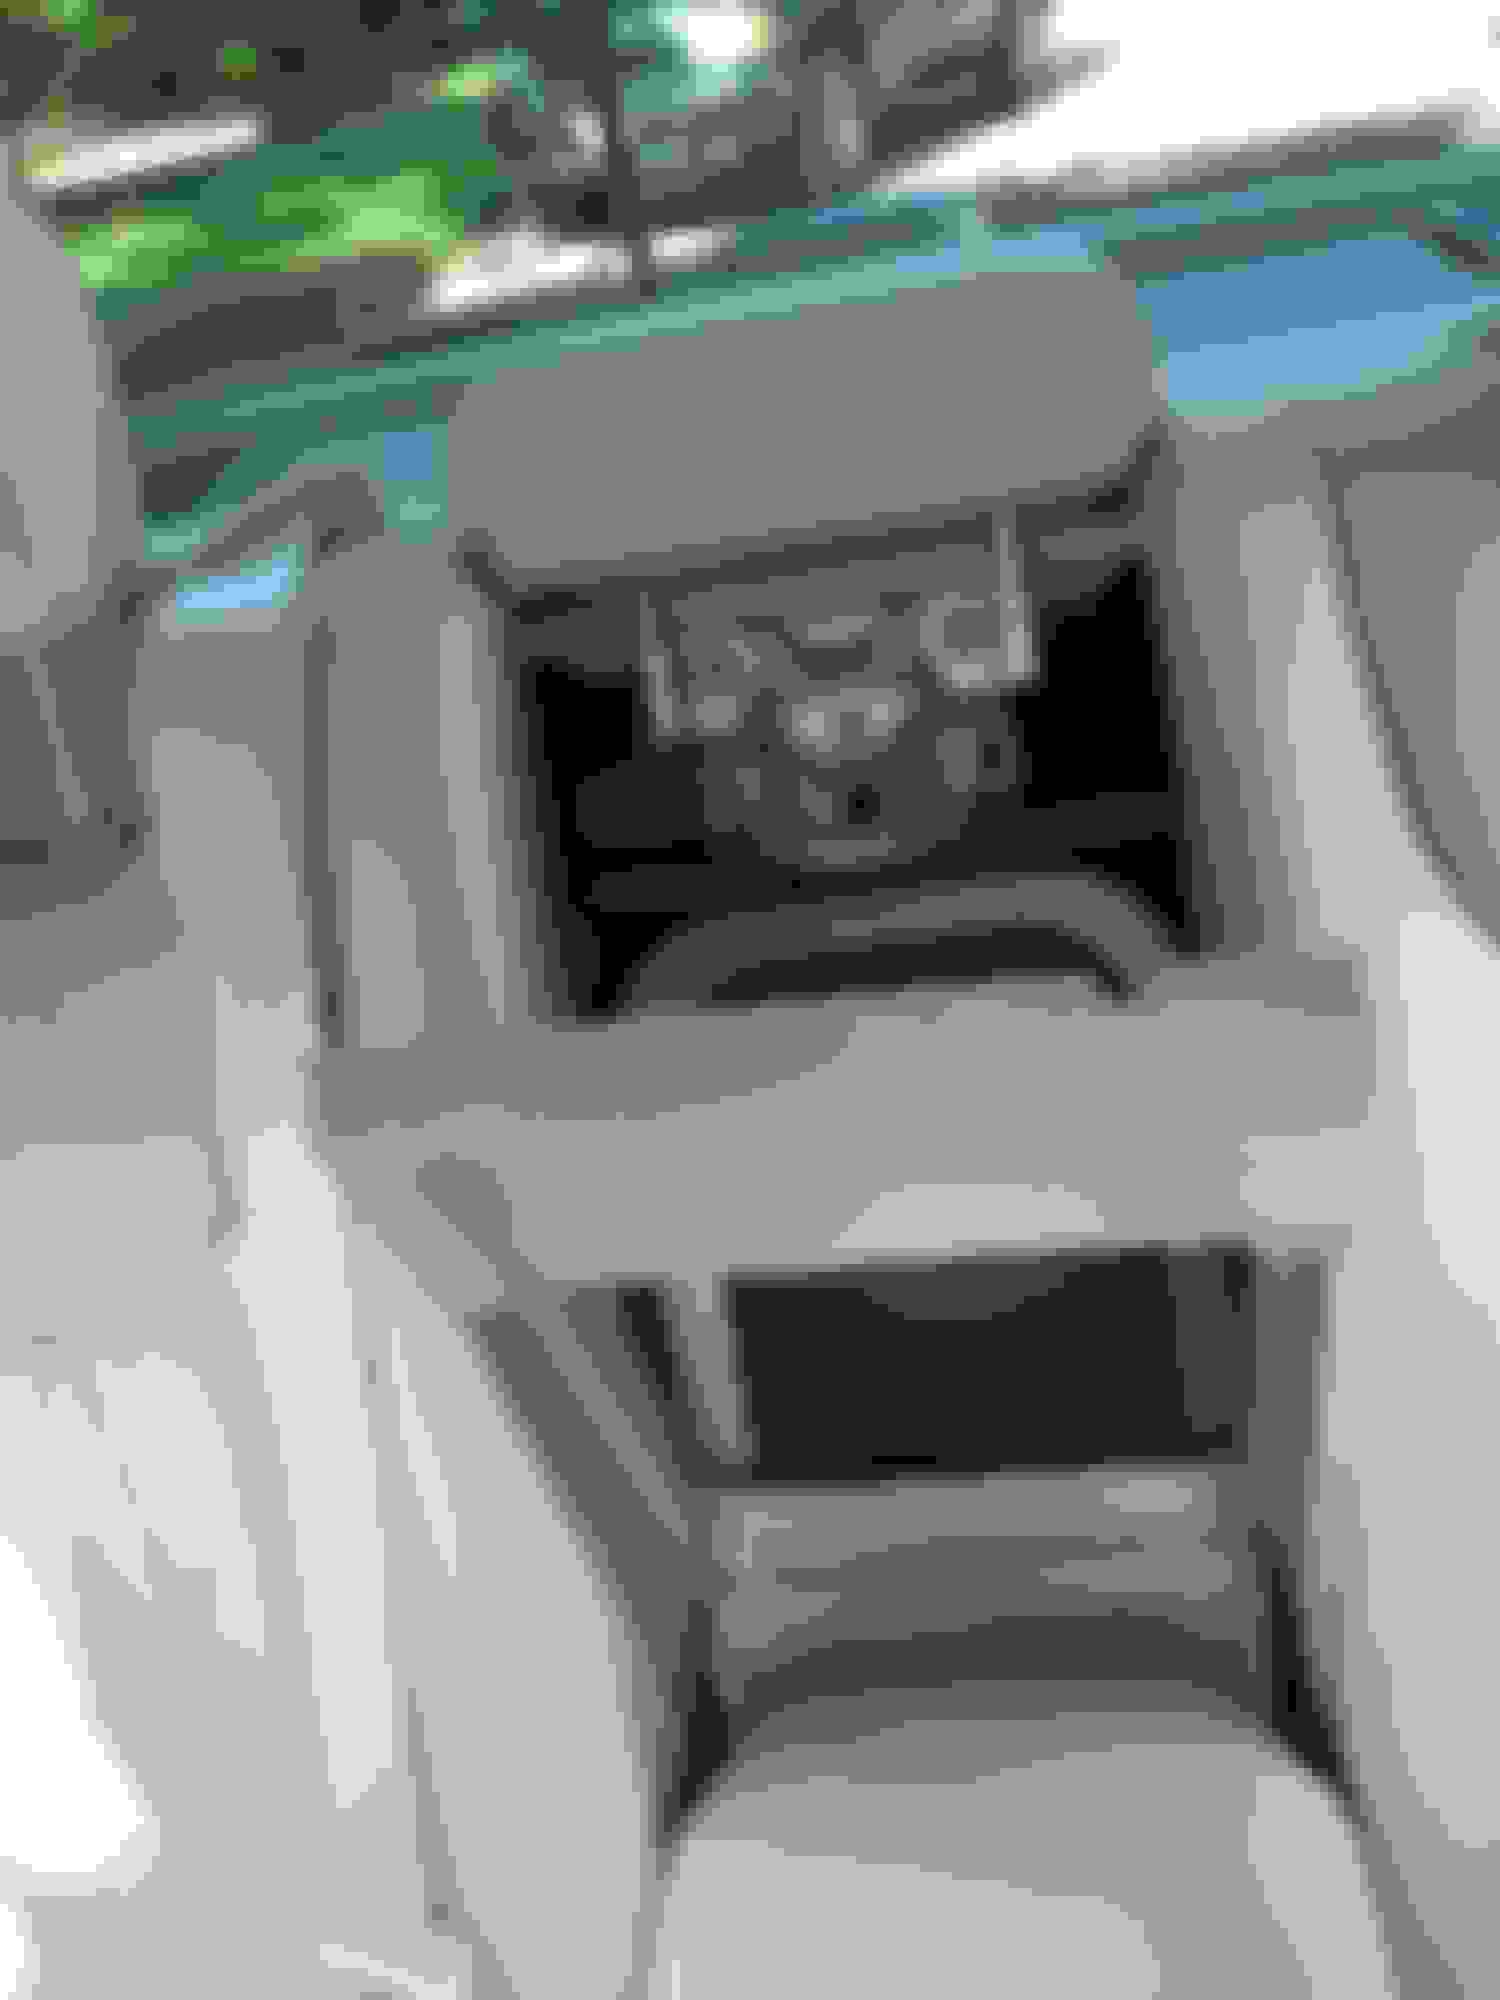
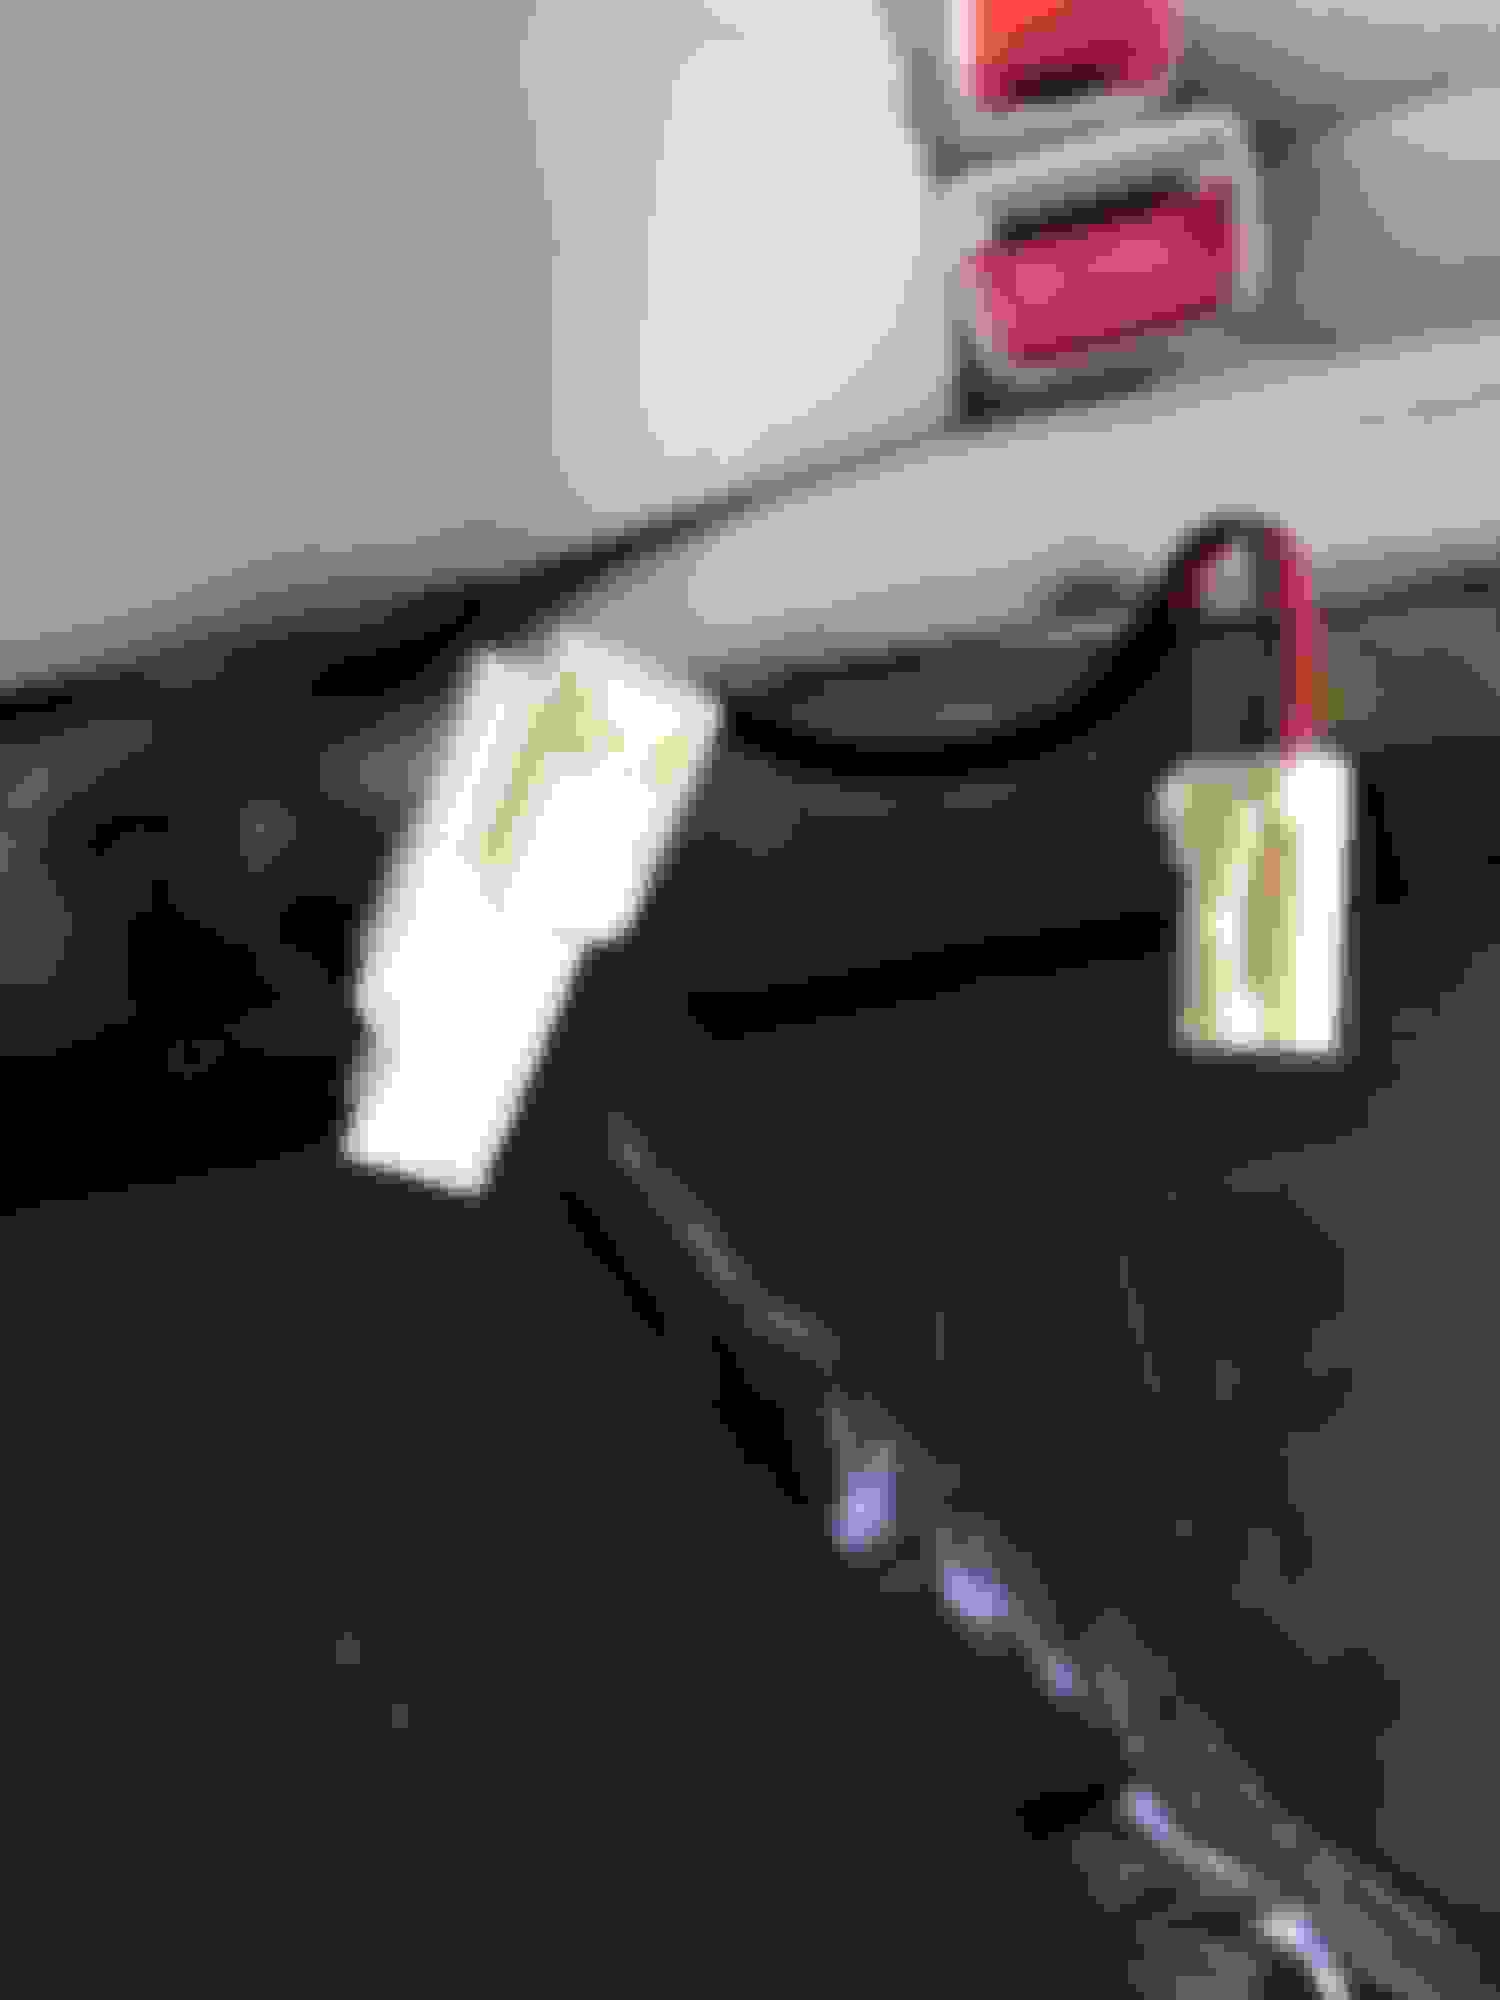
Step 11 - This cable will need to be unhooked.
Step 12 - Here is the picture of the cable unhooked. When you unplug this connection it is easy to turn the platform over and work on the electronics.
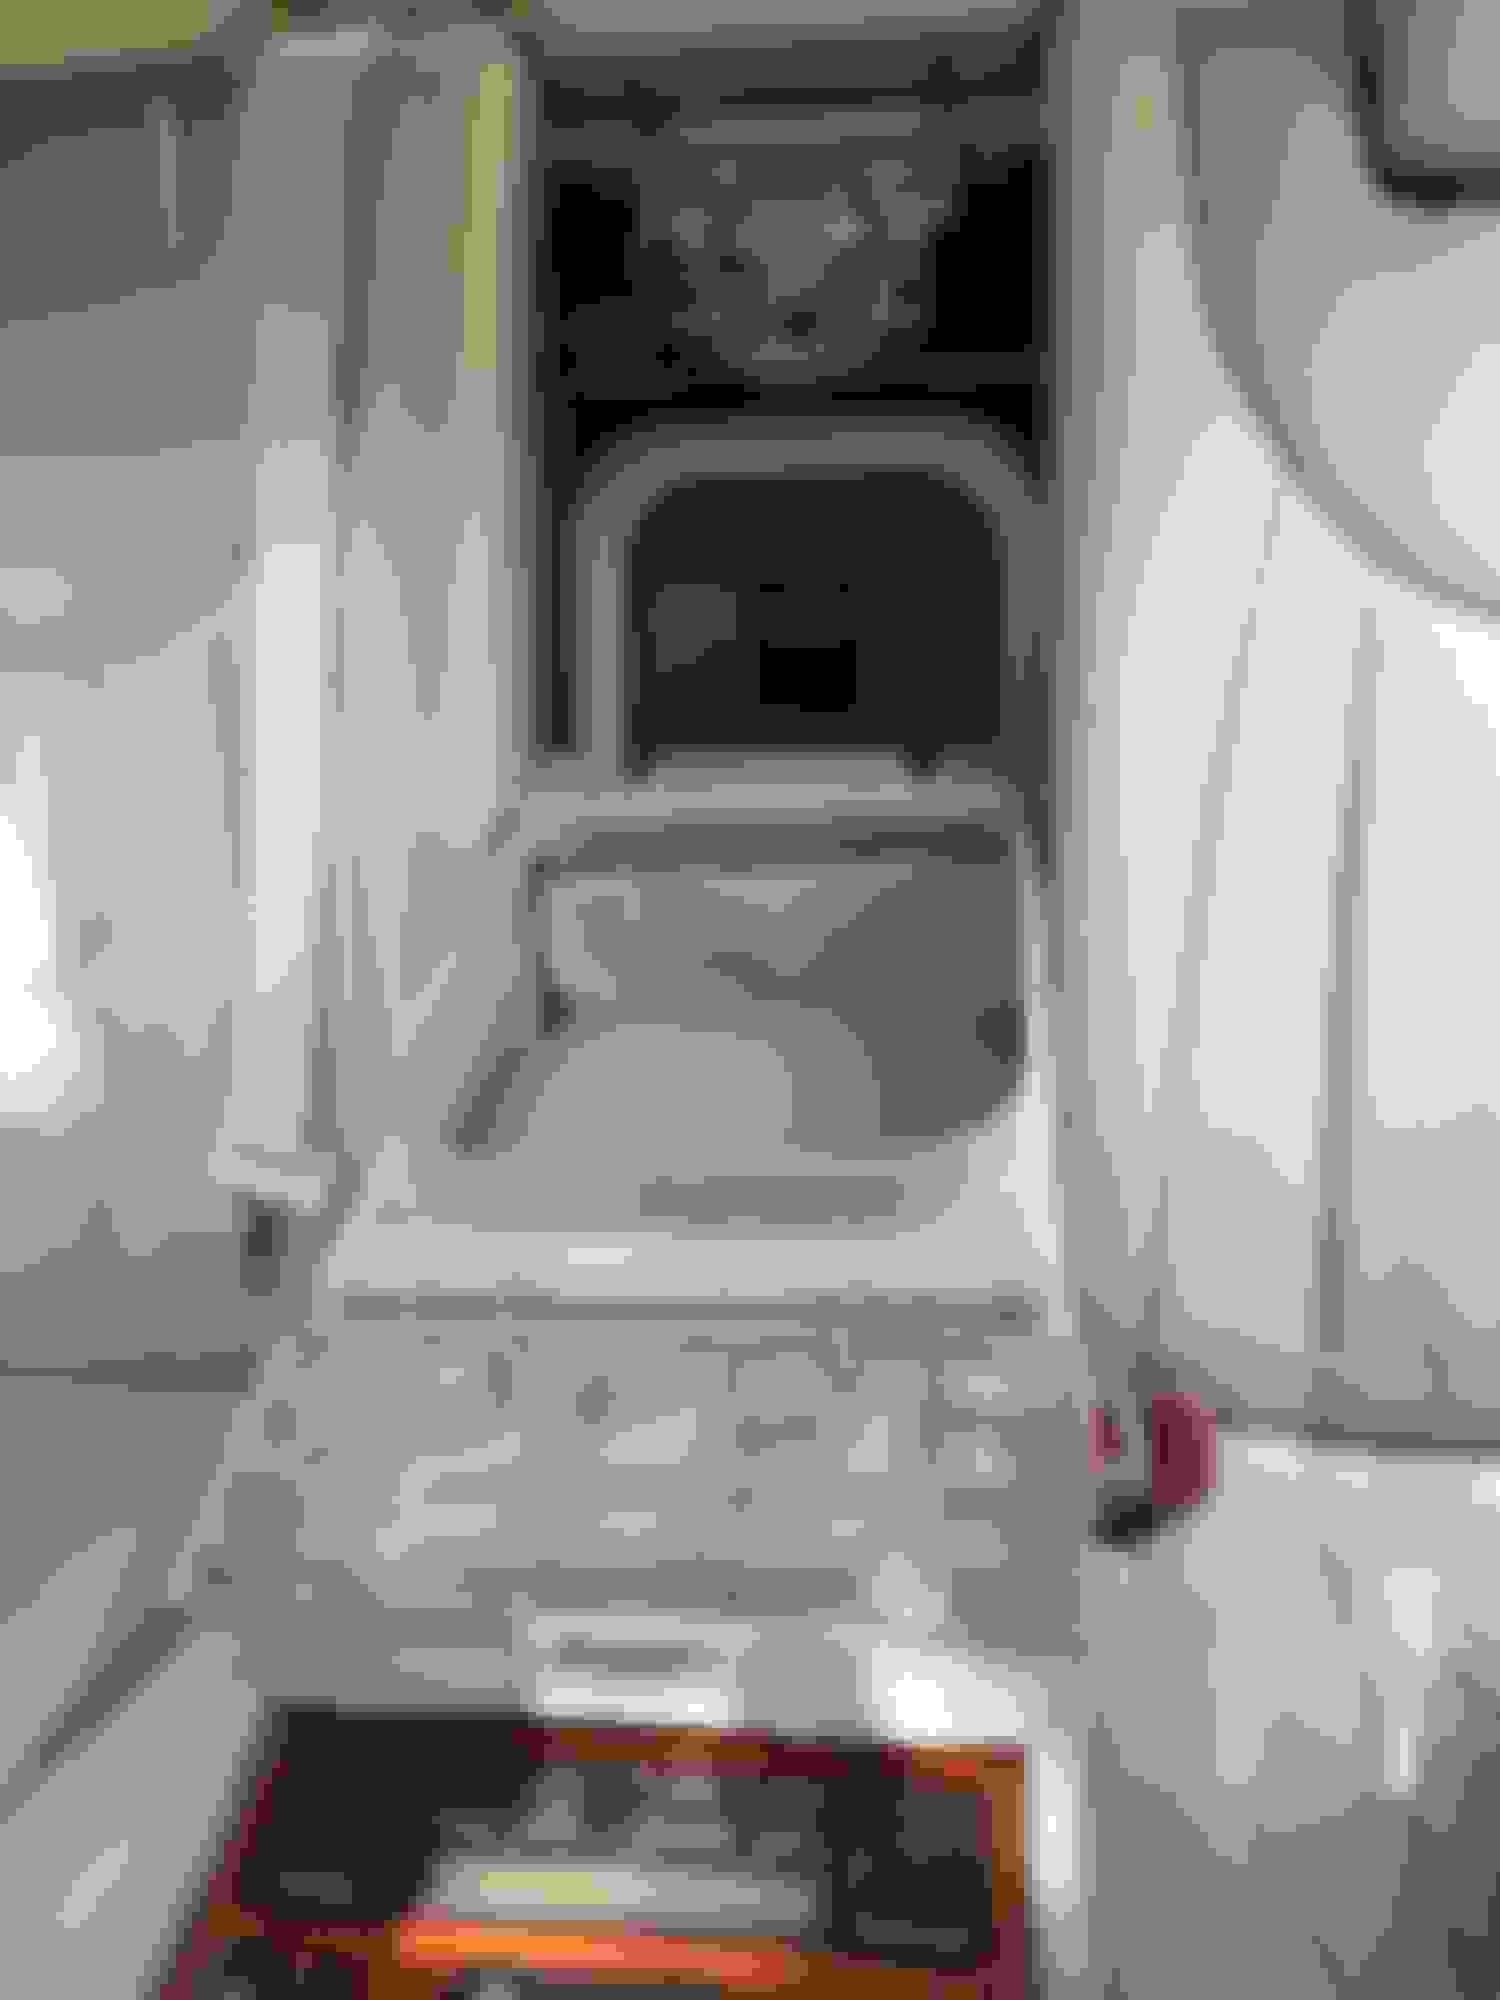
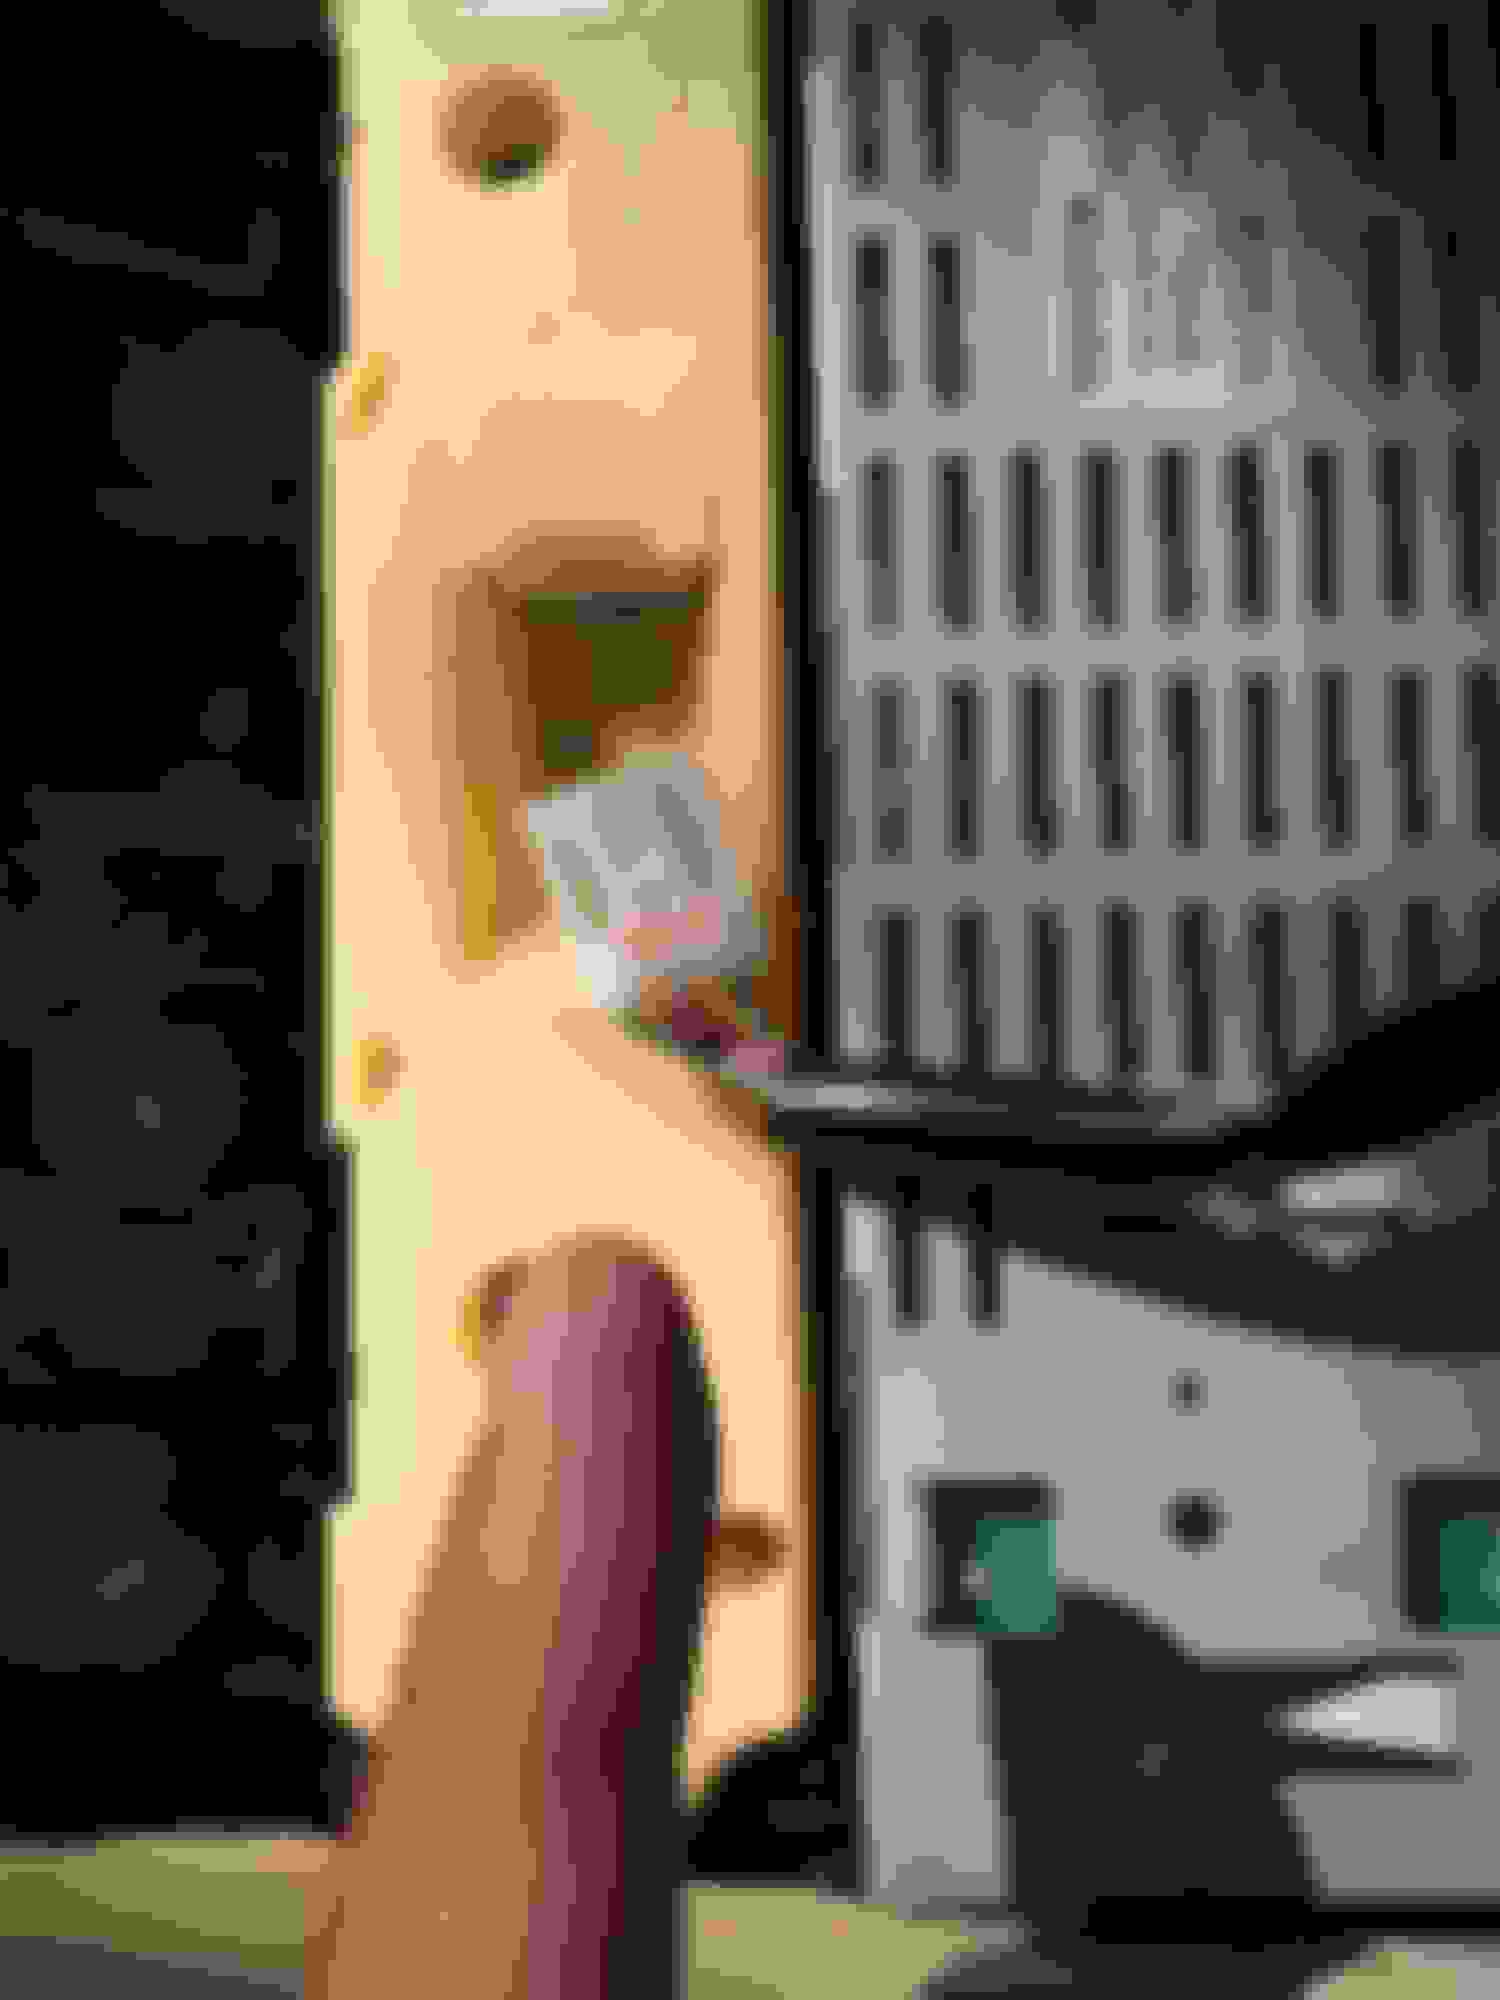
Step 13 - Remove the cable to the seat electronics module.
Step 14 - Remove 6 black screws holding down both the electronic modules.
Step 15 - Remove all 6 black screws holding down both the electronic modules to get to the temp/fan/radio control module.
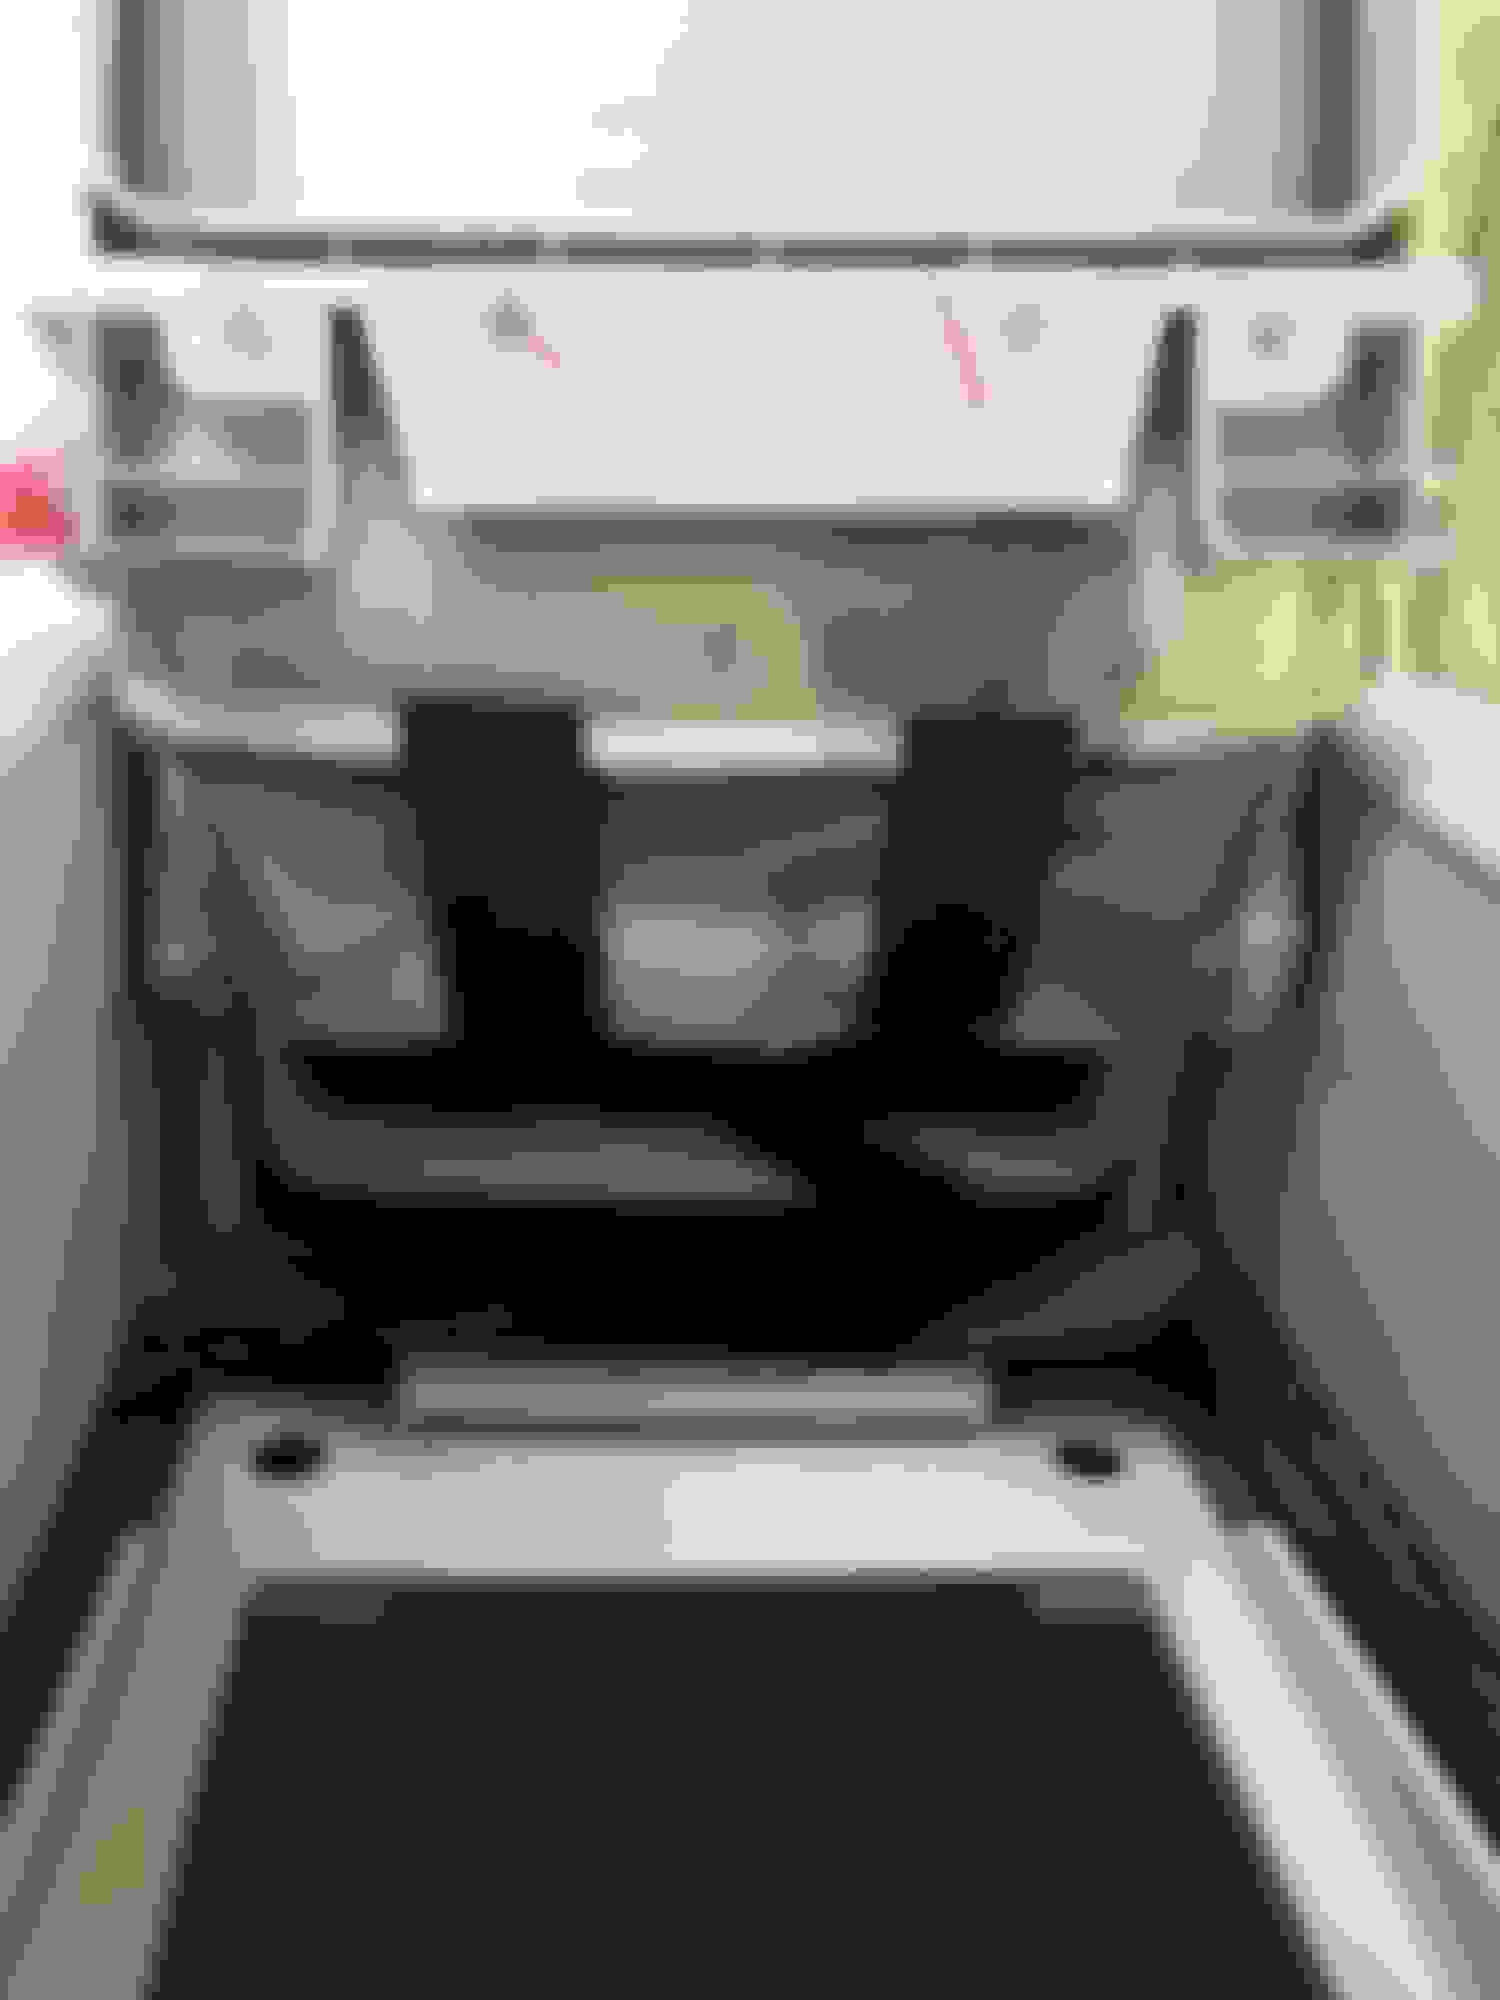
Step 16 - Remove the temp/fan/radio control module cable.
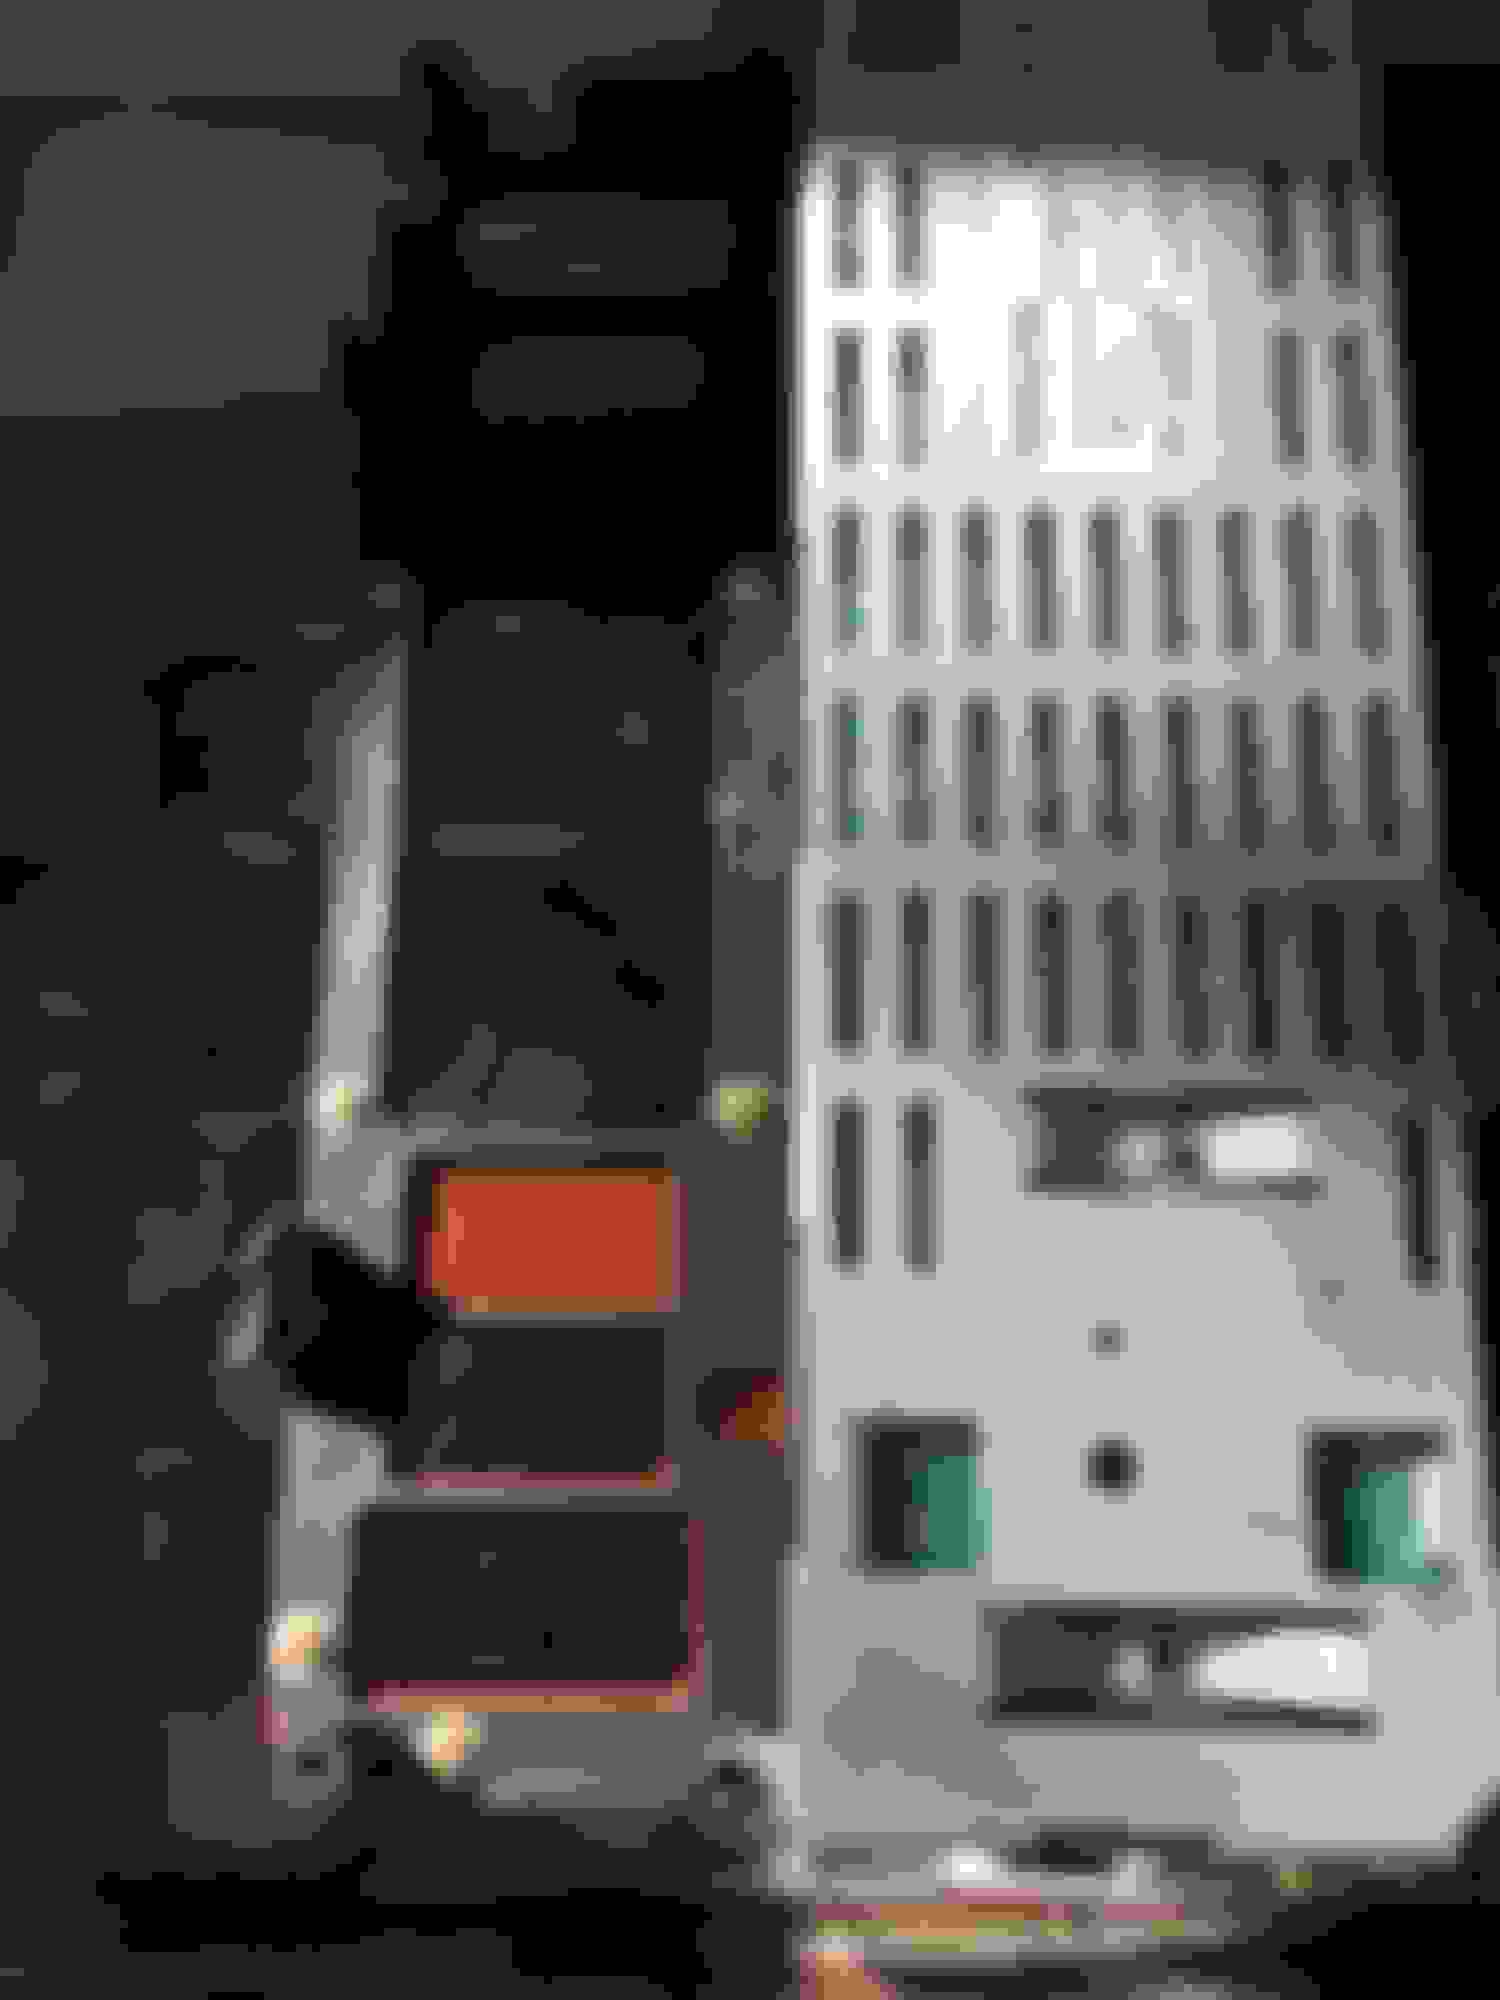
Step 17 - Unplug cable, replace module and reinstall in opposite order.
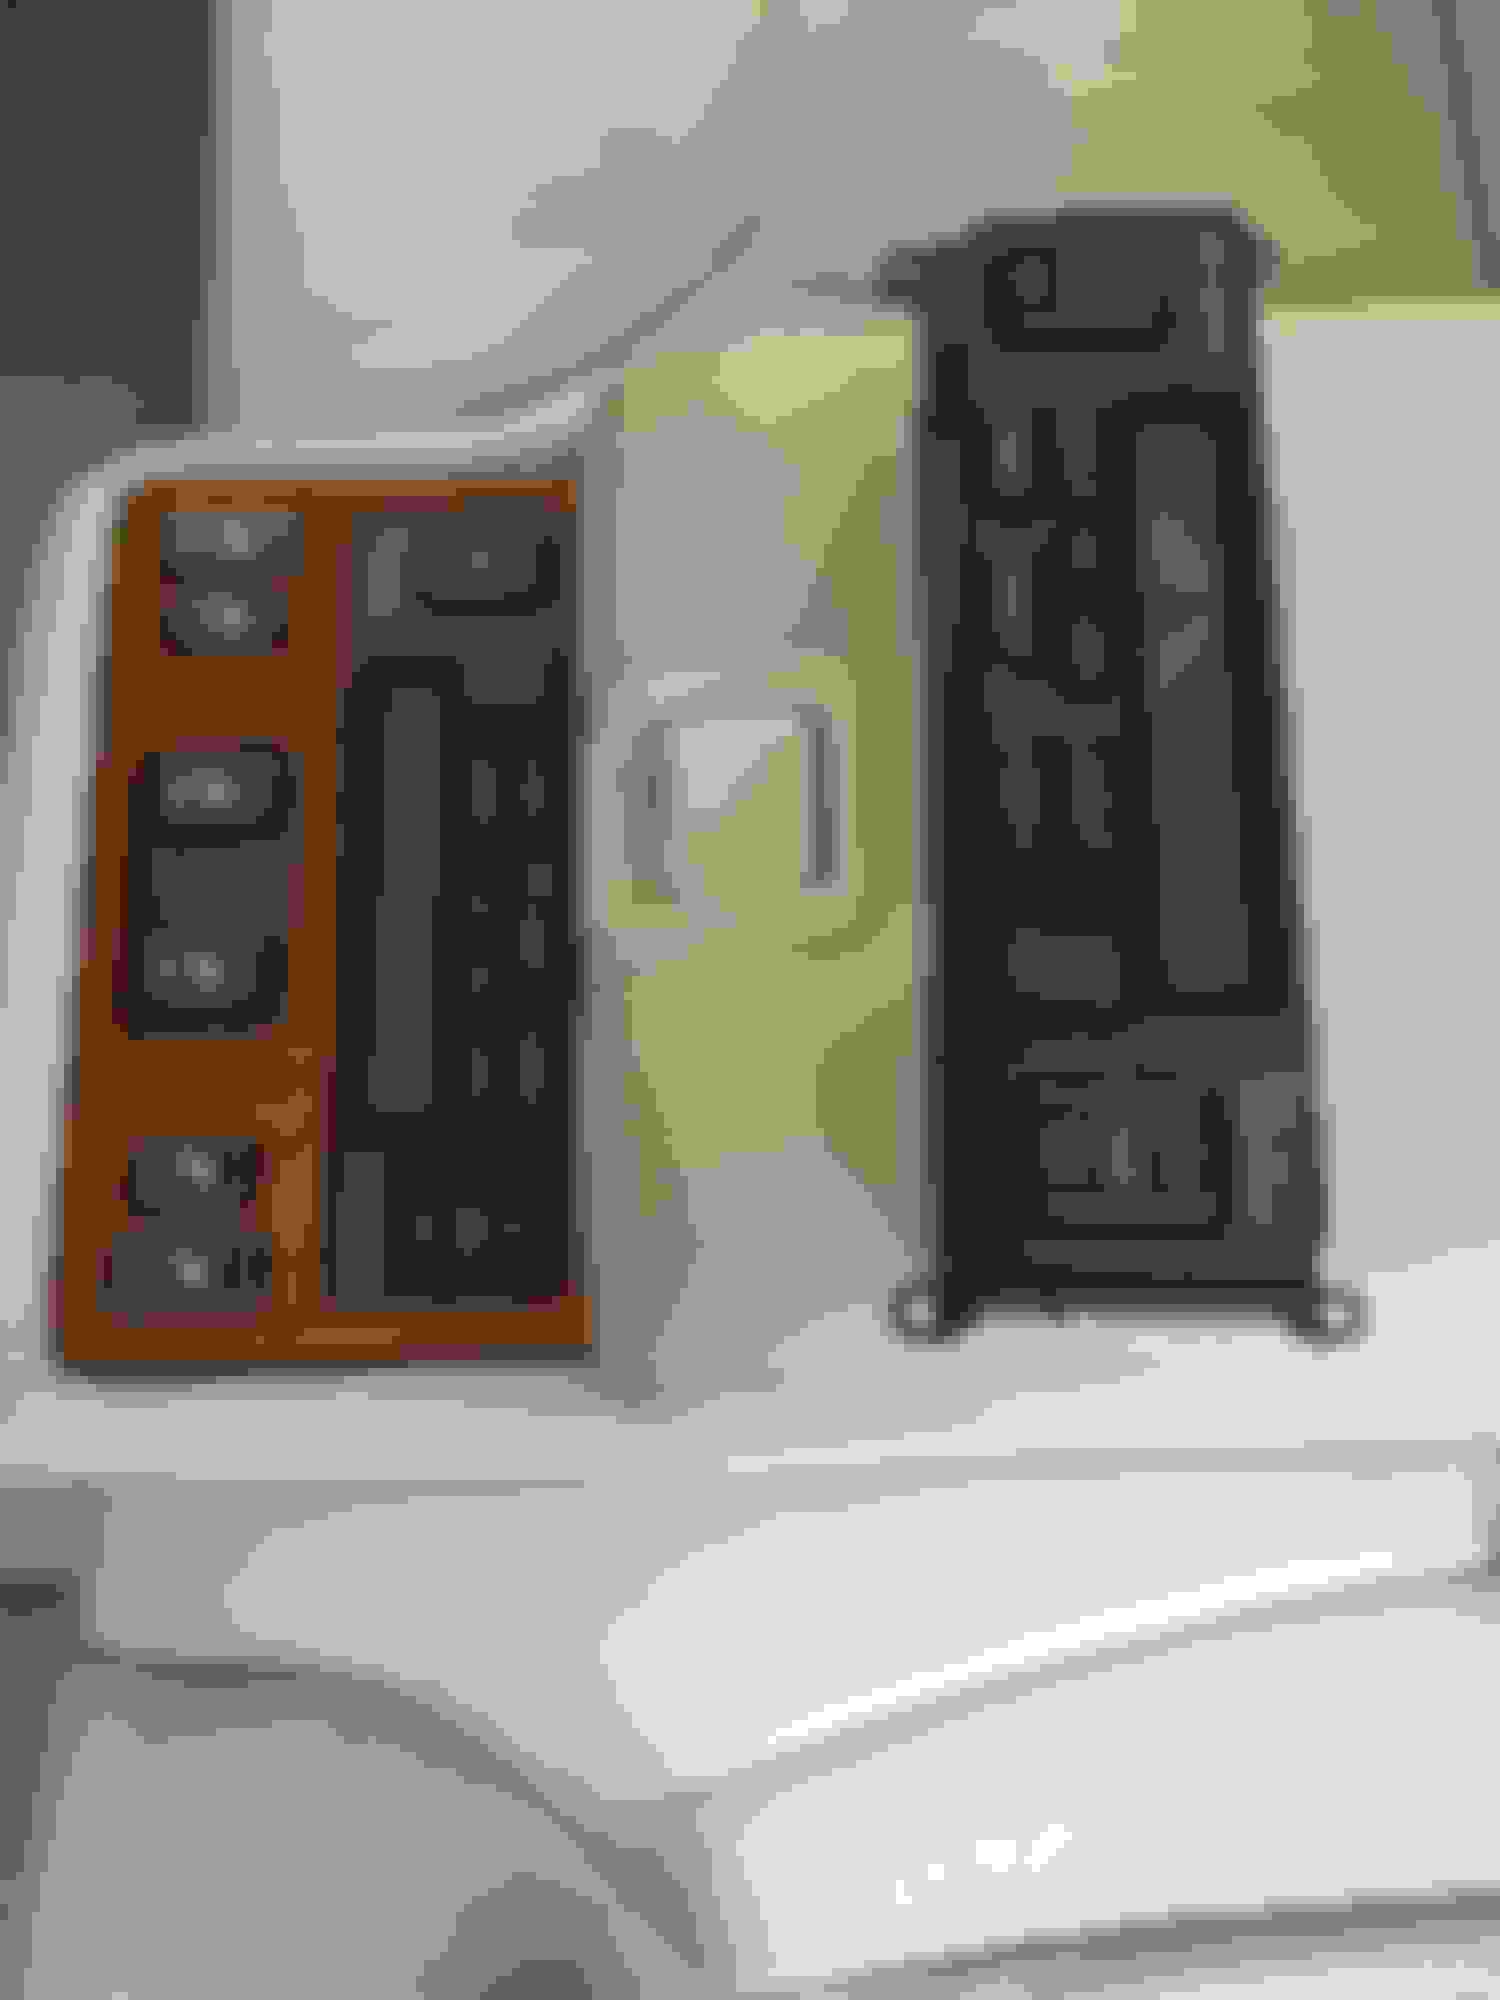
Step 18 - Picture of the old and the new module installed.
Nice work! It's great to fix things at 1/8 the cost. You are the first I have read about needing to replace this control module. The rear AC systems in these cars are very reliable.
There is a large thread on door lock actuators that are common and is a pretty easy fix for about $10 a motor vs $1000 at the dealer. Even easier on UL models with easy close. These same motors are also used in the folding mirrors.
 06-11-15, 08:42 PM