Knock Sensor replacement
#31
Scootymad and SlkySmooth,
Did either of you take video of the intake manifold removal? I’m about to tackle the knock sensor replacement. The video above of the GS400 is decent but I was hoping to see another to gain some more confidence.
Thanks to all for the information so far!
Did either of you take video of the intake manifold removal? I’m about to tackle the knock sensor replacement. The video above of the GS400 is decent but I was hoping to see another to gain some more confidence.
Thanks to all for the information so far!
#32
Rookie
Thread Starter
Scootymad and SlkySmooth,
Did either of you take video of the intake manifold removal? Iím about to tackle the knock sensor replacement. The video above of the GS400 is decent but I was hoping to see another to gain some more confidence.
Thanks to all for the information so far!
Did either of you take video of the intake manifold removal? Iím about to tackle the knock sensor replacement. The video above of the GS400 is decent but I was hoping to see another to gain some more confidence.
Thanks to all for the information so far!
Good luck make sure you have all the tools you'll need and it shouldn't give you too much trouble.
The following users liked this post:
Nphoops (08-20-18)
#34
Lead Lap
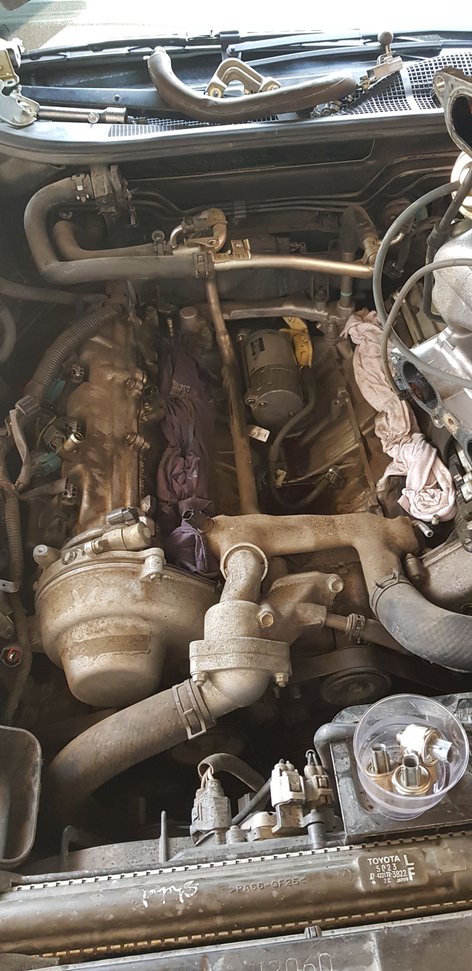
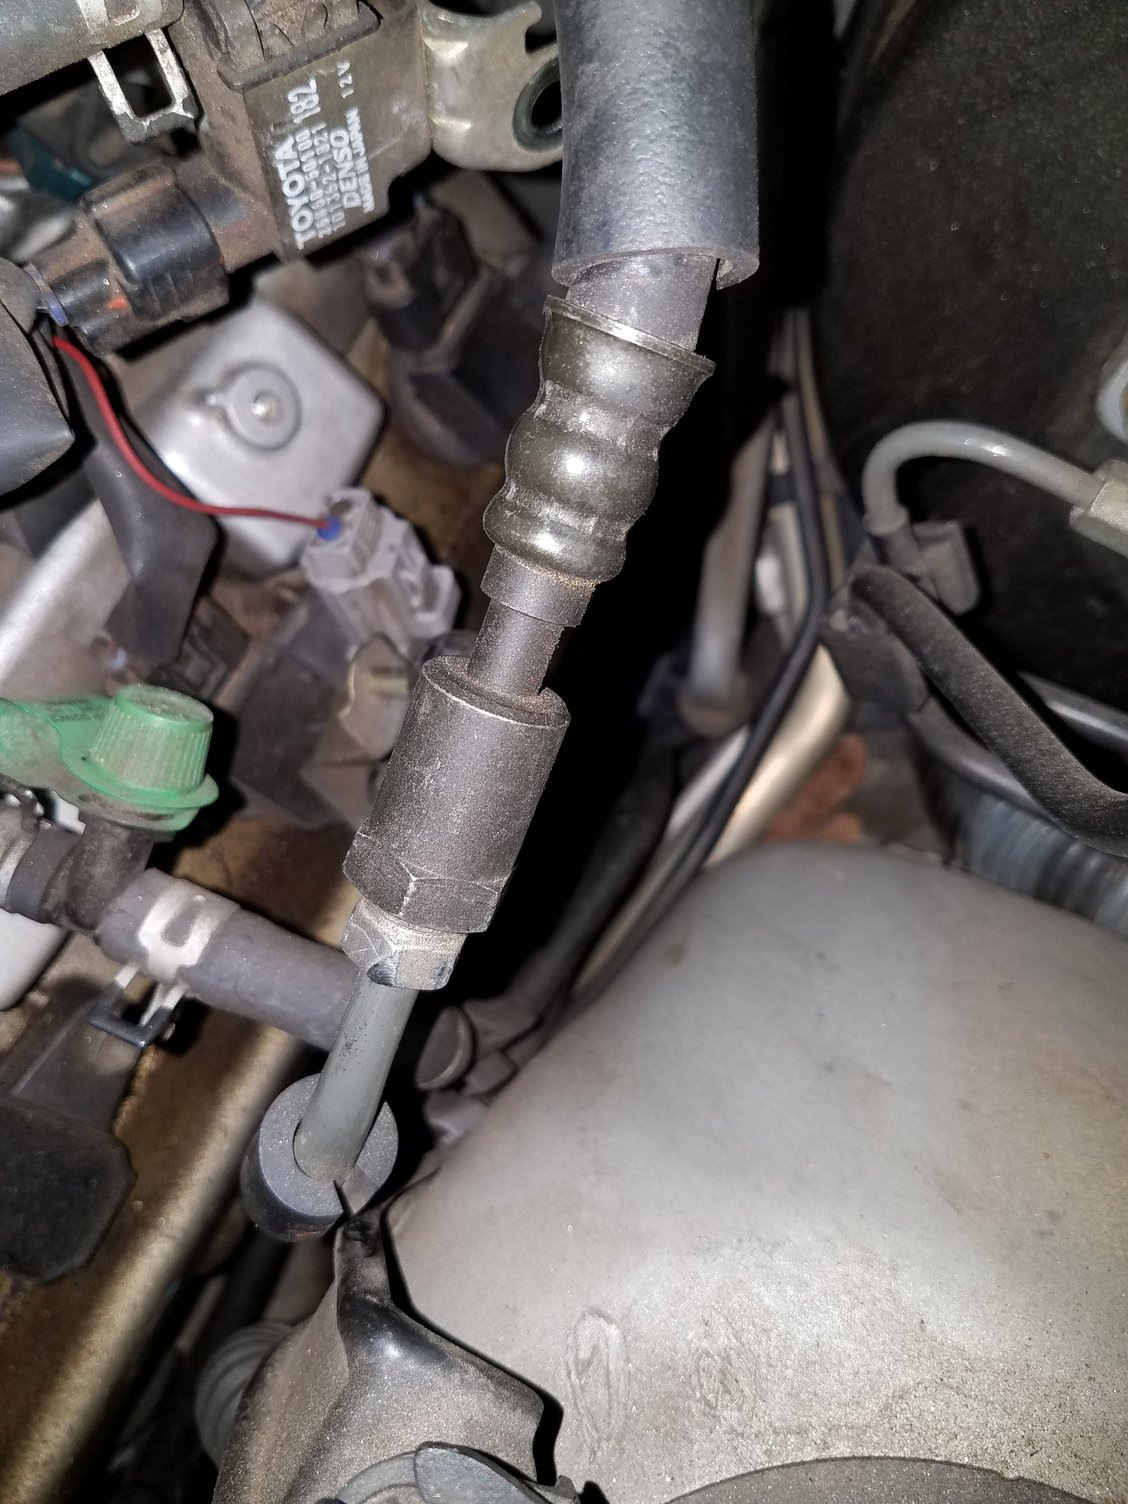
Unfortunately I'm not too photogenic so I didn't set up a tripod or anything to capture my intake removal adventure. That video was a good reference make sure read through the factory service manual and keep it handy as well. The biggest issues I ran into were breaking my coolant temp sensor which is sticking out right where you've got to wiggle off the heavy intake, as well as not being able to remove the mail fuel line. Make sure you get the right flare nut wrenches for the fuel line! I think one side is 14mm don't remember the other. Take pictures of you're engine before you disassemble it and/or label the hoses and connectors as you're removing them so you won't get confused what goes where.
Good luck make sure you have all the tools you'll need and it shouldn't give you too much trouble.
Good luck make sure you have all the tools you'll need and it shouldn't give you too much trouble.
The following users liked this post:
Nphoops (08-21-18)
#35
Rookie
Thread Starter
<div style="text-align:left;"><br /><br />The tools needs for the fuel line are a 19mm and a 14mm flare wrench to disassemble. Soak the flare fitting with PB blaster or equivalent the night before. Clean the threads good and then use a 14mm crowfoot attachment on your torque wrench. I believe the torque is 23ft*lb. rkw77080 posted the torque spec from the manual on one of my threads for me.<br /><br /></div>
Last edited by SlkySmooth; 08-20-18 at 10:47 PM.
The following 2 users liked this post by SlkySmooth:
boontherun (12-15-20),
Nphoops (08-21-18)
#36
Lead Lap
<br /><br />That is what I should've done I couldn't get the main fuel line connection off for the life of me so I gave up before I stripped it past the point of no return and took off the pulsation dampeners and replaced their gaskets as well so the intake would separate from the fuel line. I ended up forgetting to put the fuel line back in place behind the intake before putting the bolts back on so my dumbass had to take the whole thing off again making the job take a whole lot longer than it should've. I'd ended up spreading the work over a long weekend and when I got the car started back up a hose somehow got clogged and the brake booster wasn't getting enough vacuum causing me to spend even more time on the project.
#39
Pole Position
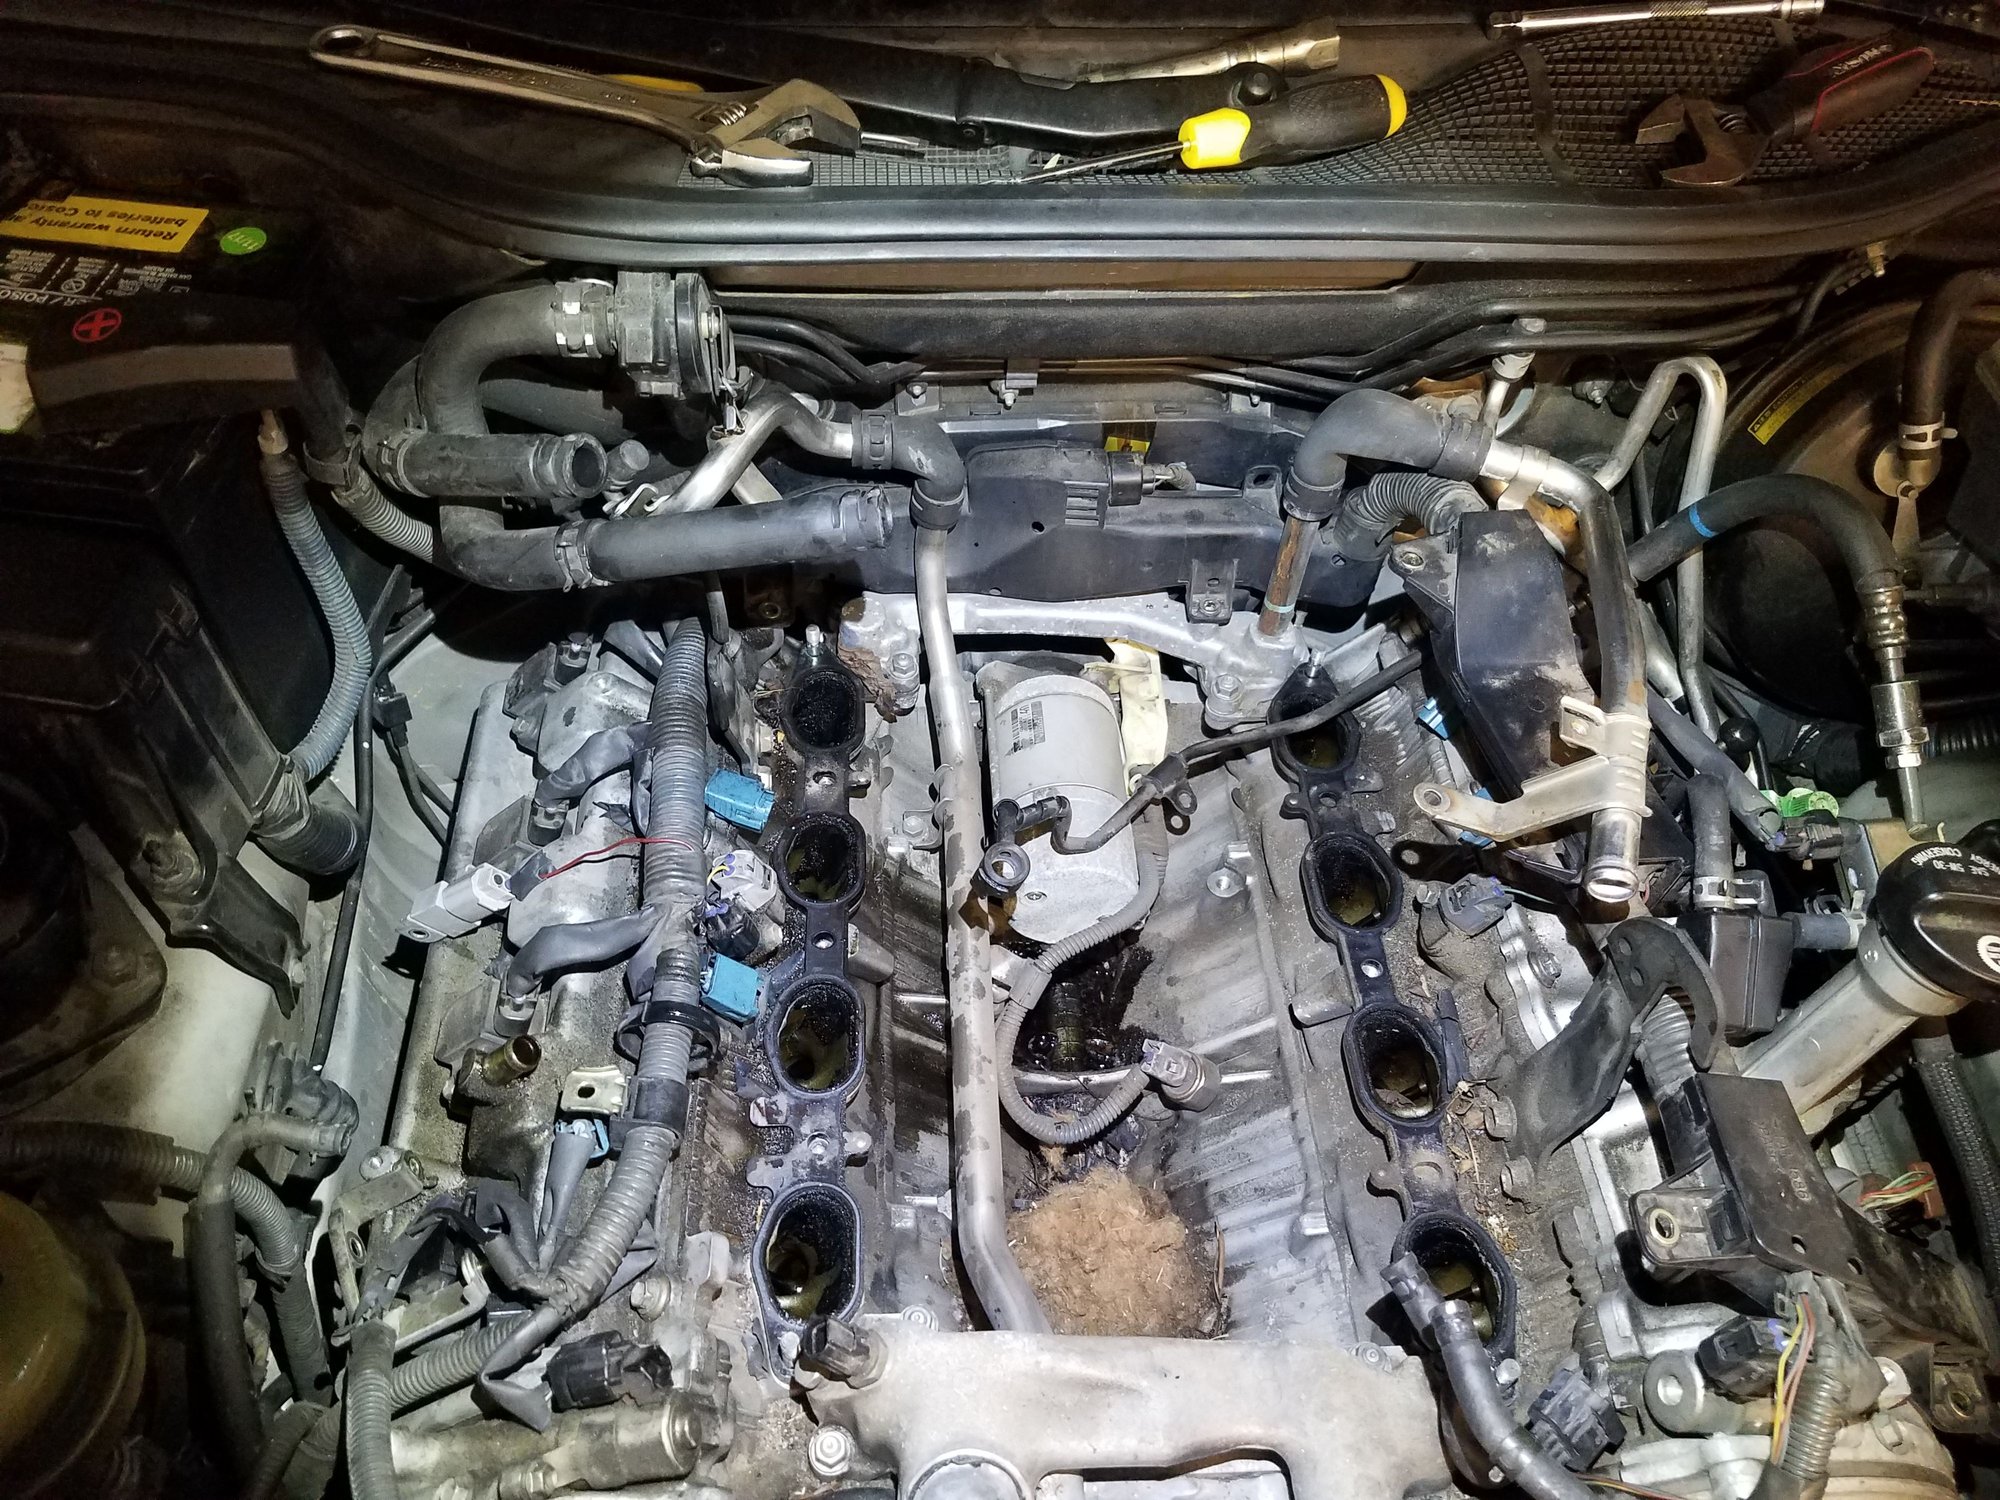
I have some video of the manifold off, but not me in the process of removing it. I'm still having issues with mine, the wiring is intact (it has continuity but unable to tell if its short with something else), but I'm still getting a Bank 1 Sensor circuit fault. I've tried the wiring mod (doesn't work), tried fitting the terminal directly to the sensor pin and gluing it in place, haven't tried swapping sensors around to see if the issue follows it, but I have a feeling that it could be a bad sensor. I'll be ordering a pair of genuine Denso sensors at some stage to rule it out, but every time I pull the manifold, wiring gets damaged. I've already had to re-pin 2 coil pack plugs and the coolant temp sensor plug as a result
#40
Rookie
Thread Starter
I have some video of the manifold off, but not me in the process of removing it. I'm still having issues with mine, the wiring is intact (it has continuity but unable to tell if its short with something else), but I'm still getting a Bank 1 Sensor circuit fault. I've tried the wiring mod (doesn't work), tried fitting the terminal directly to the sensor pin and gluing it in place, haven't tried swapping sensors around to see if the issue follows it, but I have a feeling that it could be a bad sensor. I'll be ordering a pair of genuine Denso sensors at some stage to rule it out, but every time I pull the manifold, wiring gets damaged. I've already had to re-pin 2 coil pack plugs and the coolant temp sensor plug as a result
#42
Pole Position
My valley was also full of leaves and other rubbish. Vacuum all that rubbish out before you even contemplate working in there. I can't get replacement wiring as I don't know where in the loom it terminates, given mine is one of the very first RHD UCF30s, the loom is slightly different. My main fuel feed line came off relatively easily though, depressurising it helps immensely.
#43
Driver School Candidate
While you are in there take a good look at your coolant crossovers. There are 2 cast aluminum pieces that span head to head in the front and rear. They seal with metal gaskets underneath. There is also a metal pipe that connects the 2 crossovers that is sealed with o-rings on each end. I've seen these o-rings leak.
The following users liked this post:
kimsey (06-30-19)
#45
Driver School Candidate
Join Date: Nov 2018
Location: dubai
Posts: 4
Likes: 0
Received 0 Likes
on
0 Posts


Please bear with me.
I have thoroughly enjoyed clublexus forums before during and after purchase of my preowned Lexus vehicles.
Prior to relocating to the Gulf I fantisized heavily about owning an Ls430.
Upon arrival the weariness and insurance dilemma of owning an almost 20 year old vehicle resulted in me purchasing a average condition 2009 gulf spec IS300. This was the 1st luxury car I owned (2005 corrola 1.6 gls in South Africa which gave me 6 years of trouble free motoring - solidifying my love for the Japanese brand).
The IS ran well with minimal maintenance and access and price of second hand parts will make most of those reading this jealous.
Within 12 months, a bonus payout later and the need to aquire a second vehicle for my wife - I was test driving a few second Gen Ls400s deciding I would give the IS to the missus and tinker with an older Ls.
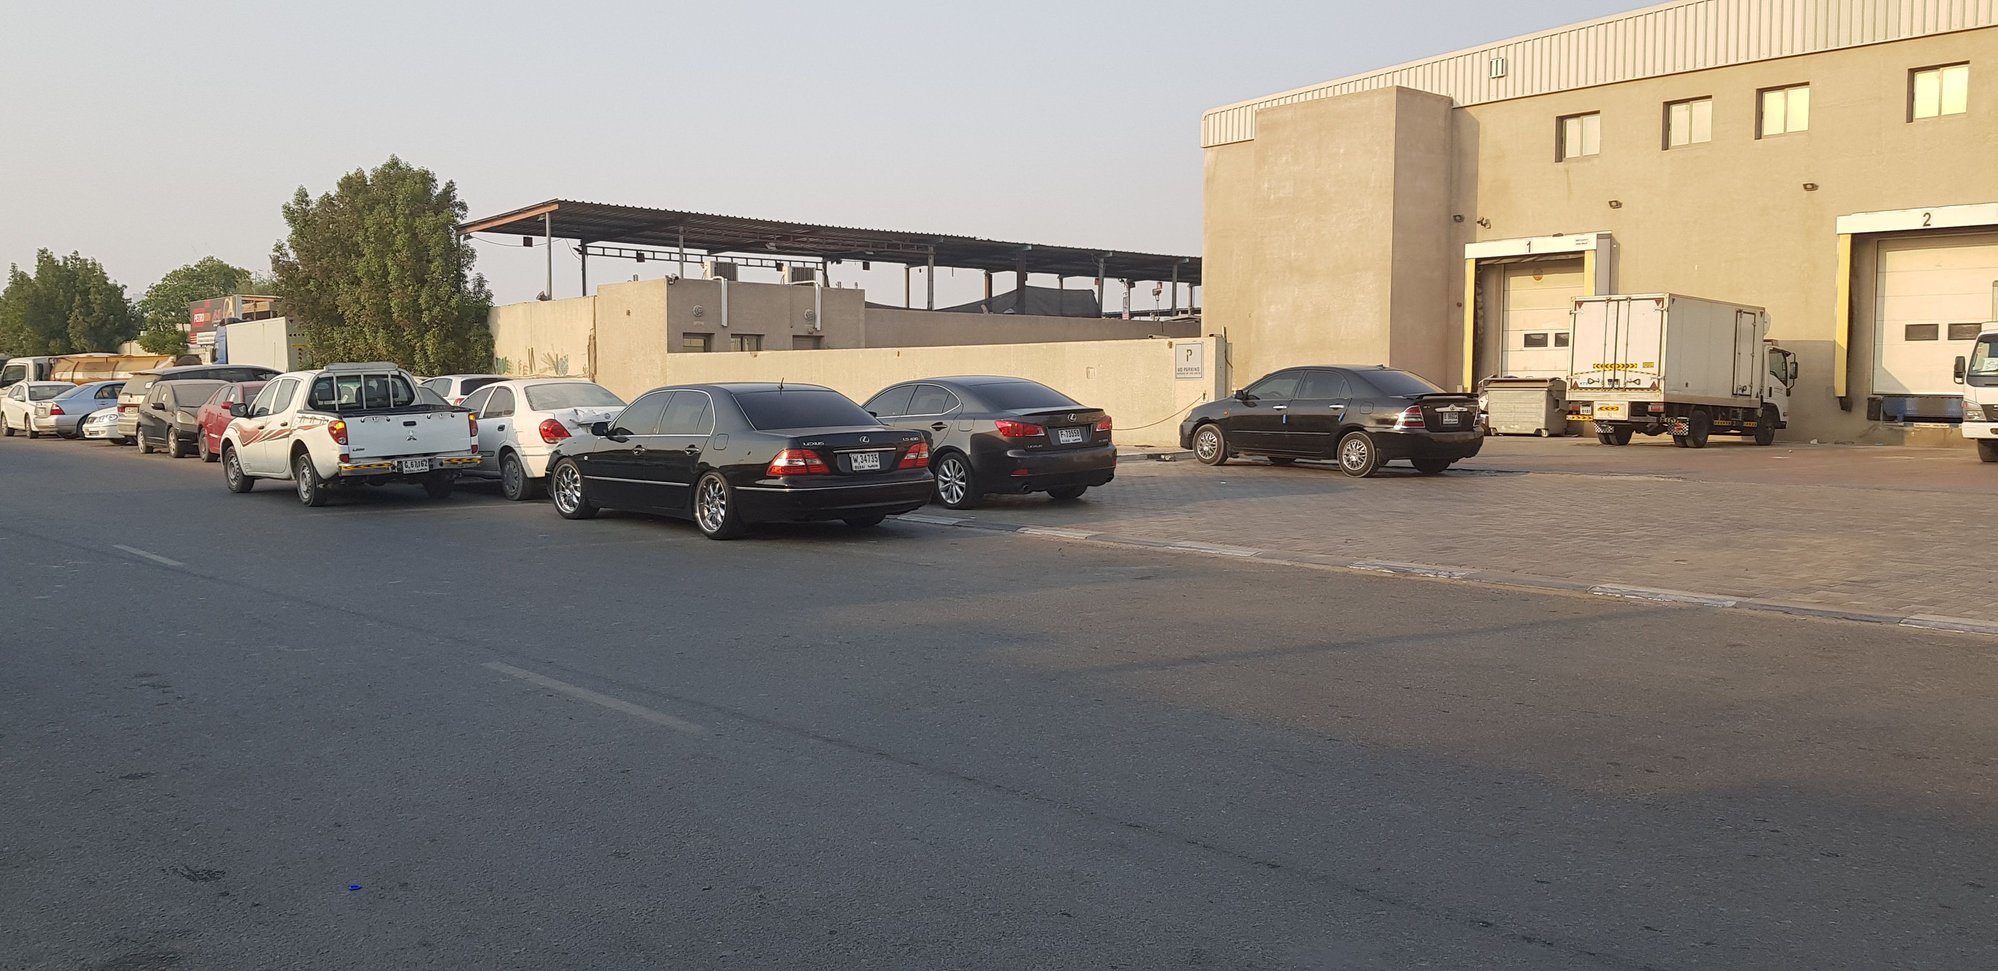
I came accross an absolute wet dream. 2001 black on black with 19' lorinser deep dishes, sports suspension - freshly imported from Japan with 81k on odo. I had serious doubts about the authenticity of the milege. List price was USD $5k.
On test drive it drove like absolute doggy doodoo - which I successfully diagnosed as being the maf sensor.
Needlessly I worked off the floor with it for $3,000. The day later swapped out the maf sensor with a second hand replacement for $10 (labour included) and watched it pull through the gears well into the triple digits on the way home that day.
As it was a project for me I expected some costs to keep it on the road.
Radiotor replaced after a long road trip when I realised it was consuming water excessively. $60 parts and labour.
Replacement shocks, tie rods and a wheel bearing had it tracking a much tighter line - although not as tight as what I had gotten used to in the IS.
Recently, upon undertaking a small road trip with the family I noticed a sudden throttle hesitation. Initially losing all power around 3000rpm in 3rd and then followed by struggling acceleration across the revs in 1st and 2nd. Tapped around with maf sensor sorted it initially but the problem kept coming back. CEL has been on (and comes back no matter how many times I clear it) since I bought, it for upstream 02 Sensors.
The problem was not liveable, It was pointless having a 3UZ in shut down mode, half capacity - I was devastated.
After hours online (mostly club Lexus forums) I figured it could be o2 sensors, temperature sensor, bad cat(sometimes get the sulphur smell under hard acceleration) or knock sensors.
Figuring my current mechanic who undertook above repairs was too cheap and not competent, I sought a more prominent service center.
HUGE mistake - these guys plugged in their fancy computer diagnosed as o2 sensors and quoted me $25 labour and $100 secondhand parts, (I was fully aware that these could be had for less than $20 for the pair.
I figured I wanted it build a relationship and it may cost abit initially.
Picked the car up the next day and the problem was the same - they suggested they would check it agian but need it to cool down.
They next day they called me saying the entire ECU needed replacing (their computer suggested apparently).
They shopped around for a replacement second hand unit with exact matching numbers and barcodes - $125 - I gave the go ahead it was sourced and installed. Picked the car up again no change. At this stage I was highly irate as each time the workshop manager assured me that he had test driven the car and that the issue has been resolved. I returned from the drive, demanded that my original ECU and 02 sensors be re installed and refunded for the parts ($225) as a token I let him keep an additional $25 for labour troubles.
I drove directly to my original mechanic - he was out, he's assistant (after a quick test drive and explanation - we have a serious language barrier by the way - english vs urdu/peshtu) plugged in a diagnostic machine and told me to get the 2 best second hand knock sensors I can afford. New Gaskets, after I told him the NEW OEM price, he assured me would not be required. Cost for using the borrowed diagnostic machine $8.
A day later I dropped the car off in the morning while still cold took an uber back home to pick up THE IS and proceed to the used spares market - $20 including a tip for the runner bought the best brand new looking second hand knock sensors.
By the time I got back to the workshop the whole intake manifold had been disassembled.
2 hours later I got a call to pick up with a labour charge of $75. Test drove, couldn't be happier ó all 286hp back on track sub 7 second 0-100 with 19s!!!!


